
Small rooms can feel crowded with a regular bed taking up most of the floor space.
A Murphy bed might be your solution – it folds up against the wall when not in use, giving you back your room during the day.
This guide will show you how to build your own Murphy bed at home. I’ll cover:
- All materials you’ll need for the project
- Step-by-step building instructions
- Safety tips to ensure proper installation
With 15+ years of experience building custom furniture, I’ve helped hundreds of homeowners create more room in tight spaces.
This DIY project is totally doable for anyone with basic woodworking skills – and costs much less than buying pre-made units.
Let’s turn your cramped room into a flexible space you’ll love!
Materials You Will Need for Your Murphy Bed Project
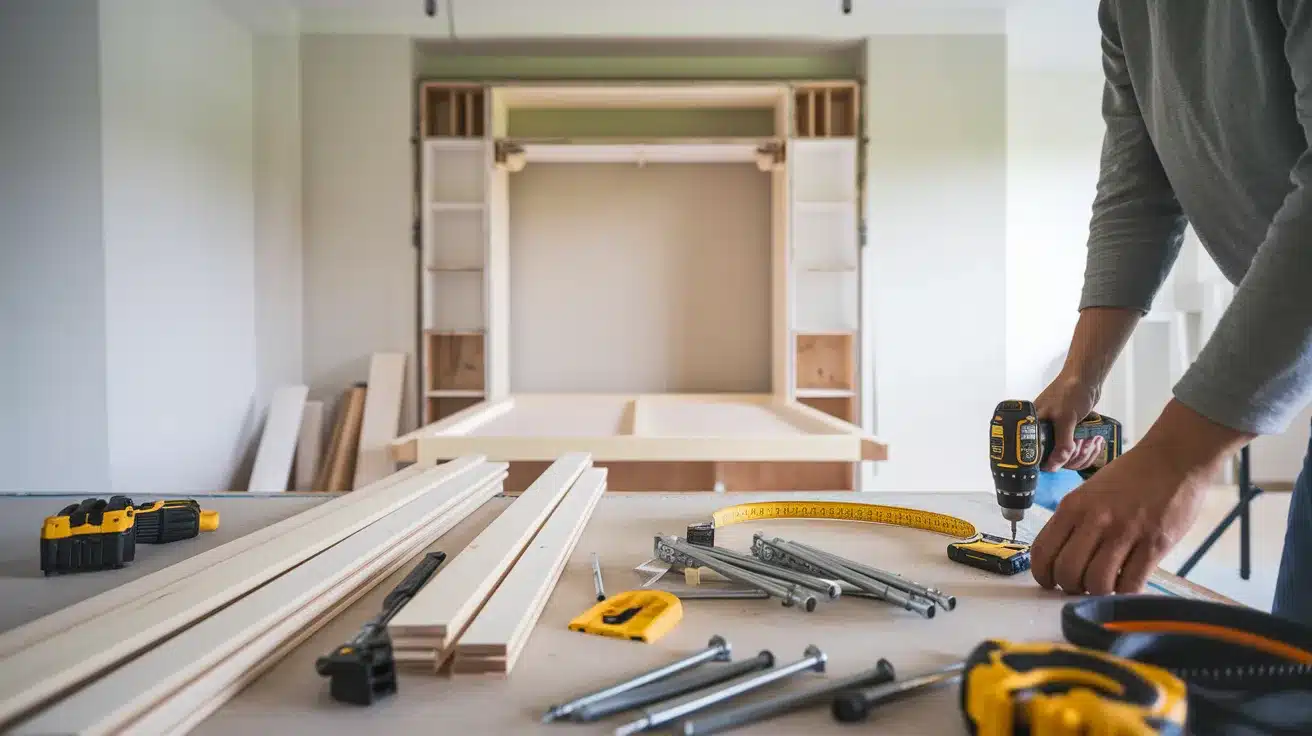
Before you start building, gather all your supplies.
This saves time and helps you avoid multiple trips to the hardware store. I always lay everything out in my workspace first.
Basic Materials
- 3/4″ plywood (4-5 sheets)
- 1×4 pine boards (about 8-10 pieces)
- Wood screws (various sizes: 1″, 1.5″, 2″)
- Murphy bed hardware kit (includes springs, pivot pins)
- Heavy-duty hinges (4-6 depending on bed size)
- Wood glue
- Mattress (check size requirements)
Tools Required
You’ll need some basic woodworking tools for this project. If you don’t own these, you might borrow from a friend or rent from a local home center.
- Circular saw or table saw
- Drill with bits
- Screwdriver set
- Measuring tape and level
- Stud finder
- Safety glasses
Optional Items
Want to make your Murphy bed look nicer? Consider adding:
- Paint or stain for finishing
- Decorative handles or pulls
- LED lighting kit
- Side cabinets for storage
The most important purchase is the specialized Murphy bed hardware kit.
This contains the springs and mechanisms that allow your bed to fold safely. Don’t try to substitute these parts with regular hardware—safety comes first!
Step-By-Step Guide to Building a Murphy Bed

Let me walk you through each phase of building your Murphy bed. I’ve broken this down into manageable steps so you can work at your own pace.
1. Measure and Plan
Start by measuring your wall space and the mattress you plan to use. Draw a simple sketch with all dimensions. I find that planning prevents most mistakes.
Your bed cabinet will need about 16 inches of depth when closed, plus the width of your mattress plus 2 inches, and the length of your mattress plus 3 inches for clearance.
2. Cut the Plywood Pieces
Using your measurements, cut the plywood for the cabinet sides, top, bottom, and face panel. Make sure all cuts are straight and precise.
I always mark my pieces clearly with a pencil before cutting. Double-check your measurements – this small step saves headaches later.
3. Build the Bed Frame
Create a simple rectangular frame that will hold your mattress. Cut your 1x4s to form the outer rectangle, with cross supports every 16 inches.
Attach all pieces using wood screws and glue for extra strength. The frame should be slightly smaller than your mattress size.
4. Assemble the Wall Cabinet
Connect the cabinet sides to the top and bottom pieces using screws and wood glue. Check that all corners are square using a carpenter’s square.
I recommend having a helper hold pieces in place while you attach them. The cabinet must be sturdy since it will bear significant weight.
5. Install the Pivot Hardware
Your Murphy bed kit contains special pivot hardware. Attach these metal pieces to both the bed frame and the cabinet according to the kit instructions.
These pivots allow the smooth folding motion and support the weight of the bed when in use.
6. Mount the Springs
The springs counterbalance the weight of the bed and mattress. Install them according to your hardware kit instructions.
The springs make opening and closing the bed much easier and safer. Without proper spring tension, your bed could be dangerous.
7. Attach the Face Panel
Connect the face panel to the bed frame. This panel becomes the “wall” when the bed is closed up.
You can add trim or molding to match your room decor. Make sure the panel is securely attached to the frame.
8. Secure to the Wall
Find the wall studs using a stud finder and mark their locations. Never attach a Murphy bed to just drywall – it must connect to studs.
With a helper, position your cabinet against the wall and secure it using heavy-duty screws through the cabinet back and into the wall studs.
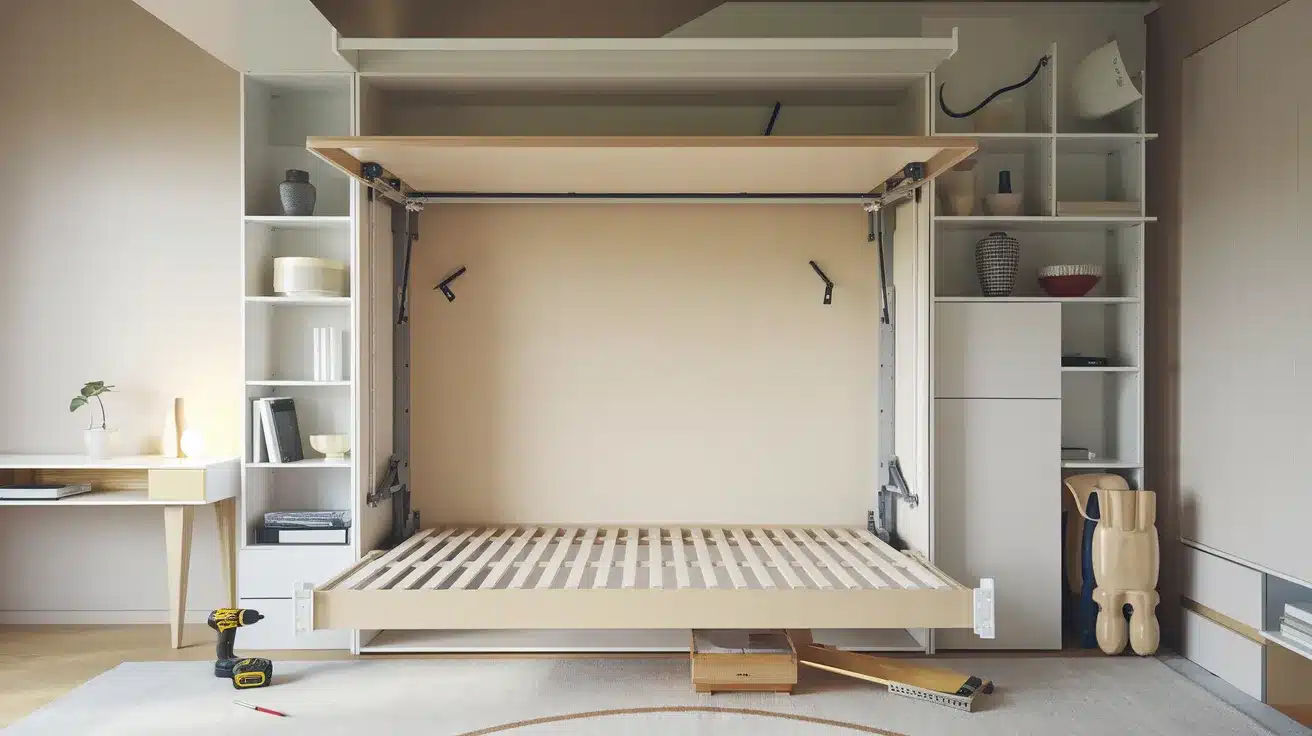
9. Test the Mechanism
Before adding your mattress, test the folding mechanism several times. The bed should move smoothly both up and down.
Adjust the spring tension if needed. This testing ensures everything works properly before you complete the project.
10. Add Finishing Touches
Install any handles, pulls, or decorative elements. Apply paint or stain if desired. Add straps to secure your mattress to the frame.
I like to add a small ledge to hold books or a glass of water when the bed is down.
Tips for a Smooth Installation Process
I’ve installed many Murphy beds over the years and learned some helpful tricks along the way. These tips will make your project go more smoothly and help you avoid common mistakes.
1. Get a Helper
Don’t try to build and install a Murphy bed by yourself. The parts are heavy and awkward to handle alone.
I always have at least one friend help me, especially when mounting the cabinet to the wall. You’ll need someone to hold things in place while you secure them with screws.
2. Check Your Wall Structure
Not all walls can support a Murphy bed. You need to find and use the wall studs. I use a good stud finder and mark all stud locations with painter’s tape before starting.
If your wall doesn’t have studs in the right places, you might need to add a wooden backing board first, attached to multiple studs.
3. Clear Your Workspace
Remove all furniture, rugs, and items from your work area. You’ll need plenty of space to lay out materials and move around freely.
I clear at least twice the floor space of the open bed dimensions. This prevents tripping hazards and protects your belongings from dust or damage.
4. Pre-drill All Holes
Pre-drilling prevents wood from splitting and makes screws go in more easily. Use a drill bit slightly smaller than your screws.
I mark hole locations with a pencil first, then drill carefully. This small step saves time and frustration later.
5. Wear Safety Gear
Always wear safety glasses when cutting wood or drilling. Gloves protect your hands from splinters.
I’ve had too many close calls to skip safety gear nowadays. Your eyes and hands are worth protecting.
Common Mistakes to Avoid when Building a Murphy Bed
I’ve seen plenty of Murphy bed projects go wrong over the years. Learn from these common mistakes so your project turns out right the first time.
1. Skipping the Planning Phase
Many people jump straight into cutting wood without proper planning. Draw everything out first and double-check all measurements.
I once had to restart a project because I rushed this step. Your plan should include both the closed and open positions of the bed.
2. Using Low-Quality Hardware
The hardware kit is not where you should try to save money. Cheap springs and hinges can fail, causing injury.
I only use kits from trusted manufacturers now after seeing a friend’s DIY bed collapse. Quality hardware costs more but lasts longer and works safely.
3. Attaching Only to Drywall
Never mount your Murphy bed to just drywall. It will pull out of the wall, possibly causing injury. Always secure the cabinet to wall studs.
I use 3-inch screws that go through the cabinet and deep into the studs for maximum strength.
4. Ignoring Weight Limits
Each hardware kit has specific weight limits. Adding a too-heavy mattress can overload the springs.
I always check the weight specs before buying my mattress. Memory foam often works well because it’s lighter than traditional spring mattresses.
5. Making the Cabinet Too Shallow
Your cabinet needs enough depth to hold the folded mattress. Many first-timers build cabinets too shallow.
I allow at least 16 inches of depth for a standard mattress. Measure your specific mattress thickness and add 2 inches to be safe.
Customizing Your Murphy Bed for Your Space
Your Murphy bed doesn’t have to look like a plain box on your wall. With a few simple additions, you can make it match your room style and add extra use to the space.
1. Choose the Right Bed Size
Think about who will use the bed and how often. I’ve built twin-sized Murphy beds for guest rooms and queen-sized ones for main bedrooms.
Smaller beds take up less wall space when closed, but might not be comfortable for two people. Consider your room size and typical users before deciding.
2. Add Side Cabinets
Built-in cabinets on either side of your Murphy bed create a complete wall unit. You can store extra blankets, pillows, or clothes in these cabinets.
I built shallow bookcases on both sides of my guest room Murphy bed. This gives my visitors a place for their books, phones, and water glasses.
3. Install Lighting
Adding small reading lights to your Murphy bed makes it more useful. You can wire these into the wall or use battery-powered options.
I put LED strip lights under the top cabinet in my last build. They turn on automatically when the bed is pulled down, creating soft lighting for reading at night.
4. Create a Desk Option
A Murphy bed can do double duty with a desk attachment. The desk stays level when the bed is raised or lowered.
I added a fold-down desk to my office Murphy bed. When guests leave, I still have my workspace without moving furniture around.
5. Use Decorative Panels
The large front panel of your closed Murphy bed is perfect for decorative touches. You could add wainscoting, paint a mural, or attach wallpaper.
I used beadboard on my beach house Murphy bed to match the coastal style of the room. The front panel is your chance to make the bed look like furniture, not just a box.
Maintaining Your Murphy Bed for Longevity
Your Murphy bed will last for many years with proper care. Regular maintenance prevents problems and keeps everything working smoothly.
Here are my top tips for keeping your Murphy bed in great shape.
1. Check Hardware Monthly
Inspect all screws, bolts, and brackets once a month. The movement of raising and lowering the bed can loosen hardware over time.
I keep a screwdriver nearby and tighten any loose screws I find during my monthly check. This five-minute task prevents bigger problems later.
Pay special attention to the pivot points and wall mounting hardware, as these bear the most stress.
2. Clean and Lubricate Moving Parts
The moving parts of your Murphy bed need occasional cleaning and lubrication. Dust and dirt can build up in the springs and pivot mechanisms.
I use a vacuum with a brush attachment to clean these areas every few months. After cleaning, apply a small amount of silicone lubricant to the pivot points.
This helps your bed open and close smoothly and prevents squeaking.
3. Inspect the Wall Mounting
Over time, the wall mounting can become stressed from repeated use. Look for signs of the cabinet pulling away from the wall or any cracks in the surrounding drywall.
I check my wall mounts twice a year by gently pushing on the sides of the cabinet.
If you notice any movement, immediately reinforce the mounting with additional screws into wall studs.
4. Check Spring Tension
The springs that help lift and lower your bed can lose tension over time. If your bed becomes harder to lift or doesn’t stay up properly, the springs may need adjustment.
I test my bed’s balance every six months. When properly adjusted, the bed should stay in any position when partially raised, neither falling down nor snapping closed.
Refer to your hardware kit instructions for specific adjustment methods.
5. Protect the Mattress
A mattress protector helps keep your Murphy bed mattress clean and extends its life. Since the mattress is stored vertically, dust can settle on it differently than on a regular bed.
I use a washable cover and clean it seasonally. This also protects the mattress from moisture when stored against the wall, which can prevent mold or mildew from forming.
How often do you plan to use your Murphy bed? Daily use requires more frequent checks than occasional guest use.
Conclusion
Building your own Murphy bed is a practical way to make more room in your home.
I’ve covered the materials you’ll need, step-by-step building instructions, installation tips, common mistakes to avoid, customization ideas, and maintenance advice.
Remember that careful planning and proper wall mounting are key to a safe, long-lasting Murphy bed.
Take your time with each step, and don’t rush the process.
I hope this guide gives you the confidence to tackle this project.
Many of my readers have successfully built their own Murphy beds and gained valuable floor space in their homes.
Have you built a Murphy bed before?
Or do you have questions about starting your project? Share your experience or concerns in the comments below—I’m happy to help!
Frequently Asked Questions
How Much Clearance Space Do I Need in Front of a Murphy Bed?
You’ll need floor space equal to the length of your bed plus about 2 feet for comfortable access.
For a queen-size bed, plan for at least 8 feet of clear floor space.
Can I Install a Murphy Bed on a Carpeted Floor?
Yes, Murphy beds work fine with carpet.
Just ensure the cabinet is securely attached to wall studs, not just the carpet or padding underneath.
Is It Possible to Add a Murphy Bed to a Rental Property?
You can build a freestanding Murphy bed that doesn’t permanently attach to walls.
These units use a wider base for stability and are perfect for rentals where wall modifications aren’t allowed.