
Welcome to the world of burlap flower crafting, where creativity meets beauty in the easiest way possible. If you’re looking for a fun, budget-friendly way to decorate your home with something cozy and stylish, you’ve landed in the right spot.
Burlap flowers add warmth with their natural texture, and they look beautiful in almost any space, from a farmhouse kitchen to a modern living room.
You can use these flowers in wreaths, centerpieces, wall art, or even as unique gift toppers. They last much longer than fresh flowers and give your home that handmade touch. The best part is, you don’t need fancy tools or tons of experience. Just a few basic supplies and a little time are all it takes.
In this guide, I’ll show you exactly how to make them step by step. If you’re brand new to crafting or have done plenty of projects before, you’ll find this easy and rewarding. Let’s get started.
Tools and Materials You’ll Need for Burlap Flowers
Before you start making your burlap flowers, it’s smart to gather everything you’ll need in one place. You’ll want burlap fabric—either in its natural color or something fun and colorful if you prefer.
Grab a good pair of fabric scissors, a hot glue gun with plenty of glue sticks, and a pencil for tracing your petal shapes. A simple piece of cardboard works great for making petal templates, and a ruler helps keep things even. For flower centers, buttons, felt pieces, or small beads all work well.
If you want to add a decorative touch, you can also grab lace, ribbon, or twine. Floral wire is helpful for making stemmed flowers, and felt circles make great backings. Most of these things are items you might already have around the house, which makes this craft super budget-friendly and easy to start without any stress.
How to Make a Burlap Flower?
Creating burlap flowers is simpler than you might think. The process involves cutting, shaping, and layering burlap to create dimensional flowers with unique texture. Let’s break it down into manageable steps.
1. Choose Your Burlap
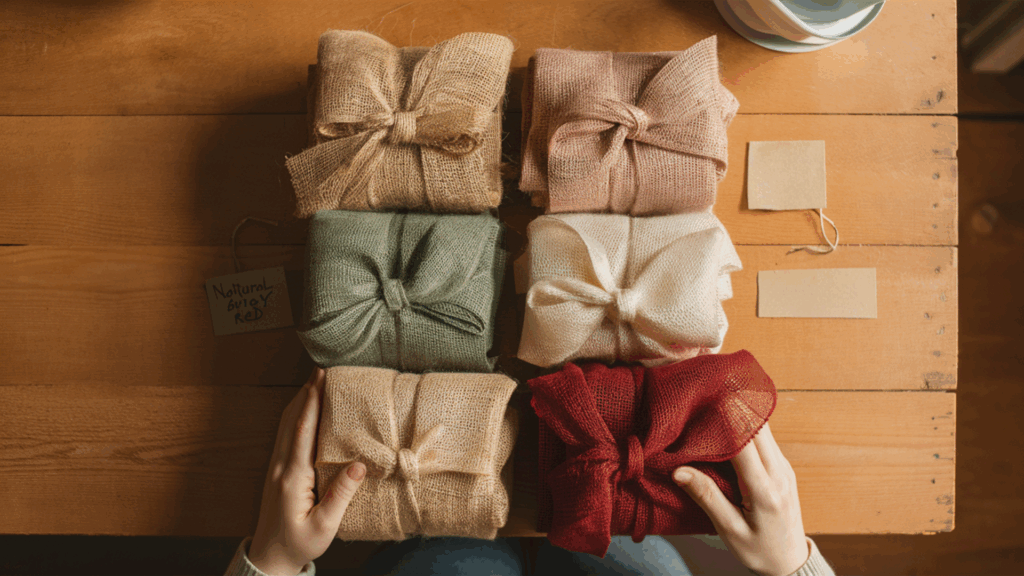
Start by picking the right kind of burlap for your flower project. Plain burlap is best if you like a natural, rustic look. But if you want something to match your room or a holiday theme, choose colored burlap instead. Medium-weight burlap works best for beginners because it’s not too thin or stiff, which makes it easier to shape.
Think about whether you want the flower edges to look a little frayed or clean and neat. You can even mix colors in one flower for a more interesting look that adds layers and contrast.
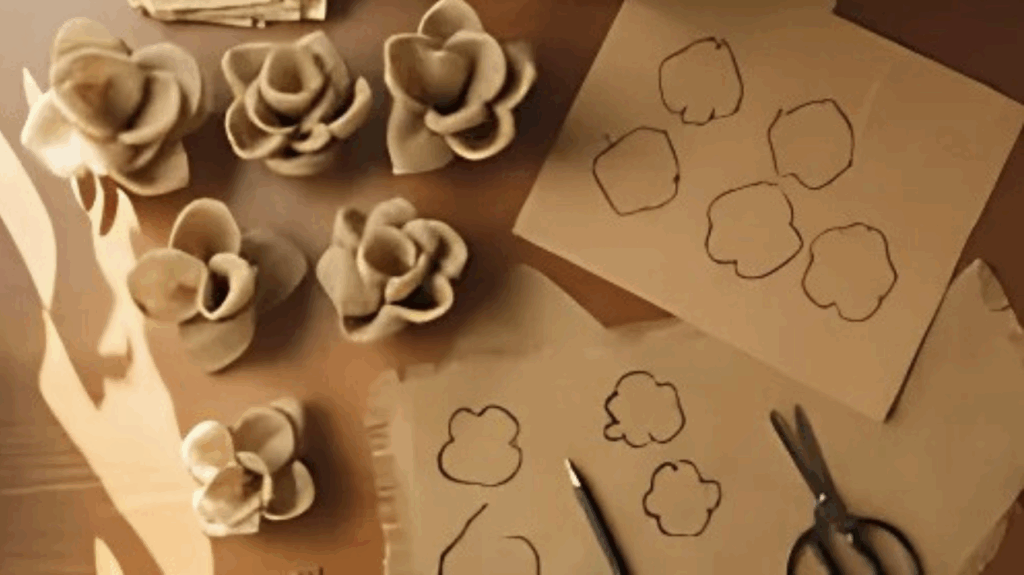
2. Cut Your Petal Shapes
Begin by making simple petal shapes using cardboard or thick paper for your templates. Draw three to four sizes, from about two to three inches wide, and make them rounded like flower petals. Trace the shapes onto your burlap using a pencil or pen, then cut them out carefully using sharp scissors.
If your scissors are dull, the burlap may fray too much or become messy. For a medium-sized flower, you’ll usually need 15 to 20 petals grouped by size. Take your time with this step to ensure that all your pieces look nice and even.
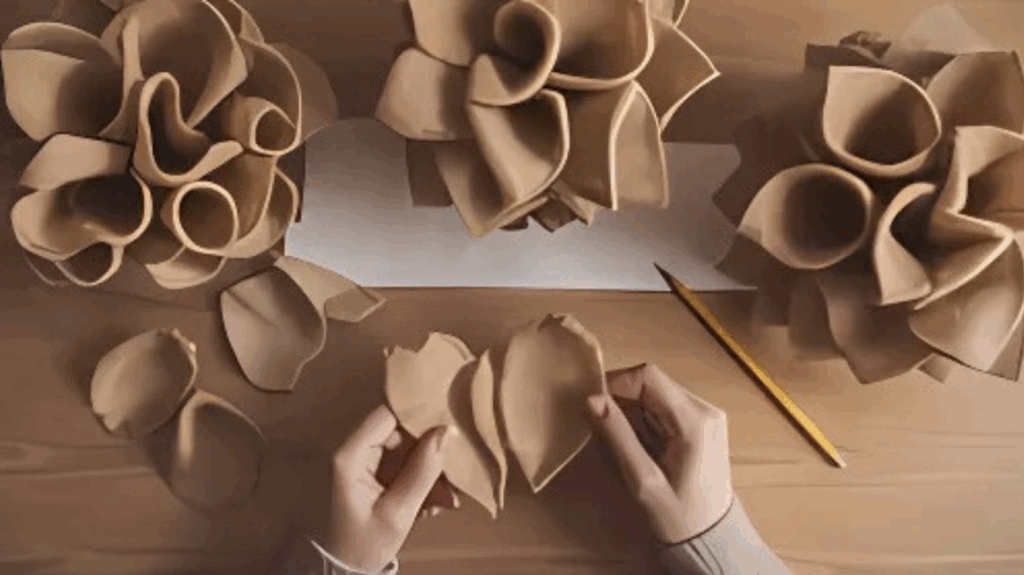
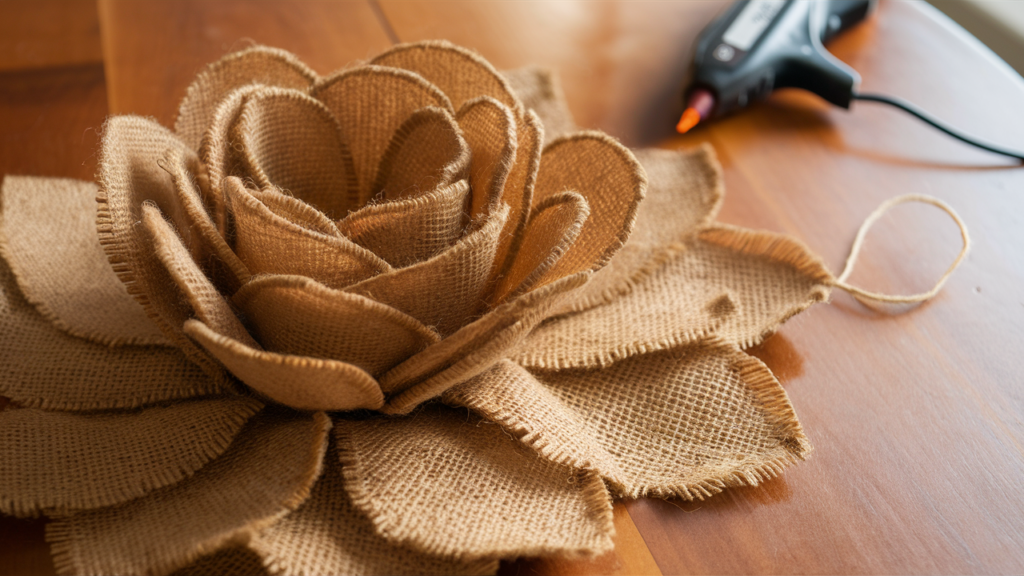
3. Create the Petals
Now it’s time to make your cut-out petals look more realistic. Take one petal and pinch the bottom center with your fingers, which helps the fabric curve a little like a real petal. This gives your flower more shape and texture. You can also use a pencil or a round object to curl the top edges slightly.
If you want a frayed, rustic style, gently pull a few threads loose from the sides. Please do this for every petal and keep them sorted by size. The shaping step may seem small, but it really makes a big difference later.
4. Build the Flower Base
To start building your flower, lay out your biggest petals in a circle. Space them so each one overlaps the next a little. You’ll probably use five or six petals for the first layer.
Once you like how they look, glue them down one by one using your hot glue gun. Press each one at the bottom where they meet so the glue sticks well.
If you’re going to attach the flower to something like a wreath, glue the petals onto a felt circle first. That gives you a sturdy base and makes the flower easier to move or use.
5. Add Additional Petal Layers
Now, take the next smallest group of petals and make a second layer inside the first one. Place each new petal so it falls between two of the base petals—this helps the flower look fuller and more natural.
Glue them down the same way, pressing at the base. Continue with smaller petals as you move inward. Each new layer should be a little higher than the last, so the flower builds up toward the center.
Don’t worry if it’s not perfect—flowers in nature aren’t either, and a little variation adds beauty and depth.
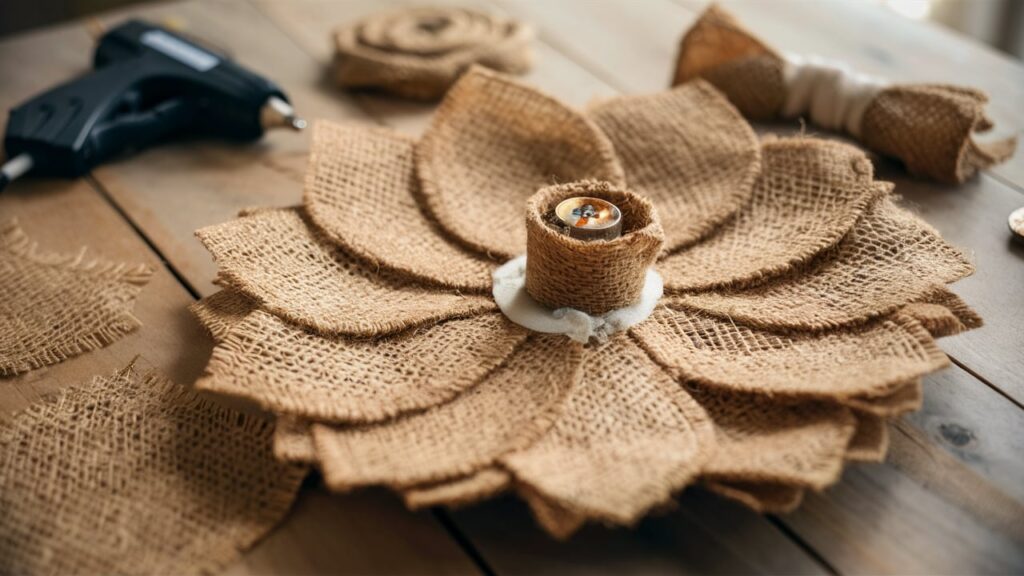
6. Create and Attach Center
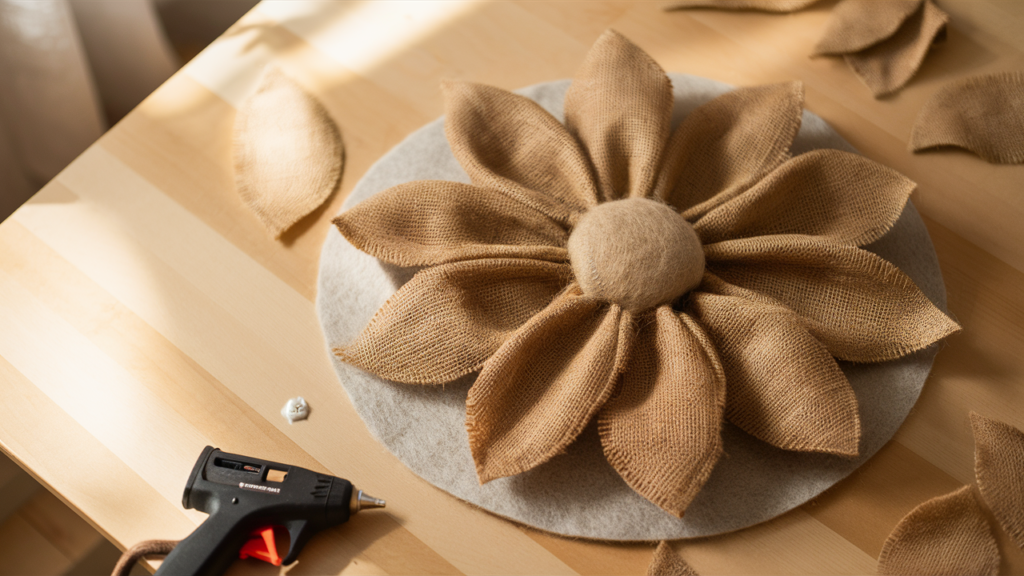
The center of your burlap flower pulls everything together. To make a little flower rosette, you can use a button, a small bunch of beads, or a strip of burlap rolled up.
Another easy option is to take a small burlap circle, scrunch the edges with your fingers, and glue it to create a puff. Once your flower center is ready, add glue to the bottom and press it gently into the middle of your flower.
Make sure it sticks firmly so it doesn’t fall off. This little piece adds personality and completes your flower’s look.
7. Finishing Touches
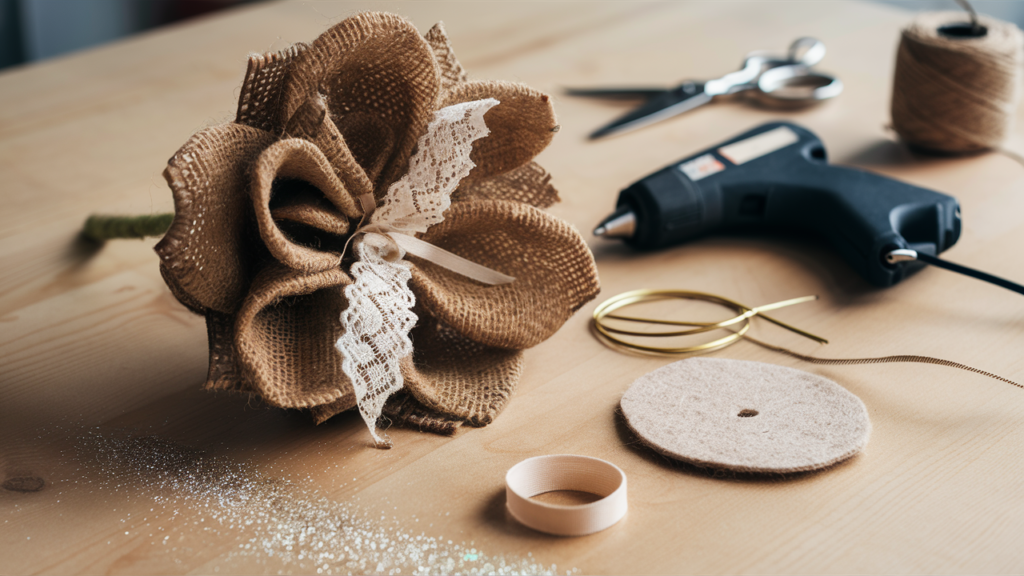
Now that your flower is done, it’s time to make it shine. To add color or softness, you can weave lace or ribbon between the petals.
If you want sparkle, add a bit of glitter around the edges or in the center. To use your flower in an arrangement, hot glue a floral stem or wire to the back. For hanging decorations or wreaths, glue on a felt circle and attach a hook or ribbon.
Finally, check for any loose threads and seal them with a dot of glue to keep everything neat and long-lasting.
Creative Ways to Use Your Burlap Flowers
Once you’ve learned how to make burlap flowers, the ways to use them are almost endless. You can attach a few to a grapevine or foam wreath and hang it on your front door for a cozy, welcoming look.
Or try placing several in a rustic jar or wooden box to create a pretty centerpiece for your table. Small flowers can also be used as gift toppers to make presents feel more personal and special. For your walls, group a bunch in a shadow box or glue them to canvas for fun, 3D art.
They also look great in wedding bouquets or as part of seasonal decorations. You can even use them in napkin rings or as hair clips. Just get creative!
Conclusion
These handmade decorations add rustic beauty and a cozy, natural feel to any space in your home. They’re also incredibly affordable, and you can start by using scrap fabric or supplies you already have on hand.
What makes burlap flowers so special is their unique texture and style. Unlike store-bought decorations, these flowers feel warm, personal, and full of character. Try experimenting with dyed burlap in colors like soft pink, navy blue, or deep red to match your space or create seasonal looks.
No two flowers will ever look exactly the same, making each one a little work of art. They also hold up really well over time, which means you can reuse them again and again. That makes them a smart and eco-friendly choice, too.
Have you made burlap flowers before? I’d love to hear about your experience! Please drop your tips, photos, or questions in the comments below. Let’s keep the creativity blooming—happy crafting!
Frequently Asked Questions
How Long Does It Take to Make One Burlap Flower?
Beginners usually take 20–30 minutes to make their first flower. With practice, it can take just 10–15 minutes. Time depends on the design’s detail, number of layers, and how familiar you are with the crafting steps.
Will Burlap Flowers Fall Apart Over Time?
If made with strong glue and care, burlap flowers can last for years. Use hot glue generously and let it fully dry. Adding fabric stiffener or sealer helps prevent fraying and keeps the shape firm, especially when stored in dry places.
Can I Wash Burlap Flowers if They Get Dusty?
Avoid using water to clean burlap flowers. Instead, gently dust with a soft brush or blow away debris with cool air from a hair dryer or can of air. Light spot cleaning is okay, but too much moisture can damage the flower.
What’s the Best Glue to Use for Burlap Flowers?
Hot glue is best because it bonds quickly and strongly. Use a high-temperature glue gun for a better hold. Fabric glue or E6000 is are good alternative, but they dry more slowly. Always test your glue first to make sure it works with your burlap.