
Dining chairs are an essential part of your home’s decor, but over time, they can start to look worn out, especially in areas that see a lot of activity, like around the dinner table.
Reupholstering the seat cushions is an easy, budget-friendly way to give your chairs a fresh new look and feel, while also making them more comfortable.
You don’t need to be a professional upholsterer to update your chairs; this step-by-step guide will show you how to easily reupholster a dining chair cushion.
This guide will take you through the entire reupholstering process.
From removing the old cushion to adding a new fabric, you’ll learn all the details to give your chairs a stylish, updated appearance.
This guide will follow “How to Reupholster Dining Chairs – DIY Tutorial” by OnlineFabricStore on YouTube.
Why Reupholster Dining Chair Cushions?
Over time, dining chairs can become worn or stained, and replacing them can be costly.
Instead, reupholstering allows you to keep your chairs while customizing the look with fabric that suits your style.
Plus, if you’re not quite ready to invest in new furniture, reupholstering is a quick and effective solution that adds comfort and beauty to your chairs.
The best part?
Reupholstering is simple and requires only a few tools and materials.
With this guide, you’ll be able to restore your dining chairs and create a fresh, inviting atmosphere in your dining room.
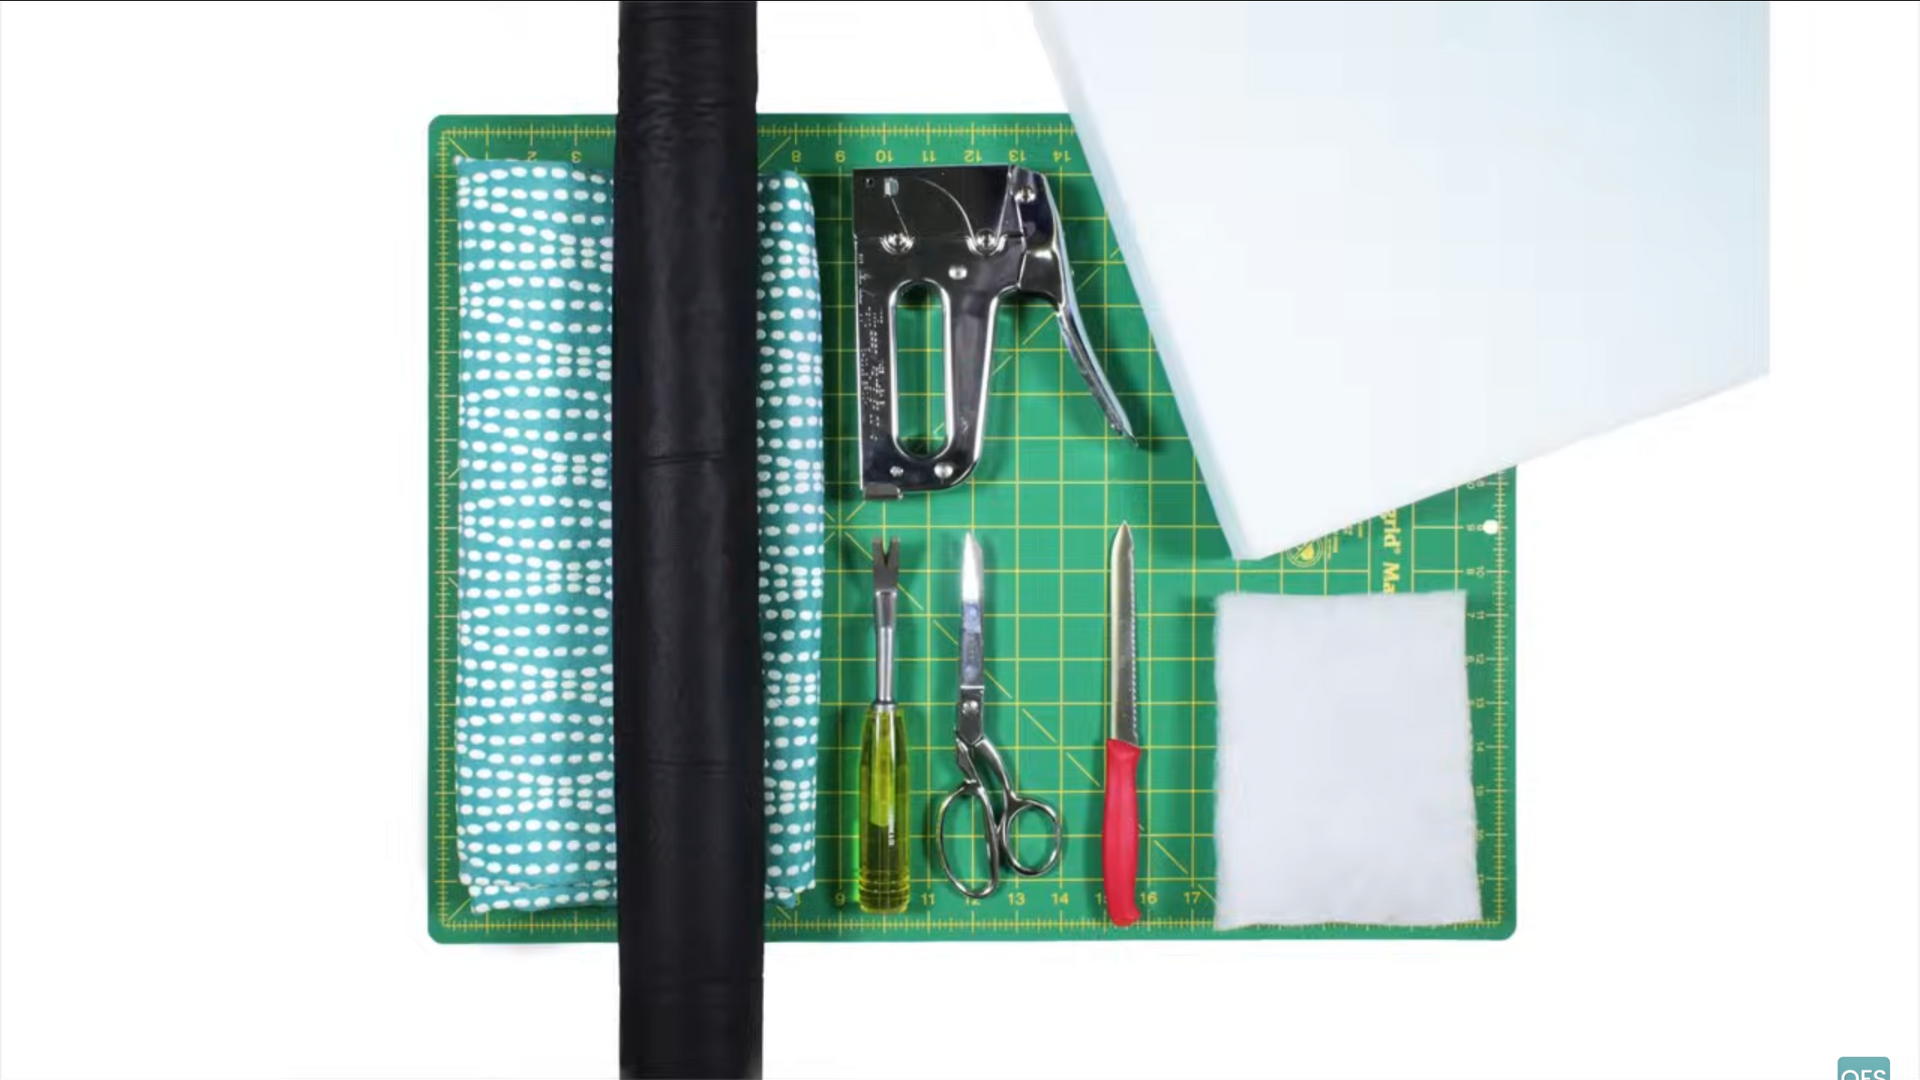
Materials You Will Need
Before starting your project, gather the following materials.
- Upholstery fabric: You can choose from a variety of fabrics, such as cotton, linen, or polyester. Waverly Strands Teal is used in the video for a fresh, bold look.
- Cambric dust cover fabric: This fabric is optional, but it helps to finish the bottom of the cushion for a cleaner look.
- Staple gun: Used to attach the fabric to the cushion.
- C.S. Osborne combination tool: Ideal for removing staples and tacks from the old upholstery.
- Scissors or rotary cutter: For cutting the fabric.
- Serrated or electric knife: If you’re replacing the foam cushion, you’ll need this tool to cut the new foam to size.
- Dacron upholstery deck padding: Adds an extra layer of comfort under the upholstery foam.
- 2-inch upholstery foam: This will replace the old cushion.
Once you have everything ready, you’re ready to begin the reupholstering process!
Step-By-Step Process to Reupholster a Dining Chair
Giving your dining room chairs a fresh new look is easier than you think.
With a few basic tools and some fabric, you can transform worn-out seats into stylish, like-new pieces.
Step 1: Remove the Old Cushion
Start by removing the cushion from the chair.
Most dining chairs have cushions that are screwed into the seat frame.
Turn the chair upside down and carefully unscrew the cushion.
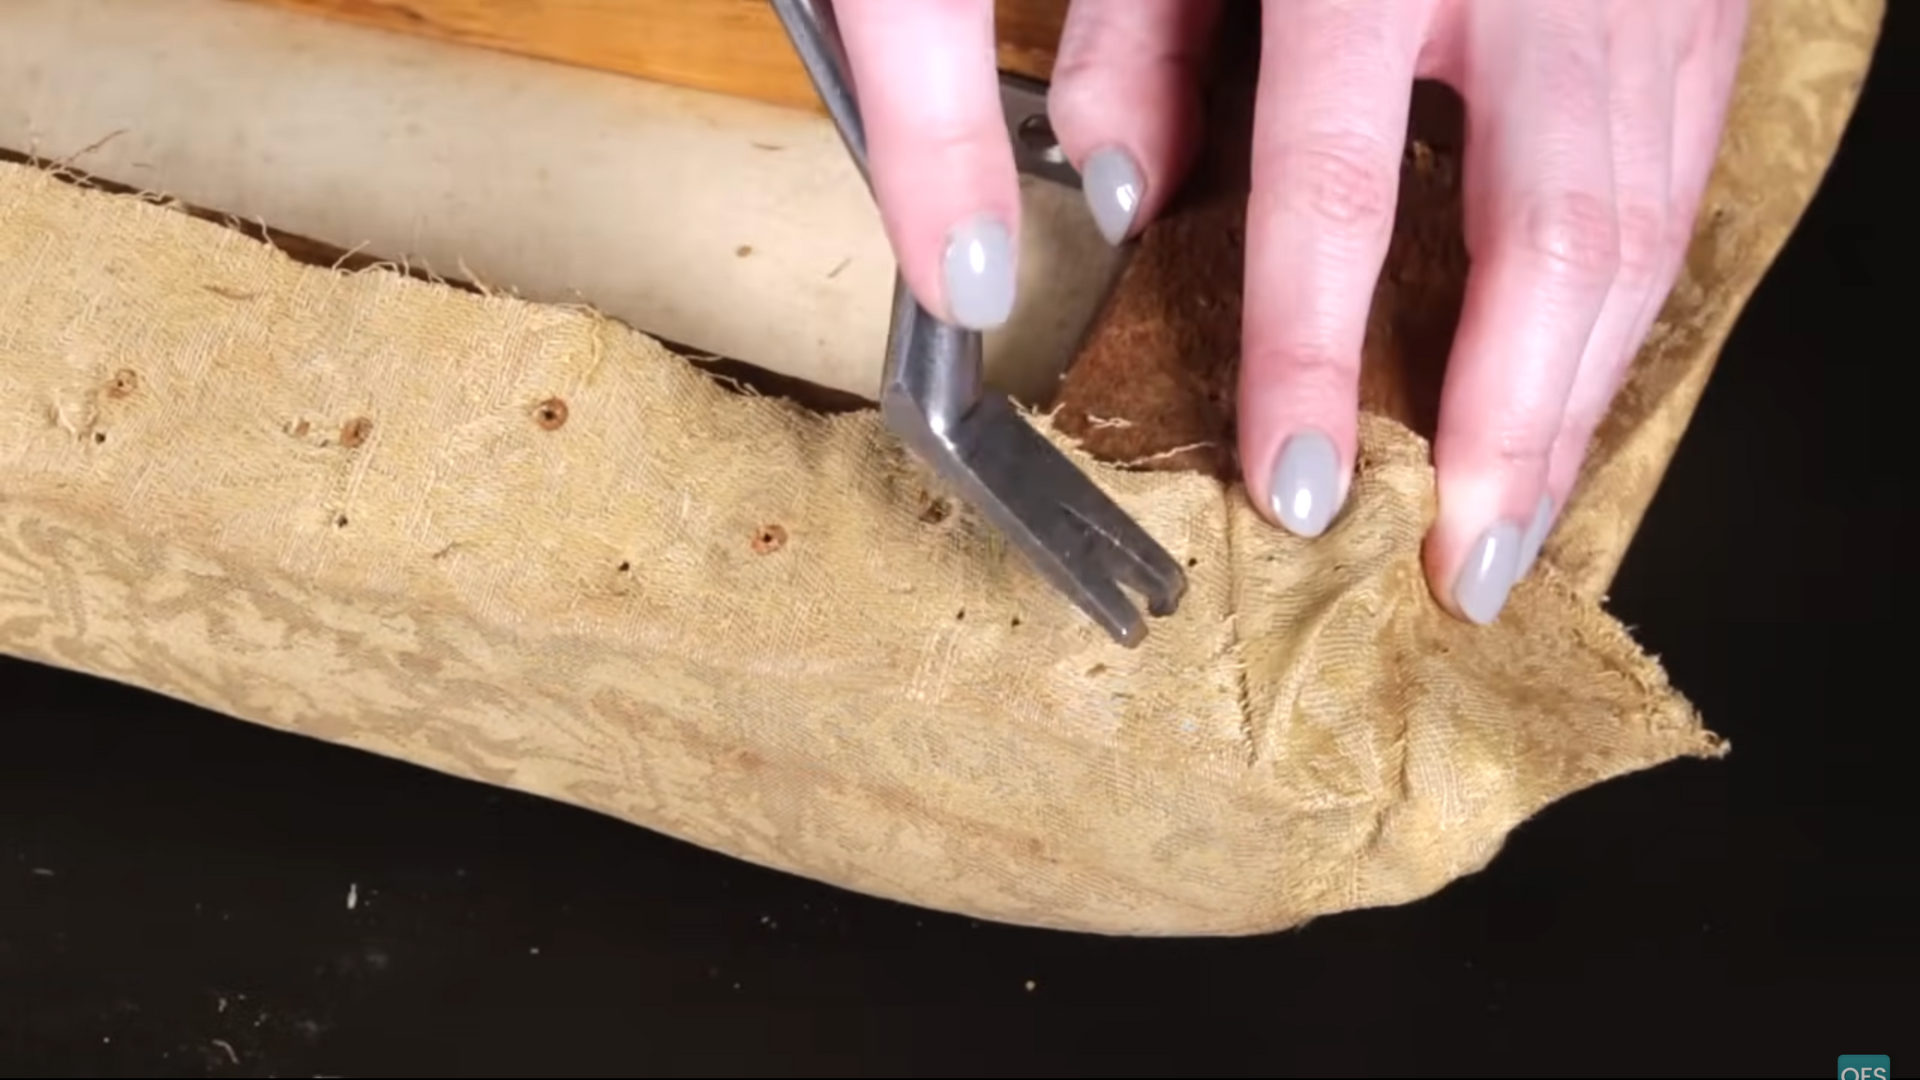
- If your chair cushion is attached with staples or tacks, use your C.S. Osborne combination tool to remove them carefully. This tool helps you lift staples and tacks without damaging the wood frame of the chair.
- Detach the dust cover from the bottom of the cushion, if there is one. This step ensures you have full access to the cushion and its fabric.
- If you’re working with an older chair, you may encounter worn-out materials such as straw or batting. In this case, you’ll need to replace the cushion with fresh foam.
Step 2: Strip the Seat Down to the Wooden Frame
After removing the cushion, strip it down to the wooden frame. For some chairs, this may involve removing webbing or padding on the frame.
- For this chair, I’m attaching a piece of cambric fabric underneath the foam to prevent it from sagging over time.
- Take the wooden seat frame and place it onto the new upholstery foam. Trace the outline of the frame on the foam to determine the required shape and size.
- Use a serrated or electric knife to cut the foam along the traced lines carefully. It’s essential to make the foam snugly fit the frame so it doesn’t move once attached.
- Place the foam face down on top of the Dacron upholstery deck padding. Cut the padding to wrap around the foam, leaving an extra 2 inches on all sides.
- With your staple gun, start stapling the padding to the underside of the foam. Start in the middle of each side and work your way out to the corners, ensuring the padding is pulled taut as you go.
- For the corners, pull the fabric toward the center of the frame and staple it in place. Trim off any excess padding after securing all four sides.
Step 3: Lay Out Your Upholstery Fabric
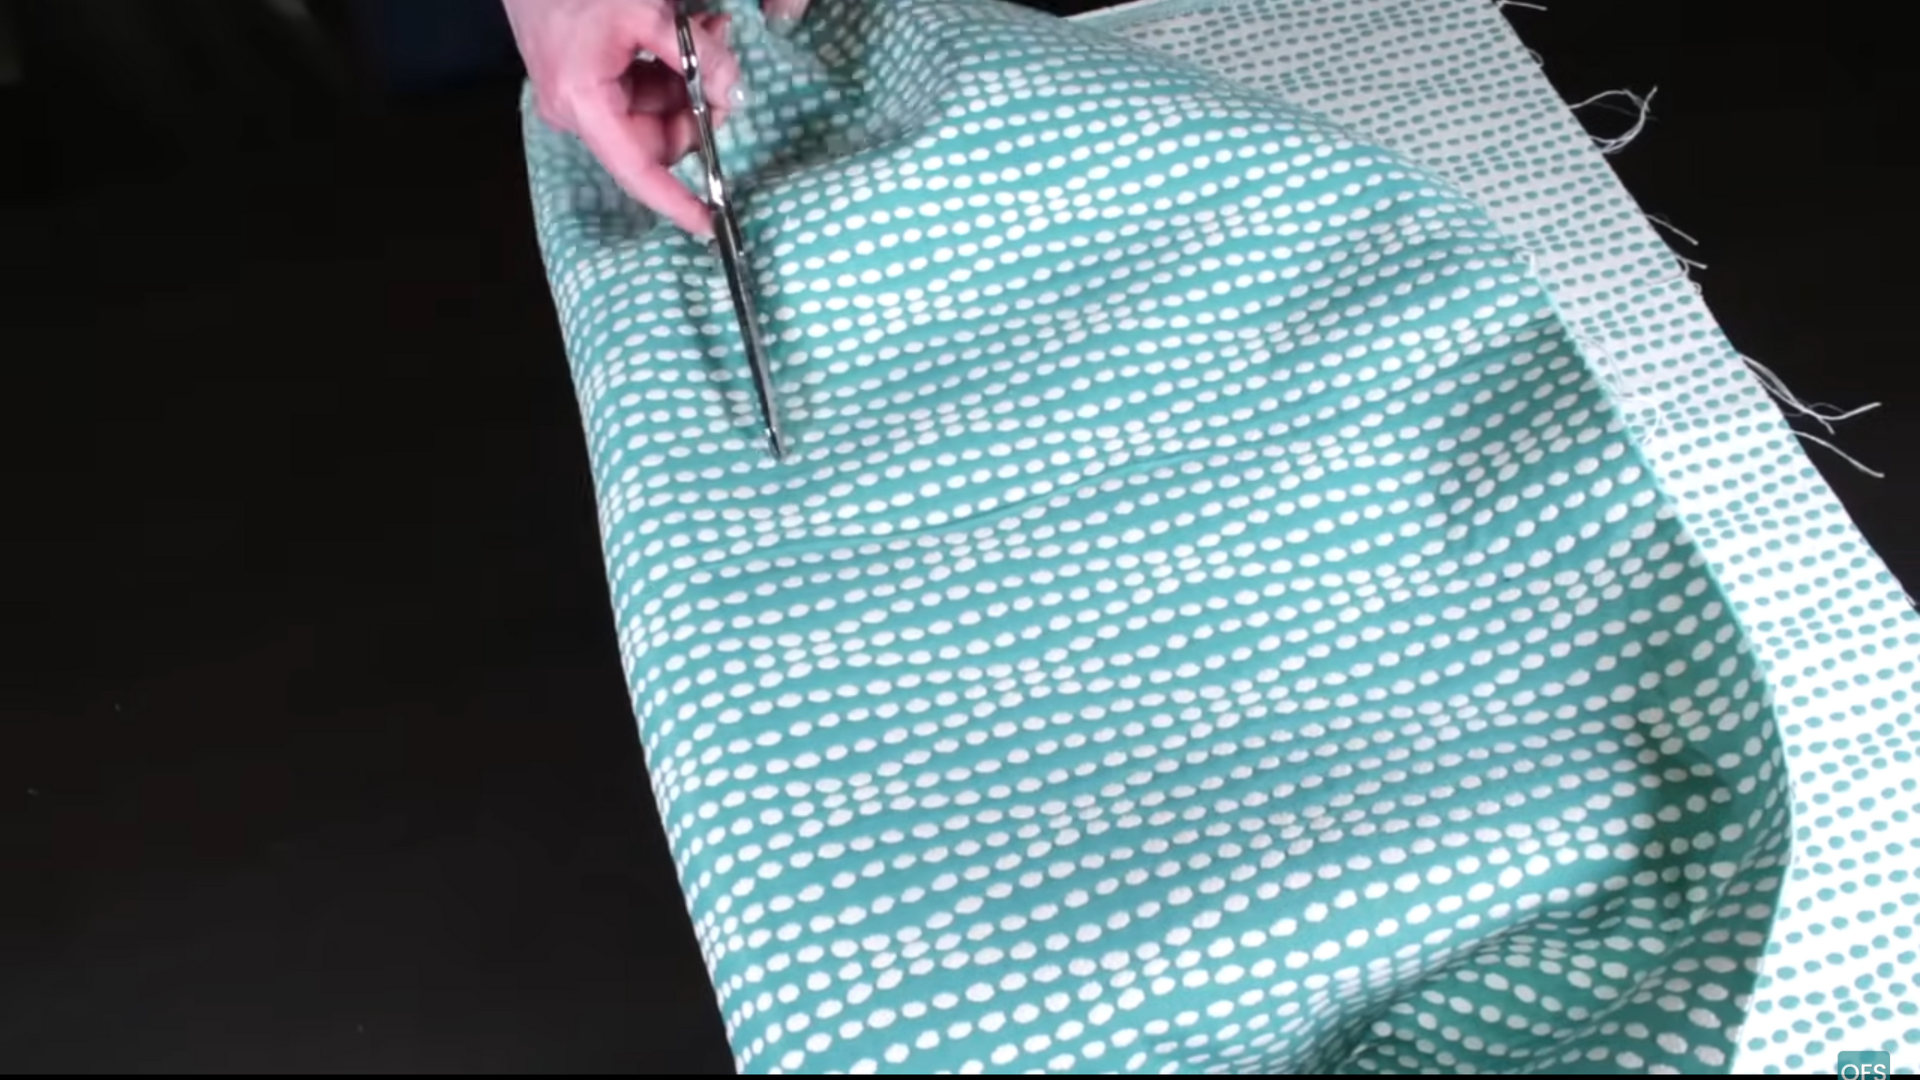
Once the foam and padding are in place, it’s time to add the upholstery fabric. Begin by laying the fabric face down on a clean, flat surface.
- Make sure the pattern is aligned and running straight. This ensures that the fabric won’t appear crooked on the finished cushion.
- Place the cushion face down onto the fabric, making sure there’s at least 3-4 extra inches of fabric on all sides for wrapping around the cushion.
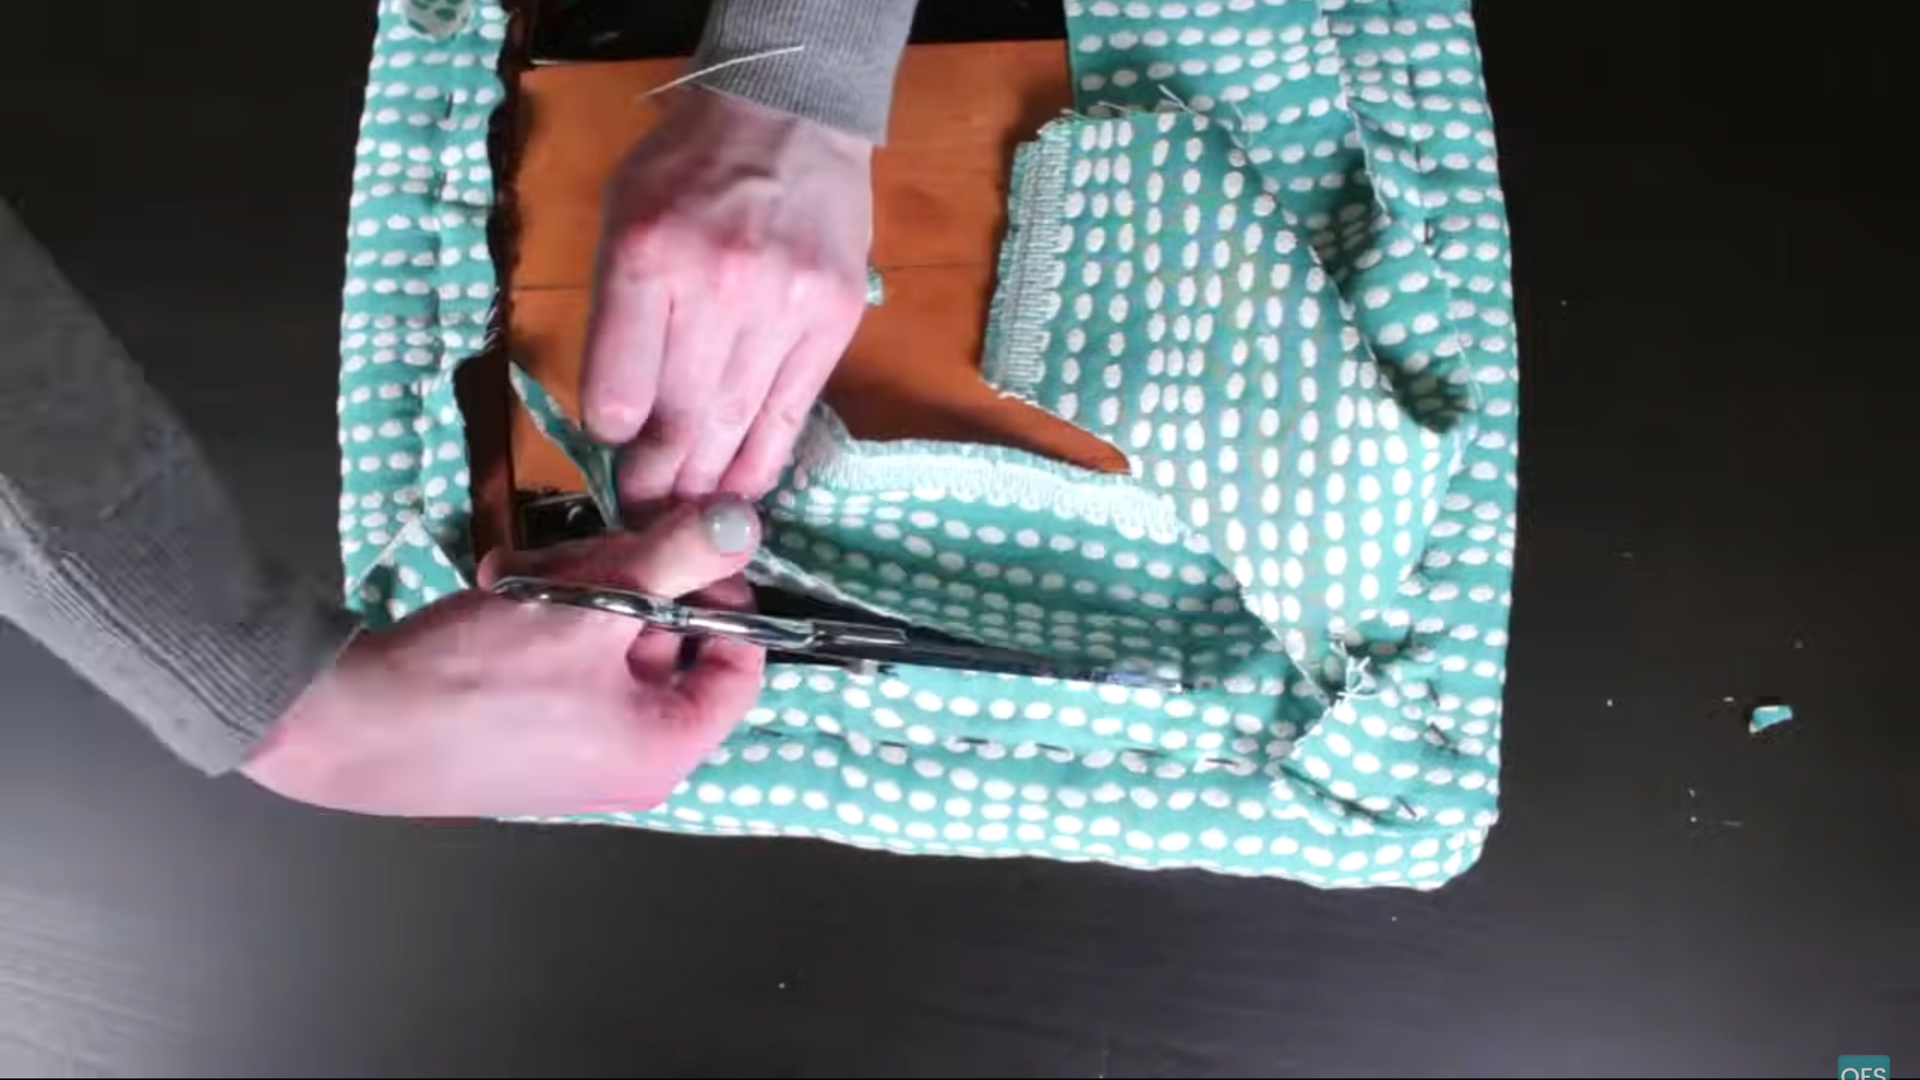
Step 4: Staple the Fabric to the Cushion
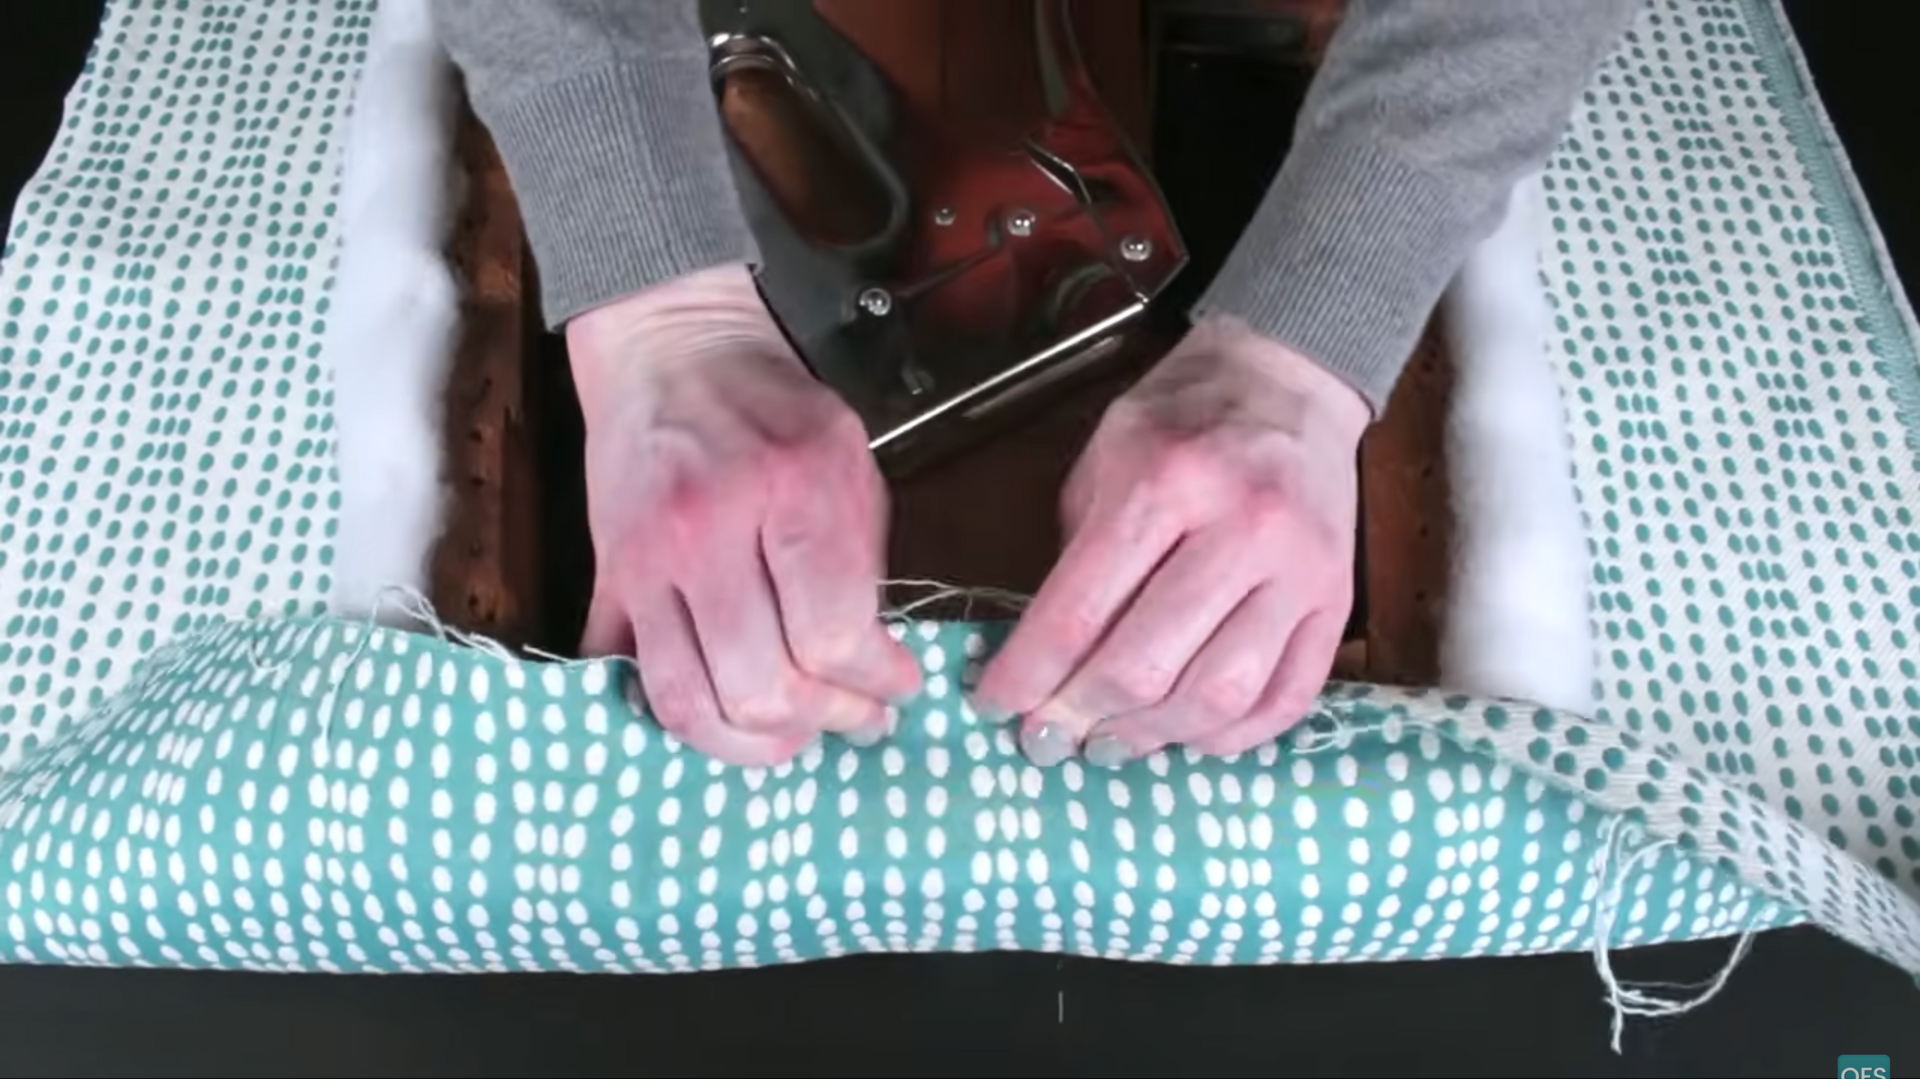
Now, it’s time to attach the fabric to the foam cushion.
- Start by placing a staple in the middle of each side of the fabric, making sure it’s tight but not over-stretched.
- As you work your way from the center to the edges, run your hand over the fabric to smooth it out and tighten it as much as possible.
- When you get to the corners, pull the fabric tightly toward the center and staple it down. You’ll want the corners to be neat and crisp, so fold them into pleats for a polished look.
- If necessary, adjust the staples to ensure the fabric stays smooth and taut.
Step 5: Add the Cambric Dust Cover
This step is optional, but I recommend it for a cleaner, more professional finish.
- Cut the cambric dust cover fabric to the same size as the frame. This fabric helps to hide the staples and gives the bottom of the cushion a neat, finished appearance.
- Fold under the edges of the fabric and staple it around the edges of the cushion. Be sure to secure the cambric tightly so that it won’t shift over time.
Step 6: Reattach the Cushion to the Chair
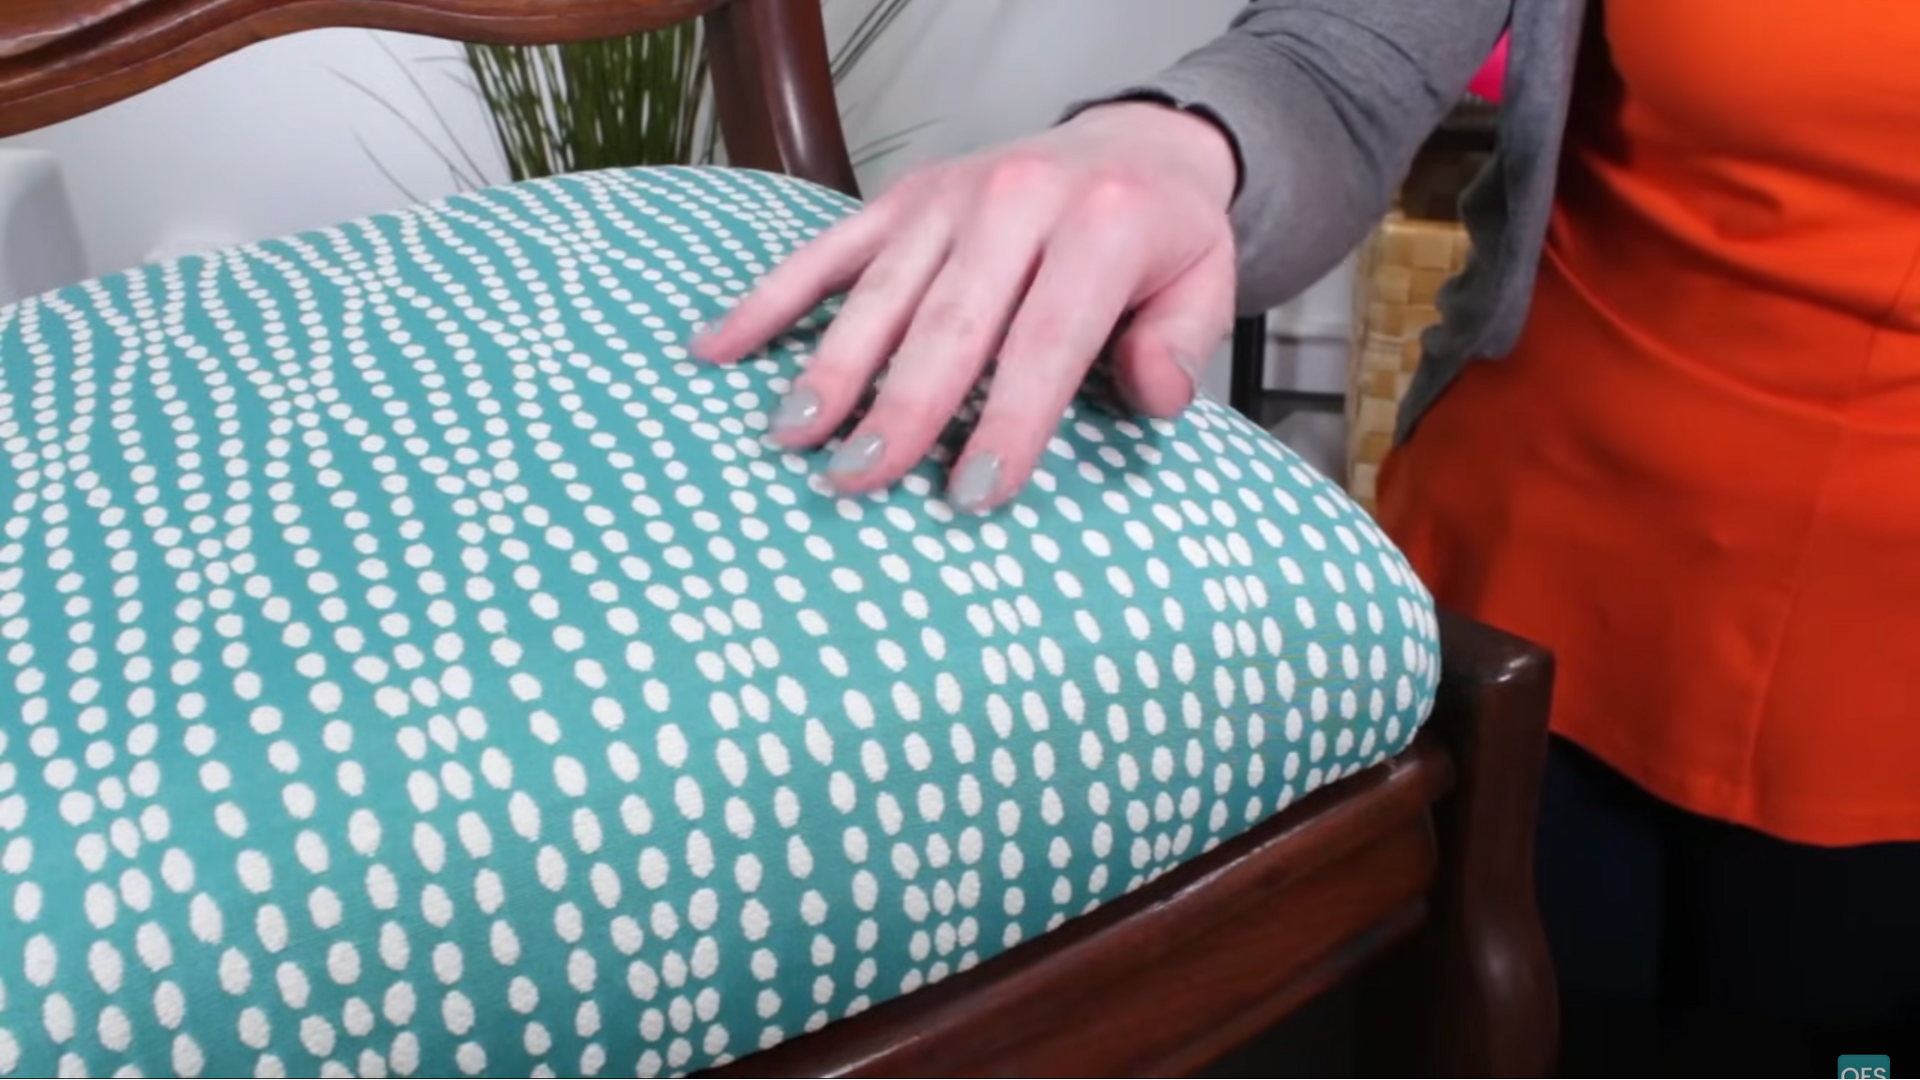
Once the cushion is completely reupholstered, it’s time to reattach it to the chair.
Depending on your chair, this may involve securing the cushion with screws or nails.
- Screw the cushion back into place using the same screws you removed earlier.
- If you’re working with a more modern chair, the cushion may rest on the seat frame and can be held in place by the fabric’s tension.
For a more detailed understanding, watch this YouTube tutorial by @onlinefabricstore:
Final Tips for Choosing Fabric
Choosing the right fabric is a fun and creative part of reupholstering your dining chairs. Some key points to keep in mind before you make your selection are:
- You don’t need to use heavy upholstery fabric; lighter options can work too.
- Medium-weight drapery fabric is often suitable, especially for chairs that aren’t used daily.
- Pick a fabric that matches or enhances your dining room décor.
- Use color or pattern to add visual interest and personality to the space.
- One great benefit of reupholstering is the ability to refresh the look easily.
- Feel free to change the fabric seasonally or as your style changes to keep things feeling new.
Conclusion
Reupholstering your dining chair cushions is a simple and cost-effective way to breathe new life into your furniture.
By following the steps outlined above, you can transform old, worn-out chairs into stylish, comfortable seats for your dining room.
If you’re giving your chairs a seasonal update or changing up the look for an event, reupholstering is an easy DIY project that adds value and personality to your home.
Reupholstery doesn’t have to be a daunting task.
With the right tools, fabric, and a little patience, anyone can give their dining chairs a makeover. Happy reupholstering!