
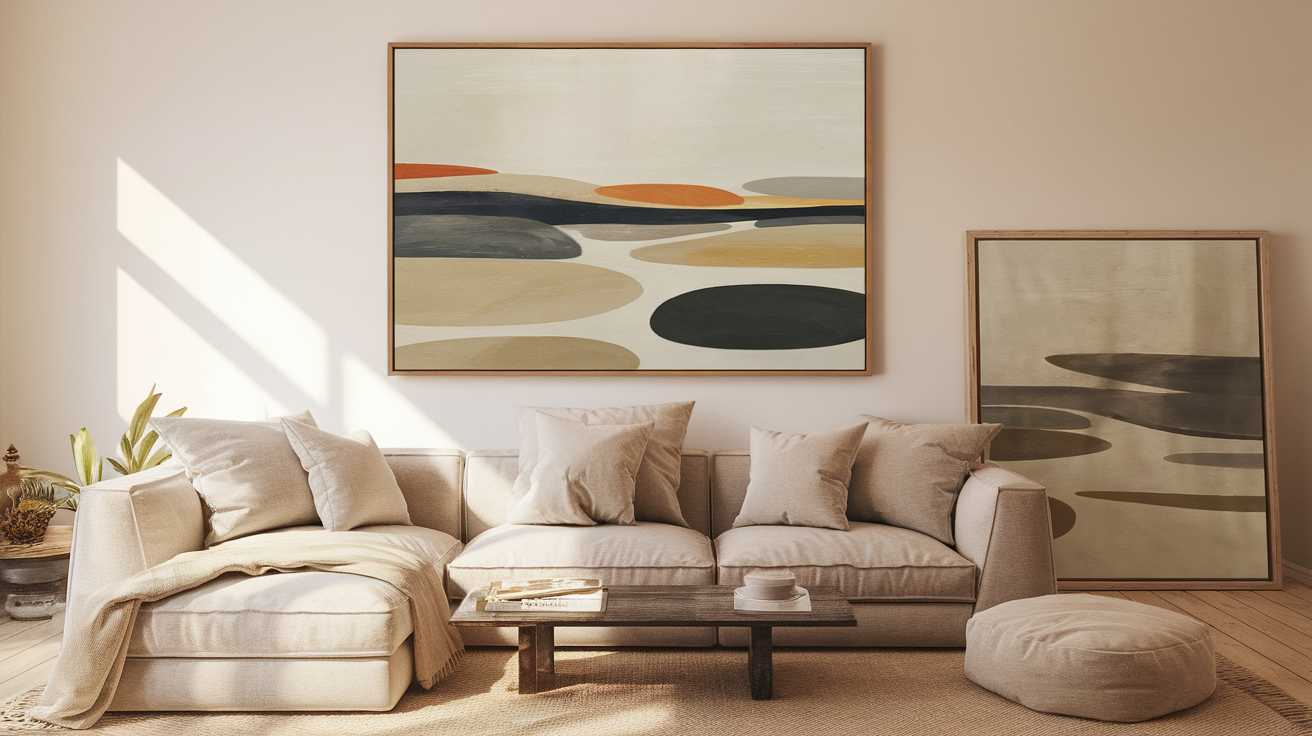
I recently painted some canvases to hang in my living room, but they looked dull on the wall and lacked vibrancy and sophistication. That’s when I thought of framing them to maximize their impact.
Framing a canvas print elevates your artwork and gives it that extra layer of gravity.
I wanted the frame for these canvas prints to be a custom picture frame, not one of those floating canvas frames. Thankfully, I found a simple, cost-effective fix and ended up with a successful project.
In this blog, I’ll guide you through the process of framing your rolled canvas print. It’s incredibly easy, doesn’t take too much time, and will save a lot of your budget. Let’s start!
Why Frame a Canvas Print?
Framing a canvas print helps protect and safeguard your artwork while also adding a visual appeal to it.
It elevates the presentation of the art, creating a more polished look and protecting it from the environmental elements that can damage the artwork, such as dust, moisture, and UV rays etc.
Canvas picture frames also make an immediate statement, making the artwork stand out in the room.
Customizing and building your own frame allows you to customize it based on your personal preferences, allowing you to select every aspect of the frame, like color, material, and style.
Factors to Consider While Framing a Canvas Print
When I frame a canvas print, I think about more than just looks. The right frame protects the art and helps it fit the space better.
1. Canvas Type
The most important factor to consider when framing is whether the canvas print is stretched or rolled.
- Stretched Canvas: A stretched canvas is pre-mounted on a built-in frame (stretcher) and ready to hang. It’s pricier and limits framing options.
- Rolled Canvas: Rolled canvas comes loose in a tube, making it easy to store and more affordable. It also allows for custom framing and display choices.
2. Frame Display
These are the important display factors to consider when deciding on the framing options:
- Room Size: The size of the room where the canvas artwork will be displayed is important so as not to overwhelm the space.
- Wall Space: Choosing a frame that fits your wall space is equally important.
3. Frame Style
Choosing the correct frame style is important because the frame should enhance the artwork and not overpower it:
- Artwork Type: Consider the art’s subject and style while picking the right frame. A traditional frame would suit a classic artwork, while a minimalist frame would suit a more modern print.
- Color: Selecting the right frame color matters because it should complement the color palette of print artwork and not dominate it.
4. Cost
The budget is also an important factor while considering framing your canvas. If you do not want to spend a lot and want more affordable options, consider these:
- Local/Online Stores: Buying a pre-made frame from a local store, like a thrift store or Target, Walmart, or buying from online stores like Amazon can help you save a lot of money.
- DIY Frames: You can build your own frame from wood readily available at any hardware store.
Tools and Materials
Trust me when I tell you that you don’t require many tools and materials to frame your canvas print. Just a few key tools, and you’re all ready.
Tools
- Stretcher Bar Frame
- Stapler or Nail Gun
- Canvas Pillars
- Rubber Hammer
- T-square/Carpenter’s Square
- Drill Machine
- Screws and Fastening Clips
- Scissors
Materials
- Rolled Canvas Print
- Wood or Metal Frame
- Staple Pins
- Paint or Stain
- Glazing/Framing Glass
Step-by-Step Guide to Framing a Rolled Canvas Print
Framing a rolled canvas might seem tricky at first, but it’s doable with the right steps. I’ve broken it down to make it simple and clear.
Step 1: Choosing the Right Frame
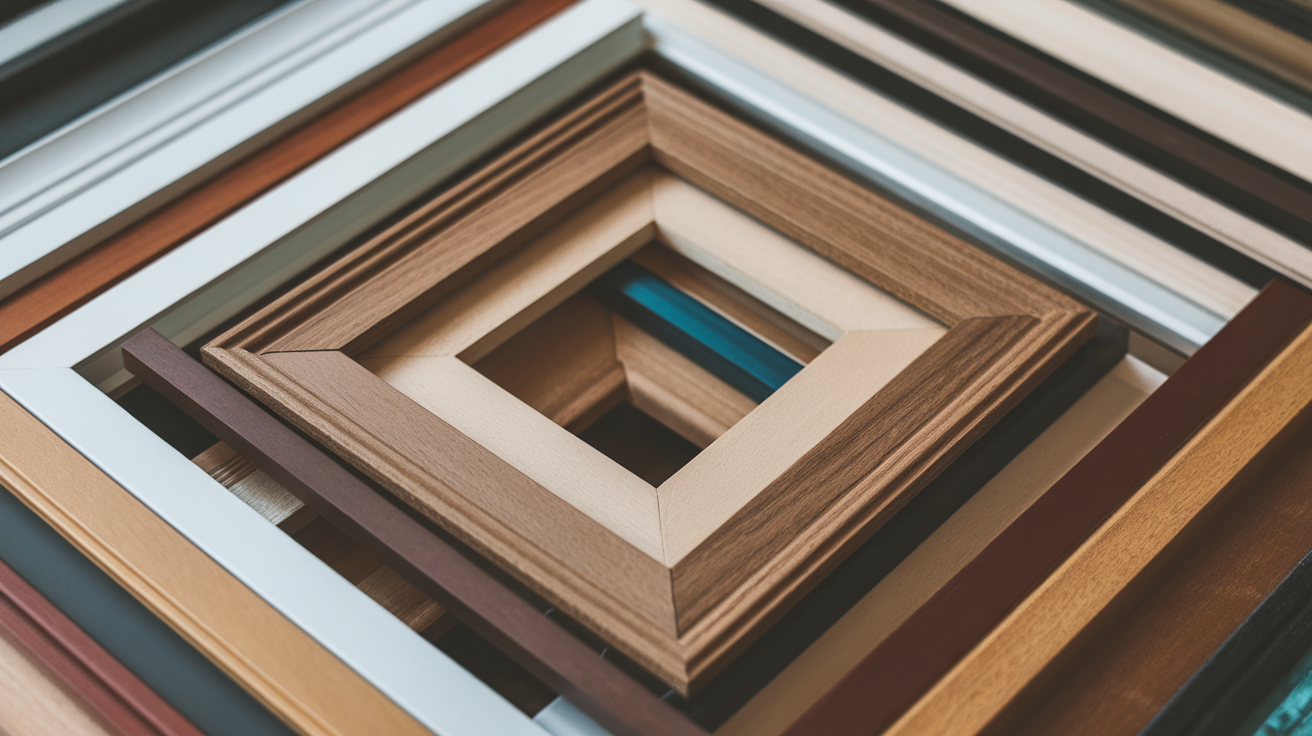
Before you start, choose a frame considering the style and aesthetic of your canvas print. The frame you choose must complement your print instead of overpowering it.
There are a lot of custom frames available in various materials, styles, and colors, so you have many options.
Step 2: Measuring the Canvas Print
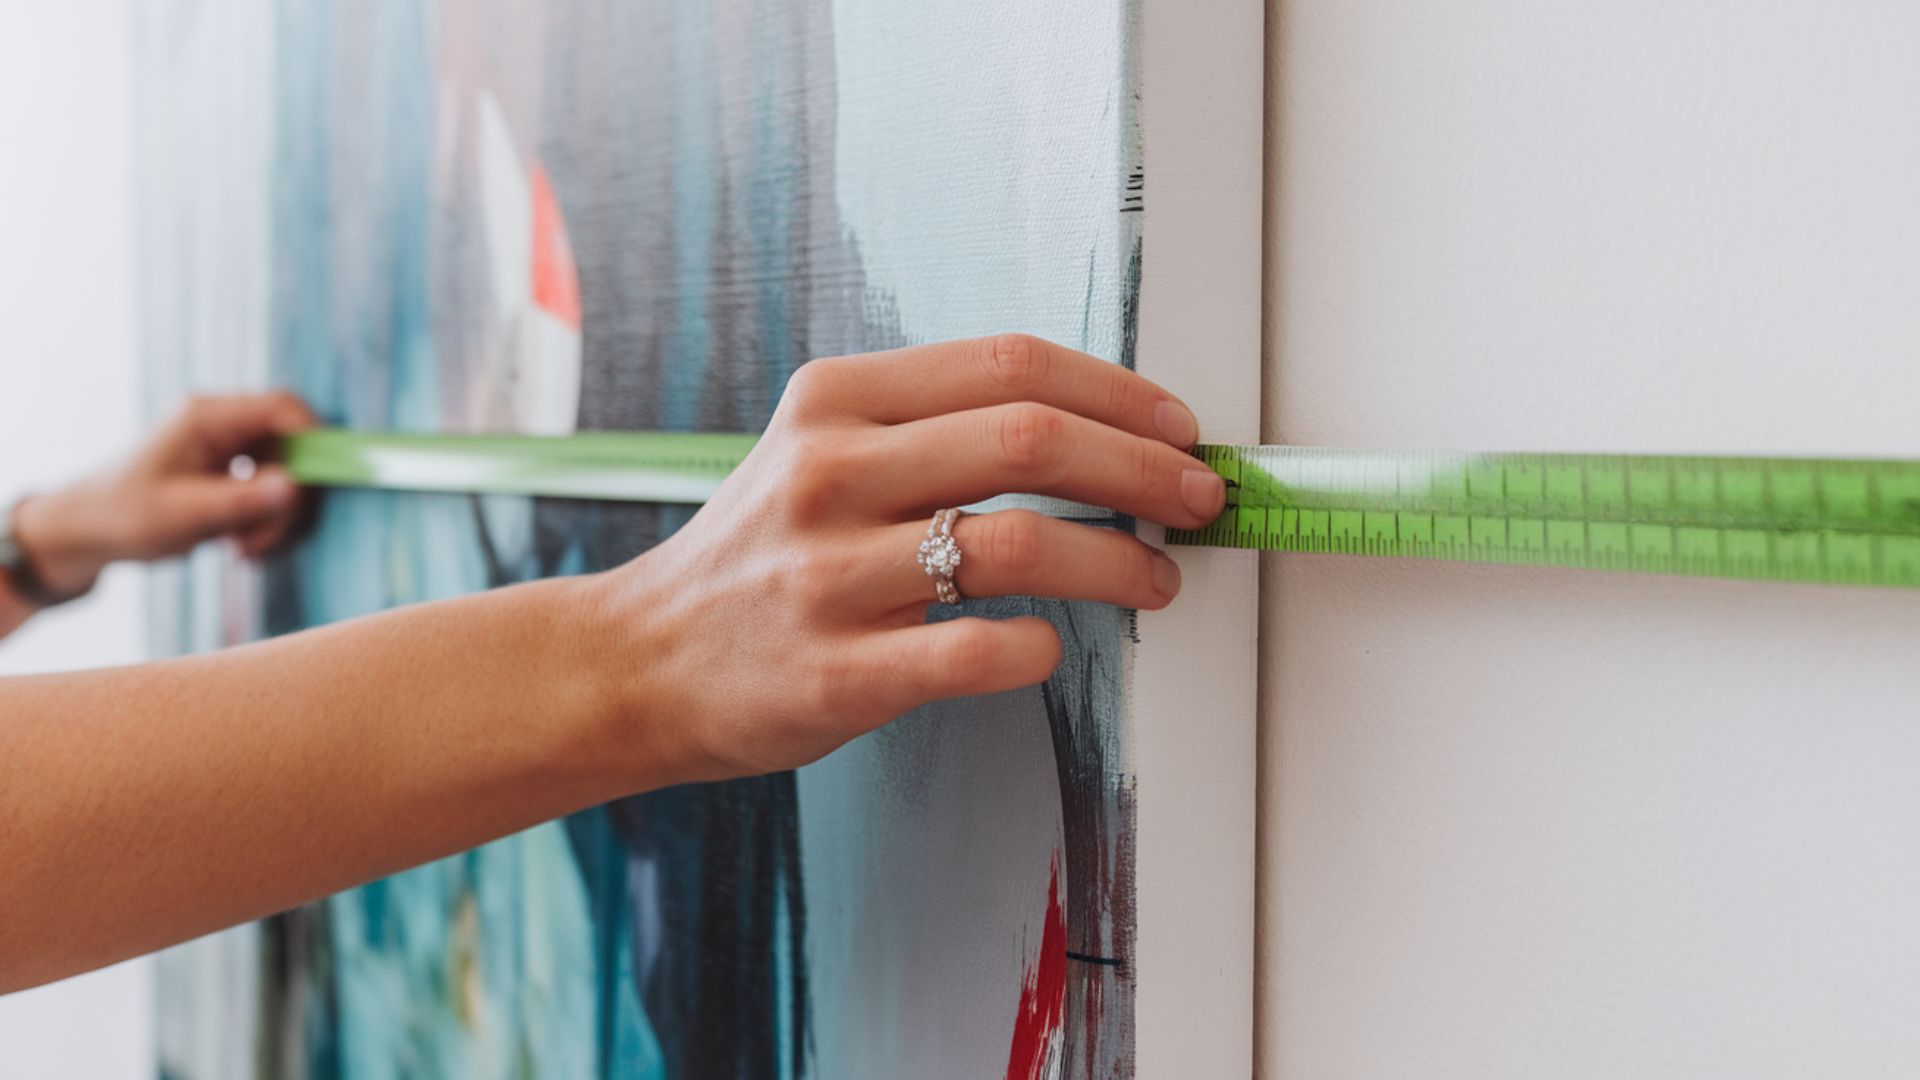
First, leave enough canvas on the edges to fold over the stretch bar. The measurements need to be accurate to make sure that the print fits perfectly over the frame.
I recommend measuring the top, bottom, and middle of your canvas print to get accurate dimensions.
Measure the height, width, and thickness of your piece, including the folded corners.
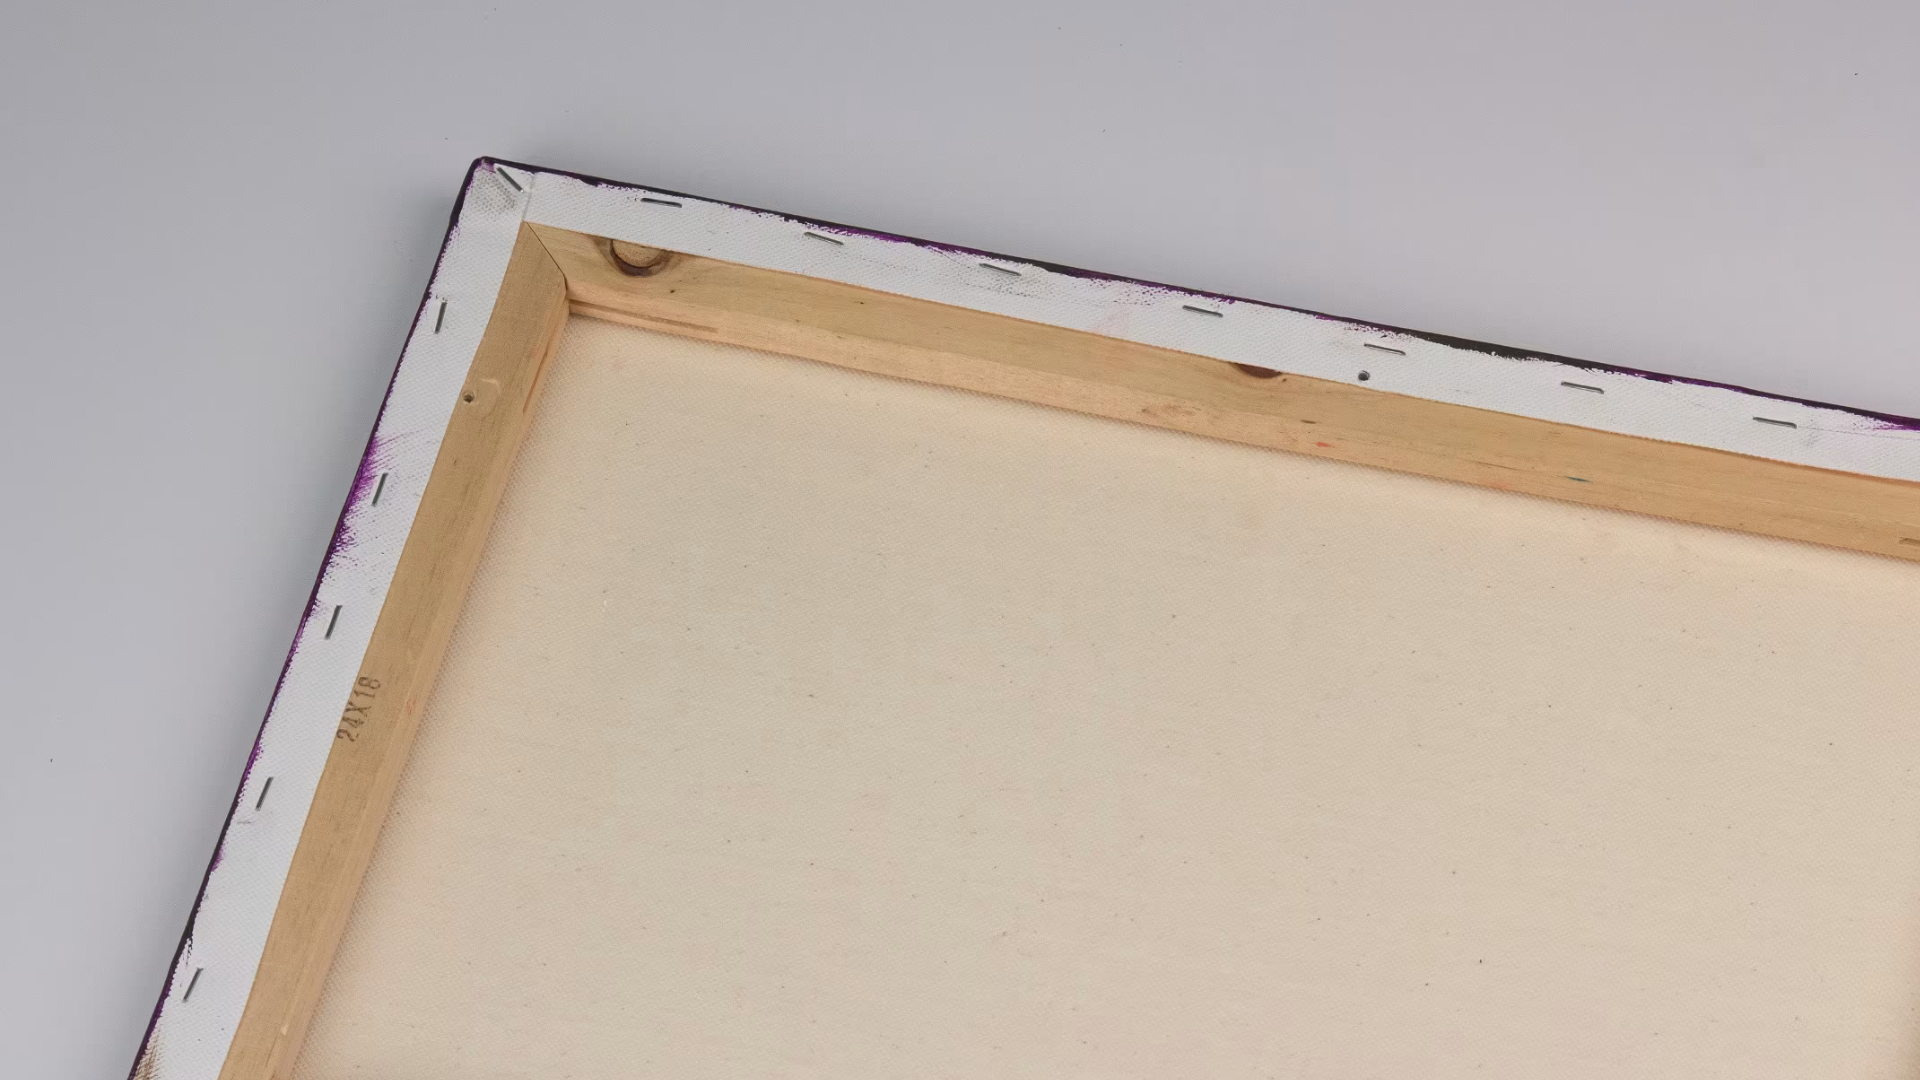
Step 3: Stretch the Canvas
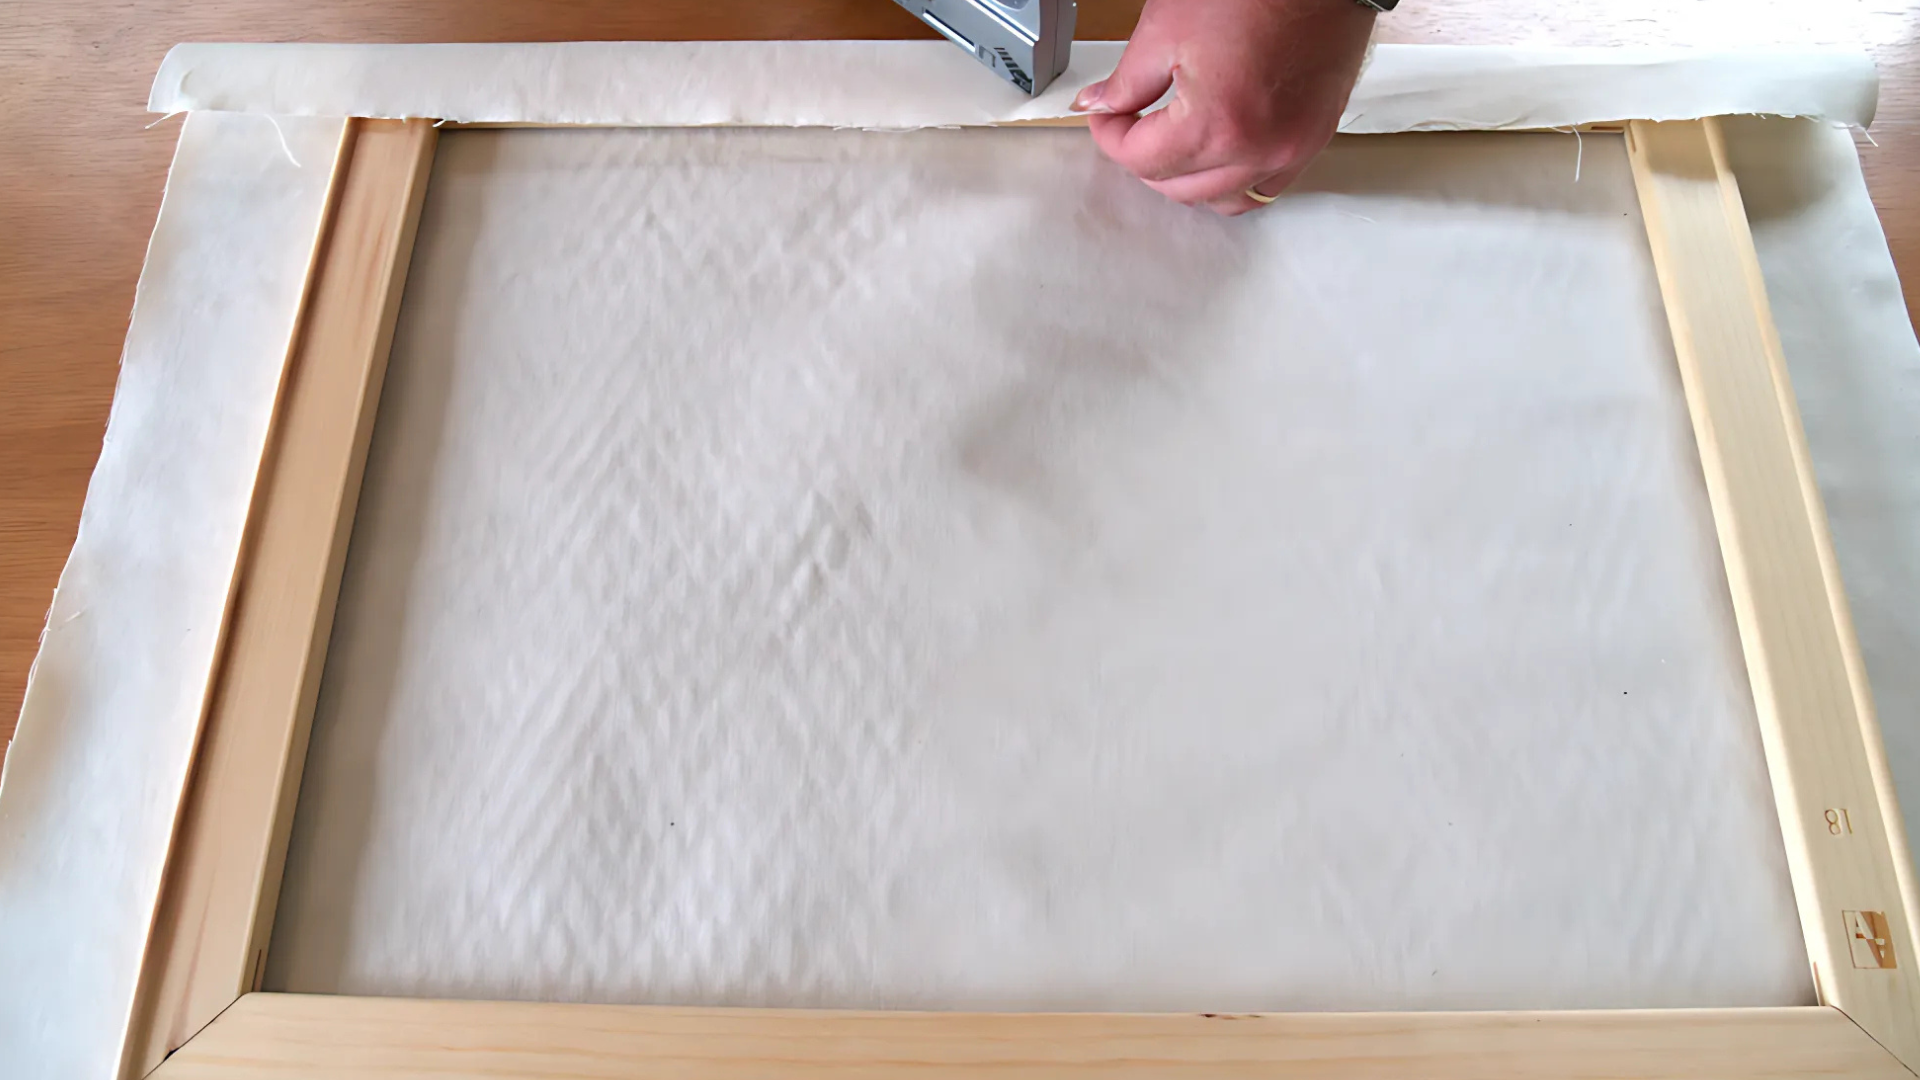
To start, make sure the space is clean and free of dust and dirt. Now, place your canvas print face down.
Wrap one end of the canvas around the stretcher and attach using a stapler in the center.
Do the same on the opposite side of the stretcher and stretch the fabric tight. Repeat on each side and add more staples on each side of the original staples.
Repeat this, and then fold over the corners, pulling the fabric tight against the frame at a 45-degree angle. Fold the excess fabric that lines up along the edge of the frame, and staple it down.
Repeat the same on all four corners.
Step 4: Frame the Canvas
Clean the chosen frame sing a soft, linen cloth to remove dust and debris.
Then, place the canvas face down on a clean surface and position the floater frame over it. The frame needs to rest on a stretcher bar.
Next, center your canvas to ensure all sides of the stretch bar are equal.
Place an offset clip on the bottom center of your frame with the screw hole on the stretch bar. Screw that into the stretch bar and not the frame. Repeat this.
Then, turn your canvas to see if it is centered and adjust if needed.
Step 5: Add Mounting Hardware
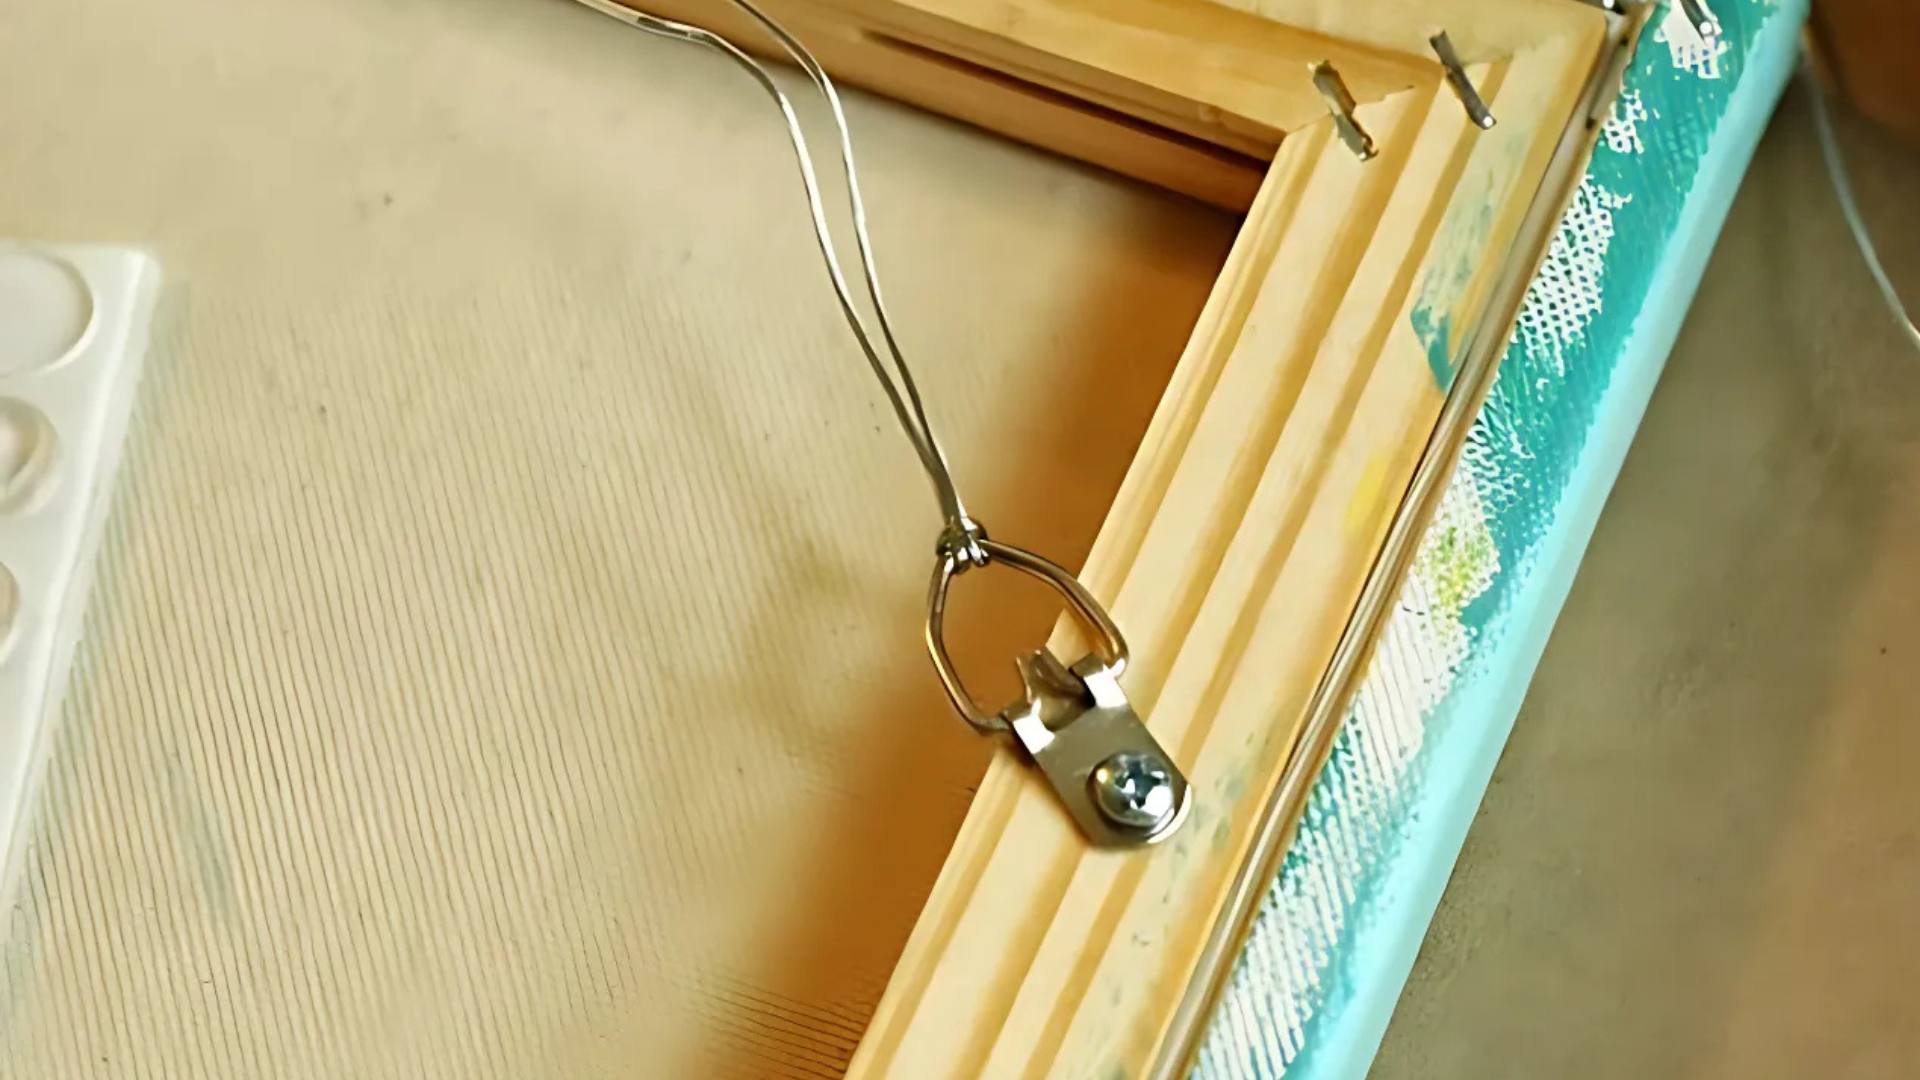
When selecting the mounting hardware, take into account the size and weight of your canvas and frame. I recommend using D-ring hangers for mounting both small and large canvas prints.
Measure and mark ⅓ of the way down from the top of your frame’s left and right sides, and then attach one D-ring at each marked point.
After this, loop the wire through each of the rings, leaving a bit of excess at the end to wrap around the wire. Once you’re done, leave some space in the wire to make it easy to hang.
Step 6: Hang the Canvas Frame
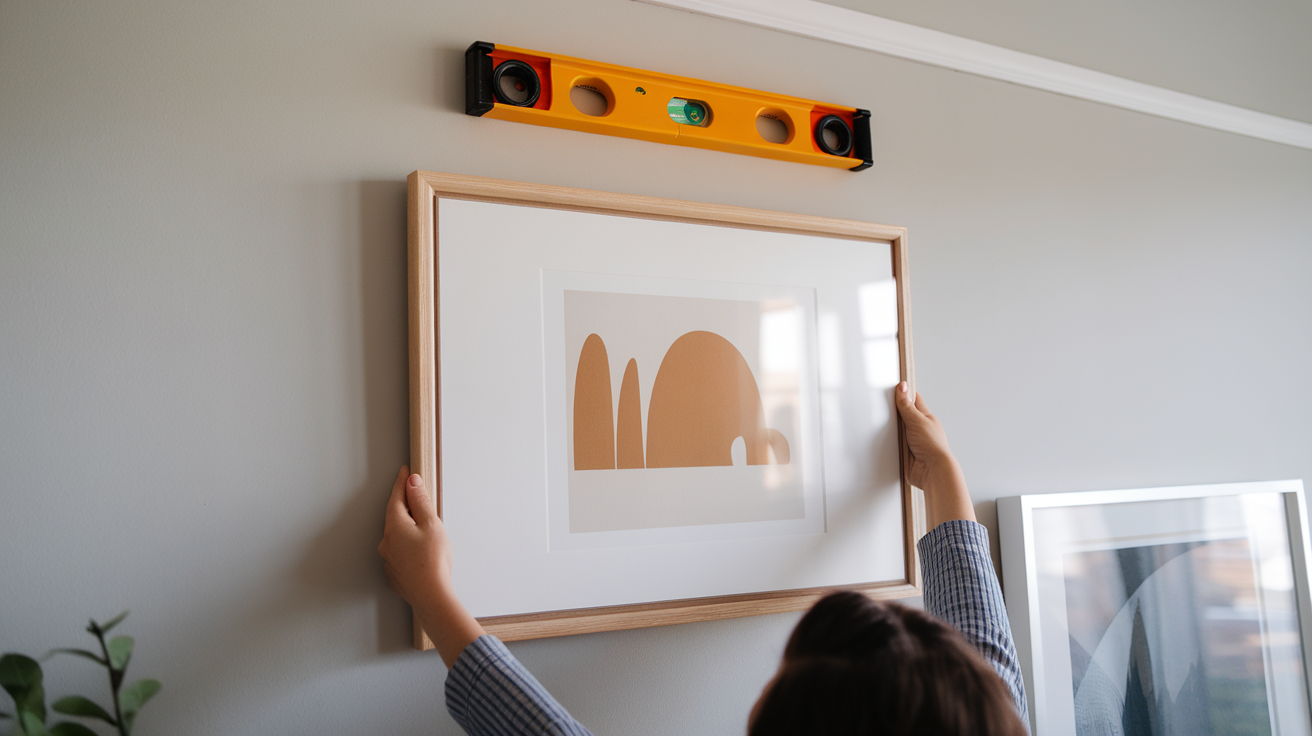
Once you’ve added the mounting hardware, adjust the canvas, frame, or mounting hardware if needed.
Secure any loose components and tighten the screws to ensure the artwork is securely mounted and prevent it from falling.
Maintenance Tips
Keeping your canvas print looking its best is easy with a few simple maintenance habits.
- Regular Cleaning: Gently dust the canvas using a soft brush or a fresh linen cloth to keep it looking fresh. If the dust builds up on the artwork, it will lose its color.
- Avoid Direct Sunlight: Continuous exposure to sunlight can cause the colors to fade. Choose a spot away from direct sun.
- Rotate the Art: If you have multiple pieces, consider rotating them every few months to keep the room’s appearance fresh and engaging.
With regular care, your canvas art will stay vibrant and beautiful for years to come.
Conclusion
Framing a canvas print is a simple and budget-friendly way to bring your artwork to life. It instantly takes your piece from plain to polished, adding depth and style without much effort.
I’ve found that with just a few basic tools and materials, you can complete this DIY project in no time, no need for professional help or a big budget.
Whether you’ve purchased a canvas print or created your own, the right frame makes a big difference. It not only protects the artwork but also enhances the look of your space, adding a touch of sophistication to any room.
I hope this step-by-step guide helped make the process easy and clear.