
Cutting acrylic sheets might seem difficult, but it’s actually pretty easy once you know the right steps. If you’re working on a home project or a school craft, getting clean, straight cuts can make a big difference.
Acrylic looks like glass but is much easier to work with, and it doesn’t break as easily. The key is choosing the right tool for your sheet’s thickness and taking your time.
If you rush or use the wrong blade, you might crack or melt the edges. But don’t worry!
In this guide, I’ll walk you through the best ways to cut acrylic sheets at home. From using a simple scoring knife to experimenting with power tools, you’ll find a method that suits your project.
Let’s go over everything you need to know, step by step, to get a smooth, clean cut every time.
Understanding Acrylic Sheets

Acrylic is a strong, clear plastic often used as a lightweight alternative to glass. It’s used for items such as window panels, signs, display cases, furniture, and DIY crafts.
Compared to other materials, acrylic is clearer than polycarbonate and more resistant to scratches, though polycarbonate holds up better against impact.
There are two main types of acrylic sheets: extruded and cast.
- Extruded acrylic is produced by forcing the plastic through a mold, resulting in a more cost-effective and consistent thickness. When using power tools, it’s easier to cut but more likely to break or melt.
- Cast acrylic is poured into molds, making it stronger and better for detailed cuts, but also more expensive.
Essential Tools and Safety Equipment

Before you start cutting acrylic sheets, it’s important to have the right tools and safety gear. Below, I’ve listed all the essential tools and safety gear required for the process.
- Scoring knife or utility knife – Good for thin sheets. Just score and snap.
- Jigsaw with a fine-toothed blade – Works well for curved cuts or designs.
- Circular saw with a blade made for plastic – Useful for thicker, straight cuts.
- Table saw with a fine-toothed blade – Makes long, neat cuts on thick sheets.
- Laser cutter – Useful for precise shapes and designs.
- Router with an acrylic bit – Helps shape edges or cut detailed patterns.
- Dremel rotary tool – Handy for small areas or fine details.
- Safety gear – Gloves, goggles, etc
Choose your tool based on your sheet’s thickness and the kind of cut you want to make. Thin sheets usually require just a knife, while thick ones require power tools.
Step-by-Step Guide for Cutting Acrylic Sheet
Cutting an acrylic sheet may seem tricky, but it’s simple with the right tools and steps.
Step 1: Essential Preparation
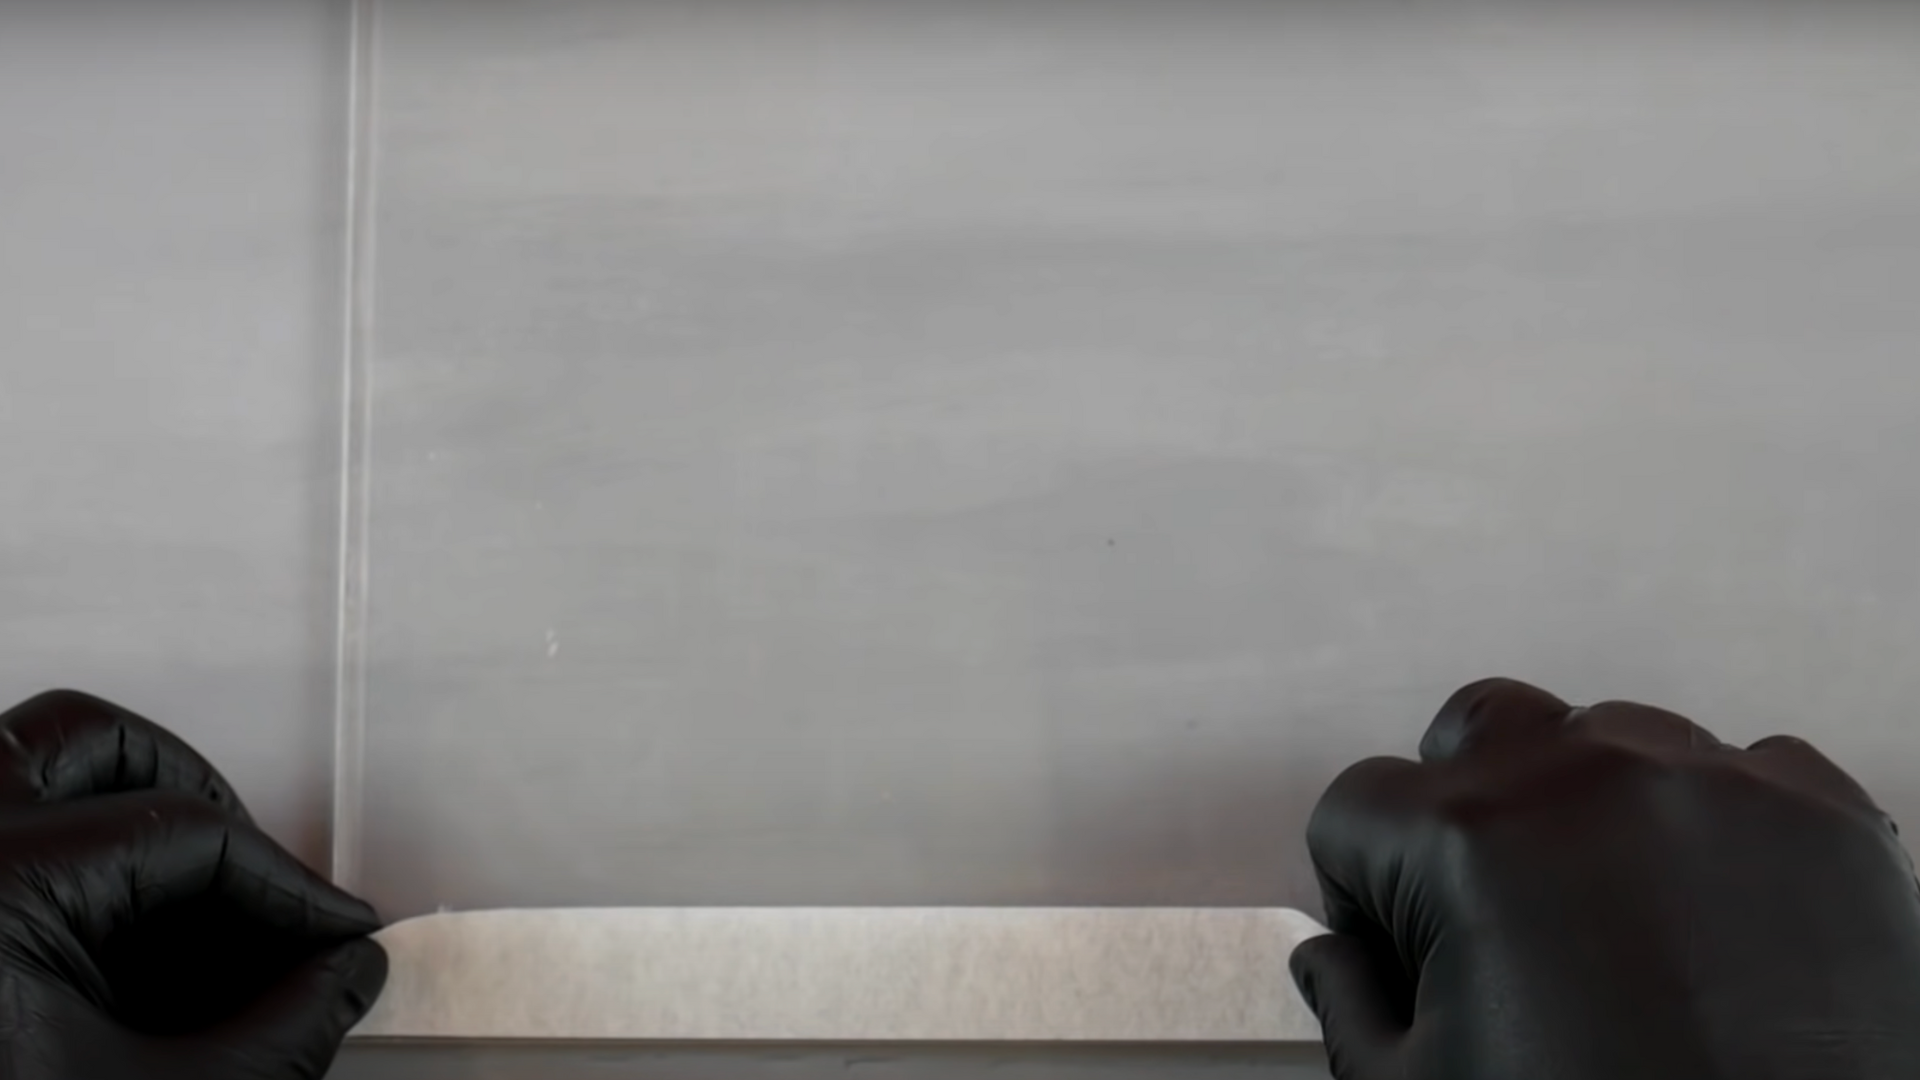
Proper preparation is crucial to protecting your acrylic sheet and ensuring accurate, clean cuts. Always keep protective adhesive paper on new sheets; it prevents scratches and lets you draw directly on the surface.
For recycled sheets or areas without paper, use masking tape for complex cuts and cover larger areas with clean paper, like baking paper.
This safeguards your material and sets you up for success, preventing costly mistakes before you even begin cutting.
Step 2: Choose Your Cutting Method

There are several ways to cut an acrylic sheet depending on the type of cut you need – straight, long, or curved.
The table below breaks down each method, the tools required, and the best uses to help you choose the right approach for your project.
| Method | Best For | Tools Needed | Key Tips |
|---|---|---|---|
| Scoring Method | Short, straight cuts | Utility knife or scoring blade, straight edge, clamps | Score both sides along a straight edge and snap cleanly over a table edge. |
| Hand Saw Method | Long, straight cuts | Hand saw jig, fine-toothed hand saw, clamps, sacrificial timber | Saw gently through acrylic and timber to avoid tear-out and get smooth edges. |
| Coping Saw Method | Curved or intricate cuts | Coping saw, small timber support, clamps | Keep blade at 90°, cut slowly, and support the sheet to avoid cracking. |
Choose your cutting method based on the shape and size of the cut. The scoring method is great for quick, straight cuts. Use a hand saw for longer cuts where you want more control.
For curves and custom shapes, the coping saw gives you flexibility. With the right technique and tools, cutting acrylic becomes a clean and manageable task.
Step 3: Sand the Surface

Achieving a professional look means carefully finishing your cuts, starting with sanding.
For straight cuts, create a sanding jig by clamping the cut edge between two pieces of timber, ensuring your sandpaper stays at a 90-degree angle.
Wrap rough-grit sandpaper around a block and sand with long strokes. For curved cuts, sand freehand, keeping the block at 90 degrees.
In both cases, gradually move to finer grits until you achieve a uniform, rough matte finish.
Step 4: Finish with Polishing

The final step is polishing, which brings out the natural shine. For this, you’ll need a clean rag and creme cleanser or abrasive paste cleanser as your buffing compound.
For straight edges, apply cleanser to a rag and polish with small, controlled strokes followed by longer ones until the edge is glossy.
For curved edges, wrap the rag with cleanser around your sanding block and buff the rounded edge evenly until it appears polished. This quick step significantly enhances the final appearance of your hand-cut acrylic.
Cutting acrylic by hand presents challenges, but the skills gained are invaluable. With these methods, you can confidently tackle your acrylic projects and achieve clean, precise cuts.
Here’s the full YouTube video by @cosador
How to Prevent Cracking While Cutting Acrylic?
Cracking is one of the most common problems when cutting acrylic sheets. It usually happens when the material is under too much pressure or the wrong tools are used.
- Use the right blade: Choose a fine-toothed blade made for cutting plastic or acrylic. Using the correct blade makes the cut smoother and puts less stress on the sheet.
- Cut slowly and steadily: Rushing through the cut can build up heat and stress, which may cause the acrylic to crack. A slow and steady pace helps you stay in control and avoid rough edges.
- Tape the cutting line: Put masking tape along the line you plan to cut. It helps hold the material together and reduces the chance of chips or cracks. The tape also makes it easier to see your line clearly while cutting.
- Avoid too much pressure: Let the tool do the work. Pressing too hard can create stress points that lead to cracking. Gentle pressure gives you better control and helps protect the sheet.
- Support the sheet fully: Make sure the entire sheet is well supported on a flat surface. If it wobbles or sags, it can break during cutting. Using clamps or boards under the sheet can keep it steady and safe.
- Keep the blade sharp: A dull blade can drag or grab the sheet, which increases the chance of cracking. Replace or sharpen the blade if needed. A sharp blade slices cleanly through the acrylic without causing damage.
Is Acrylic paint safe to cut indoors?
Yes, you can cut acrylic indoors, but there are a few things to keep in mind to make sure it’s safe and comfortable. Cutting acrylic, especially with power tools, can create fine dust and small plastic pieces.
Some cutting tools can also give off a slight smell from the heat. That’s why it’s a good idea to work in a space with good airflow, like near an open window or with a small fan blowing the dust away.
If you’re using a hand tool like a scoring knife, there’s very little mess or smell, so it’s safe to do on a table or workbench without much concern.
But with tools like jigsaws, Dremels, or routers, you should wear a dust mask and safety goggles just to be safe. These tools move fast and can throw tiny bits of plastic into the air.
If you want to keep things quiet and clean, scoring the acrylic with a knife or using a laser cutter (if available) are solid indoor options. They make less noise and dust and are easier to clean up afterward.
So yes, indoor cutting is completely fine – I’ve done it myself many times. I just make sure the space is well-ventilated, wear the right safety gear, and always clean up afterward to keep everything neat and safe.
Conclusion
Cutting acrylic sheets at home might seem hard at first, but with the right tools and a little care, it’s actually pretty simple.
The key is to know your sheet’s type and thickness, pick the right method, and take your time.
If you use a scoring knife for thin sheets or a saw for thicker ones, following the steps we discussed will help you get clean, smooth cuts.
Don’t forget to wear safety gear and keep your work area steady and safe. Mistakes like rushing or using the wrong blade can lead to cracks or rough edges, so go slow and stay patient.
With practice, you’ll learn and feel more confident handling acrylic. No matter what project you’re working on, crafts, signs, or home fixes, you’ll be able to cut acrylic sheets the right way and get great results.