
I’ve spent hours carefully placing each sparkling drill, row by row, watching my diamond painting come to life, and if you’re like me, you don’t want all that effort to end up rolled up in a drawer.
Your diamond art deserves a spot on the wall!
Framing your finished piece isn’t just about making it look pretty (though it definitely does that).
It’s about protecting your hard work, preserving those dazzling colors, and transforming your craft into genuine home décor that you’ll be proud to show off.
And here’s the best part: you’re not alone in figuring it out.
I’ve picked up tons of helpful tips, clever tricks, and real-world solutions from fellow diamond painters, ways to frame your artwork without spending a fortune or stressing out over the details.
Let’s get started!
What Is Diamond Art and Why Frame It?
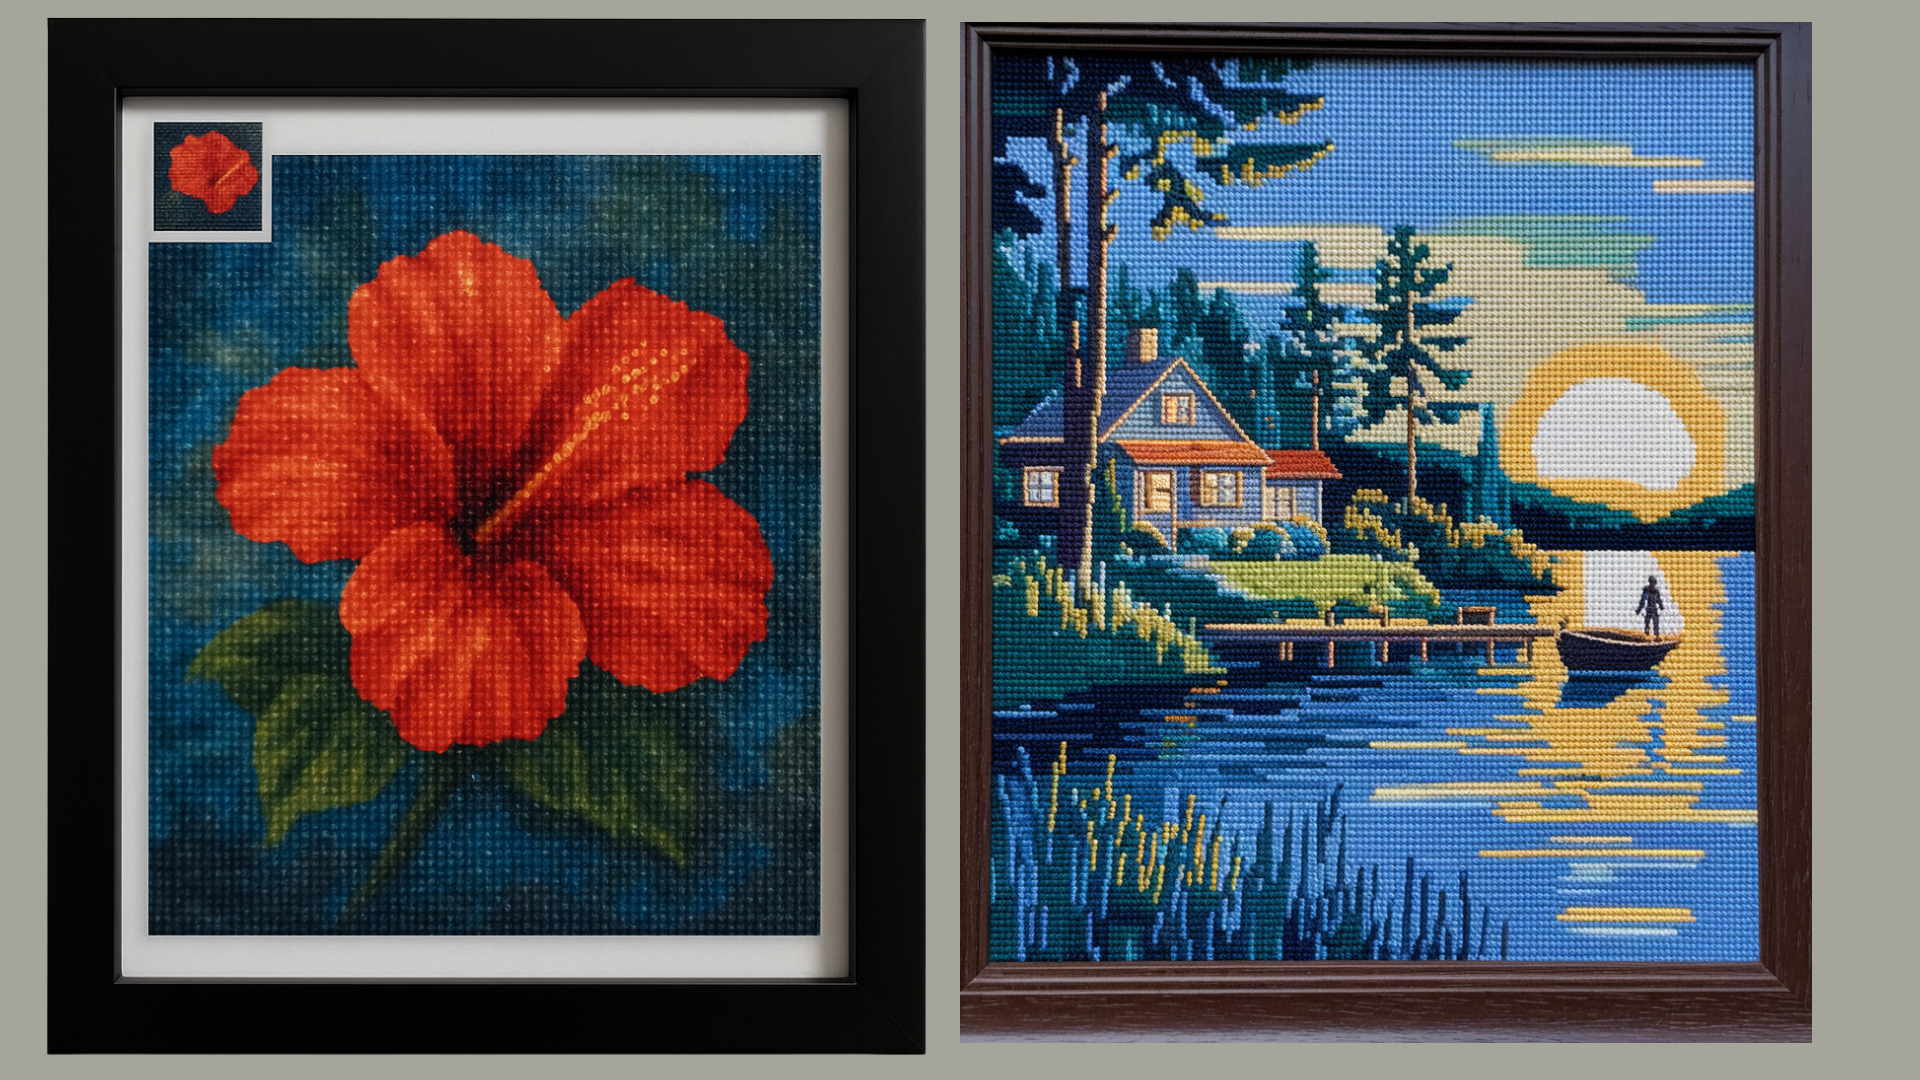
Diamond art, also called diamond painting, is a craft that combines the sparkle of rhinestones with the satisfaction of cross-stitch or paint-by-number.
You use a special pen to place tiny resin “diamonds” onto a sticky canvas, one by one, to create a beautiful image.
The finished result shimmers and catches the light in a way that’s hard to miss!
Framing your diamond art is more than just a finishing touch; it’s a way to celebrate your effort and creativity.
After spending hours (or even weeks) placing each sparkling drill, many crafters want to protect and display their masterpiece with pride.
Hanging it up is like giving yourself a quiet high-five every time you walk by.
Framing turns your project into a lasting keepsake, one that’s ready to be enjoyed, gifted, or proudly displayed for everyone to see.
How to Frame Diamond Art: Step-By-Step
Ready to turn your finished diamond painting into a display-worthy piece? This step-by-step guide walks you through the entire framing process using simple tools and budget-friendly materials.
Materials Needed
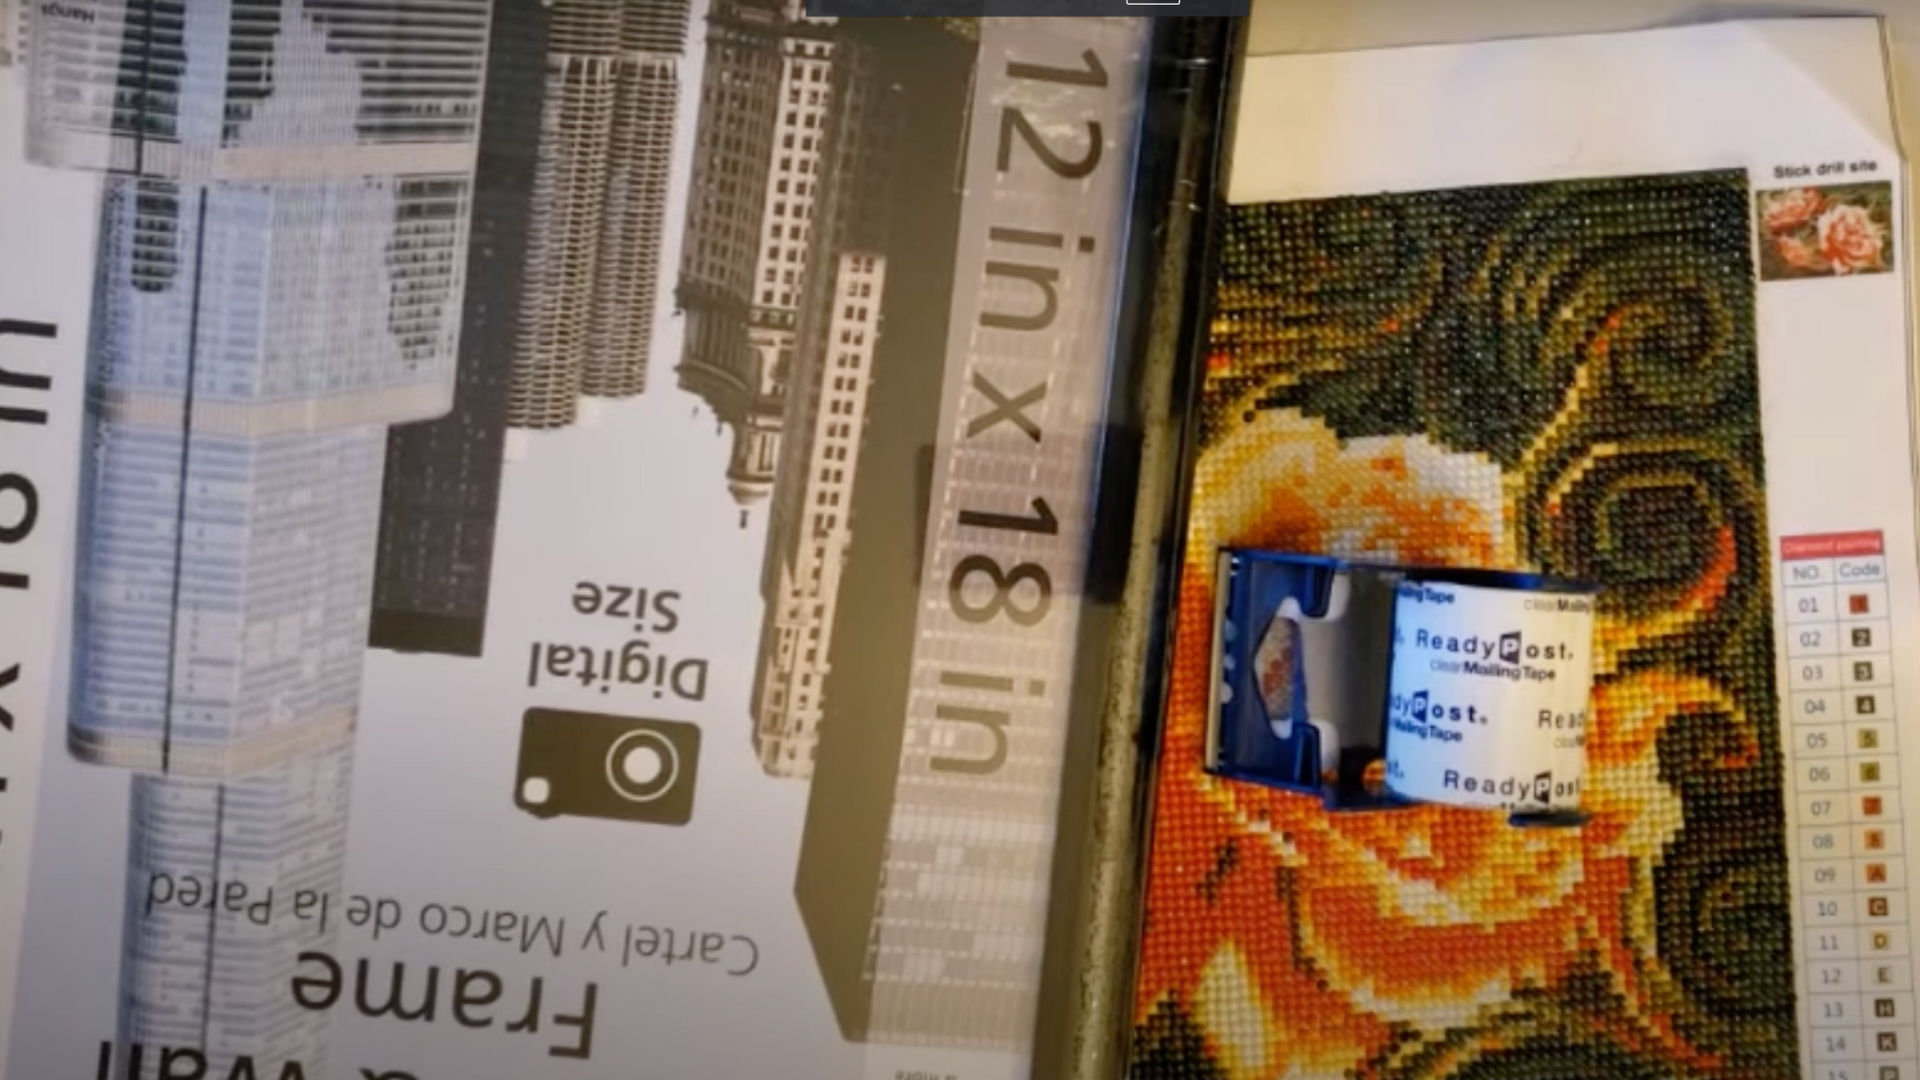
You don’t need anything fancy, just a few basic supplies, and you’re finished framing your diamond painting:
- A completed and sealed diamond painting
- A frame
- Packing tape
- The original paper backing or mat from the frame
- Double-sided tape
Step 1: Fold and Tape the Canvas Edges
- Flip the canvas over.
- Fold the edges back, including corners, to hide any borders or color codes.
- Use packing tape to secure the folded edges to the back of the canvas.
Step 2: Center the Painting Inside the Frame
- Place the canvas face-up against the acrylic or plastic front.
- Adjust until centered, take your time here!
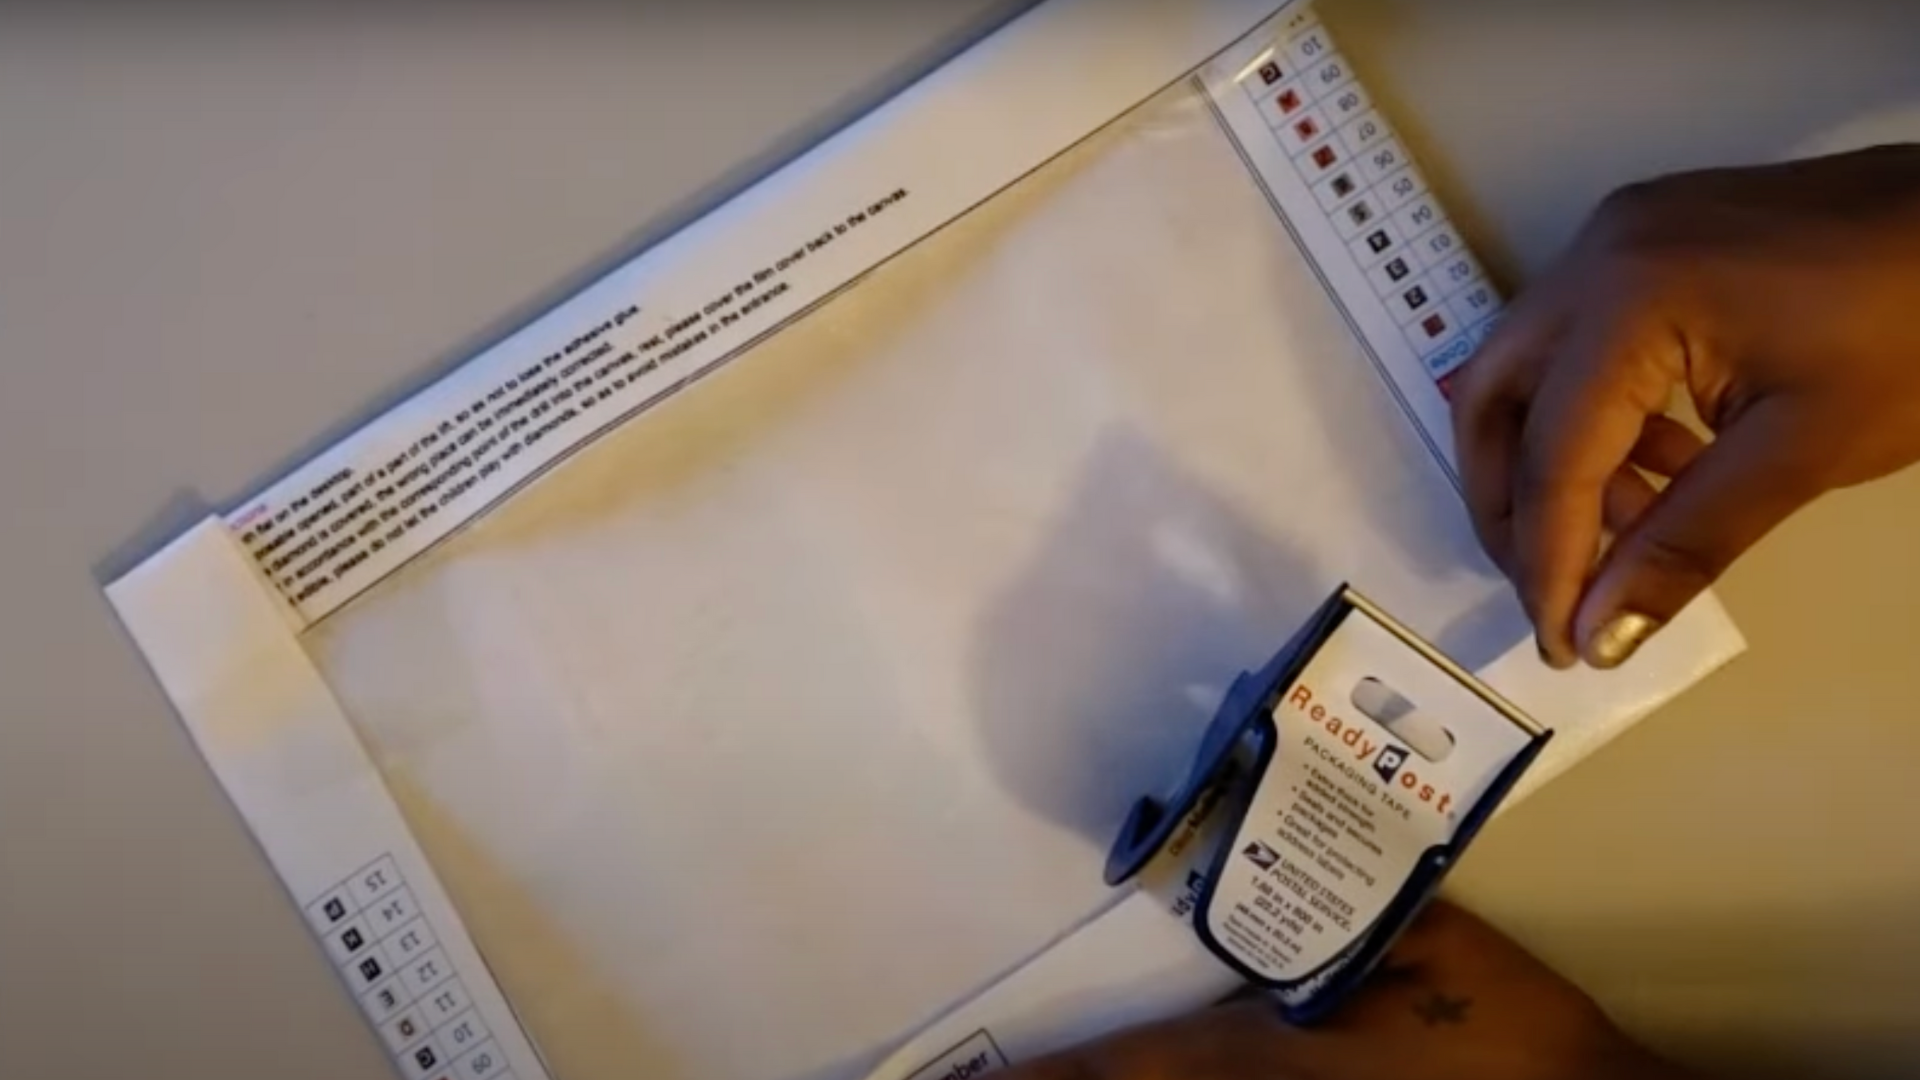
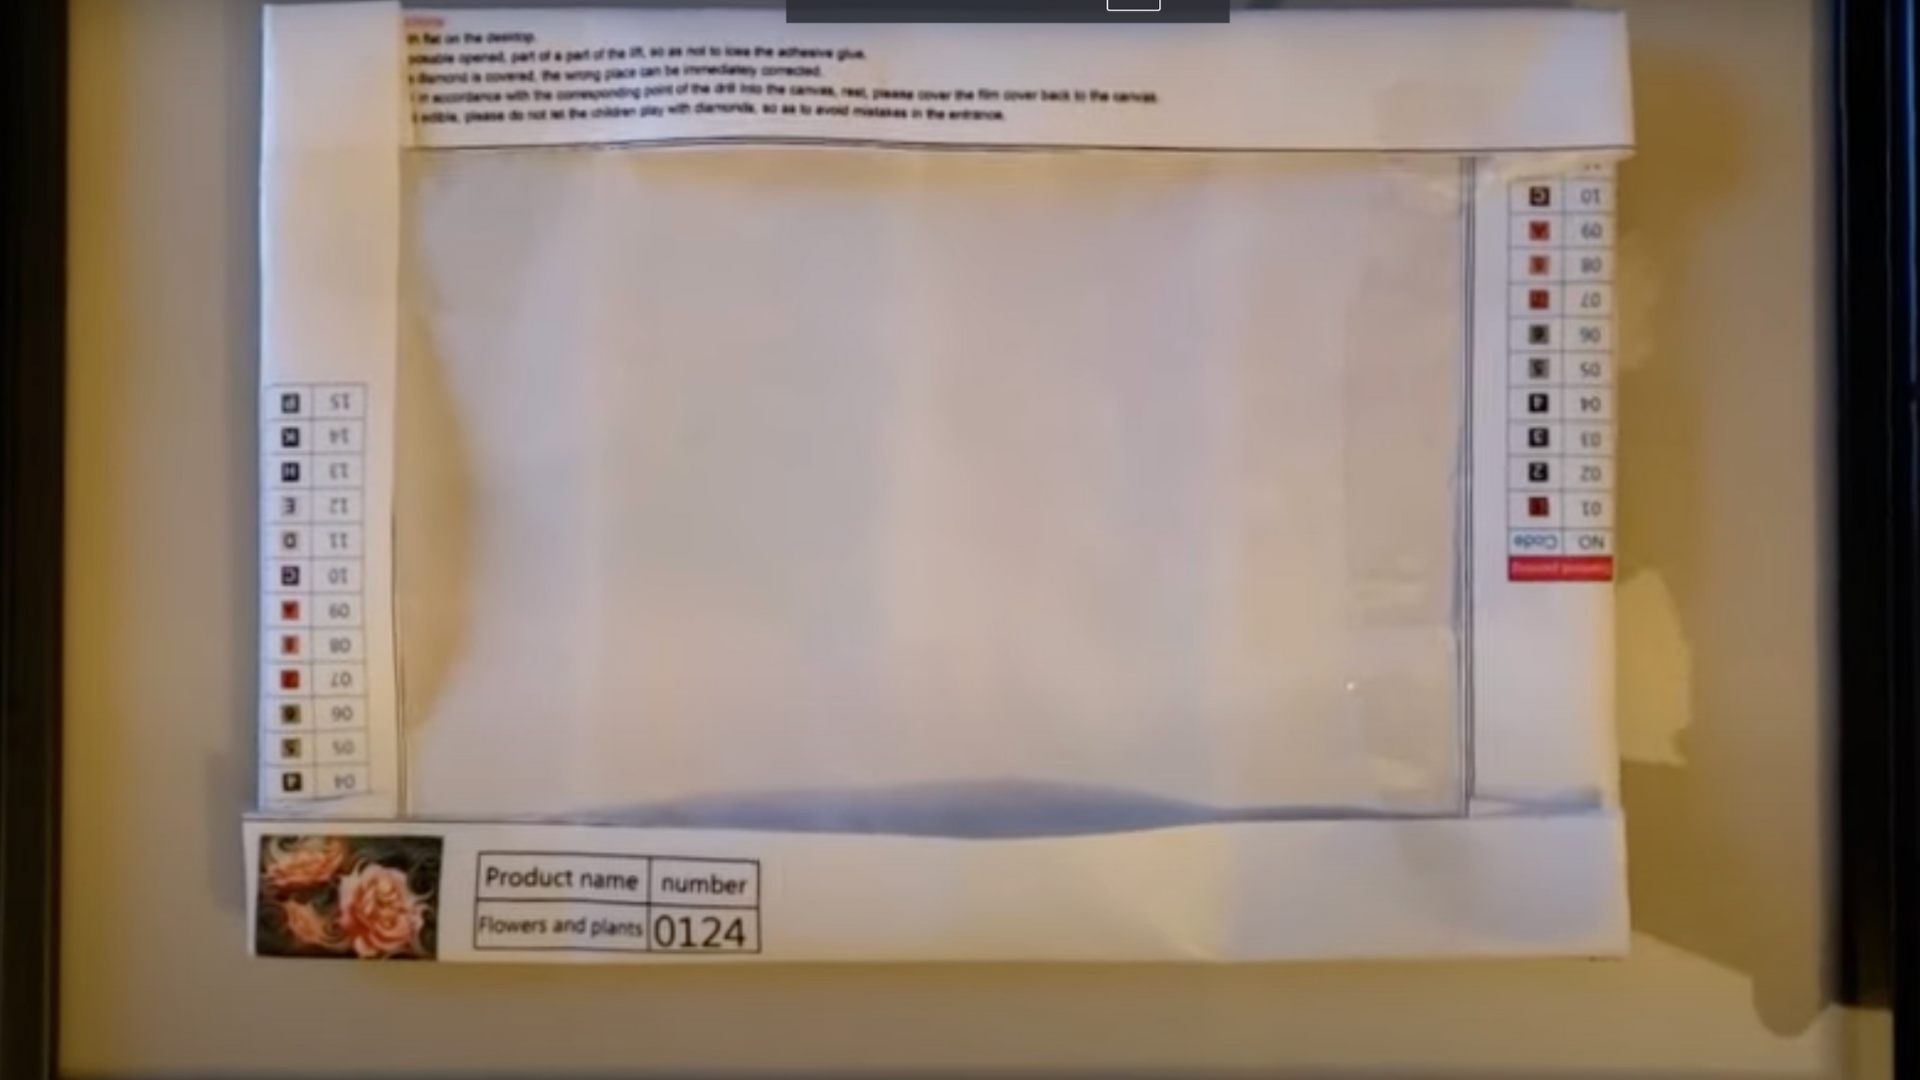
Step 3: Replace the Paper and Backing
- Flip the original insert upside down and place it behind the canvas.
- Add the cardboard backing.
- Secure the frame clips or tabs tightly.
Step 4: Flip and Admire

- Flip your frame over to see your finished piece.
- If it looks crooked, open the back and re-adjust.
- For a cleaner look, you can tape the canvas to the backing, but only if you don’t plan to adjust later.
Recommended: You can refer to this step-by-step guide on how to frame diamond art by @MrsCoffee1 on YouTube.
Should You Seal Your Diamond Painting Before Framing?
Sealing your diamond painting is optional, but many crafters swear by it, especially if you plan to frame it without glass.
Sealing locks the diamonds in place, prevents shifting over time, and adds a layer of protection against dust and humidity.
Pros: Keeps drills from falling off, makes the surface easier to clean, and adds peace of mind
Cons: Some sealers can dull the sparkle or stiffen the canvas if overused
Popular methods include:
- Brush-on glue sealers (like Mod Podge): Easy to apply, but may affect shine if too thick
- Clear spray sealers: Maintain sparkle, but may require good ventilation
- Roll-on sealers: Offer smooth, even coverage with less mess
If your piece is going behind glass and won’t be handled, sealing might not be necessary.
But for high-traffic areas or open frames, sealing can be a smart extra step to keep your art looking great.
Glass or No Glass?
When it comes to framing diamond art, some crafters swear by using glass, while others avoid it altogether.
Those who opt for a glass-free setting appreciate the increased sparkle and depth the diamonds exhibit without any covering.
Glare is another reason people opt for alternatives to glass, it can reflect light in ways that diminish the artwork’s impact.
Plus, in dry climates, static electricity can cause dust to cling to the glass or even shift loose drills.
For those who still want a protective cover, plexiglass is a great alternative. It’s lighter than regular glass, less prone to glare, and doesn’t attract as much static.
If you choose to frame with glass, it’s a good idea to use a mat or spacer to make sure the glass doesn’t press directly against the diamond drills.
When cleaning, always spray your cleaner onto a cloth first, rather than directly onto the glass, to avoid streaks or moisture damage.
Tips to Hang and Care for Your Framed Diamond Art
Once your diamond painting is beautifully framed, taking a few extra steps will help keep it looking its best for years to come.
- Choose a safe spot: Hang in a dry, indoor space like a living room, hallway, or bedroom.
- Avoid sunlight: Keep it out of direct sunlight to prevent fading.
- Skip the humidity: Avoid areas with high humidity, such as bathrooms or kitchens.
- Dust gently: Use a soft, dry cloth to clean open frames every few weeks.
- Clean glass with care: Use a microfiber cloth and spray cleaner onto the cloth, not directly on the glass.
- Prevent static and streaks: Wipe glass gently to avoid buildup and damage.
- Secure your frame: Use strong wall hooks, especially for large or heavy artwork.
- Keep it level: Make sure the frame hangs straight and doesn’t shift.
- Wrap for storage: Use a soft cloth or bubble wrap to prevent scratches.
Common Mistakes to Avoid When Framing Diamond Art
Framing your diamond painting can be a fun and satisfying final step, but a few simple missteps can take away from your finished look.
- Wrong frame size: Measuring only the canvas edges instead of the actual design area can lead to a poor fit.
- Skipping the flattening step: Framing a curled or creased canvas can cause wrinkles and air gaps.
- Trimming too much: Cutting off too much of the border makes it harder to mount or center your art.
- No spacers with glass: Letting the glass touch the drills can flatten them and reduce the sparkle.
- Over-sealing: Applying too much sealer can dull the shine or cause a cloudy finish.
- Using weak adhesives: Low-quality tape or glue may not hold your art securely inside the frame.
- Framing in a rush: Skipping steps like cleaning, flattening, or careful measuring often leads to crooked or uneven results.
Conclusion
You can totally do this! Framing your diamond art might seem tricky at first, but with a few simple tools and some creative tips from fellow crafters, it becomes a fun and rewarding part of the process.
Remember, this isn’t just about putting a picture in a frame; it’s about celebrating your hard work, expressing your style, and creating something you’re proud to display.
I’d love to see how you’ve framed your creations! Share your framing wins in the comments or tag your photos online.
You might inspire someone else to finally hang up their masterpiece.
Want more ideas and support? Consider joining a diamond painting Facebook group or craft forum; they’re full of friendly advice, inspiration, and crafters just like you.
Go ahead and show off that sparkle, you’ve earned it!