
Are you thinking about installing wood floors yourself? Gluing down wood flooring is a strong and lasting method that can keep your floors steady for many years.
Unlike floating floors, which can shift or squeak over time, glued-down floors stay in place and don’t move around much.
This method works great in busy areas or spots with floor heating systems.
It also helps when you’re using wide planks that need extra support to prevent warping or movement. The glue helps keep the boards steady, even when the temperature changes a lot.
In this guide, I’ll walk you through the whole glue-down process step by step. I’ll show you what tools to use, how to prepare your subfloor, and how to apply the adhesive correctly.
I’ll also share tips that professionals use so you can do the job right and get smooth, clean results. You’ll feel ready and confident to handle it yourself.
Tools and Materials You’ll Need
Before you start gluing down your wood flooring, make sure you have everything on hand:
- Wood flooring (solid or engineered)
- Flooring adhesive (appropriate for your specific flooring type)
- Notched trowel (size recommended by adhesive manufacturer)
- Moisture meter
- Tape measure and chalk line
- Utility knife
- Jigsaw or miter saw
- Tapping block and pull bar
- Rubber mallet
- 100-pound floor roller
- Adhesive remover (compatible with your chosen adhesive)
- Clean rags
- Knee pads (trust me, you’ll need these!)
- Flooring straps or weights
Also, grab some painter’s tape and plastic sheeting to protect your walls and adjacent surfaces from adhesive smears.
How to Glue Down Wood Flooring?
Installing wood flooring with adhesive takes patience and precision, but I’ve found the results are well worth it.
Let’s break this down into manageable steps:
1. Preparing the Subfloor
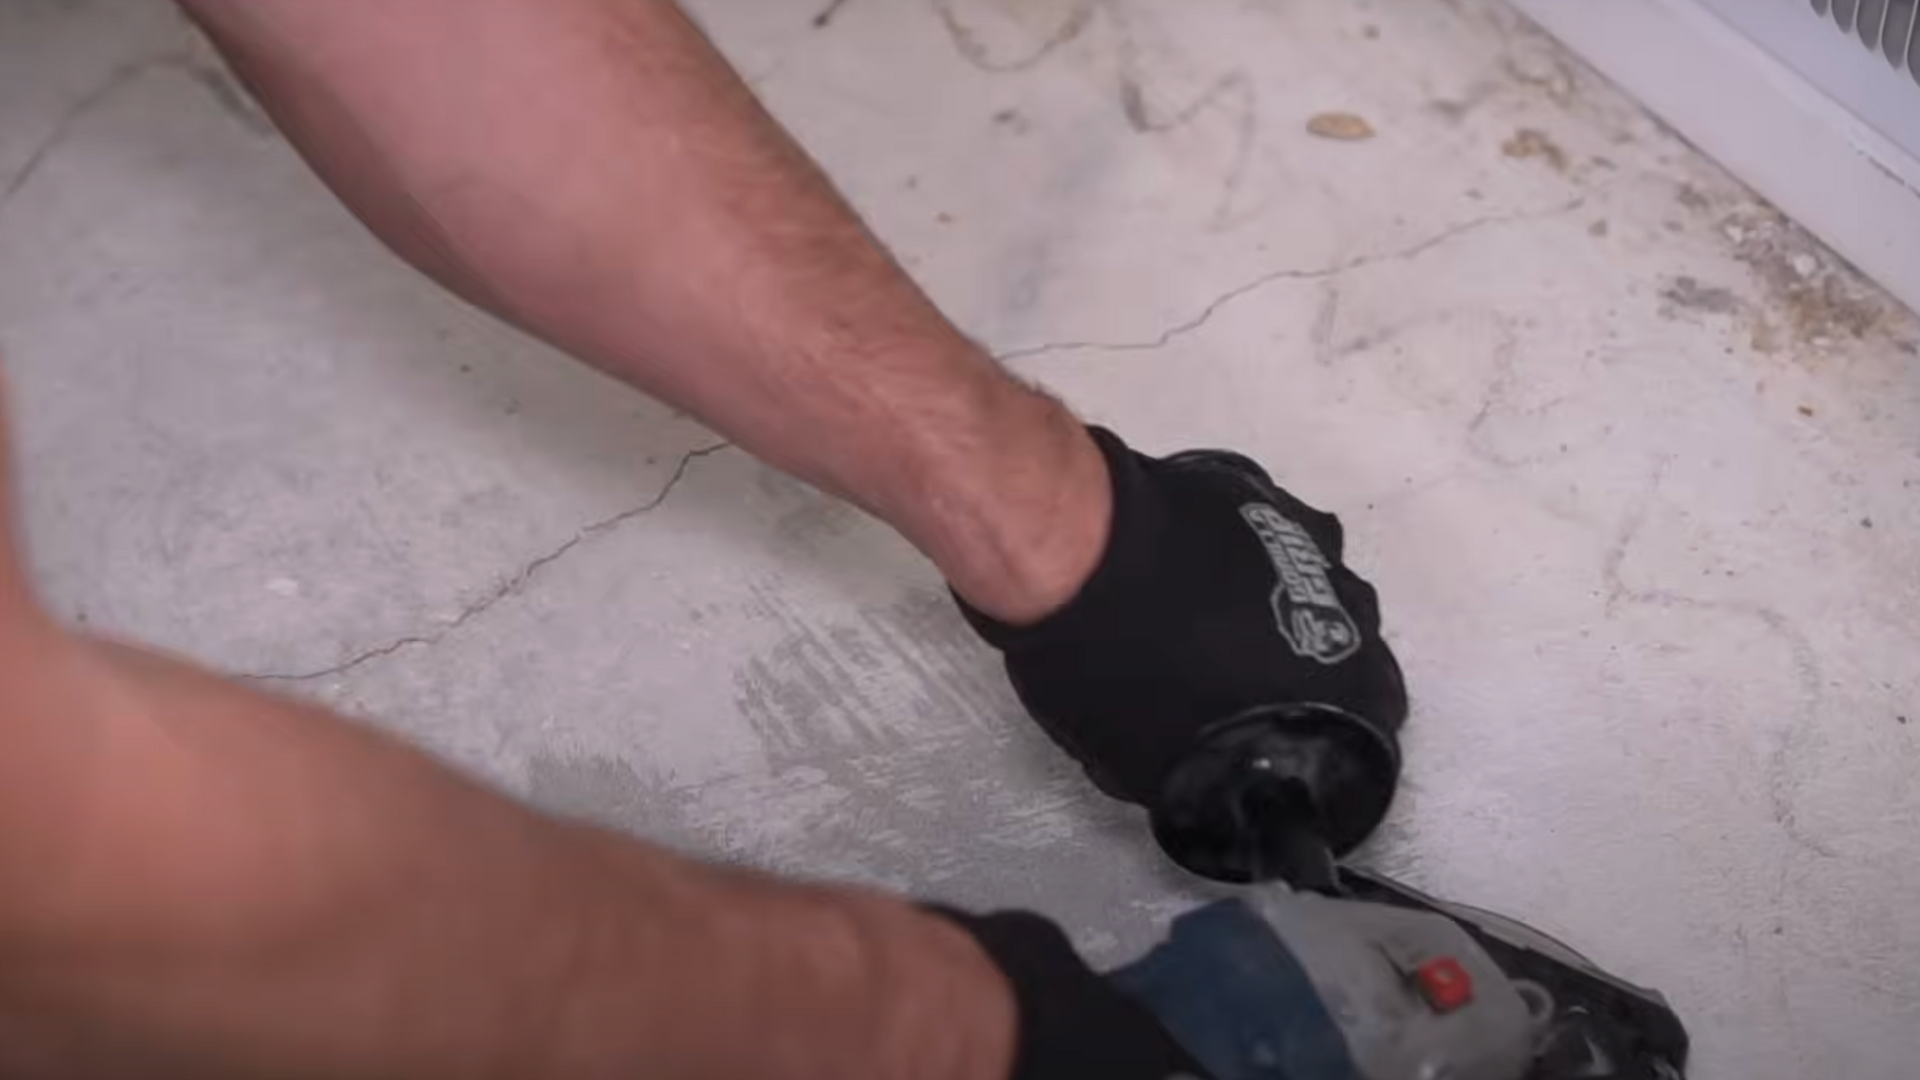
Before installing flooring, the subfloor must be clean, dry, and level. Sweep away all dust and dirt. Use a level to check if the surface is even.
If you find high spots, sand them down. Low spots need to be filled with a leveling compound.
The subfloor should feel solid and not move when you walk on it. If it creaks or bounces, repair it before proceeding. A strong subfloor keeps your flooring from shifting or breaking.
Take your time here. A solid foundation helps everything else fall into place smoothly.
2. Laying the Foundation
Start by laying underlayment if your flooring needs it. This thin layer smooths out the surface and helps with sound and moisture.
Roll it out across the room. Cut it to fit neatly around corners. Make sure the pieces don’t overlap. Tape the seams to keep them flat.
Read your flooring instructions to see which underlayment is best. Some floors come with it already attached.
Double-check before you skip this step. A well-laid foundation makes your floor last longer.
3. Use a Suitable Adhesive
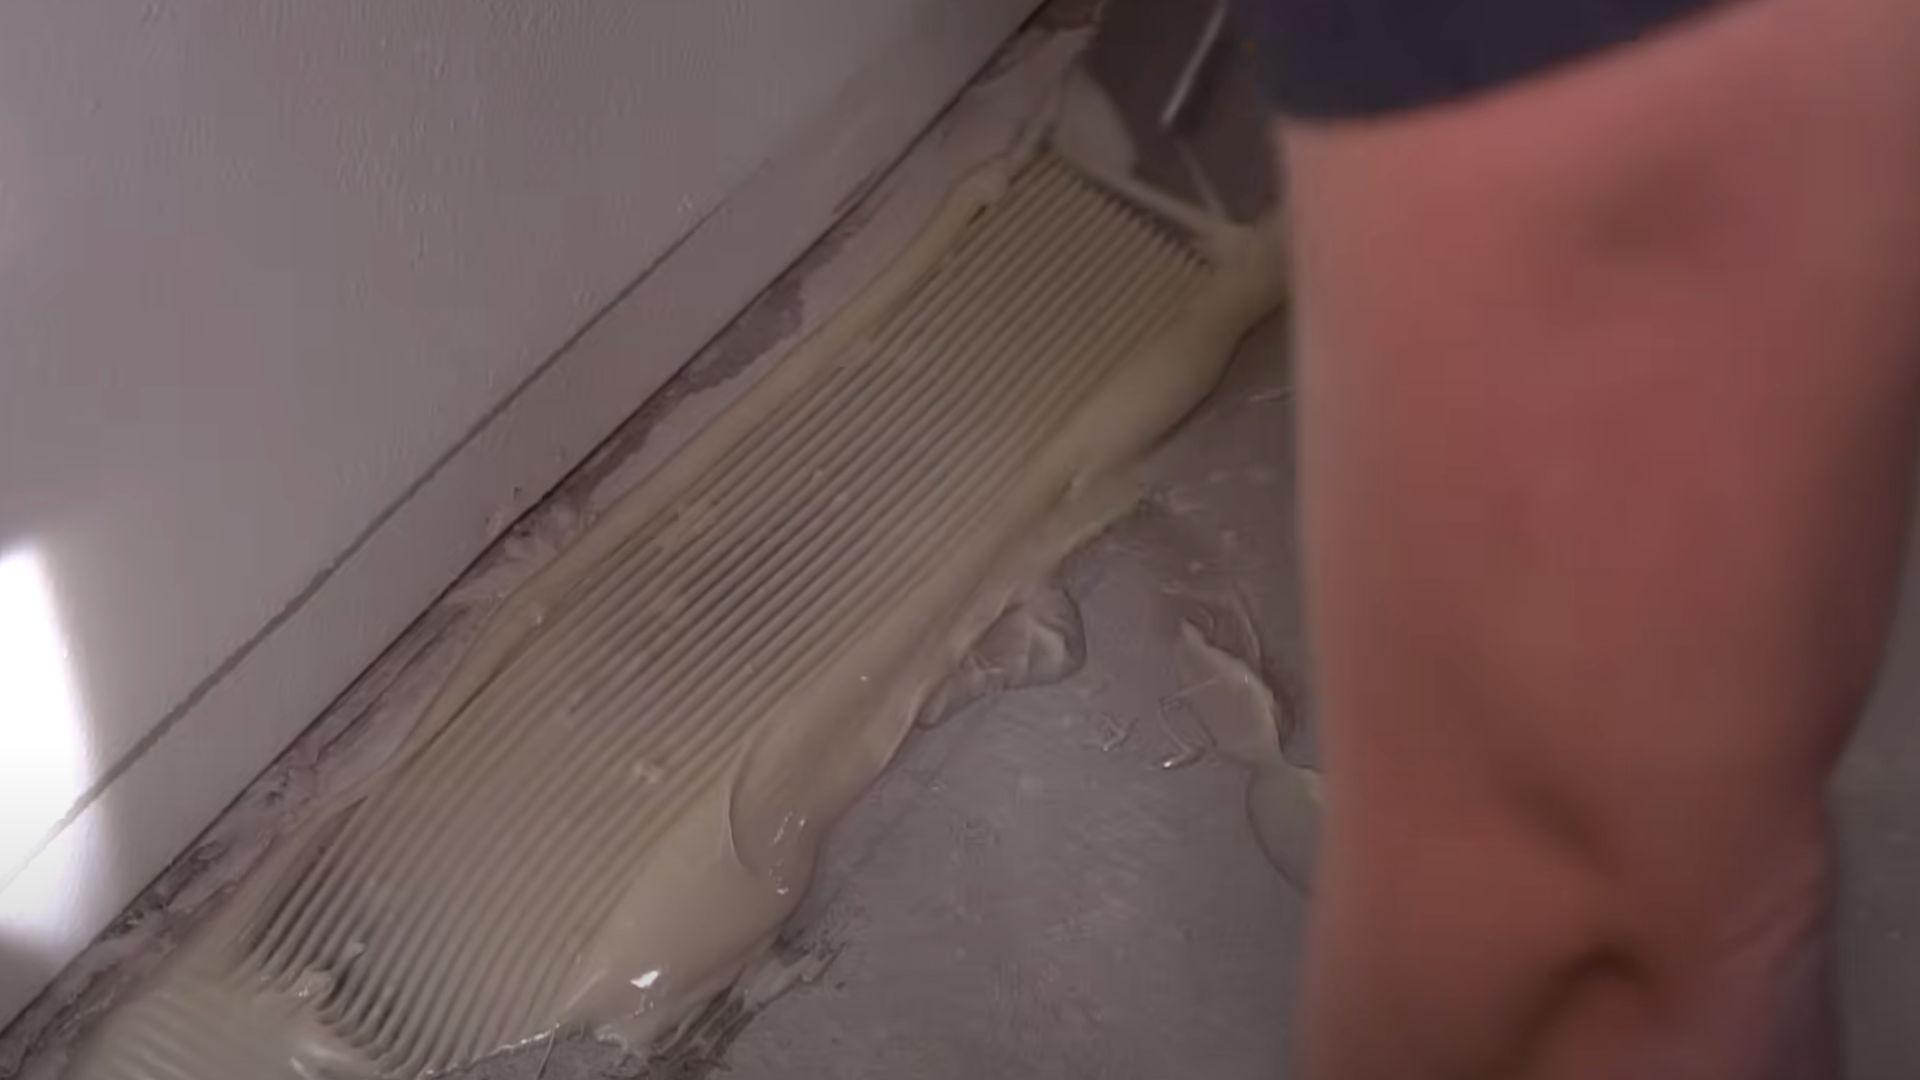
Different flooring types need different glues. Ensure you’re using the one specifically designed for your material. Spread the adhesive using a notched trowel.
Only apply as much as you can cover in 30 minutes. If it dries too fast, the flooring won’t stick right.
Follow the glue’s directions for drying time and spread thickness. Don’t rush this step. Sticky glue can get messy fast.
Keep a damp cloth nearby to wipe up spills right away. The right glue keeps your floor secure for years.
4. Installing the First Row
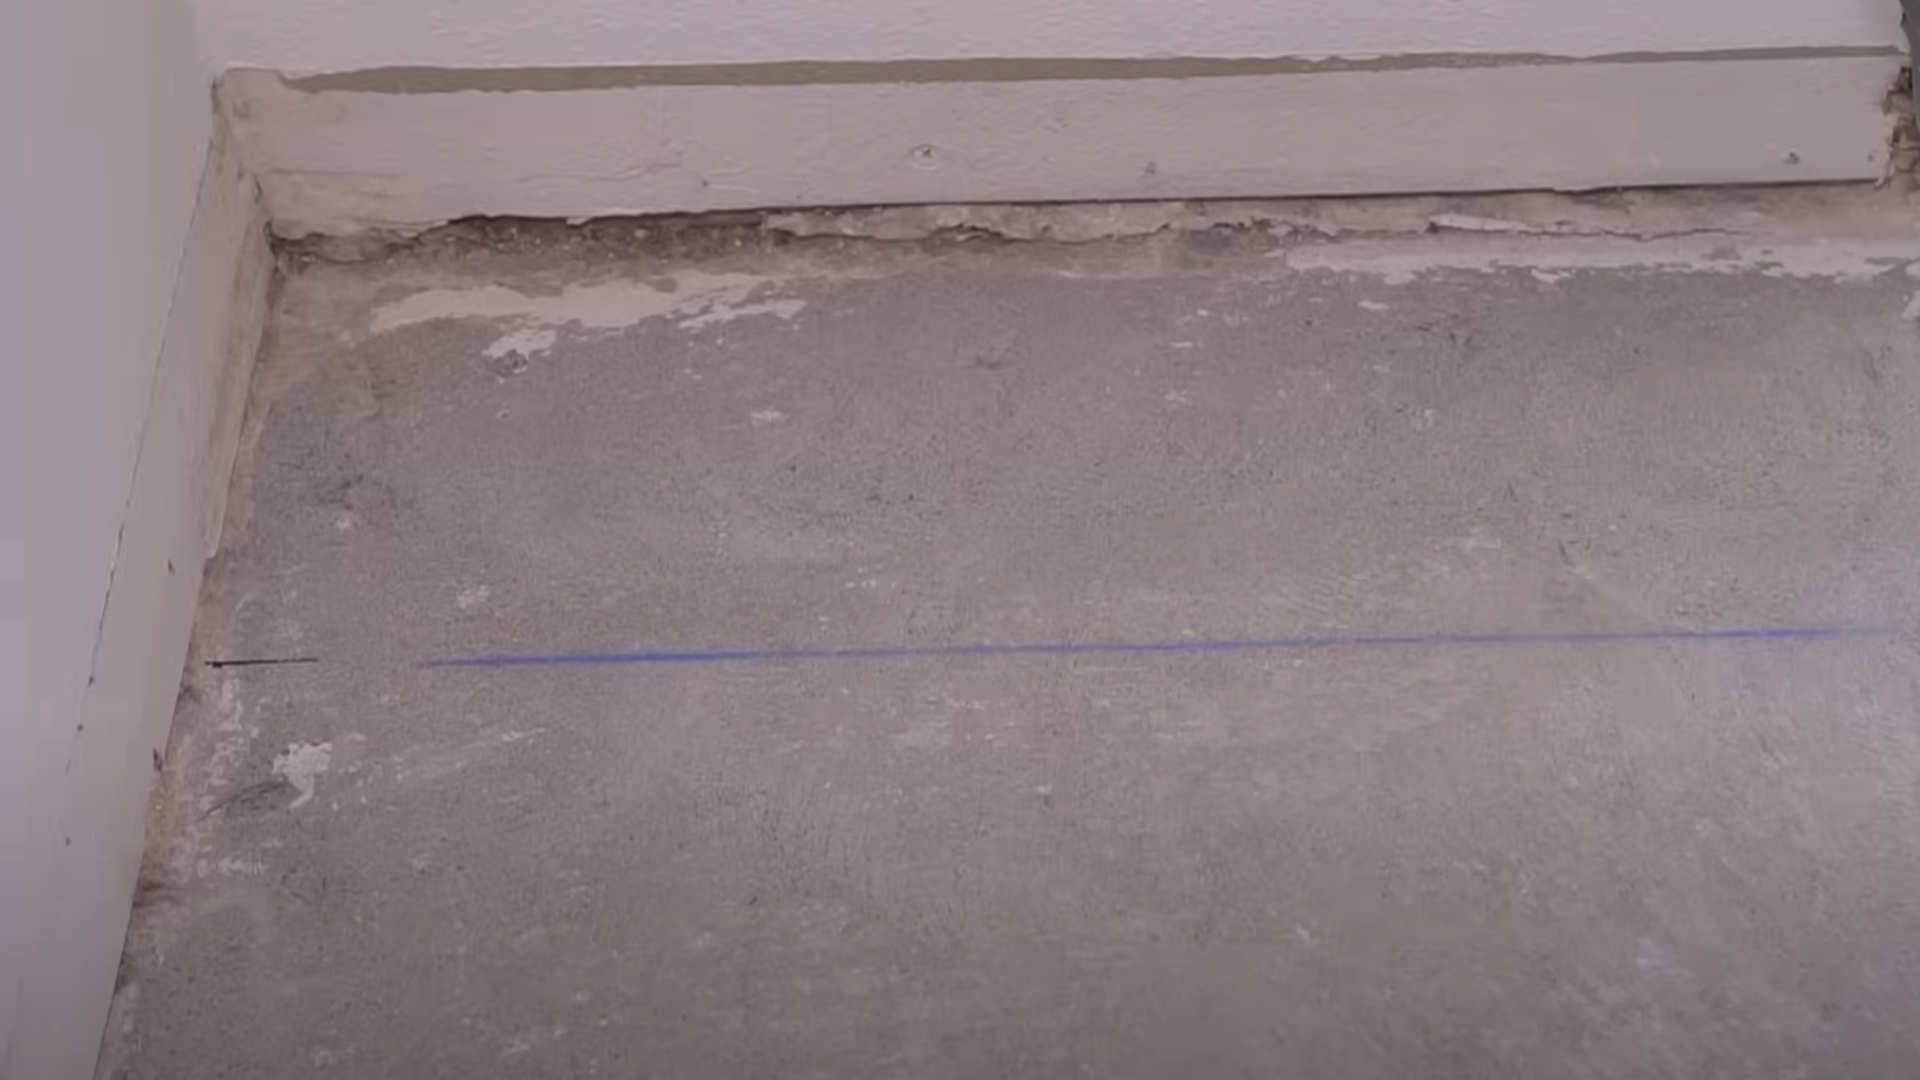
Lay the first row of flooring along the longest wall. Use spacers to keep a small gap between the flooring and the wall.
This gap helps the floor expand later. Ensure your boards are straight and tightly together. If the first row is off, the rest will be crooked too.
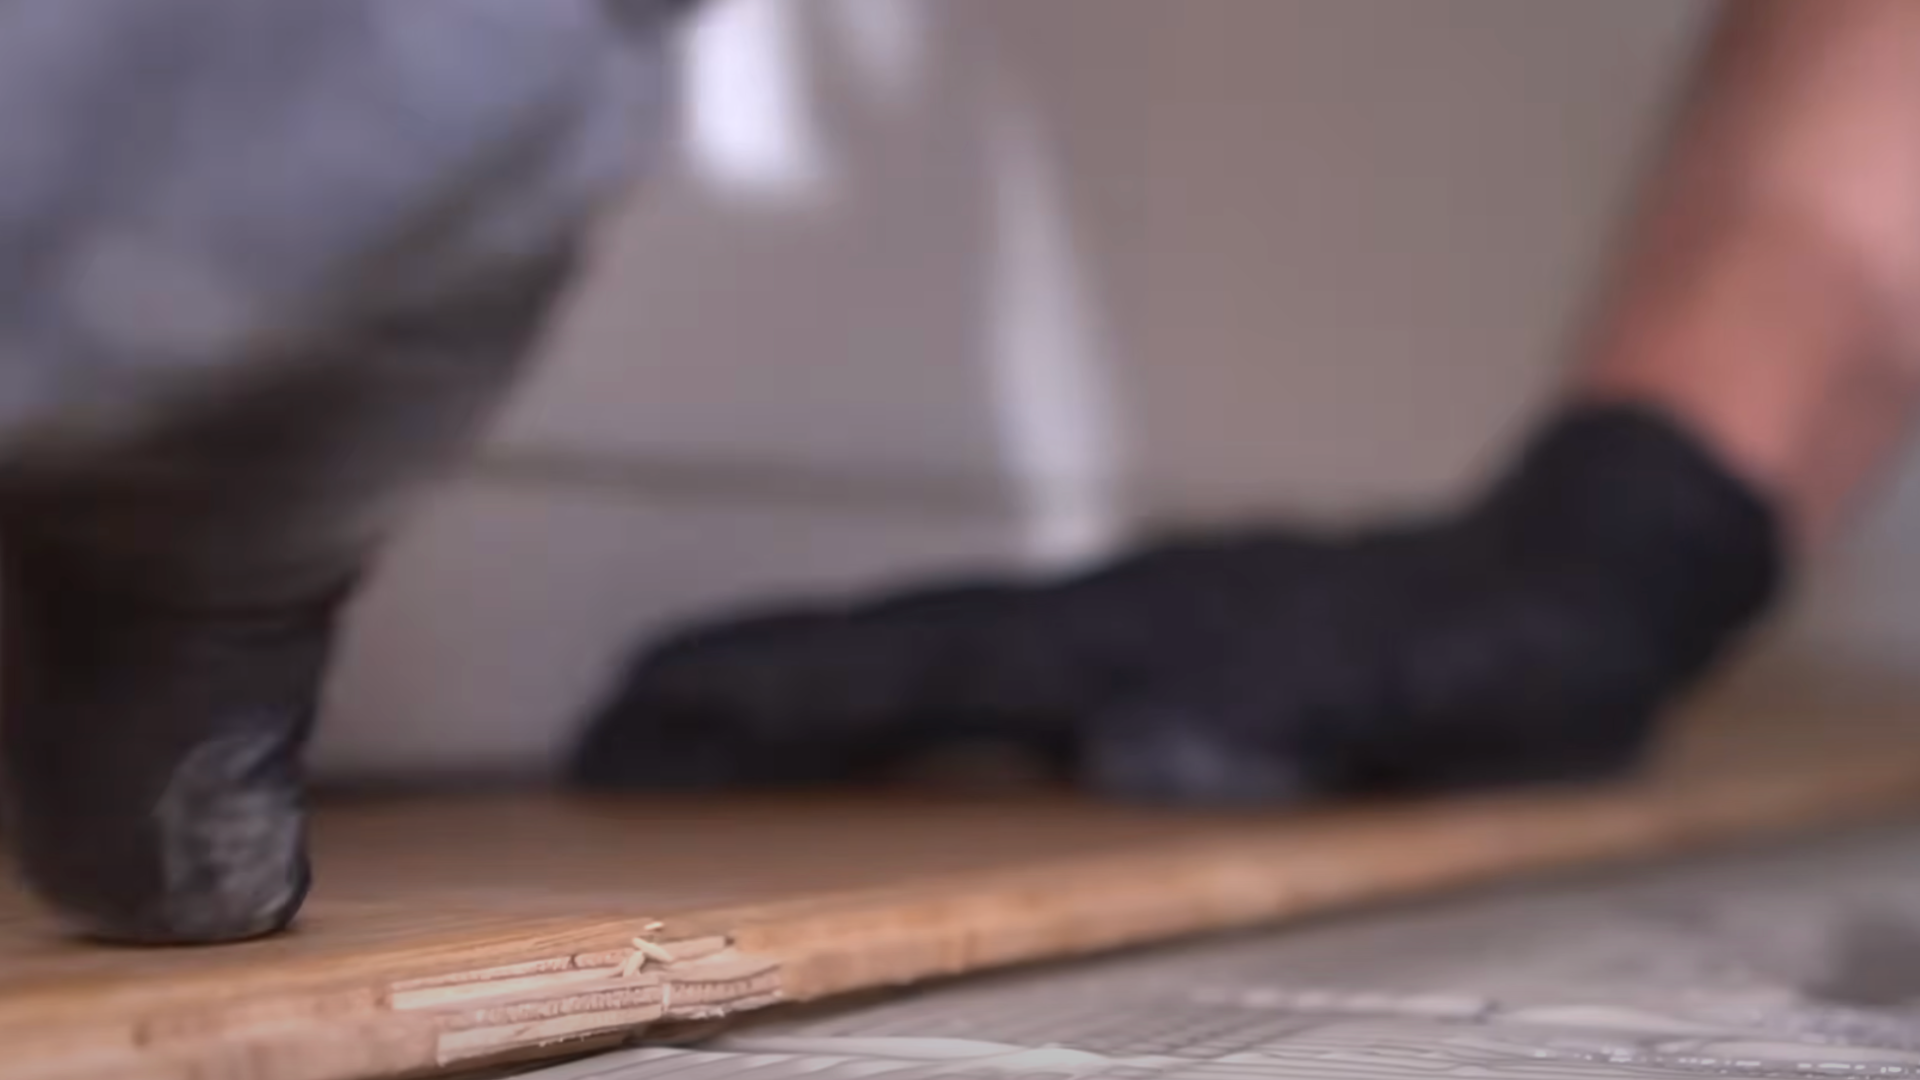
Double-check with a level before moving on. Tap boards gently into place with a tapping block.
Take your time. A good first row makes everything easier.
5. Staggering and Seaming
Start your second row with a shorter piece. This helps stagger the seams. A staggered pattern looks better and adds strength.
Try to offset each row by at least 6 inches. This stops seams from lining up in straight lines.
Always use the leftover piece from one row to start the next when possible. That reduces waste.
Make sure all seams are tight. Gaps can make your floor look sloppy and feel weak. Use your tapping block gently to close them.
6. Navigating Doorways and Trim
Doorways can be tricky. Use a jamb saw to trim the bottoms of the door frames. This lets the flooring slide underneath for a clean look.
Measure carefully before cutting your boards. Leave expansion space here, just like with the walls.
Use transition strips if you’re changing to a different floor in the next room. Around the trim, trace your cutout with a pencil first.
Then cut slowly and check the fit. Patience pays off in these tight spots.
7. Cleaning Up Adhesive
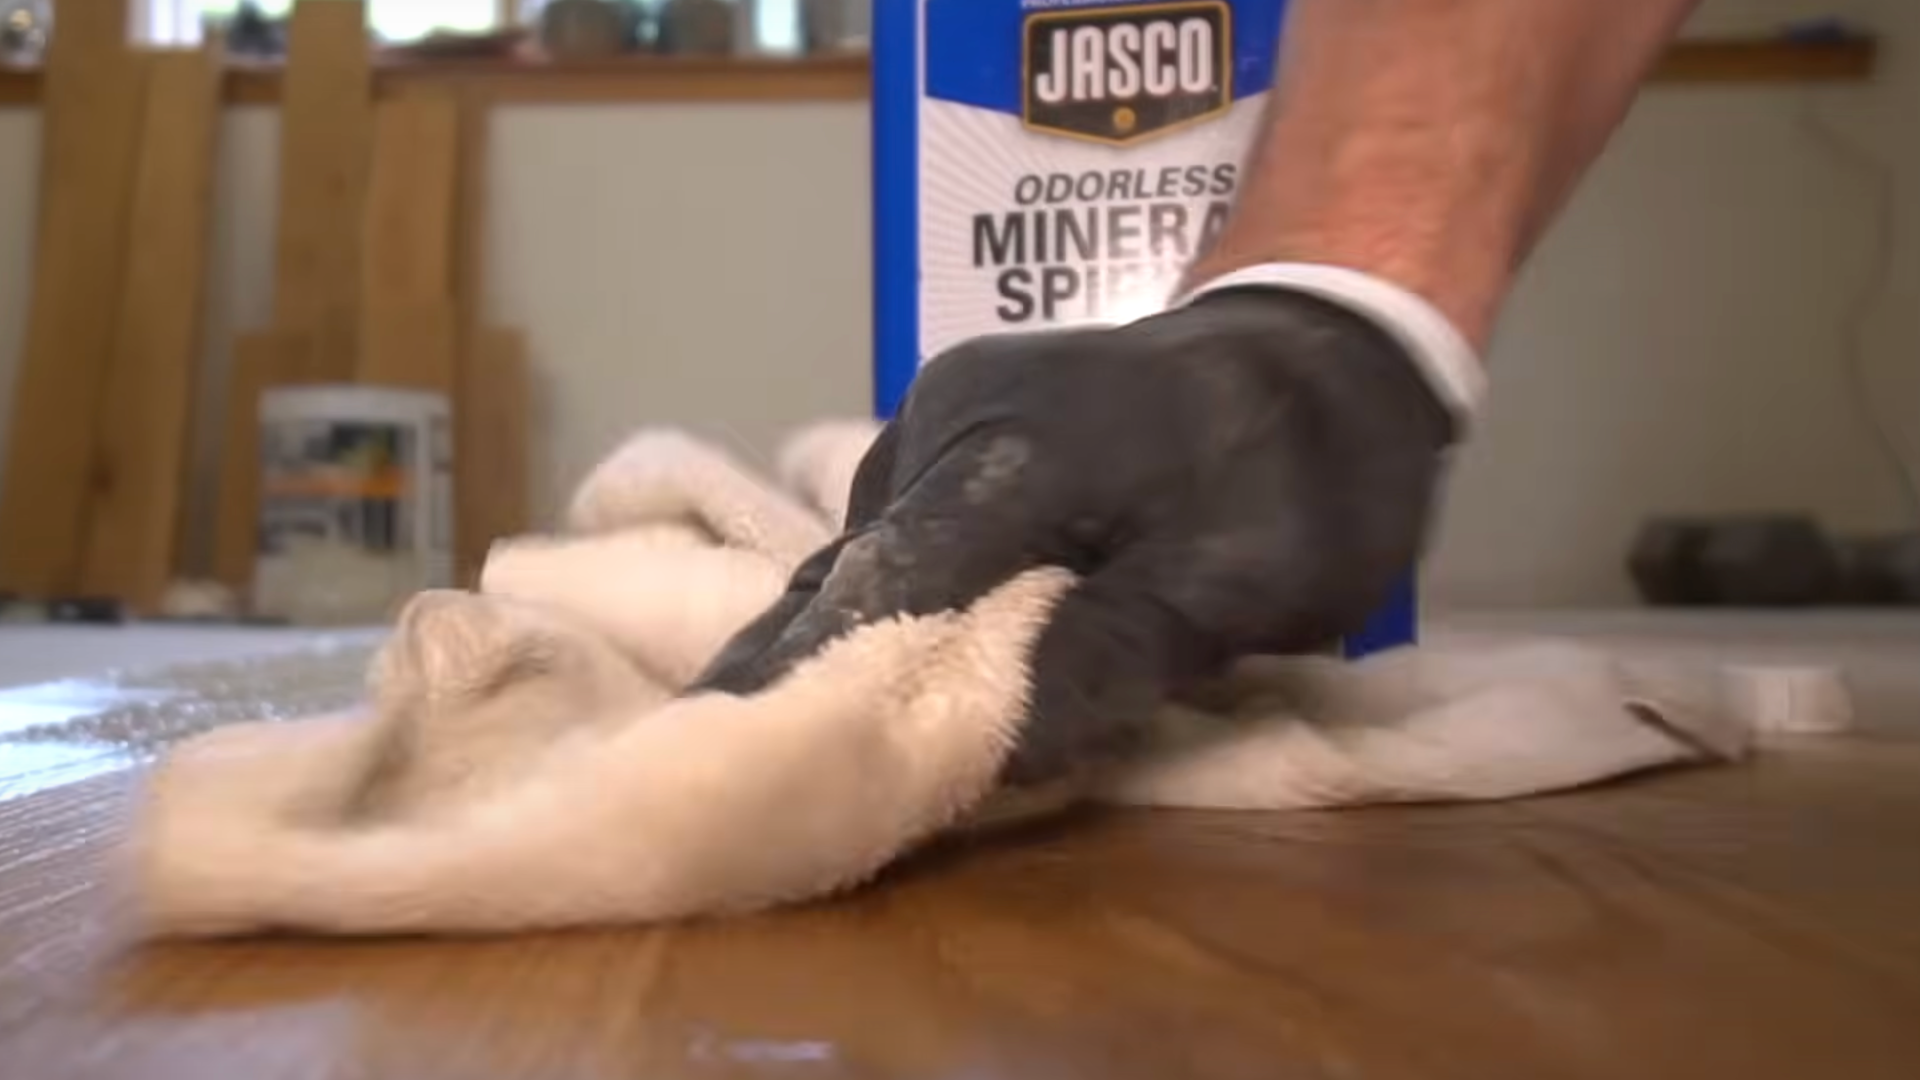
Adhesive can get messy. Wipe up spills right away with a damp cloth.
Dried glue is hard to remove without damaging the floor. Keep a trash bag nearby for used rags and wipes.
Clean your tools before the glue hardens. Follow the cleaner’s safety instructions if you use chemicals.
Work in a well-ventilated space. Don’t walk on glued sections until they are fully dry. Check the label for drying times. Clean as you go to save work later.
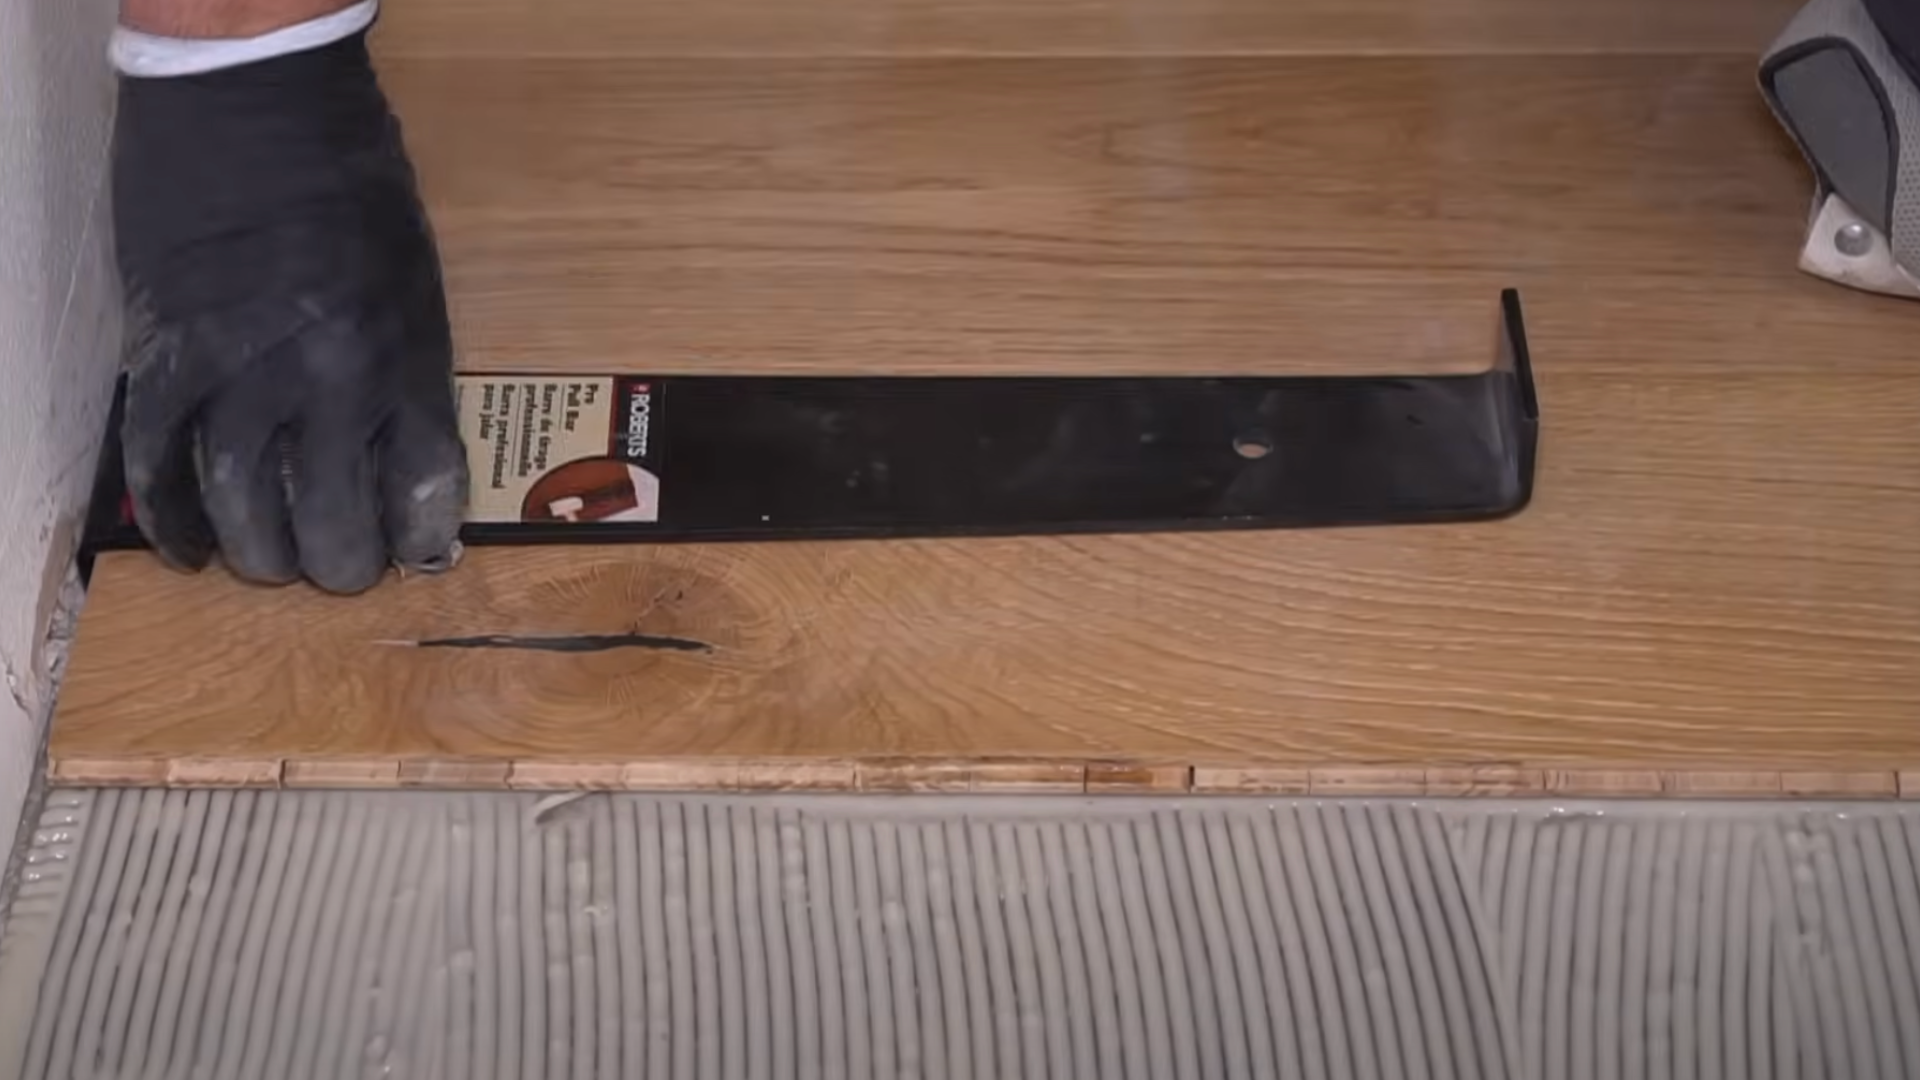
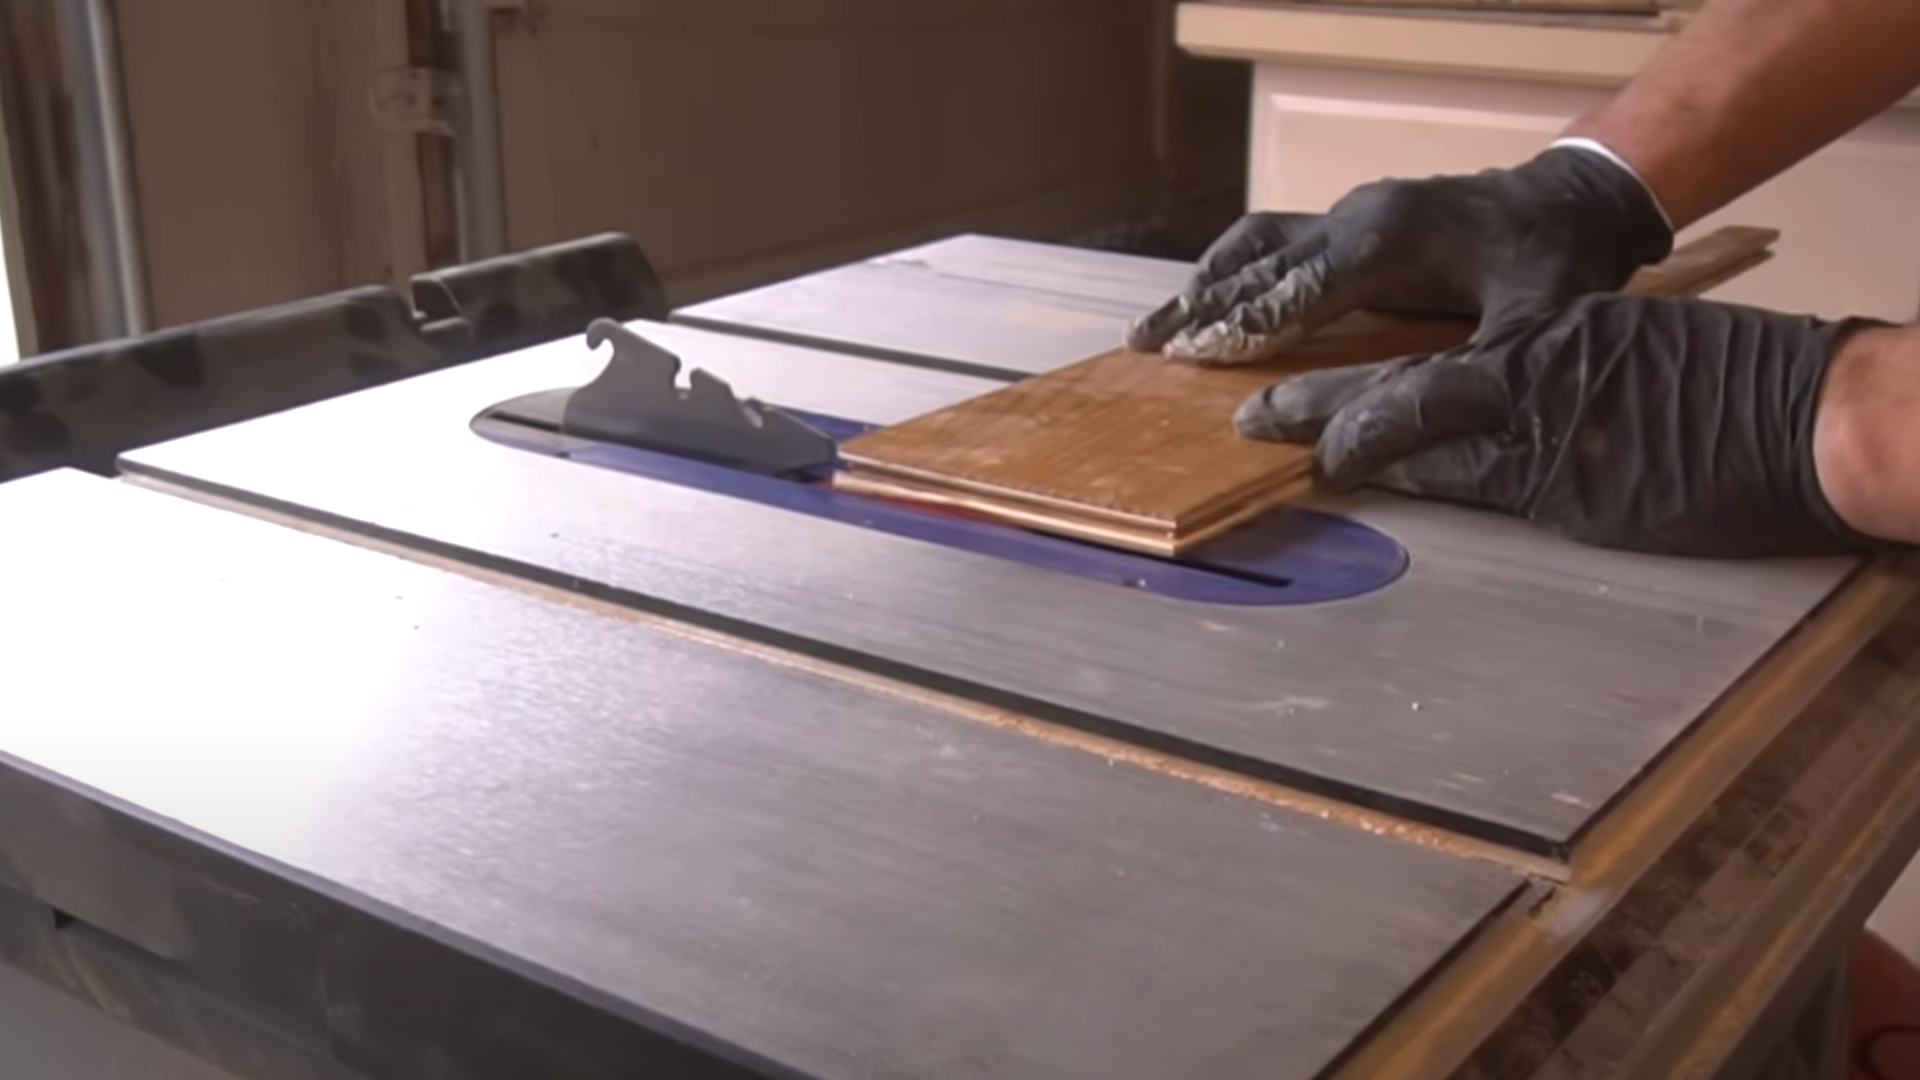
8. Last Row and Finishing

The last row usually needs to be trimmed. Measure the space left and cut your boards to fit.
Don’t forget the expansion gap near the wall. Use a pull bar to fit the final pieces in tight spaces. Once all boards are down, remove your spacers.
Install baseboards or quarter-round to cover the gaps. This gives your floor a clean, finished look. Wipe everything down to remove dust.
Let the floor rest as recommended before putting furniture back.
Want to see the steps in action? Watch this video from @BYOTools. It is helpful and provides an easier way to convert your window into a door.
Post Installation Tips
Once your glued wood floor has fully cured, a little care goes a long way in keeping it looking great and lasting for years. The key tips I follow to protect my investment are:
- Use wood-specific cleaners only: Harsh chemicals and soaps can damage the finish and may even weaken the adhesive over time.
- Maintain steady humidity (30–50%): Excessive moisture or dryness can still cause shifting or cracking, even with glue-down installations.
- Add felt pads to furniture legs to help prevent scratches. Always lift heavy furniture instead of dragging it.
- Sweep often: Dirt and grit act like sandpaper and can dull your floor’s surface fast.
- Refinish as needed: For high-traffic areas, plan to reapply the finish every 3–5 years to maintain surface protection.
- Fix problems early: If you notice any boards lifting or adhesive failure, address it promptly to prevent more significant issues later.
Taking just a few simple steps can make a big difference in how your wood floor looks and performs over time. Treat it well, and it’ll reward you with years of beauty and durability.
Conclusion
Gluing down wood flooring takes a lot of time and effort, but the strong and steady results make all the work worth it in the end.
Once installed, your glued-down floor won’t shift around, squeak, or show the common problems that often happen with other types of flooring setups.
It gives your room a solid, lasting feel that looks professional and stays that way for years.
Patience is the most important part of this project. From the start, letting the wood get used to your home’s air, to the final step of curing the adhesive, rushing can mess things up.
If you skip or hurry through any part, the results might not last or look as good.
So take your time, follow the steps in this guide, and you’ll have a beautiful, long-lasting wood floor.
Have you tried gluing down wood flooring before? Do you have questions about anything in the process?
I’d love to hear about what worked for you or help you through any parts that seem tricky. Drop your thoughts below!