
Sick of looking at your scratched and dull hardwood floors? I’ve been there too, staring at worn-out planks and thinking I needed to hire someone to get them looking good again.
But then I found out what a drum sander could really do, and it changed everything.
This powerful tool can remove years of damage in just one pass, like giving your floors a clean slate.
But don’t be fooled, drum sanders are strong and can quickly damage your floor if you’re not careful.
In this guide, I’ll show you how to use a drum sander correctly. I’ve made all the beginner mistakes, so you won’t have to.
After following these tips, you’ll know how to sand your floors safely and make them look amazing.
I’ve refinished lots of floors and learned the best tricks through trial and error. Stick with me, and you’ll be proud of how your floors turn out.
Tools and Materials You’ll Need
Before you start sanding, make sure you have everything you need. It’s a real headache to get halfway through the job and realize you’re missing something.
- Drum sander (rent from your local hardware store)
- Edge sander (for corners and edges)
- Sandpaper rolls (various grits: 36, 60, 80, and 100)
- Dust mask or respirator
- Safety glasses
- Ear protection
- Work gloves
- Broom and dustpan
- Shop vacuum
- Tack cloth
- Hammer and nail set (for sinking protruding nails)
- Wood filler (for cracks and holes)
- Extension cords
- Painter’s tape (to protect baseboards)
Having everything ready before you start will make the job go much smoother. Trust me, you don’t want to stop in the middle of sanding to run to the store!
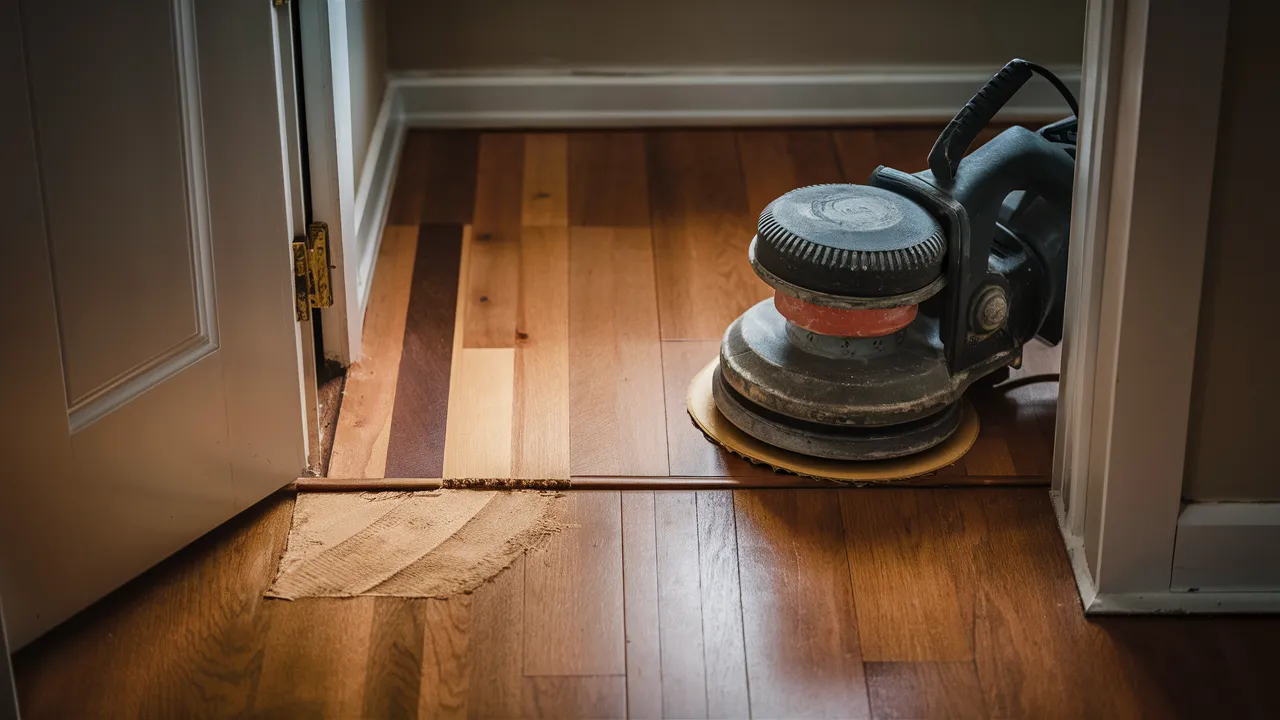
How to Use a Drum Sander?
A drum sander is a powerful tool that can transform worn-out hardwood floors into beautiful, smooth surfaces. However, it requires careful handling.
The drum rotates at high speed, removing a thin layer of wood with each pass. Follow these steps for the best results.
1. Prepare the Room
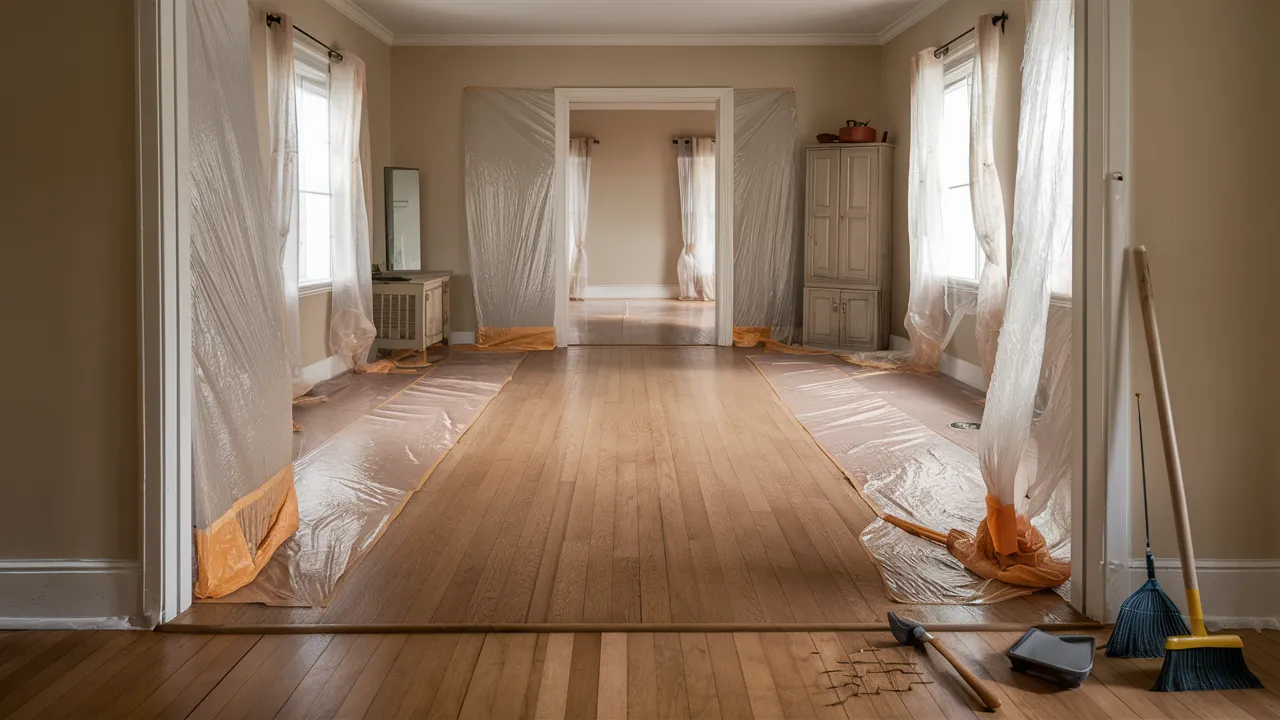
Start by clearing out everything, furniture, rugs, and even the curtains. Sanding creates a huge amount of dust, and you don’t want it spreading around.
Look over the floor and pound down any nails or staples sticking up. These can ruin the sandpaper or even damage the machine.
Cover all doorways and air vents with plastic sheeting to keep the dust inside the room. Sweep the whole floor really well.
Even a little leftover debris can scratch the surface or make sanding uneven. A clean room makes the job easier and helps protect your sander from getting damaged.
2. Repair the Floor
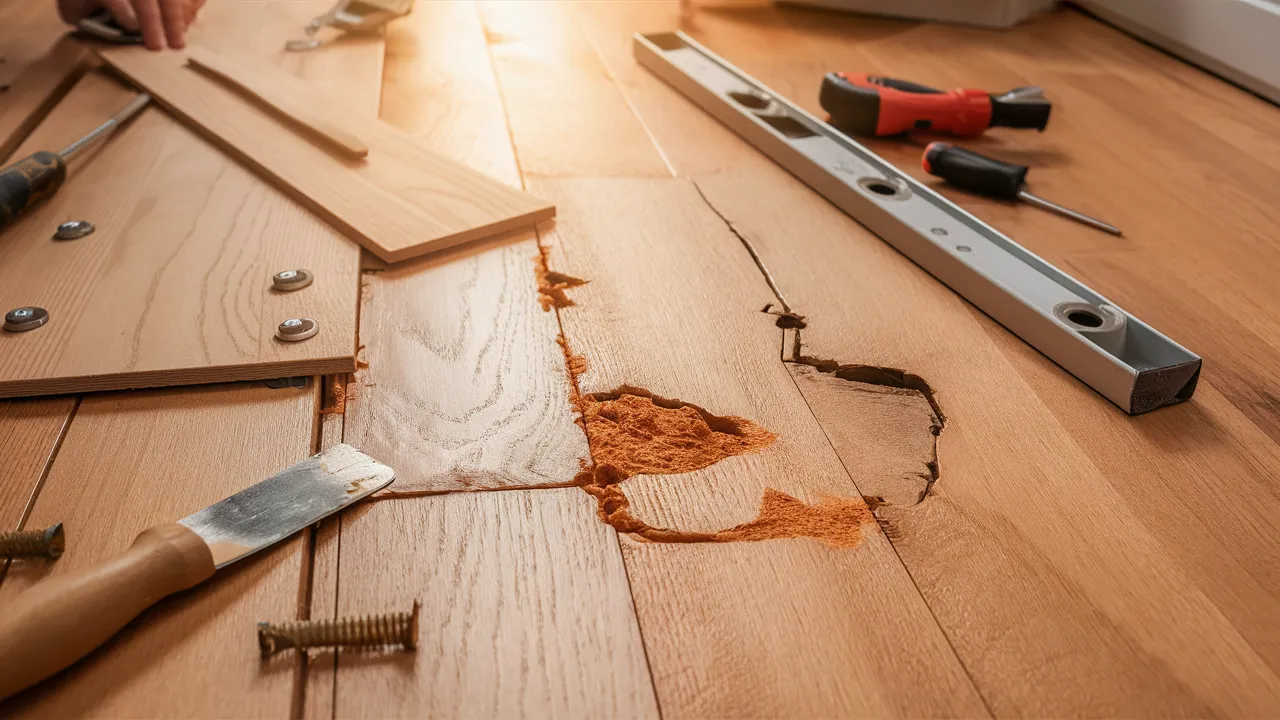
Before you begin sanding, take time to fix what’s already broken. Fill in any cracks, dents, or holes with wood filler.
Make sure it dries fully before proceeding. If broken boards can’t be fixed, replace them, and check that everything is level and tight.
Walk around and listen for squeaks. If boards make noise, screw them down securely. Fixing problems now helps the sanding go smoother and makes your floor look better in the end.
Skipping repairs can lead to uneven results and more problems later, so even if you’re eager to start sanding, don’t rush this step.
3. Choose Your Sandpaper Grit Sequence
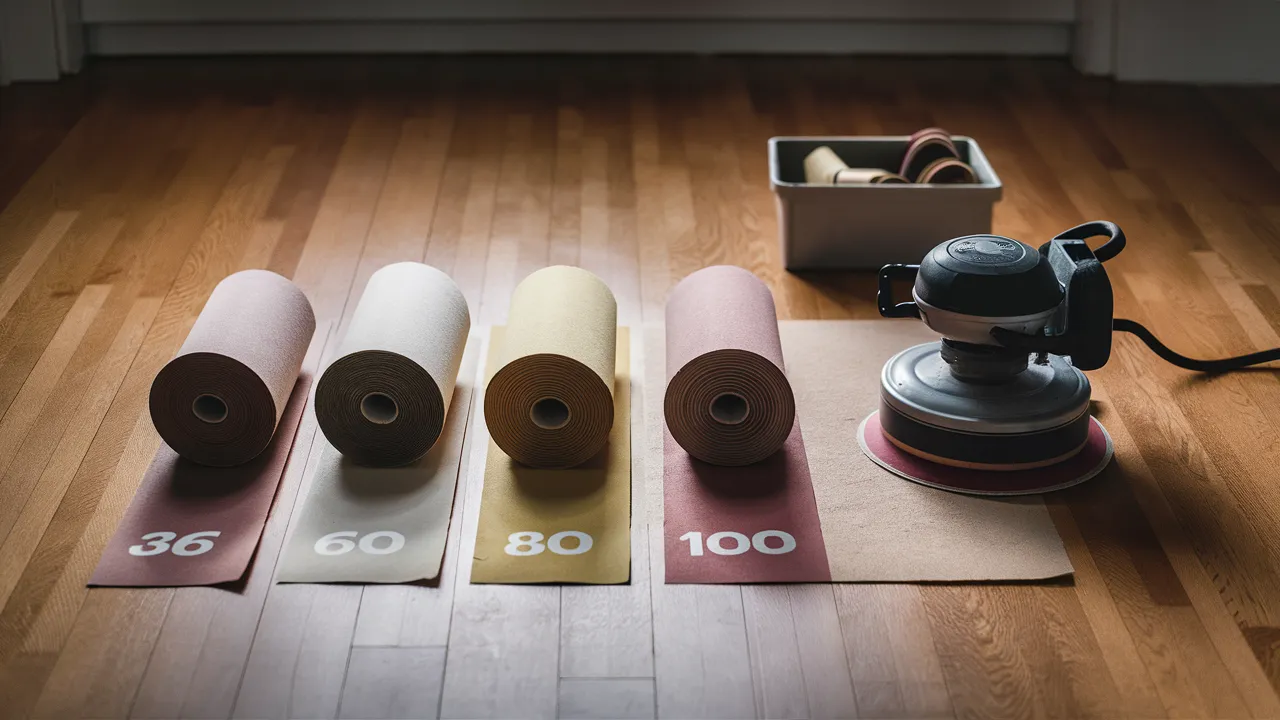
You can’t use just one type of sandpaper. Start rough and work your way to smooth. If your floors are badly worn or have a thick old finish, begin with 36-grit sandpaper.
It removes a lot fast. Next, move to 60-grit to clean up those deep scratches. Then go to 80-grit, and you’ll start to feel the floor smooth out.
Finish with 100-grit for a soft and clean surface.
This final grit gets the wood ready for stain or sealant. Skipping grits might seem faster, but it leaves behind rough patches and marks that are hard to fix later.
4. Load the Sandpaper onto the Drum Sander
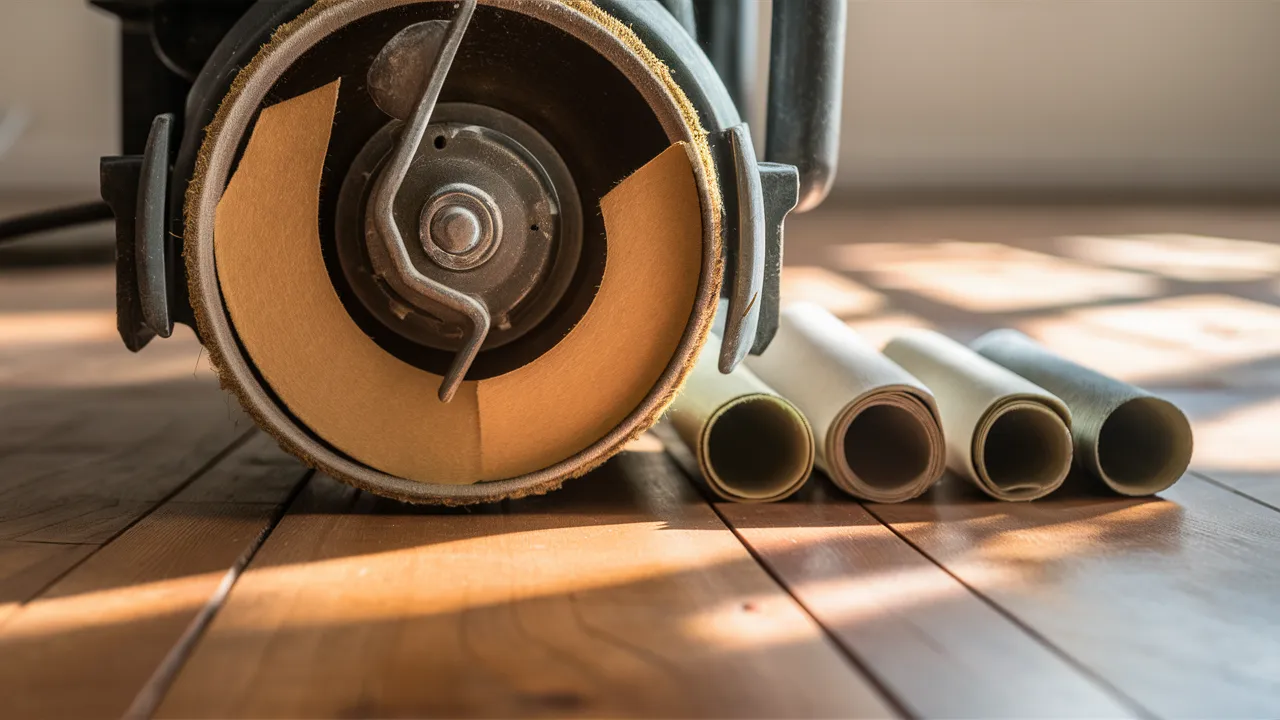
It’s important to load sandpaper the right way. Each drum sander may be slightly different, so follow the instructions that came with it.
Usually, you’ll open a tension lever, slide the paper in place, then close the lever again. Make sure the sandpaper sits flat and tight with no wrinkles or gaps.
If the paper is loose or off-center, the sander will not work properly and might leave scratches or gouges.
Take your time here. A good setup makes the whole sanding process go smoother and gives you better results from the very first pass across the floor.
5. Wear Your Safety Gear
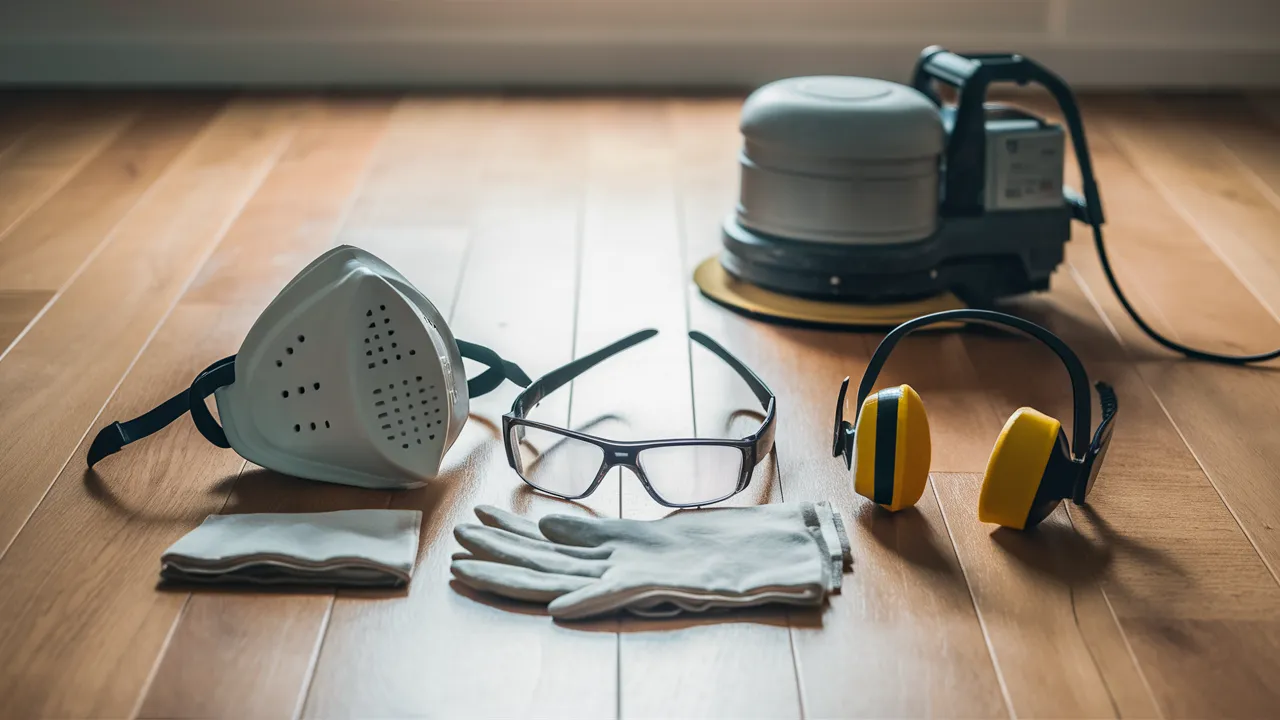
Don’t skip safety. A drum sander kicks up tons of dust and makes a lot of noise. Always wear a dust mask or respirator to prevent breathing in harmful particles.
Put on safety glasses to protect your eyes, and use earplugs or earmuffs because the machine is loud enough to hurt your hearing. Gloves can help you keep a firm grip and protect your hands.
You’ll be working with strong tools for a long time, so it’s better to be safe. Your health matters more than the floor, so gear up before turning the machine on.
6. Test the Sander in a Hidden Area
Before sanding the main floor, try the machine in a spot that’s not easily seen, like a closet or corner.
Start the machine with the drum lifted off the floor. Lower it slowly onto the surface while it’s already running.
Please make a short pass and check what it did. Did it remove the finish well? Is it sanding too deep?
This test run helps you learn how fast to move and how much pressure to use. It’s better to make a mistake in a hidden spot than in the middle of the room, where everyone can see it.
7. Sand with the Grain of the Wood
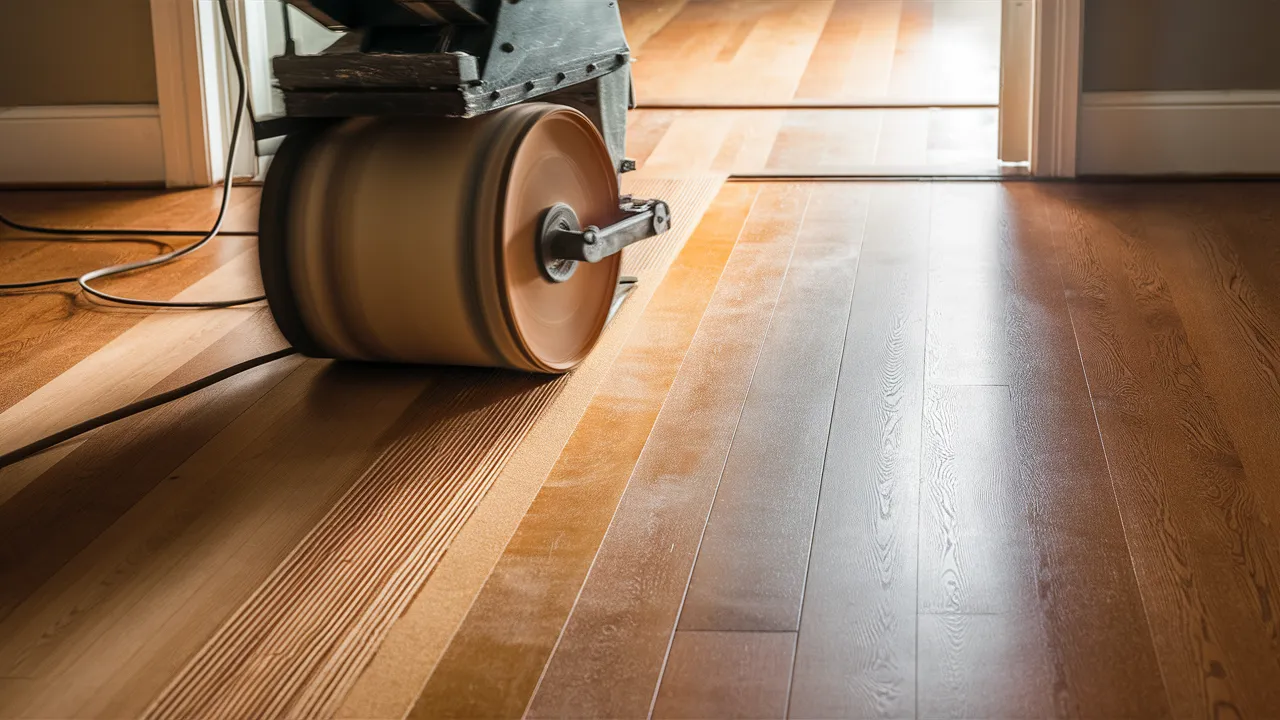
Always sand in the same direction as the wood grain. Going the other way leaves deep scratches that are hard to fix.
Start at one wall and work toward the door so you don’t trap yourself.
Keep the sander moving at all times. If you stop while the drum is down, it will dip in the floor. Walk at a slow, even pace, about as fast as a slow walk.
Let the machine’s weight do the work for you. Don’t press down. Keep your movement smooth and steady to get better results.
8. Overlap Each Pass Slightly
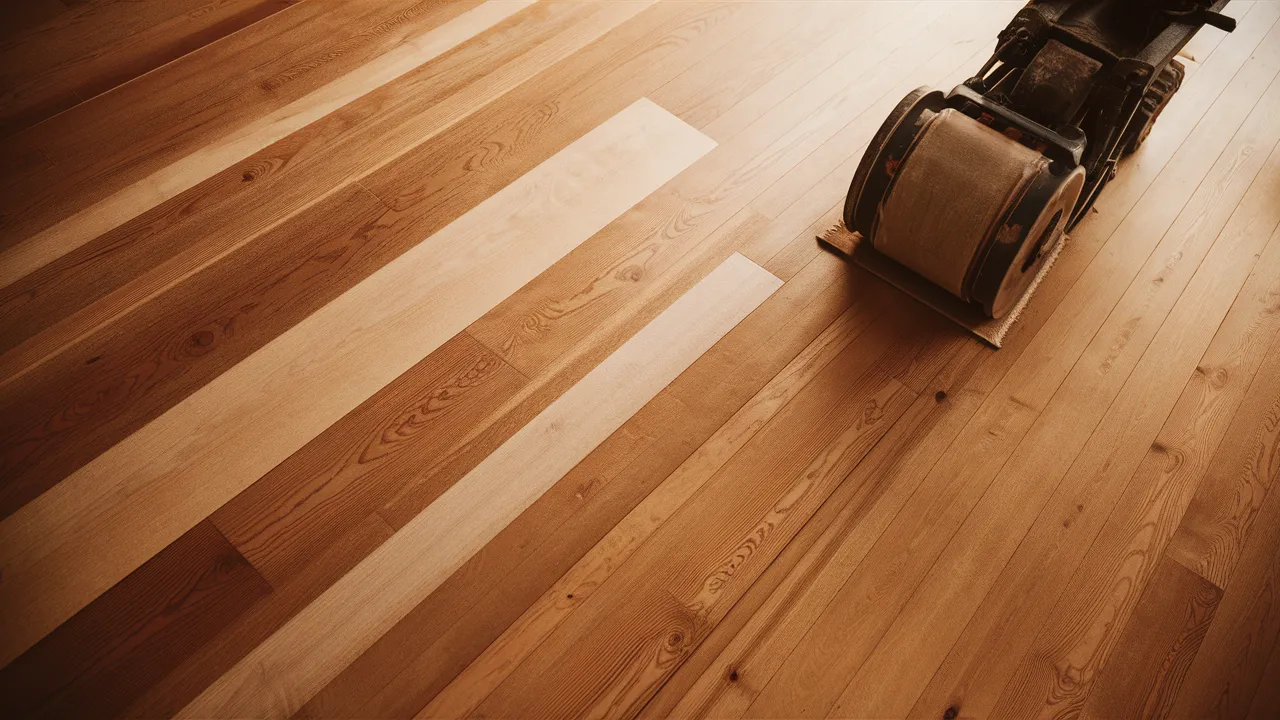
Don’t miss spots while sanding. Overlap each pass by about one-third of the sander’s width. Think of it like mowing a lawn, you want every part of the floor to get even attention.
Watch closely as you sand. Areas that have been done will look different than those with an old finish.
If you notice a missed strip, don’t panic. You’ll usually cover it on your next pass, especially when you switch to finer grits.
Staying careful and consistent keeps your floor smooth and helps you avoid extra work later. A little overlap goes a long way toward great results.
9. Change Grits and Repeat
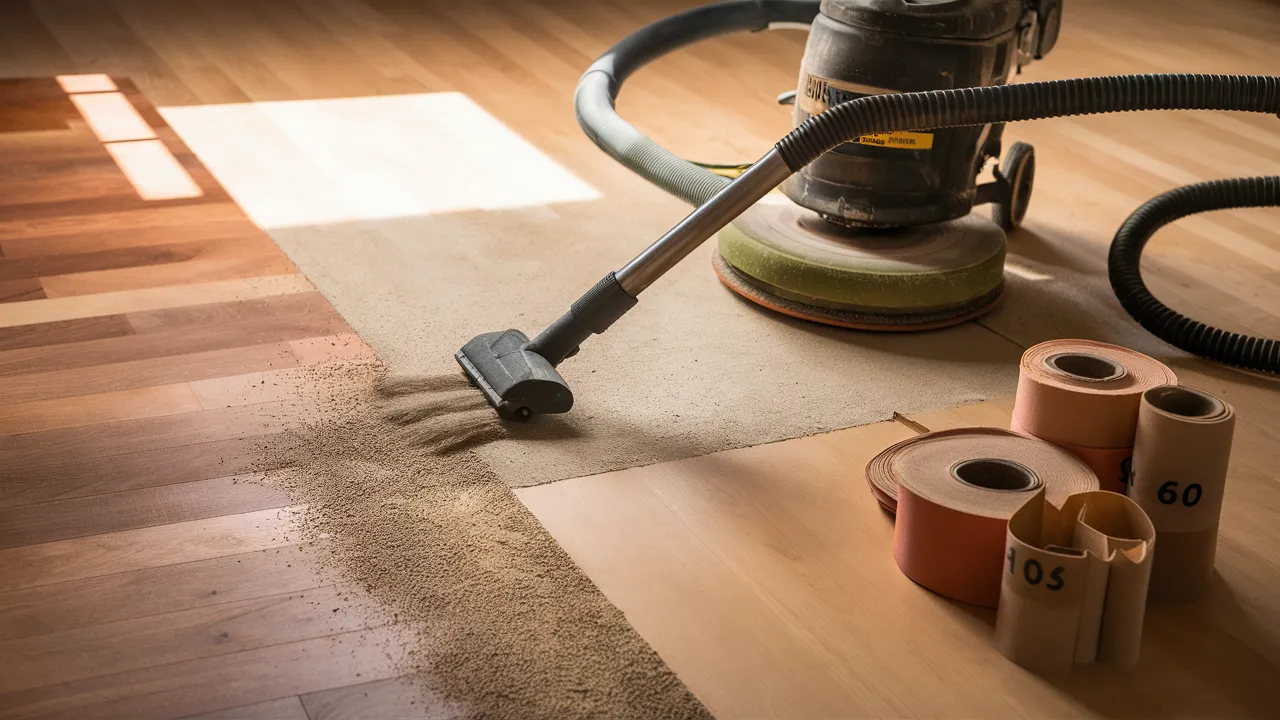
Once you finish sanding with the first grit, vacuum the whole floor very carefully. You need to remove every bit of dust.
Then, load the next finer grit into the sander and repeat the same pattern.
Sand again, clean, and move up to the next grit. The steps are the same, but each pass gets easier and faster.
Remember your grit order: 36, 60, 80, then 100. Don’t skip steps. Each grit smooths out the marks from the one before.
By the end, your floor should feel soft and ready for stain or finish.
10. Use an Edge Sander for Corners
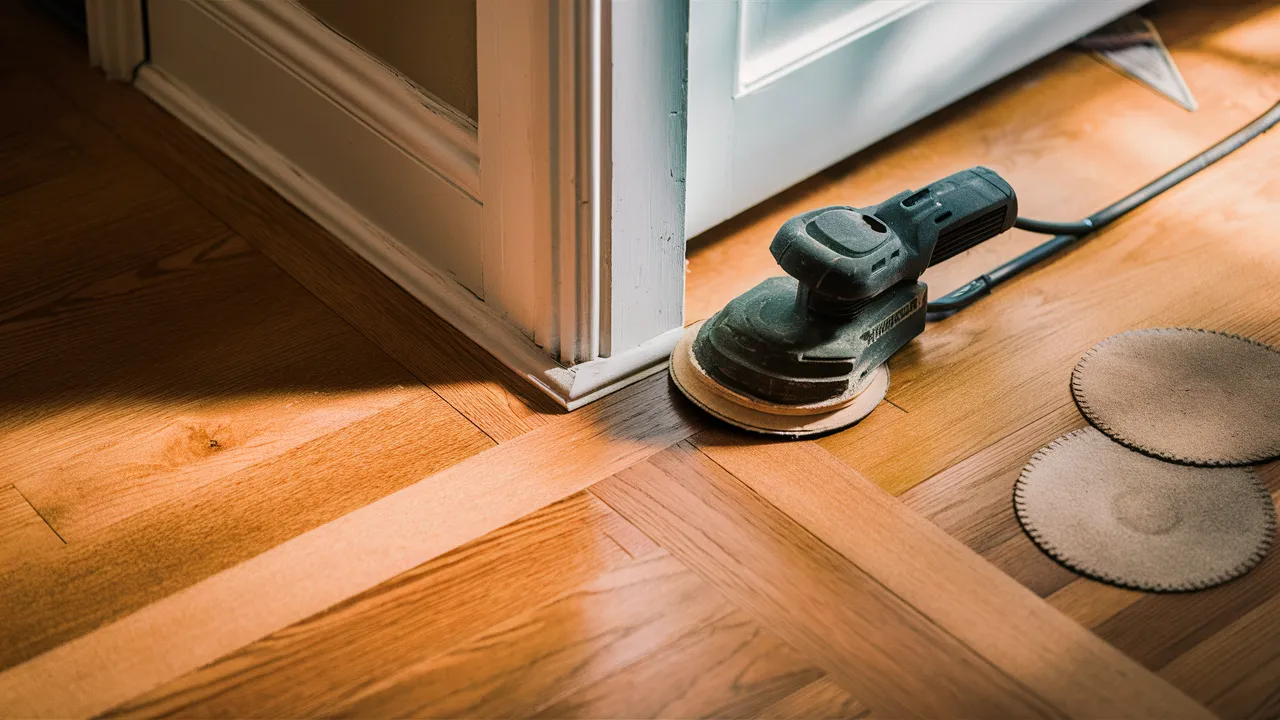
The big drum sander won’t fit into corners or along the baseboards. That’s where the edge sander comes in.
To match the look and feel, use the same grit you used with the drum sander.
Be careful, edge sanders are powerful too, and can leave marks if you stay in one spot too long.
Move steadily and make sure to sand every part of the edges. Watch out for baseboards and door frames.
These areas are easy to miss, but they’ll stand out once the floor is finished. Take your time and double-check your work along every wall.
11. Clean Thoroughly Between Each Stage
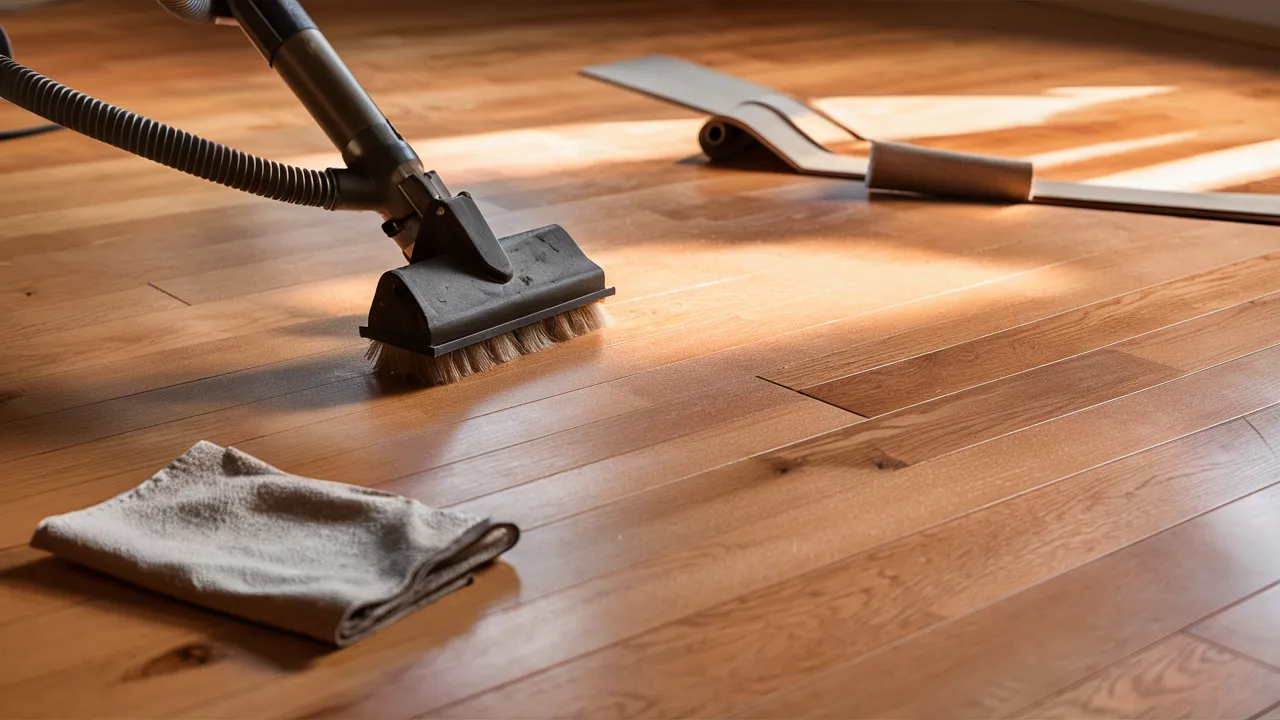
Cleaning up after each sanding pass is super important. If you don’t, leftover dust can scratch your floor when you go over it with finer sandpaper. Use a shop vac to clean the entire room.
Get into corners, along edges, and anywhere dust might hide. After vacuuming, wipe down the floor with a tack cloth to catch the fine dust.
Check in bright light to make sure the surface is completely clean.
Only move on to the next sanding grit when the floor is spotless. Skipping this step can undo all the work you’ve done so far.
Common Mistakes to Avoid
Even if you follow directions closely, it’s still easy to mess up while sanding floors. One big mistake is letting the sander sit in one spot too long.
That can leave deep dips in the floor that are almost impossible to fix. Another common mistake is skipping grits to save time, but each grit smooths out the marks from the last.
Remember to clean between grits, too, because leftover dust will scratch your floor. Corners also need special care with an edge sander; rushing that part will leave rough spots.
If your sandpaper looks worn, change it. Dull paper won’t sand well and makes the job harder.
Many people rush the job, but sanding takes time and should be done slowly. Give yourself the whole weekend for one room. Most importantly, always wear your safety gear.
Dust can hurt your lungs, and the machine is loud enough to damage your ears. Protecting yourself is just as important as doing the job right.
Conclusion
Using a drum sander, you can refinish your hardwood floors like a pro, right at home.
It may look tough at first, but with patience and the right steps, you can turn worn-out, scratched floors into something clean, smooth, and beautiful.
The trick is to take your time and not rush.
If you go too fast, you might leave uneven spots or even damage the floor, something that could cost you more later.
Stick with the sanding order, starting from the roughest grit and slowly moving up to the finest.
Make sure the sander never stops while it’s touching the floor, and keep a steady pace as you go.
By the end, you’ll see a huge difference, and it will be a great feeling to know you did it yourself. I’d really like to hear how your project turns out.
If you find any tips or learn something along the way, drop a comment and share it. You could help someone else have a smoother time with their floor, too.