
Have you ever seen a bird’s nest up close? They’re clever little homes made from twigs, grass, and feathers- and you can make one too.
Suppose it’s for a school project, spring decoration, or just something fun to do with what you find outside. This guide will show you how to create your own.
I’ll walk you through each step to build a small, cozy nest using natural things like moss and branches.
It’s simple, relaxing, and doesn’t require fancy tools or expensive supplies.
If you enjoy crafts and spending time outdoors, this is the perfect blend of both. Some people just want a cute nest for display.
Others might be helping kids learn about nature. Whatever the reason, this guide makes it easy to follow along and finish with something you’ll be proud of.
Let’s get started- you’ll have your own nest in no time.
Why Build a Bird Nest?
Making a bird nest is more than just a craft- it helps you connect with nature in a simple, hands-on way.
You get to notice small things like how branches bend, how moss feels, and how birds use these items to build real homes.
It’s also a calming activity that doesn’t need screens or fancy tools. You can do it alone or with friends and family.
It teaches patience, creativity, and respect for the natural world. Plus, when you share leftover materials with real birds, you’re helping your environment too.
Building a nest gives you a chance to slow down and enjoy something quiet and creative.
It’s a simple idea with a lot of meaning behind it.
Materials You’ll Need
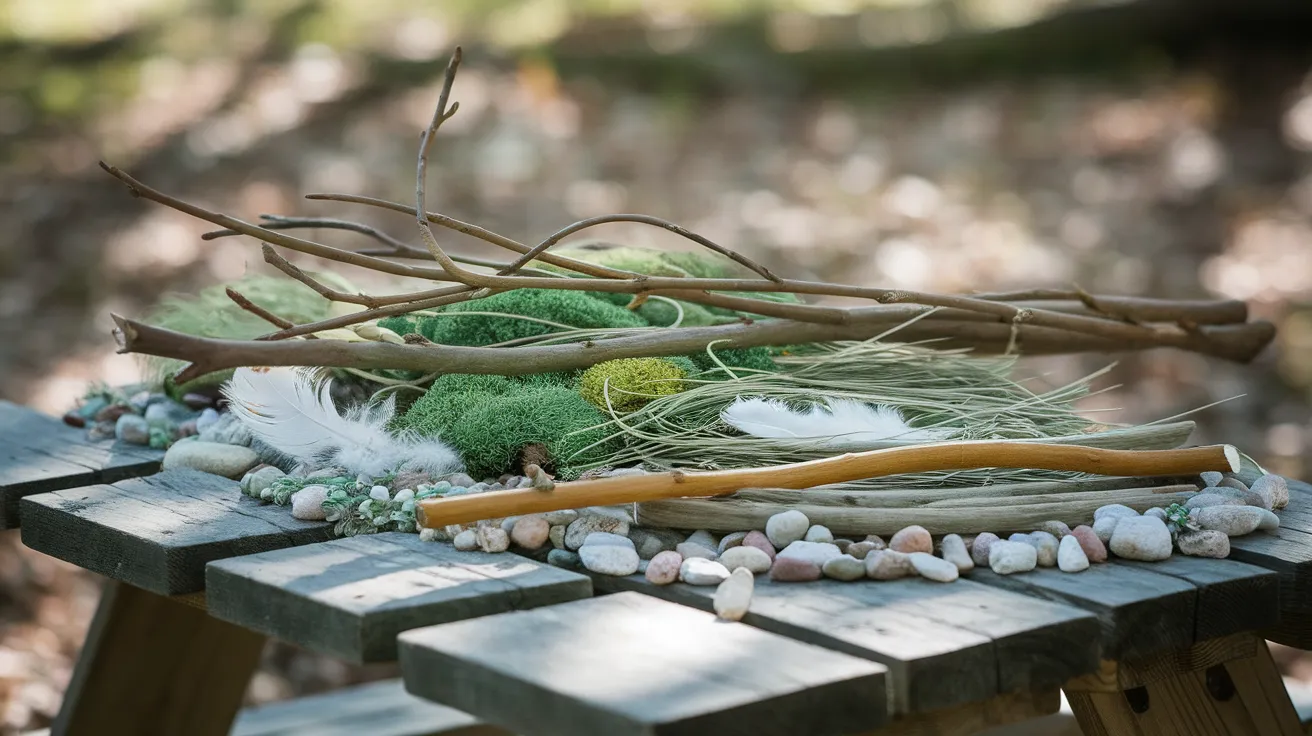
Before you start making your bird nest, take a little walk outside and look for natural things you can use. You don’t need much, and the fun part is collecting everything yourself.
- Flexible branches (like privet): Try to find 4 or 5 long, bendy ones. These will form the shape of your nest.
- Moss: Soft and green, moss makes a good base inside the nest.
- Dried grass: This helps fill out the nest and makes it look real.
- Feathers: If you find any clean ones on the ground, they’re great for lining.
How to Make Your Bird Nest: Step-by-Step
Now that you’ve got your materials ready, it’s time to put everything together. These four easy steps will guide you from start to finish.
Step 1: Build the Nest Structure
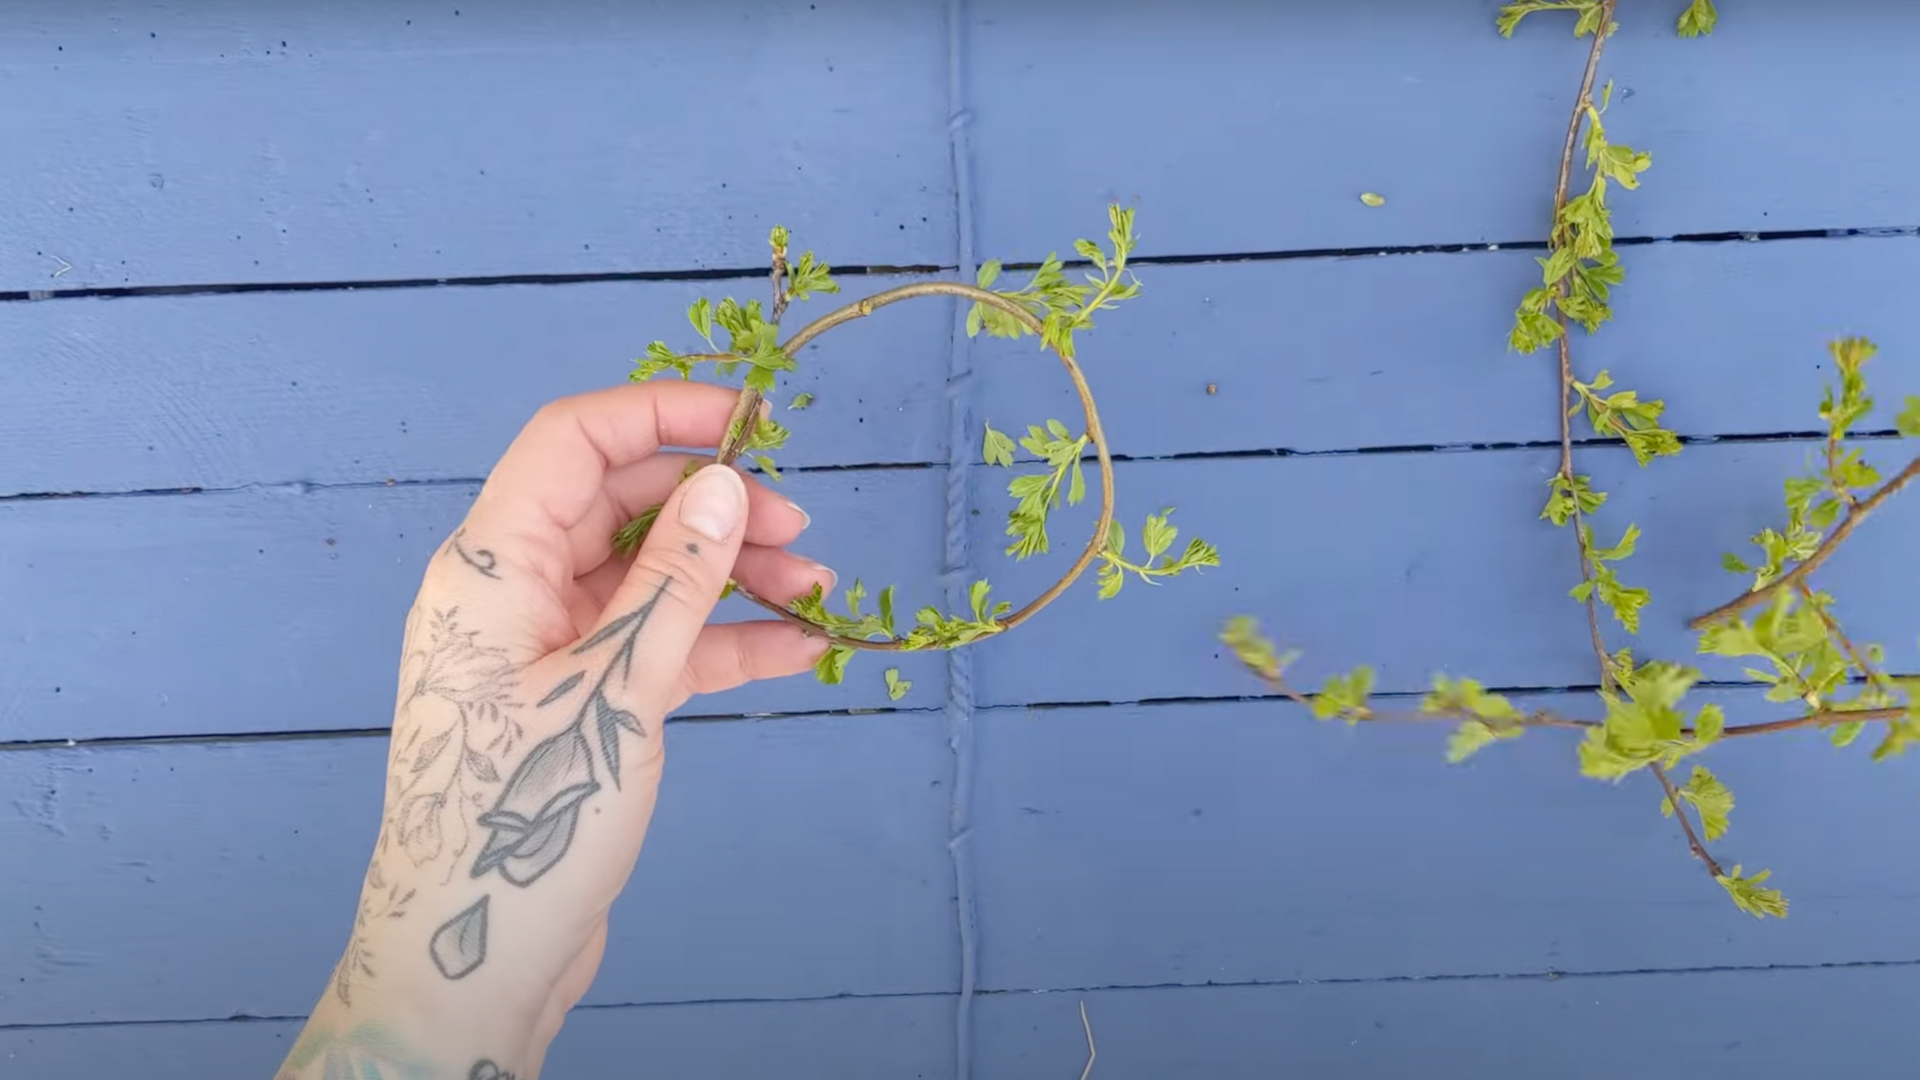
Start by taking one of your bendy branches and carefully twisting it into a circle. This will be the base of your nest.
Try not to force it, or it might snap. Once you’ve made the first circle, take another branch and wrap it around the first.
Keep adding more branches, one at a time, twisting and tucking them in so the circle becomes thicker and stronger.
You want the shape to look like a small bowl. Take your time here- this is what gives the nest its sturdy form and real look.
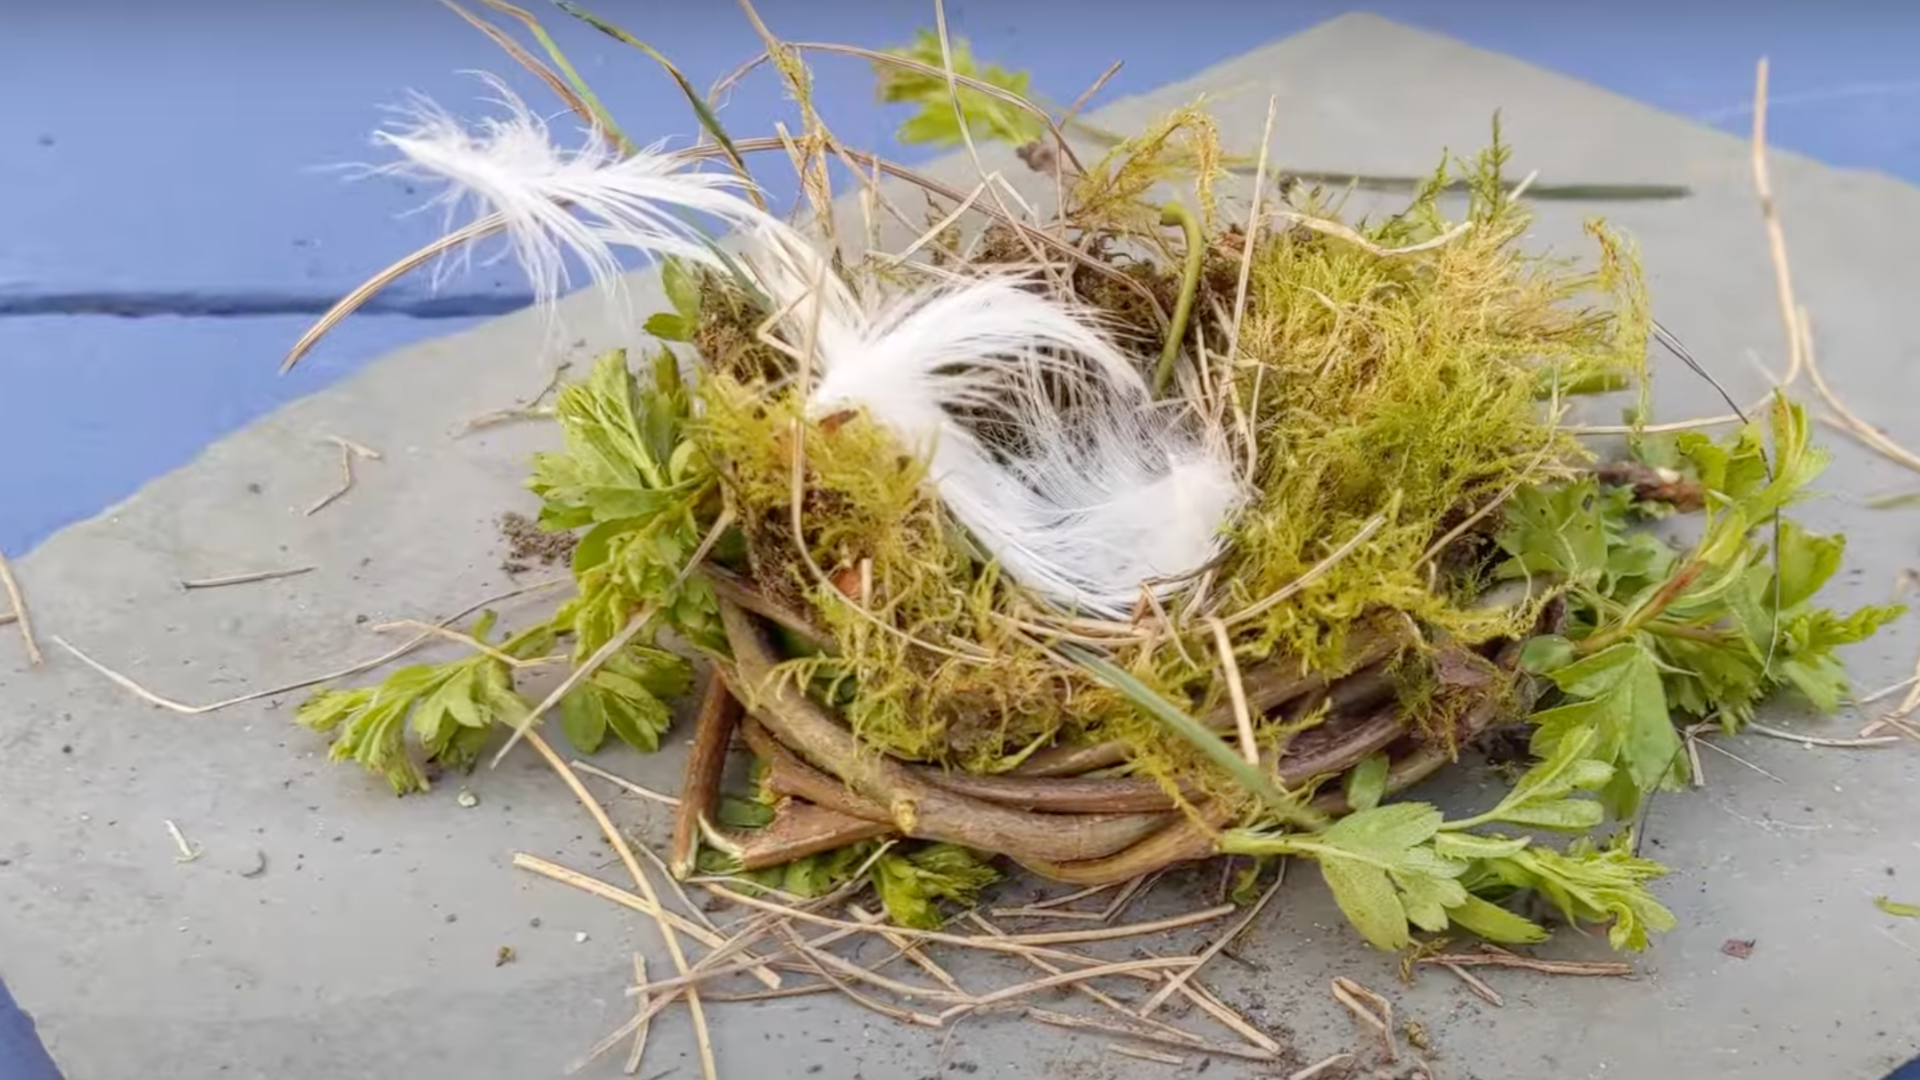
Step 2: Line the Inside
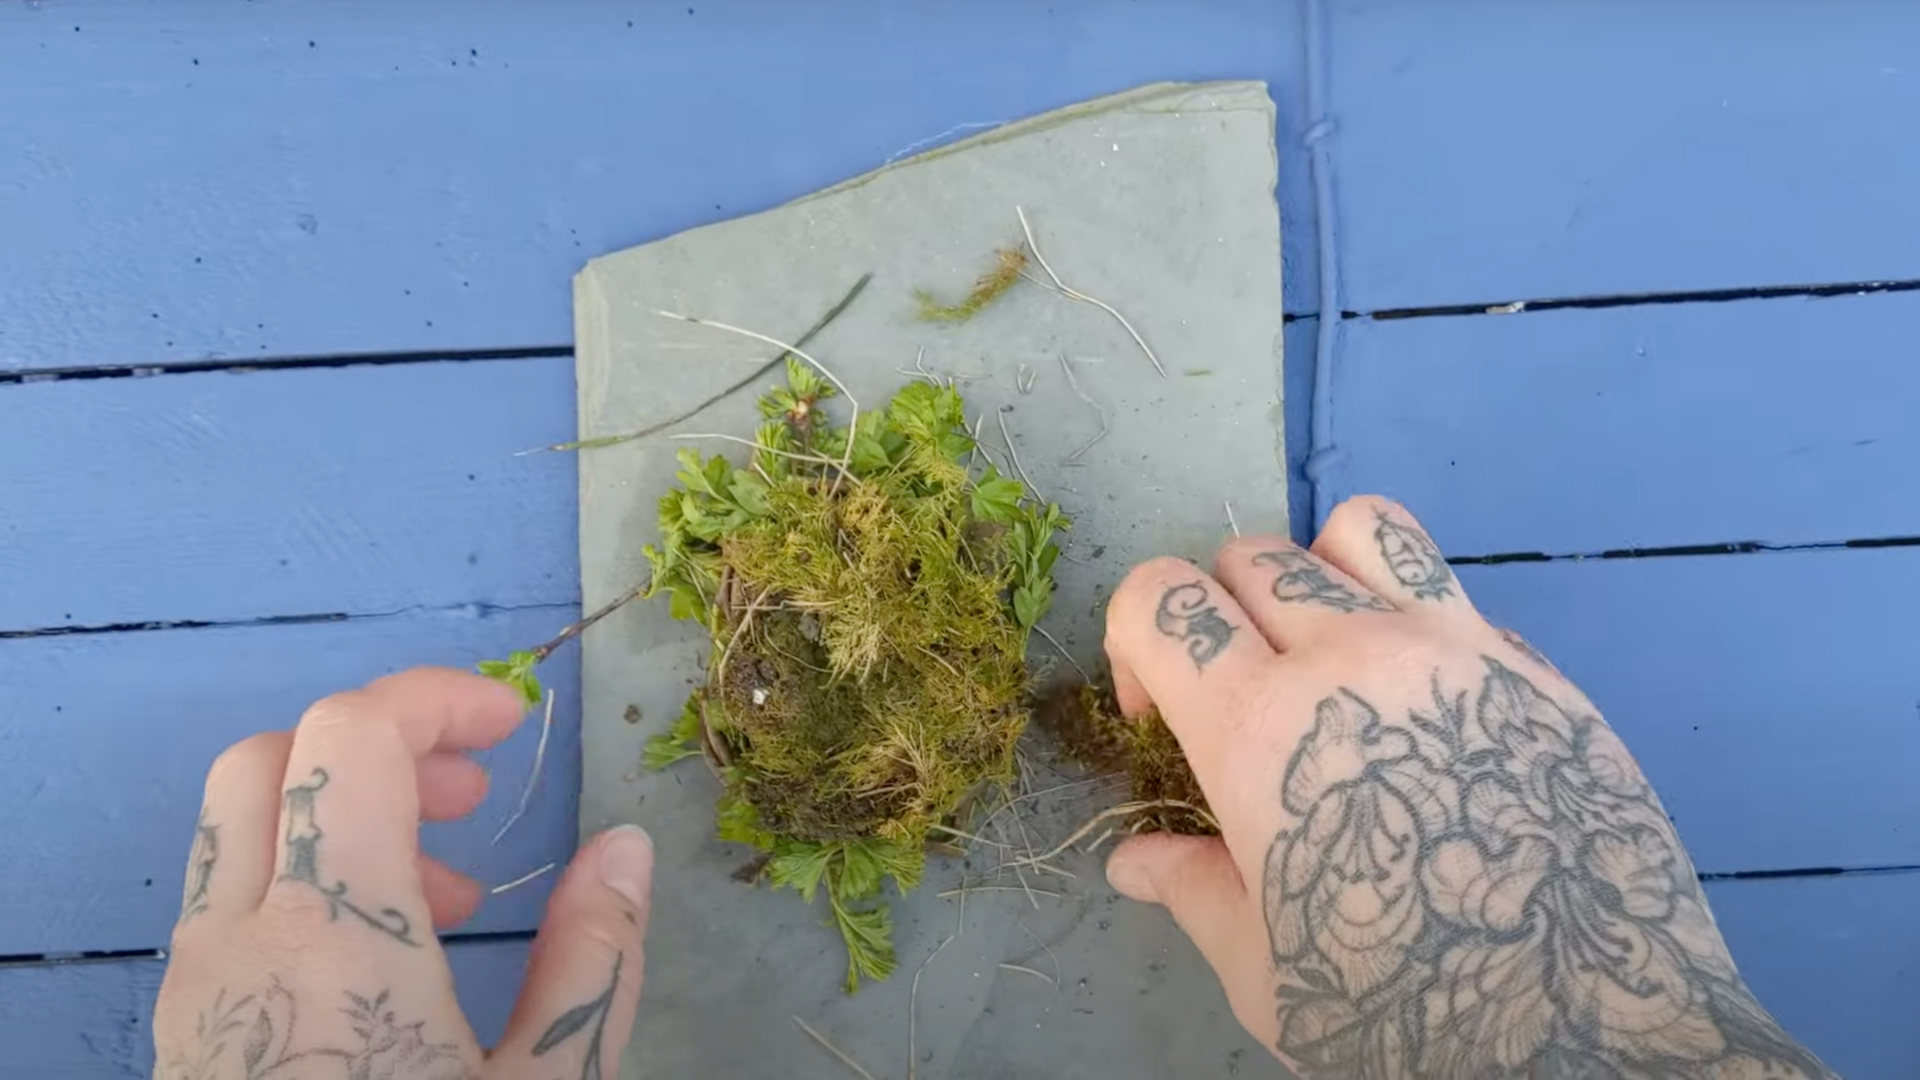
Once your nest base is ready, it’s time to make it soft inside. Start with moss. Place it at the bottom of the bowl and gently press it in so it stays put.
Next, add dried grass over the moss to build up the padding. Tuck it around the edges to make the inside neat.
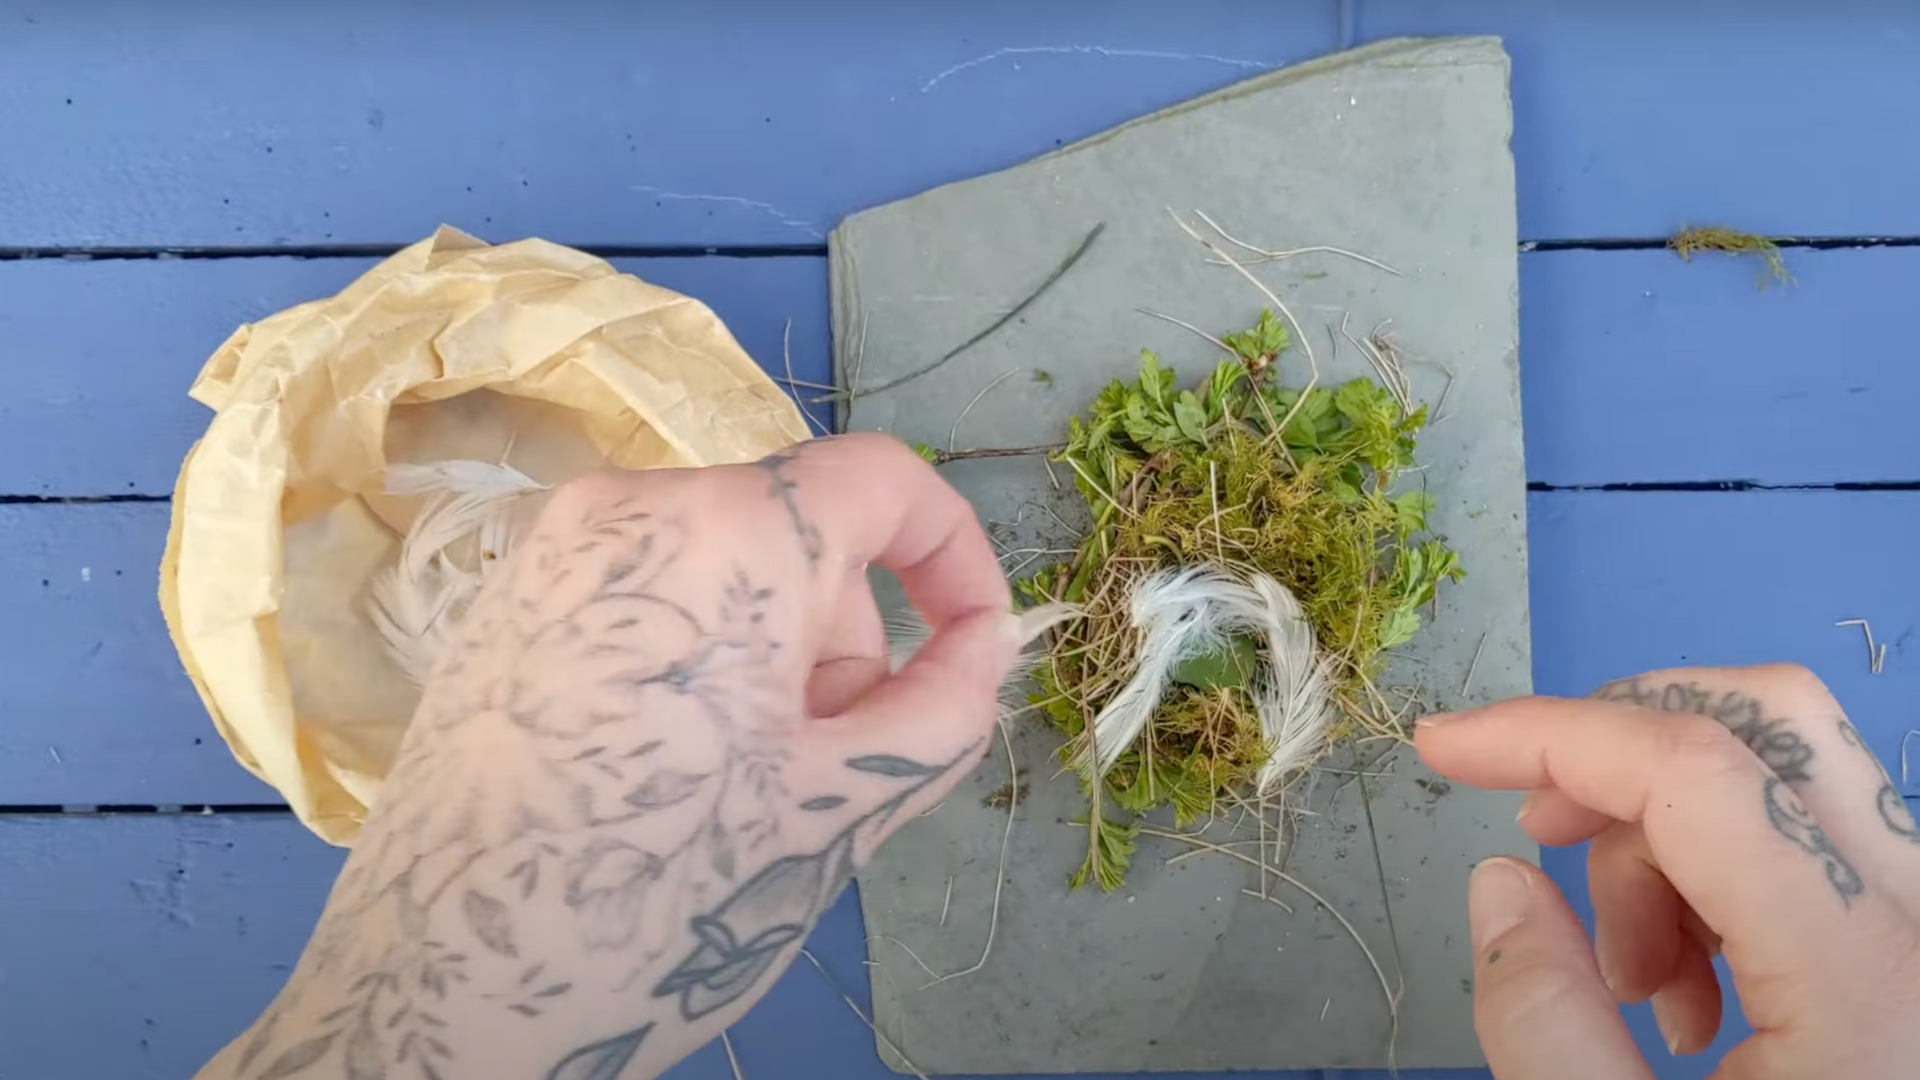
Then, if you found any feathers, gently press them into the grass and moss. This part adds comfort and makes your nest look more realistic.
Imagine it being soft enough for a little bird to rest in, light, fluffy, and safe.
Step 3: Add Personal Touches
Now that your nest is shaped and lined, you can make it even more fun. Use clay or plasticine to shape a small bird or a few eggs and place them gently inside.
If you have extra feathers, tuck them around the nest or inside with the eggs to give it a more natural look.
These little details add character and make your nest feel more complete. It’s up to you how simple or detailed you want to go.
This step is all about creativity and making your project feel truly your own.
Step 4: Final Touches
Before you finish, check that everything is secure. Are the branches tightly twisted? Is the moss tucked in well? Make sure nothing falls out when you move the nest.
If you added eggs or a clay bird, place them gently so they stay in place. These small checks help your nest last longer.
You can also add a short story about your nest or take a photo to share. Finishing with care makes your project feel complete.
It shows the effort you put in and helps you feel proud of what you’ve made.
Want to see it in action? Watch the full step-by-step video by @SensoryTrust, it makes the whole project easy and fun to follow!
Fun Ways to Use or Display Your Nest
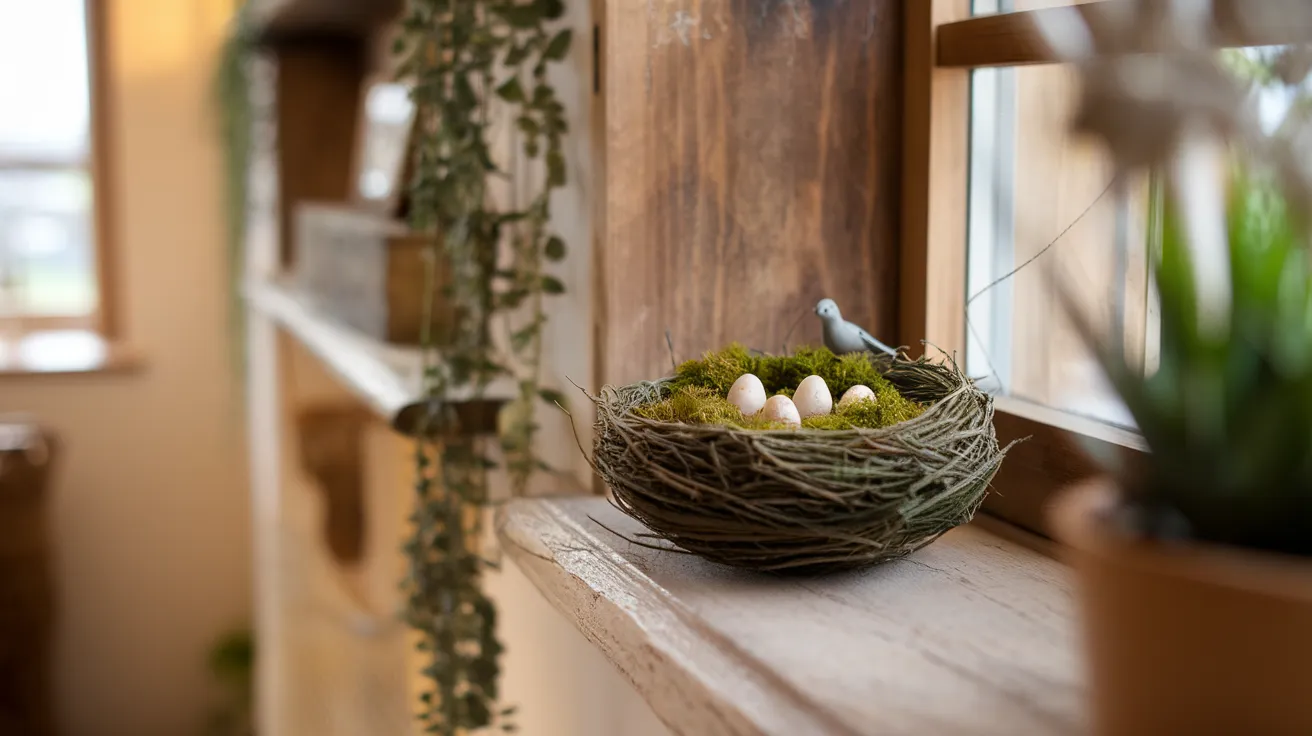
After you finish your nest, there are lots of fun and creative ways to show it off. It’s more than just a craft; it’s a small piece of art that reflects your love for nature.
- Place it on a windowsill, desk, or shelf as a cute nature-themed decoration.
- Add clay eggs or a tiny bird to make it more eye-catching and detailed.
- Use it in a school project about wildlife, spring, or bird life cycles.
- Make it a seasonal centerpiece for spring or Easter celebrations.
- Give it as a thoughtful, handmade gift to a friend or family member.
- Keep it indoors and away from water so it stays in good shape.
However you use it, your nest is something special you made with care and creativity!
Conclusion
I hope you had fun making your bird nest. It’s a simple project, but it teaches a lot. You used natural things like branches, moss, and feathers to build something from scratch.
That takes patience and care. You didn’t need anything fancy-just your hands, a little time, and some creativity.
Now you have something you made yourself. You can use it as decoration, share it with someone, or just enjoy looking at it.
What I like most about this project is how it connects you to the outdoors. You pay attention to things you might usually walk past.
And when you put leftover materials back outside, you’re helping real birds, too.
Keep trying new things like this. It’s a great way to learn, relax, and make something meaningful. Your nest is more than just a craft- it’s something to feel proud of.