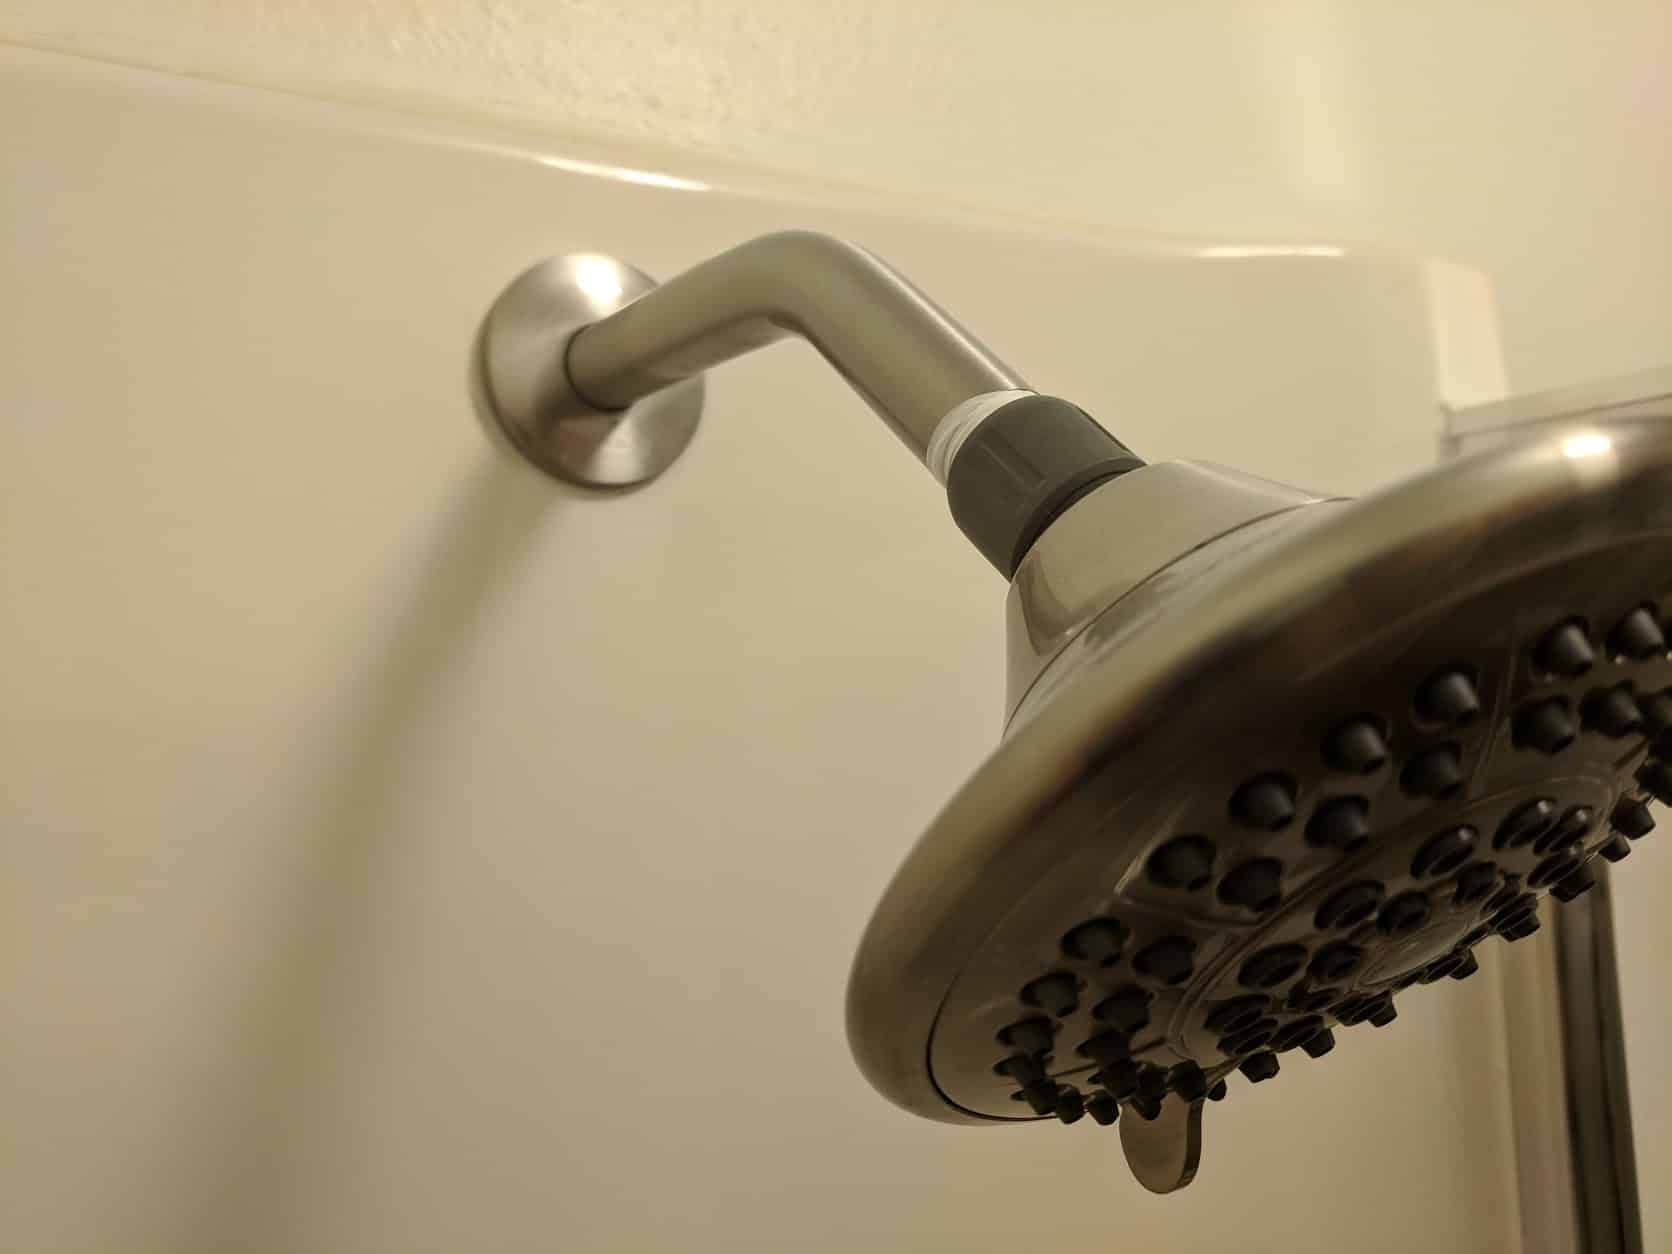
Did your showerhead ditch you recently? A joyful and fresh morning begins with an energetic water flow from the shower head. However, the joy is lost when you face such a problem! If you are experiencing the same situation, this article will help you remove the shower head. Removing a shower head and cleaning it might sound simple. However, it needs step-by-step actions in a certain way. You don’t want the shower head to remain dirty and loose after the whole process, right? Understanding the different shower faucet parts can help you repair leaks, improve water flow, and upgrade your bathroom effortlessly.
This article takes you through removing, cleaning, and reattaching your shower head at home. All you will need is some tools and some cleaning ingredients. Save your time and energy by doing this simple process by yourself instead of calling a professional.
Follow the process step by step to easily remove the shower head.
How to Remove Shower Head
Step 1: Find out the Reason You Have to Remove the Shower Head
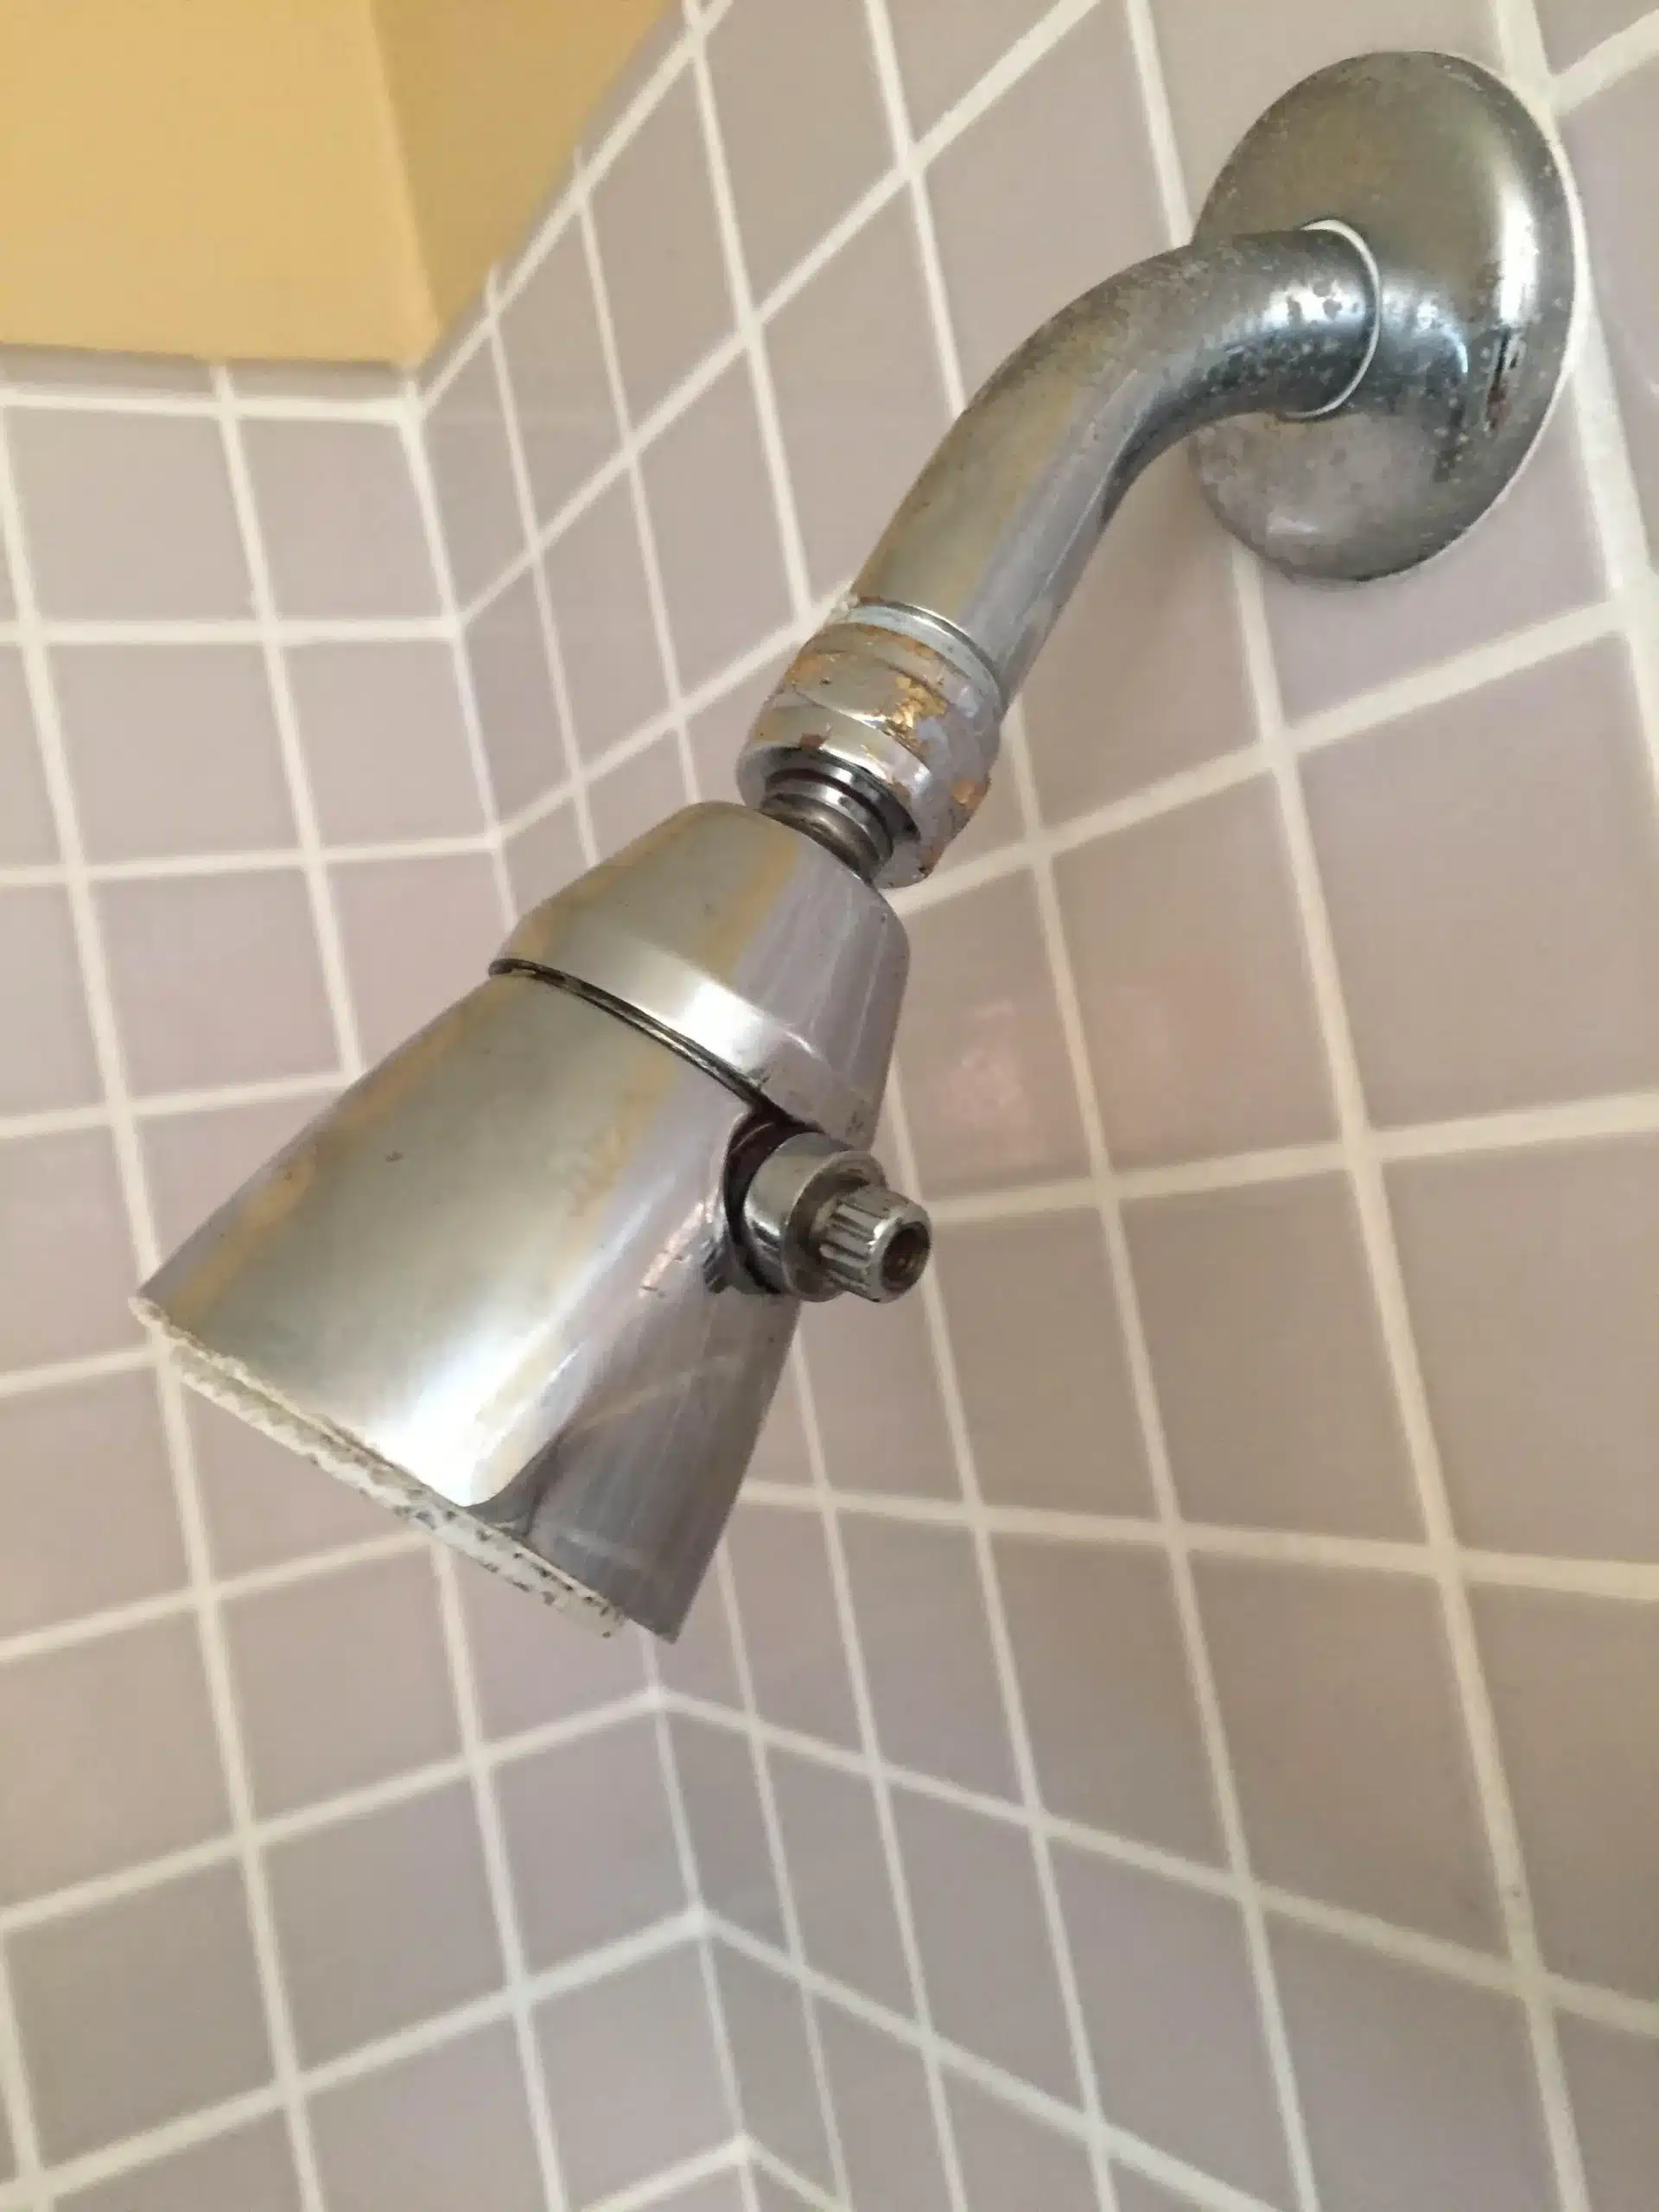
Did your shower surprise you by stopping the abundant flow of water?
If that is the case, your shower is asking for some attention! Now is the best time to observe it and do some needed cleaning. When you have to remove the shower head, it indicates that you have been ignoring the cleaning process for months, and now the limit has been crossed. The reason for this blockage is either a rust or calcium buildup.
The Rust built up occurs due to a combination of iron bacteria and the minerals in the water. As a result of this merger, the rust particles cling to the porcelain or enamel surfaces of bathroom fixtures. It is visible around the shower head or the pipe connecting the shower head and shower pipe. Not cleaning a rusty shower head can lead to hair problems.
Calcium buildup or limescale is a result of water containing dissolved calcium salts. When this water moves through the pipes and flows through your faucets, a layer forms on the tap and the shower head. Water with high levels of calcium is known as hard water. One of the main reasons for the calcination is hard water. Replacing a showerhead will not help in this situation. You will have to develop a habit of regular cleaning.
If the shower head is dirty with mold, rust, and calcium buildup, the water flows through all that dust. So indirectly, the dust comes in contact with your hair. The dirt and fungal particles can trigger allergic reactions on your scalp and lead to hair issues.
Step 2: Turn Off the Water Supply
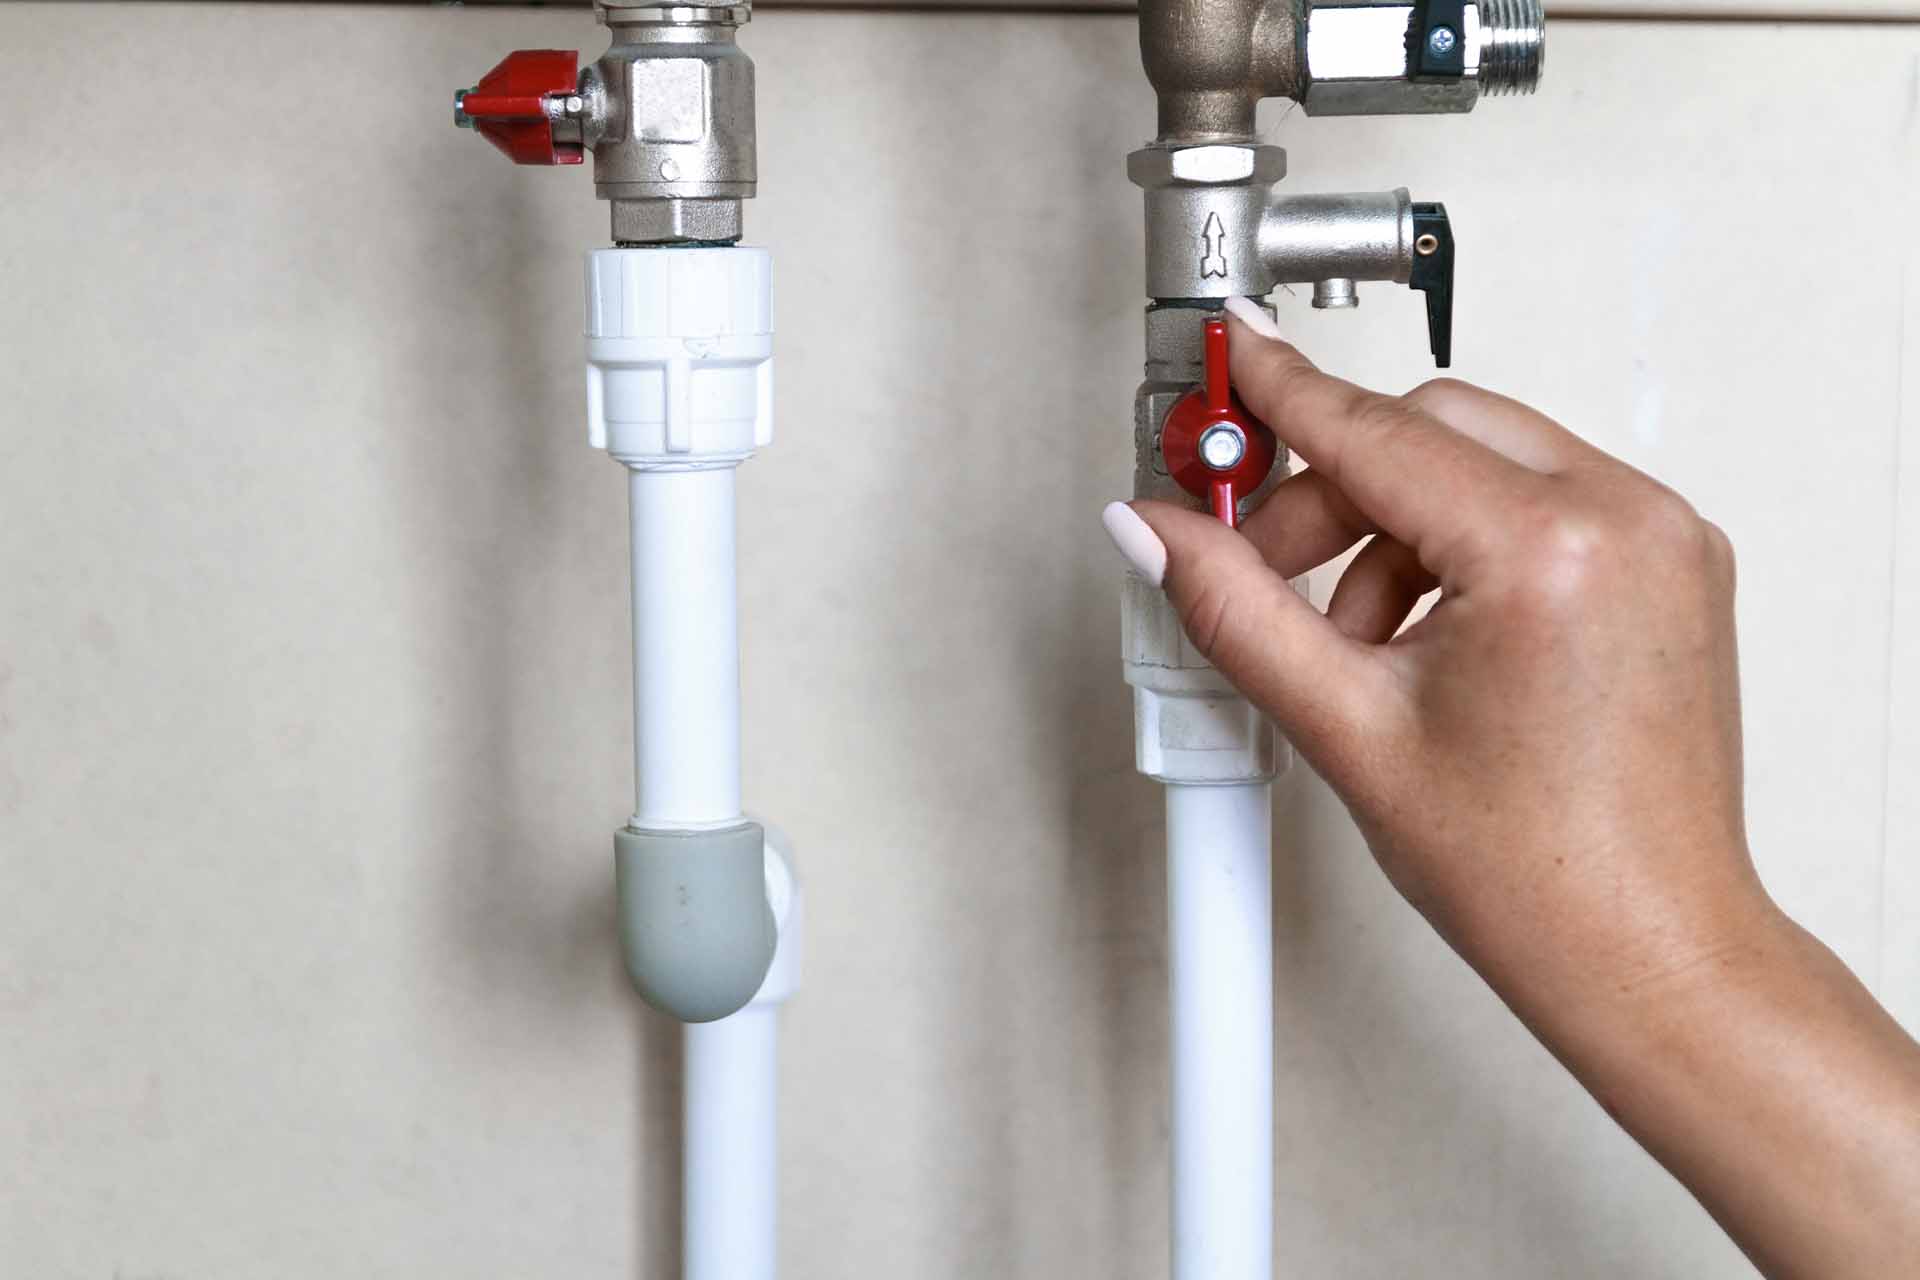
When you want to remove shower head, it is advisable to turn off the faucet. It will avoid any leakage and waste of the water supply. Working with a stuck showerhead can lead to challenges with an ongoing water supply. The water supply might be near the bathroom sink or the tub. You do not need to stop the water supply of your whole house.
The other tap areas of your home can function when you work on the shower head. Simply hinder the water in your bathroom taps and shower till you clean and attach the shower head.
Step 3: Assemble the Tools and Create a Workspace
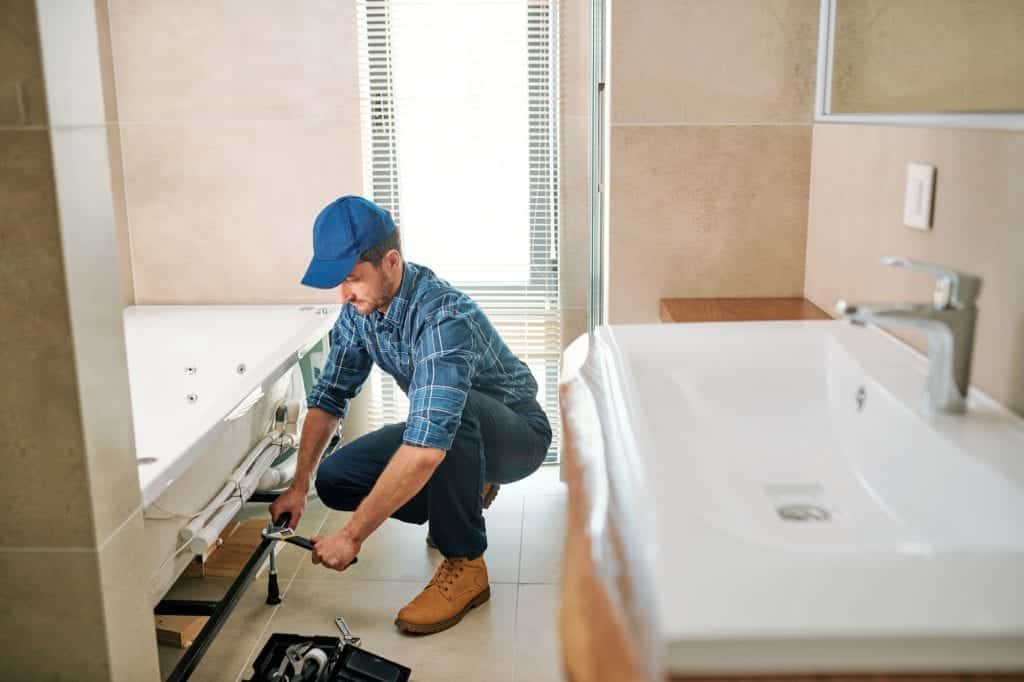
When you have to remove shower head, it requires multiple tools. Create a working space to guard the washroom floor from damage due to tools or cleaning materials. Multiple chemicals will emerge as we go ahead in the process. Exposure to such chemicals can harm the washroom surface. Create a safe and proper working space to ensure that in fixing one problem, you don’t end up making another one.
The first step is to assemble the tools you will require to go through the process. After that, cover the floor and tub area with a thick material that can withstand any damage caused by chemicals or tools. It can be a thick cloth, blanket, or material large enough to cover the whole area. This way, you save the floor from getting any scratches, damage, or effect of chemicals.
Have some empty containers to pour the chemicals needed for the process. Use a glove as you apply the chemicals on the surface of the shower head.
Working with showerheads includes a lot of small spare parts and pieces of equipment. When working in the washroom, there is a possibility that the spare parts might slip through your hands and end up in the drainage. Before you know it, an important piece of the system will go down the drain.
Block the drain with a piece of cloth to avoid such a loss will prevent the loss of any small spare parts of the shower. Once the workspace is ready, it’s time to begin the work on your to remove the shower head.
Step 4: Remove the Head with a Wrench or Pliers
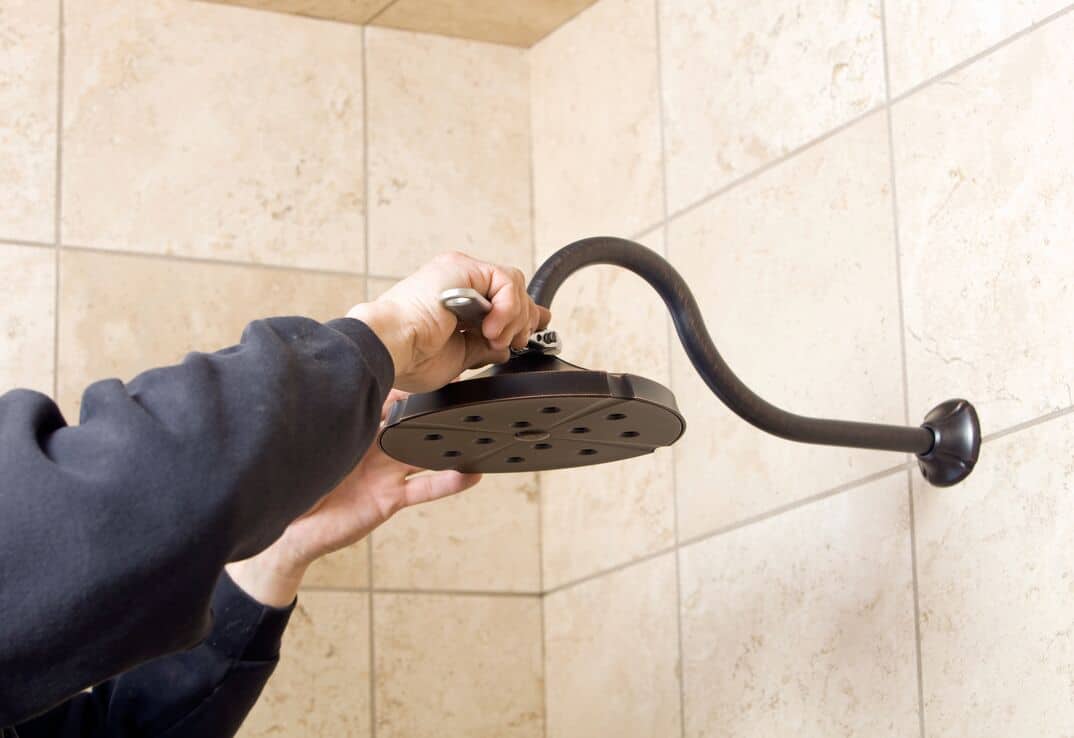
The simplest way is to remove the shower head by hand. Grip the showerhead or the connector. Target the area where the showerhead is connected to the fitting. It may differ depending on the design of the shower in your home. After grabbing it, turn counterclockwise to unscrew and remove shower head.
If you find it too tight, hold the shower pipe and turn it harder so that it loosens up. Be careful not to bend or move the shower pipe from its original position.
Despite multiple manual tries, if you fail to remove the shower head, it’s time to use the equipment. You will need adjustable pliers or wrenches and a cloth rag to remove the shower head with tools. Use a cloth to cover the fixture’s connector or plumbing nut to protect the metal. Then, grip the connector or nut with the equipment that you are using.
First, turn the wrench or plier clockwise to break the rust or mineral deposits. Then, turn the tool anticlockwise to loosen and remove the shower head.
If the shower head is too tight, this process might take a little more time and strength for you to implement. However, once this is done, the rest of the work will become easier. Such a severe situation won’t happen if you regularly open up the shower head and clean them regularly. Deposit of rust, minerals, and calcium in the long run will force you to remove shower head.
It is advisable to create a cleaning routine once every two months to avoid such hardships. If you are living in an area with hard water, do it once a month. It will hinder the build-up of health-threatening bacteria.
Step 5: Treat the Rust on the Connectors
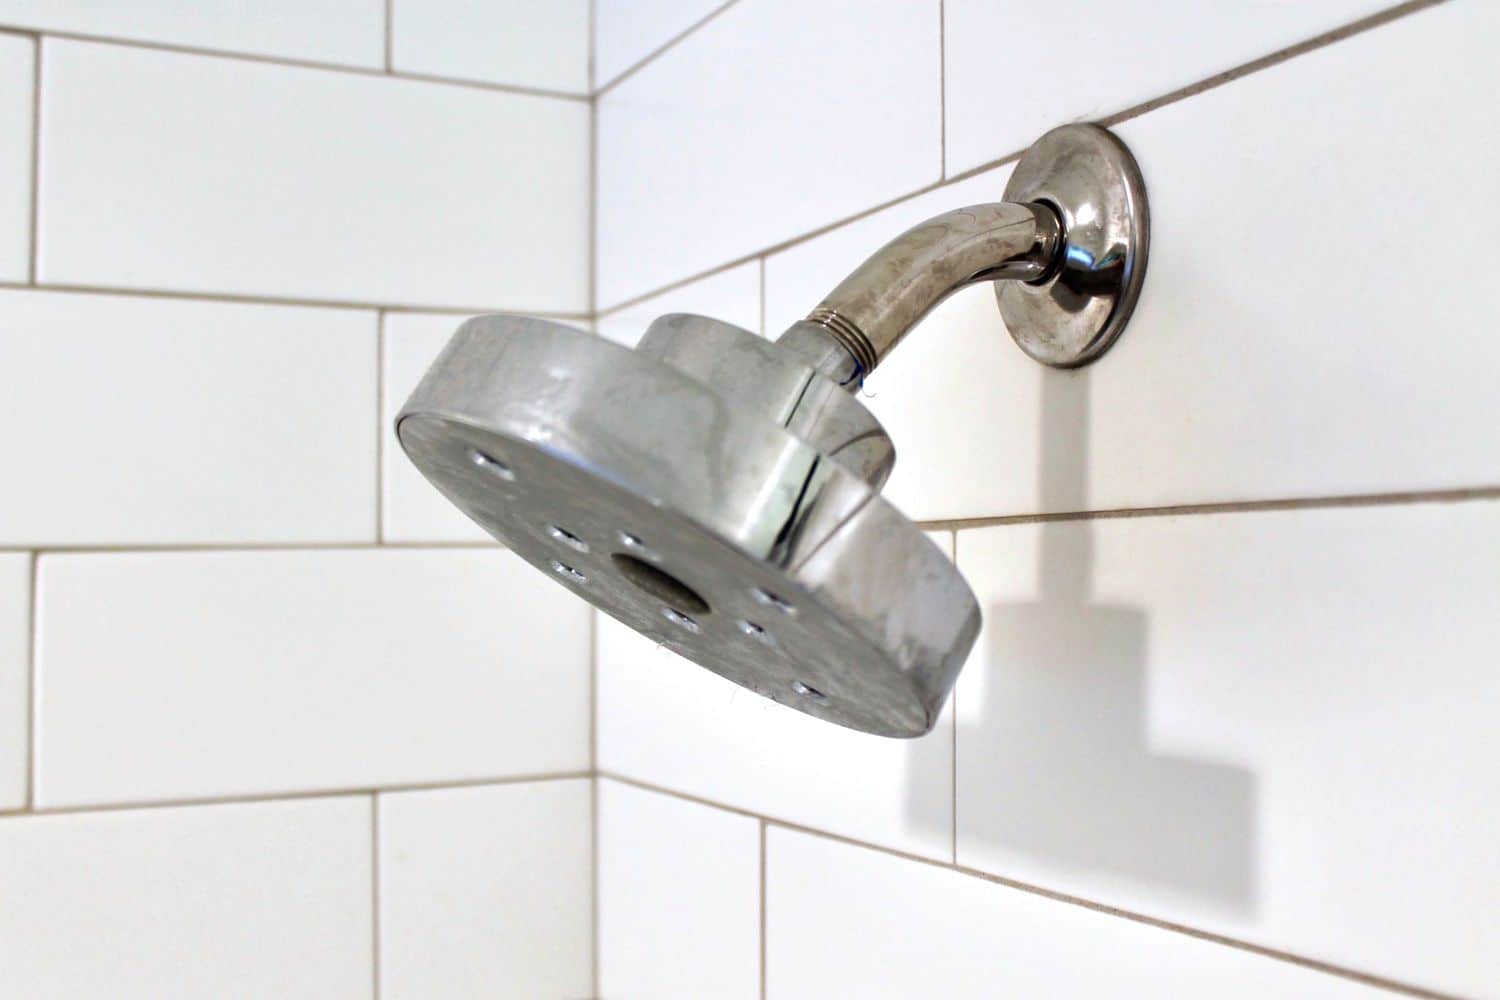
Directly opening the connector can be difficult due to rust and calcium built up on the shower head. Before attempting to open it with equipment, treat it with a solution that breaks the built up of this rough surface. Calcium, Lime, and Rust(CLR) remover is the best solution to free the fittings from rust. Every bottle comes with a set of instructions on how to apply the liquid to the stains.
After applying according to the instructions, let it sit for 1-2 minutes on the surface. After it works on the surface, remove it with a wire brush, and ensure that the built-up rust removes with the scrubbing. Once the surface is rust-free, rinse it with water and dry it with a thin cloth.
Cleaning connectors are a crucial part of the decluttering process. The built-up in connectors reduces the water flow and breeds ground for bacterial growth.
You can treat the rust on connectors before or after removing the shower head. If the shower head is too tight and needs some chemical to loosen up, use the CLR to get rid of the rust build-up and open the connector easily.
However, if you have managed to open the shower head before this, use CLR as a cleaning chemical. After opening up, ensure no part of the connector has a layer of rust, limescale, and calcium.
Step 6: Apply Penetrating Lubricant to The Shower Head

Let’s assume your shower head is stuck like a stubborn stain, and you have no time to do all of the above. In such a situation, you have to use WD-40. Using CLR and other household options like vinegar, baking soda, and soap can result in time waste. Using WD-40 is the quickest way to get rid of the most notorious stains and rust built up. To use WD-40, first, clean the shower head and connector with simple soap and water.
Dry it with cotton or any thin cloth. This step will make the further process much easier.
Take a can of WD-40 and spray it carefully on the rusted areas around the connector that is stuck. Let this mixture sit for a few minutes on the surface and show its magic. It penetrates the particles and loosens the bond between them.
As a result, you will easily be able to open the connector and conduct further cleaning. With a scrubbing brush, gently start wiping the rust off the connecting area.
Now, in most cases, a single cleaning session is enough. However, if you find it hard to get rid of the tough stains, carry out the same process multiple times. Keep spraying and cleaning the surface until the connector and the rust built up loosens up.
While using WD-40, it is suggested to wear a mask and cover your eyes with glasses. Inhalation of high concentration may cause nasal and respiratory irritation. If you are using it once or twice for cleaning, it won’t harm you. However, it’s always better to prevent any irritation beforehand.
Step 7: Clean the Shower Head
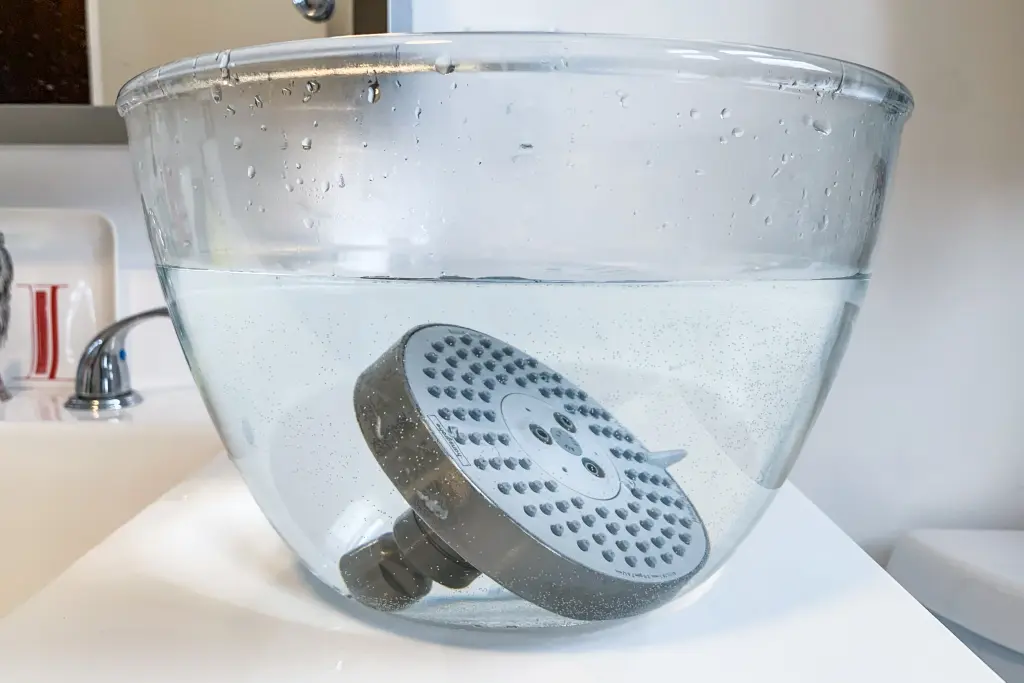
Once the shower head is detached from the connector, it’s time to clean the shower head. Now, you can use the same chemicals as above to clean the shower head, including WD-40 and CLR. However, if you want to clean it with a natural ingredient, you can use vinegar. The best way to remove shower head and clean it is by using a vinegar bath.
Take an empty bowl and place the shower head in it. Pour the vinegar into the bowl in a way that the whole shower head drowns in it. Let it soak overnight.
Next day morning, remove the shower head and clean it with cold water to release the rust and mineral built-up from the surface and connecting area. Using CLR is mandatory if there are still some particles after the vinegar bath.
Apply the CLR and let it sit for a few minutes. Clean with a scrubber or wire brush to remove the tough stains. Also, follow any specific instructions listed on the CLR bottle.
Once the shower head is clean, remove any old tape or built-up you might have on the shower arms tread. If your plumber used tape previously to connect the different parts, remove it and clean the surface.
Clean the shower arm tread thoroughly before reattaching the shower head. If the rust does not release through vinegar, use CLR to remove any stains on the tread. With this ends the whole cleaning process.
It will ensure that the reattachment will ensure a free flow of water and a healthy bath for one more month. Do not show any laziness in thoroughly getting rid of any dust particles you see on any part of the shower head or connector.
Step 8: Reattach or Replace the Shower Head
If you are replacing the shower head, you will have to buy a new one. While buying the new shower head, consider the size and fitting of the connector. Get the one that fits the fixtures and connectors you have in your washroom. If needed, please take the old stuck showerhead to get the precise size of the new showerhead. It’s time to attach the shower head once you buy a new one or are ready with the old one.
For this process, you will need a plumber’s tape or Teflon tape to prevent any leakages. Wrap the shower arm’s tread with 2-3 layers of any of the above tape in a clockwise direction.
Once you make a thick layer around the tread, press it tightly so that it sticks to the surface between the gaps. After applying the tape, it’s time to attach the old or new showerhead.
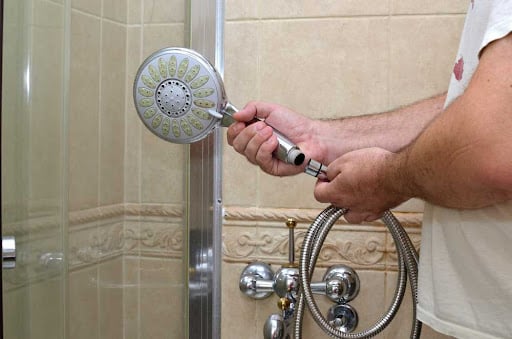
In the case of a fix-mounted shower head, place it on the surface and turn it in a clockwise direction. The arrangement will tighten as you keep revolving it. In case of a hand-held shower head, place the shower mount on the arm and tighten it with your hands.
Connect one end of the hose to the mount and the other to the shower head, and tighten the connectors with your hand. Then, place the shower head in the shower mount.
Step 9: Turn on Shower and Check for Leaks
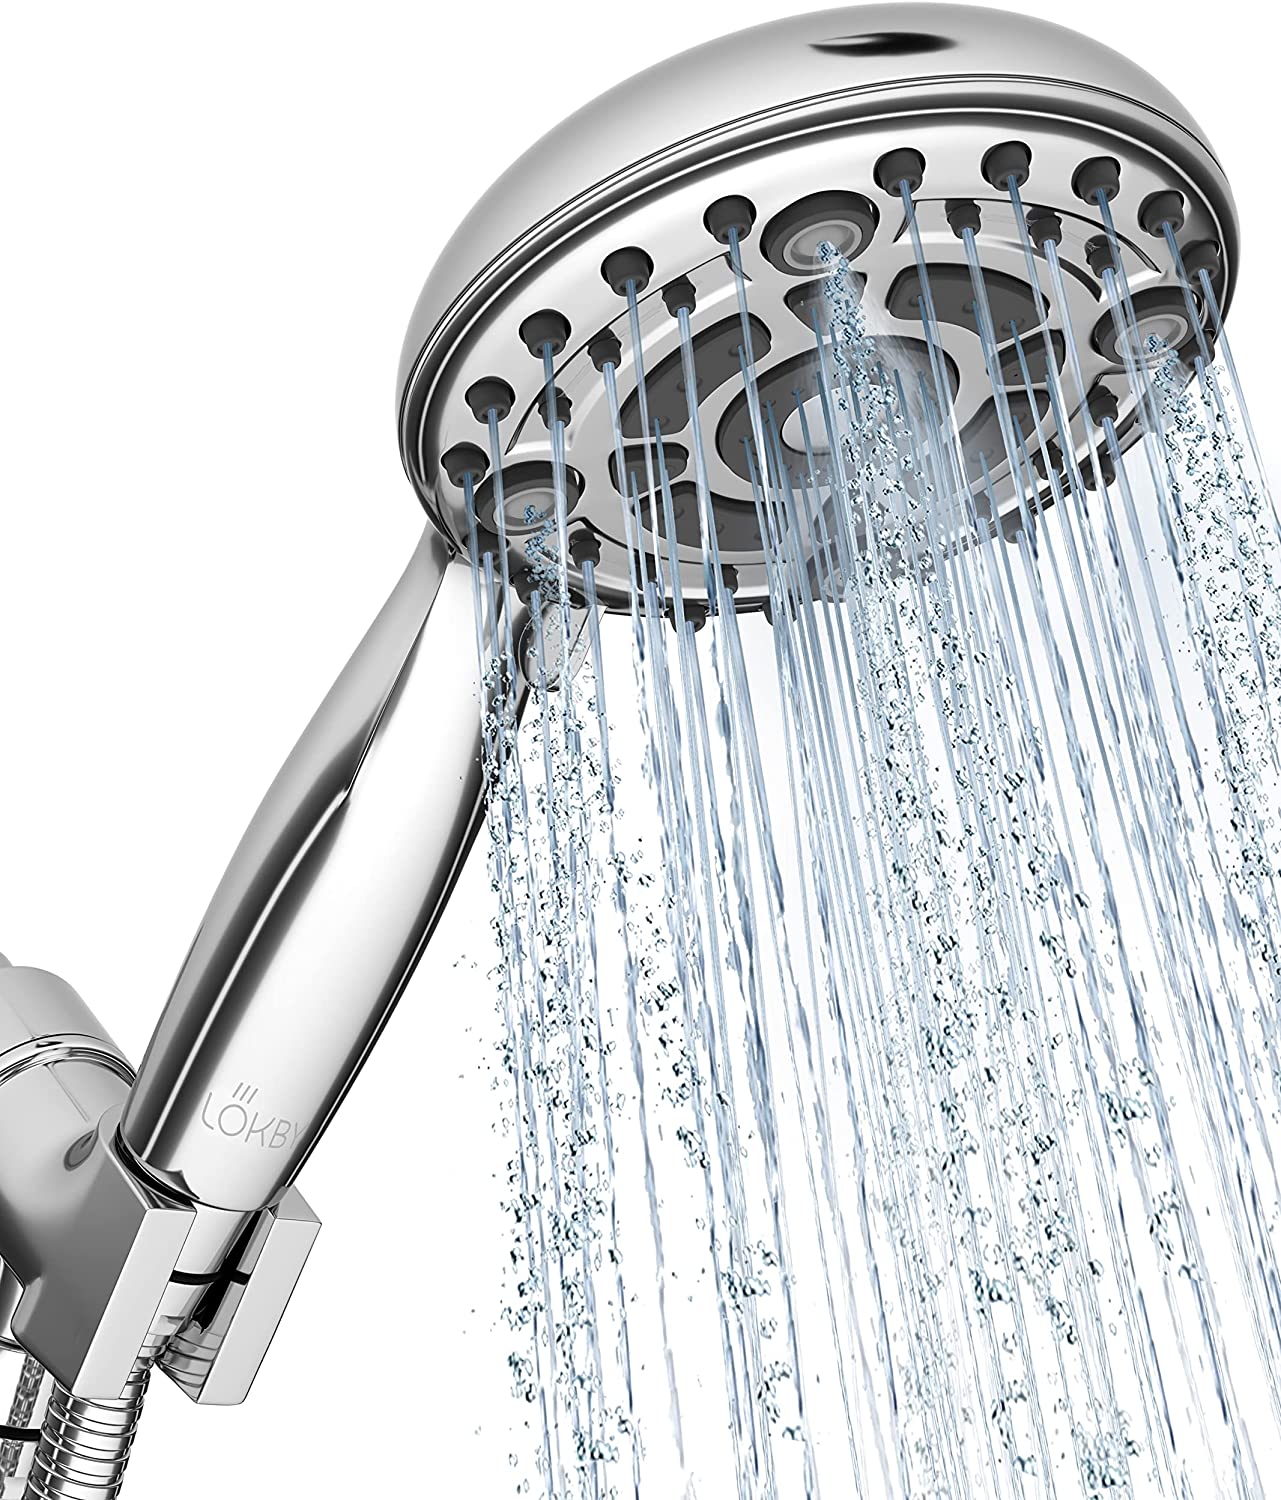
After you are done with the cleaning and attaching shower heads, it’s time to check the flow of water. Sometimes, loose fittings can result in leakage or the fall of the shower head. This step gives you the safety that the shower is not leaking and it’s ready for use.
Put aside the whole workspace and clear the floor before turning on the water. After cleaning the area, turn on the faucet and keep it at the highest speed. It will confirm whether the cleaning and attaching are proper.
If you see any leakages, then it means that you need to tighten the shower head with the connector by turning it in a clockwise direction. Make the necessary changes after testing and re-test to get a perfect shower head for your next day’s shower.
Mark your calendar with the date on which the cleaning is done so that it can remind you of your next cleaning session within a month.
Consider It as a Reminder to Remove Shower Head and Clean It!
We are sure you If you are exploring this article to learn how to remove shower head, you got your answer. However, if you came here to gather information, consider this a reminder. It is a reminder not to wait till your shower head gets stuck. Take that initiative and spend one hour cleaning the showerhead.
It might look like a lengthy process, but once you begin, it will finish soon. Keeping your home clean is a part of your daily chore, but sometimes we all forget those minute details and small corners of our home. A good water flow helps us begin our day well, and your washroom deserves more attention when it comes to cleaning!
So, when are you planning to remove shower head and clean it in your home?

