
Want to make your walls look beautiful without spending a lot of money? I felt the same way, and box moulding turned out to be the perfect solution. It’s a simple DIY project that adds style, texture, and charm to plain walls.
I first noticed it in high-end homes and design magazines, those clean, framed shapes that instantly make a room feel more finished. Once I gave it a try, I was surprised by how easy and satisfying it was.
You can keep it simple or get creative with bold designs. Either way, box moulding helps your walls stand out.
In this blog, I’ll walk you through the process of installing box moulding, how to care for it, and share some fun design ideas to help you get started.
What Is Box Moulding?
Box moulding is also known as frame moulding or wall moulding. It has a grid-like appearance and is a great option to elevate your wall look.
As moulding means shaping, wall moulding is also making different shapes in a wall to add texture and depth. When these shapes are made in a box form, it becomes box moulding.
It is a very simple and creative way to transform your basic wall into something beautiful. It can be done in any room of your house, whether its the bedroom, living room, or even bathroom.
You can also do it by yourself with proper tools and materials. It is often done with MDF and wood. Box moulding is the best way to hide any wall imperfections and give it a glow-up.
How to Install Box Moulding: A Step-by-Step Guide
If you want to renovate your house and are looking for minimal yet effective ways to elevate your rooms, box moulding is an ideal way to get that sophisticated touch to your walls.
Materials
It is an easy process and can be done if you have all the proper materials.
- Measuring tape
- Ruler
- Spirit Level
- Pencils
- Rails & Frames of Choices
- Mitre Box & Saw
- Pin Nails
- Screwdriver
- Drywall Anchor
- Drill
- Hammer
- Kwik Seal Caulk
- Minwax Wood Filler
- Lint Free Rags
- Sandpaper
- Primer
- Paint Of Choice
- Paint Brush
- Paint Roller
- Painters Tape
Step 1: Measure the Wall

Check the wall on which you plan to install the moulding. If it is a solid wall, it will sound dense, and if it is a plaster wall, it will sound hollow.
You have to do the moulding on the plaster wall, as it is easy to work with. Then, measure the height and width to calculate the frame sizes.
You can use painters tape to measure the wall and mark all the measurements with a pencil to see where you’ll nail the molding pedals.
Use the spirit level to make sure that all markings are perfectly horizontal and vertical.
Step 2: Cutting

Next, its time to cut the wood. Measure the wooden framing and chair rail, and then cut the wood to size.
You can use the miter box and saw set. To trim the wood, use the miter box and cut at a 45 angle at one end, and at the opposite end, cut another 45 degree at a perpendicular angle.
Smooth the edges using sandpaper and use that piece to cut other frames.
Once the cutting is done, mark three hole locations on the thinnest part of the chair rail.
One in the middle, one on the other end, and one in a piece of wood underneath. Drill the holes in the chair rails and check the sizes by screwing in the screws.
Step 3: Secure Your Moulding

Double-check the height of your chair rail and place it on the wall using the spirit level to see if it is perfectly horizontal.
Now make the mark on the wall through the holes you made. Drill the holes and attach drywall anchors.
Now, it’s time to add the frames. You can use the brad nail. Now, with the help of a hammer, nail the frames to the wall using the marks, using a spirit level to make sure the frames are horizontal.
Repeat the process and nail all the frames using the markings you made.
Step 4: Caulking

To ensure a seamless finish, caulk your work using a Kwik Seal Caulk. Make sure to use paintable caulk so that you can paint over it.
Run a thin line of caulk between the wall and the frame and smooth it out using your finger.
Then, clean it up using a moist lint before it dries. Don’t forget to caulk the chair rail.
Once dried, sand the frame corners and use wood filler to neaten the look of the joint.
Do the same for the holes in the chair rails and pins. After everything is dried, sand the frames to give them a neat look.
Step 5: Painting the Wall

Use painter’s tape to cover the wall area. Paint the wooden components of your project.
First, paint a single coat and let it dry. After an hour, apply the second coat. After painting the wooden frames, paint the wall.
First, apply a single coat, and after drying, apply the second coat. After it is dried completely, remove the painter’s tape.
You can refer to this video by @SallySaraClark on YouTube for instructions on how to install box moulding.
Creative Box Moulding Ideas
Box moulding isn’t just one-size-fits-all; it’s a flexible design tool you can shape to match your style. Whether you love clean lines or bold statements, there’s a layout that fits your space and taste.
1. Floor-to-Ceiling Panels

Create tall rectangles that reach from the floor to the ceiling. This gives your space a classy, modern look.
They make low ceilings look higher and add visual drama to plain walls. Use thin trim for a sleek finish, or thicker moulding for a more traditional touch.
Great for entryways and living rooms where you want a bold first impression. Paint everything in a single color to maintain a clean and unified look.
2. Square Grid Design

Use equal-sized squares in a grid pattern for a more geometric, clean design. Great for modern homes. The uniform pattern adds a sense of order and symmetry to any space.
Perfect for feature walls in offices, stairwells, or media rooms. Add LED strip lighting inside each box for a cool, backlit effect.
I used this layout to frame photo prints and small artworks in my guest room.
3. Add a Chair Rail

Install a chair rail (horizontal trim) around the middle of the wall and do box moulding below it only. This is a traditional style used in dining rooms.
You can also paint the upper and lower halves in different colors. For extra charm, add wallpaper or stencil patterns above the rail.
It is ideal for protecting walls in high-traffic areas like hallways. A thicker chair rail creates a stronger break between sections.
4. Paint in Bold Colors

Try navy, black, or emerald green for a moody vibe. Or keep it light with white or soft gray for an airy look.
Bold colors highlight the trim detail and create a high-end feel. Use matte or satin finishes for a soft, modern appearance.
Darker tones are great for cozy bedrooms or formal dining rooms. Lighter shades work well in small or sunlit spaces to reflect light.
5. Use Wallpaper Inside Boxes

Put patterned wallpaper inside the boxes and paint the trim around it. This makes a fun focal point in a hallway or bedroom.
Try floral prints, textured paper, or peel-and-stick murals. Great for renters or those wanting a changeable design element.
You can rotate wallpapers seasonally for a fresh look each time. It’s a creative way to blend bold design with subtle detail.
6. Try It on the Ceiling
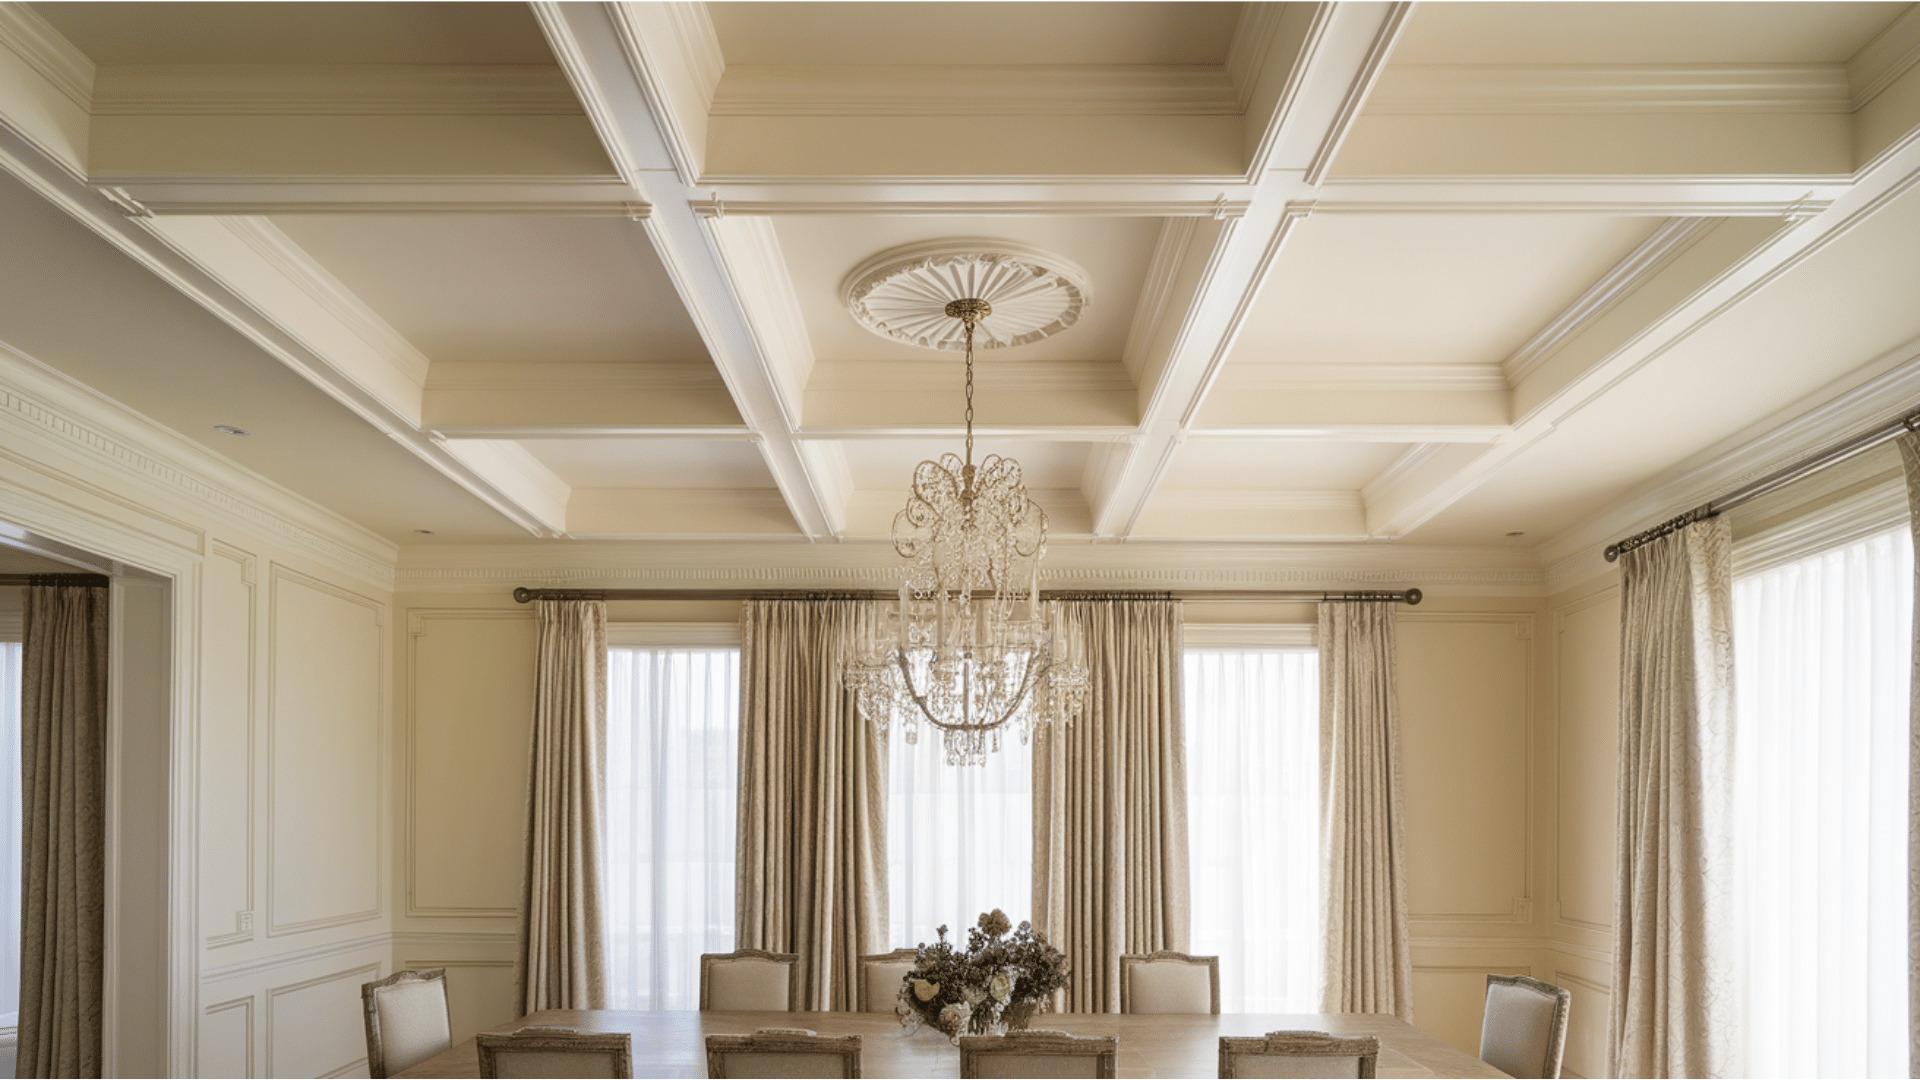
Want to try something bold? Add box moulding to your ceiling for a coffered look.
Paint it the same color as the walls for a smooth flow. Add a ceiling medallion or chandelier for extra wow factor.
Use it in dining rooms or home libraries for a classic effect. This style draws the eye up and adds a luxurious feel.
7. Mix Box Sizes

To add visual interest, use large boxes on the bottom and smaller ones on top. This style works well in rooms with tall walls or angled ceilings.
You can also stack boxes of different heights for an artistic effect. For a more relaxed design, use wide spacing between boxes.
This gives a layered, custom look, which I love. It also breaks away from standard patterns, making it look unique.
What DIYers Are Saying About Box Moulding
Many people who’ve tried box moulding for the first time found it surprisingly doable and rewarding.
- Planning ahead made the project go smoother: People often say that sketching their design or taping boxes on the wall first helped them avoid mistakes later.
- MDF trim was a favorite choice: It’s affordable, easy to cut, and looks great when painted, perfect for beginners or budget projects.
- Using the right tools made a big difference: A laser level, miter saw, and nail gun helped make straight cuts and clean installs much easier.
- First-time mistakes were common but fixable: Many DIYers mentioned messing up cuts or spacing at first but said they quickly learned and improved as they went.
- The end result felt satisfying and professional: Despite some bumps along the way, most felt proud of their work and loved the upgraded look of their space.
Tips for Installing Box Moulding
A smooth box moulding project depends on planning, patience, and precision. I find that using these practical tips makes the process easier:
- Measure Twice, Cut Once: Double-check all your measurements before cutting trim. A small mistake can throw off your whole design.
- Use Painter’s Tape to Visualize Layout: Before you start nailing anything, use tape to outline your boxes on the wall. This helps you spot mistakes early.
- Label Each Trim Piece: Write on the back of each piece with a pencil so you remember where it goes. It saves time during installation.
- Use a Laser Level: A laser level is a great investment, especially for large walls, to keep your boxes straight and even.
- Don’t Skip the Caulk: Once painted, filling in gaps and nail holes with caulk makes your trim look clean and professional.
Conclusion
Box moulding is an easy, affordable way to give any room a polished, finished look.
With just a little time and effort, you can turn plain, flat walls into beautiful design features that add charm and value to your home.
Whether you choose a modern grid layout, a traditional chair rail style, or something more creative like painted panels or wallpaper accents, the possibilities are endless.
Even if you’re new to DIY, this project is very doable. Just take your time, measure carefully, and don’t be afraid to try. I always say – mistakes can be fixed, and the result will be well worth it.
Ready to try box moulding in your home? Start small, maybe one wall in your bedroom or hallway, and build your confidence from there.