
Thermofoil cabinets are a popular choice in kitchens and bathrooms due to their smooth finish and budget-friendly price.
They are made of MDF covered with a thin vinyl layer, giving them a sleek and uniform look. While durable, they can peel or discolor over time, making them look worn out.
Painting thermofoil cabinets can be a cost-effective way to refresh their appearance instead of replacing them.
With the right preparation and materials, a smooth and long-lasting finish can be achieved. However, since thermofoil is not like natural wood, it requires special steps for proper adhesion.
This guide will cover everything you need to know about painting thermofoil cabinets, from preparation to the best techniques for a professional-looking result.
Can You Paint Thermofoil Cabinets?
Yes, thermofoil cabinets can be painted, but the process requires careful preparation. Unlike wood, thermofoil has a smooth, plastic-like surface that does not absorb paint easily. Without proper steps, paint may peel or chip over time.
Proper sanding, priming, and selecting the right type of paint are key to a successful finish. Strong adhesion primers and thin, even coats can help create a smooth and long-lasting result. While it takes extra effort, painting thermofoil cabinets is a budget-friendly alternative to replacing them.
If your cabinets are peeling or outdated, painting can give them a fresh new look. With the right tools and techniques, you can transform your space without spending a fortune.
Understanding Thermofoil Cabinets
Thermofoil cabinets are made from Medium-Density Fiberboard (MDF) covered with a thin vinyl or plastic coating. This layer gives them a smooth and consistent finish, making them a popular choice for modern kitchens and bathrooms.
These cabinets are affordable and easy to clean, as the non-porous surface resists moisture and stains. They come in a variety of colors and finishes, making them a versatile option for many homes.
However, thermofoil cabinets have some downsides. Over time, the vinyl layer may peel, bubble, or discolor due to heat and moisture exposure. When this happens, painting can be a great way to refresh their appearance instead of replacing them.
Pros and Cons of Painting Thermofoil Cabinets
Pros
- Cost-Effective: Painting is a budget-friendly option to update the look of your cabinets without the need for expensive replacements.
- Customization: You can choose any color or finish, allowing your cabinets to match your personal style and home decor.
- Quick Transformation: Painting can dramatically change the look of your space in a relatively short amount of time compared to a full remodel.
- Environmentally Friendly: By reusing your existing cabinets and just updating their appearance, you’re reducing waste and contributing to a more sustainable approach.
- Increased Home Value: A fresh coat of paint can increase the visual appeal of your kitchen or bathroom, adding value to your home.
Cons
- Adhesion Issues: Thermofoil surfaces are smooth and non-porous, making it difficult for paint to stick unless proper sanding and priming are done.
- Durability Concerns: Painted finishes on thermofoil may not be as long-lasting as the original factory finish, especially in high-use areas like kitchens.
- Time-Consuming Process: Proper preparation and multiple coats of paint can take several days to complete, and mistakes can be costly to fix.
- Chipping and Peeling: Even with the right preparation, there’s a risk that the paint may eventually chip or peel, particularly in areas that experience frequent contact or moisture.
- Not Suitable for Every Style: While painting is great for modern looks, it might not be the best option for certain styles or cabinets that need a complete overhaul.
Preparation Steps for Painting Thermofoil Cabinets
Properly preparing thermofoil cabinets is crucial to achieving a smooth and long-lasting finish when painting. Follow these essential steps to ensure the best results.
Cleaning
Start by thoroughly cleaning the surfaces of your cabinets to remove any grease, dirt, or residues. Use a mild detergent mixed with water and a soft cloth to wipe down the cabinets. Be sure to clean all corners and edges where dirt may have accumulated.
This step is vital as any leftover residue can interfere with paint adhesion. After cleaning, dry the surfaces completely with a clean towel to ensure there is no moisture left.
Sanding
Once the cabinets are clean, the next step is sanding. Lightly sand the surface using fine-grit sandpaper. Sanding helps to create a rough texture, allowing the primer to adhere better. Be gentle with sanding to avoid damaging the thermofoil surface.
It’s not necessary to sand down to the bare material; just creating a light texture is sufficient. Wipe off the sanding dust with a clean cloth after sanding.
Repairs
Before painting, inspect the cabinets for any peeling, chipped areas, or other damage. If you find any, use wood glue or adhesive to fix peeling edges and ensure a smooth surface. For deeper scratches or holes, use filler and smooth it out once dry.
Make sure the repaired areas are level with the rest of the cabinet surface. This ensures a uniform paint application and prevents imperfections in the final finish.
Choosing the Right Primer and Paint
Choosing the right primer and paint is essential to achieving a smooth, durable finish when painting thermofoil cabinets. The correct products will ensure the paint adheres properly and withstands wear over time.
Primer
Start by selecting a high-quality bonding primer specifically designed for slick surfaces. Thermofoil has a smooth, plastic-like finish, making it difficult for regular primers to bond properly.
A bonding primer helps the paint stick and provides a better surface for the topcoat. Make sure to choose a primer that is compatible with both thermofoil and the type of paint you plan to use.
Apply the primer in thin, even layers, and allow it to dry fully as per the manufacturer’s instructions before moving to the next step.
Paint
When selecting paint for your thermofoil cabinets, go for durable, high-quality options designed for cabinetry.
Acrylic or enamel-based paints work best for cabinets because they offer durability, a smooth finish, and easy cleaning. Acrylic paint is water-based and dries quickly, while enamel provides a hard finish that’s resistant to chipping.
Be sure to choose a paint that suits your style and desired finish, such as matte, satin, or semi-gloss. Apply thin coats of paint, allowing each layer to dry fully before adding the next. This ensures an even, long-lasting finish.
Step-by-Step Painting Process
Follow these steps carefully for the best results when painting your thermofoil cabinets, ensuring that each layer is applied properly to create a smooth and lasting finish.
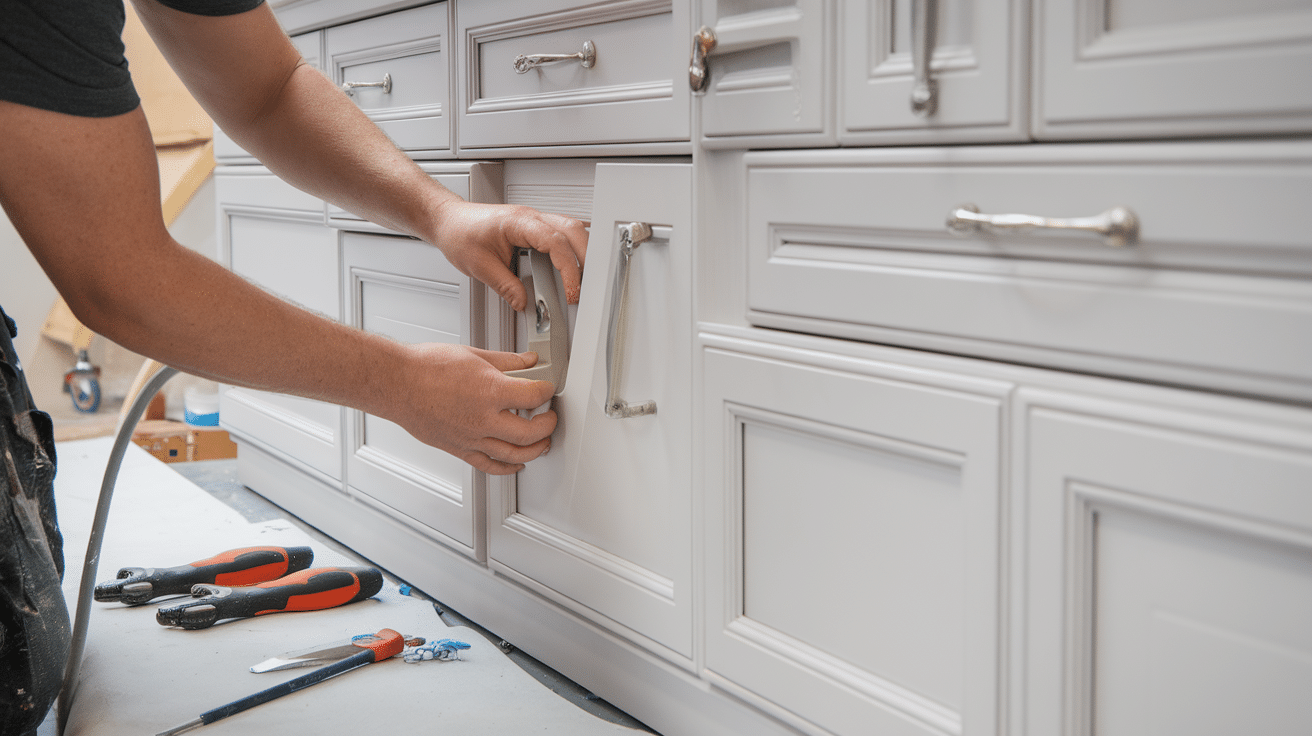
Step 1: Removing Hardware
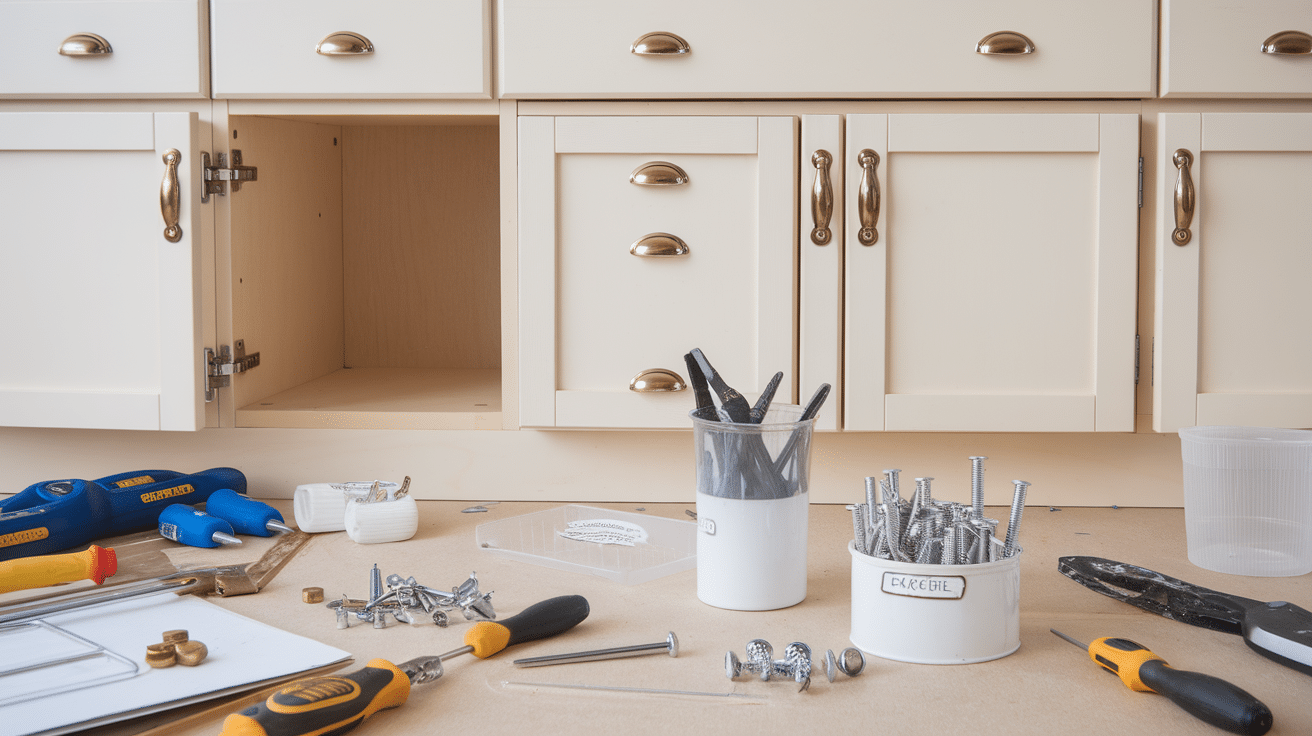
Start by removing all hardware from your cabinets, including handles, knobs, and hinges. Also, take off the cabinet doors and drawers. This allows you to access all areas of the surface and paint evenly.
It also prevents getting paint on the hardware or parts that need to stay untouched. Store the hardware and screws safely in a labeled container to make reassembly easier later.
Taking this extra time at the beginning of the process will make painting smoother and ensure a professional-looking finish.
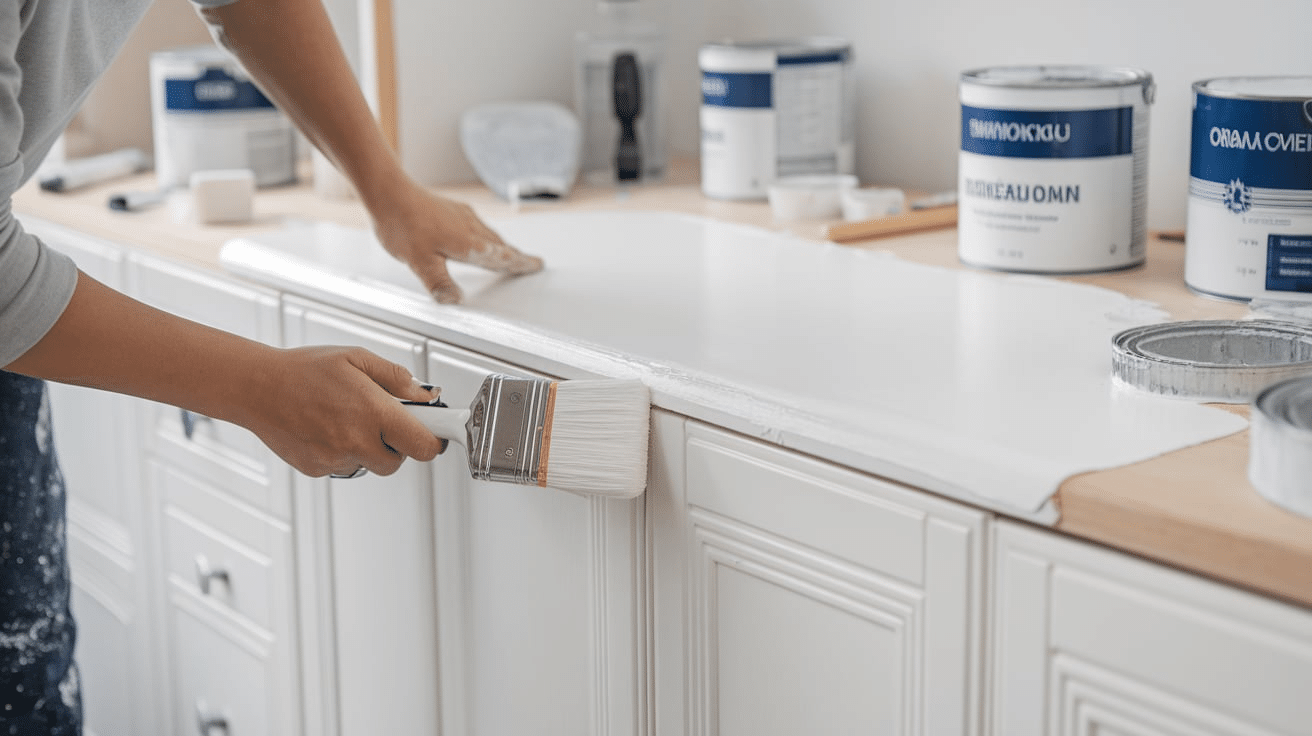
Step 2: Priming
Once the hardware is removed, the next step is priming. Apply an even layer of high-quality bonding primer that is specifically designed for slick surfaces like thermofoil.
The primer is essential because it provides a texture for the paint to stick to and ensures better adhesion. Use a brush or foam roller to apply the primer in smooth, thin coats. Allow it to dry completely according to the manufacturer’s instructions—typically for a few hours.
This step is important because it creates a solid foundation for the paint and helps to avoid peeling or chipping down the line.
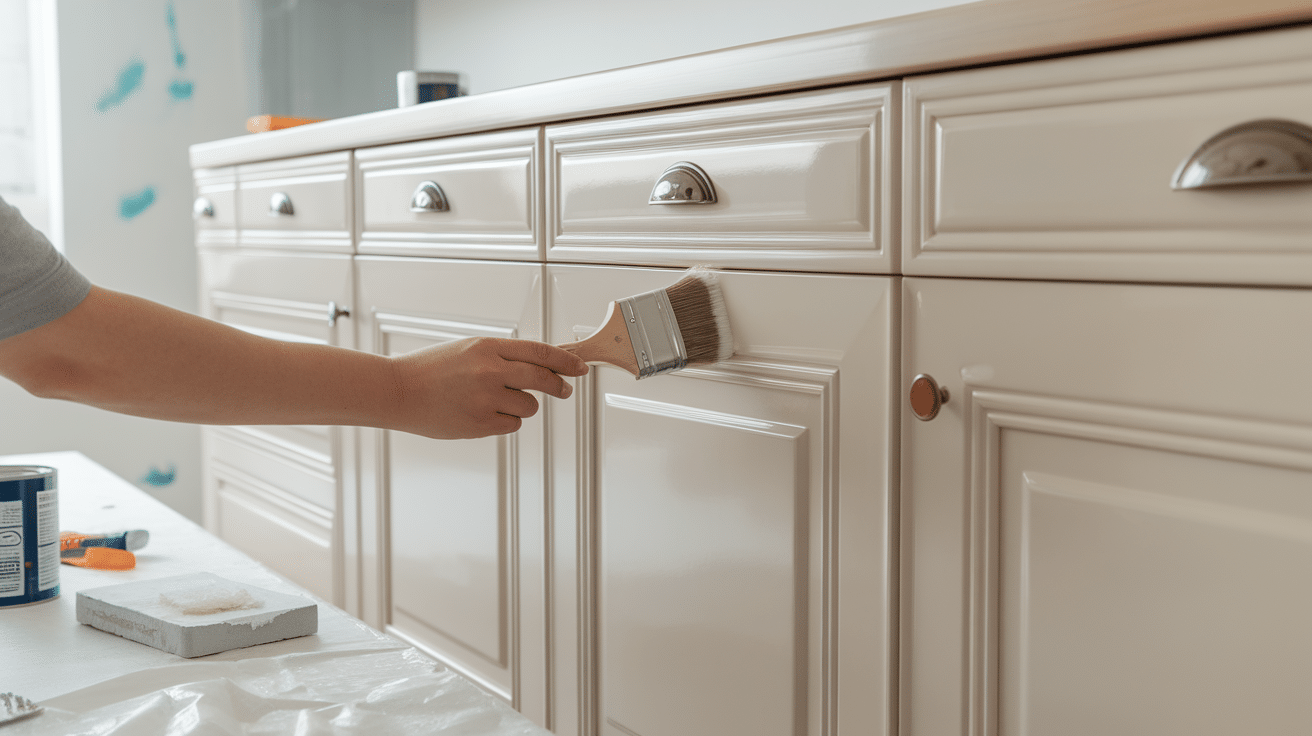
Step 3: Painting
After the primer has dried fully, it’s time to paint. Apply the paint in thin, even coats using high-quality paint suitable for cabinetry. Avoid heavy layers of paint, as they can lead to streaks, drips, or an uneven finish.
Start from the edges and work your way to the center, making sure to cover all areas evenly. Between each coat, give the paint time to dry completely—this can take several hours, depending on the type of paint used.
You might need to apply multiple coats to achieve full coverage and an even finish. Each coat builds on the previous one, so take your time and allow adequate drying between applications for the best results.
Step 4: Reassembly
Once the final coat of paint has dried completely, it’s time to reassemble the cabinets. Carefully reattach the cabinet doors, drawers, and any hardware you removed earlier.
Ensure that the doors and drawers are aligned properly and that the hardware is securely fastened. Be careful not to damage the newly painted surfaces during this process.
It’s important to check that everything is functioning smoothly, from the hinges to the knobs, before you call the project complete. This step will give your cabinets a fresh, updated look while maintaining their full functionality.
Tips for a Professional Finish
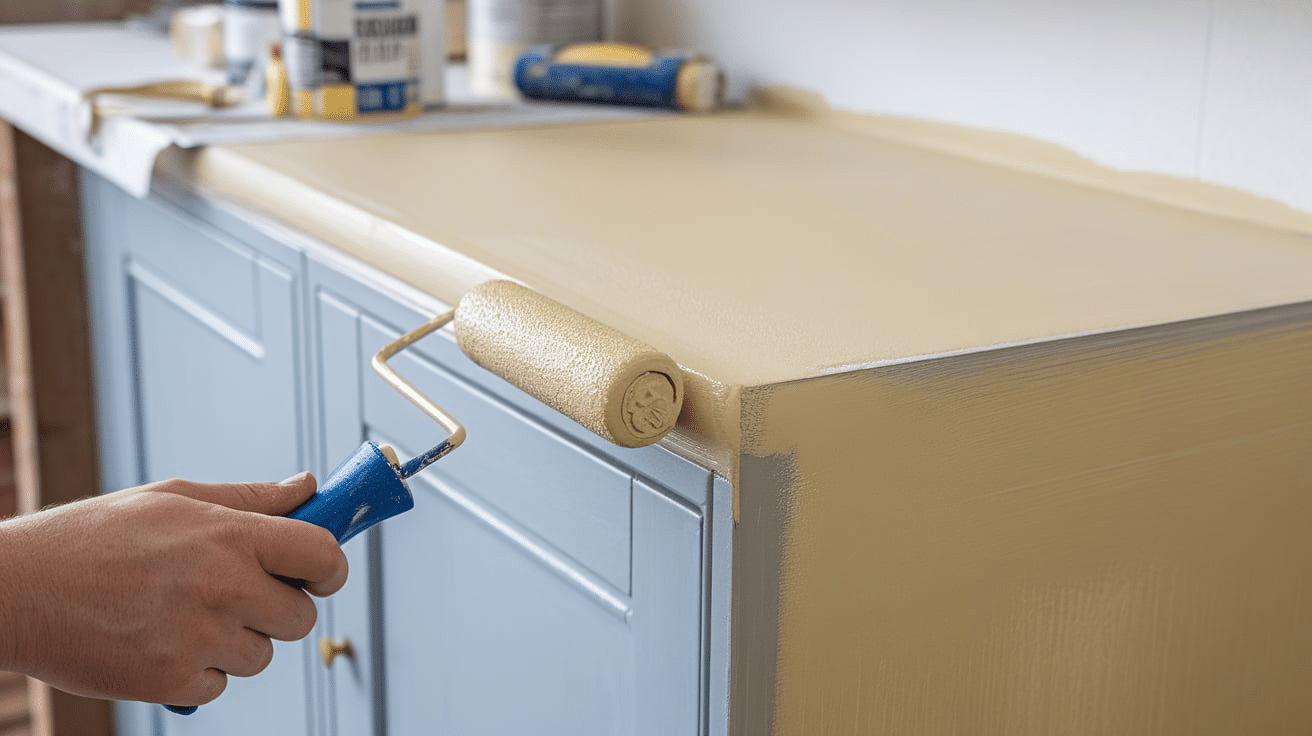
Use High-Quality Brushes or Foam Rollers
Invest in good-quality brushes or foam rollers to minimize brush strokes and roller marks. This helps the paint to go on smoothly, creating an even, flawless surface.
Low-quality tools can leave behind visible streaks or uneven paint. Foam rollers are particularly effective for smooth surfaces like thermofoil, ensuring a consistent finish.
If you’re using a brush, choose a synthetic bristle brush that’s designed for cabinetry to avoid bristle marks.
Maintain a Dust-Free Environment During Drying
After applying the primer and paint, it’s essential to maintain a dust-free environment while the paint dries.
Dust particles can settle on wet paint and cause imperfections like bumps or fuzzy areas. To prevent this, keep windows and doors closed during the drying process, and consider using a fan to improve air circulation without stirring up dust.
If possible, paint your cabinets in a clean, quiet area away from construction or high-traffic zones to ensure the paint cures perfectly.
Consider a Protective Topcoat
For added protection and durability, consider applying a clear topcoat once the paint has fully dried.
A topcoat acts as a shield against scratches, stains, and moisture, which is especially important for kitchen or bathroom cabinets. Depending on your preference, opt for a matte, satin, or glossy finish.
The topcoat will enhance the durability of your paint job, giving your cabinets a professional, long-lasting finish that resists wear and tear.
Alternative Options to Painting
If painting isn’t the ideal solution for your thermofoil cabinets, there are other ways to refresh or update them without completely replacing them.
Refacing
Cabinet refacing is an excellent alternative to painting if you’re looking for a more dramatic transformation.
Instead of painting over the thermofoil, you can replace it with wood veneer or a new layer of thermofoil. This option gives your cabinets a fresh look while maintaining the original structure.
Refacing is a great choice if you want to improve the look of your cabinets without the hassle and cost of a full replacement.
Replacement
Another option is to replace the cabinet doors entirely while keeping the existing cabinet frames. This allows you to completely change the style and material of your doors while retaining the original cabinet structure.
You can choose from a wide variety of materials, including wood, glass, or metal, to match your preferred aesthetic.
Replacement doors can be a bit more costly, but they offer the most significant change to the look and feel of your kitchen or bathroom.
Conclusion
Painting thermofoil cabinets is a feasible and cost-effective option if you follow the right steps. With proper preparation, including cleaning, sanding, and priming, you can achieve a smooth, professional finish.
Before starting, consider the pros and cons carefully. While painting can update your cabinets, the adhesion and durability of the paint may vary depending on the preparation.
If you’re unsure, consider alternatives like refacing or replacing the doors. These options may also provide a refreshed look without as much effort.
With thoughtful execution, painting thermofoil cabinets can breathe new life into your kitchen or bathroom at a fraction of the cost of full replacement.
Frequently Asked Questions
Can I Paint Thermofoil Cabinets Myself?
Yes, you can paint thermofoil cabinets yourself with proper preparation, such as cleaning, sanding, and priming the surface. Make sure to follow the right steps for the best results.
Do I Need to Sand Thermofoil Cabinets Before Painting?
Yes, lightly sanding the surface is essential. It helps create a texture for the primer to adhere to, ensuring better paint adhesion and a smooth finish.
How Long Will the Paint Last on Thermofoil Cabinets?
The durability of the paint depends on the quality of the materials used and how well the preparation is done. While it can last for years, regular use may cause wear and tear over time.
Can I Use Any Paint for Thermofoil Cabinets?
For long-lasting results, it’s recommended to use high-quality paints specifically designed for cabinetry, such as acrylic or enamel-based paints.
What are Alternatives to Painting Thermofoil Cabinets?
Alternatives include refacing the cabinets with wood veneer or replacing the cabinet doors while keeping the existing frames for a fresh look without the need for a full replacement.