
Do your old hollow core doors make your home feel a little plain or outdated? You’re not alone.
These doors are common in many houses because they’re cheap and easy to install, but they don’t always look great.
The good news is that you don’t have to replace them to give your space a fresh, stylish look.
With just a few affordable materials and some DIY effort, you can turn a boring door into something that looks high-end.
Whether you want to add trim, paint, wallpaper, or even panels, there are plenty of easy and cheap ways to upgrade your door.
You don’t need fancy tools or a big budget – just a little time and creativity.
In this blog, I’ll share simple makeover ideas that are perfect for beginners and renters. Let’s turn that plain door into a piece you’ll be proud of!
Understanding Hollow Core Doors
Hollow core doors are lightweight, budget-friendly doors that you’ll find in many homes.
They’re called “hollow” because the inside isn’t solid wood – it’s usually a cardboard-like honeycomb covered with a thin layer of wood or fiberboard.
That’s why they’re easy to carry and install, but they don’t block sound well and can get damaged easily.
I once had a few of these in my hallway, and they looked plain and boring, no matter how clean the room was.
The smooth surface and lack of detail made them feel cheap, even though the rest of the space was nicely decorated.
Still, they’re great if you’re trying to save money. And the best part?
With a little creativity, you can make them look amazing. Instead of tossing them out, you can give them a makeover that’s both easy and affordable.
Budget-Friendly Hollow Core Door Makeover Ideas
If you’re like me, you’ve probably looked at your hollow core doors and wished they looked a little nicer.
The truth is, they’re super common in many homes, especially if you’re on a budget.
But just because they’re cheap doesn’t mean they have to stay boring. I’ve found some super-easy and affordable ways to give these doors a whole new look.
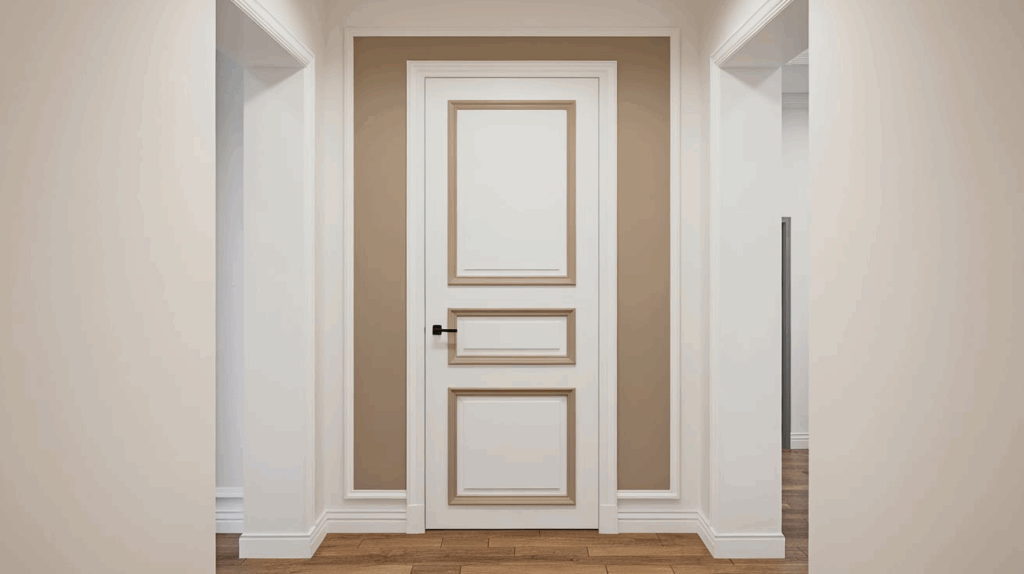
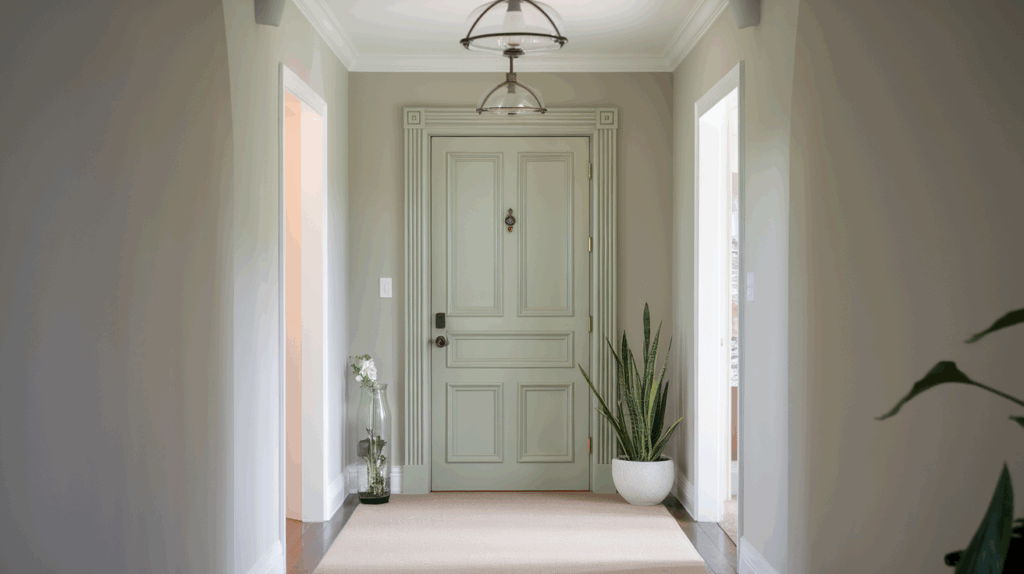
1. Add Molding for a Classic Look
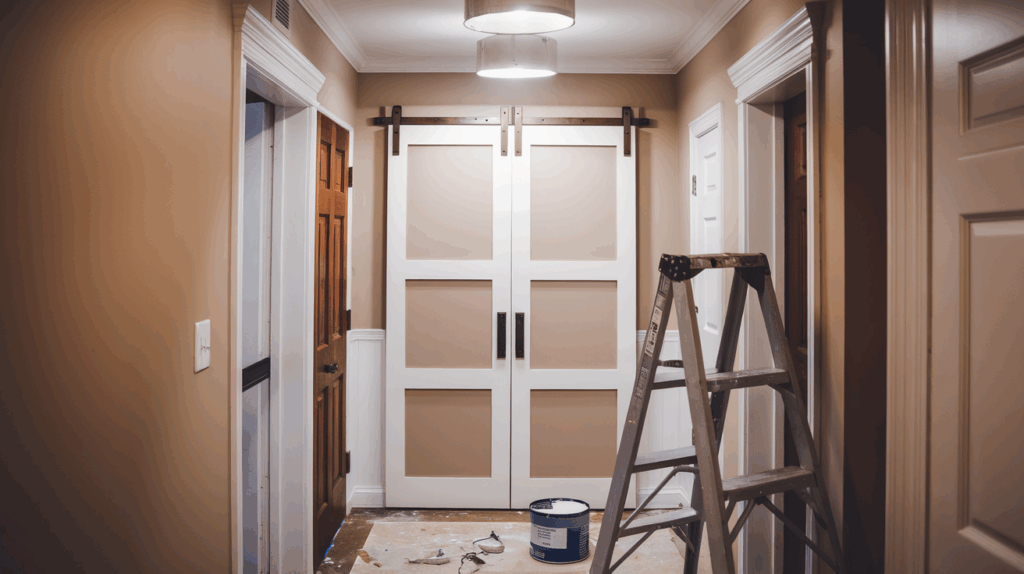
One of the easiest ways to upgrade a flat, hollow core door is by adding trim or molding to create a paneled look. This gives it a more traditional or classic feel.
You can use thin pieces of MDF or wood trim and glue or nail them right onto the door. Once the trim is on, paint the whole door, and it’ll look like it came that way from the start.
This is one of the first door makeovers I tried. I used wood glue, a handsaw, and a bit of white paint. The difference was huge, and it cost me less than $30 per door.
What you’ll need:
- Wood or MDF trim
- Wood glue or construction adhesive
- Paint of your choice
2. Apply Peel-and-Stick Wallpaper
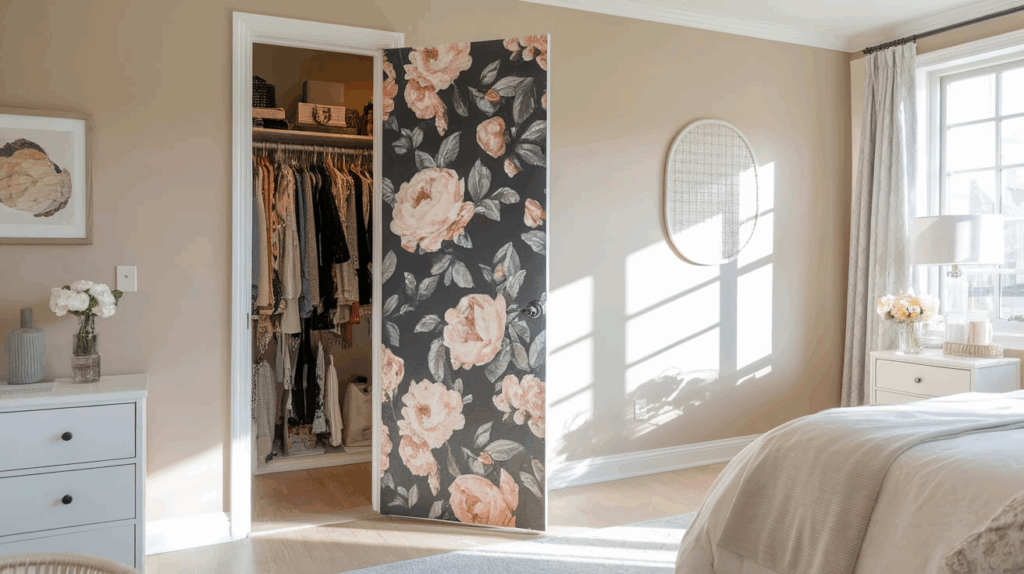
If you want something fast and easy, peel-and-stick wallpaper is a great choice. It comes in tons of patterns – wood grain, marble, floral, geometric, and more.
Just cut the wallpaper to fit your door, stick it on, and smooth out any bubbles.
You can change the wallpaper anytime without damaging the door, which makes this a perfect option for renters, too.
You can even go bold with colors or stick with something simple like faux wood.
What you’ll need:
- Peel-and-stick wallpaper
- A ruler or level
- A squeegee or a flat tool to smooth it out
3. Paint with Bold Colors or Patterns
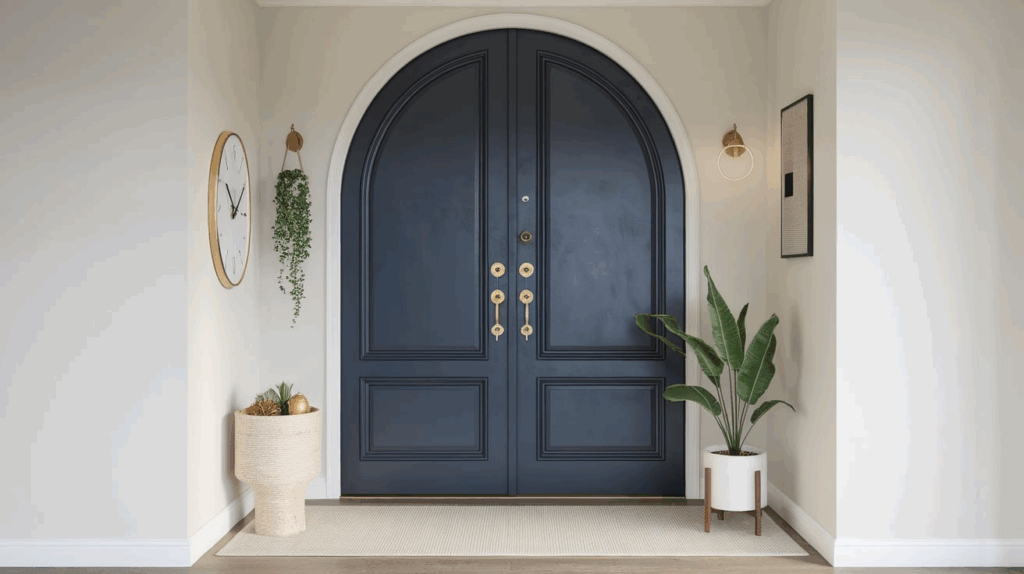
Never underestimate the power of paint! A coat of paint can completely change how your door looks.
You can go with a bold color to make the door pop, or keep it neutral for a clean, modern style.
If you’re feeling extra creative, try painting stripes, geometric shapes, or even a fun mural.
I once painted a door dark navy with gold handles, and it made the whole room feel richer and more put-together. The cost was low, but the effect was huge.
What you’ll need:
- Primer (for better paint grip)
- Paint (your color choice)
- Painter’s tape
- Paintbrush or roller
4. Add Faux Wood Panels
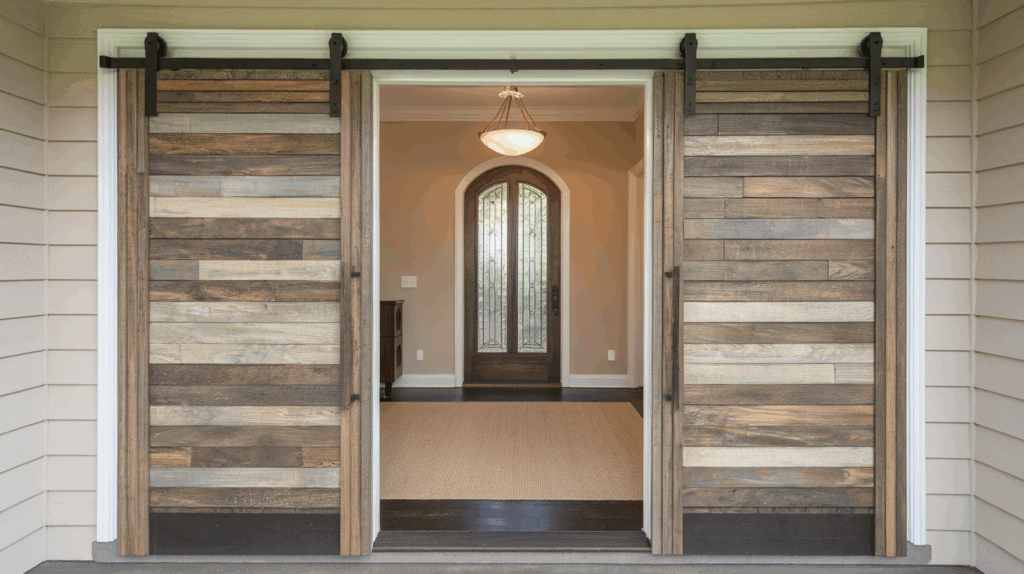
To give your hollow core door a real wood look without spending too much, try adding thin strips of plywood or MDF to make it look like a plank door.
This adds texture and depth, especially if you stain it or use wood-toned paint. Cut the strips, glue or nail them onto the door, and then paint or stain everything.
This one takes a bit more work, but I think it’s totally worth it. A friend of mine used this method in her hallway, and I couldn’t believe it was the same door underneath.
What you’ll need:
- Thin plywood or MDF
- Measuring tape
- Wood glue and nails
- Stain or paint
5. Use Beadboard or Wainscoting Panels
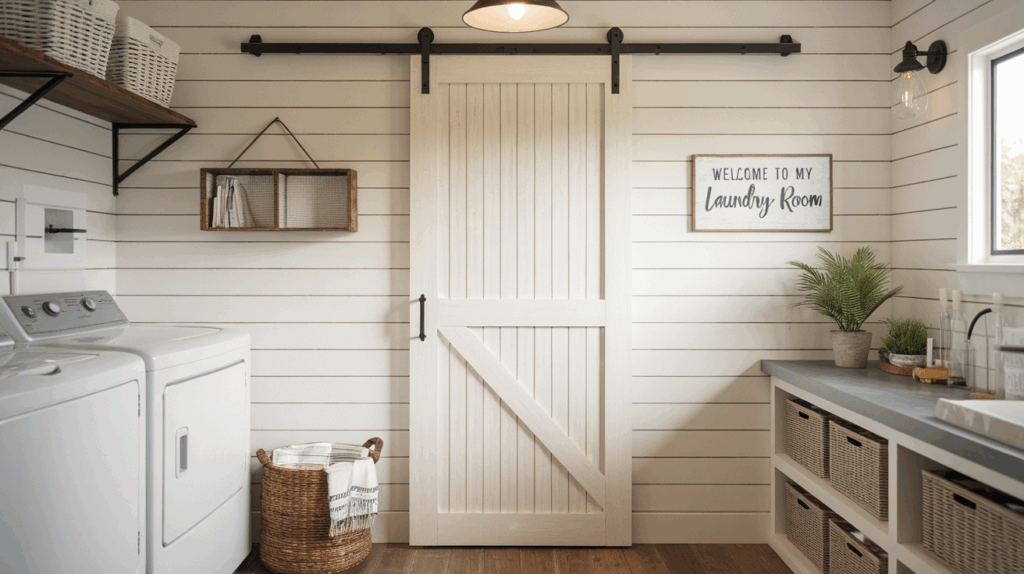
For a cozy, farmhouse or cottage-style feel, try using beadboard panels. These are easy to find at home improvement stores, and they’re simple to cut and attach.
You just glue the panel onto the door, nail it down if needed, and paint over it.
I plan to try this one on my laundry room door soon. It has that soft, cozy charm I really like, and I love how it instantly adds texture without being too busy.
What you’ll need:
- Beadboard panels
- Adhesive or glue
- Finishing nails
- Paint and caulk for finishing touches
6. Frame It with Paint or Tape
Want to make your door stand out with almost no cost? Try adding a faux frame using painter’s tape and paint.
You just tape off a rectangular or square shape and fill it in with a contrasting color.
You can even use washi tape for a quick, removable design, making it perfect for renters or temporary style changes.
What you’ll need:
- Painter’s tape or washi tape
- Paint in a bold or neutral color
- Paintbrush or roller
7. Install Decorative Overlays or Wall Decals
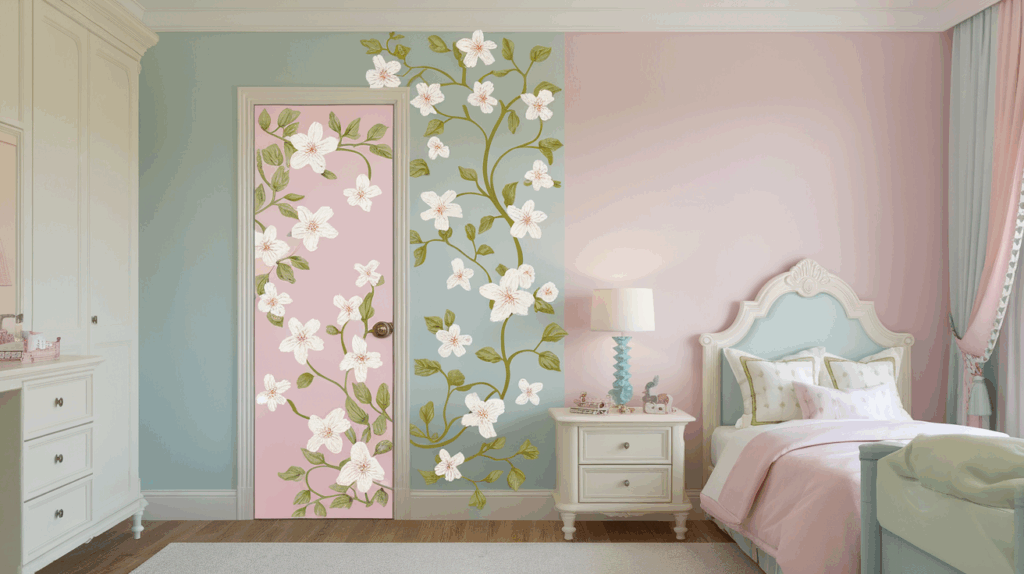
Wall decals aren’t just for walls; you can use them on doors, too! Floral designs, geometric patterns, or even fun quotes can give your door personality.
They’re super easy to apply and peel off later, which makes them great for renters.
I once added a leafy vine decal to a plain bathroom door, and it made the whole hallway feel more welcoming. It took five minutes, and I got so many compliments!
What you’ll need:
- Vinyl wall decals or overlays
- Clean surface
- A smoothing tool or card
8. Add a Chalkboard or Whiteboard Section
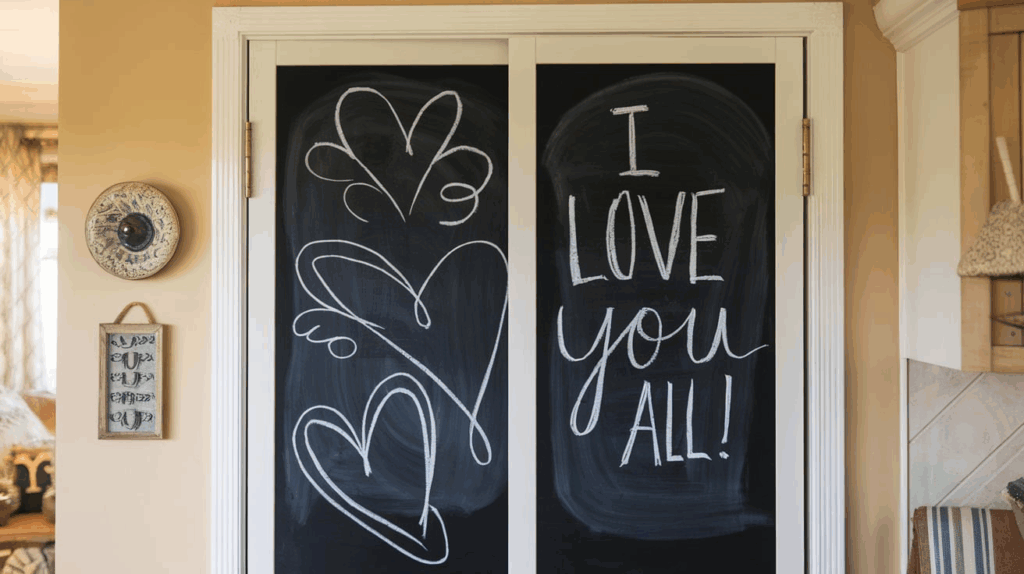
Turn your door into something useful! You can paint a section – or the whole thing – with chalkboard or whiteboard paint.
It’s perfect for notes, grocery lists, or even kids’ doodles. This works especially well for pantry, closet, or office doors.
It’s both fun and functional, and the paint is easy to find at hardware stores or online.
What you’ll need:
- Chalkboard or whiteboard paint
- Painter’s tape
- Roller or paintbrush
9. Create a Slatted Design with Wood Lattice
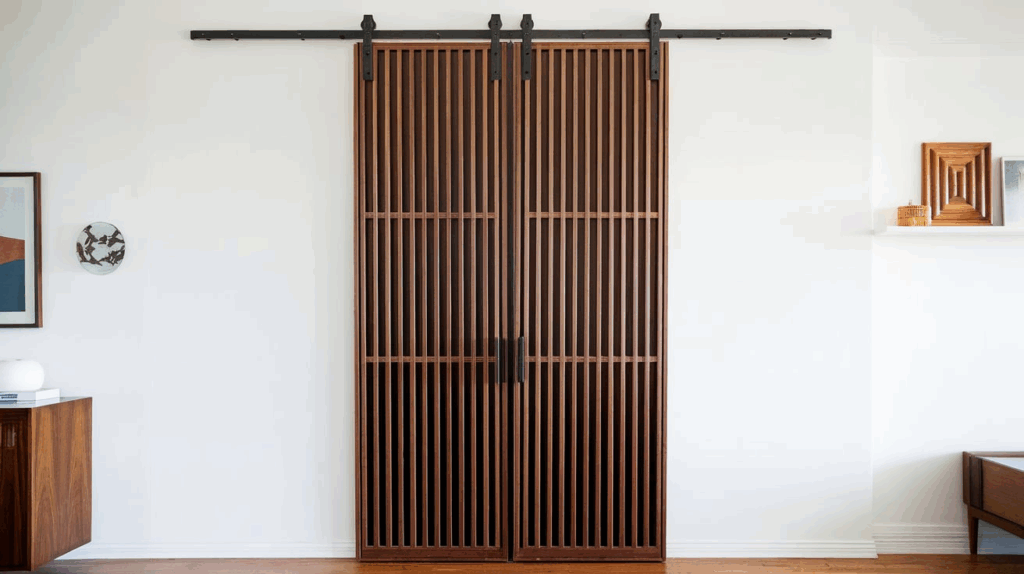
For a modern or mid-century vibe, use thin wood slats or lattice pieces to create a pattern on your door.
You can space them evenly across the surface vertically or in a cool diagonal design.
After painting or staining them, the door will look sleek and high-end.
This idea takes a bit more time, but if you’re looking for a unique look, it’s totally worth it. Plus, you can customize the spacing and color to match your room.
What you’ll need:
- Wood lattice or thin slats
- Wood glue or small nails
- Stain or paint
- Measuring tape and saw
10. Mix and Match Methods
Sometimes the best results come from combining a few of these ideas.
You could add molding, then paint the door a bold color. Or use beadboard panels and frame them with trim.
Mixing techniques gives you more room to be creative and lets you match your door to the rest of your home’s style.
I mixed wallpaper and trim on a closet door once, and it looked way fancier than I expected. Guests thought it was custom-made!
You don’t need a lot of money to make your hollow core doors look amazing. I’ve done a few of these projects myself, and each one made a big difference in how my home felt.
Try one idea or combine a few, and don’t be afraid to get creative.
Cheap Ways to Make Hollow Core Closet Doors Look Expensive
Your closet doors might not seem like a big deal, but they take up a lot of space, and with a little effort, they can become a standout feature.
You don’t need to buy new doors to get that high-end look.
11. Add Full-Length Mirrors
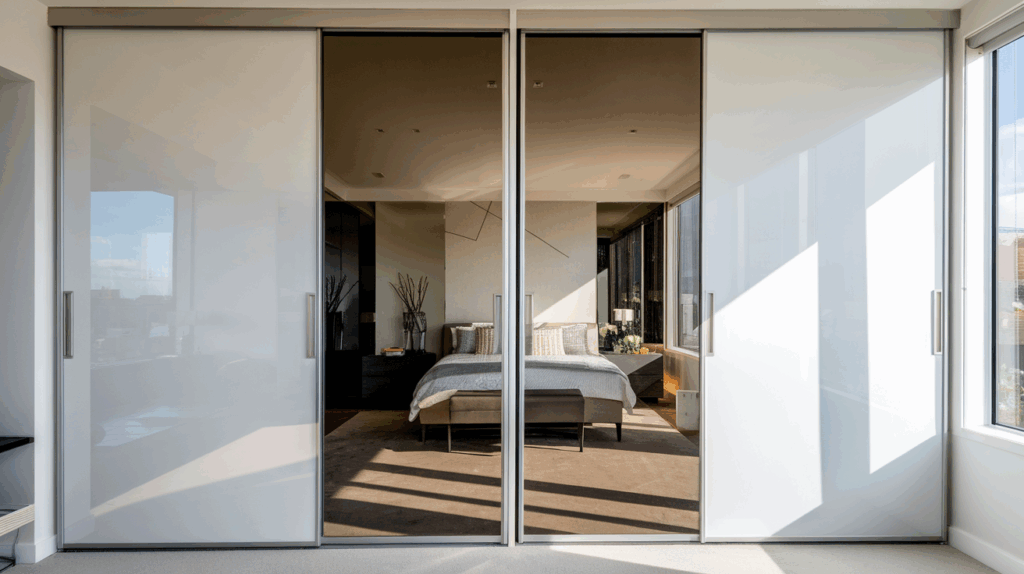
Stick a mirror or two on your closet doors and watch the whole room open up. It makes your space look bigger, brighter, and a whole lot fancier.
Budget tip: Look for lightweight mirror panels or even peel-and-stick mirror sheets at dollar stores or online.
12. Cover with Peel-and-Stick Wallpaper
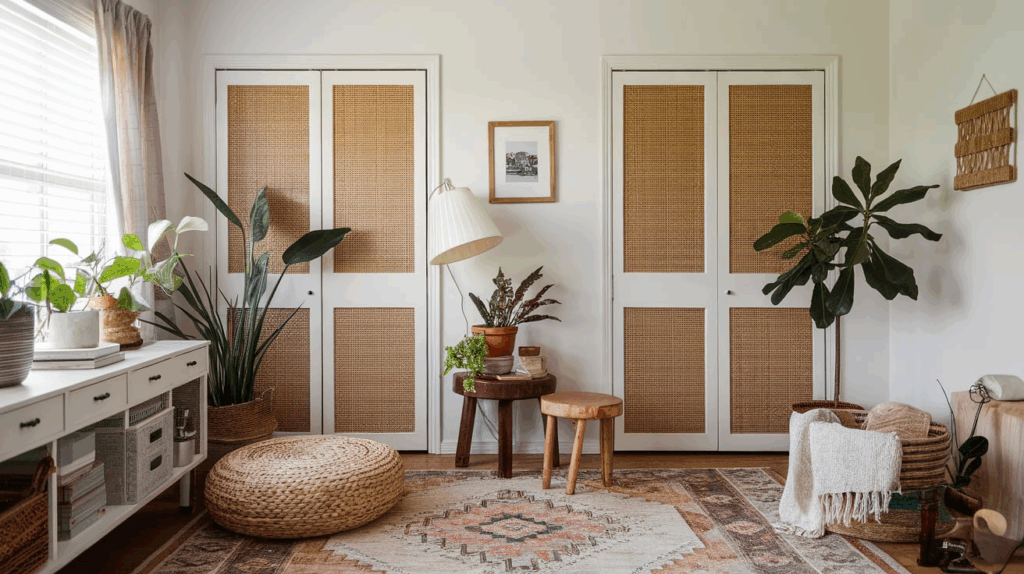
Wood grain, cane weave, linen texture, you name it. A few strips of peel-and-stick wallpaper can make a closet door look custom and way more expensive than it really is.
Quick idea: Try a rattan pattern for a cozy, natural vibe in bedrooms or hallways.
13. Paint Bold or Neutral Vertical Stripes
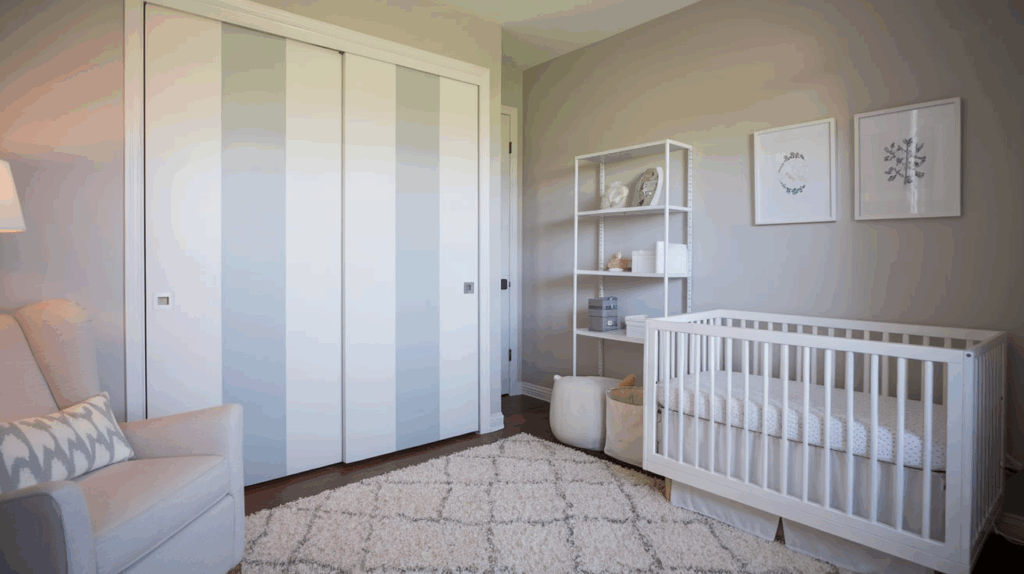
Grab some painter’s tape and two colors of paint. Vertical stripes are easy to do and instantly make the doors look more polished and taller.
Style tip: Use a soft gray with white for a calm look, or black with cream for something modern.
14. Replace the Door Handles
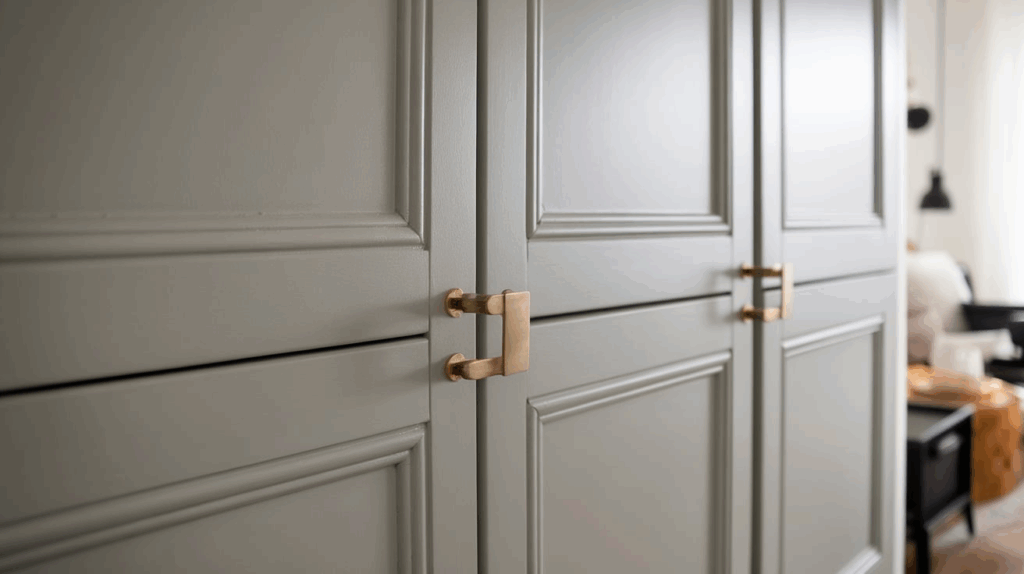
Sometimes, all it takes is a hardware swap. Ditch the cheap plastic knobs and go for something fresh like matte black pulls or brushed brass.
I once used gold handles on white painted doors – it looked modern and clean for under $10!
15. Frame It with Wood Trim
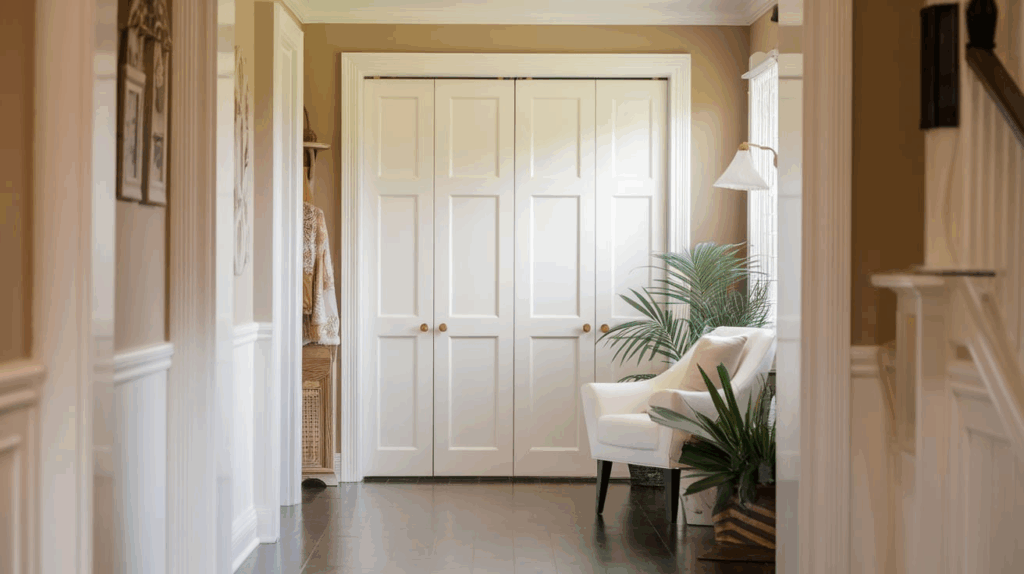
Use thin wood trim or lattice to frame the door panels. This turns plain, flat doors into faux-paneled ones that look way more expensive than they are.
Need to save time? Try self-adhesive trim strips for a mess-free option.
You don’t need a big budget to get that “wow” factor.
With just a few tools, a bit of creativity, and a free afternoon, your hollow core closet doors can look stylish, modern, and even custom-built.
Pick one or two ideas and give them a try, and you’ll be surprised how much of a difference it makes.
Tips for a Successful Hollow Core Door Makeover
Making over a hollow core door is a fun and affordable project, but a few simple tips can help things go smoother and look better.
No matter if you’re painting, adding trim, or using wallpaper, paying attention to the little details will give you the best results.
- Sand for Better Adhesion: Lightly sanding the surface helps paint and adhesive stick better. It also smooths out any scratches or rough spots.
- Use Painter’s Tape for Clean Lines: When painting or adding trim, painter’s tape helps create neat edges and keeps paint from bleeding into unwanted areas.
- Choose Good-Quality Materials: You don’t need to spend a lot, but cheap glue or thin paint can cause problems. Mid-range materials usually last longer and look better.
- Let Each Layer Dry Completely: Whether it’s paint, glue, or caulk, be patient and let each layer dry before adding the next. Rushing can lead to bubbles, peeling, or smudges.
- Practice on the Back First (If Unsure): Not sure how something will look? Try it on the back of the door first. That way, if it doesn’t go well, it won’t show.
- Update Hardware for a Finishing Touch: Swapping out old knobs or handles for something modern or stylish can really complete the look.
A little prep and planning go a long way when it comes to door makeovers. These tips will help your project turn out neat, clean, and professional, even if you’re just starting out with DIY.
Stick to the basics, take your time, and have fun turning that boring door into something you’ll be proud of!
Conclusion
Updating a hollow core door doesn’t have to be expensive or difficult. With a little creativity and some simple materials, you can turn a plain door into something that looks stylish and custom.
Whether you’re adding trim, painting a bold color, using wallpaper, or just swapping out hardware, each small change makes a big difference.
The best part is that you don’t need fancy tools or a big budget to get great results. I’ve done a few of these projects myself, and each one brought a fresh, new feel to my space.
No matter your style, modern, farmhouse, or somewhere in between, there’s a makeover idea that will fit your home. So don’t be afraid to try one.
With just a bit of time and effort, you can give your doors a whole new look and love how they turn out.