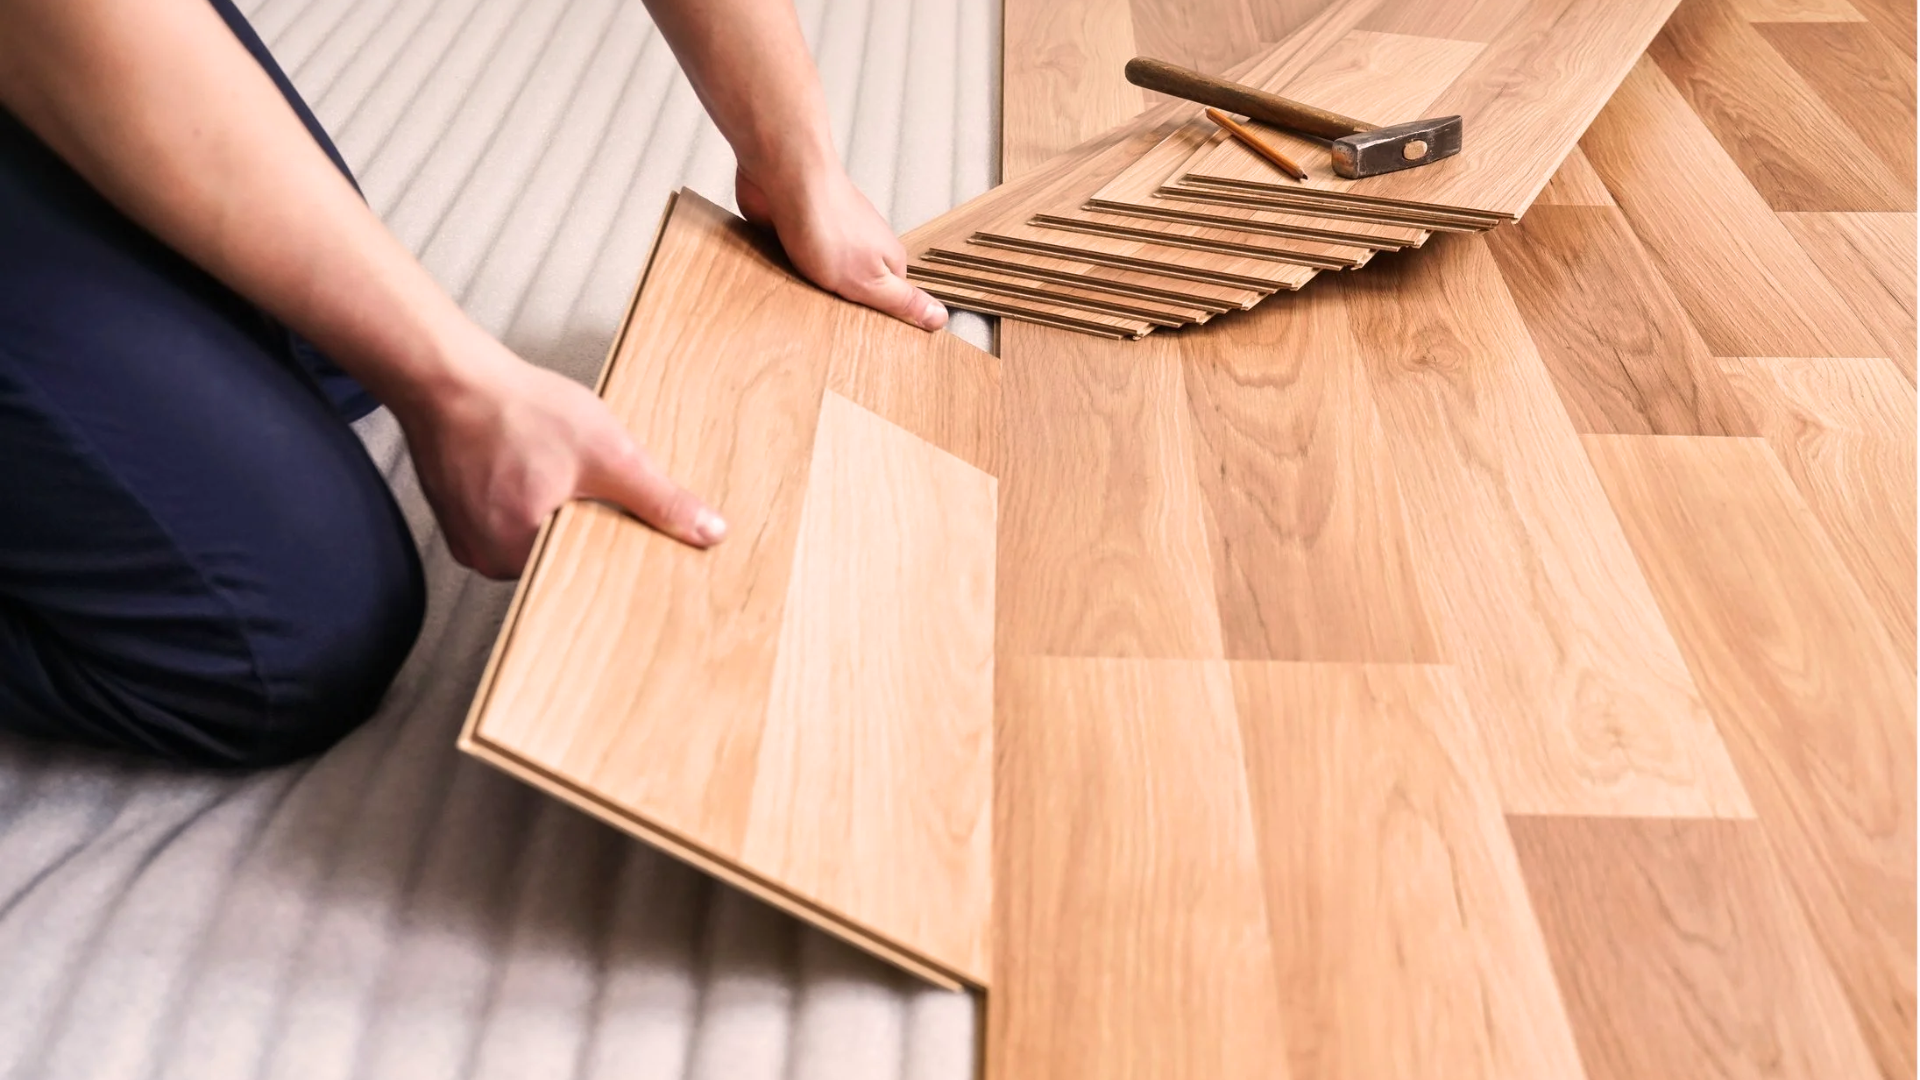
Thinking about putting in laminate flooring yourself? I’ve been there, and you’re not alone.
Many homeowners choose laminate because it’s more affordable than hardwood, looks great, and seems simple enough to install without hiring a pro.
But here’s what I learned: small mistakes during installation can cause big problems later.
I’ve seen floors buckle, boards separate, and even weird clicking sounds every time someone walks across the room. It’s frustrating, especially after all the work you put in.
In this guide, I’ll explain the most common laminate flooring mistakes and how to avoid them.
By the end of this post, you’ll feel confident about your project. You’ll save time, money, and avoid the stress of having to fix errors later.
Your floors will look amazing and stay that way, with no creaks, gaps, or warps.
Let’s get started by looking at what NOT to do when installing laminate!
What Is Laminate Flooring?

Laminate flooring is a sandwich of materials that comes together to look like wood or stone.
I like to think of it as having four main parts: a base layer for stability, a core board (usually HDF), a photo layer with a printed image of wood or stone, and a clear top coat that keeps it from getting scratched.
Unlike real hardwood, you won’t need to sand or refinish laminate. It’s cheaper too! You can put in a laminate floor for about half what you’d pay for hardwood.
The downside? It can’t be refinished if damaged; you’ll need to replace the boards instead.
Vinyl is more water-friendly than standard laminate, but laminate often looks more like real wood.
Laminate works great in living rooms, hallways, and bedrooms. However, it should not be used in bathrooms or kitchens unless the package specifically states it’s made for wet areas.
Water can make the boards swell and warp if it gets underneath them. Ready to pick the right laminate for your home? Let’s look at what can go wrong during installation.
Common Mistakes When Laying Laminate Flooring

1. Skipping Floor Acclimation
I’ve seen this mistake too many times. When you bring laminate flooring home, you can’t install it right away.
Your flooring needs to sit in your house for 48-72 hours before installation. This lets the boards adjust to the temperature and humidity of your home.
Skip this step, and your floor might shrink or expand later, causing gaps or buckling.
2. Not Using Underlayment
Underlayment isn’t just an extra expense; it’s essential. This thin foam layer helps smooth out small floor imperfections, reduces noise, and provides moisture protection.
Without it, your laminate might feel hard underfoot, make more noise when walked on, and be more likely to get damaged by moisture from below.
3. Forgetting Expansion Gaps
Wood-based products naturally expand and contract with humidity changes.
You must leave a ¼ to ⅜ inch gap around the edges of your laminate floor. Without these gaps, your floor has nowhere to expand and might buckle or warp.
These gaps will be hidden by baseboards later.
4. Installing Over an Uneven Subfloor
Take time to check if your subfloor is level. Dips or humps larger than 3/16 inch within 10 feet can cause your laminate to flex when walked on.
This stress can break the locking mechanisms between boards. Use a long straight edge to find uneven spots, then level them with floor leveling compound.
5. Laying Planks Too Tightly
When clicking planks together, don’t force them. Hammering boards too hard can damage the locking system.
If boards don’t join easily, check for debris in the grooves or recheck that your rows are straight. Gentle pressure is all you need for properly aligned boards.
6. Not Checking for Moisture
Moisture is the enemy of laminate flooring. Test your concrete subfloor with a moisture meter before installation.
Readings above 4% signal trouble. For wood subfloors, the reading should be under 12%. High moisture can cause swelling, warping, and mold growth under your new floor.
7. Rushing Through Measurements
Measure twice, cut once. This old saying is key for laminate installation. Take your time with measurements, especially in tricky spots like doorways or around fixtures.
Being off by even ¼ inch can make your whole layout look sloppy or require redoing sections.
8. Poor Staggered Joints
End joints that are properly staggered improve the look and strength of your floor. Avoid having end joints line up or create a stair-step pattern.
For the best look, stagger joints at least 6 inches from the previous row, and avoid having H-patterns where four corners meet at one spot.
9. Ignoring Manufacturer Instructions
Each laminate brand has specific installation requirements. The warranty often depends on following these exactly.
Read the manual completely before starting. The time you spend reading can save you from costly mistakes that might not be covered under warranty.
10. Cutting Corners Near Walls or Door Frames
Complex cuts around door frames or heating vents take patience. Don’t rush these parts or leave gaps, thinking baseboards will hide them.
For door frames, you might need to undercut the casing so the laminate can slide underneath for a clean look.
11. Installing in the Wrong Direction
The direction of your laminate boards affects how a room looks. Generally, boards should run toward the main light source or along the longest wall.
This makes the room appear larger and prevents shorter pieces visible at the entry points. Plan your layout before starting.
12. Not Removing Baseboards
While you can install laminate with baseboards in place, removing them gives better results.
This allows for proper expansion gaps and lets you hide any rough cut edges. If you decide to leave baseboards on, you’ll need quarter-round molding to cover the expansion gaps.
13. Using the Wrong Tools
Proper tools make installation easier and produce better results. You’ll need spacers, a tapping block, a pull bar, and the right saw for clean cuts.
Using makeshift tools or incorrect cutting methods can chip or crack boards, creating waste and frustration.
14. Failing to Inspect Planks
Open several boxes and check for damaged boards before starting. Also, mix boards from different boxes as you install to blend any slight color variations.
This small step helps avoid having sections of the floor that look different from others.
15. Not Cleaning Subfloor Properly
Any dirt, dust, or debris left on the subfloor can cause unevenness in your laminate. Sweep thoroughly, then vacuum before laying underlayment.
Small particles underneath can cause clicking noises when walked on or create pressure points that damage boards over time.
Tips for A Smoother Laminate Floor Installation

1. Read the Manual First
I always tell my friends this simple rule: read the full installation guide before touching a single board. Each laminate brand has its own specific requirements.
Your warranty often depends on following these instructions exactly.
Take 15 minutes to review the guide completely; it might save you hours of frustration and hundreds of dollars in wasted materials.
2. Start from The Right Corner
Begin your installation from the left corner of the wall that faces the main entrance.
This placement helps ensure that the tongue side of the boards faces the entrance, which makes for a cleaner look.
Your first two rows need to be perfectly straight since they guide all remaining rows. Use a chalk line to mark a straight reference line on your subfloor.
3. Use Spacers Consistently
Spacers aren’t optional extras; they’re must-have tools for proper installation. Place them along every wall to maintain even expansion gaps.
Without consistent spacing, your floor might buckle when it naturally expands. Don’t remove these spacers until you’ve finished the entire floor and are ready to install baseboards.
4. Try a Dry Run First
Before committing to underlayment, lay out several rows of boards without locking them together.
This dry run helps you spot potential problems with your pattern, check how end joints will align across rows, and plan for tricky areas.
It also lets you see how the floor will look and make adjustments to your layout.
5. Invest In A Proper Tapping Block
A dedicated tapping block costs just a few dollars but protects your laminate from damage. Never hit the boards directly with your hammer or mallet.
The tapping block distributes force evenly along the edge of the plank, preventing damage to the locking mechanism.
A damaged lock might not show problems immediately, but it can fail months later.
6. Keep Your Blade Fresh
Dull saw blades lead to chipped, rough edges on your laminate. Change blades when you notice they’re not cutting cleanly.
For the best cuts, I recommend using a fine-tooth blade specially made for laminate.
When cutting, always keep the decorated side up with circular saws and down with jigsaws to minimize chipping.
7. Take Breaks when Needed
Installing laminate is not a race. Working while tired leads to mistakes that are costly to fix. I find it best to work in 2-3 hour sessions with breaks in between.
This keeps me sharp and helps me spot potential issues before they become problems. A floor that takes an extra day but looks perfect is better than a rushed job with visible flaws.
Conclusion
You can create a beautiful laminate floor in your home. With the right prep work and careful installation, your DIY project will give you results to be proud of for years to come.
I’ve shared these common mistakes because I’ve seen them happen, and fixed many of them too.
The most important tips? Take your time and follow the instructions. Your patience during this project pays off with a floor that looks good and lasts longer.
Remember that an extra hour of preparation can save you days of repairs later.
Have you installed laminate flooring before? What challenges did you face?
Share your tips or questions in the comments below; I’d love to hear about your experiences and help with any concerns you might have.
Good luck with your laminate flooring project! When done right, it’s one of the most rewarding home improvements you can make.