
Are you wondering if your miter saw can cut aluminum? You’re not the only one. Many DIYers ask this when a project calls for metal instead of wood.
Aluminum is softer than steel but still tougher than wood, so cutting it takes a bit more care. If you don’t do it right, it can grab the blade, melt at the edges, or leave rough cuts that take time to fix.
In this guide, I’ll walk you through how to safely and cleanly cut aluminum using your miter saw.
You’ll learn which blades work best, how to avoid binding, and what safety steps you should always follow.
By the end, you’ll know how to cut aluminum confidently using the tools you already have in your garage or workshop.
Is Cutting Aluminium with a Miter Saw Safe and Effective?
Yes, you can cut aluminum with a miter saw, but only if you do it the right way.
Many people think miter saws are just for cutting wood, but with the right setup, they work great for aluminum, too.
The most important part is using the right blade and cutting technique. Miter saws are super precise, which makes them perfect for clean, straight cuts and sharp angles.
That’s really helpful for things like door thresholds, window frames, or custom metal pieces.
You do need to be careful, though. Aluminum can spark, throw small chips, or even bind to the blade if you cut too fast. If it gets too hot, it can bend or warp.
But with a few smart steps, like the ones I’ll share below, you can cut aluminum safely and easily. And you won’t need to spend money on special metal-cutting tools to get it done right.
Tools and Materials You’ll Need
Before you begin cutting aluminum with a miter saw, it’s important to have the right tools and safety gear ready. Having the correct setup not only makes the job easier but also helps you get cleaner cuts while keeping you safe.
What you’ll need:
- Mitre Saw Equipped with Wood Carbide Blade
- Aluminum-Specific Carbide Blade (Optional)
- Clamps
- Lubricants
- Safety Gear
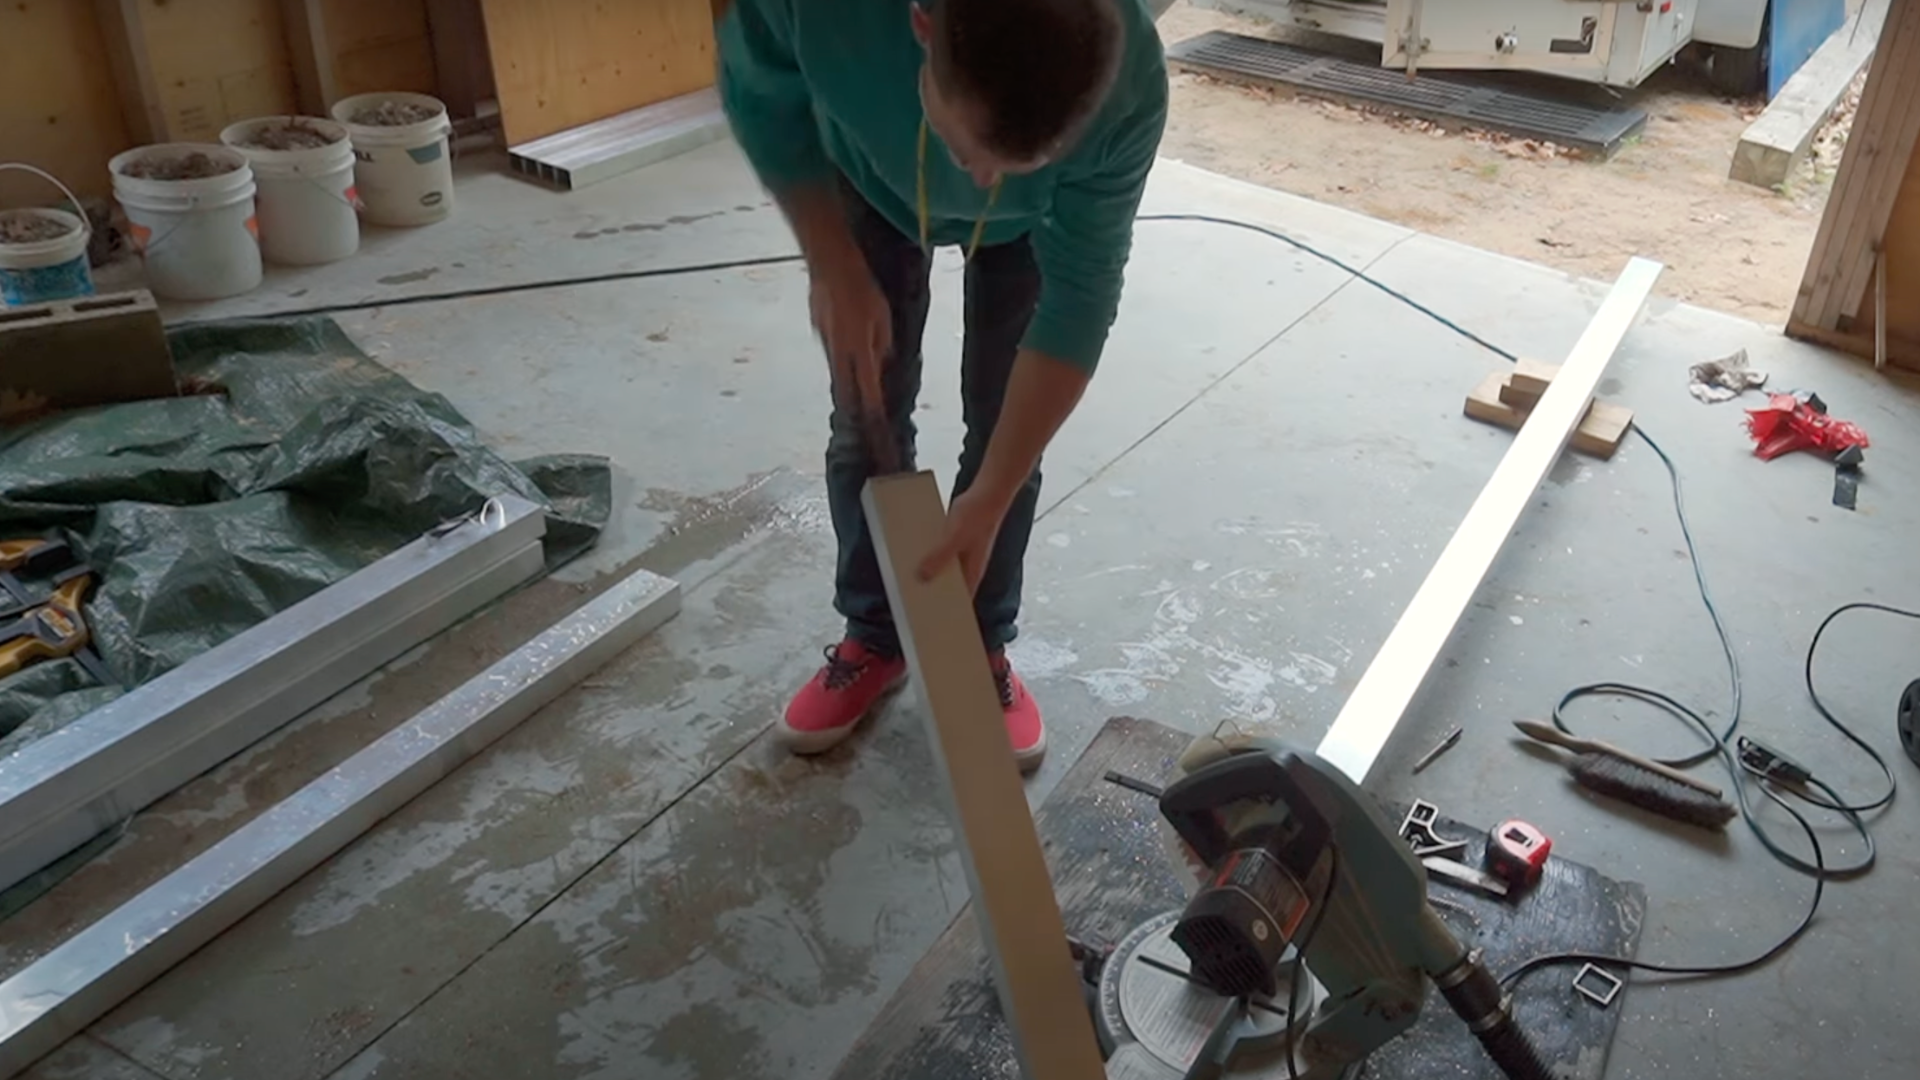
How to Cut Aluminum with a Miter Saw
Cutting aluminum with a miter saw isn’t complicated, but attention to detail makes the difference between a professional-looking cut and a messy one.
Step 1: Accurate Measurement and Marking
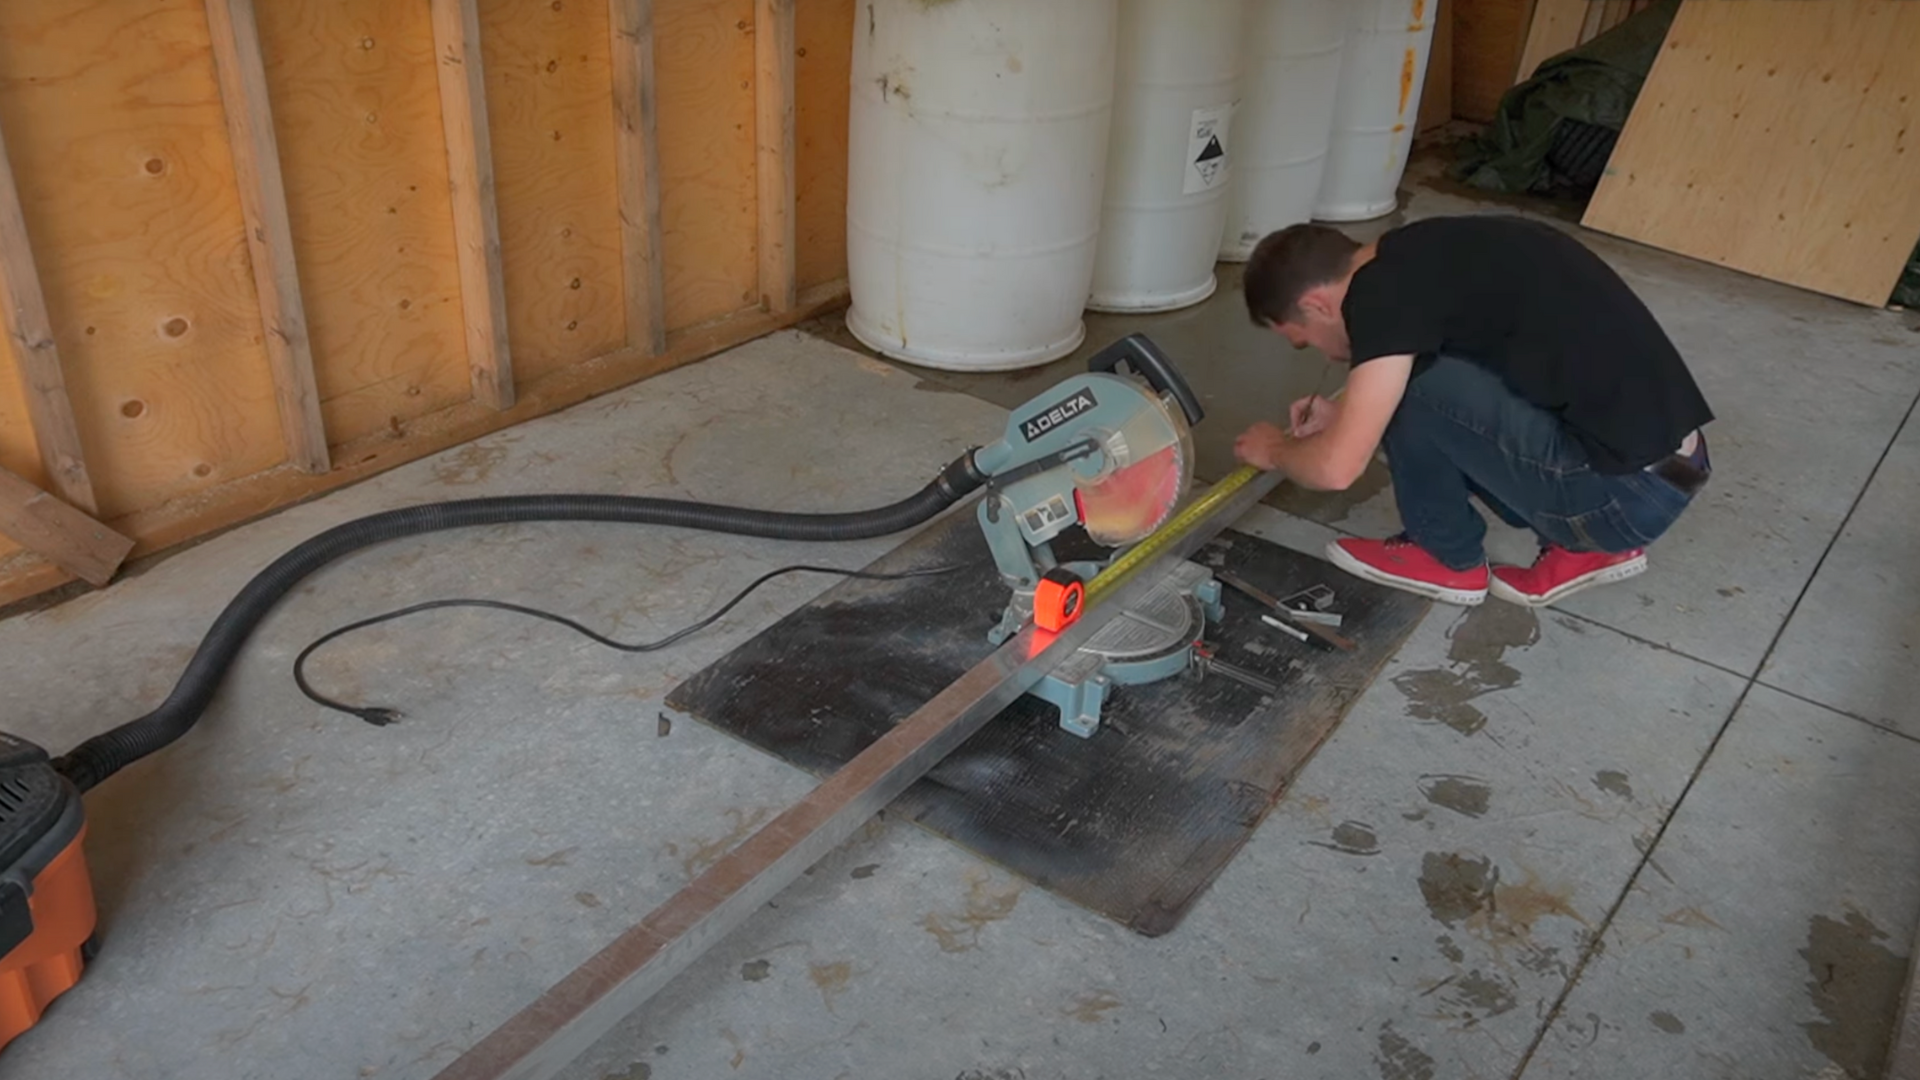
Start by carefully measuring the length you need to cut. Double-check your numbers to avoid wasting material since aluminum isn’t cheap.
Mark your line clearly with a permanent marker or a sharp pencil. For straight cuts, use a square to keep the line even with the edge.
If you’re cutting several pieces the same size, set up a stop block on your miter saw. This will save time and keep each piece the same size.
Add about 1/16 of an inch to your mark. That little bit makes up for the blade’s thickness and gives you room to smooth the edge later.
Step 2: Setting Up for a Clean Cut
Place the aluminum flat on your saw’s table. Make sure your marked line lines up with where the blade will cut. Use clamps to hold the piece down tightly.
Never try to hold aluminum with your hands while cutting; it can shift suddenly and cause injury.
Spray a bit of cutting lubricant, like WD-40, along the cutting line. This keeps the metal cool and helps prevent rough cuts or blade sticking.
If you’re making a straight cut, check that your saw is set to exactly 90 degrees. That way, the blade will pass through cleanly and straight.
Step 3: Secure the Materials
Before making any cut, always secure your aluminum piece firmly. This keeps the material from shifting and helps you create cleaner, safer cuts.
Use strong clamps to hold the aluminum flat on the saw table and tight against the back fence.
Never try to hold it by hand, aluminum cans can catch on the blade and move suddenly, which can be dangerous.
If your aluminum piece is long, support both ends with a workbench or sawhorses. This keeps the material steady and prevents it from flexing or tipping during the cut.
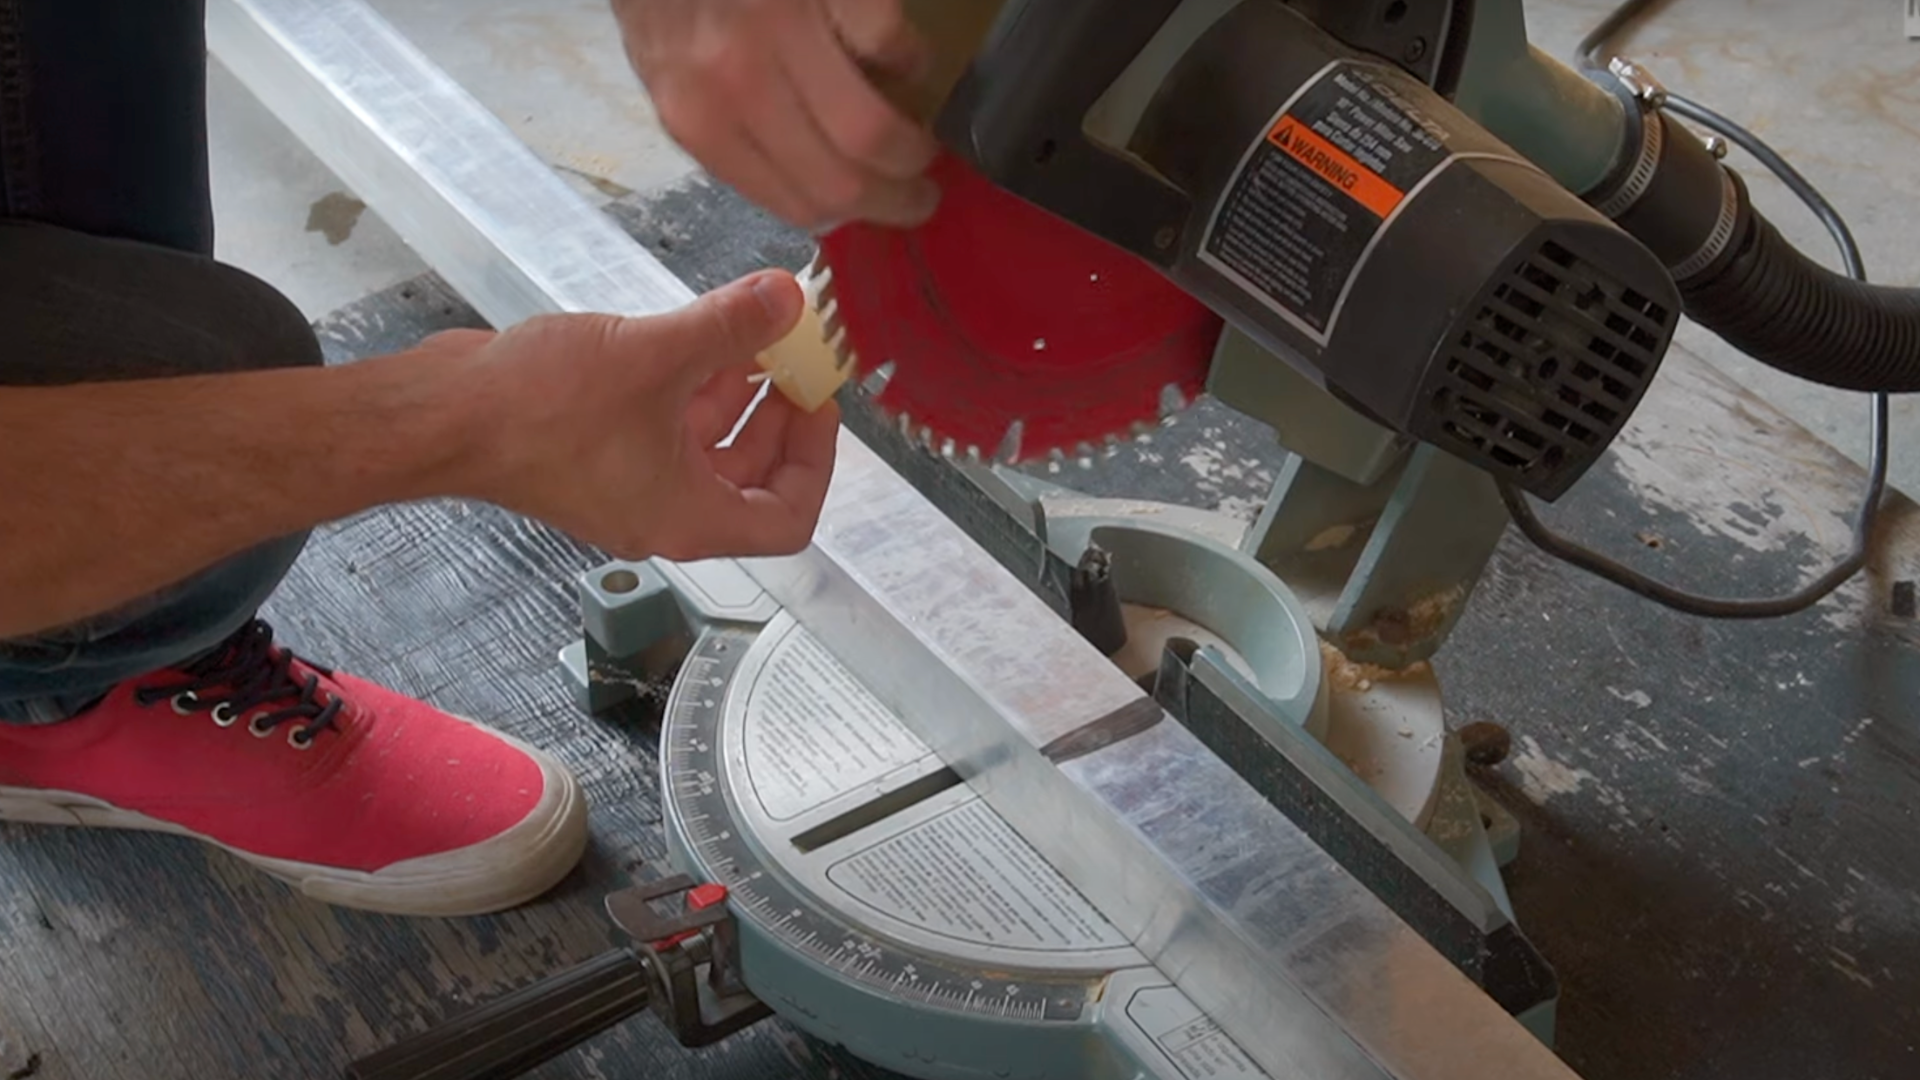
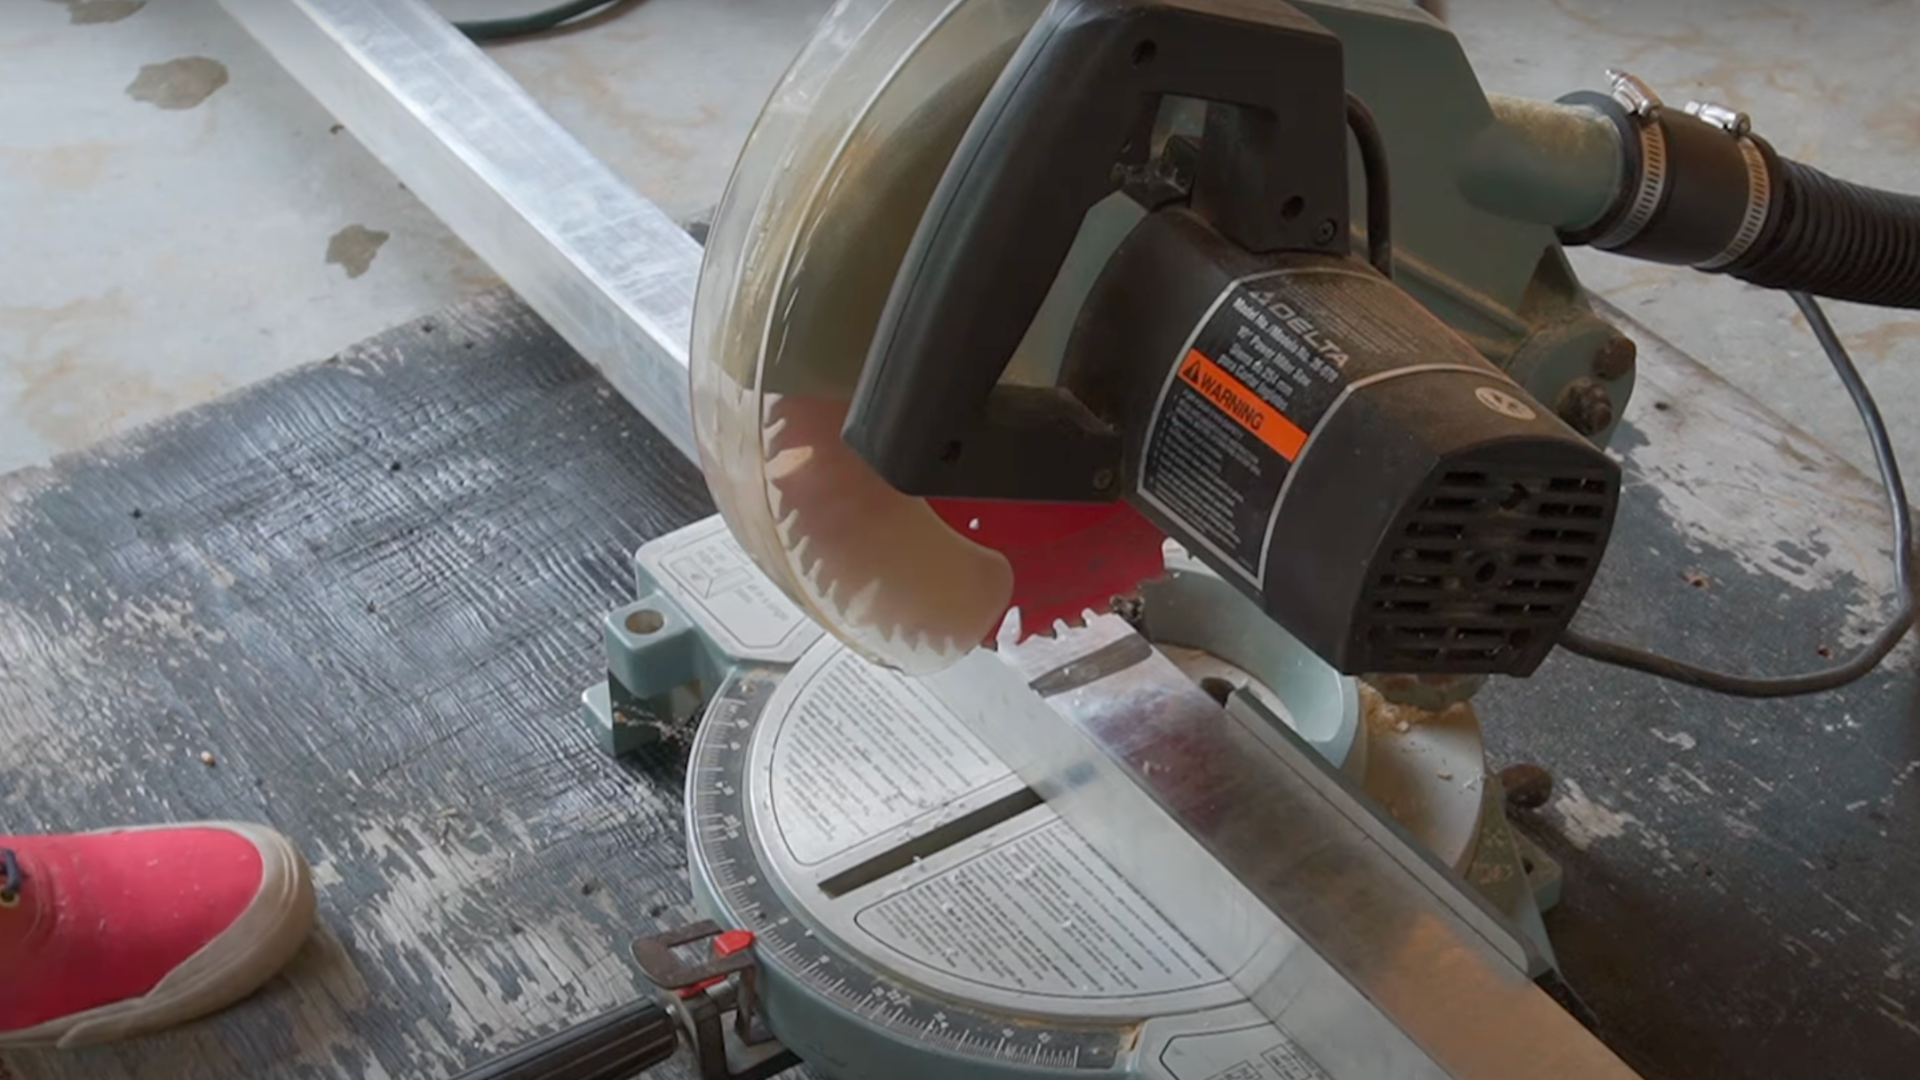
Step 4: Controlled Cutting
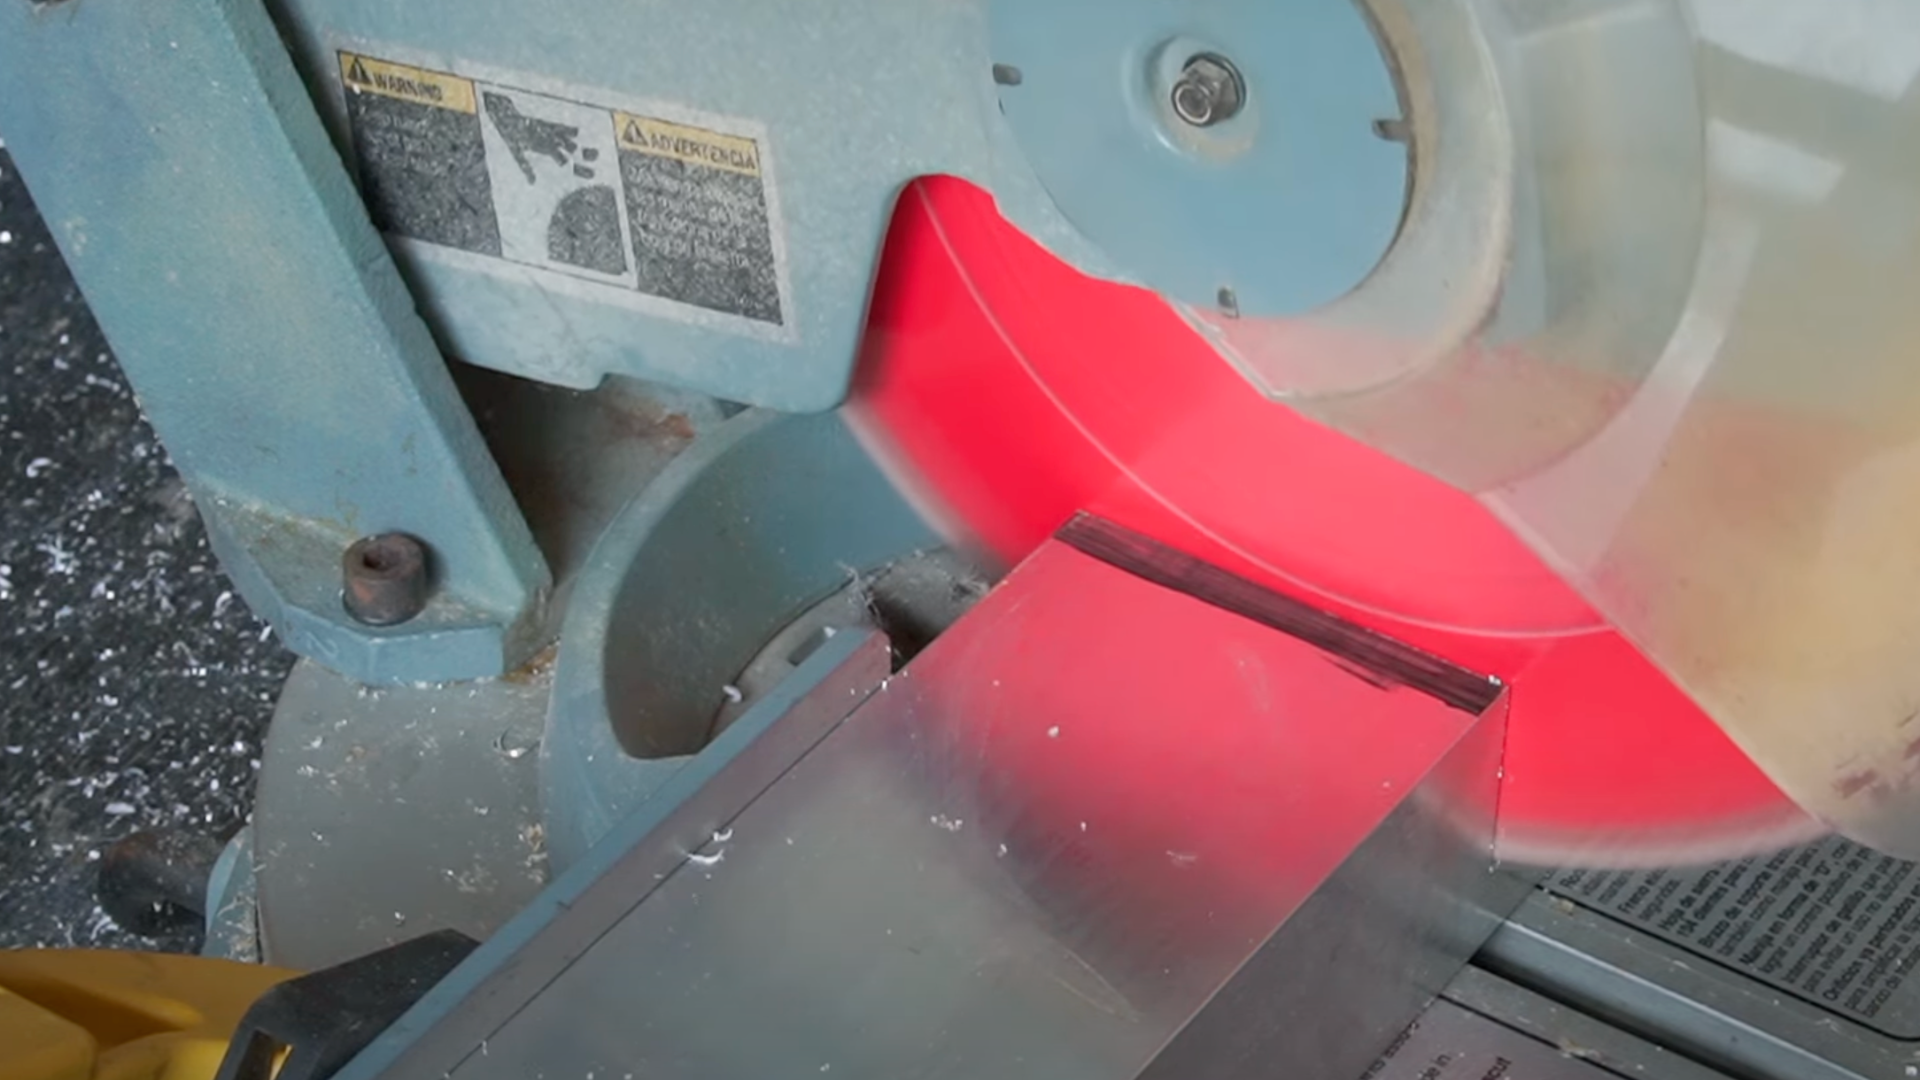
Before cutting, put on all your safety gear, especially glasses and hearing protection.
Turn on the saw and wait until the blade spins at full speed. That helps avoid a rough start or sudden grabbing.
Lower the blade slowly into the aluminum. Don’t rush. Let the blade do the work while you guide it at a steady pace. Pushing too hard creates heat and rough edges.
If the metal is thick, cut halfway, then flip the piece and finish from the other side for a smoother result.
Step 5: Finishing Touches
Once you finish the cut, turn off the saw and wait for the blade to stop spinning before removing the aluminum.
Look at the edge where you cut. If you see rough spots or burrs, use a file or deburring tool to smooth them out.
Wipe down the aluminum with a clean rag to remove any sharp bits or leftover lubricant. Then, check how the piece fits in your project.
If it’s just a little too long, use the file to trim it until it fits just right. Taking this last step helps your project look clean and finished.
Want to see how it’s done in real time? Check out this helpful video from @MattsMetalworking.
It’s packed with clear steps, smart tips, and real examples that make the process easier to follow and understand.
Common Mistakes to Avoid When Cutting Aluminum
Even skilled DIYers and seasoned pros can hit snags when working with aluminum. Unlike wood, aluminum reacts differently to cutting, and skipping just one key step can lead to problems.
Here are some common mistakes to watch out for:
- Using the wrong blade: Always choose a blade designed specifically for cutting metal, ideally one with fine teeth.
- Cutting too quickly: Rushing the process can overheat the metal and dull the blade fast.
- Skipping lubricant: A cutting fluid or lubricant keeps the blade cool and helps prevent binding.
- Inadequate clamping: Loose or unstable pieces can shift mid-cut, causing jagged edges or accidents.
- Ignoring safety gear: Safety glasses, gloves, and hearing protection are a must when cutting metal.
- Cutting thick aluminum in one pass: Trying to power through thick stock in a single pass puts stress on both the blade and the tool.
- Not supporting long pieces: Unsupported ends can sag or twist, leading to crooked or unsafe cuts.
Aluminum might be trickier than wood, but with the right prep and care, you can make clean, safe cuts every time. Avoiding these common mistakes not only protects your tools – it protects you, too.
Conclusion
Cutting aluminum with a miter saw is completely possible when done correctly.
With the right blade, proper setup, and steady cutting, you can get clean, accurate results without needing special metal tools.
Always start with safety. Wear eye protection, secure your aluminum with clamps, and let the saw move at its own pace.
Rushing through the cut can cause rough edges, heat buildup, or even damage your material.
This method works well for projects like window frames, metal trim, or DIY builds. Practicing on scrap pieces first can help you feel more confident before working on your final cut.
Even though miter saws are often used for wood, they can handle aluminum just fine with the right approach.
Have you tried cutting aluminum with your miter saw? Share your experience or questions in the comments—I’d love to hear about your project and help out if you need it!