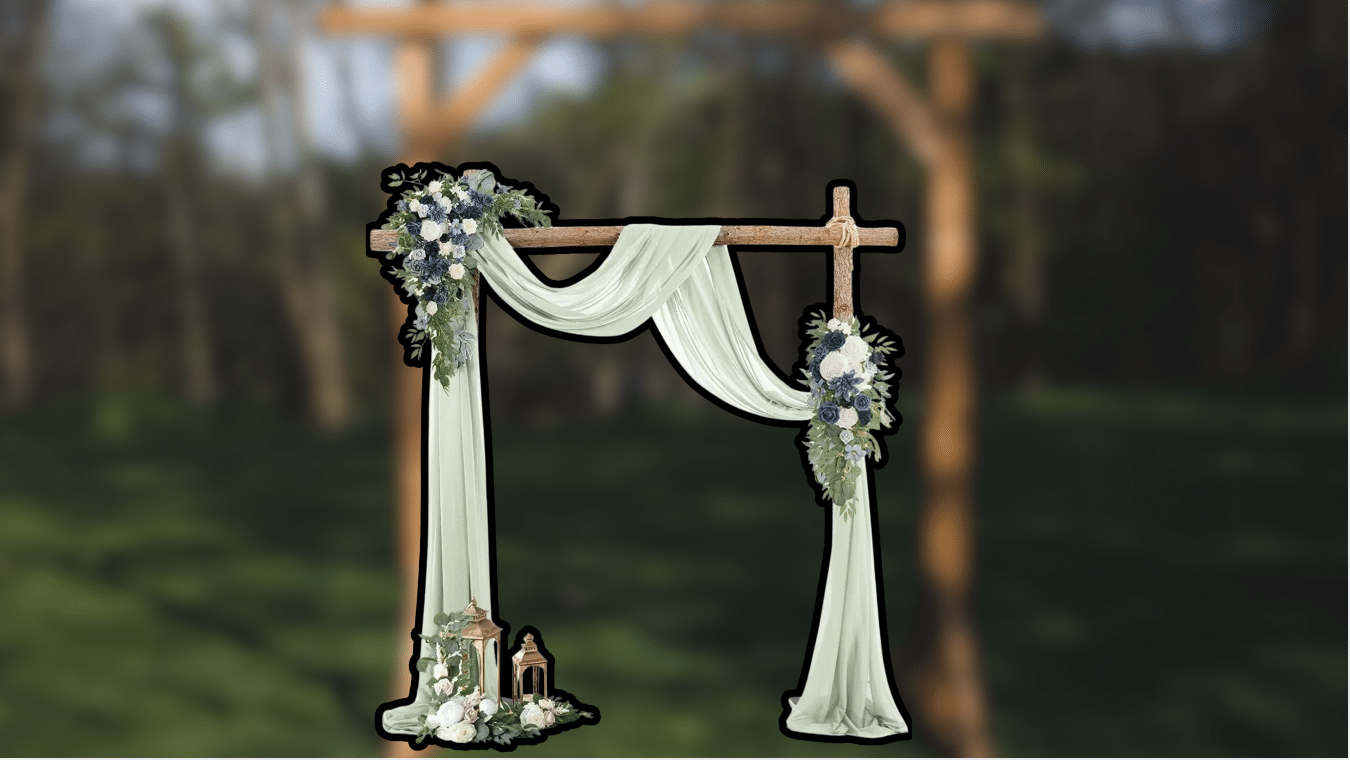
Building your arch opens up a world of design possibilities for your space.
These graceful structures add visual interest and create defined areas in homes, gardens, and special events.
Creating a DIY arch saves money while giving you full control over the design.
You can build sturdy wooden arches for garden paths, craft temporary balloon arches for parties, or install permanent archways to enhance your home’s interior.
The satisfaction of crafting something with your own hands makes DIY arches special. Whether planning a wedding backdrop, a garden entrance, or adding character to your home, this guide walks you through every step.
Let’s explore the different types of arches you can build and learn how to create the perfect arch for your needs.
Understanding Different Types of DIY Arches
1. Wooden Arches
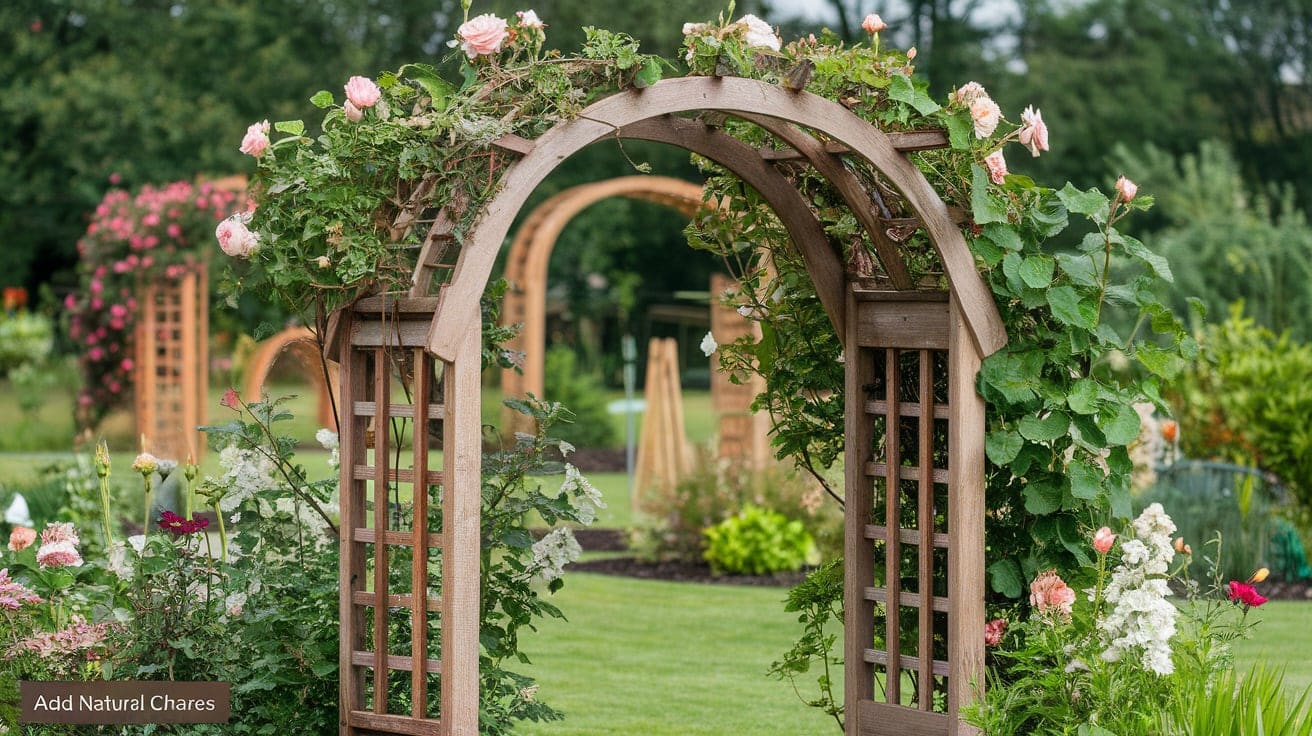
Wooden arches bring warmth and character to any space. These structures are functional and decorative elements in homes, gardens, and special events.
Building a wooden arch starts with selecting the right type of wood, such as pine, cedar, or hardwood. The choice depends on where to place the arch and how long you want it to last.
Many homeowners opt for freestanding wooden arches to define outdoor spaces or create focal points in their gardens. Some popular designs include simple post-and-beam structures or more detailed lattice patterns that support climbing plants.
2. Balloon Arches

Balloon arches are a quick way to create stunning displays for parties and celebrations. These temporary structures have flexible bases and can be made in various shapes and sizes.
Creating balloon arches requires basic materials like a balloon strip, fishing line, and balloons in your chosen colors.
The technique involves securing balloons at specific intervals to create a balanced look that holds its shape throughout your event.
3. Floral Arches
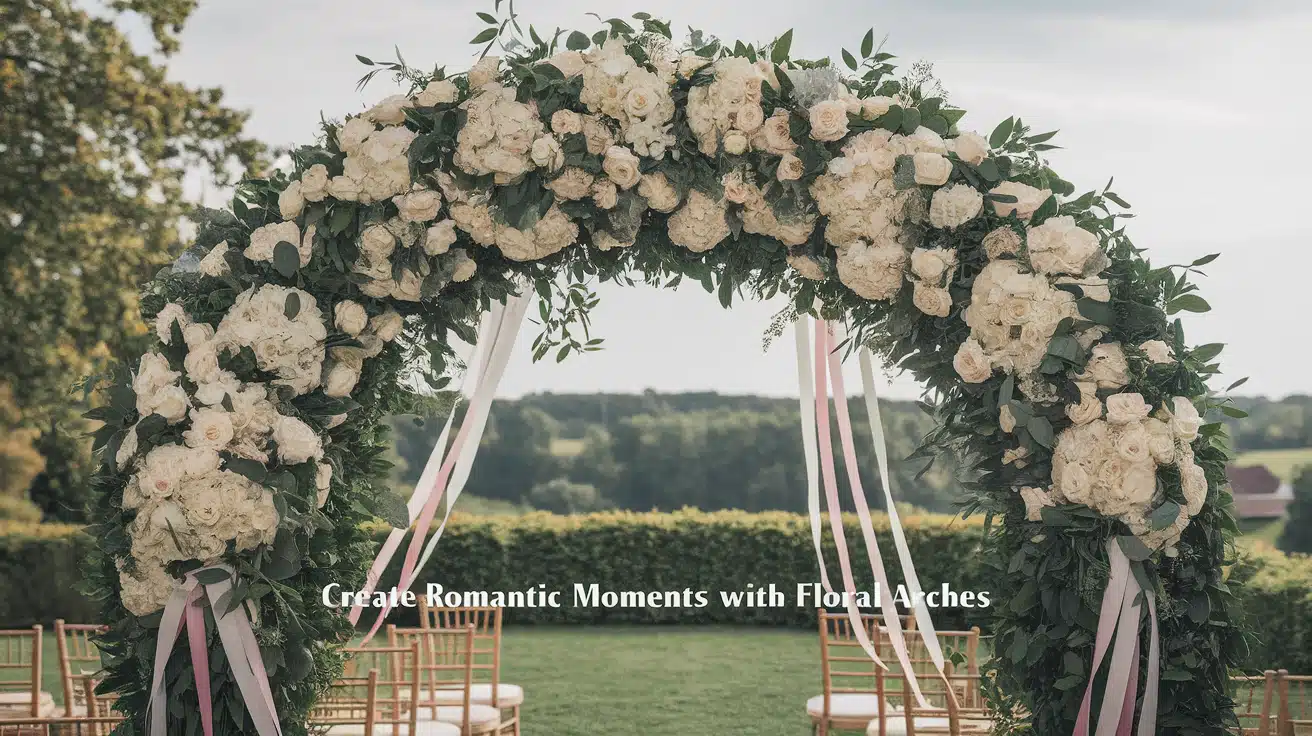
Floral arches are a favorite choice for weddings and garden parties. These structures combine the stability of a basic frame with the beauty of natural or artificial flowers.
The base structure often uses metal or wood, hidden beneath layers of greenery and blooms. You can adjust the flower density and arrangement style to match any theme, from simple garden looks to formal arrangements.
4. Home Decor Arches
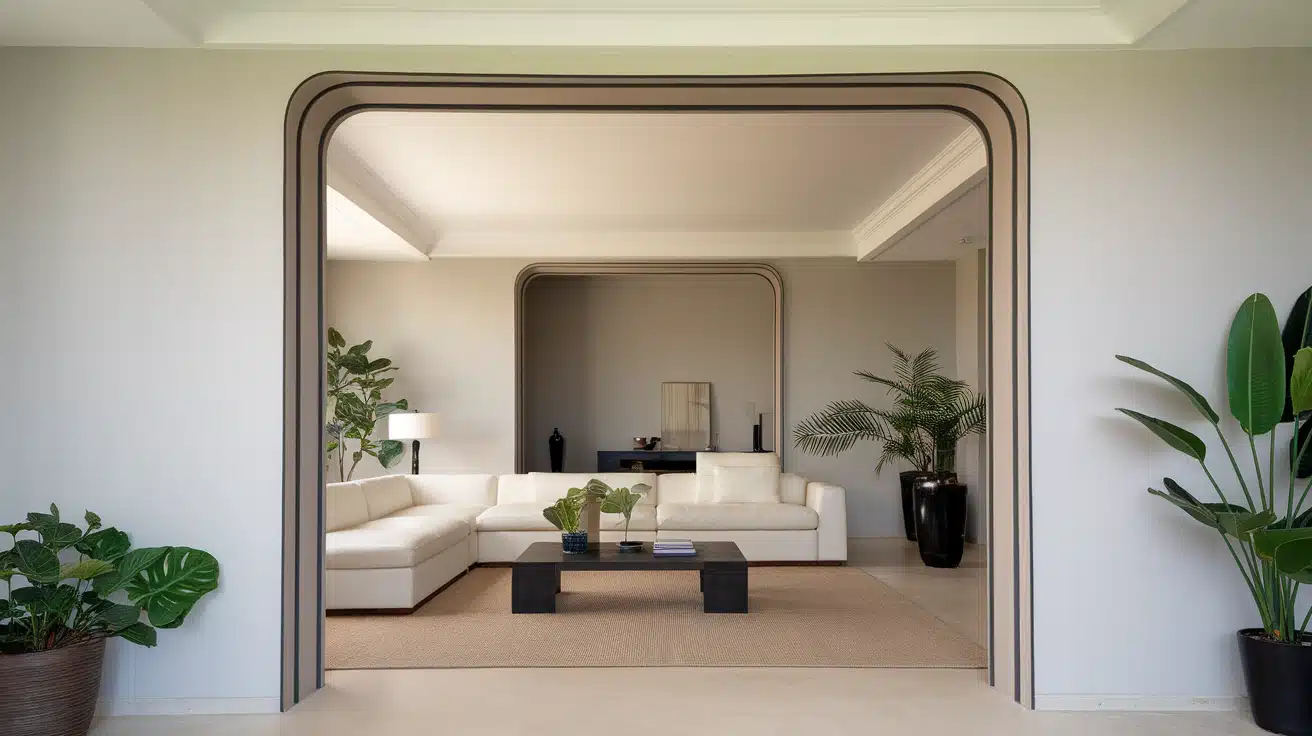
Interior arches add architectural interest to doorways and wall openings. These permanent features can change a room’s feel with their gentle curves and thoughtful placement.
Modern home decor arches often incorporate clean lines and minimal ornamentation. You can install them between rooms to create distinct zones while maintaining an open feel or use them to frame artwork and important spaces.
The type of arch you choose depends on your specific needs, available space, and intended purpose. Some arches serve purely decorative roles, while others provide essential structure and support.
Each arch type requires different skills and tools, but all share the basic principle of creating curves that please the eye. Understanding these differences helps you select the right project for your space and abilities.
Planning Your DIY Arch Project
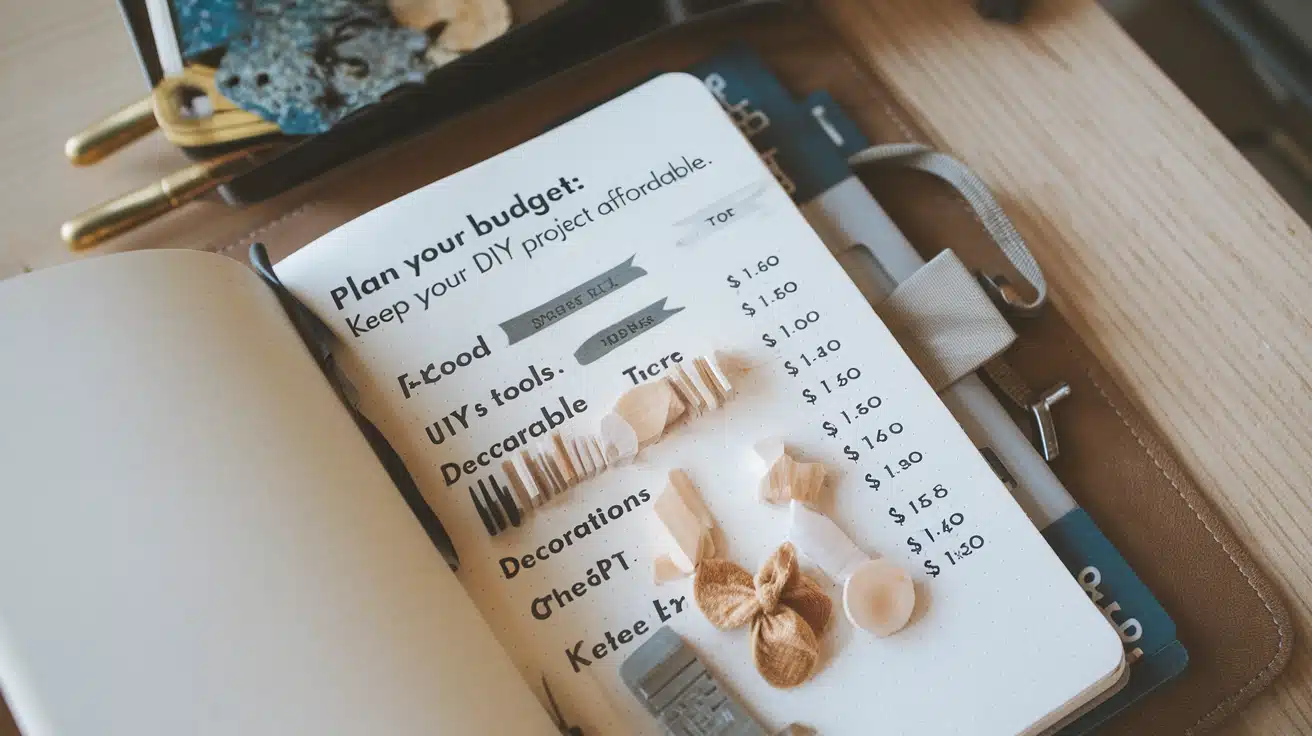
1. Setting Your Budget
Creating a DIY arch doesn’t need to strain your finances. A basic wooden arch typically costs between $50 and $100 for materials, while more complex designs might cost $200 to $300.
Your budget might range from $30 to $75 for temporary arches like balloon structures. This includes all necessary supplies, such as balloon strips, balloons, and basic tools.
Home improvement arches requiring drywall and framing materials usually cost between $100 and $250. The final cost varies depending on your existing tools and chosen finishing materials.
2. Skill Level Assessment
Starting with simpler projects helps build confidence and essential skills. Balloon arches suit beginners perfectly, requiring basic hand coordination and patience rather than complex building skills.
Intermediate builders might tackle wooden garden arches or simple wall openings. These projects need basic tool knowledge and measuring skills.
Advanced projects like interior archways demand experience with drywall, framing, and finishing work. These skills develop over time through practice with simpler projects.
3. Choosing the Right Materials
Wood selection makes a big difference in your arch’s durability. Cedar offers natural resistance to weather, while pine provides an affordable option for indoor projects.
Metal frames work well for temporary structures and support floral arrangements. PVC pipes create light, portable arches perfect for events and temporary installations.
Drywall and joint compound create smooth, professional-looking interior arches. When properly finished, these materials blend seamlessly with existing walls.
Material Comparison:
- Pine: Indoor use, budget-friendly
- Cedar: Outdoor use, weather-resistant
- Metal: Strong support, good for events
- PVC: Light, portable, affordable
- Drywall: Interior finishing, professional look
4. Tool Checklist
Basic tools include measuring tape, pencils, and a sturdy straight-cut saw. A jigsaw helps create curved sections essential for arch shapes.
Hand tools like hammers, screwdrivers, and levels ensure proper assembly and alignment. Many specialized tools have simpler alternatives – for example, a string and pencil can replace an expensive compass.
Safety equipment remains essential for any project:
- Safety glasses
- Work gloves
- Dust mask
- Ear protection when using power tools
Having the right tools ready before starting saves time and prevents frustration during construction. Consider borrowing or renting specialized tools you might need only once.
Step-by-Step Guide to Building a Wooden Arch
Based on the detailed process in the video, this simplified guide walks you through creating a wooden arch for weddings or home decor.
Materials Needed
1. Wood:
- Three pieces of 12-foot 2×4 boards
- One piece of 8-foot 2×4 board (or equivalent)
2. Fasteners:
- Wood screws
- Stain or paint (optional)
3. Decorations:
- Flowers, vines, or fabric sheets (optional)
Tools Required
- Circular saw or hand saw
- Drill and bits
- Measuring tape
- Pencil
- Sandpaper (medium and fine grit)
- Safety gear (gloves, hearing protection, safety glasses)
Step 1: Measure and Cut the Wood
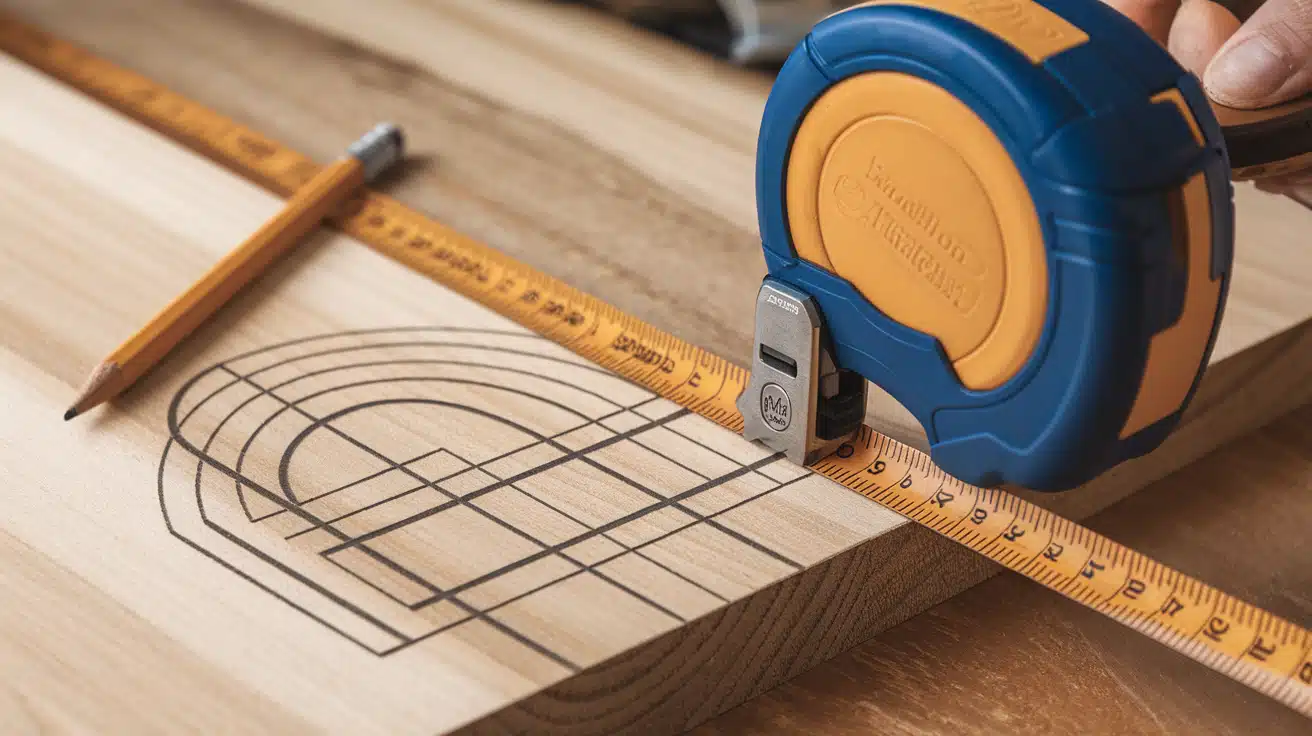
- Prepare the wood: Mark the wood with a pencil for precise cuts.
- Cut the vertical pieces: Measure and cut two 7-foot pieces for the vertical supports of the arch.
- Cut the horizontal piece: Measure one 5-foot piece for the top beam.
- Optional: Cut six smaller pieces at 26 inches each, with 45-degree angles on both ends, for bracing the corners.
Step 2: Assemble the Frame
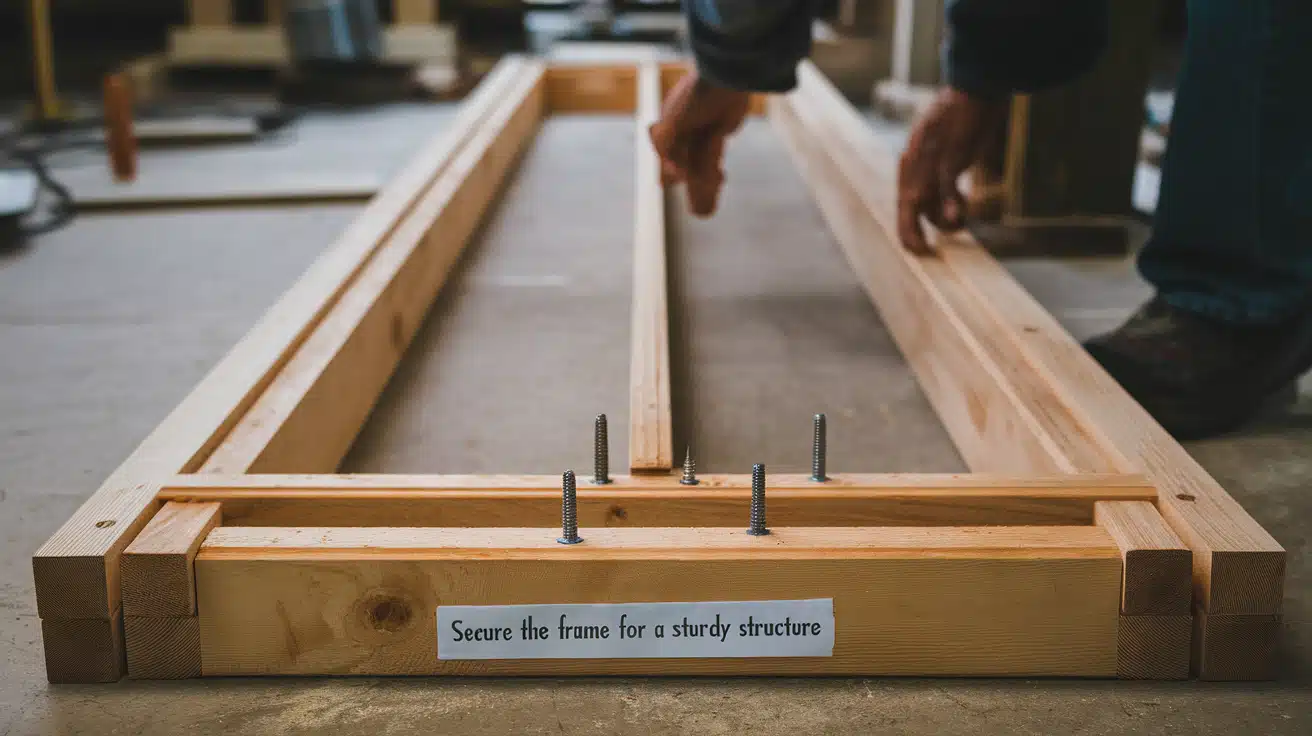
- Attach the top beam to vertical supports:
- Lay the two 7-foot vertical pieces flat on the ground, parallel.
- Place the 5-foot top beam across the top.
- Drill screws into the corners where the top beam meets the vertical supports, ensuring the structure is stable.
- Add corner braces (optional):
- Position the 26-inch angled braces in the corners for extra stability.
- Secure them with screws, ensuring they are flush with the top beam and vertical supports.
Step 3: Attach the Feet for Stability
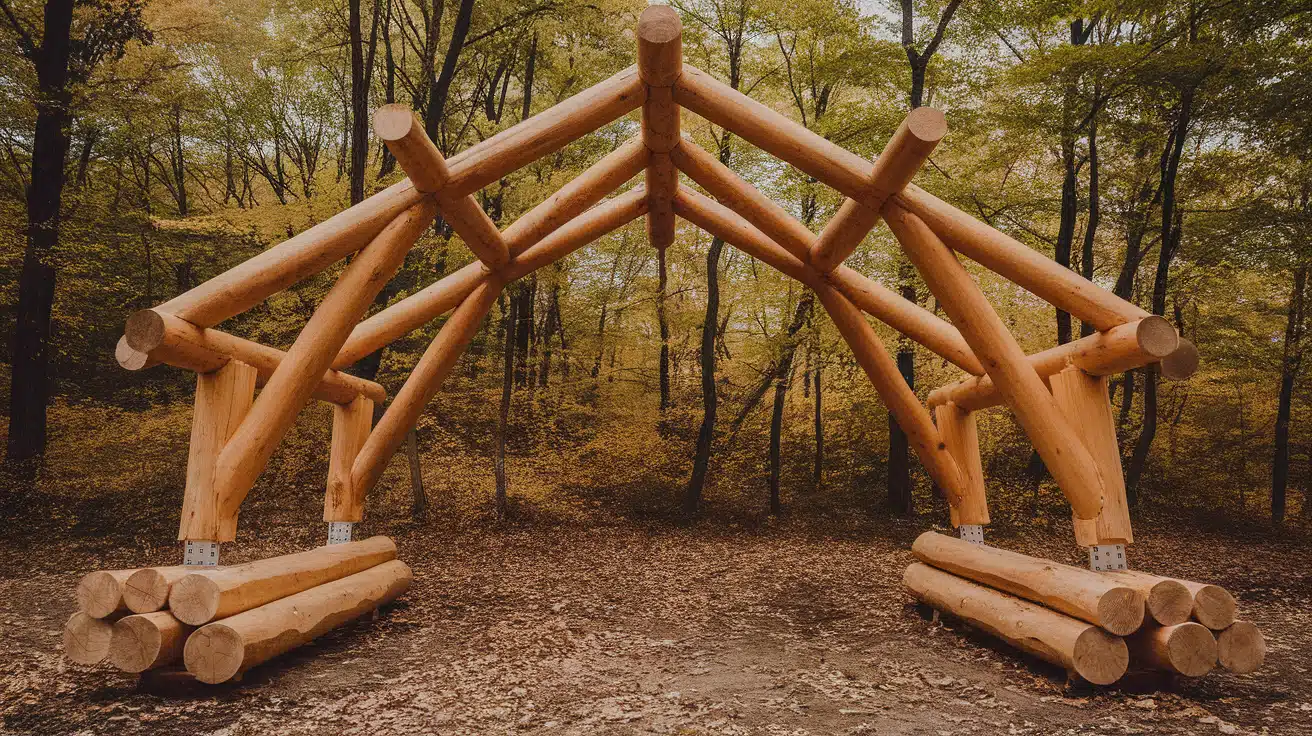
- Cut foot pieces: Divide the remaining wood into four equal pieces (approximately 4 feet each) for the base supports.
- Attach feet to vertical supports:
- Position the base pieces perpendicular to the vertical supports.
- Center them for balance and drill screws securely.
Step 4: Sand and Stain (Optional)
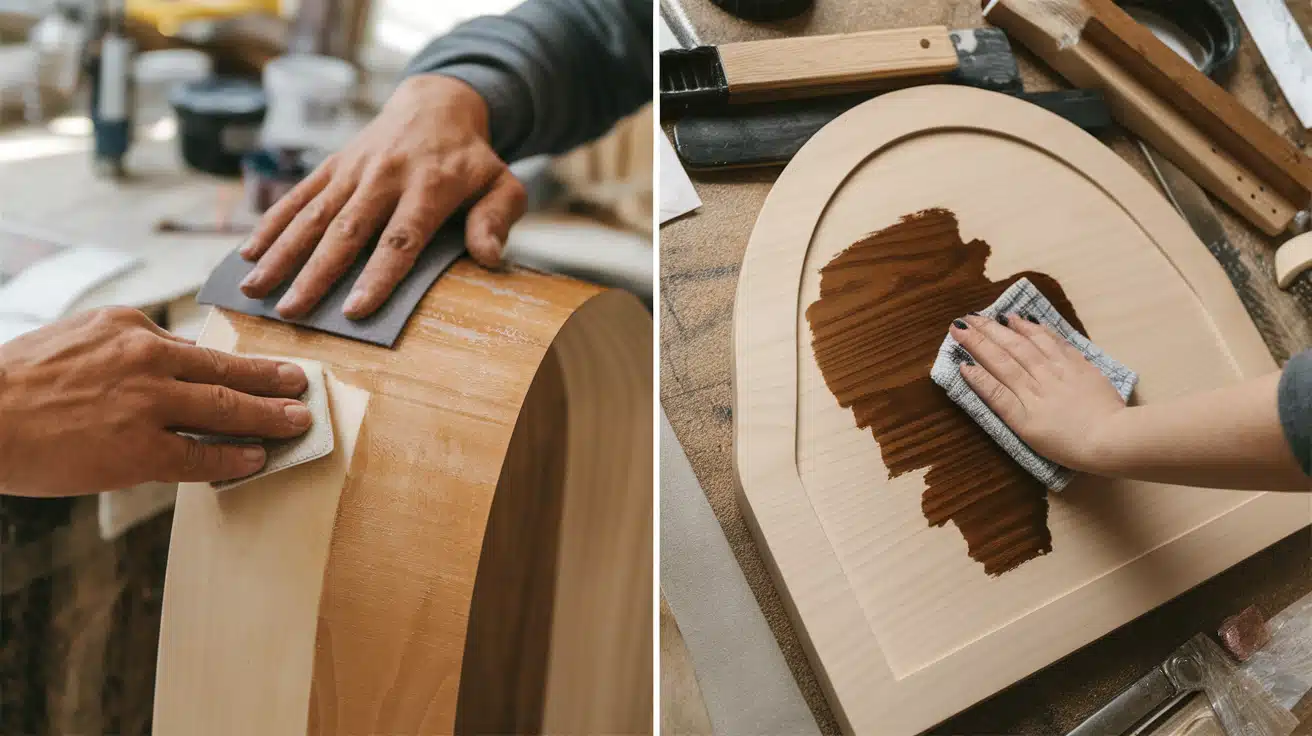
- Sand the structure: Use medium-grit sandpaper to smooth out rough edges and fine-grit sandpaper for a polished finish.
- Apply stain or paint:
- Use a cloth or brush to apply the stain or paint evenly.
- Let it dry completely before proceeding.
Step 5: Decorate the Arch
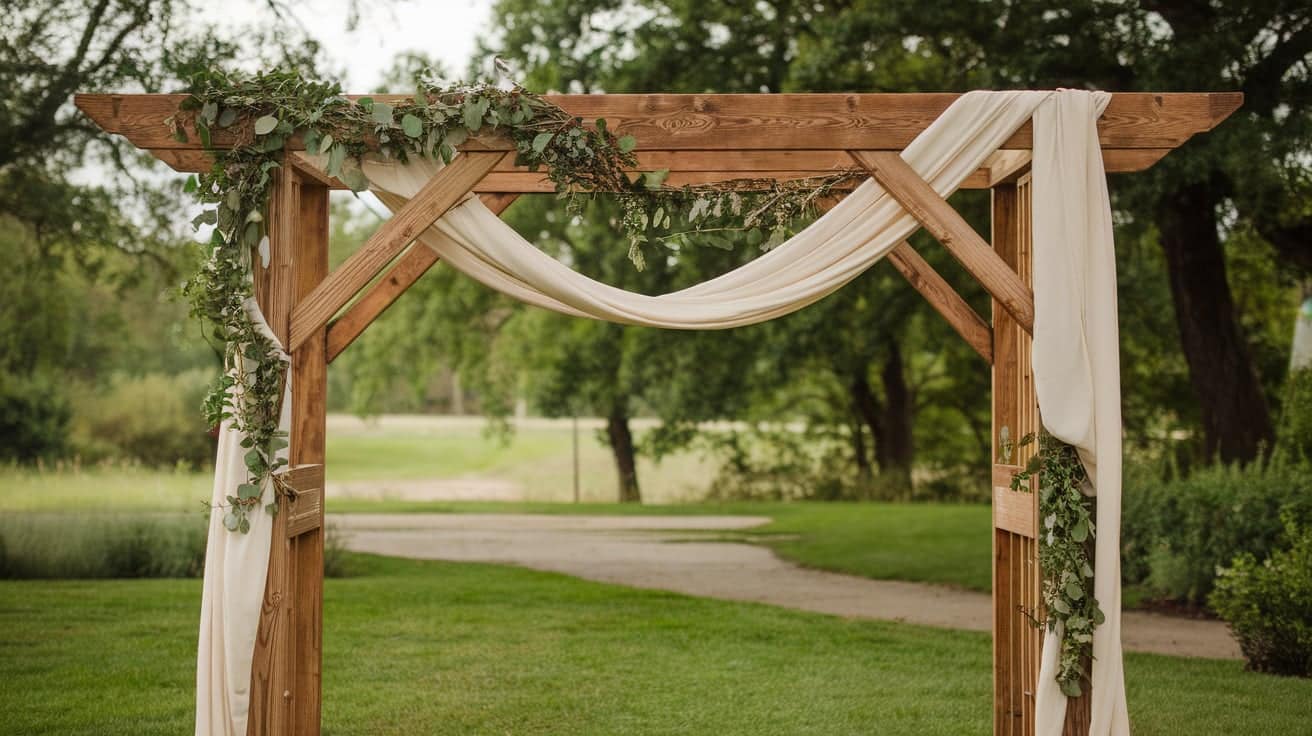
- Add fabric: Drape lightweight sheets or fabric across the top beam for a flowing effect.
- Incorporate flowers and vines: Use floral wire or zip ties to attach flowers and greenery to the arch.
- Customize further: Add fairy lights or other decorative elements to match the theme of your event.
For more information, check out this video tutorial by Ryan Grenz.
Building an Archway in Your Home
1. Planning the Archway
Interior archways need careful planning to fit your space perfectly. Start by checking for electrical wires, plumbing, or other obstacles in your walls.
Mark the arch location with painter’s tape to visualize the final look. This will help you spot potential problems before cutting into the walls.
Take accurate measurements of both the width and height of your planned opening. Remember to account for ceiling height and ensure your arch stays proportionately to the room.
2. Materials and Tools Needed
Gather essential materials, including 2x4s for framing, drywall, joint compound, and corner bead. Quality materials make a difference in the final appearance.
Your tool list should include:
- Drywall saw
- Utility knife
- Mud pan and knives
- Sanding blocks
- Drill with screwdriver bits
- Level and measuring tape
3. Construction Steps
Begin by building a strong frame using 2×4 lumber. The frame will support your drywall and ensure your arch stays stable.
Cut your drywall pieces carefully, using a template for curved sections. Wetting the drywall slightly helps it bend around curves without breaking.
Install the drywall pieces one at a time, securing them firmly to the frame. Please consider the curved sections and ensure they follow your planned shape.
Apply corner bead to protect edges and create clean lines. This step requires patience but makes a big difference in the final look.
Add joint compound in thin layers, allowing each layer to dry completely. Multiple thin coats create smoother results than one thick coat.
Sand between coats of joint compound for a smooth finish. Take extra care where the arch meets existing walls to create seamless transitions.
The final step involves texturing to match your existing walls. First, practice your texture technique on a scrap piece to ensure a good match.
Paint the completed arch to match your walls. Good lighting helps you spot any areas that need touch-ups.
Customization and Decoration Ideas
1. Thematic Decorations
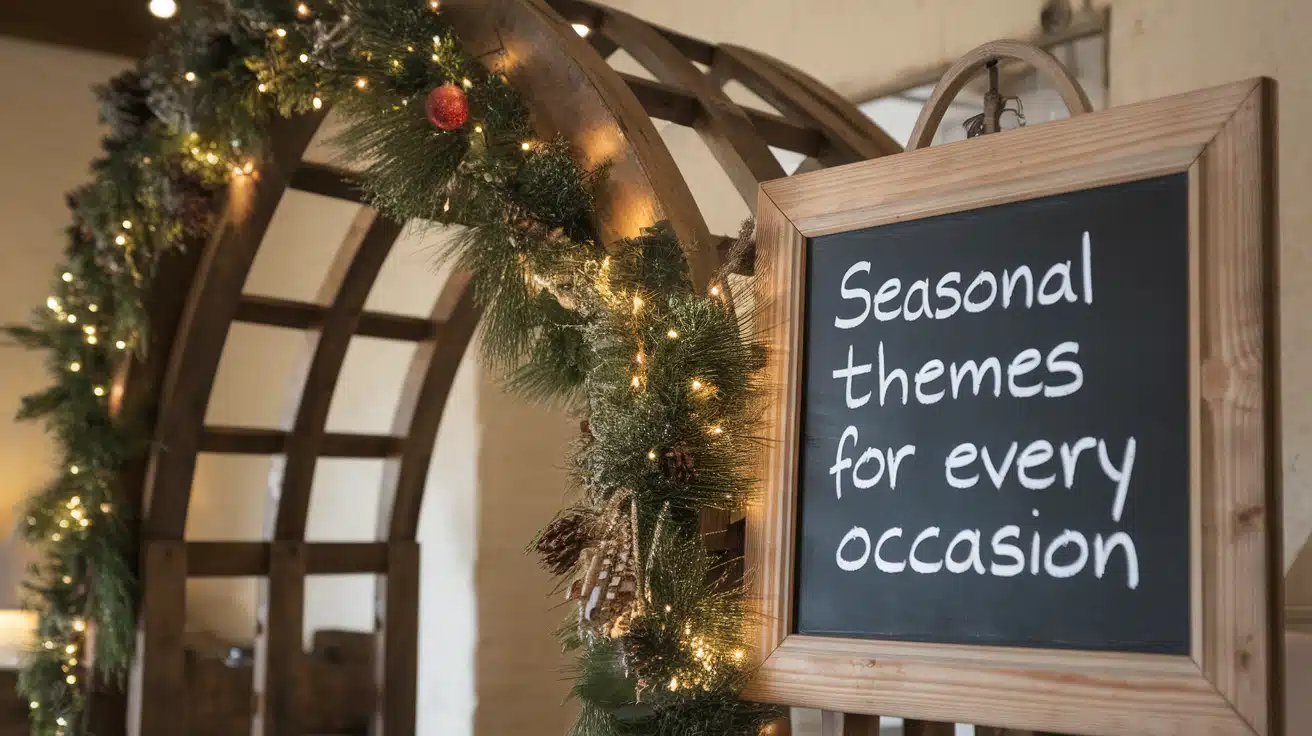
You can change the appearance of your arch to match different celebrations and seasons. Simple fabric draping creates an instant transformation for special events.
Wedding arches shine with personal touches that match the ceremony style. Light fabrics, fresh flowers, or LED string lights add romance to any arch design.
Holiday decorations turn a basic arch into a festive focal point. Seasonal elements, such as pine garlands for winter or autumn leaves, create timely displays.
2. Lighting Enhancements
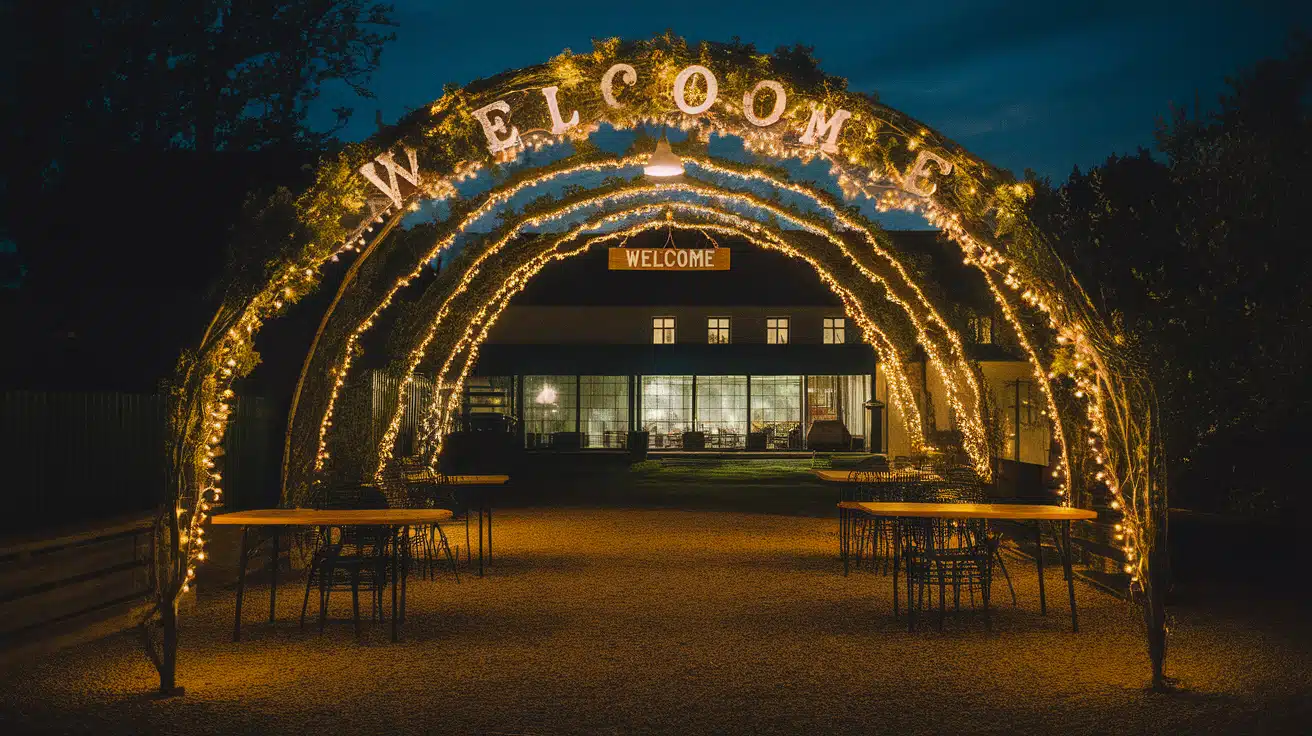
String lights woven through arch frames create a magical evening ambiance. Battery-operated options offer flexibility when power outlets aren’t nearby.
Consider installing permanent lighting for interior arches. Small spotlight fixtures highlight architectural details and create depth.
Layer different light sources to create interesting effects. Combine overhead lights with side-mounted fixtures for balanced illumination.
3. Personal Touches
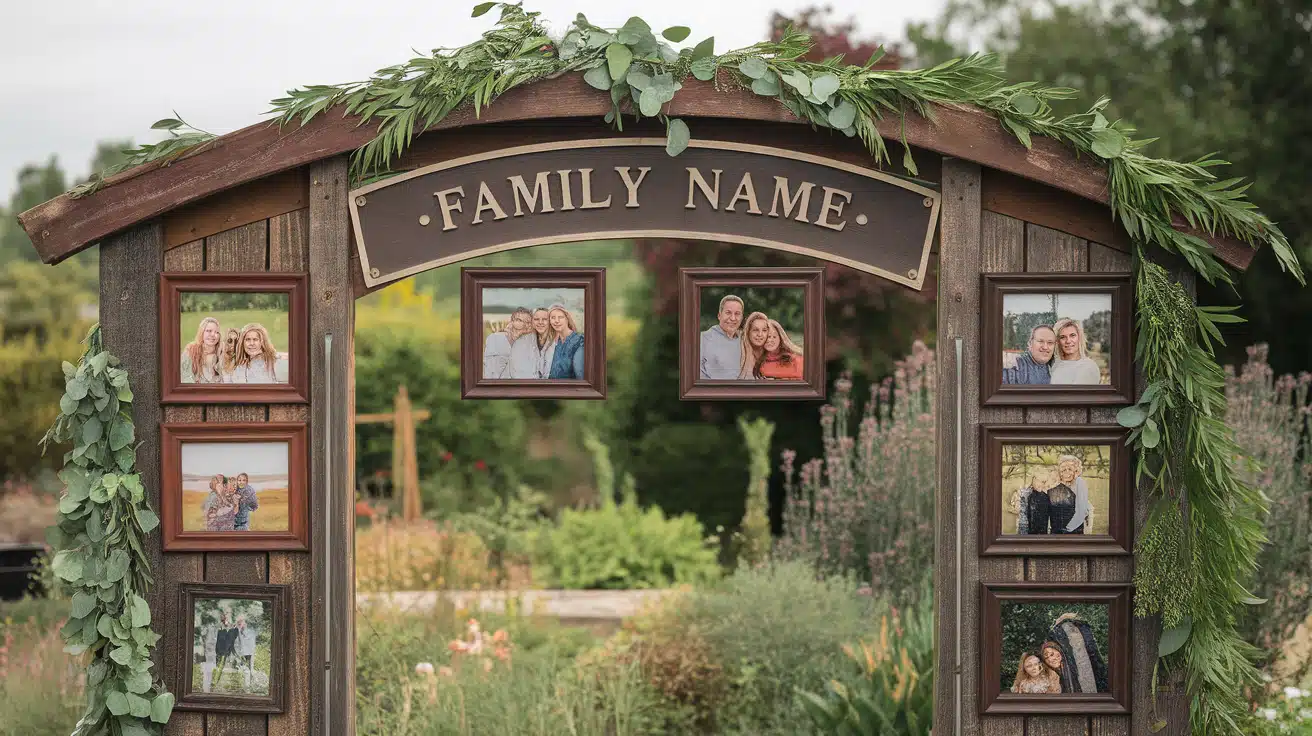
Add family photos or artwork to interior arch spaces. These personal elements make the arch more than just a structural feature.
Create changeable display areas within your arch design. Small shelves or hanging systems let you update decorations easily.
Consider adding useful elements like:
- Built-in planters for garden arches
- Hidden storage in interior arches
- Removable hooks for hanging decorations
- Weather-resistant finishes for outdoor pieces
Your arch can reflect your style through color choices and decorative elements. Simple changes in decoration keep the look fresh through different seasons.
When adding decorations, remember to consider the arch’s main purpose. If the arch marks an entrance, keep pathways clear and secure decorations.
Regular maintenance keeps your arch looking its best. Clean decorative elements regularly and check for any needed repairs or touch-ups.
Think about how your decoration choices affect the arch’s durability. Use materials and methods that won’t damage the main structure.
The key to successful arch decoration lies in finding the right balance. Let your creativity shine while keeping the overall design cohesive with your space.
Final Thoughts
Building your arch brings a sense of achievement and adds beauty to any space.
The skills you learn along the way prepare you for future projects and build confidence in your abilities.
Remember that success comes from careful planning and patience. Take time with each step, especially measuring and creating the template.
Your attention to detail will show in the final result.
If you’re new to DIY work, start with simpler projects. As your skills grow, you can tackle more complex designs and techniques.
Each project teaches valuable lessons that will help with future builds.
Your DIY arch will bring joy for years, whether in your garden, graces your home’s interior, or creates memories at special events.

