
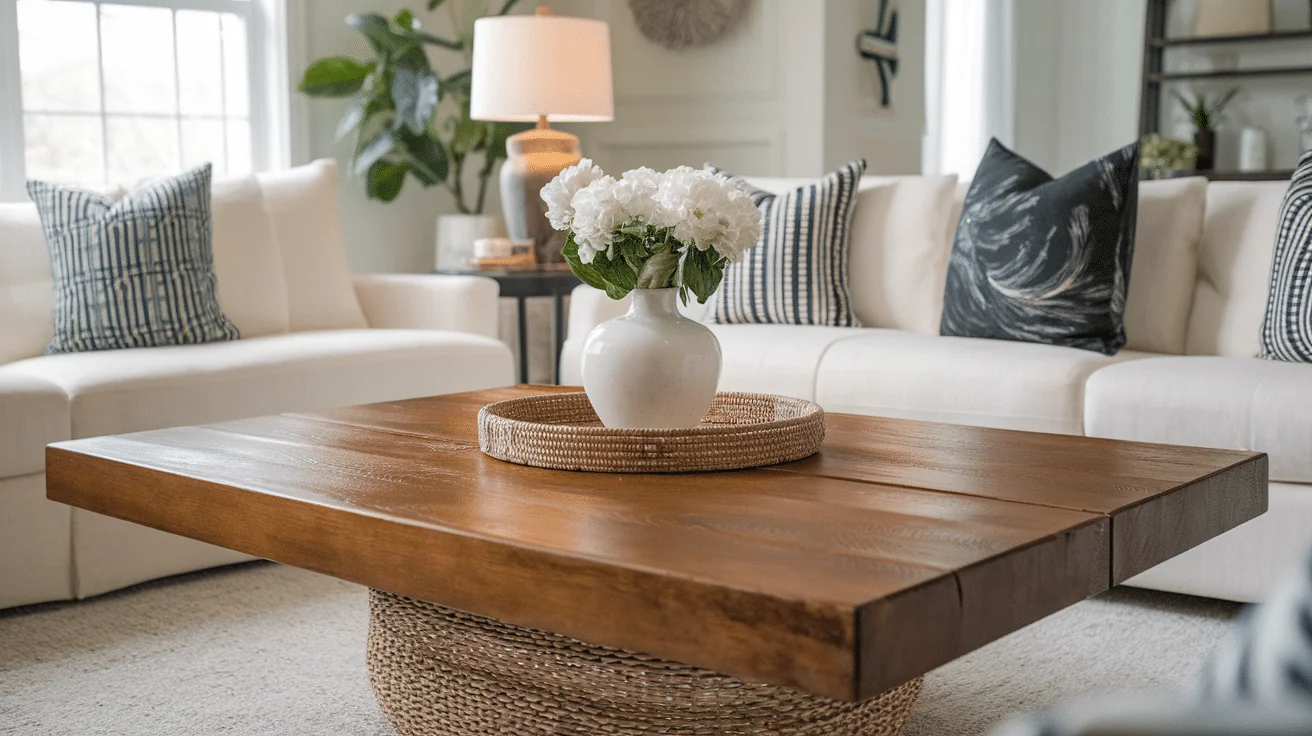
Gel stain is a great way to give your wood projects a rich, even color. It’s thicker than a regular stain, which makes it easier to control and less likely to leave streaks or blotches.
If you’re working on furniture, cabinets, or trim, gel stain can help you get a smooth, professional finish without much hassle. Plus, it’s perfect for staining vertical surfaces like doors or shelves without worrying about drips.
In this blog, I’ll explain the simple steps to applying gel stain correctly, from preparing your wood to finishing it with a protective topcoat.
Whether you’re a DIY beginner or have some experience, this post will help you get the best results with your gel stain project. Let’s get started!
Understanding Gel Stain
Gel stain is a special kind of wood stain that’s thicker than regular stains. It’s easy to use and gives a smooth, even finish without much effort.
- Thick Consistency: Unlike regular liquid stains, gel stains are much thicker, almost like pudding. This makes them easier to apply and helps them stay in place without dripping.
- Works on More Surfaces: Gel stain is perfect for both flat and vertical surfaces, like doors, cabinets, and furniture, because it won’t run or drip down.
- Even Coverage: One of the best things about gel stain is that it gives an even coat. It’s less likely to leave dark or light spots, even on tricky woods like pine.
- Great for Beginners: If you’re new to staining, gel stain is a great option because it’s more forgiving than liquid stains.
With gel stain, you can get a professional-looking finish with just a little bit of effort!
What is Gel Stain Used For?
Gel stain is a versatile product suitable for a variety of woodworking projects. Its thicker consistency makes it ideal for certain applications where traditional liquid stains might be difficult to use.
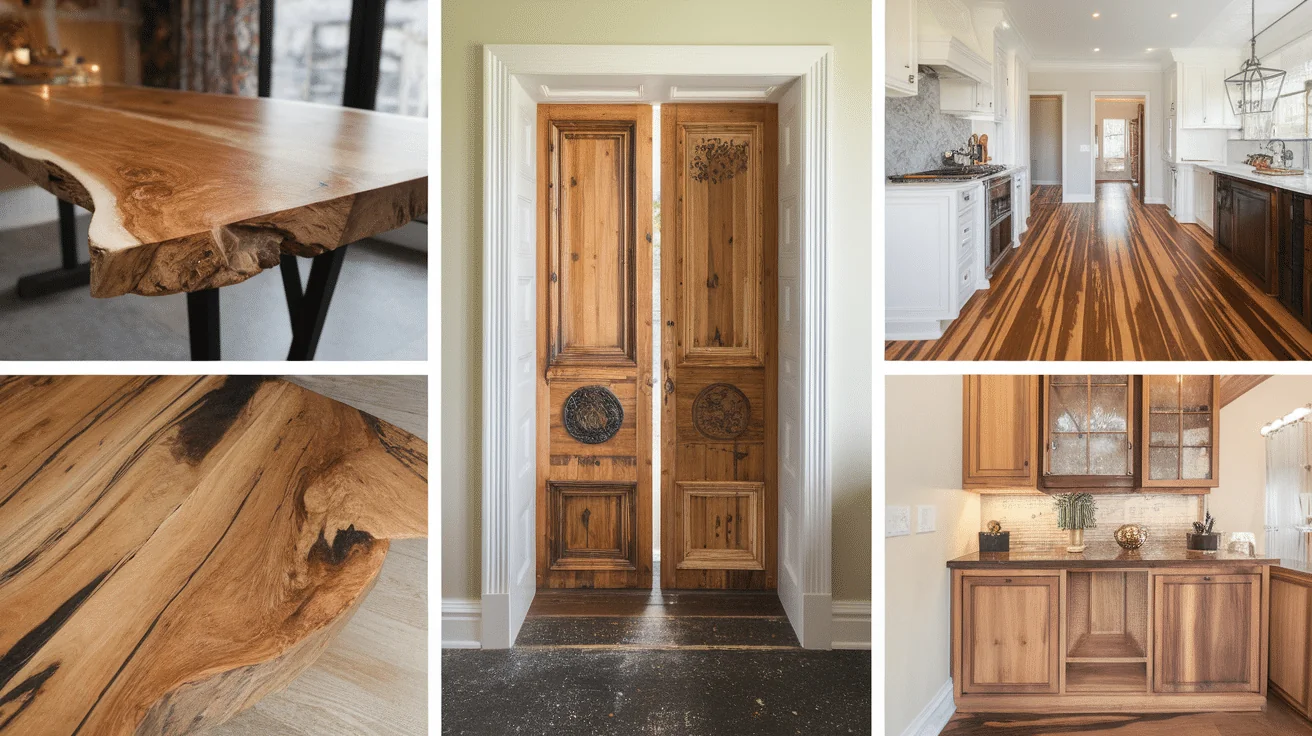
1. Furniture Refinishing: Gel stain is perfect for refreshing old or worn-out furniture. It can be applied over existing finishes to change the color of pieces without completely stripping them.
2. Cabinet and Trim Staining: Many people use gel stain to update kitchen or bathroom cabinets, door frames, and baseboards. Its ability to stay in place without dripping makes it a great option for these vertical surfaces.
3. Doors and Paneling: Gel stain is a popular choice for staining doors, whether they’re solid wood or composite. It can also be used on paneling, giving these surfaces a rich, even color that enhances their natural grain.
4. Wooden Crafts: Gel stain is ideal for smaller wooden projects or crafts. It’s easy to control and provides an even finish, making it great for custom wood signs, photo frames, and other DIY wood decor items.
5. Wood Floors: Though less common than other uses, gel stain can be applied to wood floors to change their color without completely sanding them down. It gives floors a nice, uniform color.
6. Outdoor Projects: Gel stain can also be used for outdoor furniture, fences, or decking, especially if the wood is more porous and absorbs stain unevenly. However, you must apply a protective outdoor finish or sealer afterward.
7. Restoring Antique Woodwork: Gel stain is an excellent choice for restoring antique or vintage wood pieces. It can help preserve the wood’s look while offering a more controlled application.
8. Wooden Boats and Marine Projects: Gel stain offers a durable finish for wood used in boats or other marine projects, paired with the right topcoat. It can withstand moisture and sun exposure.
Gel stain is perfect for projects where you need a thicker stain that won’t run or drip, especially on vertical surfaces or intricate details. It’s ideal for wood that’s hard to stain evenly or for pieces you want to refresh without completely refinishing.
How to Apply Gel Stain: Step-by-Step Guide
Applying gel stain might seem tricky at first, but with the right tools and techniques, you can achieve a smooth, even finish. Follow these simple steps to get professional results on your next project!
Step 1: Gather Your Supplies
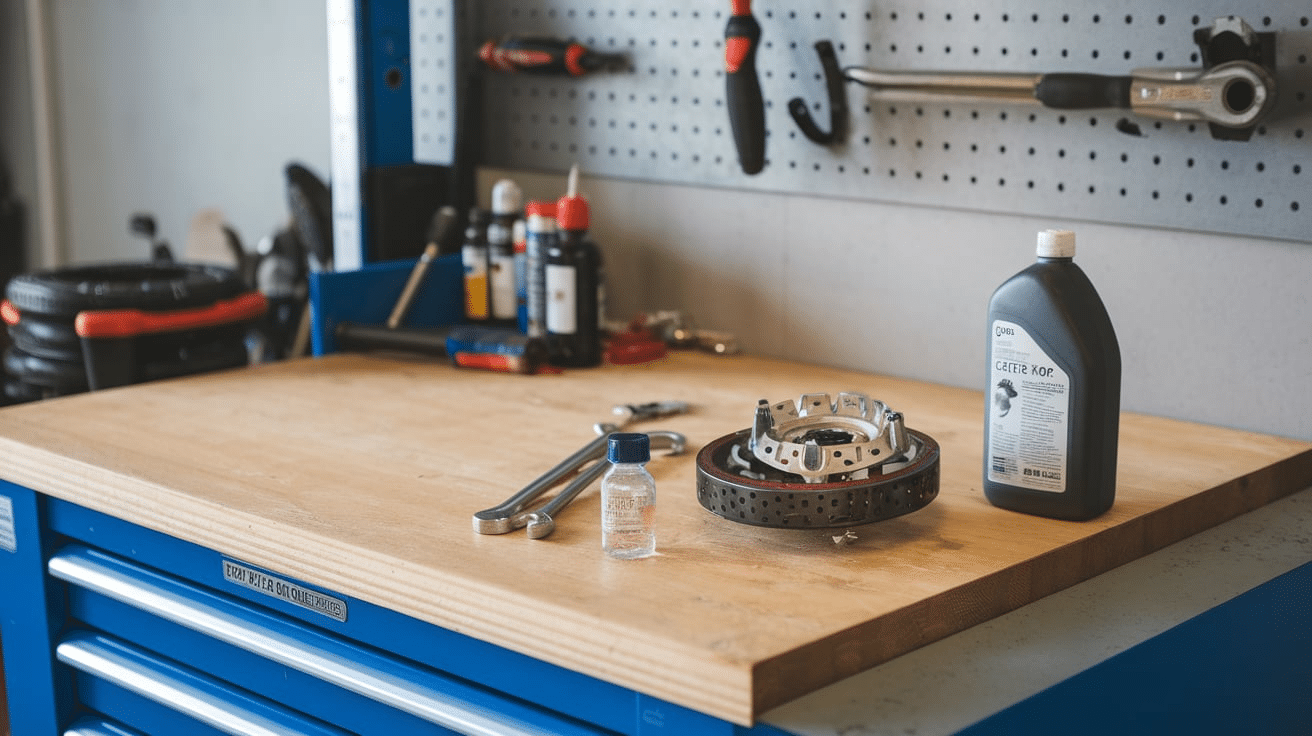
Before you start, make sure you have all the necessary tools:
- Gel Stain: Choose the right color and brand for your project.
- Brush or Foam Applicator: A natural bristle brush works well, but a foam applicator is also a good option
- Clean Rags: Use lint-free rags for wiping off excess stains.
- Gloves: Gel stains can be messy, so protect your hands with gloves.
- Sandpaper: 120-220 grit sandpaper (if needed for surface preparation).
- Mineral Spirits: For cleaning your tools or thinning the stain if needed.
- Plastic Drop Cloth or Newspaper: Protect your workspace.
Step 2: Prepare the Surface
Proper surface preparation is key to a smooth finish.
- Clean the Surface: Wipe down the wood with a damp cloth or tack cloth to remove any dust, dirt, or grease. You can also use mineral spirits for a deeper clean, especially if the wood has been finished before.
- Sand the Wood: Lightly sand the surface to create a smooth, even texture. If the wood is raw, sand until it’s smooth, removing any imperfections. For finished wood, use fine-grit sandpaper (220 grit) to scuff the surface slightly, which helps the stain adhere better.
- Fix Imperfections: If the wood has cracks or holes, fill them with wood filler, let it dry, and sand it smooth.
Step 3: Stir the Gel Stain

- Gel stains can settle over time, so be sure to stir the product gently before use. Don’t shake the can, as that can create air bubbles that affect the finish.
- Stirring carefully helps maintain consistency and ensures an even application for a smooth, flawless result.
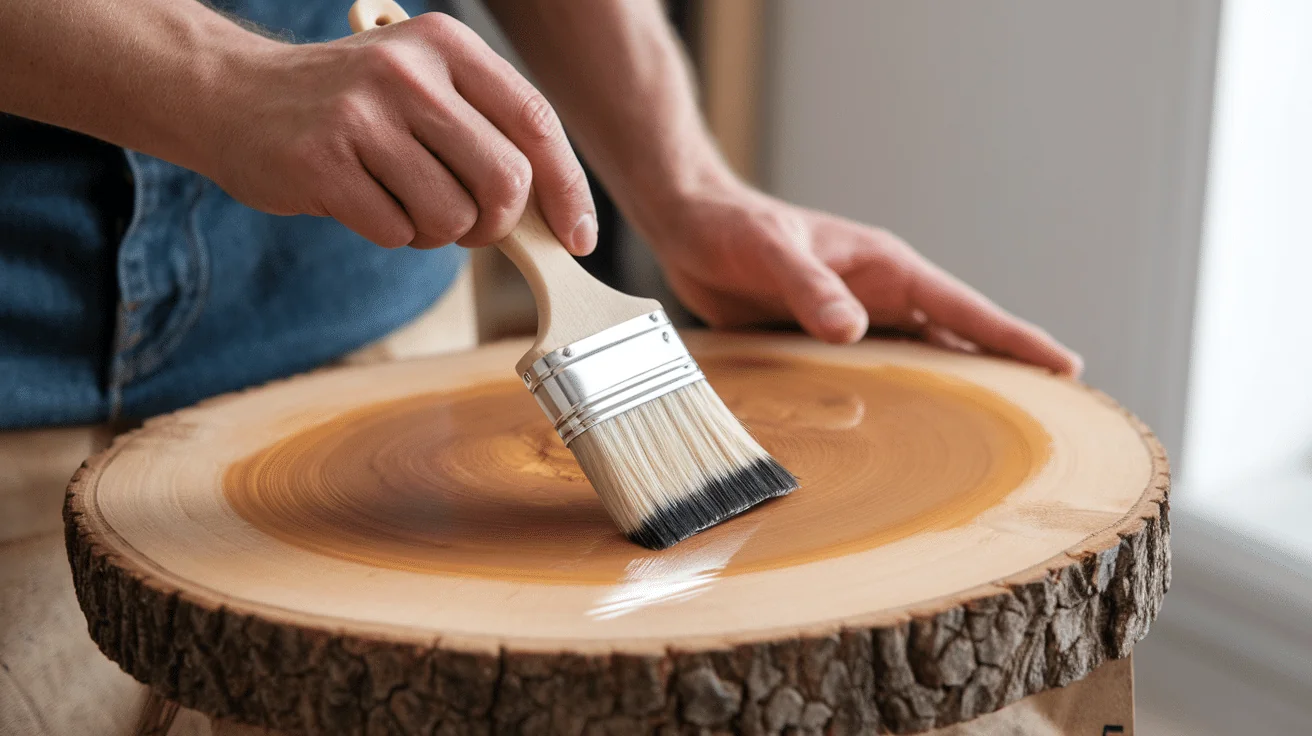
Step 4: Apply the Gel Stain
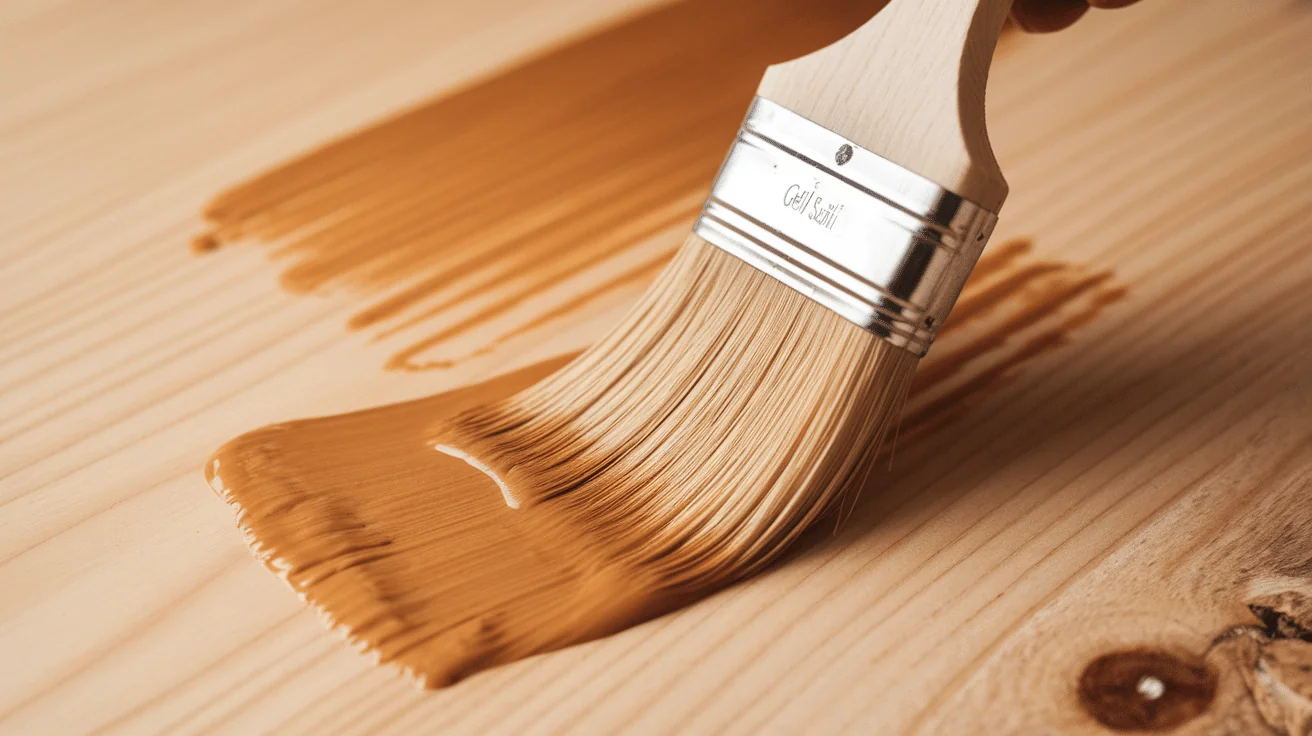
- Brush or Wipe:
- Brushing: Dip your brush into the gel stain and apply it in the direction of the wood grain. Work in small sections, using a generous amount of stain and brushing it on evenly.
- Wiping: Alternatively, you can apply the stain with a foam applicator or rag. Use long strokes and apply a thin, even layer.
- Work in Small Sections: Gel stain can dry quickly, so it’s best to work in small sections, especially if you’re doing a large project.
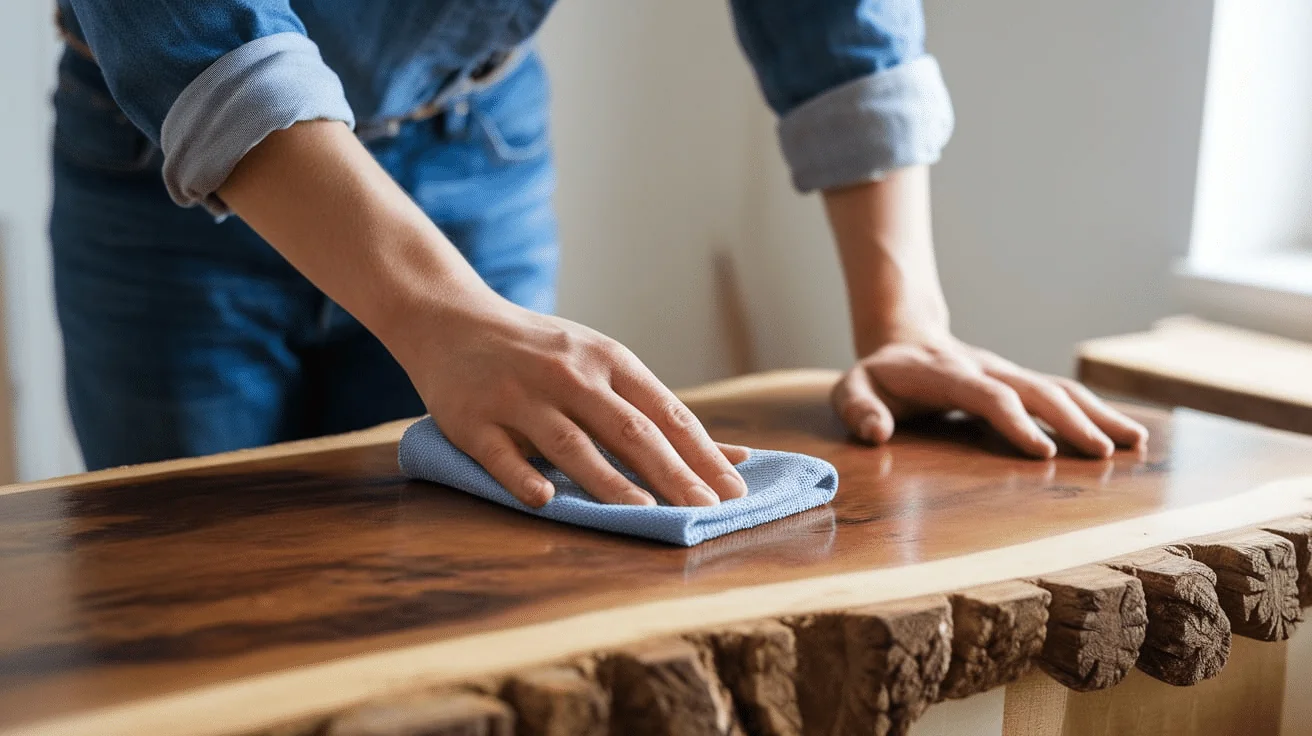
Step 5: Wipe Off Excess Stain
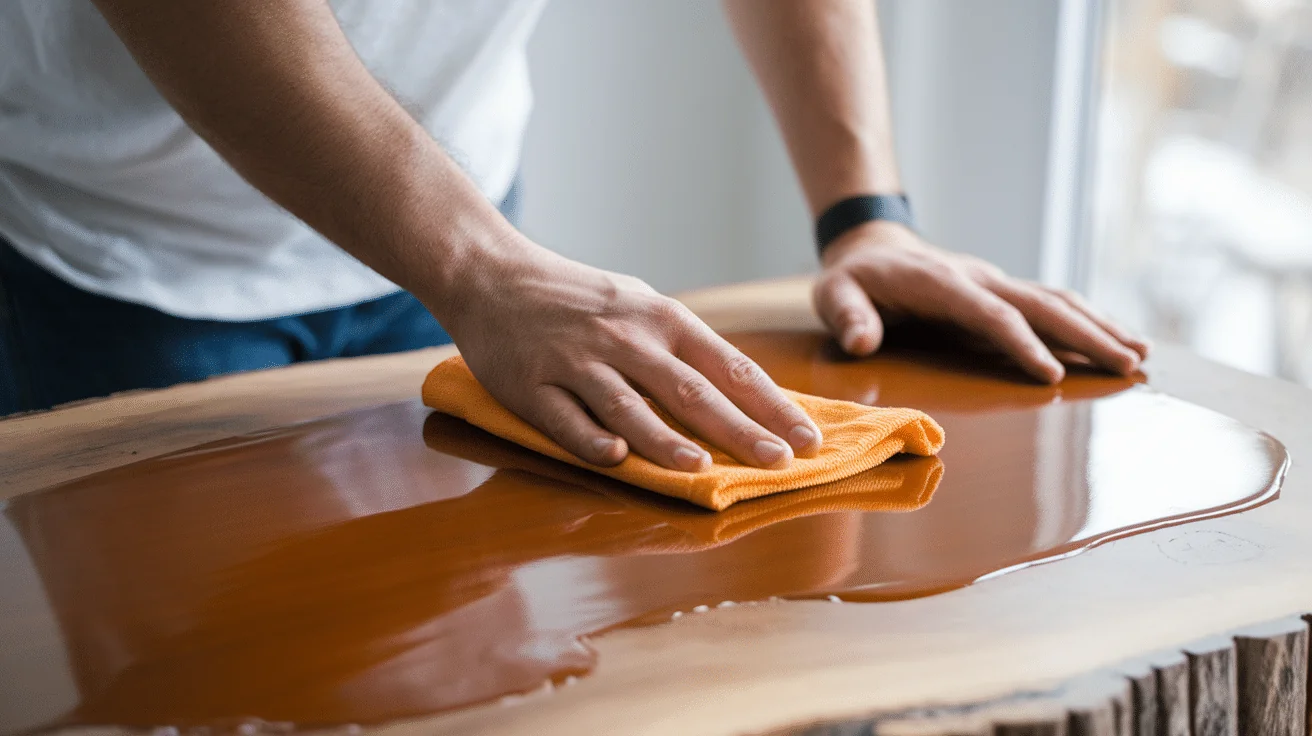
- After applying the gel stain, let it sit for a few minutes (2-5 minutes), then wipe off any excess with a clean rag.
- Wipe in the direction of the wood grain to avoid streaks.
- The longer you leave the stain on before wiping it off, the darker the finish will be, so adjust based on your desired color.
Step 6: Let It Dry
- Allow the gel stain to dry completely before handling. Drying times vary depending on temperature and humidity, but they usually take 4-6 hours.
- If you want a darker color, you can apply additional coats after the first layer has dried. Make sure to sand between coats to smooth out any raised grain lightly.
Step 7: Apply a Topcoat (Optional)
- After the stain has dried, you may want to apply a protective topcoat, such as polyurethane or varnish, to protect the wood and enhance the finish.
- Choose a topcoat with a sheen that matches your desired look (matte, satin, or glossy).
- Apply the topcoat using a clean brush or foam applicator, following the wood grain. Allow the coat to dry before lightly sanding it to achieve a smooth, even surface.
Step 8: Let It Cure
- Even though the stain and topcoat may feel dry to the touch, the wood will need time to cure fully. Let it sit for at least 24-48 hours before heavy use or placing items on it.
By following these simple steps, you’ll get a smooth, even, and long-lasting finish that looks professional every time. With a little patience and practice, you’ll be able to transform your wood projects using gel stain!
Why Choose Gel Stain?
Gel stain is becoming a popular choice for wood staining projects and for a good reason. Here are some of the top benefits of choosing gel stain for your next project:
1. Easy to Apply: Gel stain has a thicker consistency than traditional stains, which makes it easier to control and apply. It doesn’t drip or run, so you don’t have to worry about messes or uneven coats.
2. Even Coverage: One of gel stain’s best features is that it provides even coverage, even on tricky woods like pine that tend to absorb stain unevenly. This means you get a smooth, consistent color across the entire surface.
3. Perfect for Vertical Surfaces: Gel stain is perfect for vertical surfaces like doors, cabinets, and trim. Unlike traditional stains, gel stains stay in place without running down the surface, making it much easier to apply on upright furniture.
4. Works on Finished Wood: Gel stain can be used on both raw and previously finished wood. It is ideal for refreshing the look of old furniture or cabinets without stripping off the old finish.
5. Less Mess and Odor: Compared to traditional stains, gel stains have less odor, making them easier to work with indoors. They also tend to drip less, which means there’s less cleanup afterward.
6. Longer Working Time: Since gel stain is thicker, you have more time to work with it before it starts to dry. This allows you to make adjustments and perfect the application without the pressure of drying too quickly.
7. Great for Detailed Projects: Gel stain is ideal for detailed or intricate projects. The thicker consistency makes it easier to get into corners, crevices, and small areas, which can be challenging with thinner liquid stains.
8. Durable Finish: Gel stain can provide a durable and long-lasting finish, especially when paired with a top coat. The stain doesn’t wear off as quickly as traditional stains.
In short, gel stain is a versatile, easy-to-use, and reliable option that gives you a professional-looking finish with less effort.
Choosing the Right Gel Stain for Your Project
When it comes to gel stains, choosing the right product is key to getting the results you want. Here’s how to pick the perfect gel stain for your project:
1. Consider the Wood Type
Different wood types absorb stains differently. For instance, softer woods like pine or maple might soak up more stain, while harder woods like oak or cherry absorb less. Gel stain works great on both types, but you’ll want to choose a stain that enhances the natural look of the wood you’re working with.
2. Pick the Right Color
Gel stains come in a variety of colors, from light shades like honey oak to deep colors like espresso. Think about the look you want to achieve:
- Light Stains: Great for a more natural or rustic look, like light oak or cherry.
- Dark Stains: Perfect for a rich, sophisticated finish, such as walnut or ebony.
If you’re unsure, test the stain on a small, hidden area of your project before committing to the entire piece. This gives you an idea of how the color will turn out.
3. Decide on Sheen or Finish
Gel stains come in different sheens, such as matte, satin, or glossy. The sheen affects the final look of your project:
- Matte: A flat, no-shine look that’s ideal for rustic, vintage, or shabby-chic projects.
- Satin: Offers a subtle shine and is the most popular finish for wood furniture.
- Glossy: Gives a shiny, smooth finish that makes colors pop and enhances the depth of the stain.
4. Consider the Type of Project
Think about the type of project you’re working on:
- Furniture: For furniture, you’ll likely want a darker stain that adds richness and a satin or matte finish for a smooth look.
- Cabinets: Cabinets need a durable stain that will withstand daily wear, so choose a color that complements your kitchen or bathroom decor.
- Doors and Trim: Gel stain is perfect for vertical surfaces, and choosing a dark stain can help give doors and trim a classic, polished look.
5. Brand Reputation
There are many brands of gel stains, but some of the most trusted ones are General Finishes, Minwax, and Varathane. These brands offer reliable products that deliver even coverage and great results. It’s also helpful to check reviews online to see how other people’s projects turned out with a certain brand or color.
Once you’ve chosen a color and finish, it’s a good idea to test the gel stain on a scrap piece of wood or a hidden area of your project. This will give you an idea of how it looks after it dries and how the color develops. By carefully considering the wood type, color, sheen, and brand, you can ensure that you choose the right gel stain to make your project shine.
Maintenance Tips for Gel-Stained Surfaces
1. Regular Cleaning: Dust and clean the surface regularly with a soft cloth or a microfiber duster. For deeper cleaning, use a mild soap solution, but avoid harsh chemicals that can damage the finish.
2. Wipe Spills Immediately: To prevent staining or damage, clean up spills as soon as they happen. Use a damp cloth and dry the surface afterward.
3. Avoid Abrasive Scrubbers: Never use rough scrubbers or steel wool on gel-stained surfaces, as they can scratch and dull the finish.
4. Polish Occasionally: For added shine, use a wood polish or furniture wax every few months to enhance the appearance and protect the finish.
5. Touch Up When Needed: If the surface shows signs of wear or damage, gently sand the affected area and reapply a small amount of gel stain to blend it in.
6. Keep Away from Direct Sunlight: Prolonged exposure to direct sunlight can cause the color to fade. When possible, try to keep gel-stained furniture out of harsh sunlight.
7. Use Coasters and Pads: Protect your gel-stained furniture from scratches, heat, and watermarks by placing coasters or placemats under cups, plates, or hot objects.
By following these simple maintenance tips, your gel-stained wood surfaces will stay fresh and well-preserved for years.
Conclusion
Gel stain is a fantastic option for achieving a smooth, even finish on a variety of wood surfaces. Whether you’re refinishing old furniture, updating cabinets, or tackling a DIY project, gel stain provides an easy-to-apply solution with professional results.
Its thicker consistency makes it perfect for preventing drips and providing consistent color, even on vertical or intricate surfaces. By following the simple steps for preparation, application, and maintenance, you can enjoy beautiful, long-lasting results.
Remember to choose the right color, finish, and tools for your project, and always take the time to maintain your gel-stained surfaces properly. So, whether you’re a beginner or an experienced DIYer, gel stain can help you transform your wood projects with ease and confidence!
Frequently Asked Questions
Can I use gel stain on unfinished wood?
Yes, gel stain can be used on unfinished wood. It enhances the wood’s grain while providing an even color. For the best results, sand the wood properly before applying the stain.
How do I remove gel stain?
To remove the gel stain, you can use a wood stripper or sand the surface to eliminate the stain. Make sure to follow the manufacturer’s instructions and wear protective gear.
Can I use gel stain on outdoor furniture?
Gel stain can be used on outdoor furniture, but it should be sealed with an outdoor-grade topcoat to protect it from the elements.