
Have you ever painted oak cabinets and felt like they lost their natural charm? I’ve been there. Oak is known for its beautiful, textured grain, but sometimes, paint can cover up that detail.
The good news is, there are simple ways to let the grain show through, even after painting.
If you’re going for a soft farmhouse look or something a bit more modern, letting the wood grain peek through adds warmth and character.
In this post, I’ll explain the easy steps to prep, paint, and finish your oak cabinets so the grain still shines.
I’ll also share the products I like to use and give you tips on how to care for your cabinets once they’re done.
You don’t need to be a pro, just a little patience and the right tools.
Understanding Oak Wood Grain
Oak is a popular wood for cabinets because it’s strong and has a lot of character.
One of the best things about oak is its grain, the natural lines and patterns you can see on the surface. These lines are bold and easy to spot, even after you paint the wood.
There are two main types of oak: red oak and white oak. Red oak has a warmer tone and a rougher grain, while white oak looks a little smoother and cooler in color.
Both types have grain that stands out nicely.
The grain in oak is deep and open, which means it doesn’t just sit on the surface; it has texture.
That’s why, with the right steps, you can still see the grain even after painting. It gives your cabinets a more natural, rich look that feels warm and homey.
Choosing the Right Paint and Tools
Now that your cabinets are clean and sanded, it’s time to pick the right paint and tools. This step is important because it helps the wood grain stay visible, even after painting. Let’s look at what works best.
Picking the Right Paint
If you want the wood grain to show, avoid thick paint. Thick paint can fill in the grain and cover up the texture.
Instead, choose a thinner paint, such as a water-based or wood-friendly paint. These types still give good color but let the grain show through.
A matte or satin finish also works better than a shiny one. It looks softer and more natural, which helps the grain stand out.
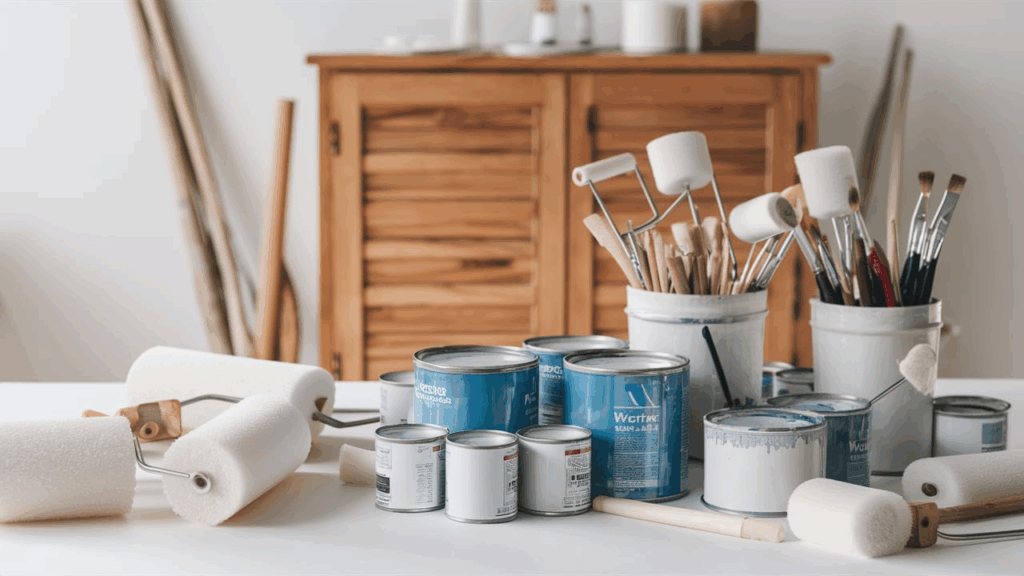
Tools That Work Best
The tools you use can make a big difference.
- Foam rollers spread the paint evenly without hiding the grain.
- Angled brushes help you get into corners and follow the grain lines.
- If you’re sure of your hand, a paint sprayer gives a light, even coat and keeps the texture easy to see.
Try not to use too much paint at once. Light coats work better and help keep the wood grain looking clear and natural.
Step-by-Step Guide to Painting Oak Cabinets with Grain
Below is a step-by-step guide to simplify painting oak cabinets for y’all.
Step 1: Fill the Grain
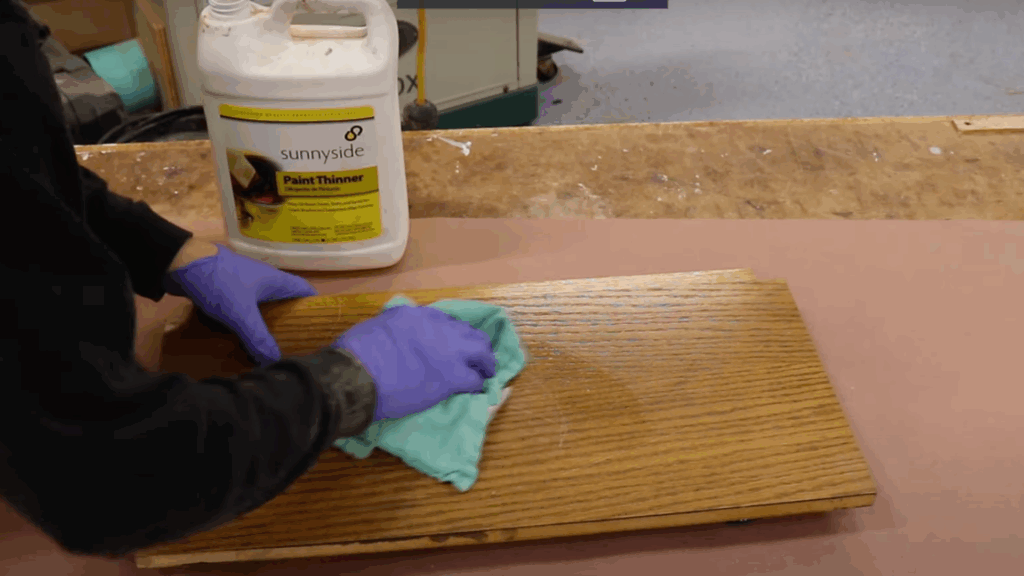
Filling the grain is arguably the most critical step for a smooth, modern finish on oak cabinets.
Begin by wiping surfaces with mineral spirits and lightly sanding with 150-grit abrasive, ensuring good dust extraction.
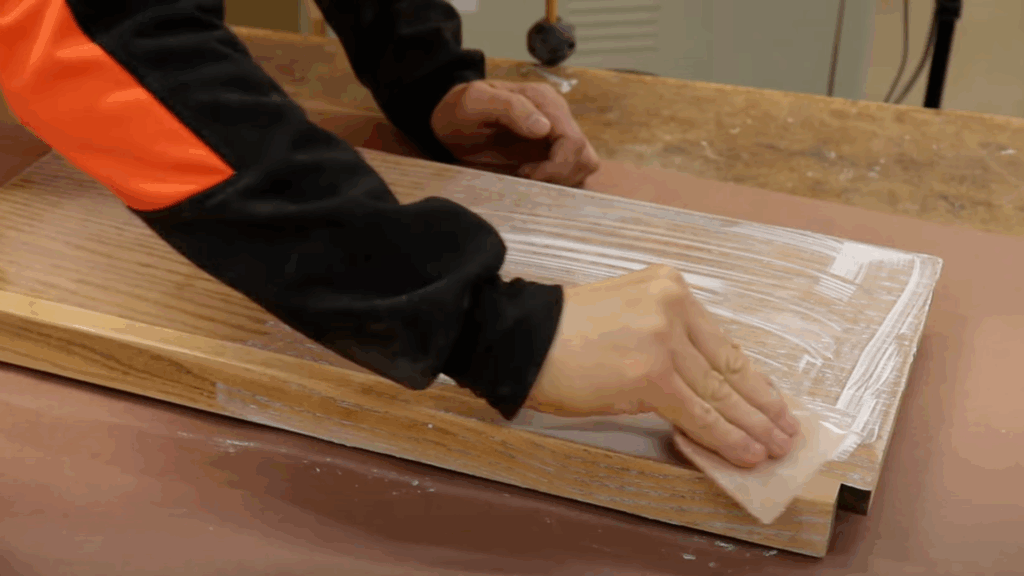
Then, apply Aqua Coat grain filler using a plastic Bondo knife, smearing it across the grain to push material into pores.
Work in small sections, immediately removing excess. Apply 2-3 coats, sanding lightly with 220-grit after each, allowing ample dry time.
After the final coat, check for levelness under good light, spot-fill if needed, and lightly sand just before priming.
Step 2: Apply a Good Quality Primer
Choosing the correct primer is essential to block stubborn oak tannins and ensure proper topcoat adhesion.
I strongly advise using an oil-based primer, like Zinsser B-I-N, as it’s crucial for effectively sealing the tannins that cause dark spots to bleed through water-based primers.
Apply two coats of this oil-based primer using a high-quality roller (e.g., Purdy White Dove) for a smooth, even application.
Allow each coat to dry thoroughly. After the second coat is fully dry, lightly sand the surface with a 220-grit abrasive.
This step creates a flawless base for your paint and significantly enhances overall adhesion.
Step 3: Paint with High-Quality Enamel Paint
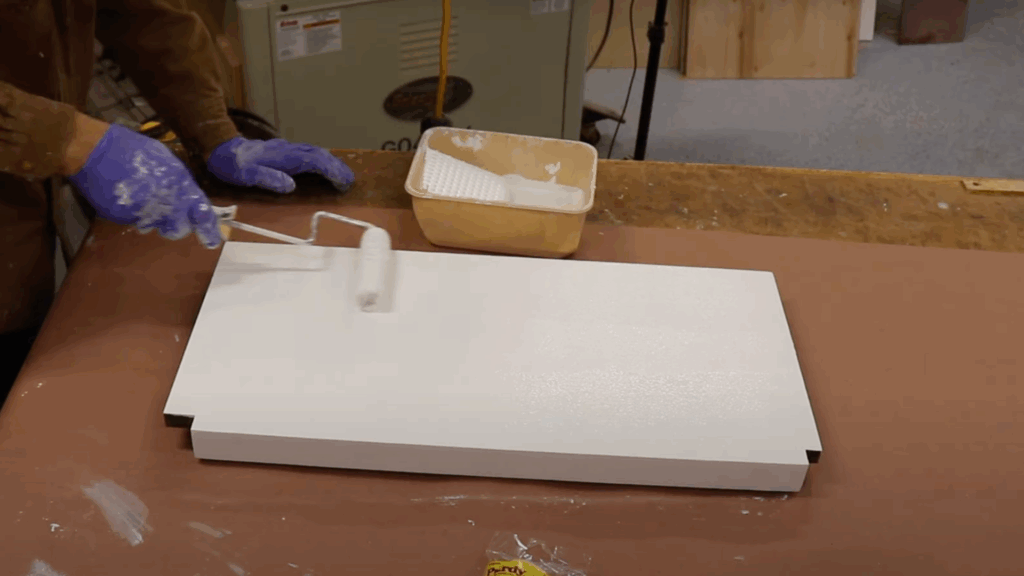
Now for the final color transformation! The quality of your paint significantly impacts the final look and durability.
The recommendation is Behr Premium Cabinet, Door & Trim Enamel because it offers excellent flow and self-leveling properties, minimizing roller or brush marks for a smooth, glassy finish.
As an enamel paint, it also provides superior durability for cabinet use. Apply two to three coats of this high-quality paint using the same type of roller as for the primer.
Allow each coat to dry thoroughly according to the manufacturer’s instructions. The goal is a uniform, flawless, and durable painted surface.
The Moment of Truth and The Final Improvement
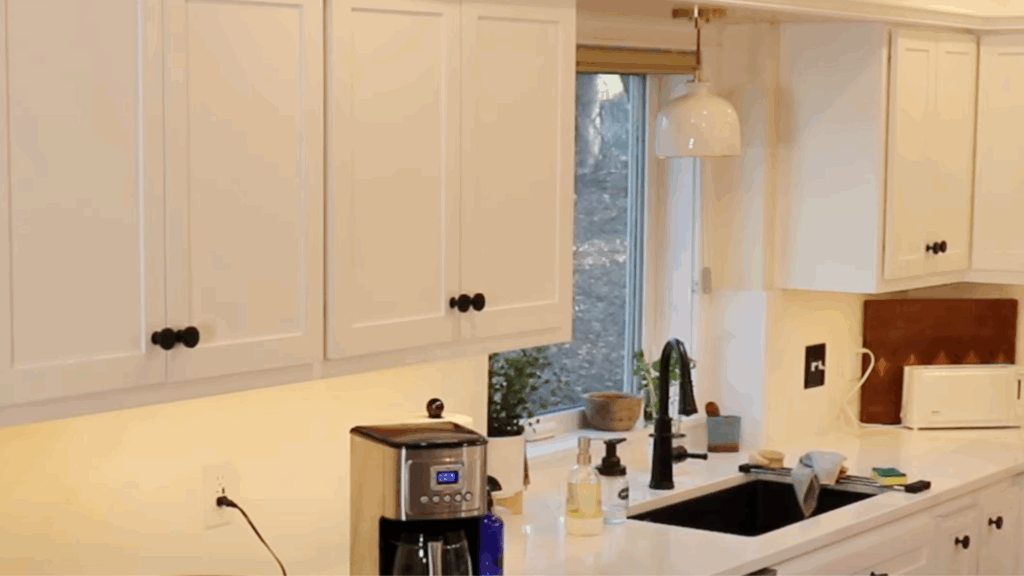
After all your hard work, it’s time to appreciate the improvement! The difference achieved by thoroughly following the grain-filling, priming, and painting steps is remarkable.
To see the steps in action, watch the video of @ToolMetrix
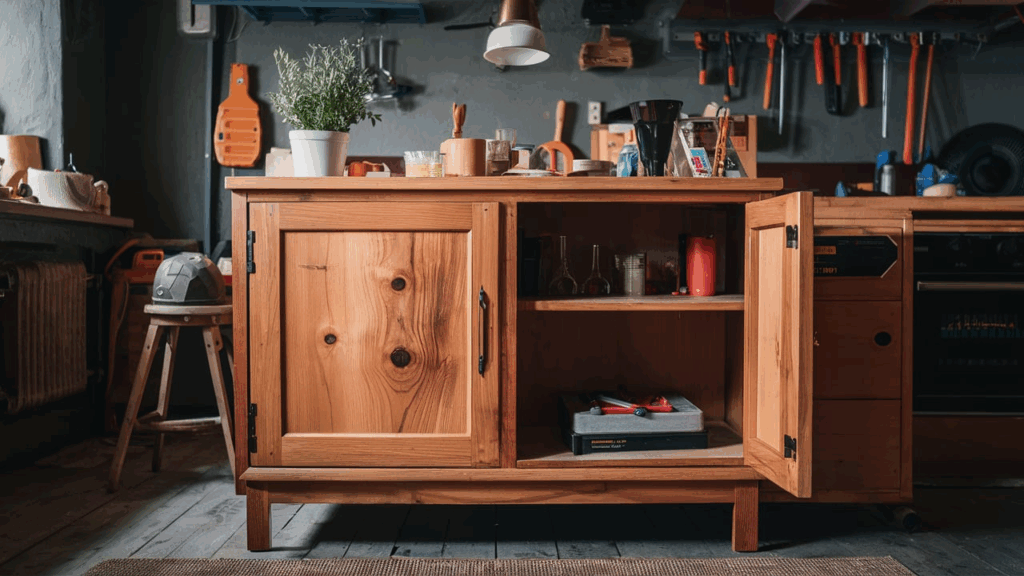
Benefits of Keeping the Wood Grain Visible
When painting oak cabinets, you don’t have to hide the wood’s natural charm.
Letting the grain show through the paint can enhance your kitchen’s character while still giving it a fresh, updated look.
- Highlights natural beauty: The strong, distinctive grain of oak adds warmth and texture that flat paint can’t match.
- Softens modern styles: Visible grain brings a welcoming, organic feel to sleek, minimalist kitchens.
- Blends design styles: This method works well with farmhouse, rustic, or even contemporary looks, making it easy to mix and match styles.
- Adds depth and personality: Instead of a flat, uniform finish, the grain gives your cabinets a unique, custom feel.
- Retains authentic wood texture: You get to enjoy the tactile quality of real wood while updating the color to match your taste.
Choosing to keep the wood grain visible is a smart way to modernize your kitchen while celebrating the natural beauty of oak. It’s a perfect balance of style, warmth, and authenticity.
Maintenance Tips
Once your cabinets are painted and the grain is showing, you’ll want to keep them looking their best. Here’s how:
Protecting the Finish
A clear topcoat or sealant can help protect the paint and keep the grain easy to see. Look for water-based polyurethane or a clear furniture wax.
These sealants add a thin layer over the paint, helping it last longer and making it easier to clean.
Make sure the paint is fully dry before adding any topcoat. This will ensure that the finish stays smooth and doesn’t get cloudy.
Regular Cleaning Practices
To clean your cabinets without dulling the finish, skip strong cleaners. Instead, use a soft cloth, warm water, and a little bit of mild dish soap.
Avoid scrubbing too hard. You don’t want to wear down the paint or the sealant. Light, regular cleaning will help your cabinets stay fresh while keeping that nice wood grain shining through.
Common Mistakes to Avoid
- Using Thick Paint: Thick paint hides wood grain by filling in grooves, leaving a flat look. Use thinner, water-based paint for a softer finish that lets the texture show through.
- Skipping the Prep Work: Skipping cleaning and sanding can lead to peeling or uneven color. Wipe down and lightly sand surfaces to help the paint stick and last longer.
- Sanding Too Much: Using rough sandpaper or too much pressure can flatten the grain. To keep the texture, use medium-grit sandpaper (120–150) and sand gently with the grain.
- Using Too Much Paint at Once: Thick coats cover the grain and cause drips or streaks. To keep the wood’s natural look, apply light, even coats and let each one dry fully.
Conclusion
Painting oak cabinets while keeping the wood grain visible takes a little extra care, but it’s totally worth it.
With the right prep, paint, and tools, you can get a clean, natural look that still shows off the beauty of real wood.
If you want a soft farmhouse feel or something more modern, letting the grain peek through adds warmth and texture to your space.
Just remember to clean well, sand gently, use thin paint, and apply light coats. Avoid common mistakes like rushing or using thick paint, and your cabinets will look amazing.
Plus, with the right topcoat and regular care, your cabinets can stay looking great for years to come.
It’s a simple project that makes a big impact, and you don’t have to be a pro to do it. Just take your time and enjoy the process!