
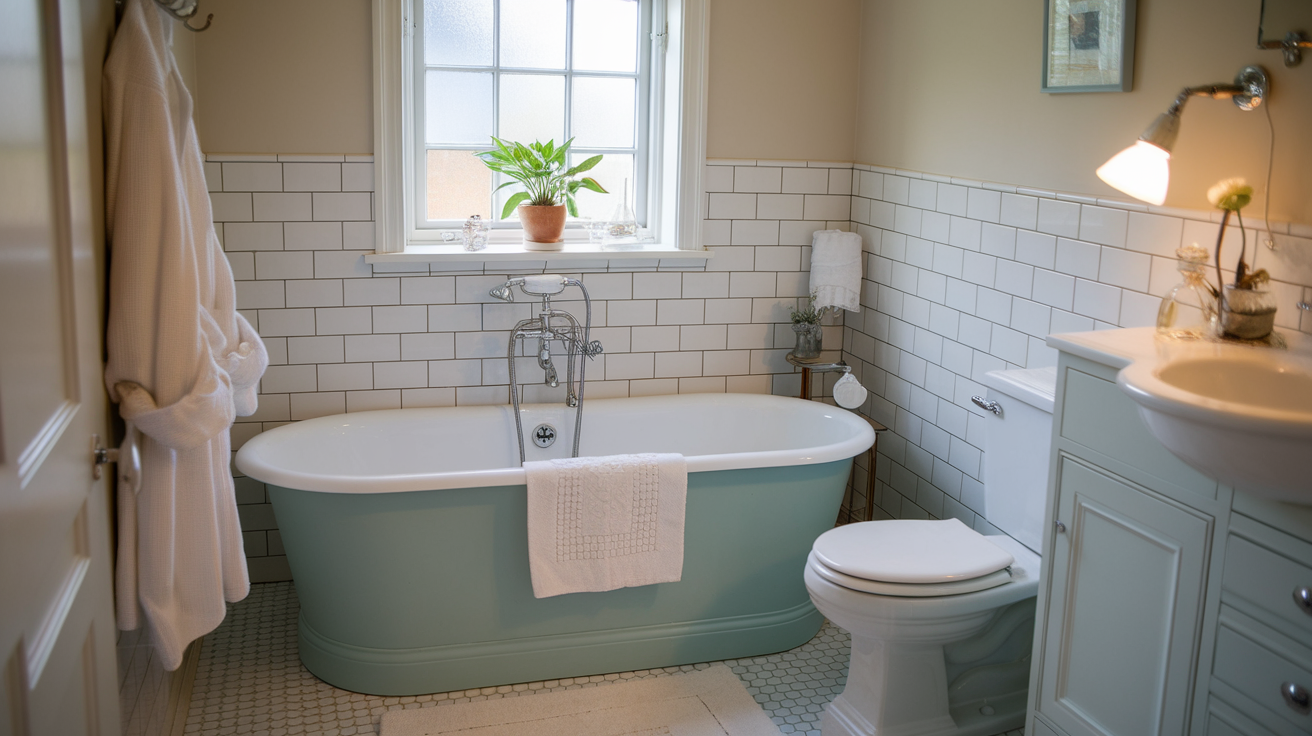
I’ve always wanted to give my bathroom an upgrade and have a super cozy and unique space for taking relaxing baths.
This got me thinking, ‘What if I just paint my bathtub?’ And that’s exactly what I did.
Painting your bathtub can instantly change the entire look and feel of your bathroom, making it look classier.
If you want to DIY a project that is easy, not very expensive, and fun to do, then this might be perfect for you.
In this blog, I’ll walk you through easy steps from beginning to end and provide some beginner-friendly and budget-friendly tips so that you can get the best results.
Can You Paint a Bathtub?
The short answer is: Yes! It is completely safe to paint your bathtub, and it is a way more common practice than you might think.
You might think that it won’t work well or even look good, but don’t worry. I’m here to change your mind.
Painting a bathtub is a great DIY project. It doesn’t take much time and is way more cost-effective than completely replacing it.
Another great thing is that you can personalize it any way you want, from choosing your favourite colors to adding personal touches.
Moreover, if your bathtub has stubborn stains, scratches, or spots facing discoloration, painting it can help resolve the issue.
While it may not be a permanent solution, its definitely worth trying out.
What Paint Works Best on a Bathtub?
Not all paint types hold up well in the bathroom. The most important factor you need to consider is the material of your tub; the paint you choose needs to stick well to materials like ceramic, porcelain, fiberglass, etc.
The paint should also hold up well in moisture, since the tub will constantly be in water. That’s why most people use bathtub epoxy paint.
Luckily, you don’t need to stress. I’ve made this easy table for you so you can easily choose the type of paint you want to buy.
| Paint | Benefits | Estimated Cost |
| Specialized Bathroom Epoxy Paint | Durable, waterproof, and has a glossy finish | 40$-150$ |
| Acrylic Polymer Paint | Highly durable, waterproof, easy to apply, and lower VOCs. | 20$-70$ |
| Refinishing Kits | Durable and water-resistant finish. Comes with a bonding agent and an epoxy coating. Easy to DIY. | 70$-200$ |
No matter which type you choose, just make sure that it is bathroom-friendly.
Don’t think you have to stick with a basic color; you can go all out and purchase any color you feel matches your vibe and the theme of your bathroom.
Step-by-Step Guide on How to Paint a Bathtub
A painted bathtub can completely transform your bathroom from a basic and boring space to a stylish and cozy space that you’ll never want to leave.
You don’t need much to get started with this project, just a few basic supplies and a little of your patience.
Tools and Materials Needed
- Paint
- Paint brushes
- Paint rollers/liners
- Painter’s tape
- Roller Frame
- Sanding paper
- Caulk and caulk gun
- Rags and Drop Cloth
- Safety Gear
Step 1: Clean the Tub
Start by draining all the water and making sure your tub is entirely clean. Remove any mildew or soap scums using an abrasive cleaner of your choice.
Once the tub is clean, rinse it completely using lukewarm water.
Step 2: Prepare the Surface
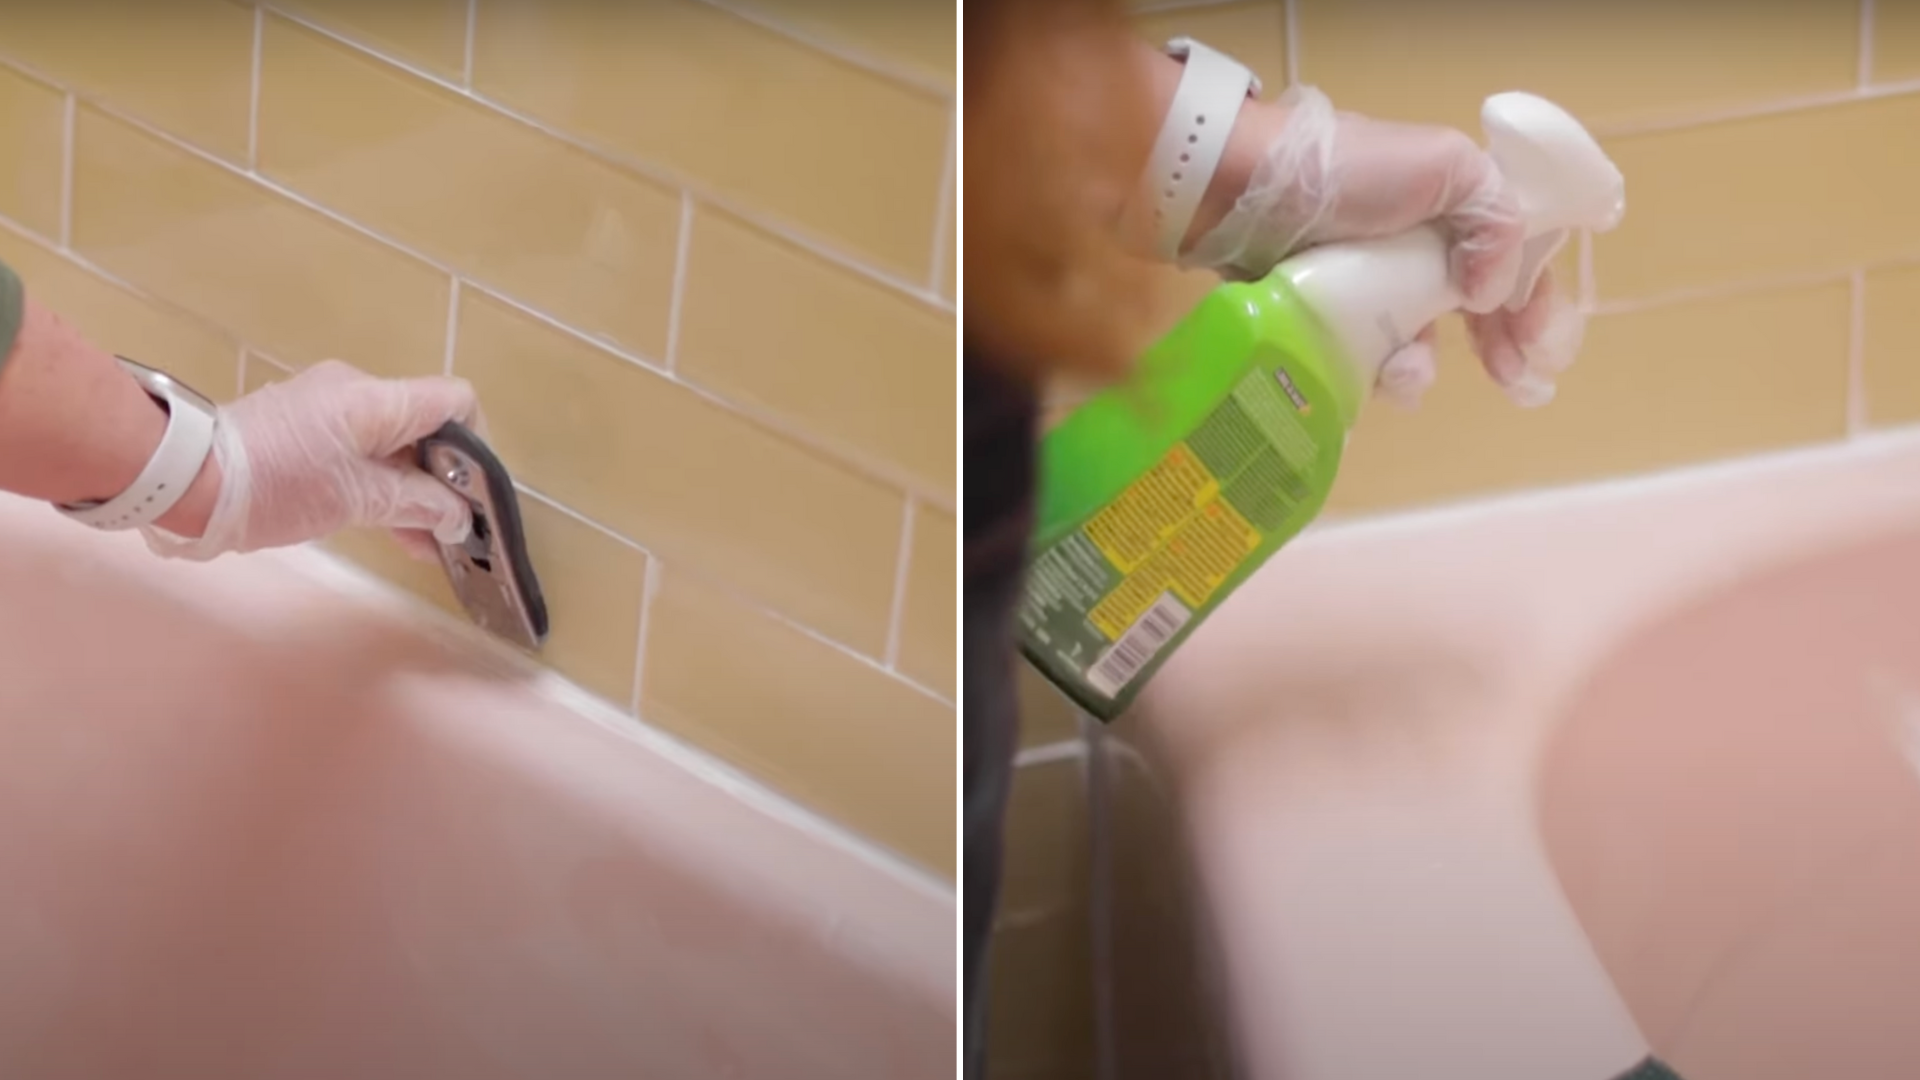
Preparation is key! Using a utility knife or a caulk removal tool, carefully remove the caulk between the tub and bathroom tiles from all sides. You can also use a razor tool if you wish.
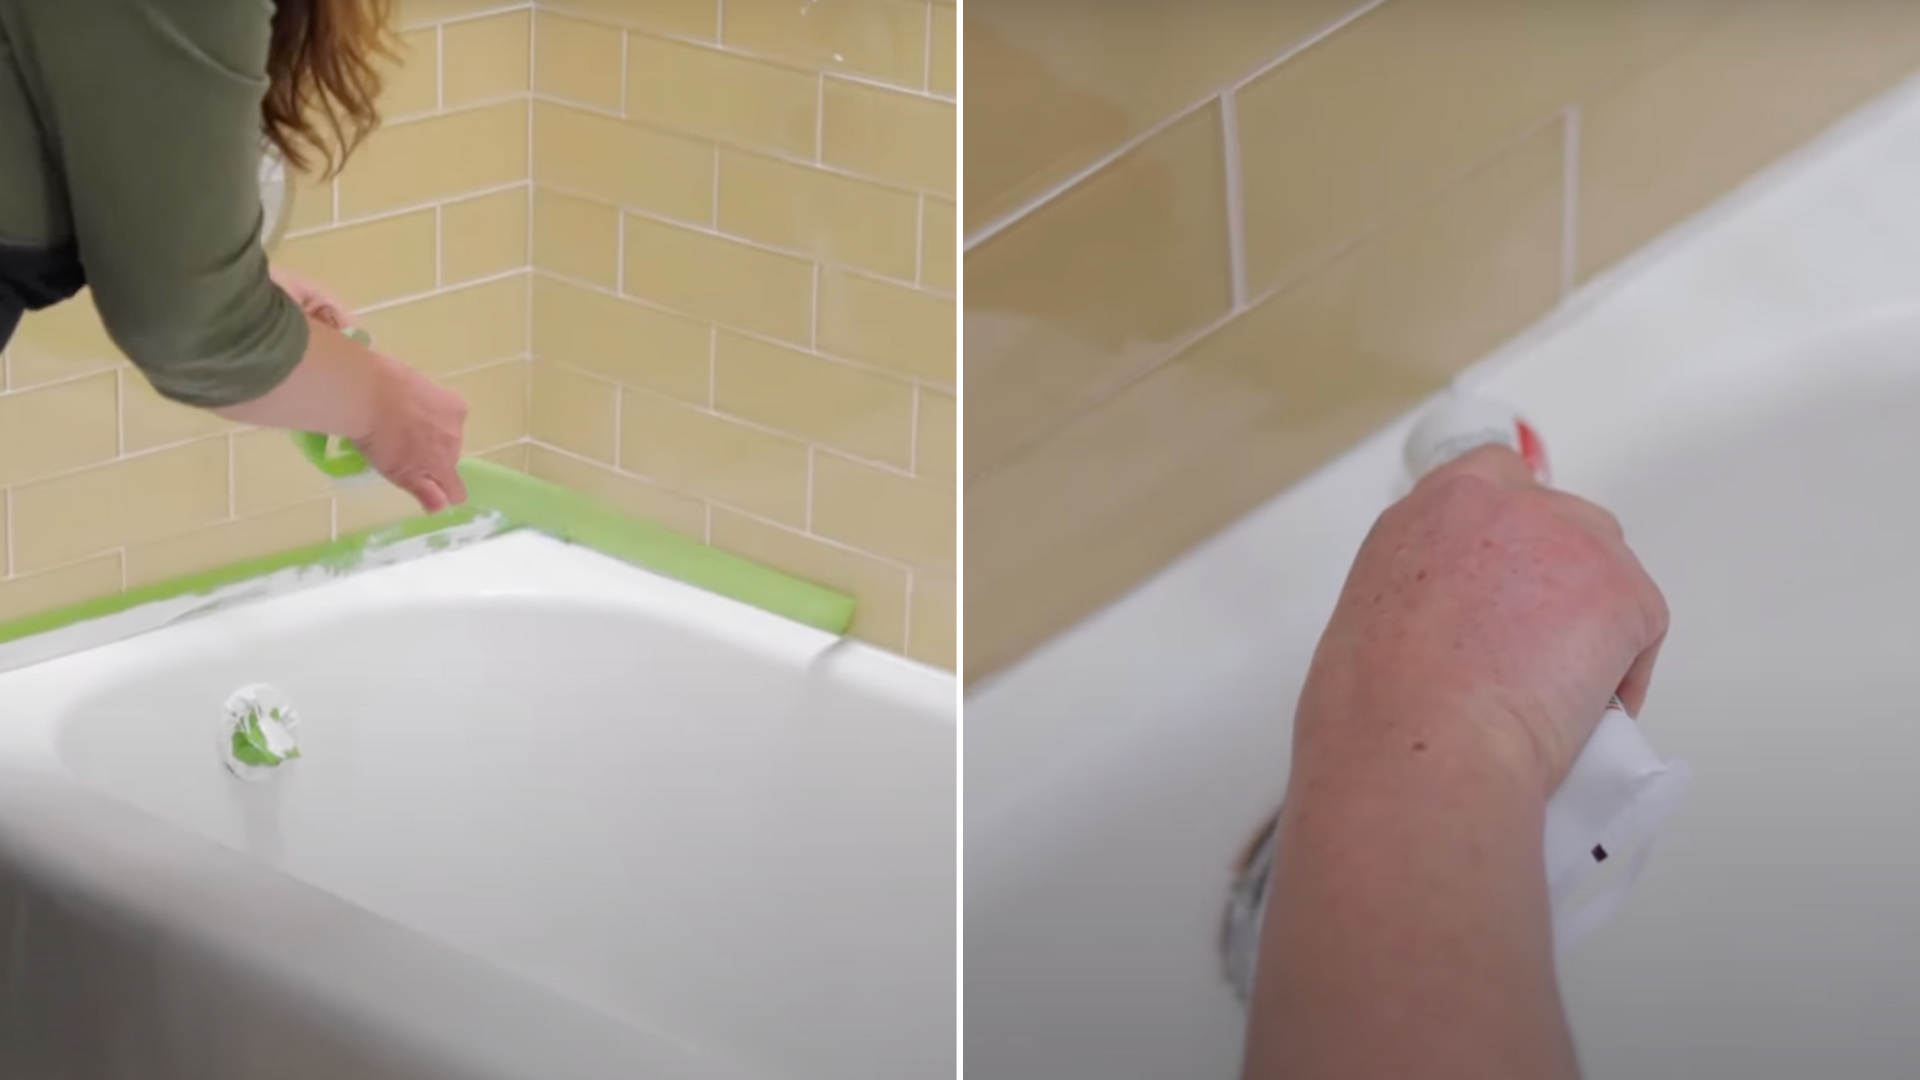
Use an abrasive pad with a cleaner like Lime-A-Way, spray, and clean the tub once again. To get better results, let it sit for at least 5-10 minutes before wiping it away.
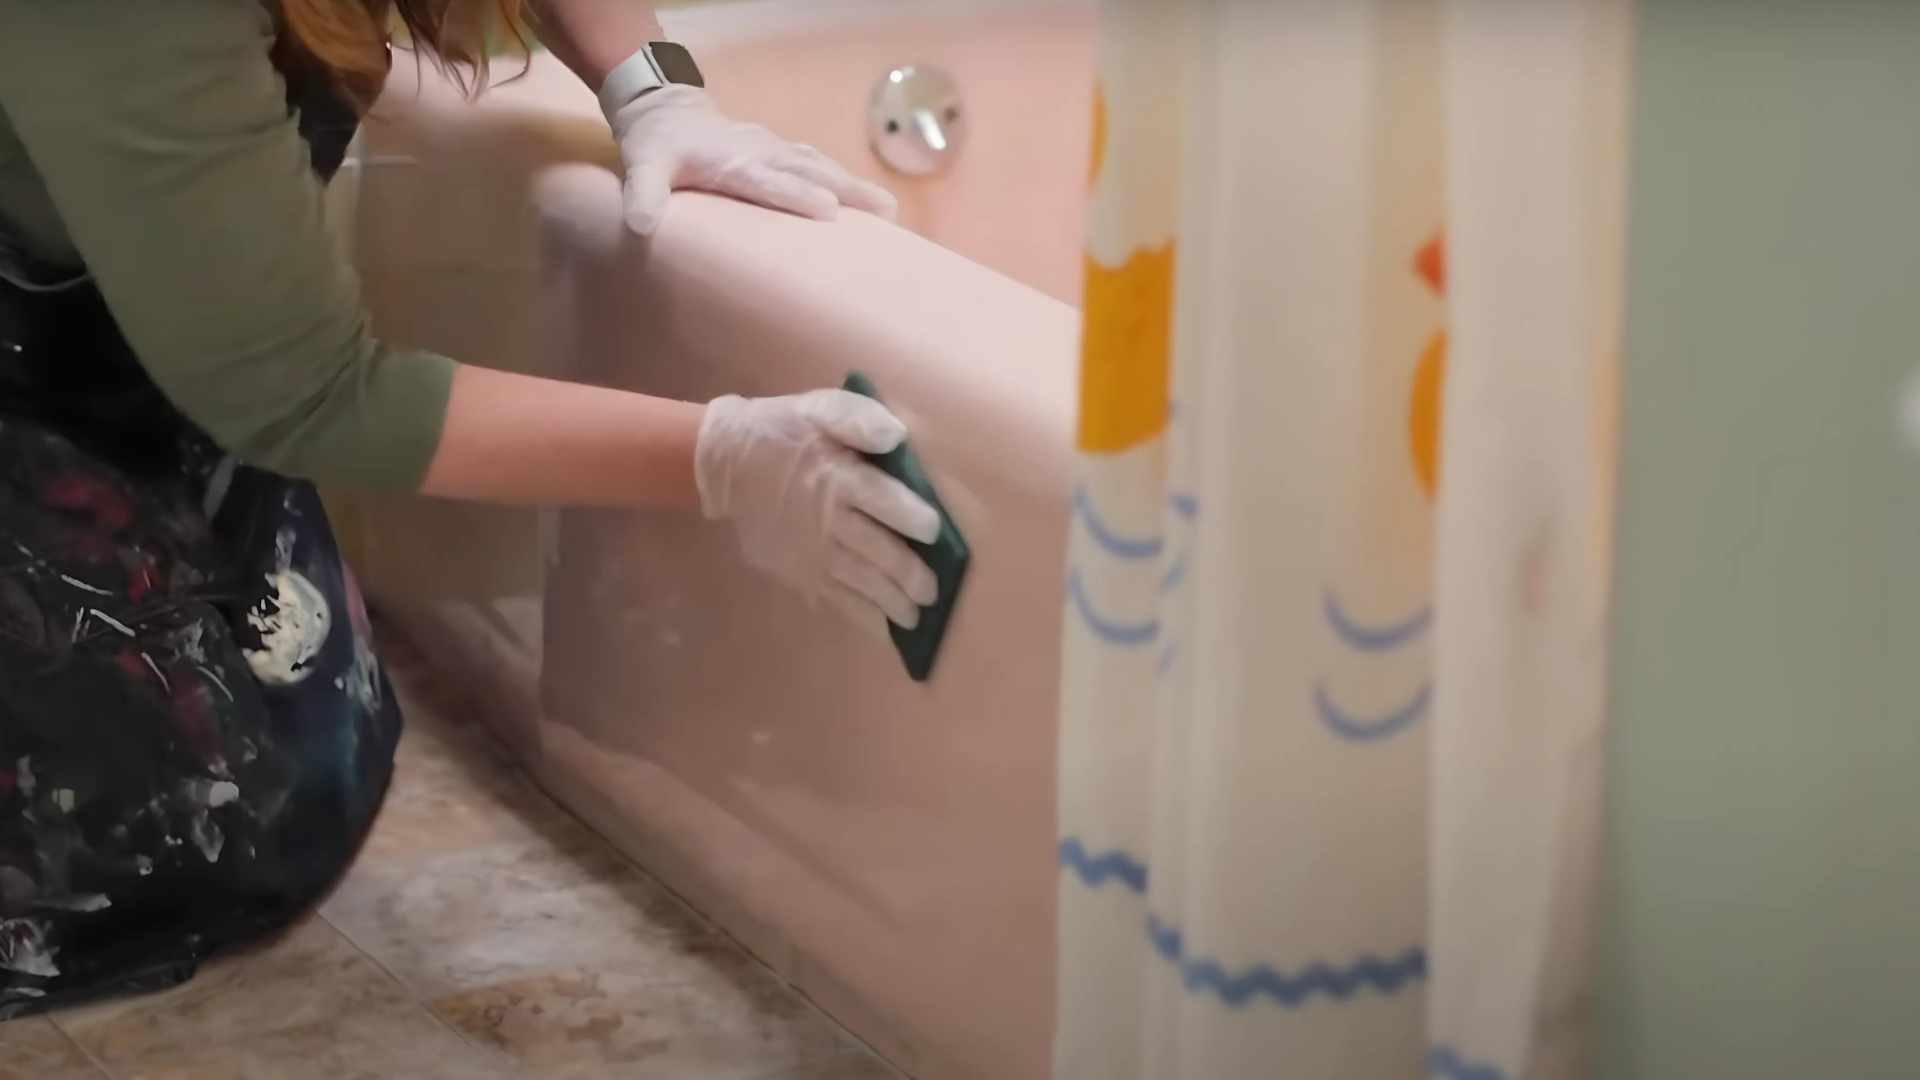
Step 3: Sand the Surface
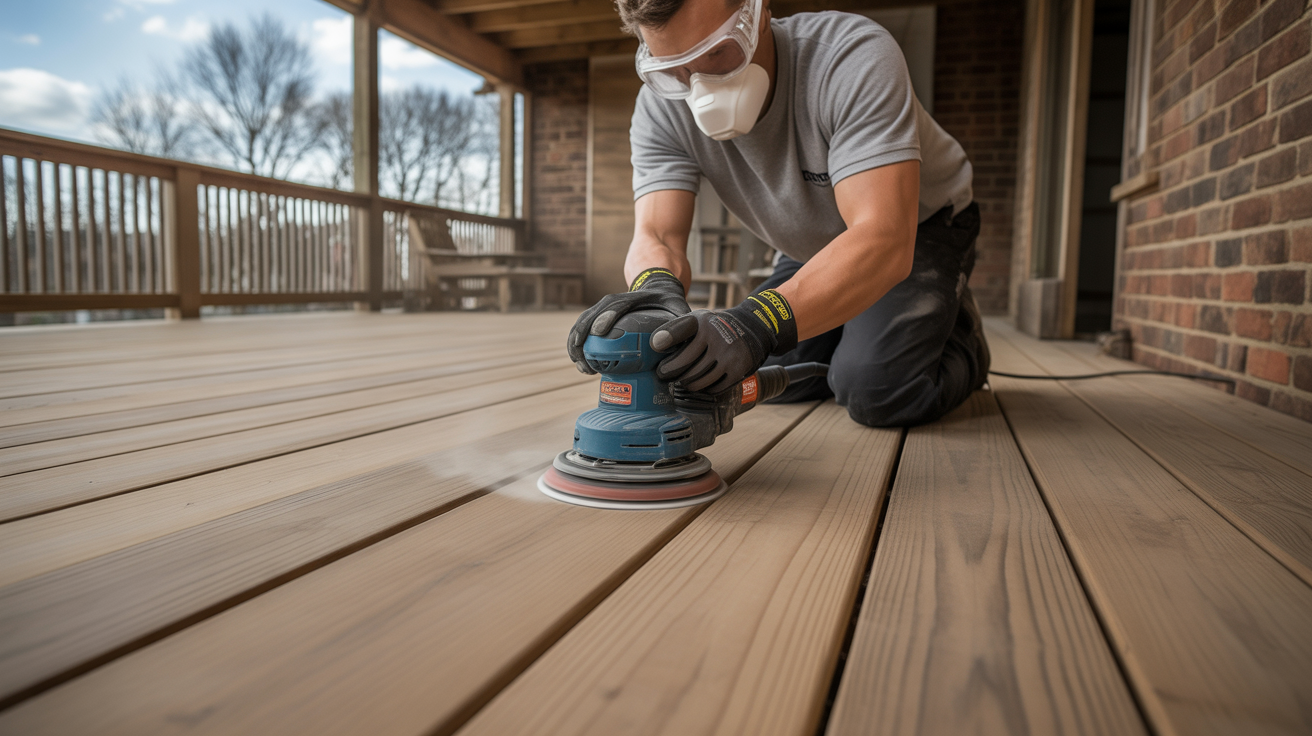
Next, use a thick sandpaper sponge (around 400 grit) and run it all over the bathtub surface. Once sanded down, again wipe it with a cloth to clean up all the dust.
Tip: Once the tub is dry, a rag can also be used for removing dirt buildup.
Step 4: Use Painter’s Tape and Ventilate the Room
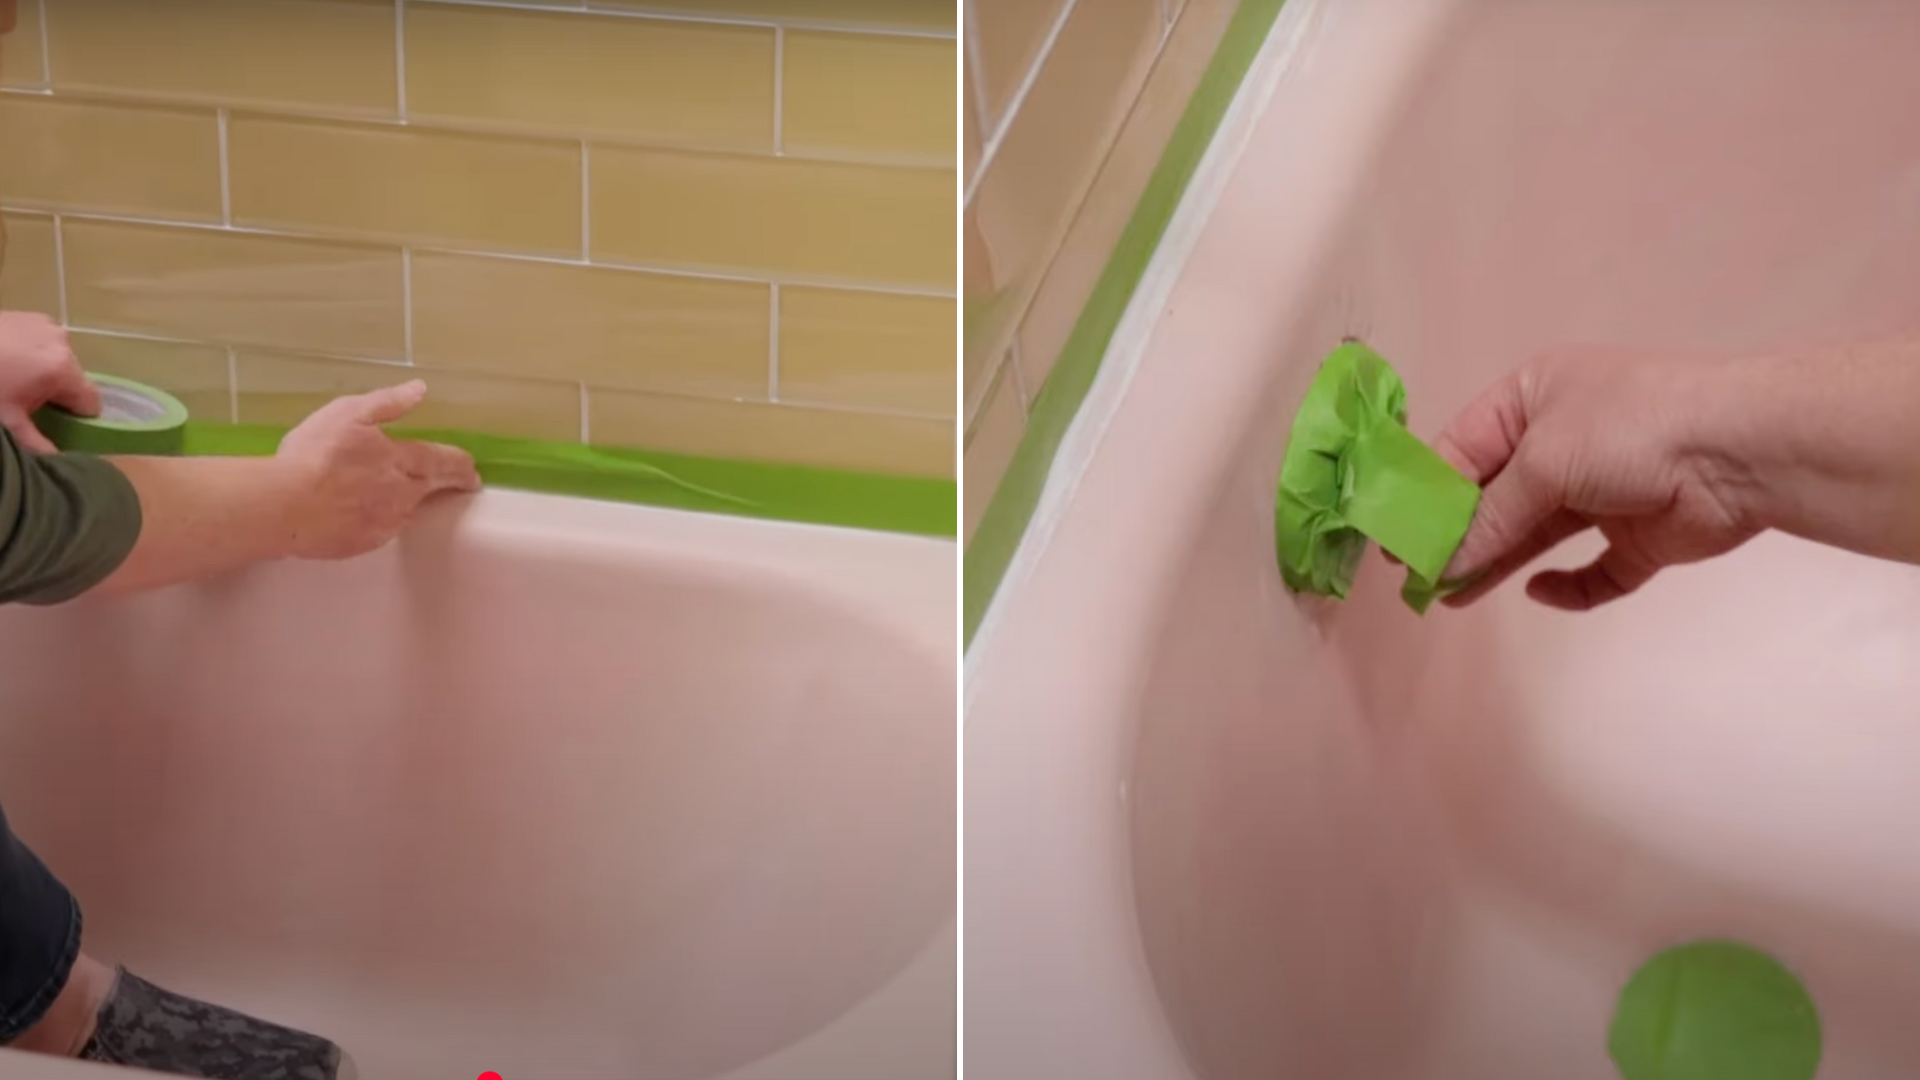
Before painting, it is very important to apply painter’s tape to the edge of the tub where it meets the wall to protect the surface and get clean lines.
Also, mask off the drain and anything else you don’t want to get paint on.
And remember, once all this preparation is completed, you need to make sure that all the doors and windows are open for proper ventilation, or it can get suffocating.
Tip: You can also use portable fans or table fans to circulate the bathroom air.
Step 5: Apply the Paint

Now, using a paint roller, start applying the first coat of the paint of your choice. Paint using small motions and try not to go over the same areas again for a neat and smooth look.
For corners and edges, use a trim or a small paintbrush. Keep your hand steady and you’ll be done in no time.
Allow the paint to dry for at least an hour before moving on to the next step.
Step 6: Apply the Second Coat of Paint

Once the paint is dry, apply your second coat of paint. Again, use a small paintbrush for an even look for any final touches.
Then, allow this coat to dry for 1-2 hours as well before doing anything else.
Step 7: Remove Painter’s Tape and Re-Caulk
Once the paint is completely dry, carefully remove the painter’s tape from all sides. Remember to remove the tape slowly so it doesn’t tear or leave marks.
Once the tape is removed, refill the tile grouts using a caulk gun. Avoid using any abrasive cleaners afterwards, as they can strip it away.
To protect the bathtub surface, wait at least 3 days before exposing it to water again.
And that’s it! Now you have your own freshly painted bathtub. Not only will this make your baths more relaxing, but it also adds character to your entire bathroom.
Check out the full video tutorial on YouTube by @AceHardware
Pro Tips for Painting a Bathtub
I know it can be daunting to start a project in your bathroom, considering its a place that’s constantly in use.
But that’s no longer a problem. By following the simple steps in the guide above and keeping a few tips and tricks in mind, you can say goodbye to all your worries.
- Choose the Right Paint: Pick a paint made for the material of your tub for better application and durability.
- Choosing a Design: Pick any color you like; you don’t need to stick to white. You can paint just the outside if you want or the entire tub. Instead of painting the whole tub, you can also add some small doodles to it.
- Proper Ventilation: Make sure to open windows, doors, and use portable fans to avoid suffocation. This also helps in removing the smell faster and speeds up drying time.
- Maintenance: Clean on a regular basis to avoid build-up and remove dust.
- Avoid Harsh Chemicals and Scrubbing: Use mild cleaners to protect the surface. Harsh chemicals can affect the surface of the tub, meaning it will require touch-ups more often.
By keeping these things in mind, you can easily paint and maintain your tub in the long run.
Conclusion
Painting your bathtub is a simple, affordable, and creative way to give your house a little makeover. It doesn’t even take up a lot of effort or time, but it still looks very chic.
And the best part is, you don’t have to go through the headache of replacing your bathtub. Its the perfect solution to make do with your existing tub.
Just use the right type of paint, prepare the tub carefully, and apply even coats. Let the paint dry fully and don’t expose it to water for a few days.
Before you know it, it’ll be like you got a completely new bathtub!
Believe me, it was one of the best decisions I made for my bathroom, and now, I never wanna go back. Take your time, and with a little effort and patience, you’ll feel the same way.