
Are you wondering how long it takes to bring new life to your hardwood floors?
I’ve been there too, and in this guide, I’ll walk you through each step of the refinishing process, providing a clear timeline.
Refinishing hardwood floors can seem like a daunting task, but understanding the time commitment can help with planning and alleviate stress.
I’ll cover everything, from the prep work to the final touches, so you know exactly what to expect.
If you’re unsure how long the process will take, don’t worry, you’re in the right place.
By the end, you’ll have a clear idea of the timeline and be ready to get those floors looking like new, without any surprises. Let’s get started!
What is Refinishing Hardwood Floors?
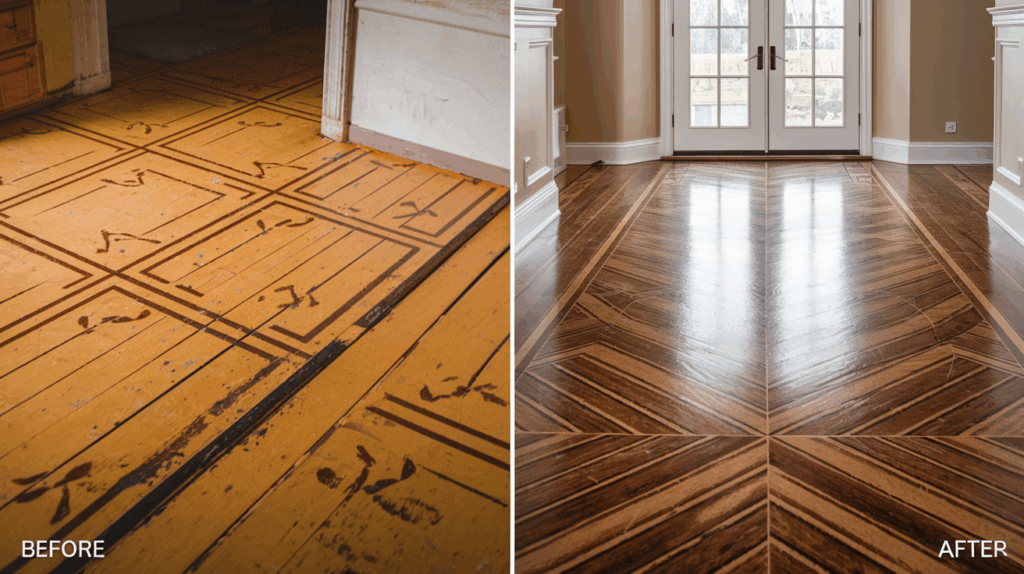
Refinishing hardwood floors is the process of restoring and renewing old, worn-out floors.
Over time, wood floors can become scratched, faded, or damaged. Refinishing helps bring them back to life, making them look fresh and new again.
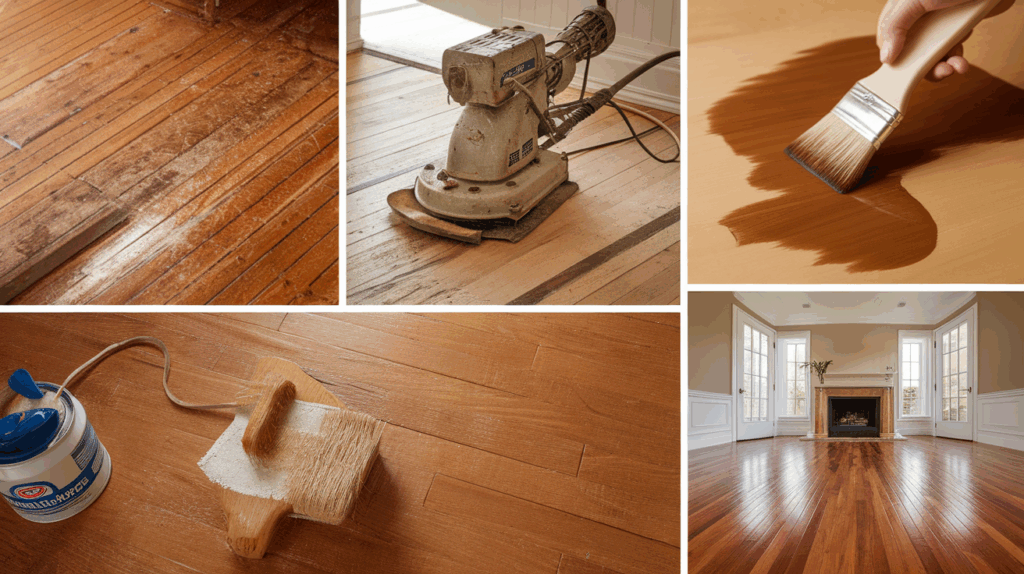
- Sanding: The first step is sanding the floor to remove the old finish and smooth out any scratches.
- Staining (Optional): After sanding, you can apply a stain to change the color of the wood.
- Sealing: Finally, a new finish (polyurethane) is applied to protect the wood and give it a shiny, smooth surface.
Refinishing is a great way to restore the beauty of your floors without having to replace them completely. It’s an affordable solution to keep your floors looking beautiful for years.
How Long Does It Take to Refinish Hardwood Floors?
Refinishing hardwood floors typically takes 3 to 5 days, depending on the size of the space, the condition of the floors, and the type of finish used.
Smaller rooms in good condition can be completed in a few days, while larger or heavily worn areas maytake longer.
The process includes sanding off the old finish, applying a new stain (if desired), and sealing the floors with multiple coats of polyurethane or another finish.
Each coat needs time to dry, which adds to the total time.
After the final coat, it’s important to wait at least 24 to 48 hours before walking on the floorsand about a week before placing furniture back.
Giving the finish enough time to cure helps prevent damage and extends the life of your floors.
If you’re planning a refinish, be sure to factor in a few days of downtime.
Factors Influencing Refinishing Time
Several factors affect the time it takes to refinish hardwood floors. Let’s examine them.
1. Floor Size
The bigger your space, the more time it will take. Larger rooms mean more sanding and more coats of finish.
If your home has many rooms or large areas, it can take a couple of days to prep and finish each one.
2. Condition of the Floor
If your floor is damaged or heavily worn, it will take more time to prep. You might need extra sanding to smooth things out before finishing.
In some cases, boards may need to be replaced or patched, which adds time to the process.
3. Type of Finish
What finish you choose makes a difference:
- Oil-Based Polyurethane: It dries slower, but it’s tough and long-lasting. This means you’ll need more time between coats for the finish to set fully.
- Water-Based Polyurethane: This dries faster, so your project moves along quicker. However, it might not last as long as oil-based polyurethane, so it may require more frequent touch-ups over time.
4. Environmental Conditions
Humidity and temperature can slow down or speed up drying. In a humid room, the finish might take longer to set.
Be sure to check the weather and room conditions, as high humidity can cause the finish to stay tacky longer than expected.
These factors are key to planning your refinishing project. Keep them in mind, and you’ll be able to set a realistic timeline. The more you plan, the smoother your project will go.
Step-by-Step Guide to Refinishing Hardwood Floors
Refinishing hardwood floors is a detailed process, but breaking it down into steps makes it manageable.
1. Preparation
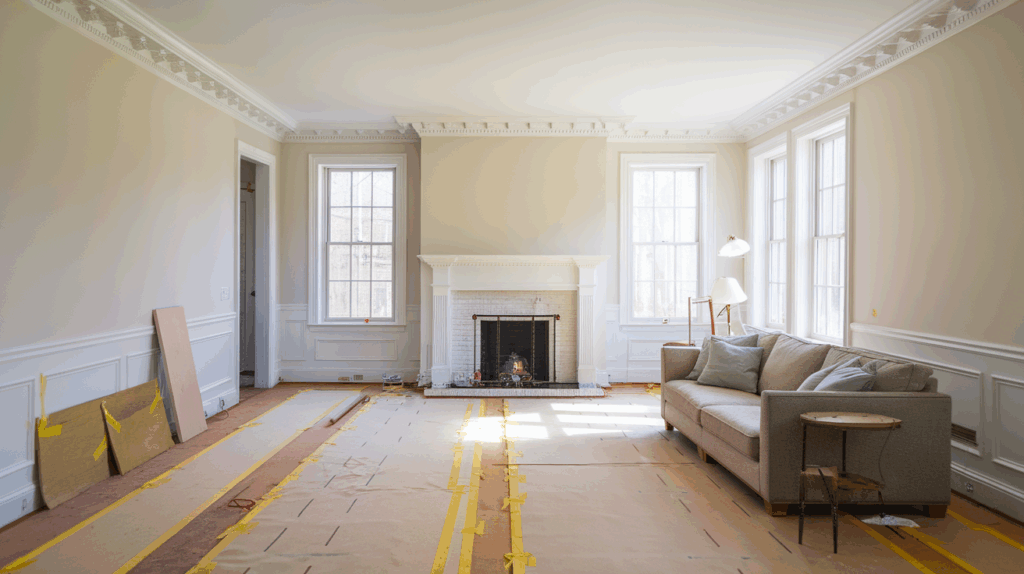
Firstly, it is all about getting the room ready. Remove all furniture and take off any baseboards.
This clears the space for the work ahead. To contain the dust, you’ll also need to seal off the area with plastic sheets.
This is crucial, as sanding will create a lot of dust, and you don’t want it spreading throughout your home.
2. Sanding
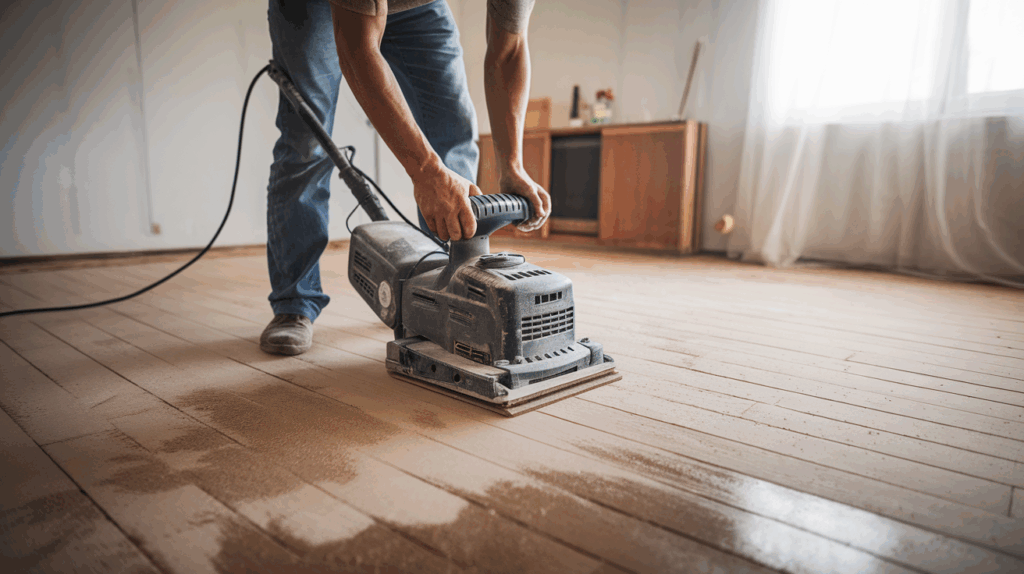
Start by removing the old finish with coarse-grit sandpaper. This step can take some time, but it’s necessary to prepare the surface for the new finish.
Once you’ve gone over the floor with the coarse grit, switch to finer sandpaper to smooth everything out. The smoother your floor is, the better the finish will look.
3. Cleaning
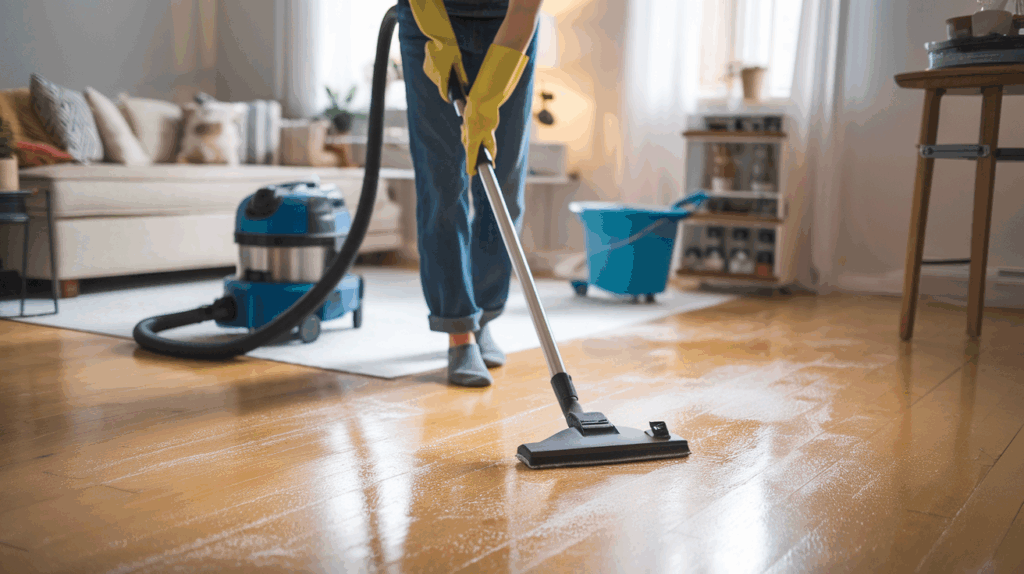
After sanding, the floor will be covered in dust. It’s important to clean it thoroughly before moving on.
Vacuum the floor to remove as much dust as possible, and then wipe it down with a damp cloth.
This step ensures that no dust is left behind, which could affect how the stain or finish sticks to the wood.
4. Staining (Optional)
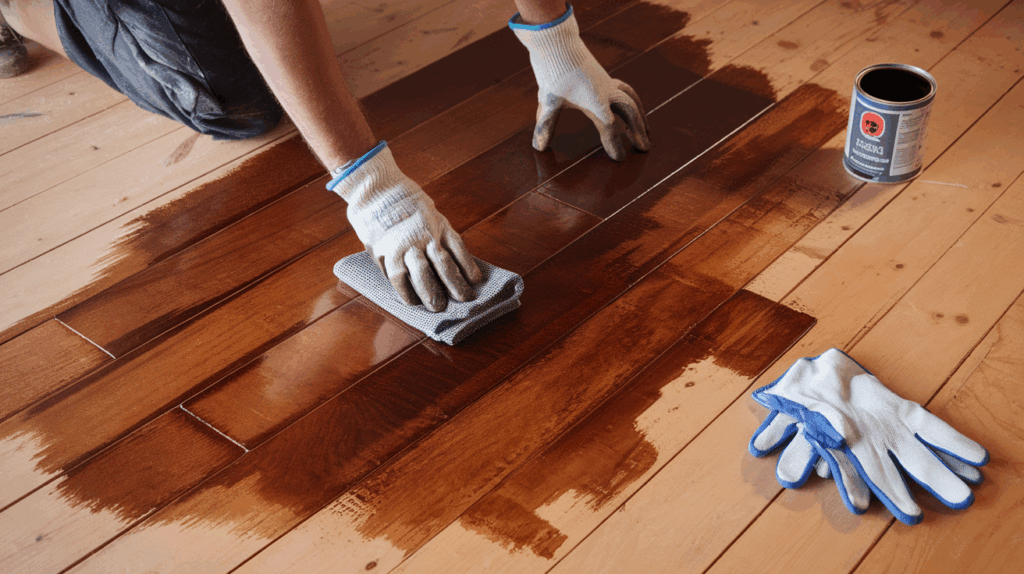
If you want to change the color of your floor, this is the day to apply the stain. Use a clean cloth or brush to apply the stain evenly across the surface.
Make sure to choose a stain color that suits your style. After applying the stain, allow it to dry completely before moving on to the next step.
5. Finishing

Now it’s time to protect the wood with a finish. Apply the first coat of polyurethane and let it dry.
Once it’s dry, lightly sand the surface again to ensure that the next coat will adhere properly.
Apply additional coats as needed, allowing each coat to dry before applying the next one. The more coats you use, the more durable your floor will be.
6. Curing
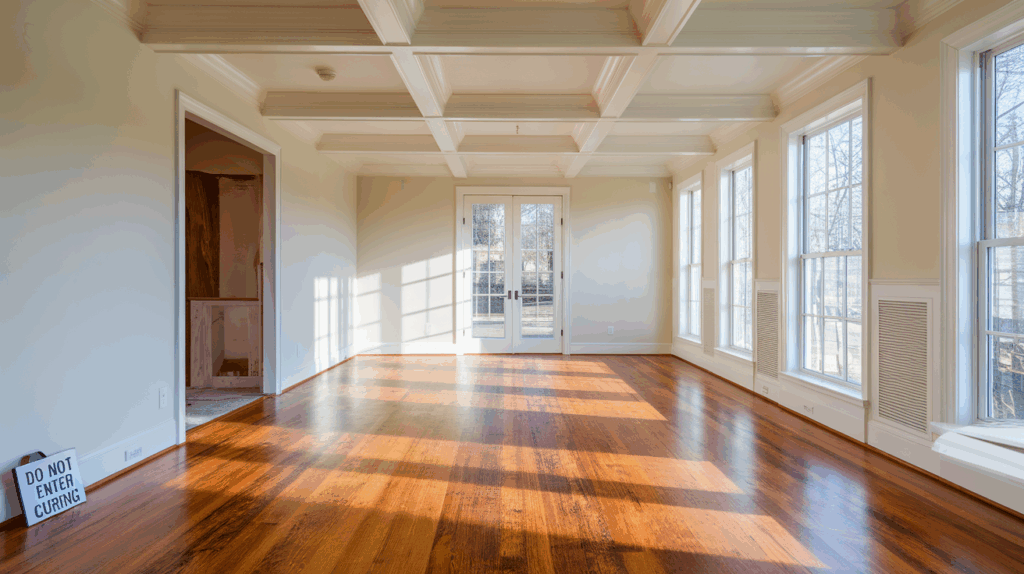
Finally, you’ll let the finish cure. It’s important to wait at least 24 hours before walking on the floor.
However, it’s best to give the floor extra time to fully cure before moving furniture back into the room. This ensures that the finish sets properly and lasts longer.
By following this timeline, your hardwood floors will look brand new in just a week!
Tips to Expedite the Process
Refinishing your hardwood floors doesn’t have to take forever. Some simple tips to speed up the process are:
- Use Dustless Sanding Equipment: Dustless sanding tools collect dust as you work. This cuts down on cleanup time and keeps your space cleaner. It also makes the sanding process smoother and more efficient.
- Choose Quick-Drying Finishes: Water-based polyurethanes dry faster than oil-based ones. This means less waiting between coats. If you’re in a hurry, go for a water-based finish to speed things up.
- Work in Small Sections: When applying stain or finish, work in small sections. This helps you apply everything evenly and reduces the chance of mistakes. Small sections are easier to control and ensure a better-looking result.
By following these tips, you’ll get the job done faster without cutting corners. Simple changes like these can save you a lot of time!
Common Mistakes to Avoid
Refinishing hardwood floors can be tricky. To get the best results, avoid these common mistakes.
- Skipping Sanding Between Coats: It might seem like an extra step, but sanding between coats is important. If you skip this, the new layer won’t stick properly. This can lead to peeling or an uneven finish.
- Not Allowing Sufficient Drying Time: Don’t rush through the drying process. If you apply a coat of finish and don’t give it enough time to dry, you’ll end up with streaks and imperfections. Be patient! Allow each layer to dry fully before moving to the next one.
- Overloading the Floor with Stain or Finish: It’s tempting to apply a thick coat of stain or finish. But overloading the floor can cause uneven coloring and longer drying times. Apply thin, even coats for the best results.
Avoid these mistakes, and your floors will turn out looking great!
Conclusion
Refinishing hardwood floors is a time-intensive process, but the results are worth the effort.
With the right tools and a solid plan, you can turn your old, worn-out floors into a stunning, fresh surface. The key is to be patient and stay organized throughout each step.
Don’t worry if it feels like a big project. With proper planning and attention to detail, you can achieve professional-looking floors.
Take your time, and don’t rush the important steps like sanding and drying.
Ready to start your project? Gather your materials, set aside the necessary time, and get ready to change your floors. It may take a little time, but the result will make it all worthwhile.
Frequently Asked Questions
How Long Will It Take for My Hardwood Floors to Dry After Refinishing?
Drying time varies, but it usually takes about 24-48 hours for the finish to dry fully. Avoid walking on the floor until it’s completely dry.
Can I Refinish My Floors Without Sanding?
Yes, you can use a process called screening to buff the surface, but sanding is typically recommended for the best results, especially for heavily worn floors.
How Often Should I Refinish My Hardwood Floors?
Typically, hardwood floors should be refinished every 7-10 years, depending on traffic and wear. High-traffic areas may need more frequent refinishing.