
Concrete tables are super popular right now. You’ve probably seen them in cool cafes or modern homes, and they always look fancy and expensive.
But the good news is that you can make one for yourself.
My guide will walk you through the step-by-step process of building a concrete table. You won’t need special tools or expert skills.
At first, I thought it would be way too hard. I assumed concrete was only for pros. However, after creating three tables myself, I found that it’s easier than it looks.
You’ll learn how to prep the base, which materials to use, and how to avoid mistakes.
By the end, you’ll have a strong, stylish table that looks like it came from a high-end store, but you’ll know you built it with your own hands.
Benefits of Concrete Tables
Concrete tables aren’t just stylish; they’re also super practical. One of the most significant benefits is their longevity.
These tables can stay in great shape for decades. I’ve seen ones over 20 years old that still look brand new.
They also handle heat well. You can set hot pans or pots right on the surface without using coasters, and you won’t see any burn marks.
You can also customize your table to fit your space perfectly. Choose the size, shape, and even the color you like.
Buying one costs $800 or more, but making your own costs about $200.
They’re low-maintenance too, just clean with soap and water. They’re heavy, but that keeps them from tipping.
Tools and Materials You’ll Need
Getting the right supplies makes this project much easier. Don’t skip anything on this list. Each item serves a specific purpose:
- Solid core door (30 inches wide works best)
- Spider legs or table legs of your choice
- 1 1/4 inch cabinet screws
- 2×6 lumber pieces
- Mesh fiber tape
- Regular screws
- Silicone caulk
- Quickrete concrete bonding adhesive
- Quickrete self-leveling floor resurfacer
- Lime intense pigment (slate gray recommended)
- Circular saw
- Box cutter
- Stir sticks
- 220 grit sandpaper
- Quickrete crack repair
- 400 grit sandpaper
- Water-based polyurethane (matte finish)
DIY Concrete Table Process
Building a concrete table takes patience, and rushing the process will yield poor results. So, take your time with each step. The final product will be worth it:
Step 1: Prepare the Door
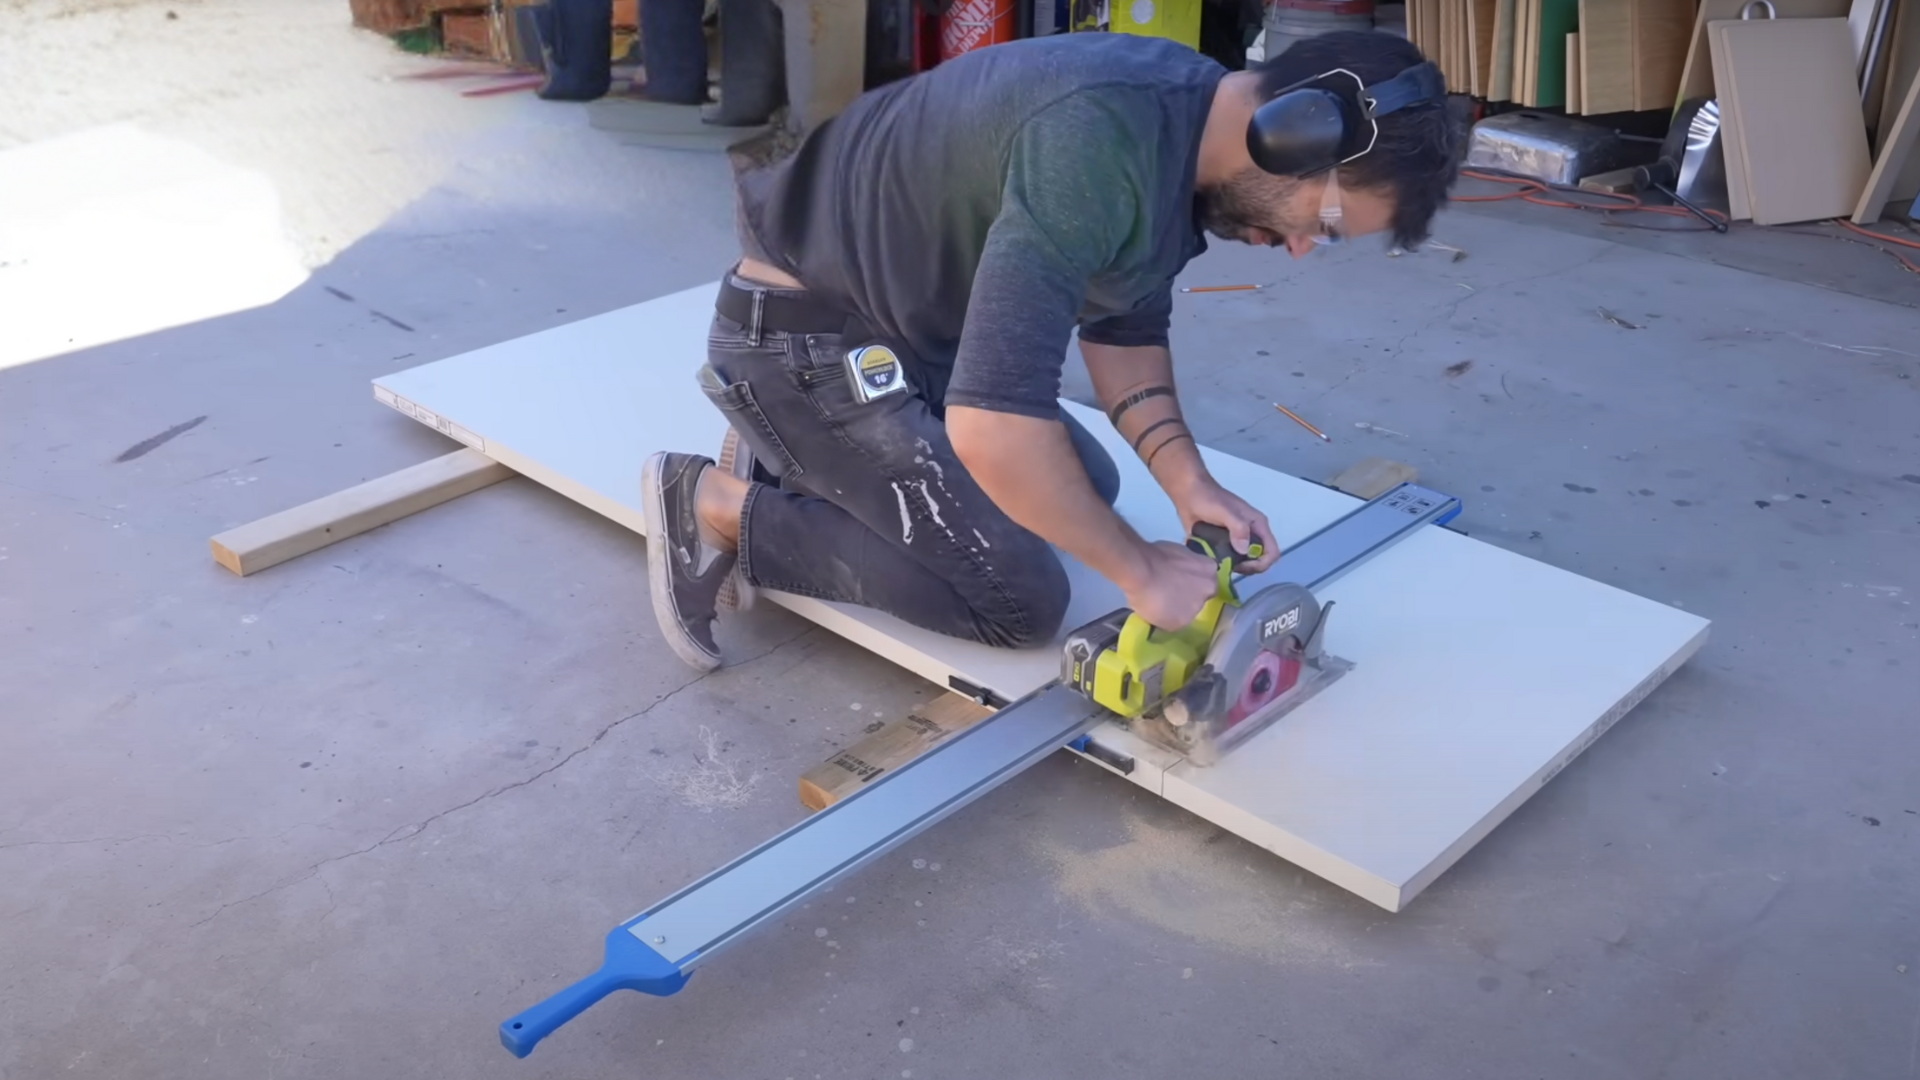
Start with a solid-core door because hollow ones are too weak to withstand the weight of concrete.
Cut it to your desired size, like 30 inches wide, which fits most rooms well.
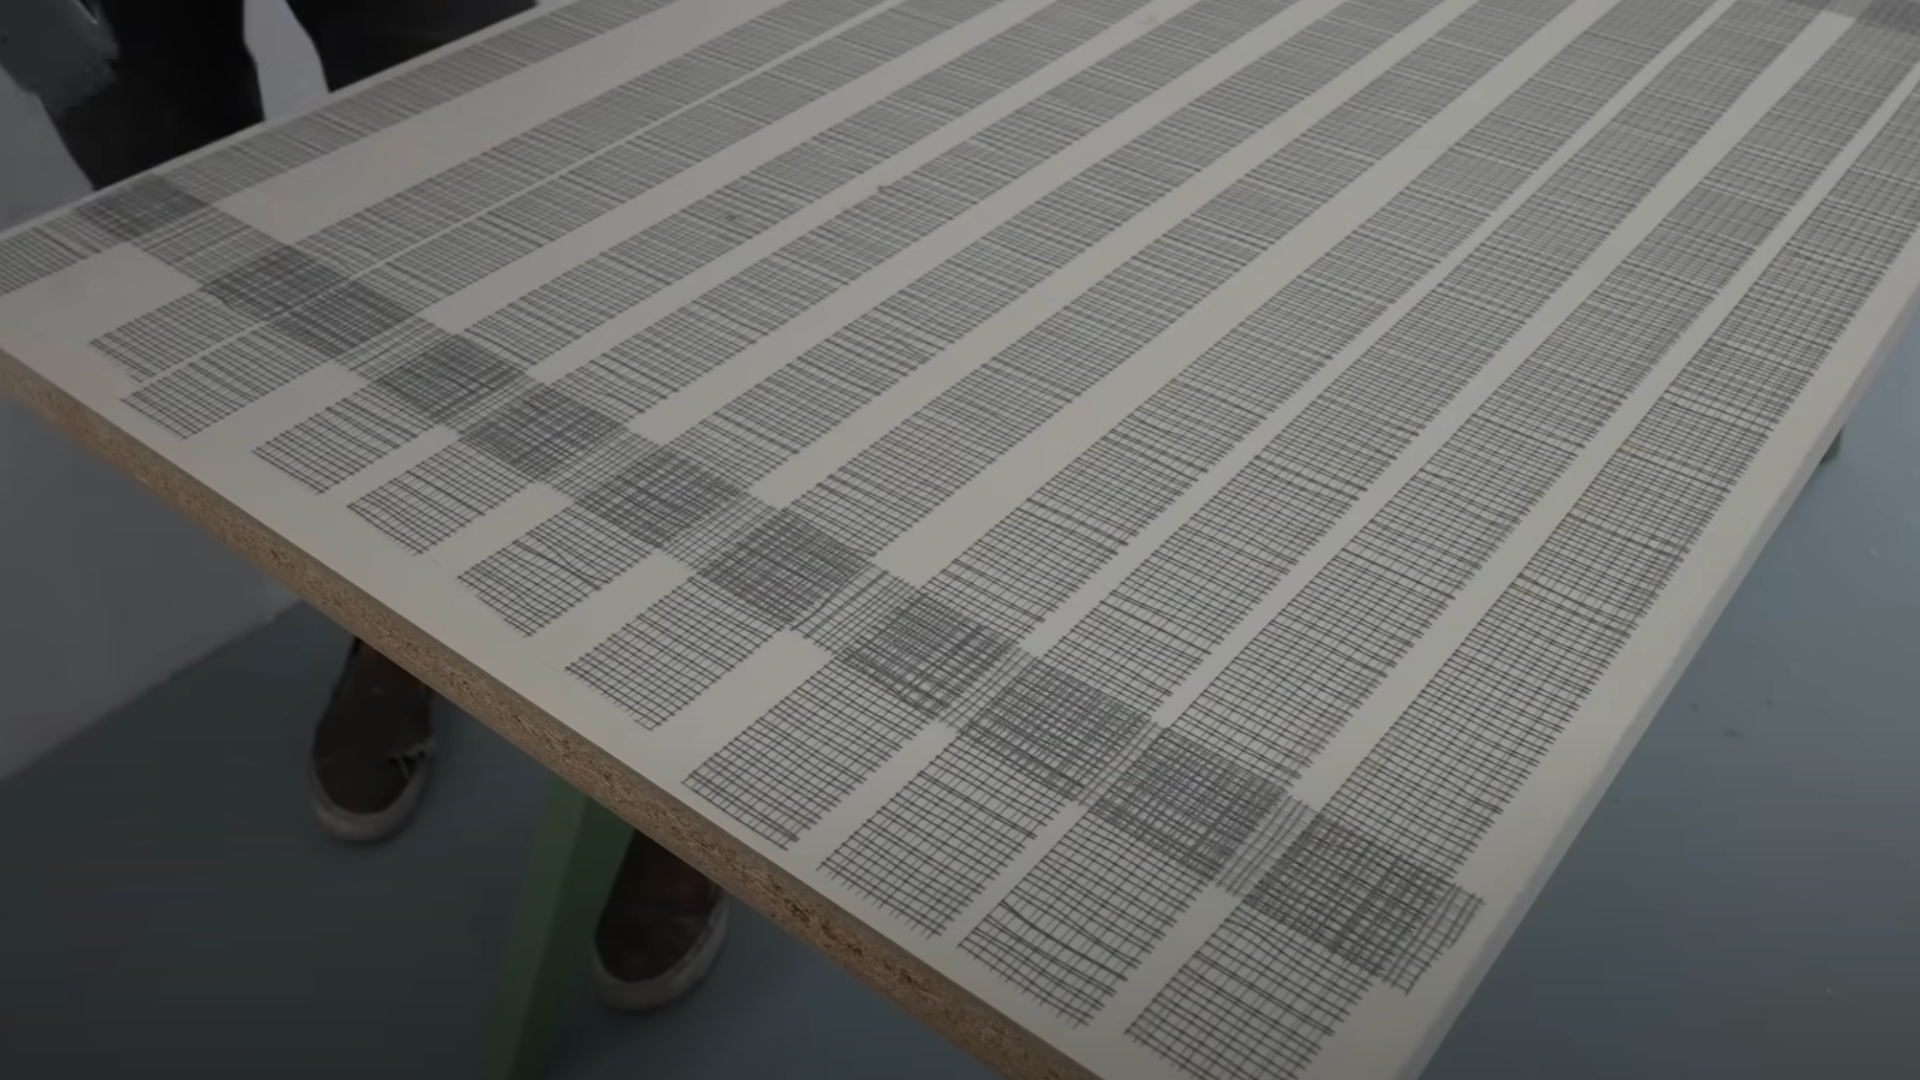
Measure carefully and double-check before cutting. Sand the top surface to ensure the concrete adheres better.
Skipping this step may cause the concrete to crack or peel off later.
Clean off all dust using a damp cloth, then let it dry completely.
Any leftover moisture will affect how the concrete adheres. A clean, dry surface is key for a strong, lasting table.
Step 2: Attach the Legs
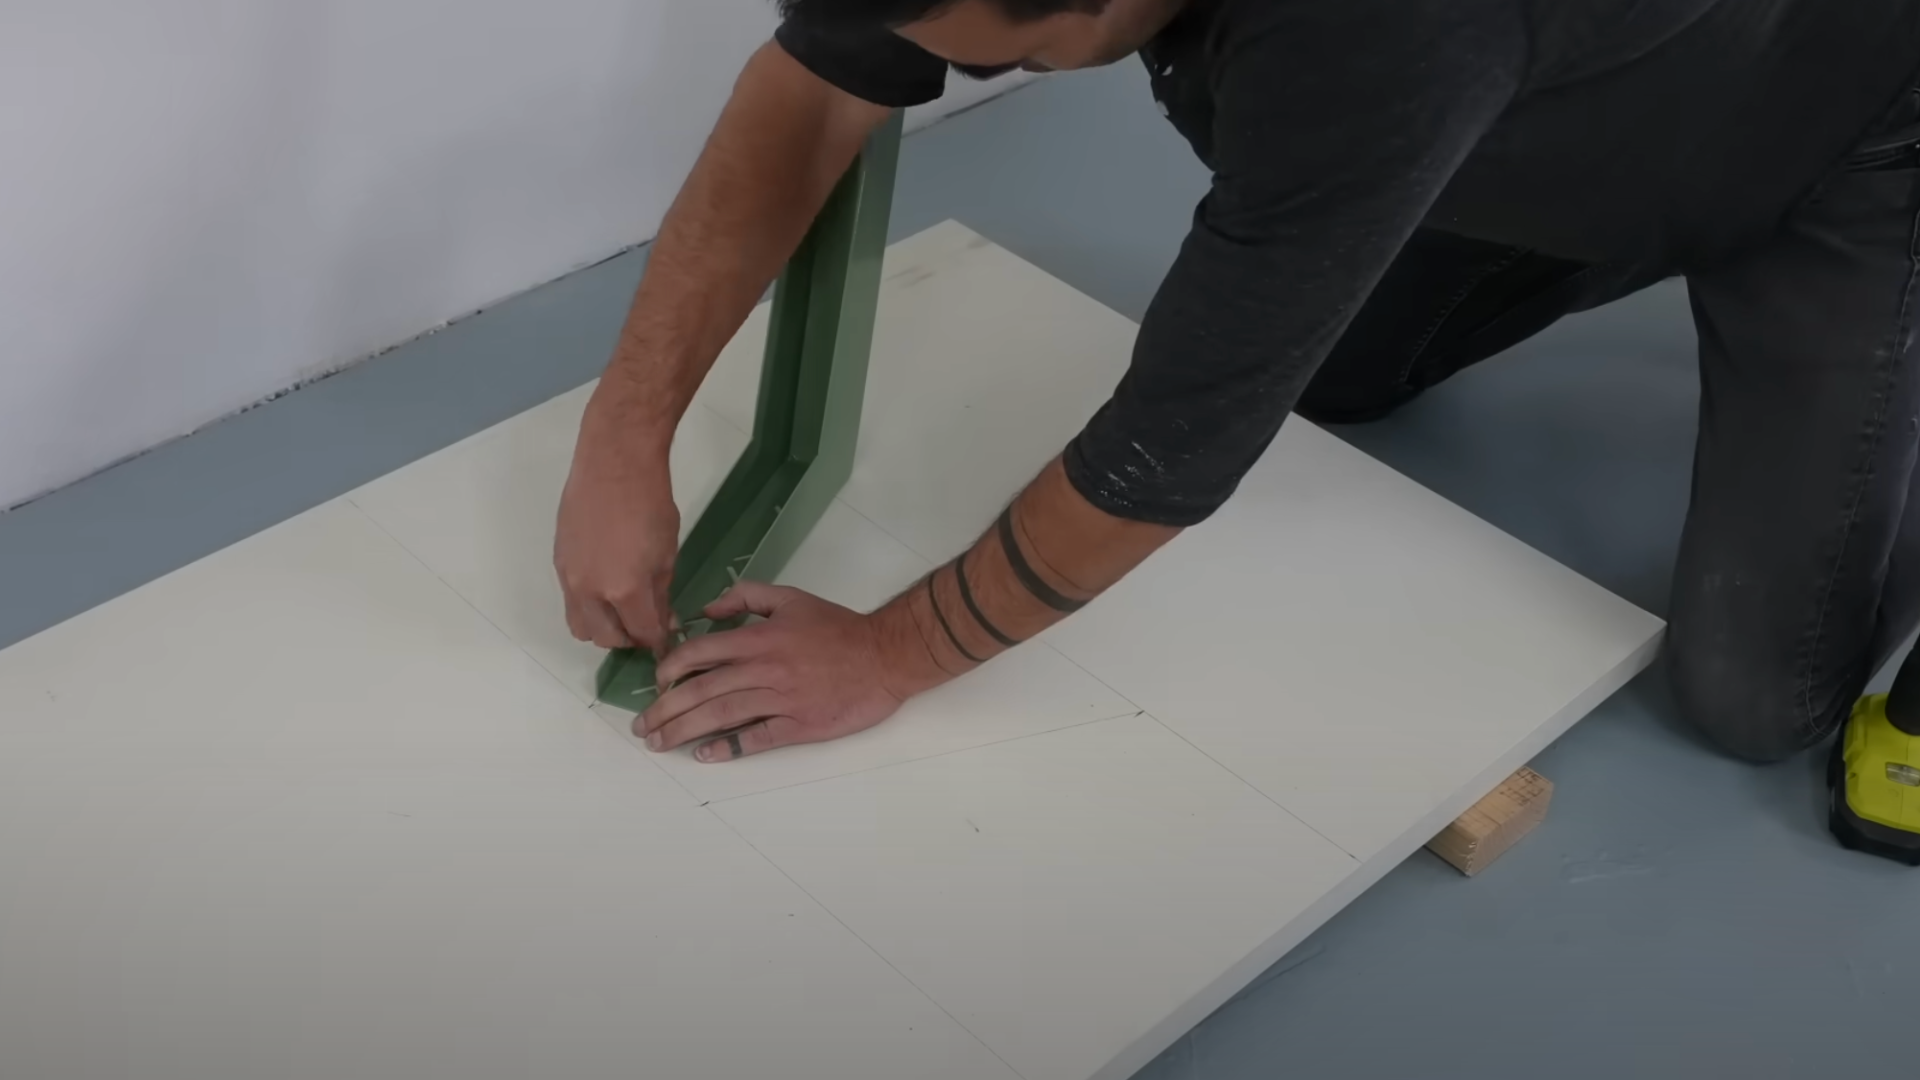
Place your table legs where you want them to go. Mark where the screws should go using a pencil so you can see clearly.
Drill small starter holes first to prevent the wood from splitting when you add screws. Use 1¼-inch cabinet screws and tighten them securely.
Verify that the legs are stable before proceeding. Wobbly legs will be stiff to fix later, after the concrete is poured.
Take your time on this step. A steady base helps keep your table strong and safe to use once finished.
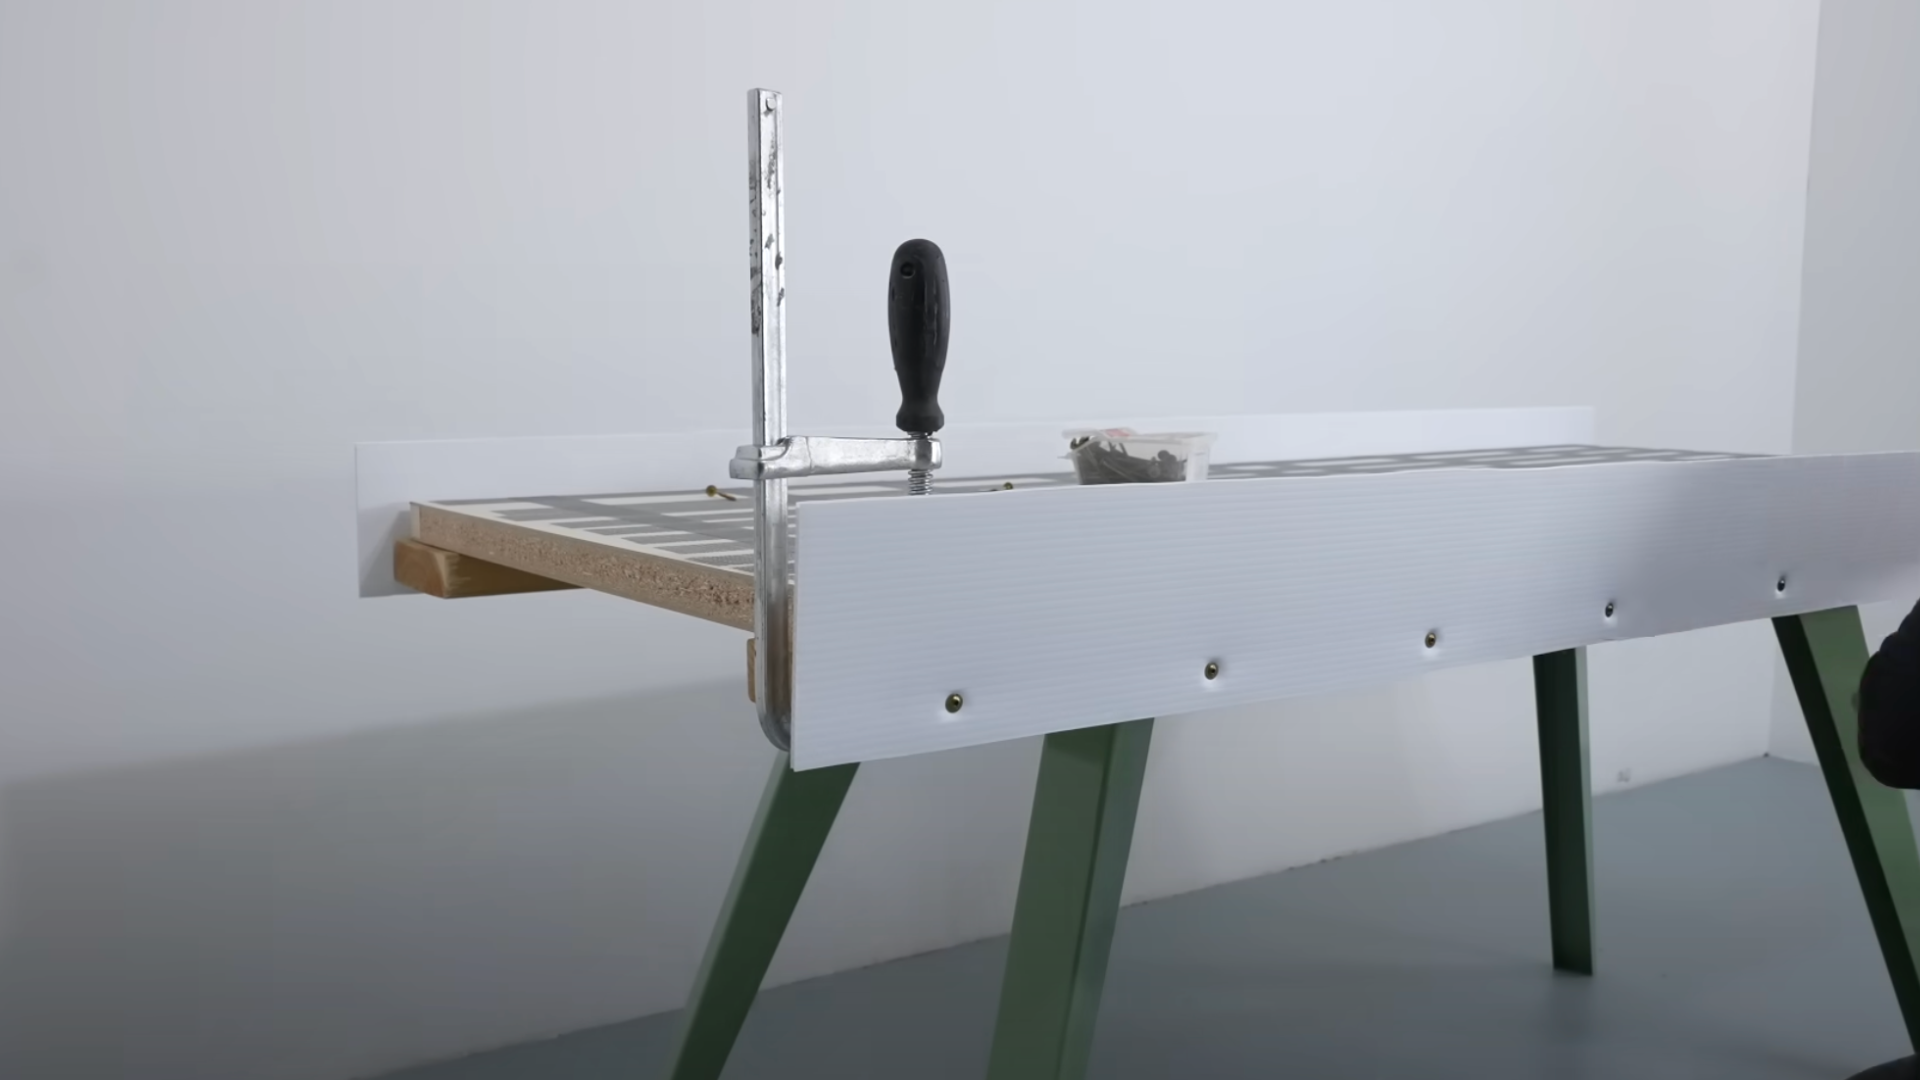
Step 3: Reinforce and Form the Edges
Build a wood frame around the edge using 2×6 boards. This holds the wet concrete in place while it sets.
Ensure the frame is level and square to achieve a smooth, even surface. At the corners, use mesh fiber tape. It keeps the concrete from cracking later.
Line the inside of the frame with a smooth plastic signboard. This helps when you remove the frame later.
Ensure the frame’s height matches your table thickness; 1.5 to 2 inches works well for most concrete tables.
Step 4: Seal the Form
Use silicone caulk to seal all the joints where boards and corners meet. This stops the wet concrete from leaking out.
Smooth the caulk with your finger quickly before it hardens. Wipe off any extra with a cloth.
Let the caulk dry for at least 2 hours before using the form. If it’s still wet, it won’t seal right.
To check your seal, pour a small amount of water into one corner of the seal. If it leaks, fix the problem before moving forward. A well-sealed form means less mess and better results.
Step 5: Mix the Concrete
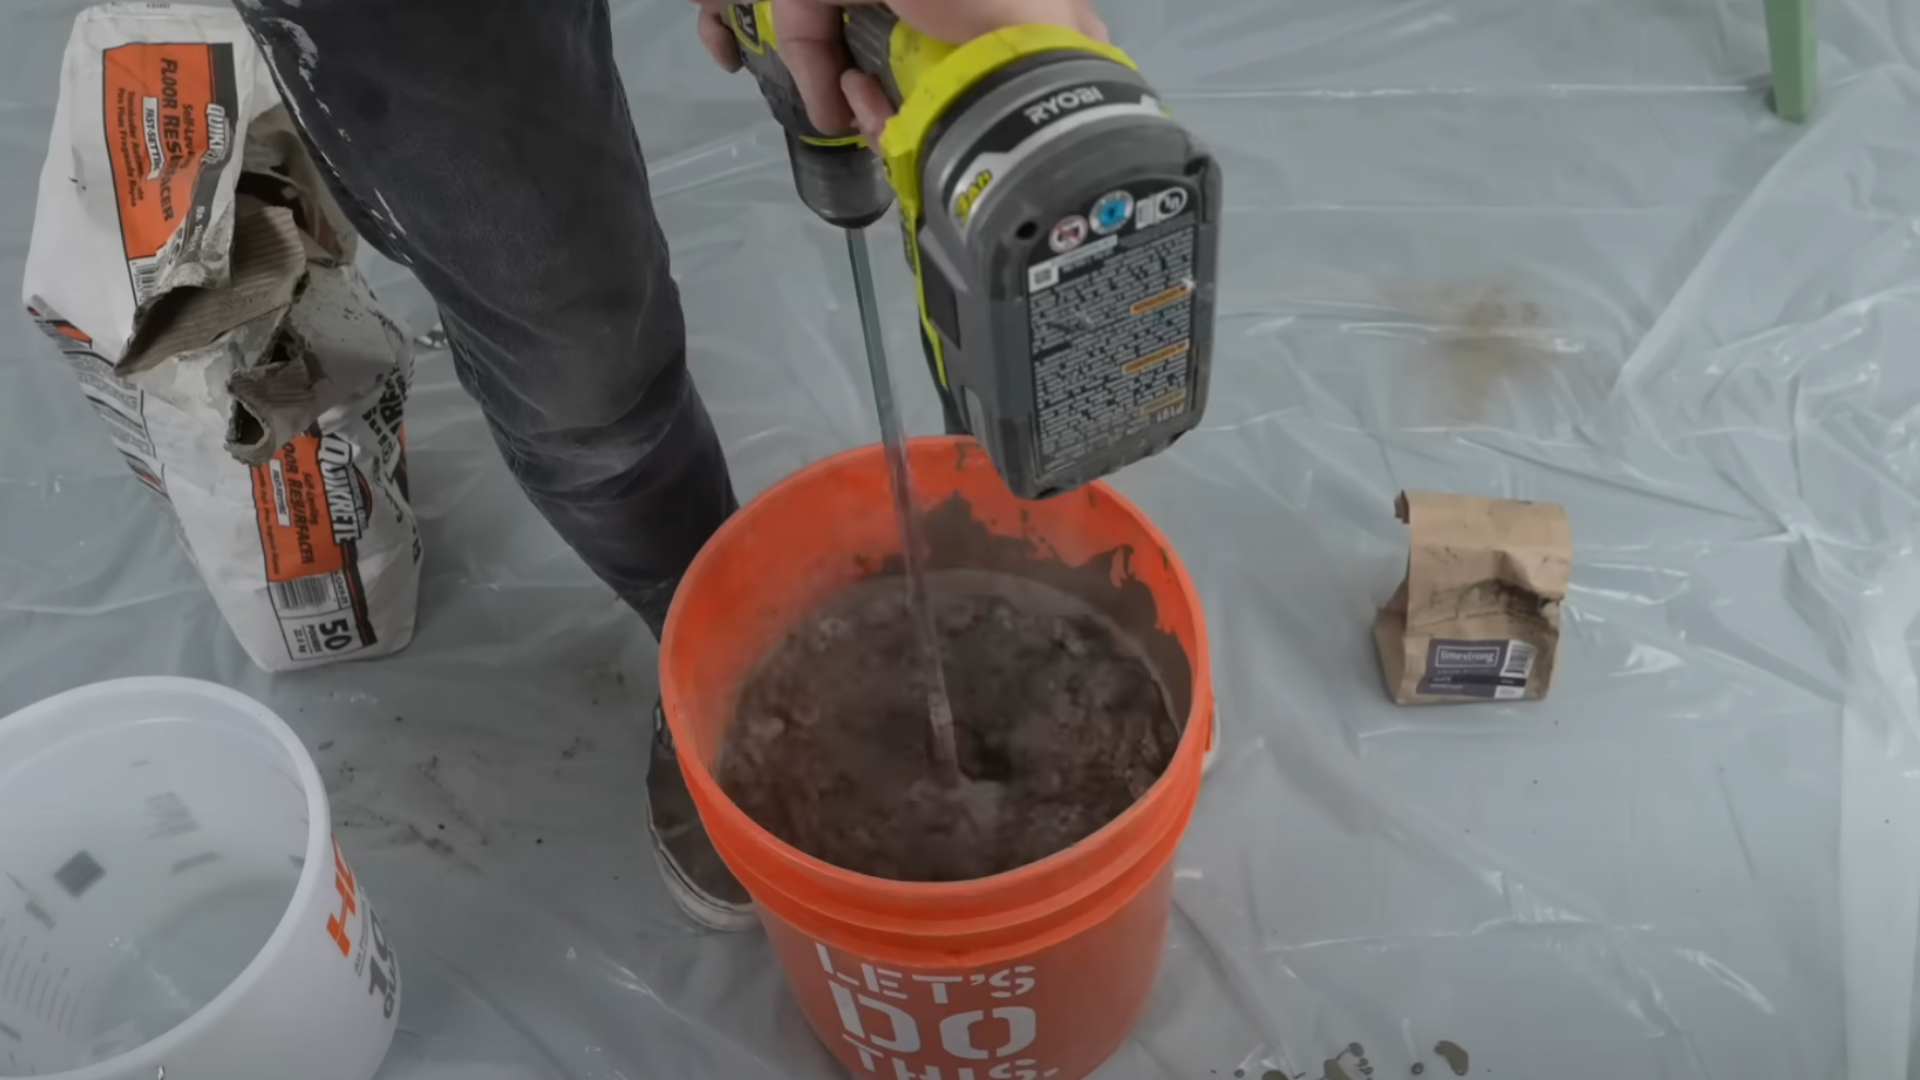
Follow the instructions on your concrete bag exactly. Don’t guess the amounts of water or mix.
Add any color powder before mixing in water. This helps the color spread evenly.
Add water slowly and stir until the mixture resembles thick oatmeal. If it’s too runny, it won’t set right.
Only mix small amounts that you can pour within 20 minutes. Concrete hardens fast, so working in batches helps keep it smooth.
Be prepared before mixing. Once you start, things move quickly.
Step 6: Pour the Concrete
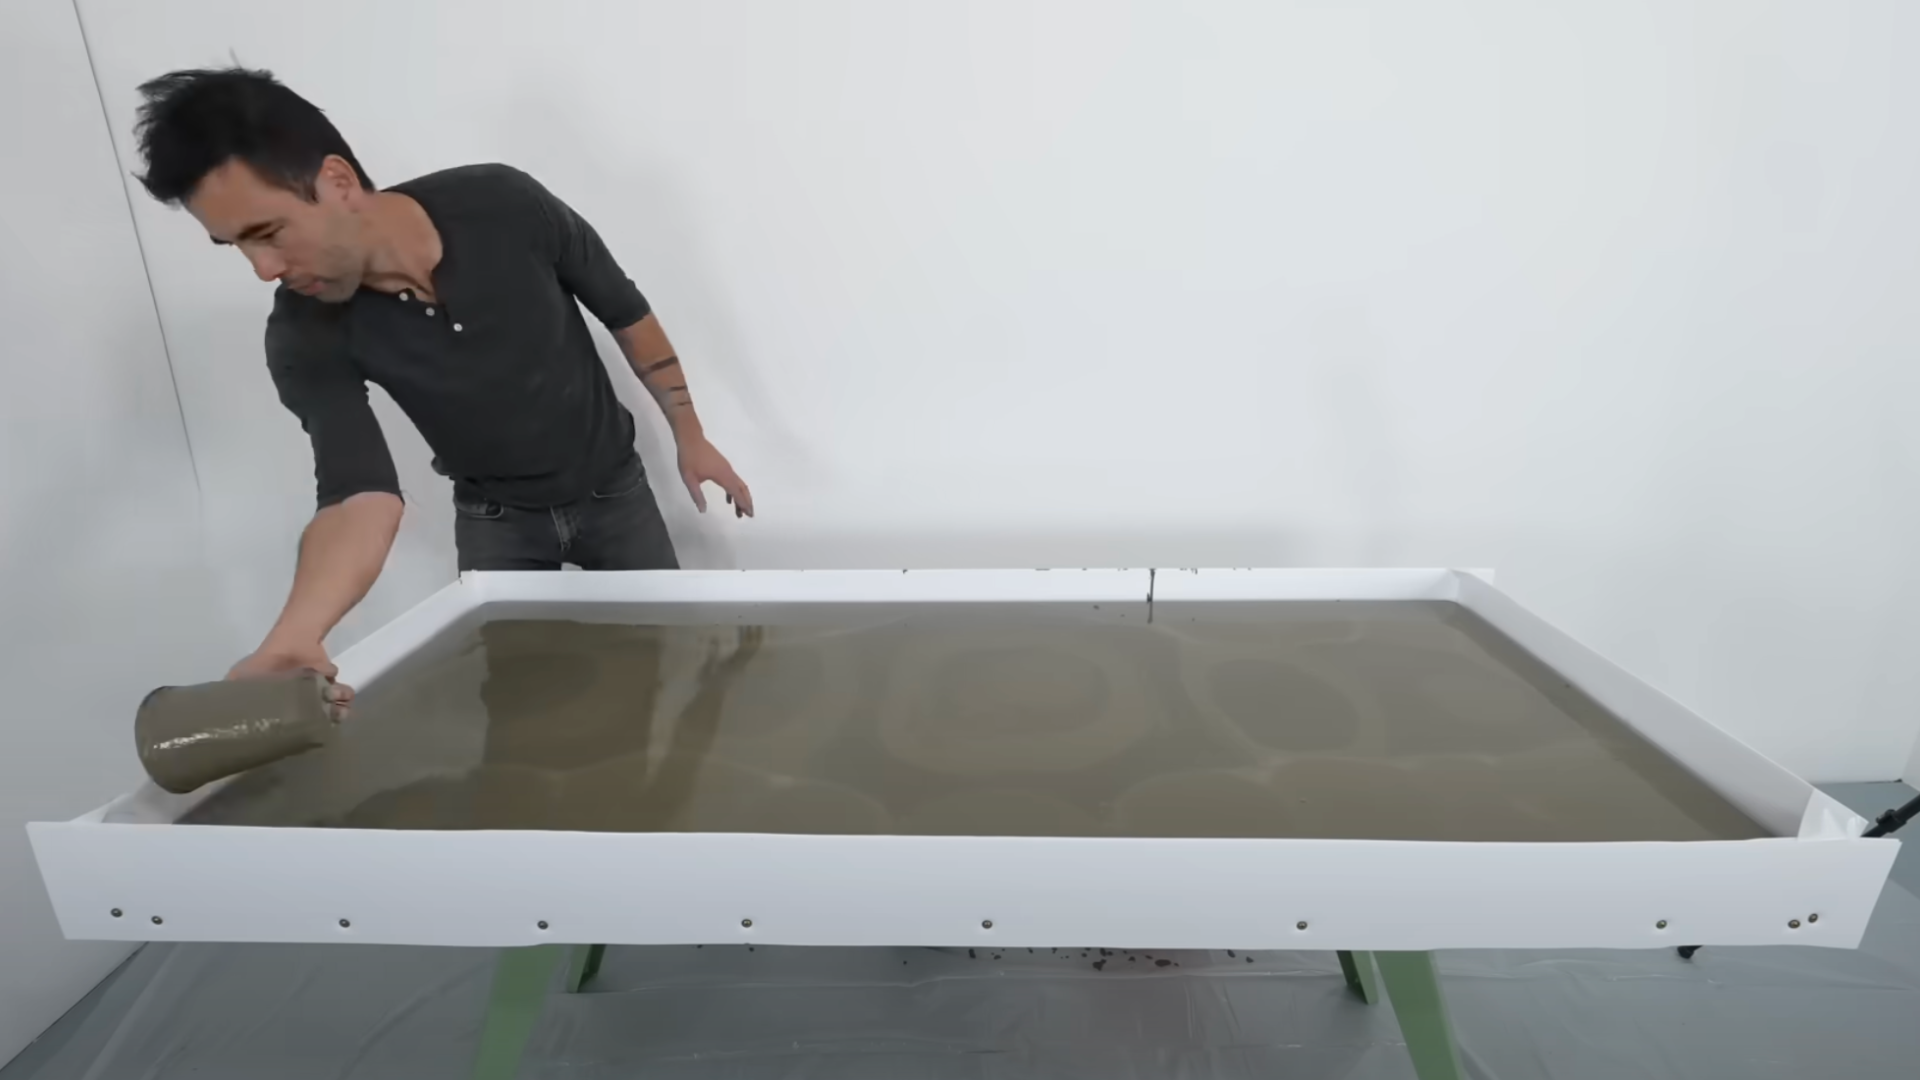
Slowly pour the concrete into your form, starting at one end and working across the entire area. This helps reduce air pockets.
Use a hammer to tap the sides of the frame. This shakes out trapped air and makes the surface stronger.
Level the top using a flat board and slide it back and forth to smooth everything out.
Cover the surface right away with a plastic sheet. This keeps moisture in and helps the concrete dry slowly.
Drying too quickly can cause cracks, making this step crucial for maintaining the material’s integrity.
Step 7: Cure the Concrete
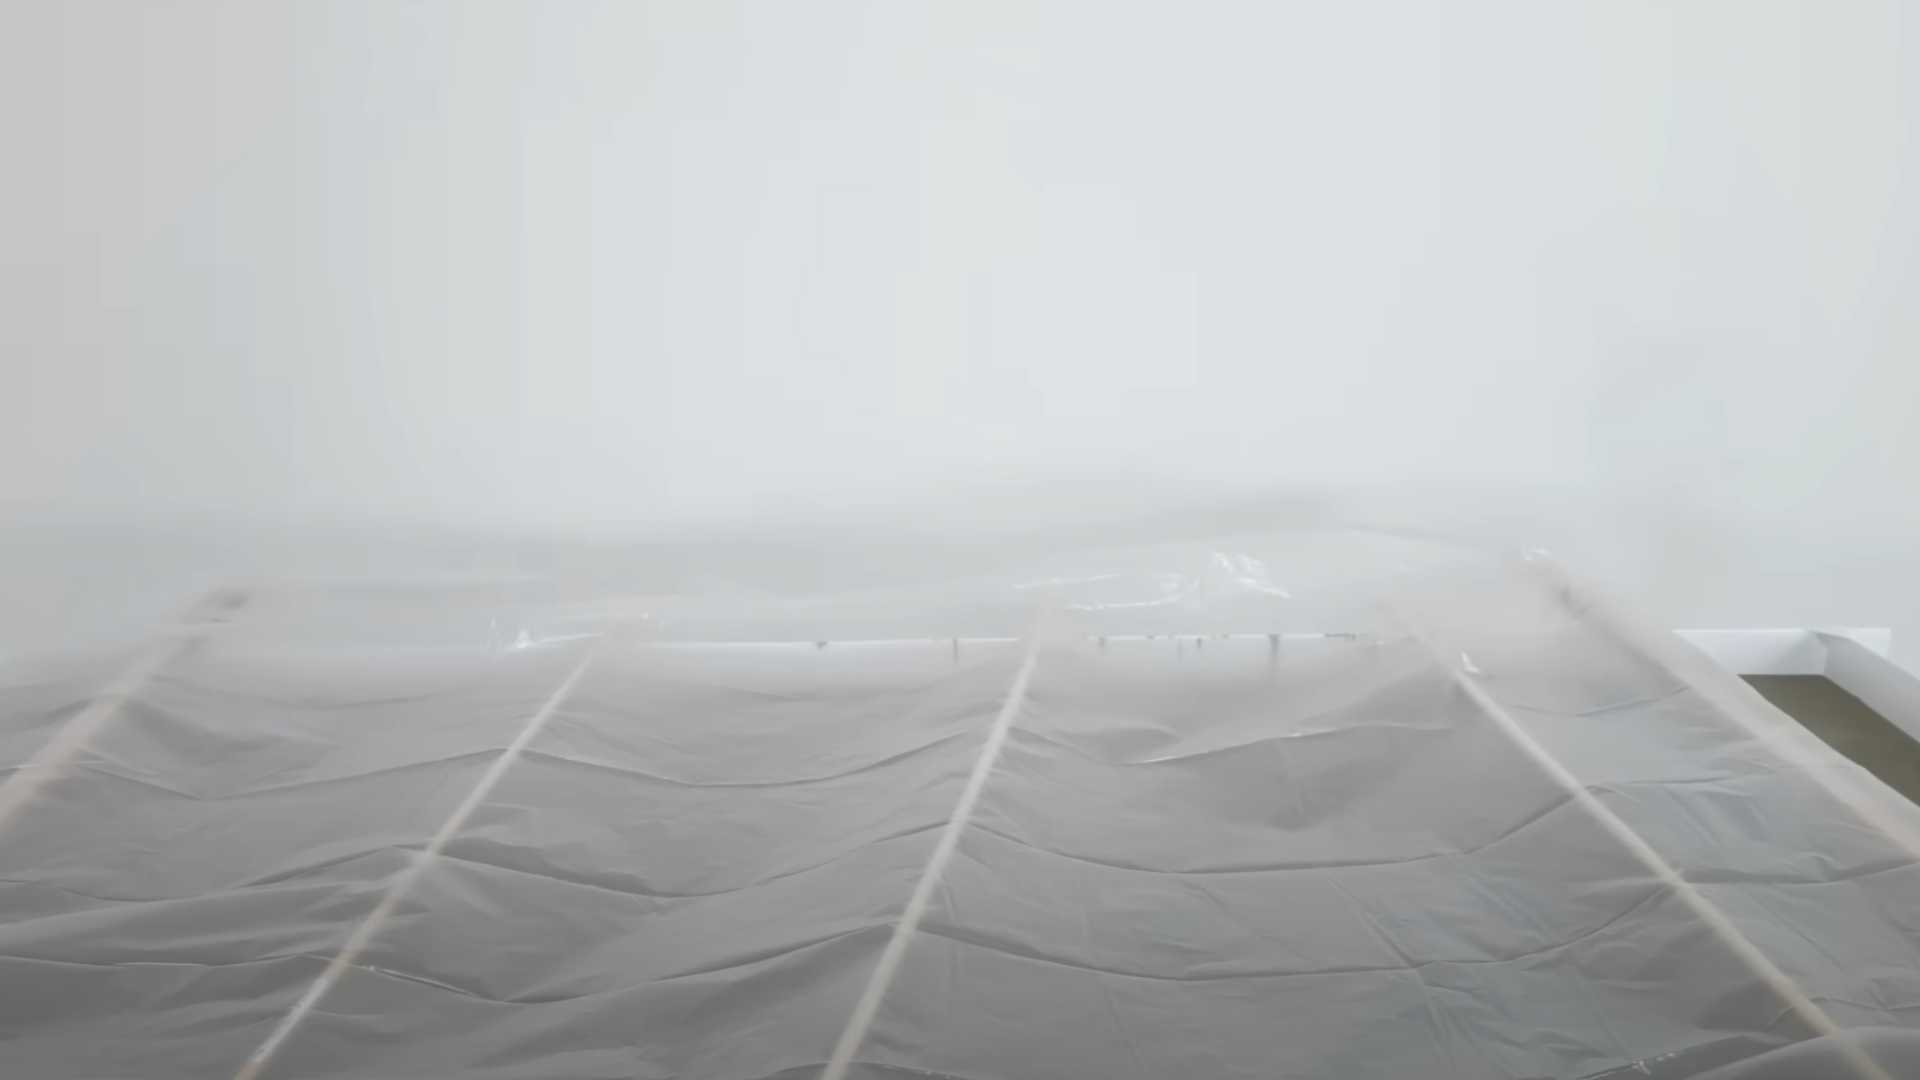
Let the concrete rest and cure for at least 24 hours. Don’t move or shake the table during this time.
Keep the plastic cover in place to maintain a damp surface. If it appears dry, spray it with a light mist of water.
Wait 3 full days before removing the form. Concrete continues to harden over time.
You can use the table gently after 3 days. But for full strength, let it cure for 28 days. Patience here gives you a stronger and longer-lasting table.
Step 8: Remove the Forms and Sand
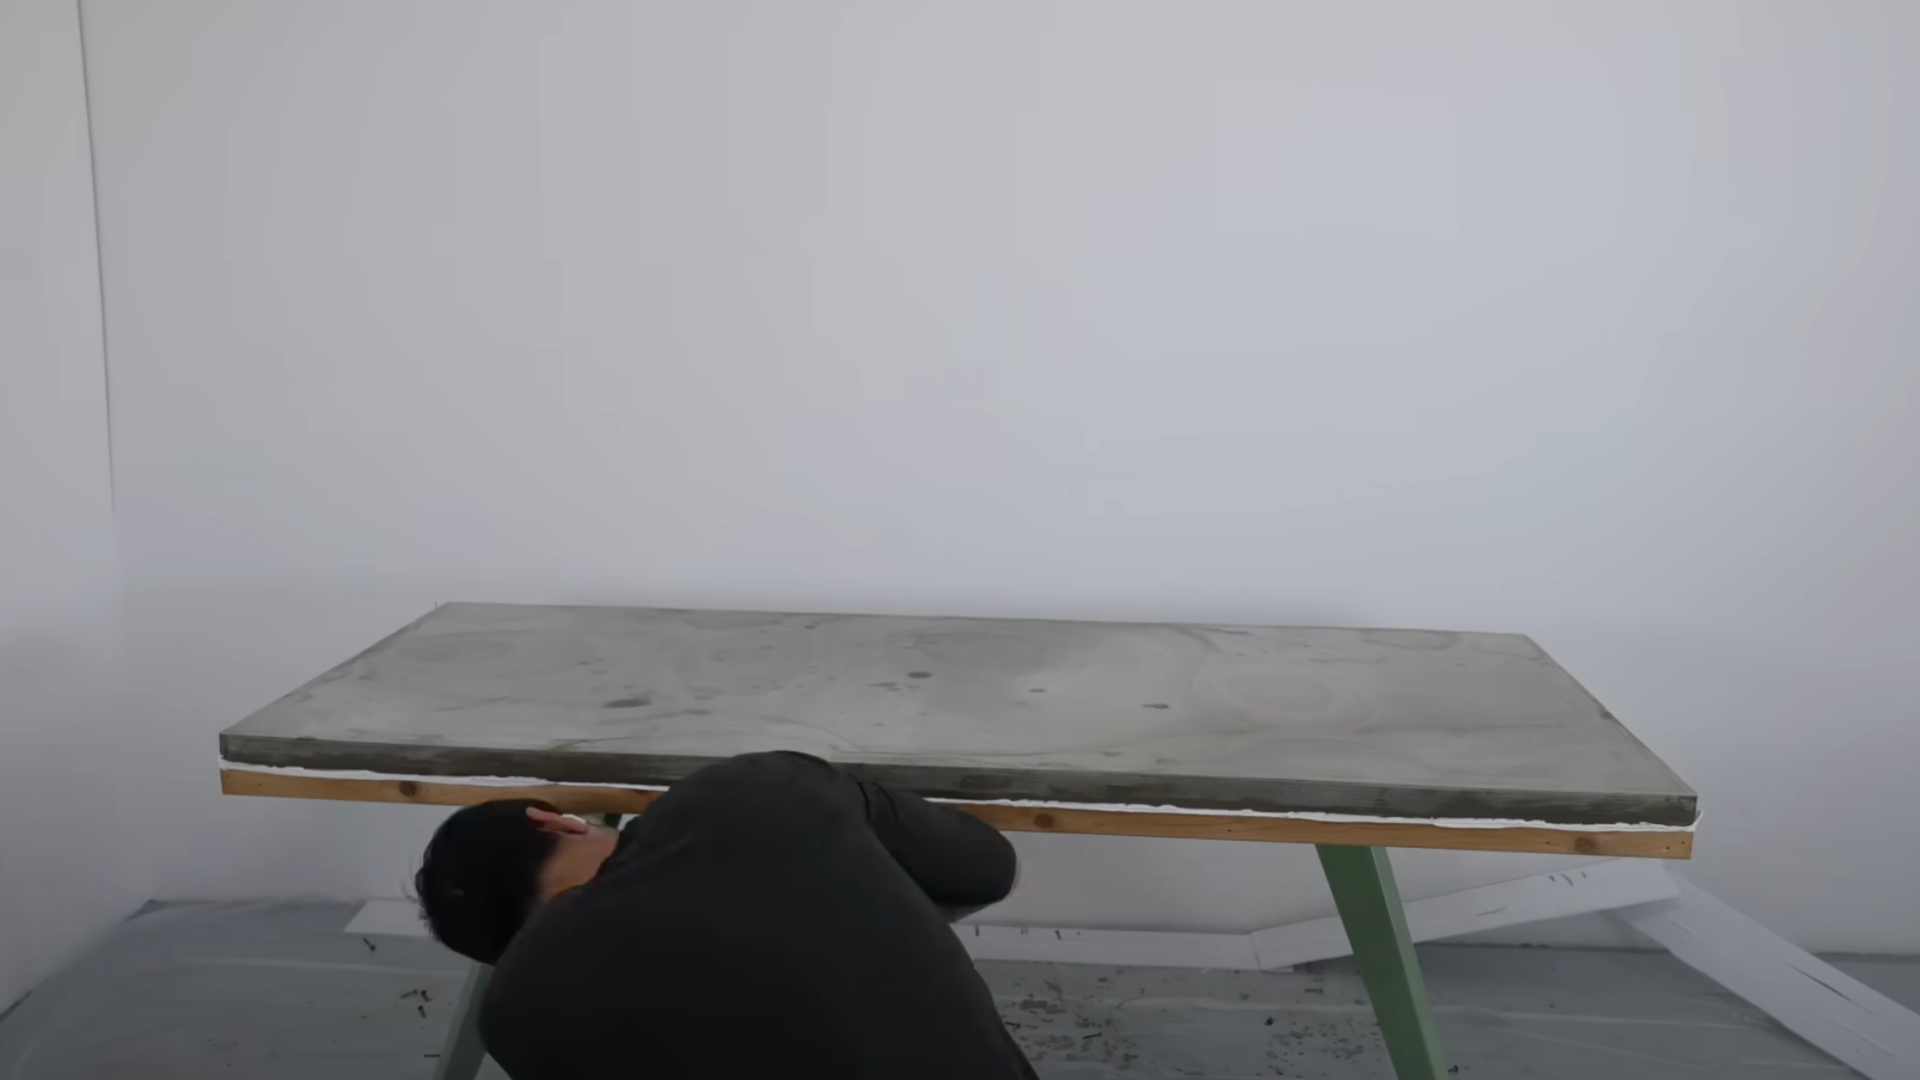
Take off the wooden frame carefully. Go slow to avoid damaging the concrete edges.
Use a pry bar if you need help lifting the boards. Then peel away the plastic lining.
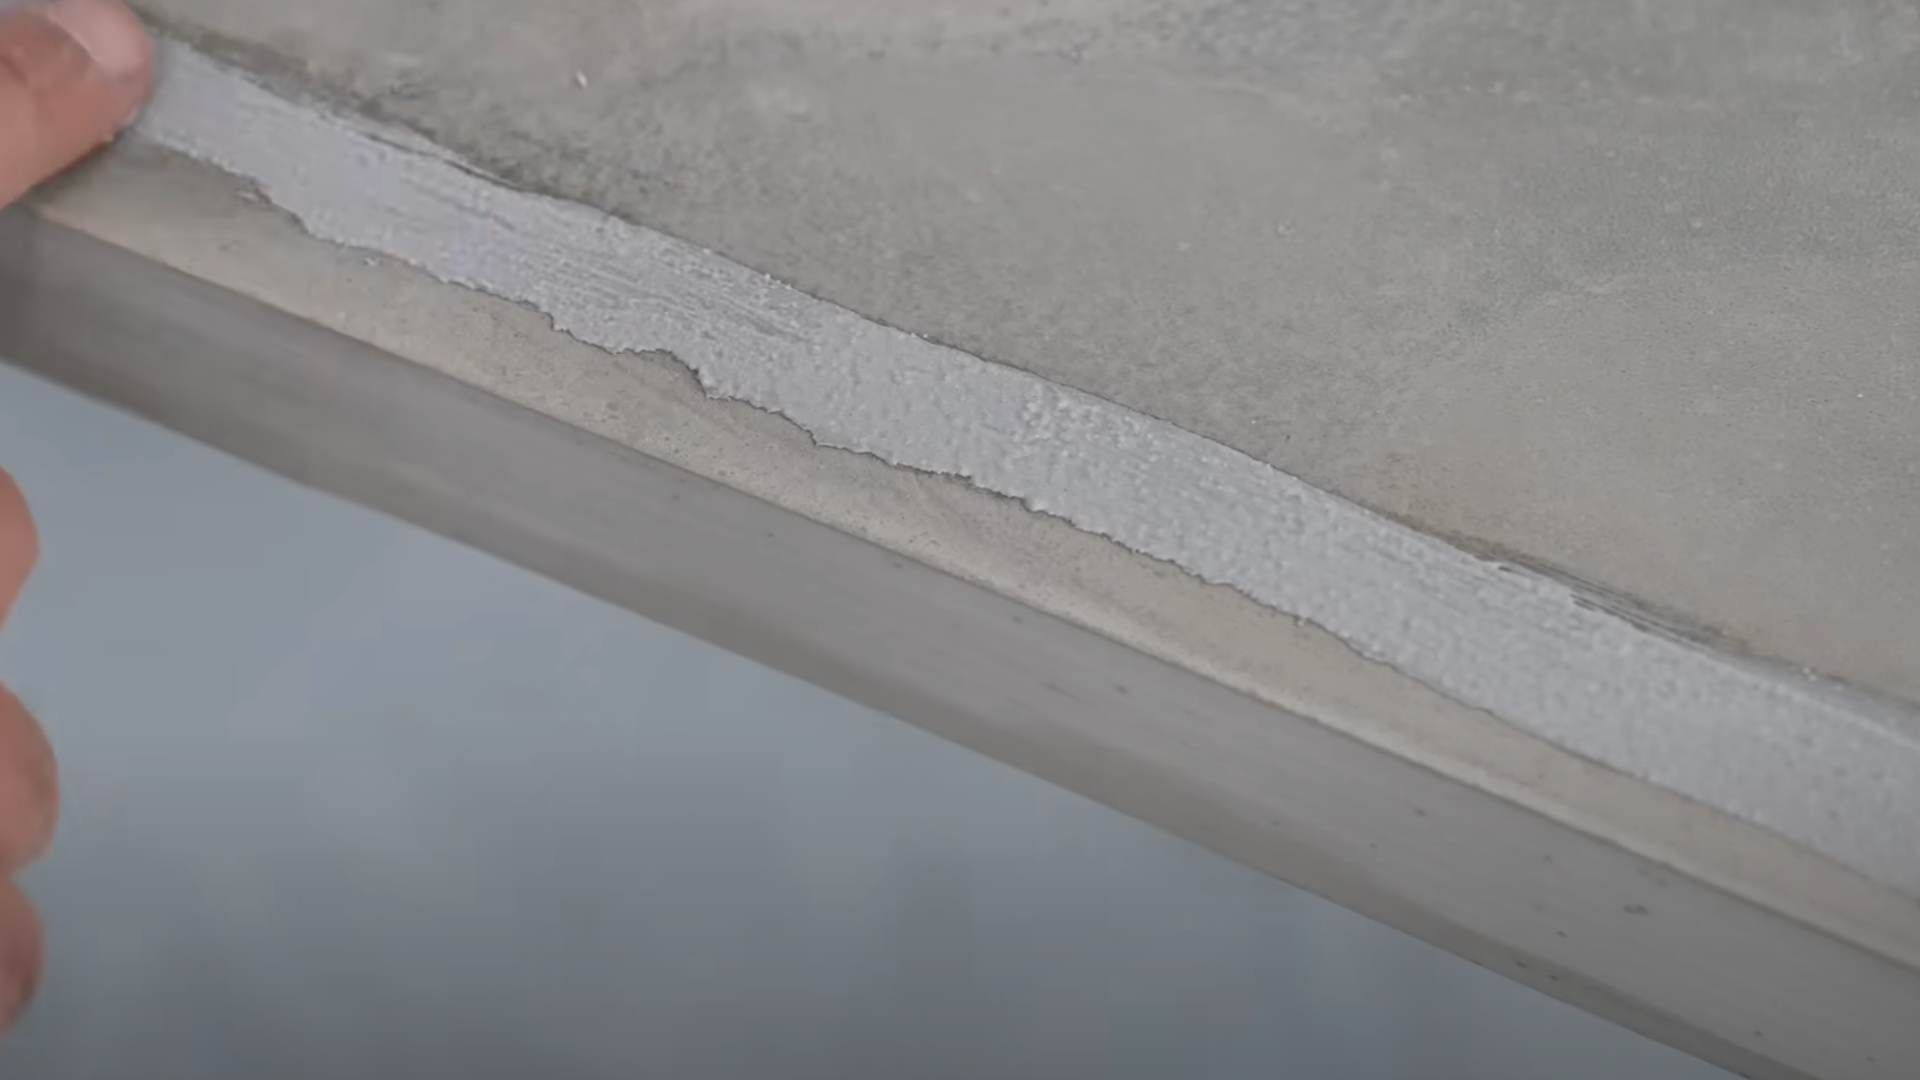
Sand the entire surface with 220 grit sandpaper to remove any rough spots or marks. Move in circles to get a smooth finish.
Wipe away all dust with a damp cloth and let the table dry. A clean, smooth surface is ready for sealing.
Step 9: Repair Cracks
Tiny cracks happen sometimes, but don’t worry, they’re easy to fix. Use crack repair mix for hairline cracks.
Follow the directions closely and press the mix deep into each crack.
Let the repair dry for a full day before sanding. Use 400-grit sandpaper to smooth the surface again.
Most small cracks become invisible after this step. If you see big cracks, it may mean starting over. However, that’s rare if all steps are taken correctly.
Step 10: Seal the Concrete
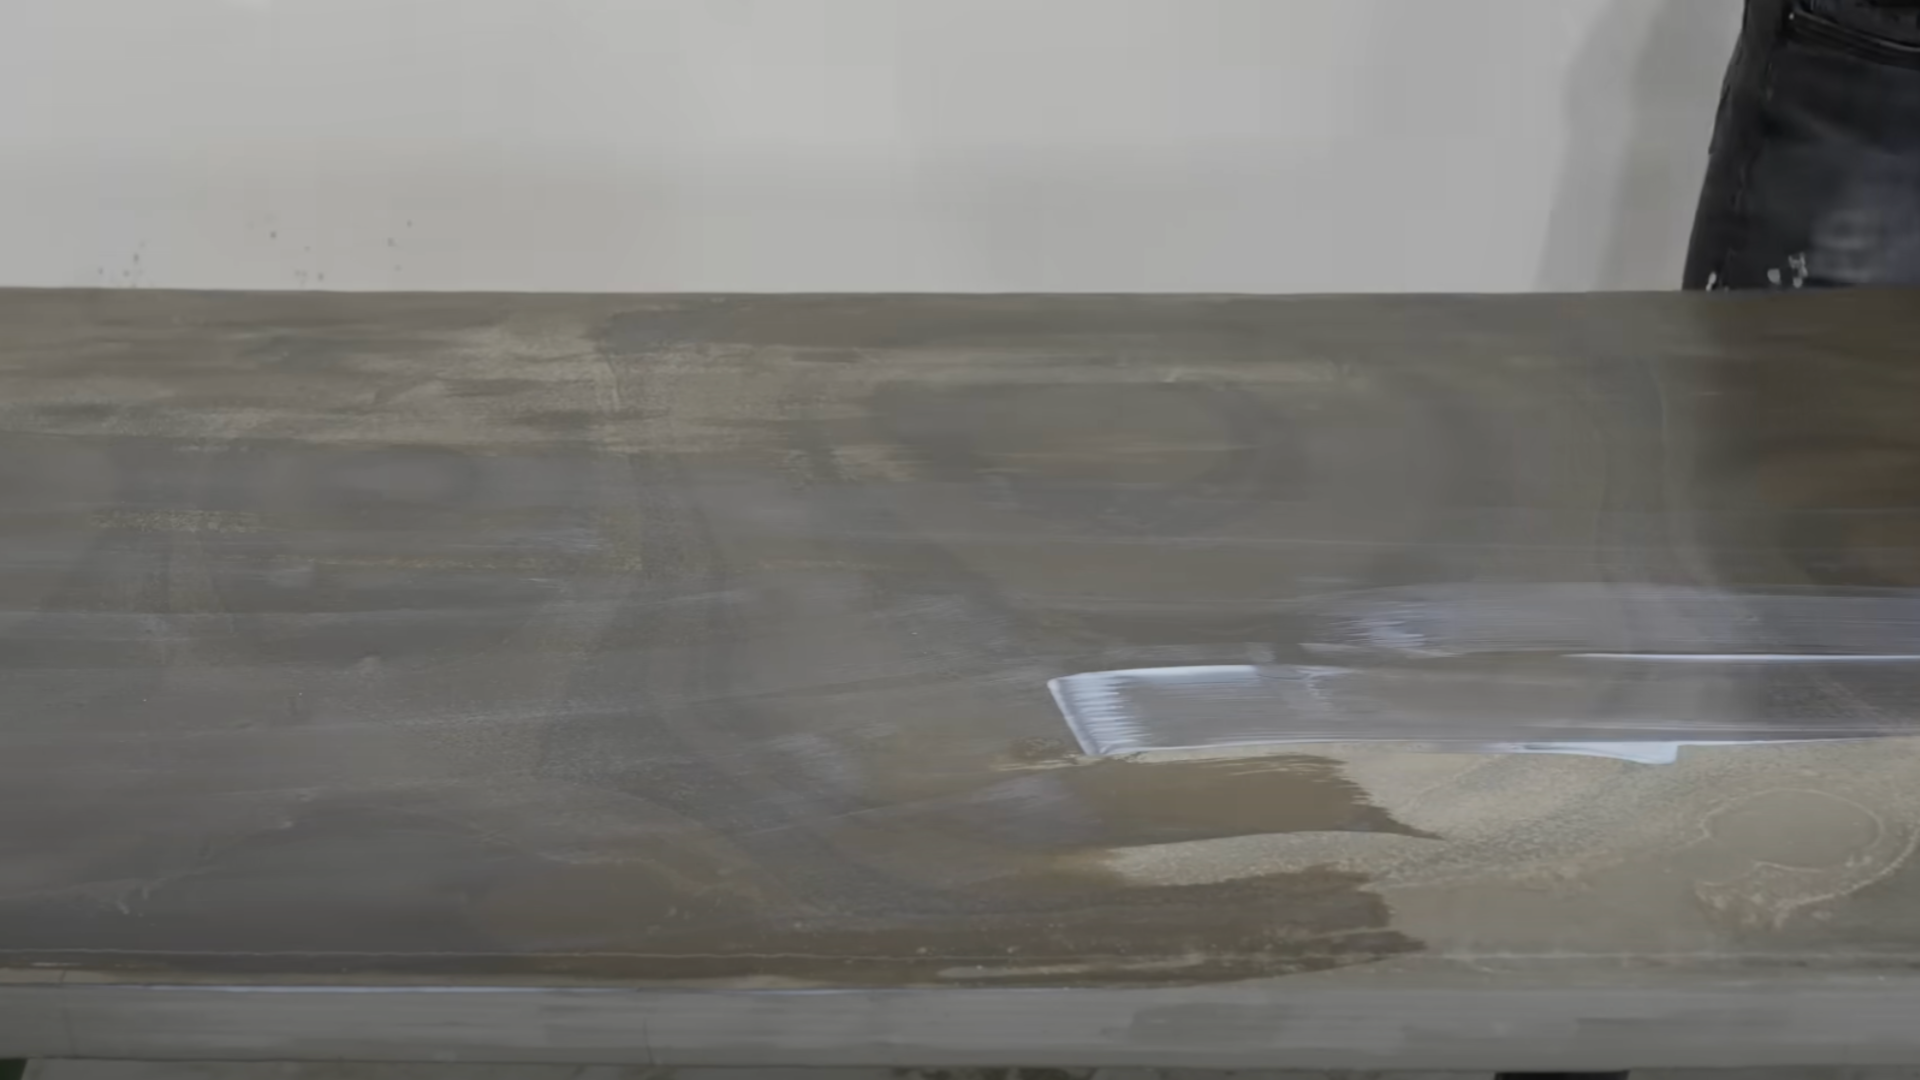
Use water-based polyurethane to seal the surface. Apply thin coats using a soft brush or roller.
Allow each coat to dry for 2–4 hours before applying the next one.
Plan to apply at least three coats for strong protection. Sand lightly with 400 grit sandpaper between coats for best results.
Let the final coat cure for 48 hours. This makes the surface tough and ready to handle daily use.
Sealing keeps the table safe from stains and moisture. It also makes cleaning much easier.
If you’d like a clearer picture of how each step comes together, I recommend watching this detailed video tutorial by @HomeMadeModern .
It walks you through the entire process from start to finish, making it easy to follow along visually.
Community Discussions Surrounding DIY Concrete Tables
Many people online are sharing their concrete table projects, and there’s a lot you can learn from them.
On forums like Reddit, users post photos, ask questions, and share what has worked and what hasn’t.
They often discuss which concrete mix is best, how to prevent cracks, and how to seal the table properly.
YouTube channels like DIY Pete and Steve Ramsey walk you through the process step by step. Their videos and comments are full of valuable tips.
Facebook groups provide quick answers, and Pinterest offers an endless supply of design ideas.
Most people say this project is beginner-friendly. They love the low cost, custom style, and strong, long-lasting results.
Common Mistakes to Avoid
These are the following mistakes you need to avoid when creating your concrete table:
- Rushing the curing process
- Using the wrong concrete mix
- Poor form sealing
- Mixing too much concrete at once
- Skipping the sanding step
- Not using enough sealer
- Incorrect water ratios
- Removing forms too early
Conclusion
Building your concrete table is easier than most people think. You don’t need fancy tools or special skills; just follow the steps and allow yourself enough time to do it correctly.
The feeling you get after finishing this project is fantastic. When someone compliments your table, you’ll feel proud knowing you built it with your own hands.
Try different shapes, colors, or table bases to make your design unique. You can use hairpin legs or wooden pedestals to change the look.
Your first table might not be perfect, and that’s okay. Most people say their second one turns out even better.
You’ll also save money, but more importantly, you’ll gain new skills and confidence. Share your project in the comments; your story could help someone else get started!