
Building my own wooden garden gate was one of the most satisfying DIY projects I’ve done. It added charm to my yard and helped keep things safe and private.
I didn’t need fancy tools or expert skills, just a little time, a plan, and some basic supplies.
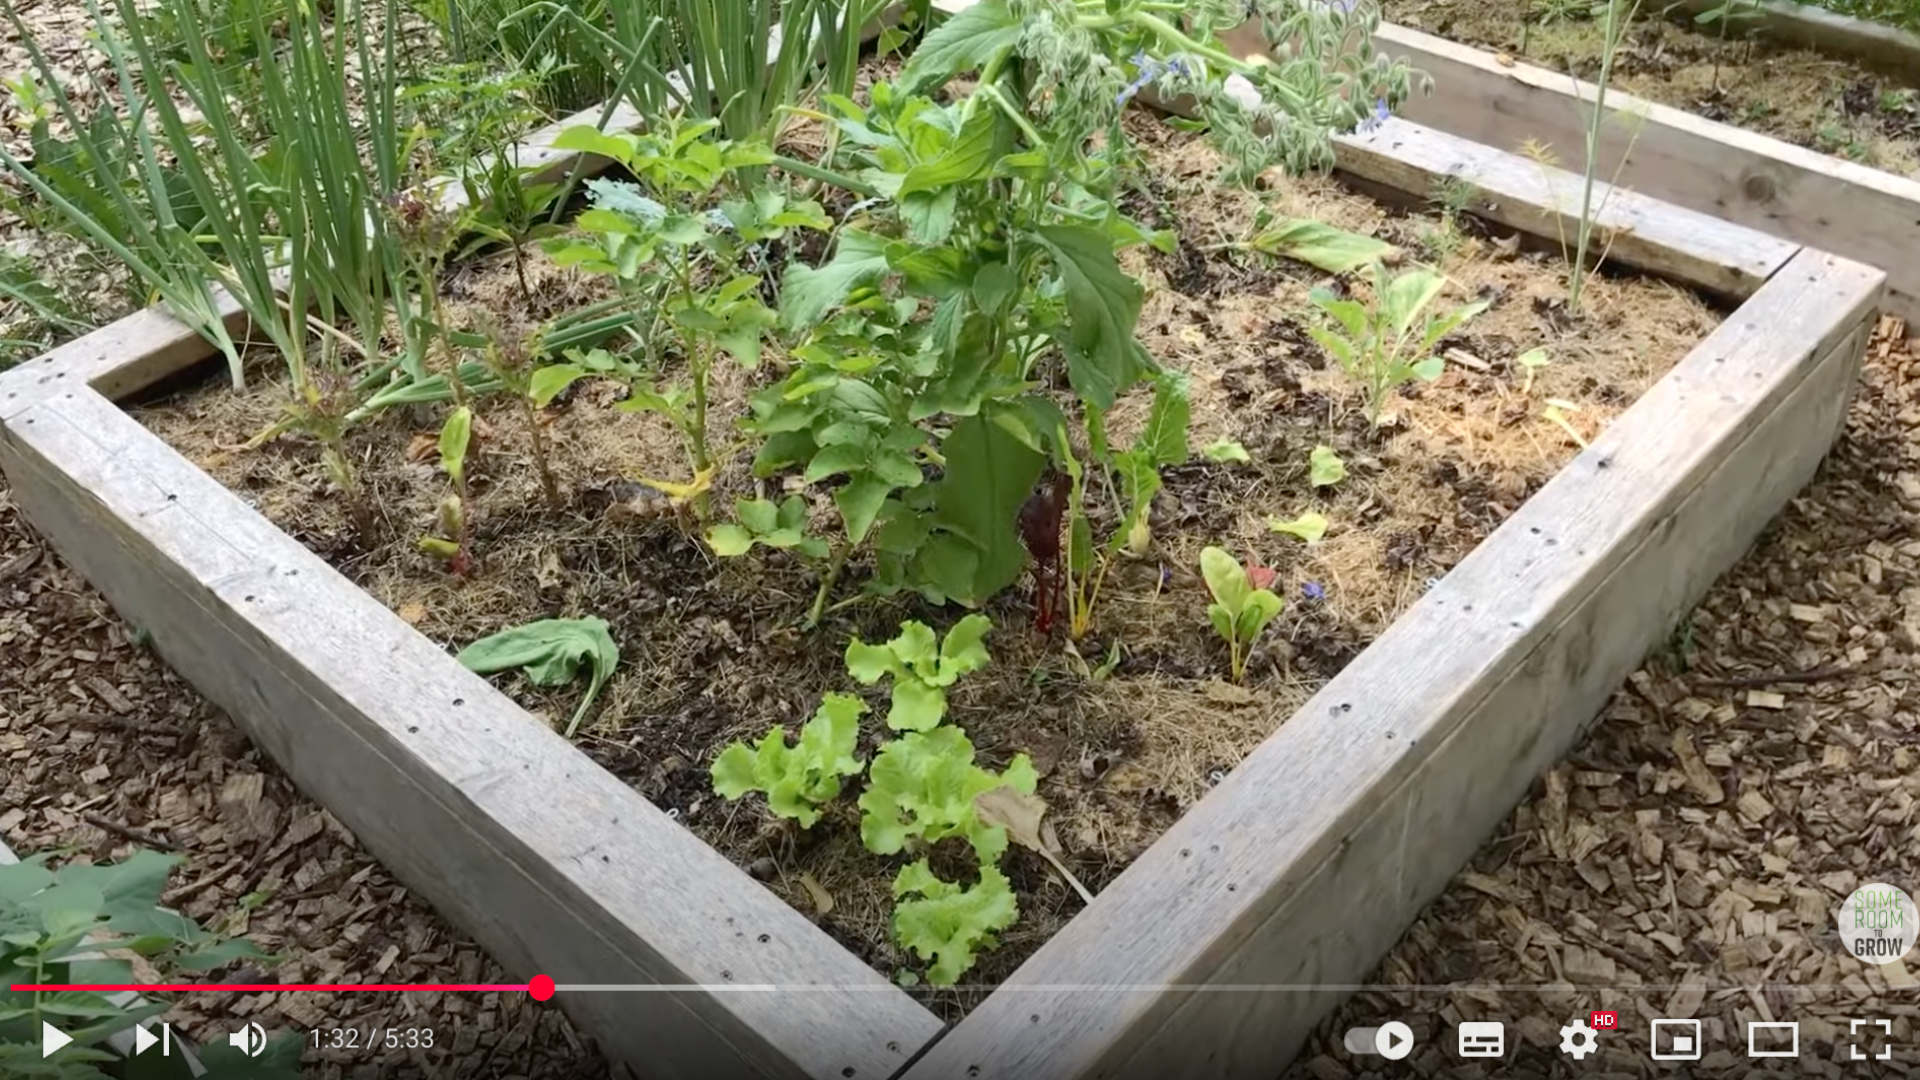
A wooden gate can make a big difference in how your garden looks and feels. It also provides a clear entry point and helps keep pets or children inside the space.
In this guide, I’ll walk you through the steps I followed to build a simple, sturdy, and visually appealing garden gate.
I’ll keep it easy to understand, even if you’re new to building projects. If you’re ready to get started, grab your tools and let’s build something valuable and beautiful.
Tools and Materials You’ll Need
- Cedar 4x4s (posts) – two pieces, 4 ft long
- Cedar 1x4s (gate slats and frame)
- Galvanized or deck screws
- Concrete mix (or alternative for post setting)
- Drill, screwdriver, speed square, handsaw (or mitre saw)
- Heavy-duty staple gun
- Gate hardware: hinges and latch
Step-by-Step Guide: How to Build a Garden Gate
Building a garden gate might seem tricky, but it’s easier than you think. Follow these clear steps to create a gate that’s both strong and stylish.
Step 1: Setting the Posts
Begin by installing your gate posts. Dig post holes over a foot deep and around 10 inches wide. This provides ample room for stability.
Place the 4×4 posts in the holes, ensuring they are level and plumb using temporary braces. Use a concrete mix for setting, following the instructions on the bag.
Let it cure fully before moving on. If you prefer alternatives to concrete, check out other methods like compacted gravel or foam post mix.
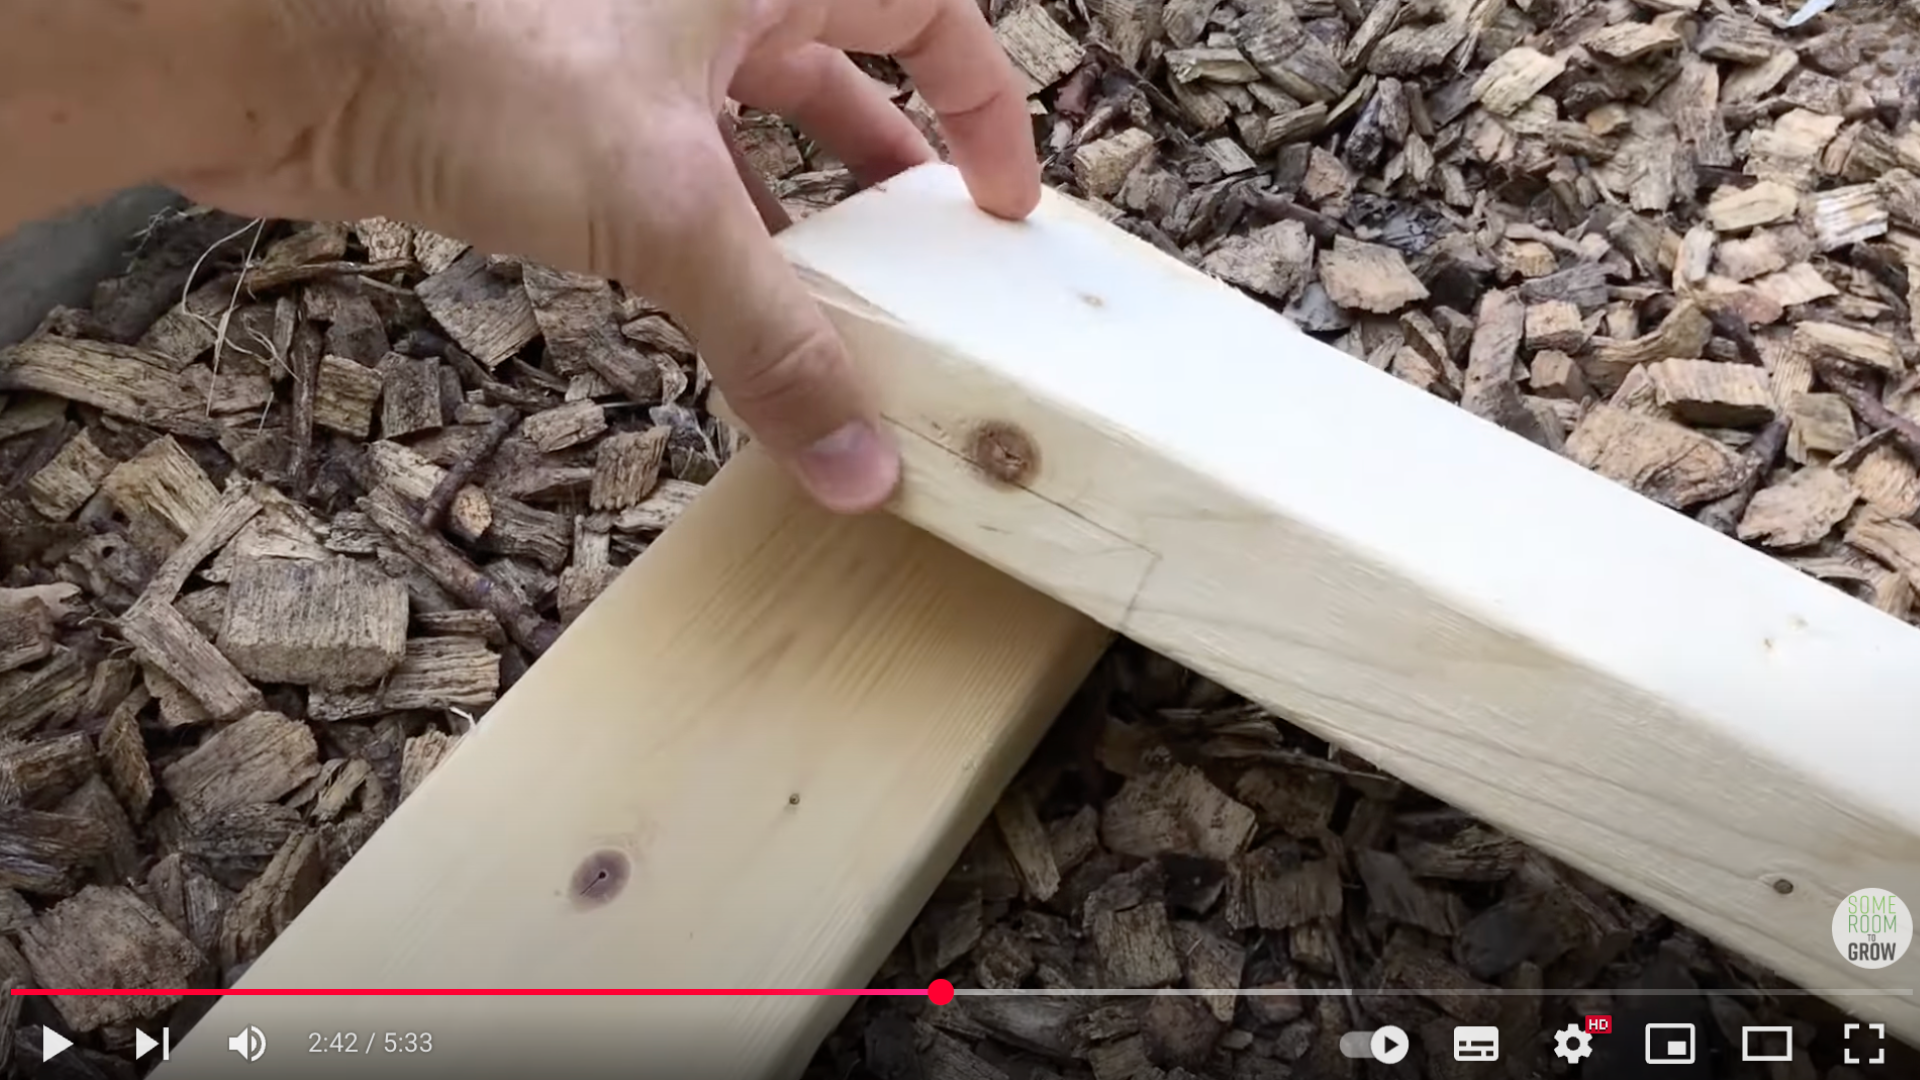
Step 2: Framing the Gate
The gate frame is made with 1×4 cedar boards. The easiest method is to use 45° mitre joints at the corners. Cut the ends of the boards at an angle and screw them together to form a rectangle.
While this is sufficient for most uses, a stronger option is to use half-lap joints.
That method involves notching halfway into each board so they fit together snugly. This joint requires more precision and tools but adds durability.
Step 3: Making Stronger Joints (Optional)
If you opt for half-lap joints, you’ll need a circular saw or table saw, a wood chisel, and patience.
Mark out the width and midpoint of the overlap on both boards, cut out the notches, and fit the boards together before screwing them in.
This joint is significantly more robust and is great for long-term wear and tear.
Step 4: Drilling Pilot Holes
To prevent splitting the narrow boards, drill pilot holes before inserting screws. This is especially important when working with cedar, which can crack under pressure.
Use weather-resistant screws like galvanized or deck screws to avoid rust.
Even with outdoor screws, it’s worth checking them periodically, some may still show signs of rust over time.
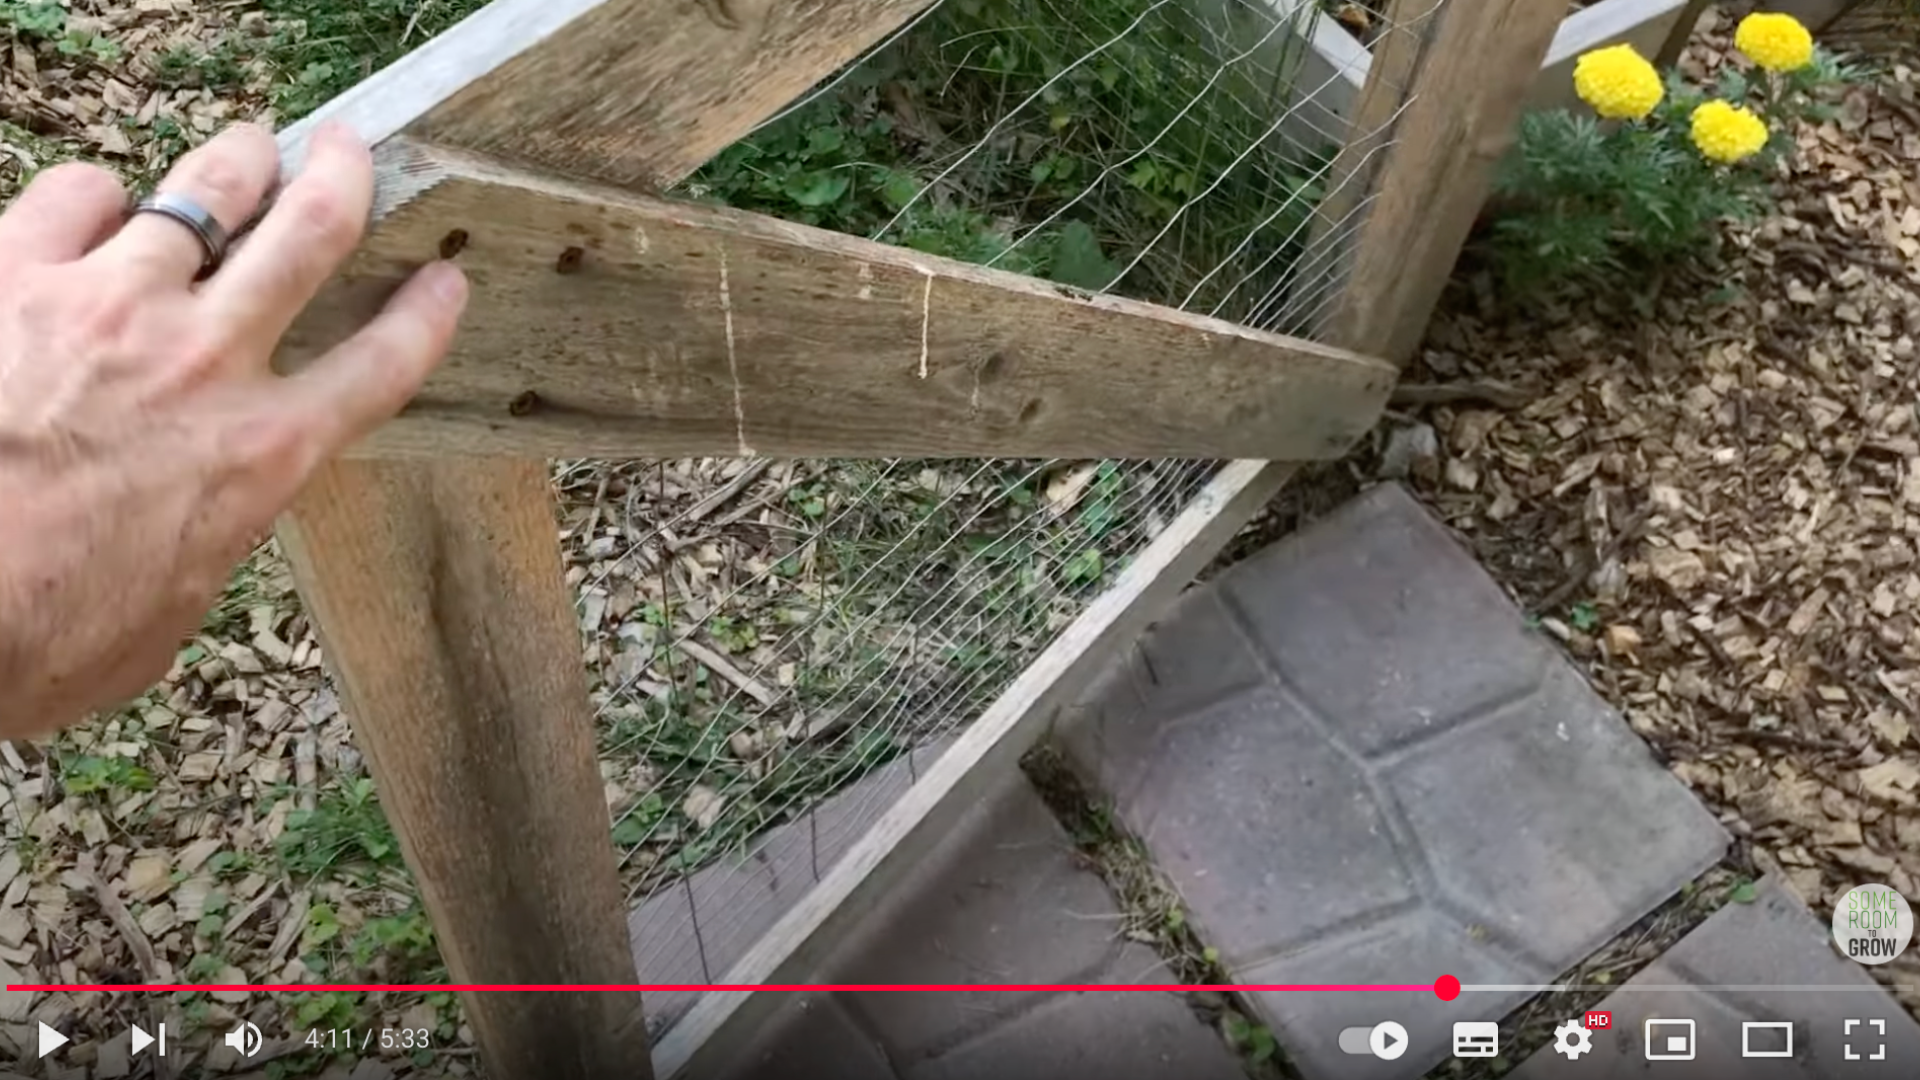
Step 5: Adding Diagonal Bracing

Once the main frame is assembled, cut another board to run diagonally across the inside of the gate. This brace adds significant strength and prevents sagging.
Secure it with screws into the corners of the gate frame. Then, use a heavy-duty staple gun to attach fencing (like welded wire or decorative screen) to the front of the gate.
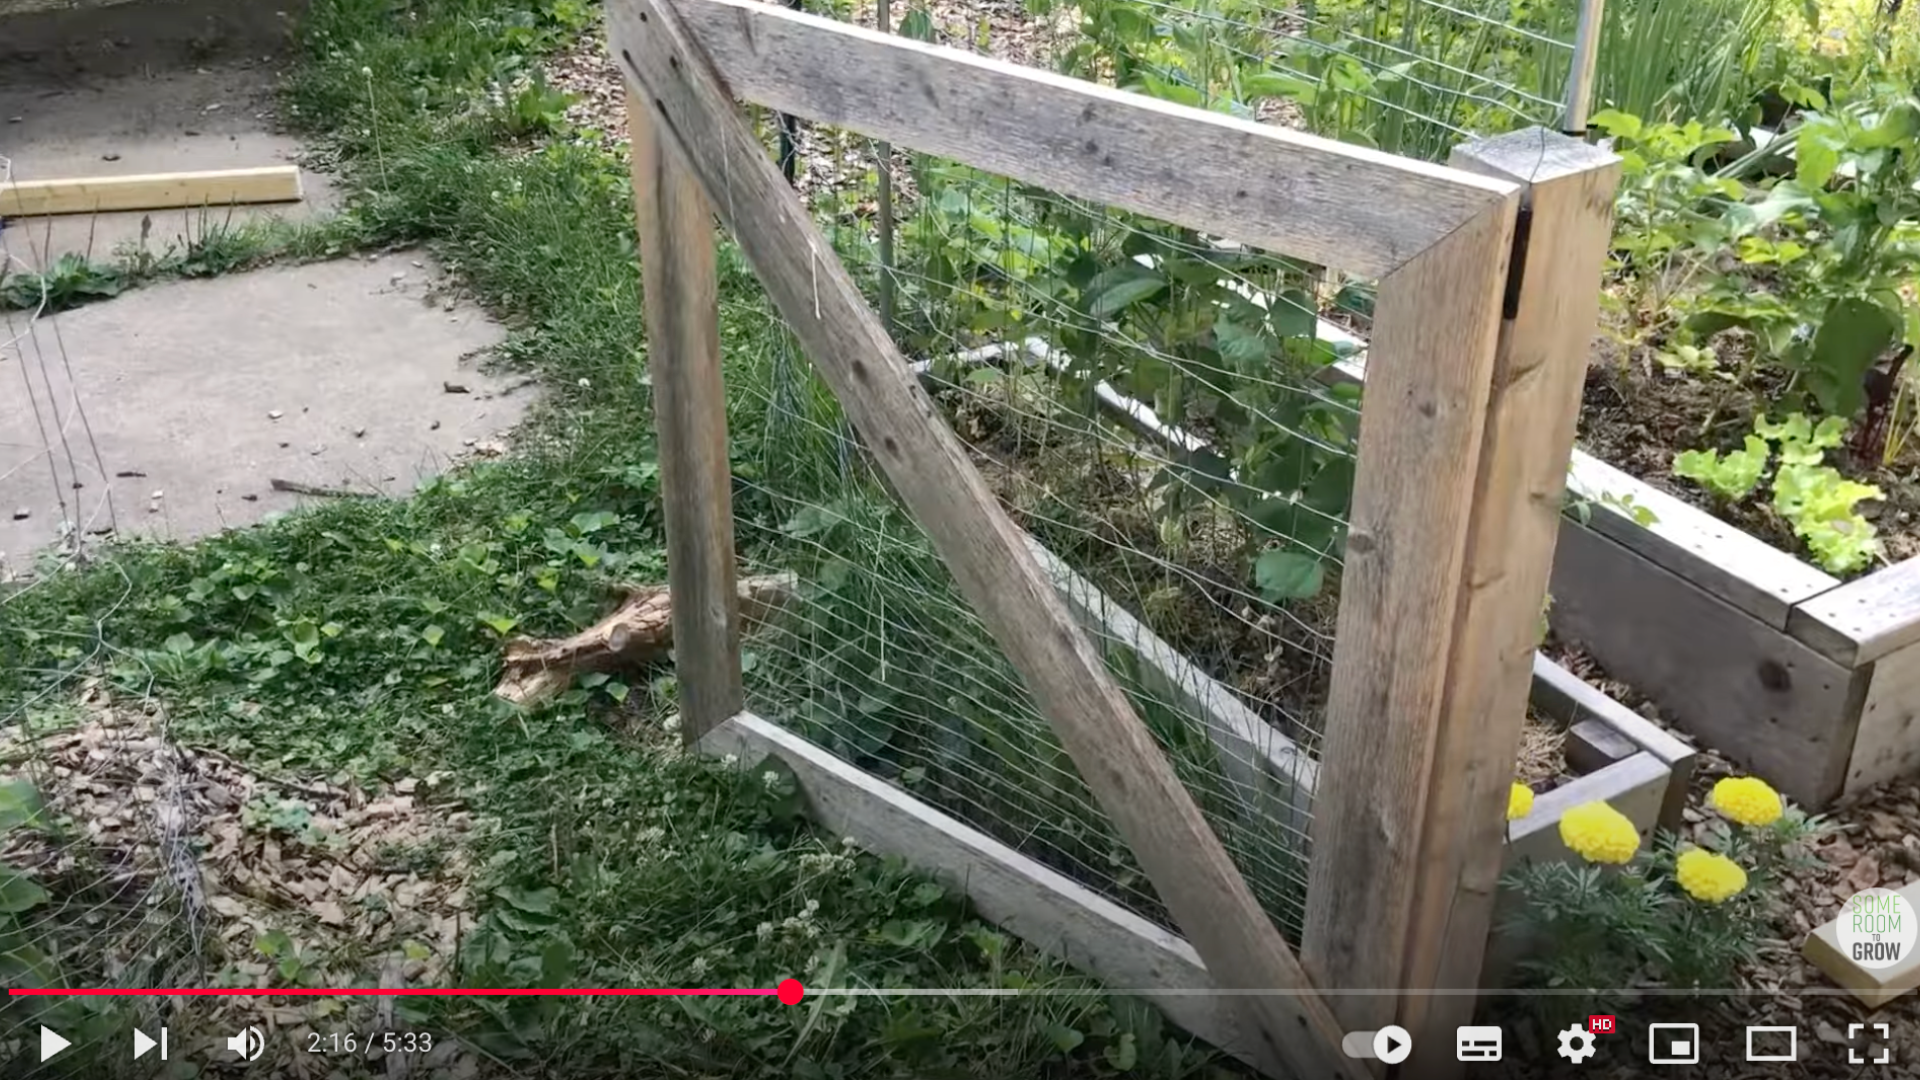
Step 6: Hanging the Gate
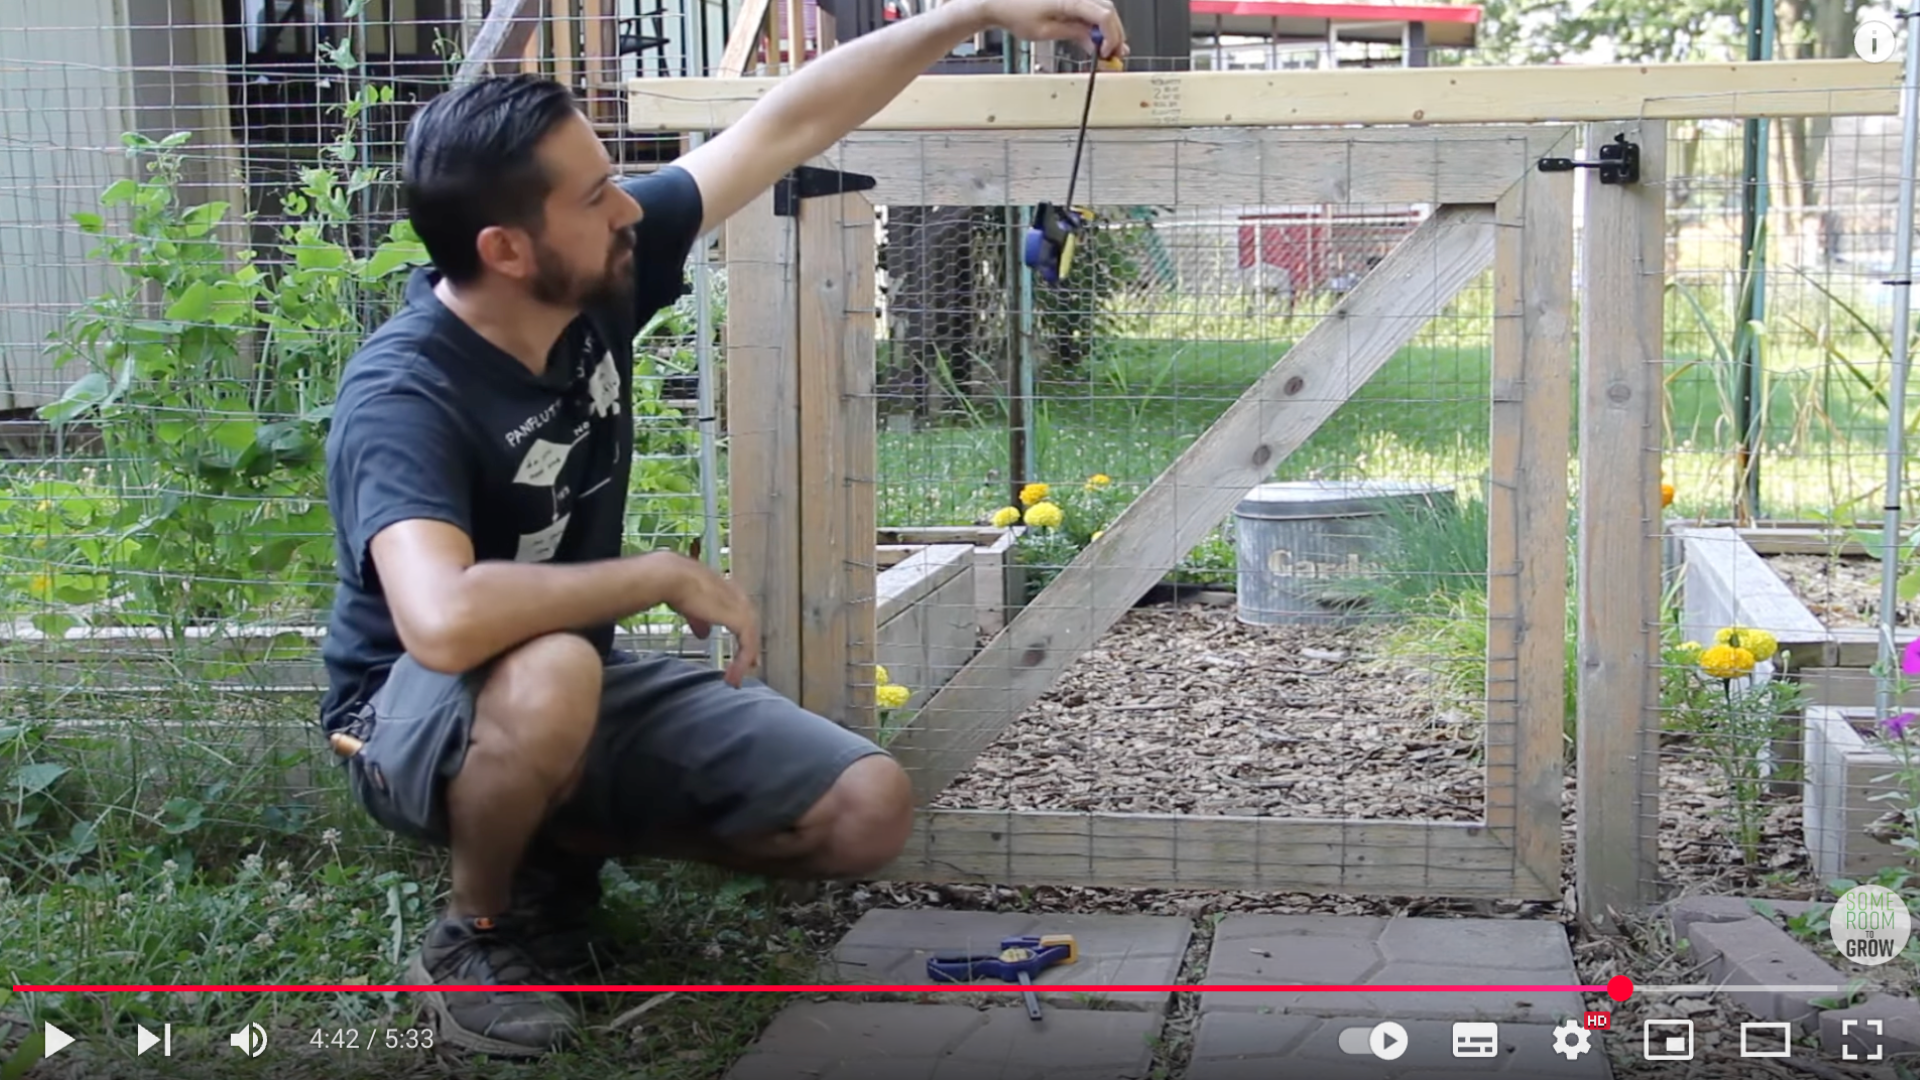
Hanging the gate can be tricky, but here’s a great pro tip: If the top of the gate aligns with the post tops, lay a board across the posts and clamp the gate to it.
This holds the gate exactly where it needs to be, making it easy to install the hinges and latch with precision.
After attaching the hardware, swing the gate to ensure it opens and closes smoothly and that the latch lines up correctly.
This garden gate design is simple, affordable (around $65–$70 using cedar), and long-lasting.
The gate shown in the video has withstood the test of time for over two years and is expected to continue doing so for many more with minimal maintenance.
This tutorial is based on a helpful video by Some Room to Grow. A big thanks to the creator for providing such a clear and detailed walkthrough. You can check out the original video on their YouTube channel here or watch it below.
Maintenance and Tips
I’ve found that keeping a handmade wooden garden gate in good shape is simple with the right care.
1. Regular Check-Ups: Your Gate’s Health Routine
Maintaining your wooden garden gate isn’t rocket science. Think of it like caring for a beloved pet – a little attention goes a long way.
Every few months, I recommend doing a quick gate inspection. Walk up to your gate and give it a gentle shake. Does anything feel loose? Check those screws and hinges carefully.
2. Weatherproofing: Shield Your Wood
Wood is like skin – it needs protection from the elements. I always tell DIY enthusiasts to reapply sealant annually.
This simple step prevents water from seeping into the wood, which can cause rot and weaken your beautiful creation.
Pick a dry day, apply the sealant evenly, and watch your gate thank you by staying strong.
3. Paint Touch-Ups: Your Gate’s Armor
Chipped paint isn’t just an eyesore – it’s an invitation for damage. Grab some matching exterior paint and touch up any scratches or worn spots.
This isn’t just about looks – it’s about protection. A good paint layer keeps moisture out and extends your gate’s life.
4. Bottom Clearance: Prevent Ground Damage
Here’s a trick I’ve learned: keep the bottom of your gate clear. Dirt, leaves, and debris can trap moisture and cause wood to rot faster than you can say “garden gate”. Use a small garden tool to clear away any buildup.
Pro tip: Consider leaving a small gap between the gate and ground to prevent constant moisture contact.
5. Seasonal Adjustments
Wood expands and contracts with temperature changes. What worked perfectly in summer might need a slight adjustment in winter.
Pay attention to how your gate moves through different seasons. A minor tightening of a screw here, a small hinge realignment there can prevent bigger problems down the line.
Common Mistakes when Building a Garden Gate
Building a garden gate sounds easy, but small mistakes can cause big problems. In this section, I’ll go over common errors I’ve seen and how to avoid them so your gate turns out strong, smooth, and professional-looking from the start.
1. Space Troubles
I’ve seen many DIY enthusiasts make this rookie mistake. Forgetting to leave enough space for the gate swing can turn your beautiful project into a frustrating ordeal.
Imagine building a perfect gate that scrapes the ground or bumps into nearby objects. Not fun, right? Always measure the swing radius before you start.
Pro tip: Leave about 2 inches of clearance for smooth movement.
2. Why Levels Matter
Nothing says “amateur hour” like a gate that looks like it’s doing the limbo. A level is your best friend in this project.
I learned this the hard way – my first gate looked like it was trying to escape sideways.
Take your time. Use a level during every stage of installation. Those extra minutes will save you hours of future headaches.
3. Diagonal Bracing
Here’s a secret: that diagonal brace isn’t just decoration. It’s the spine of your gate. Skipping this step is like building a house without a foundation.
The brace prevents sagging, keeps the gate square, and adds tremendous strength. Think of it as your gate’s personal trainer – keeping everything tight and right.
4. Choose Wood Wisely
Not all wood is created equal, especially outdoors. I’ve seen beautiful gates fall apart because someone grabbed the first lumber they found.
Pressure-treated wood, cedar, or redwood are your best bets. These woods laugh in the face of moisture and insects.
Cheaper isn’t always better – your gate will thank you for spending a few extra dollars.
5. Rushing the Finish Line
Patience is more than a virtue – it’s a necessity in woodworking. Skipping or rushing the finishing step is like baking a cake and forgetting to frost it.
Take time to sand, seal, and protect your wood. This final step isn’t just about looks – it’s about making your gate last for years. A good finish is like sunscreen for your wood.
Remember, woodworking is a skill. Each project makes you better. Embrace the journey, laugh at the mistakes, and keep building.
Conclusion
Building a wooden garden gate isn’t about creating a museum piece – it’s about solving a problem and enjoying the process.
Every crooked cut, every slightly uneven hinge is just part of your unique story.
Remember, perfection is overrated. What matters is that you’re creating something with your own two hands. Your gate might have a few quirks, but it’ll have something store-bought never will: your personal touch and pride.
Stuck on a step? Confused about something? I’m here for you. Drop a comment below with your questions, challenges, or even a photo of your gate-building adventure.
Let’s build a community of DIY warriors who aren’t afraid to pick up a hammer and make something awesome. Your garden gate awaits. Happy building!