
Building a gazebo can be one of the most rewarding DIY projects, especially when it adds charm and functionality to your outdoor space.
If you’ve already installed decking, balustrades, deck lighting, and even some landscaping, adding a well-designed cupola will not only improve ventilation but also offer architectural beauty.
This project is perfect for homeowners who enjoy crafting with wood and have basic carpentry skills.
I based this guide on a real DIY project I completed over several seasons. It includes detailed steps, helpful tips, and practical advice that you can follow at home.
If you’re looking to upgrade an existing structure or start fresh from the ground up, you’ll walk away with the knowledge and inspiration to build your own gazebo, complete with lattice windows and a stunning finish.
Ready to start? Here’s everything you need to know, from planning to installation
Why Do You Need to Build a Gazebo Roof?
Building a gazebo roof isn’t just about aesthetics; it’s about protection, comfort, and durability.
A proper roof shields your outdoor space from the sun, rain, and debris, allowing you to enjoy it throughout the year.
Structurally, a strong roof adds stability to the gazebo, protecting the entire frame from weather damage over time.
It also extends the lifespan of any furniture or features beneath it, like lighting or flooring.
Beyond function, a well-designed roof, especially one with a cupola, adds architectural charm that elevates your backyard’s visual appeal.
Additionally, a roof helps define the space, making it feel more like an outdoor room rather than an open structure.
This can increase your home’s usable square footage and even boost property value.
Materials Needed
Below, I’ve listed what you’ll need for this project:
- 4×4 ft ½” thick plywood (for octagonal base)
- 2×8 and 2×4 pressure-treated lumber
- Bessey strap clamps
- Trammel set
- MDF scrap for marking corners
- Circular saw & straightedge
- Biscuit joiner and biscuits
- Router with roundover, bead, and rabbet bits
- Rockler shutter jig
- Screws (3″ and 3.5″)
- Wood glue and wood preservative
- 1×6 tongue-and-groove boards
- Shingles, drip edge, and fascia materials
- Weather vane (optional)
Step-by-Step Guide: Building a Gazebo Roof
Below is a clear and detailed guide to help you build a strong, stylish gazebo roof. Each step aligns with real-time construction moments for better understanding.
Step 1: Planning the Cupola
- Sketch a scale elevation drawing to ensure the cupola is proportional to the gazebo.
- Decide on dimensions (approx. 4 ft x 4 ft is a good starting point).
- Draft a framing plan to guide construction.
- This visual planning helps avoid errors during cutting and assembly.
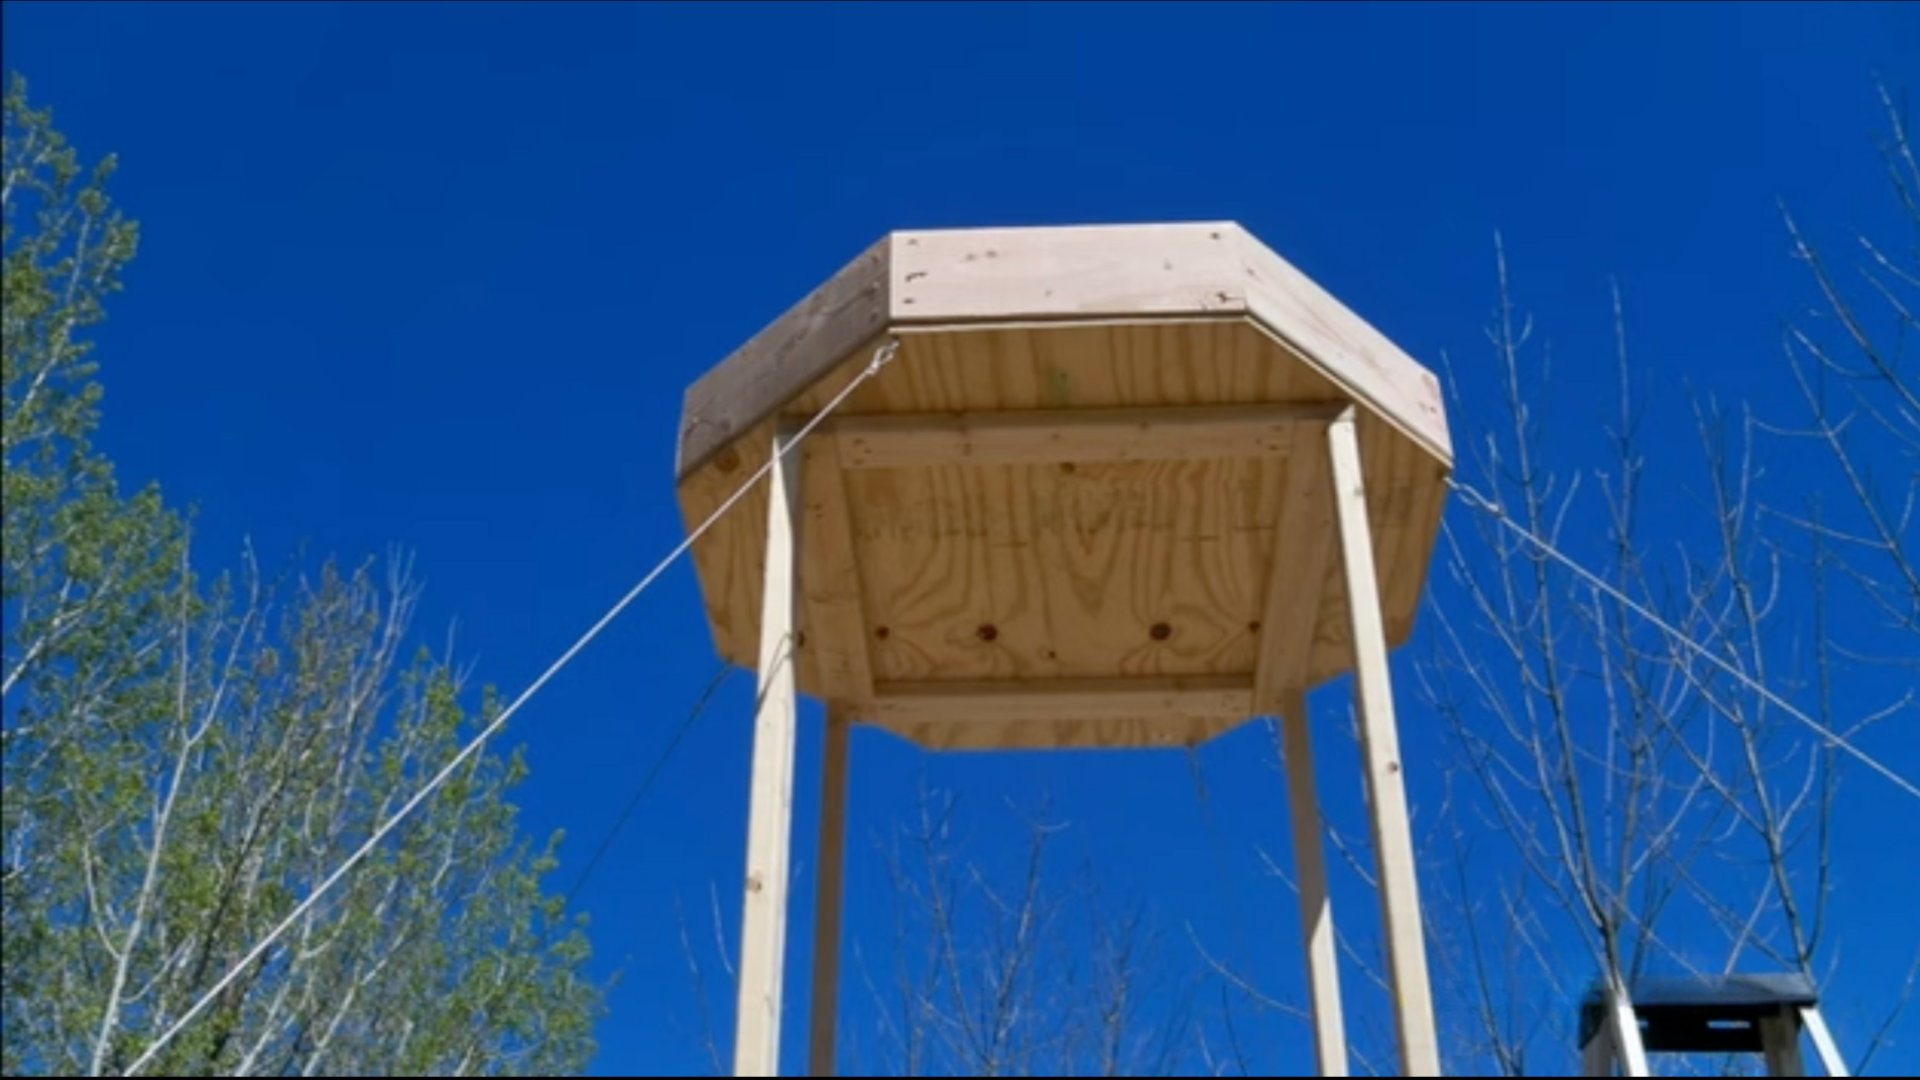
Step 2: Cutting the Octagonal Platform
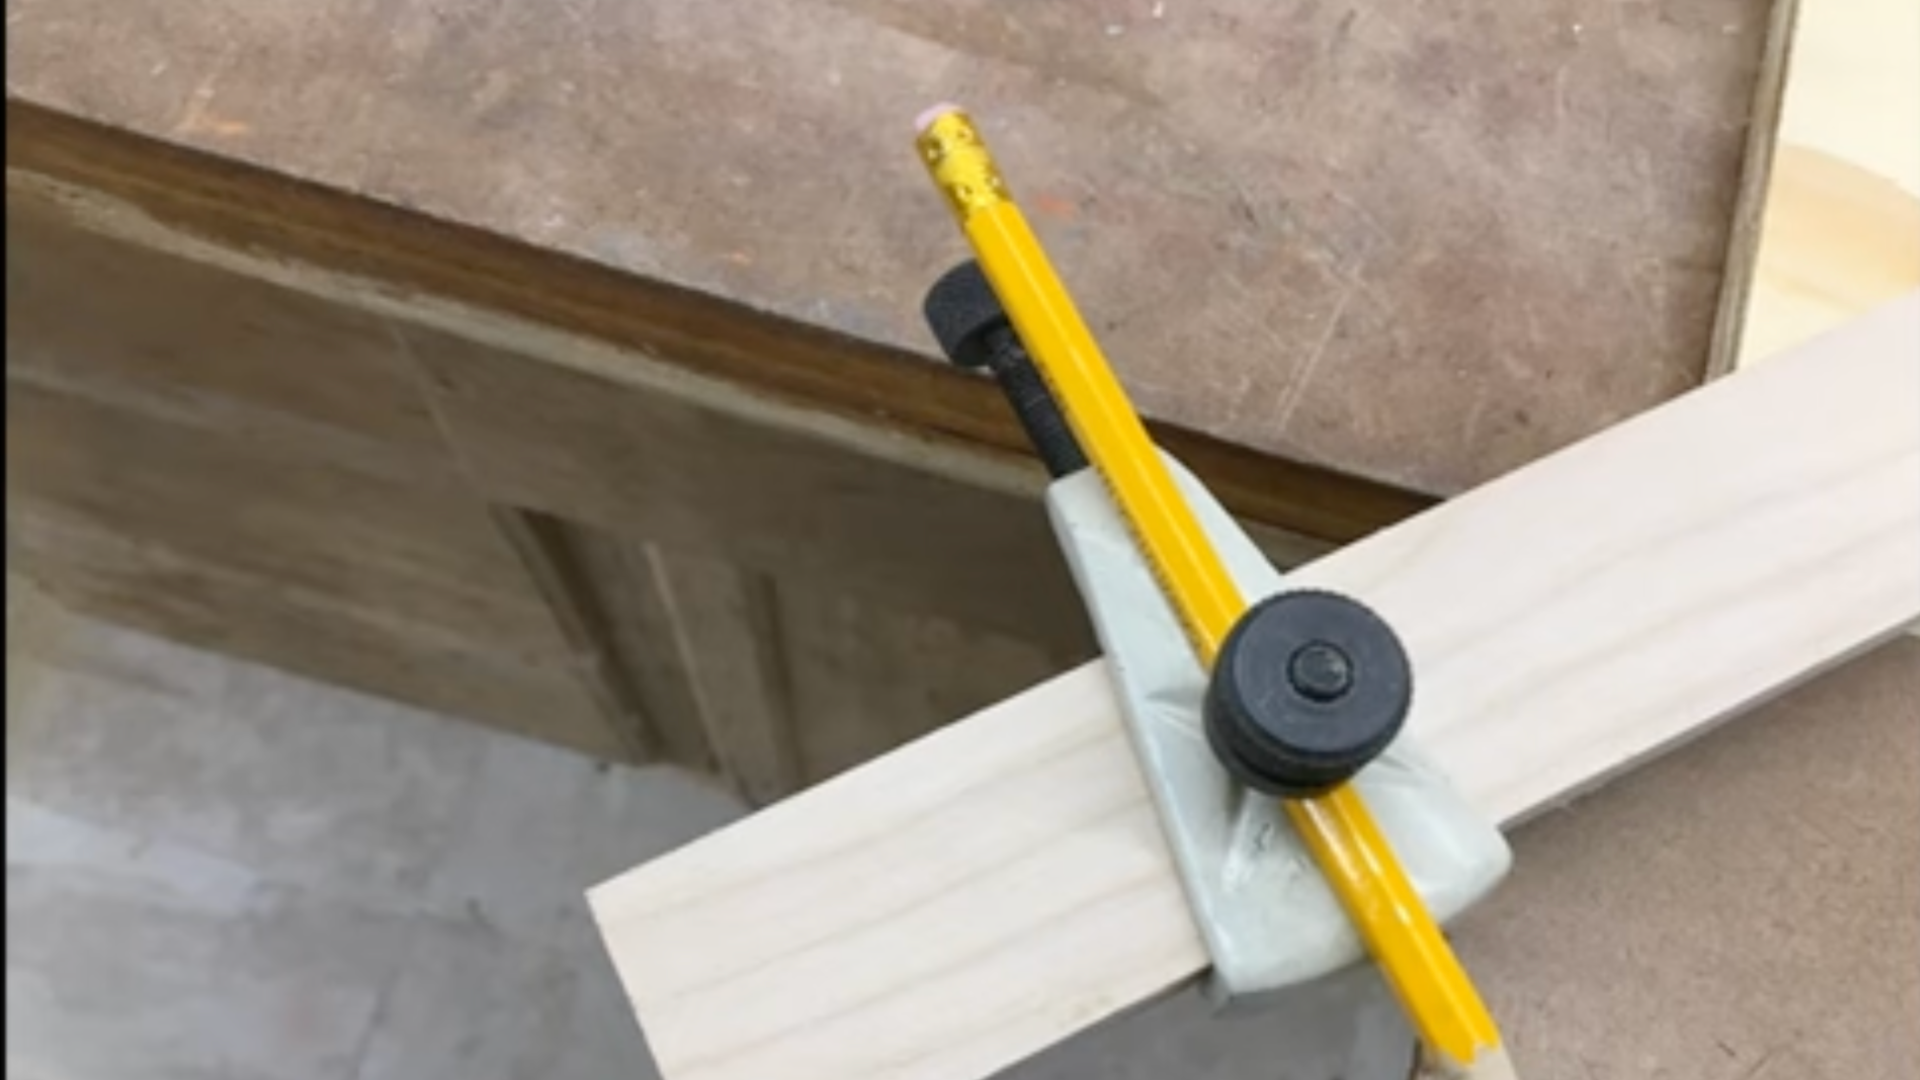
- Begin with a 4×4 plywood square.
- Use a trammel to draw a perfect octagon.
- Screw MDF boards at corners to secure the trammel needle.
- Mark each side from each corner and use a straightedge to guide your circular saw.
- Cut off all corners to form a symmetrical octagon.
Step 3: Building the Ridge Board Frame
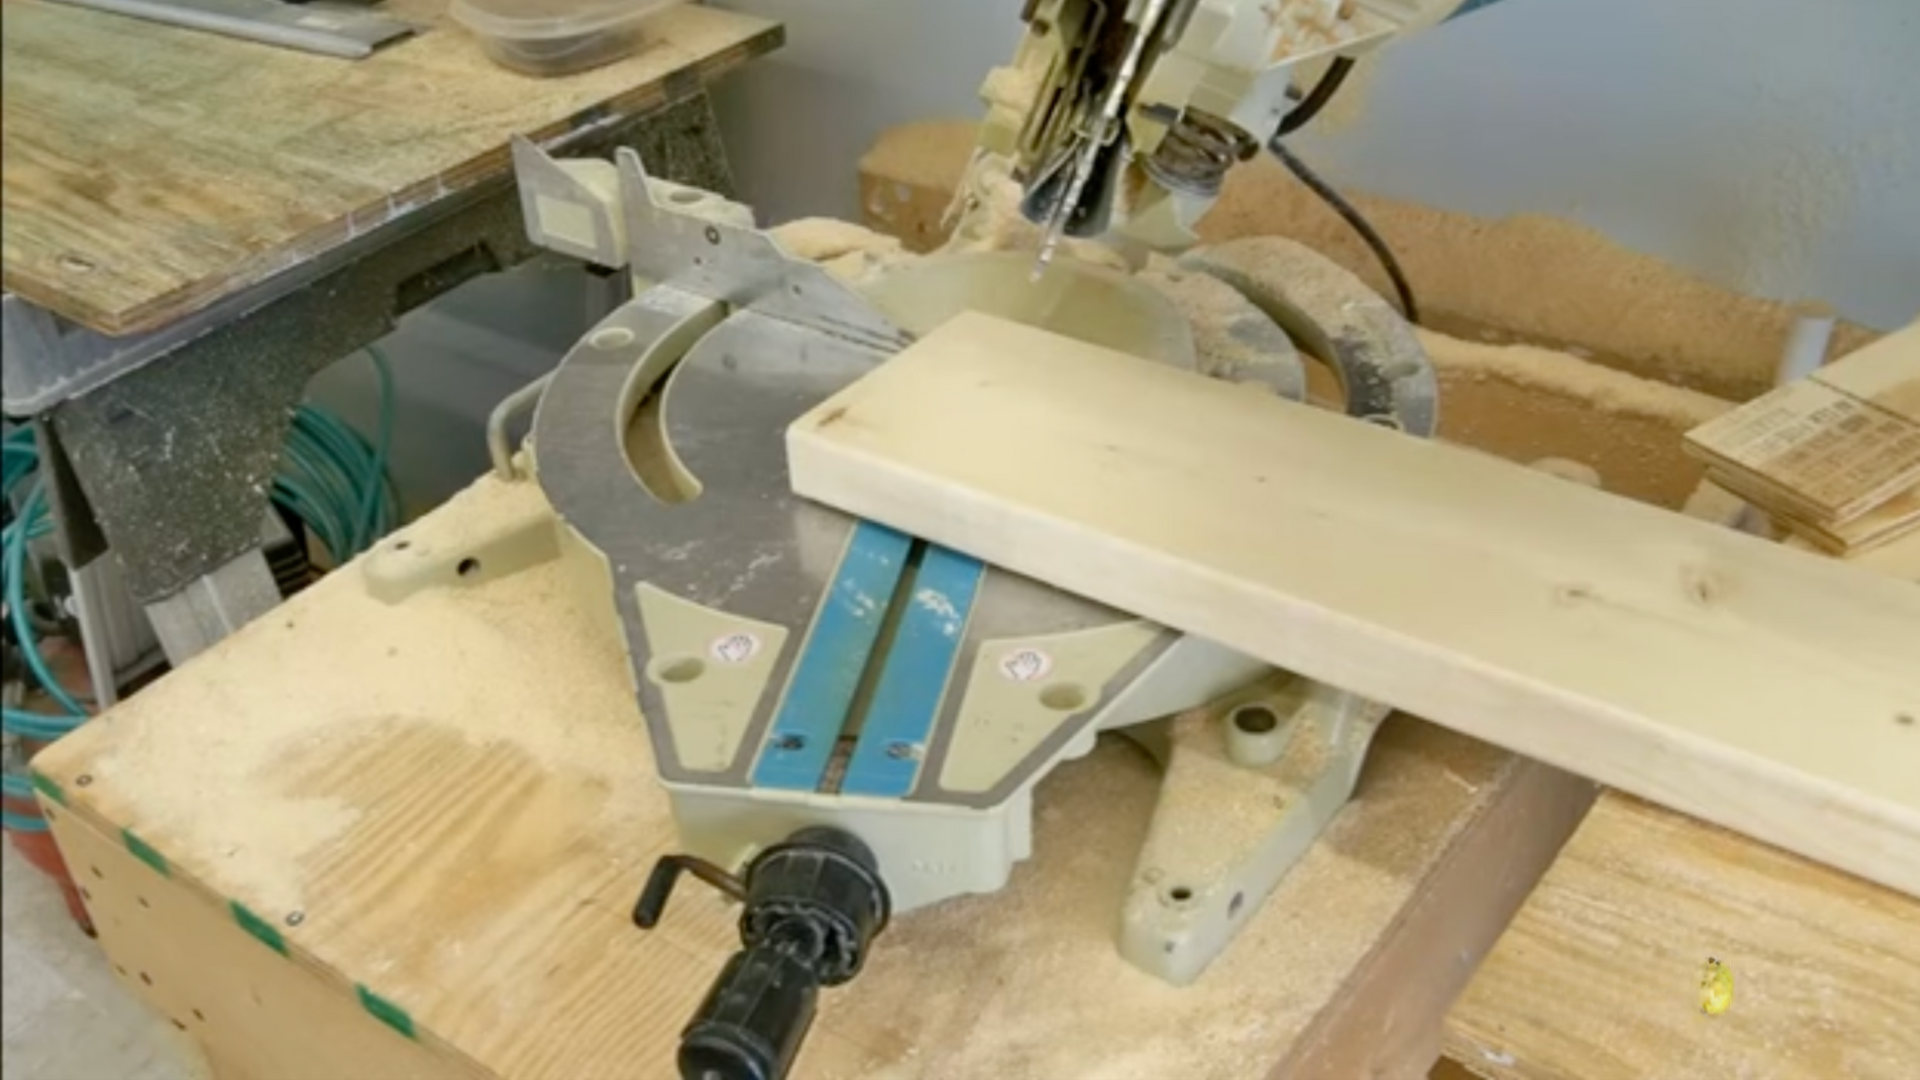
- Cut 16 pieces of 2×8 lumber at 67.5° angles.
- Create an outer ring from 8 boards.
- Secure with 3.5″ wood screws and use Bessey strap clamps for pressure.
- Leave inner and middle layers (plywood + inner 2x8s) for site installation.
Step 4: Constructing Top and Bottom Plates
- Use pressure-treated 2x4s due to outdoor exposure.
- Cut and biscuit-join 16 pieces for the top and bottom plates.
- Clamp using strap clamps and drive screws at joints.
- Use a roundover bit to finish edges for a polished look.
Step 5: Crafting Lattice Windows
- Layout styles and bottom plate.
- Use a Rockler shutter jig to cut louver slots.
- Cut 80 louvers from 2x4s, rounding corners on each using a router.
- Create rabbets on rails to channel rainwater away.
- Dry fit all parts and treat with wood preservative.
Step 6: Assembling Window Units
- Use a custom jig to ensure square window assembly.
- Use clamps to secure components together.
- Preassemble on the ground to avoid the difficulty of fitting at height.
- Assemble completely before installing on the cupola frame.
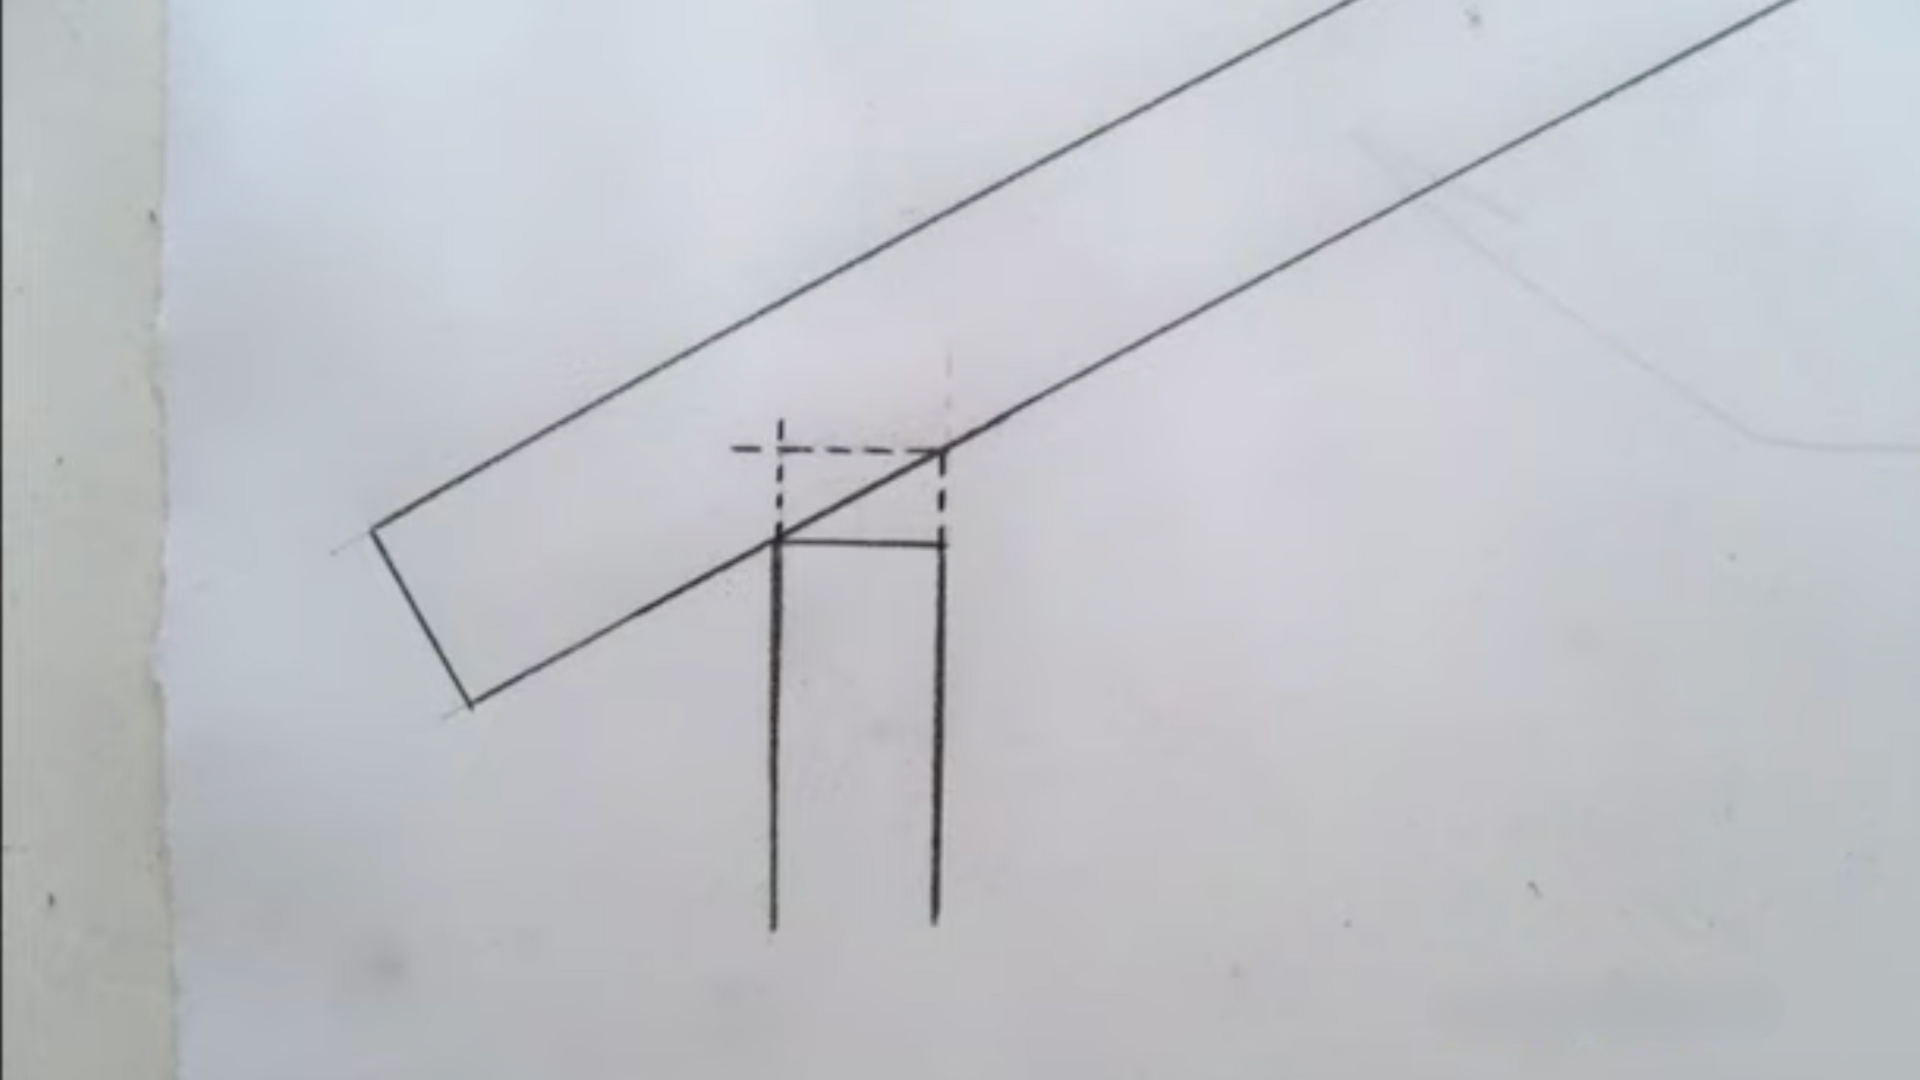
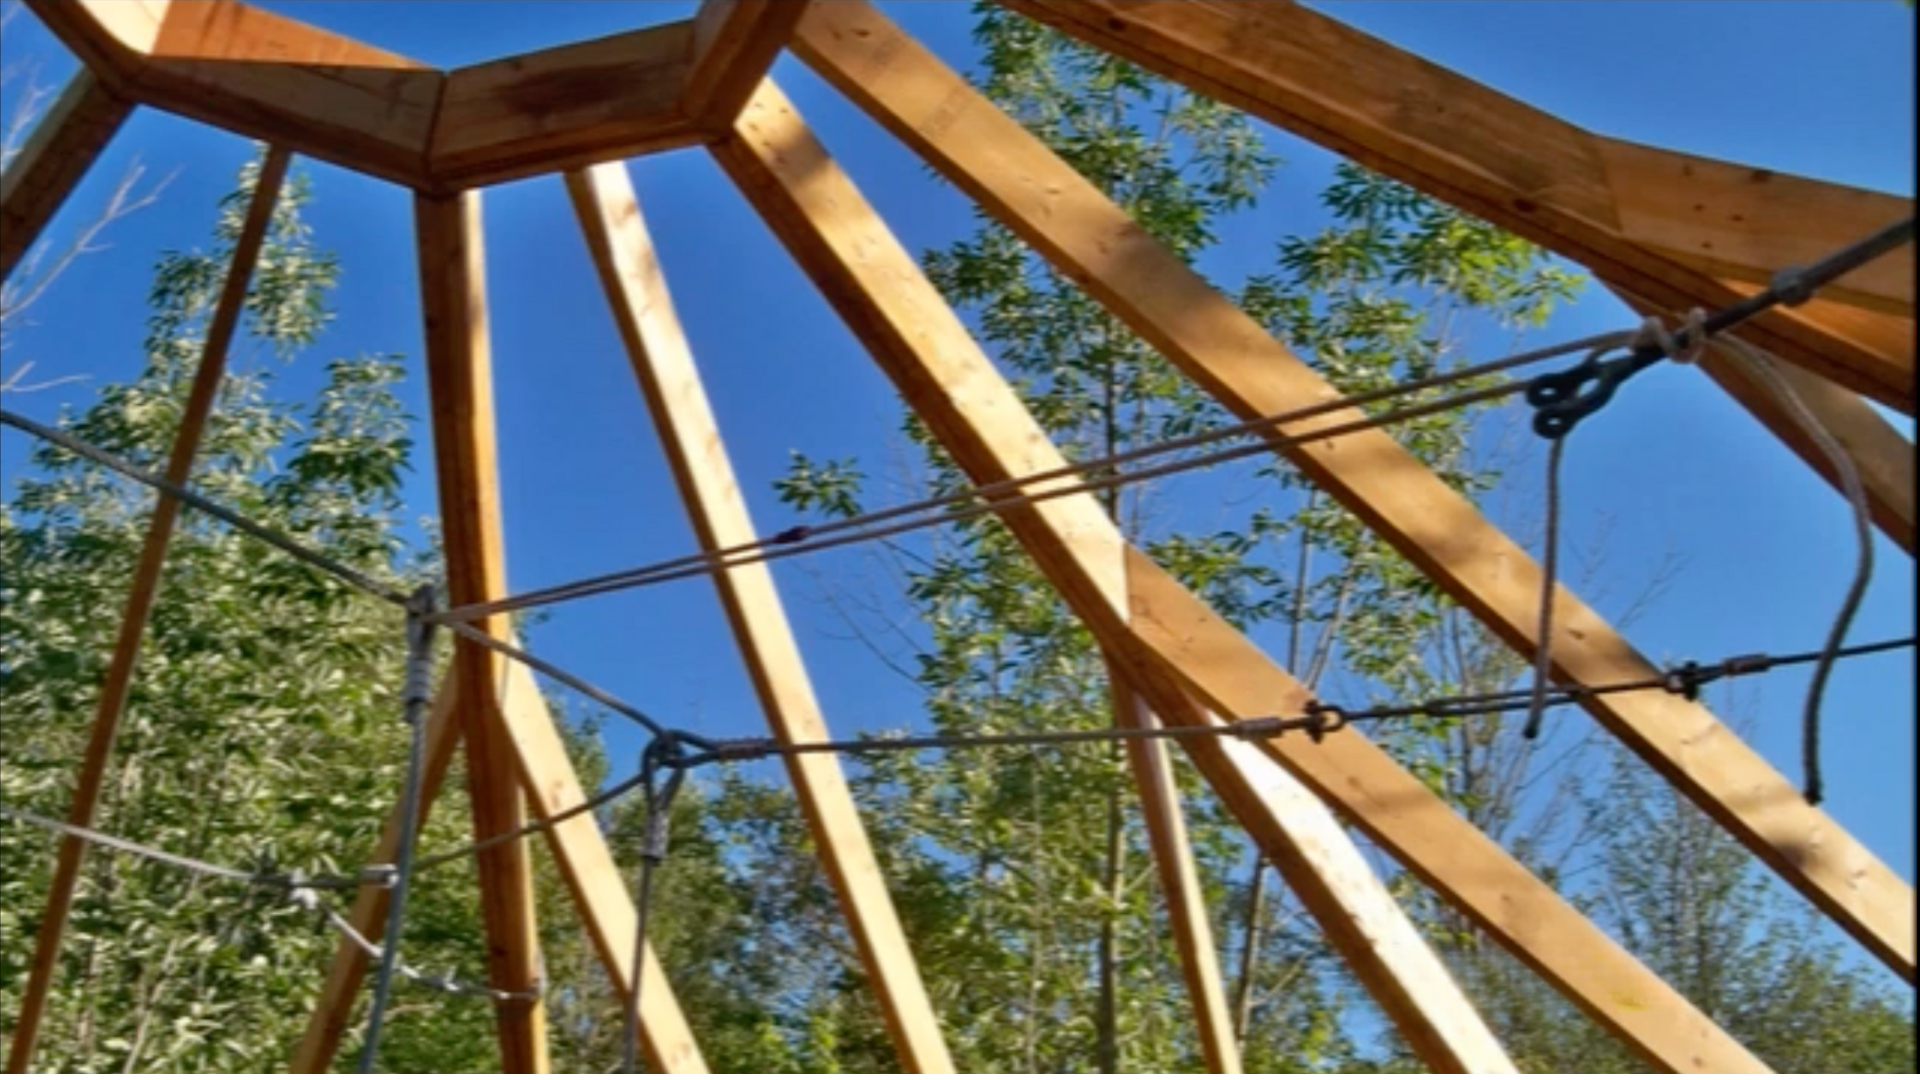
Step 7: Making the Ridge Post and Rafters
- Create the ridge post from glued 2×8 scraps.
- Drill a ¾” diameter hole for the weather vane base.
- Cut four equal sides at a 45° angle.
- Cut rafter ends to 66.4°, accounting for the birdsmouth notch.
- Use dowels to ensure screws don’t penetrate the weather vane hole.
Step 8: Attaching Rafters and Cutting Birdsmouths
- Dry-fit two rafters before securing all.
- Mark and cut notches for birdsmouth joints on the top plate.
- Attach rafters with 3″ screws on both the ridge post and top plate.
- Mark and cut rafter tails to accommodate fascia boards.
Step 9: Sheathing the Roof
- Lay 1×6 tongue-and-groove boards across rafters face down.
- Measure and mark for cuts.
- Fit boards without nailing until final assembly.
- Add plywood panels cut to fit over the sheathing.
- Temporarily fasten with screws.
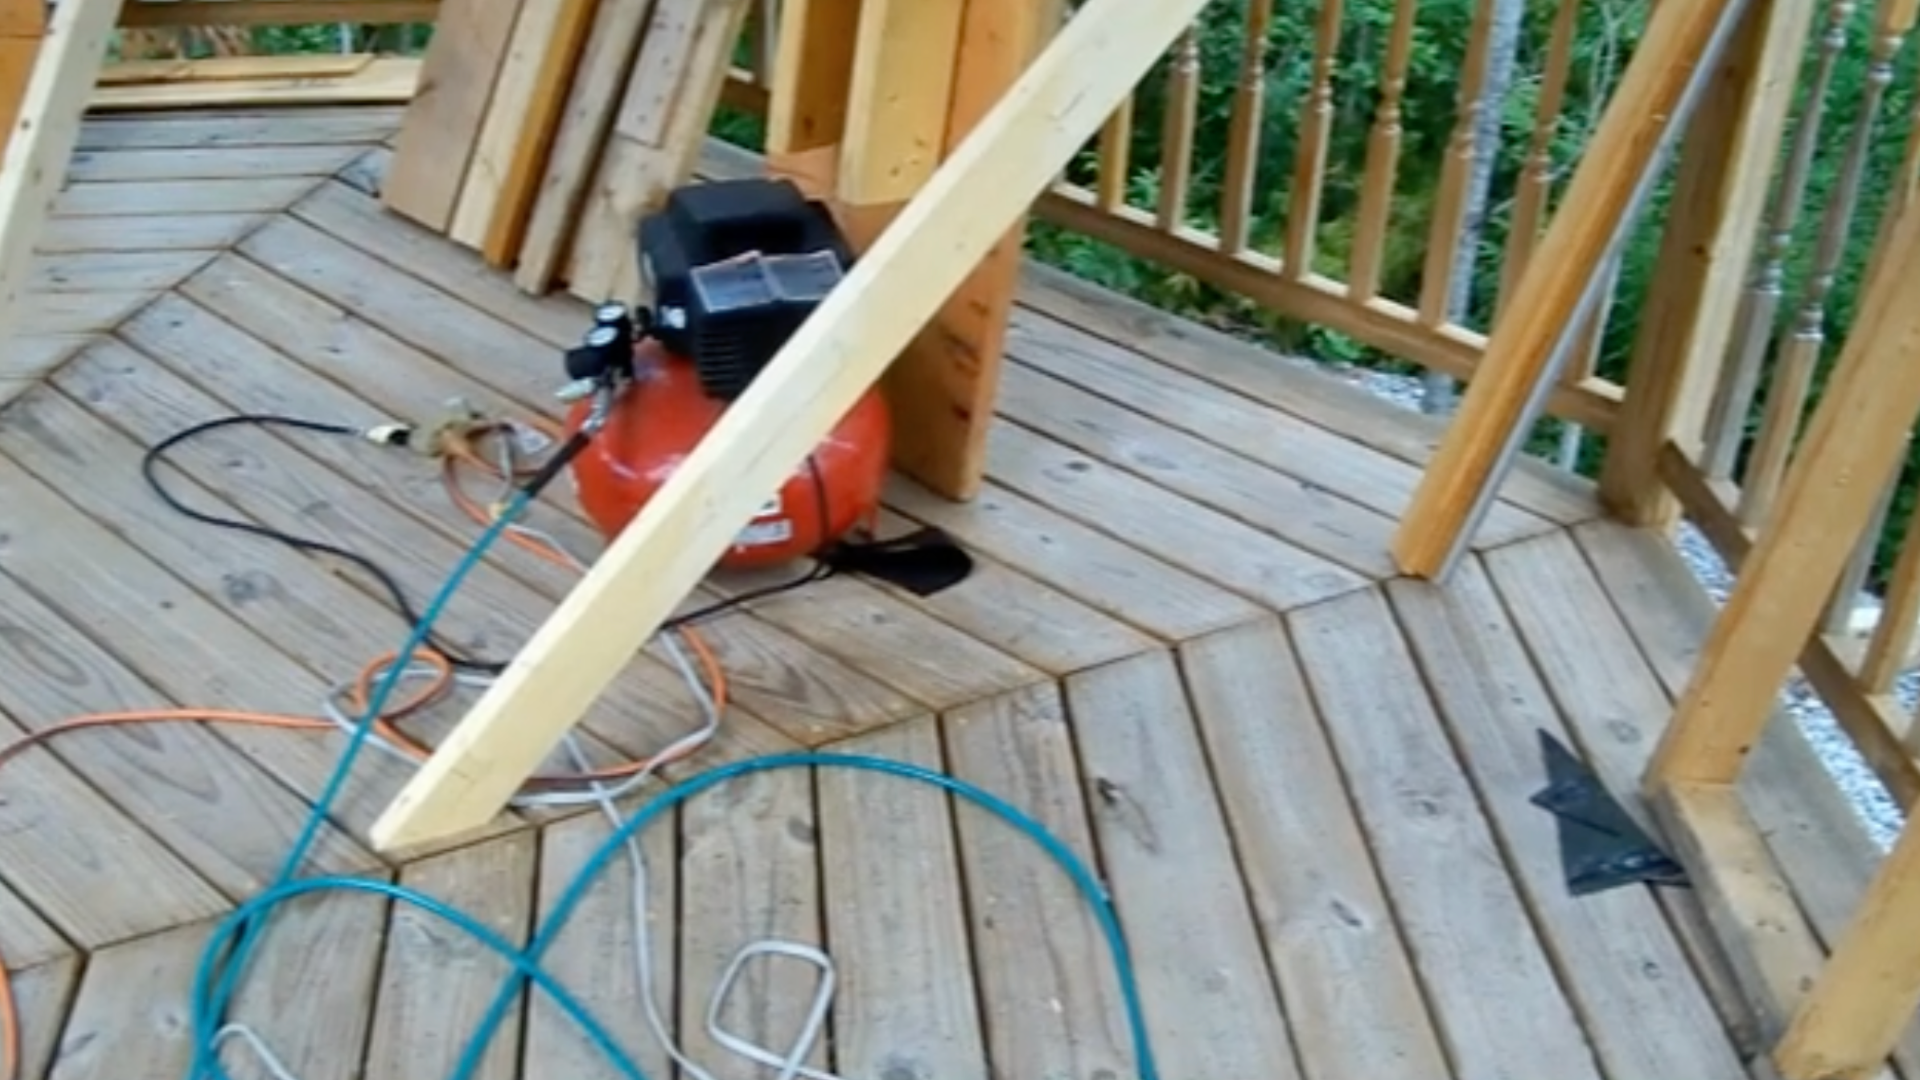
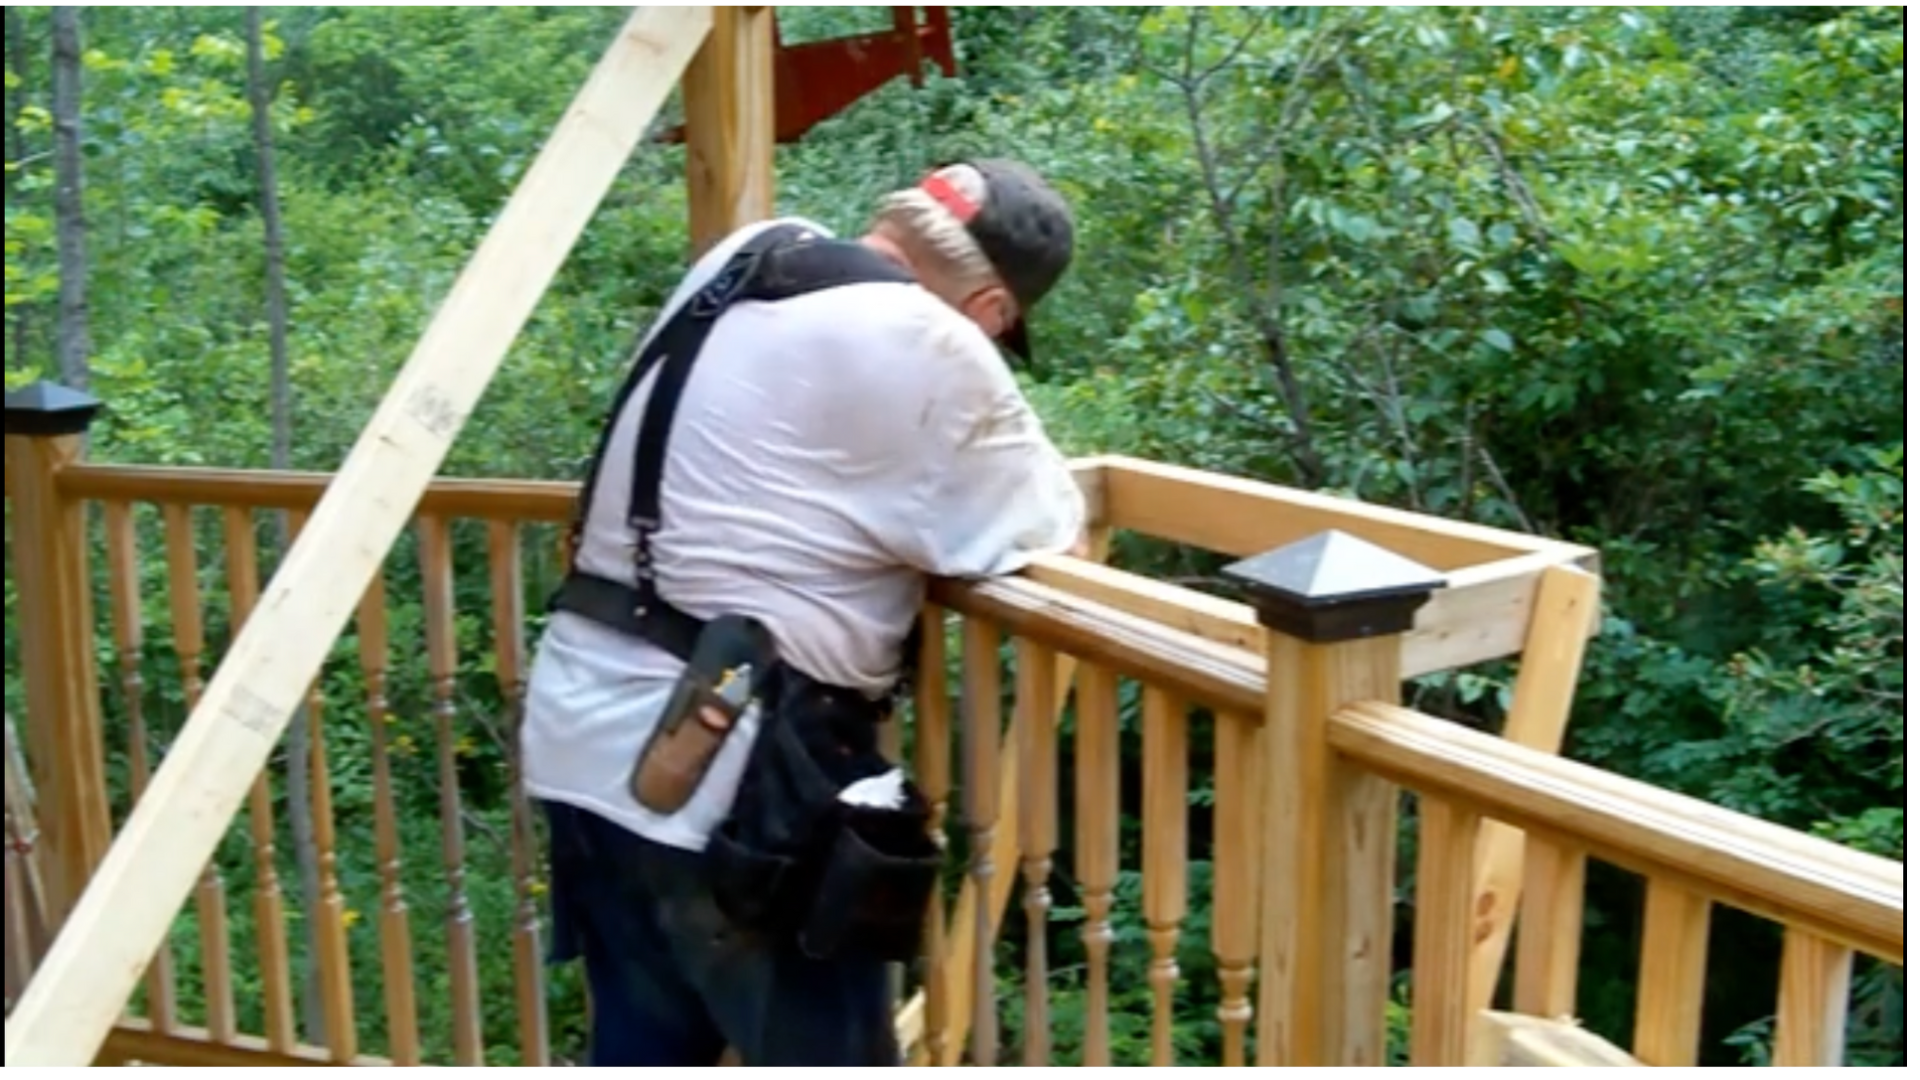
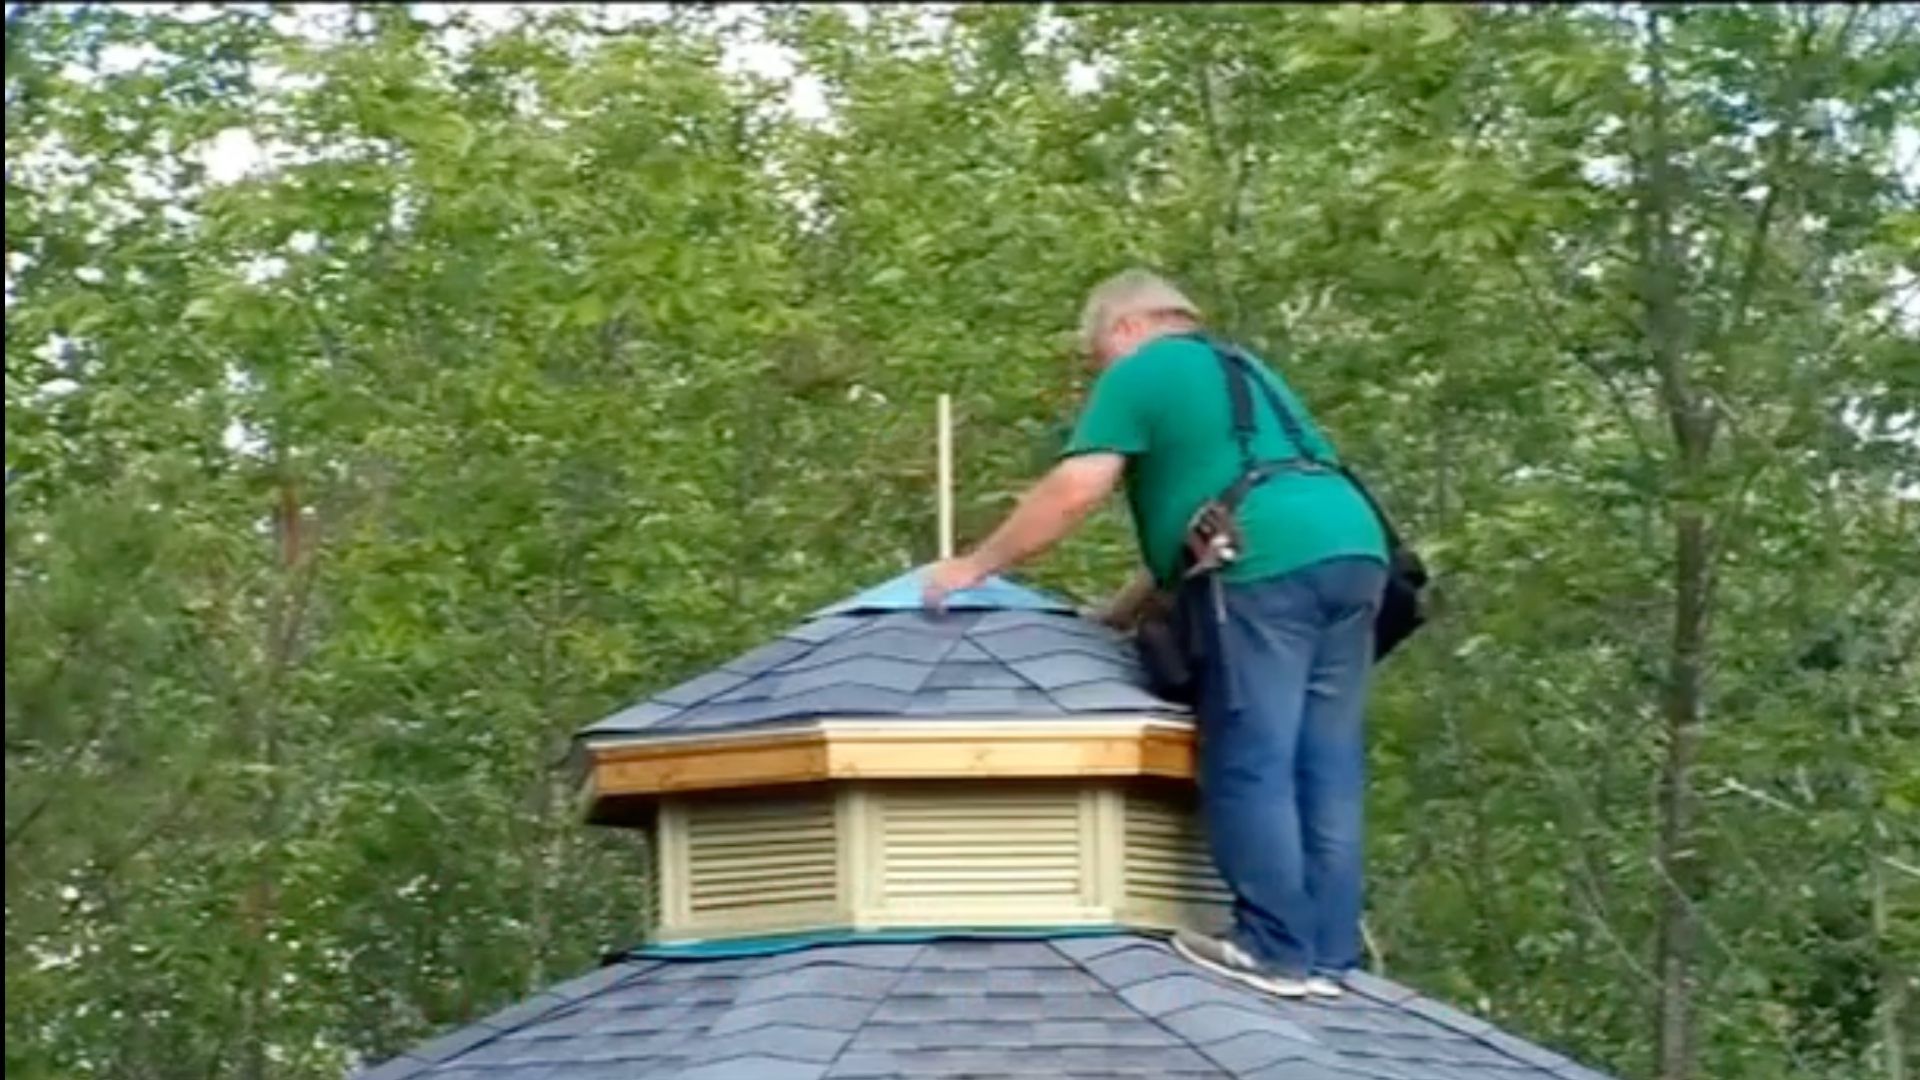
Step 10: Finishing and On-Site Assembly
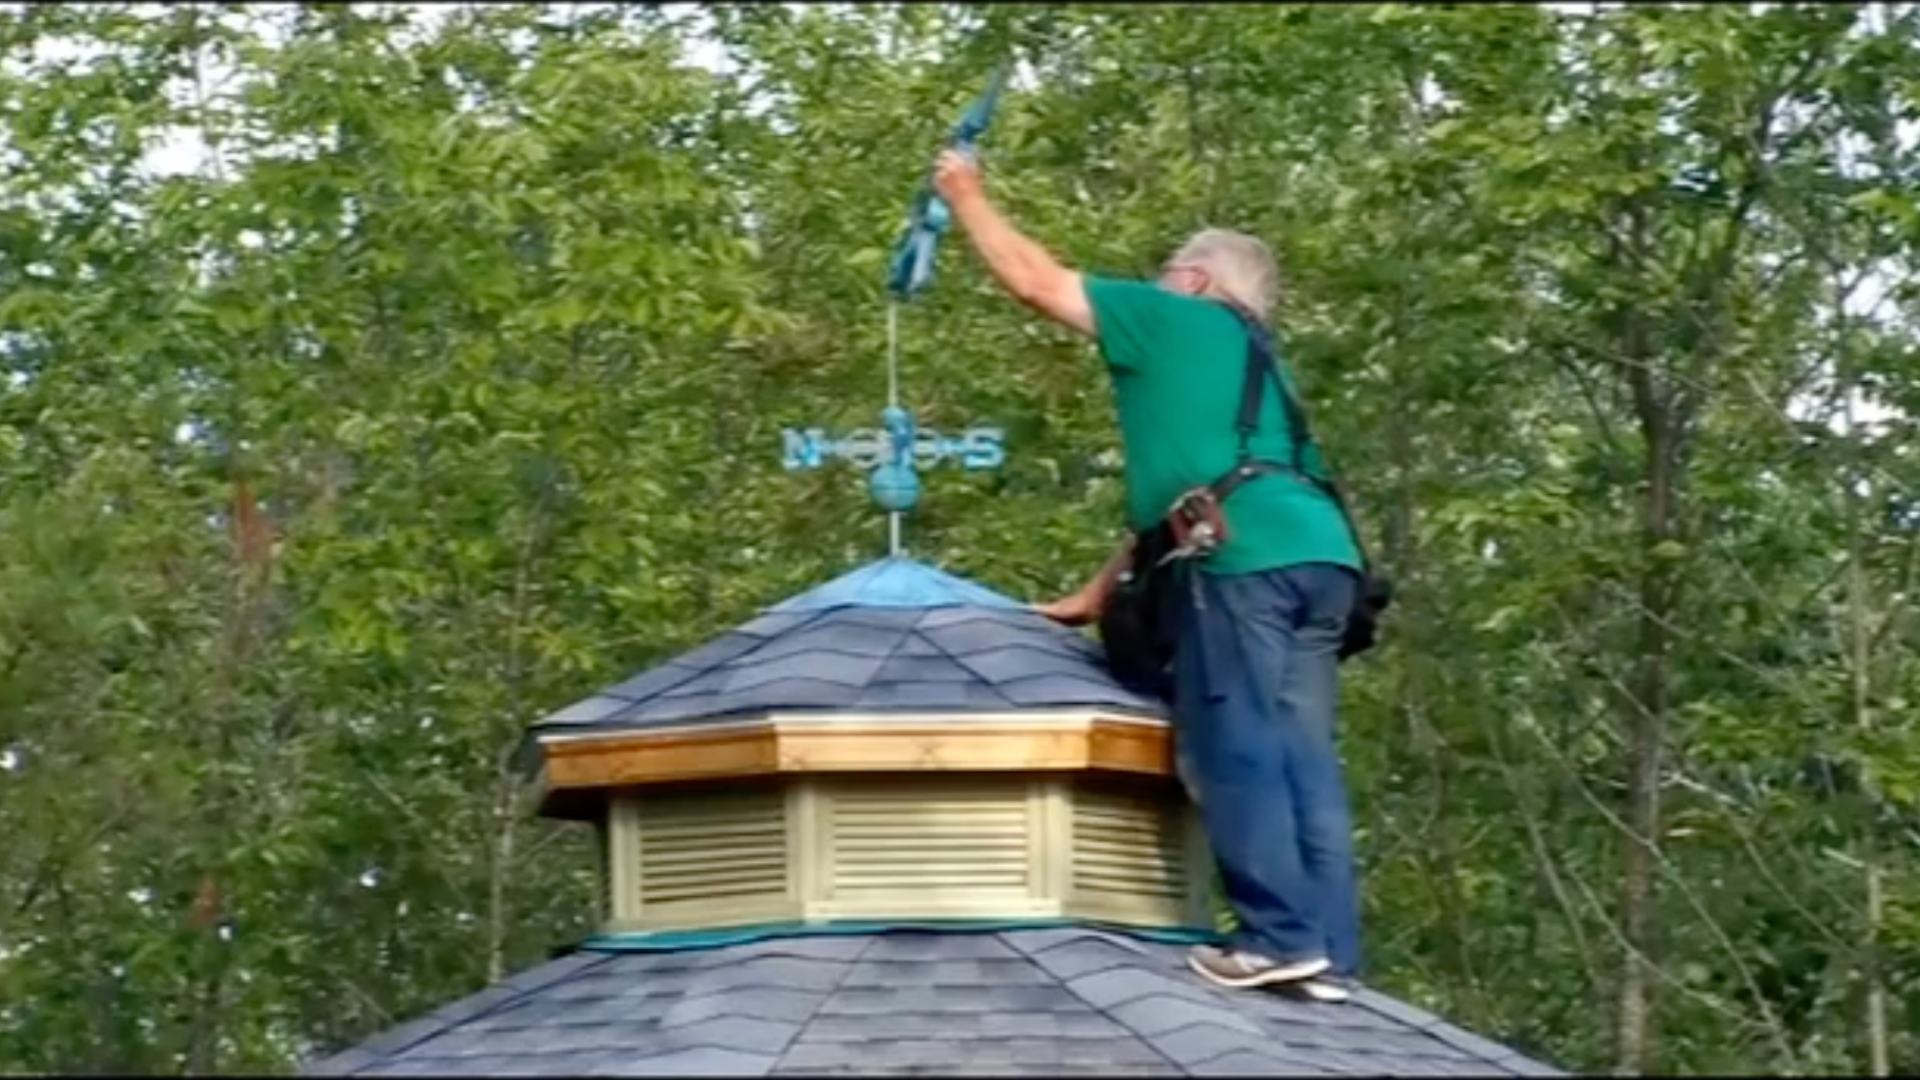
- Precut all shingles, fascia, and drip edge components.
- Disassemble for transport to the gazebo site.
- Reassemble the cupola on-site, section by section.
- Install the lattice windows and roof finishes for the final structure.
For a more detailed understanding, watch the video series “Building the gazebo roof step by step” by @Jeff Tishman.
Tips for a Successful Build
- Pre-cut and pre-fit all components in your workshop to reduce installation time and on-site issues.
- Use jigs for accurate, square window assembly, especially for lattice structures.
- Label parts during dry fit to save time during final assembly.
- Treat cut lumber thoroughly with preservative, especially intricate or exposed pieces.
- Keep a detailed drawing or notebook handy throughout the build for reference.
- Double-check all measurements before cutting, especially angles like 67.5° for the octagonal joints. Even small errors can compound in a symmetrical build.
- Invest in quality clamps and trammels; they’ll save you time and ensure clean, precise assembly for both platforms and ridge boards.
- Use pressure-treated lumber for all exterior-facing components to prevent rot, warping, or insect damage over time.
- Pre-drill screw holes to prevent splitting wood and ensure better alignment when attaching structural parts, such as rafters or louvers.
- Stain and seal all parts before final assembly, allowing you to reach hidden areas and ensure long-term protection.
- Take photos during your dry fit to use as a visual reference when reassembling parts on-site.
- Secure all parts for transport carefully if you’re pre-building sections off-site to avoid warping or breakage.
- Use color-coded labels or markings to easily match each piece to your diagrams or drawing notes.
- Always dry-fit windows and rafters before final fastening to make necessary adjustments without damage.
Conclusion
Building a gazebo is more than a weekend project; it’s a multi-step process that requires careful planning, precise execution, and a bit of patience. But the payoff is worth it.
You end up with a beautiful, functional architectural feature that enhances your outdoor space both practically and aesthetically.
From sketching the initial design and cutting an octagon base to assembling lattice windows and fitting rafters, each phase contributes to a structure that’s sturdy, weather-resistant, and stylish.
With the help of this guide and the right tools, you can tackle the project with confidence and pride, creating a lasting addition to your home that you’ll enjoy for years to come.
Plus, the hands-on experience of building it yourself deepens your connection to the space.
You’ll appreciate every detail, every angle, every screw, every louvered window, knowing you crafted it.