
A handcrafted porch sign does more than greet visitors – it showcases your home’s personality from the first glance. Making your sign lets you create something perfectly matching your style while saving money.
Your front porch sets the tone for your entire home. A DIY porch sign adds that personal touch that mass-produced decor can’t match.
The pride of creating something with your hands makes coming home even more special.
This guide will teach you everything to craft a beautiful, lasting porch sign. We’ll cover the best materials for outdoor durability, essential tools for professional results, and design tips to make your sign stand out.
From wood selection to weatherproofing, you’ll discover simple techniques to create a sign that looks great season after season
Materials Required for Building DIY Porch Signs
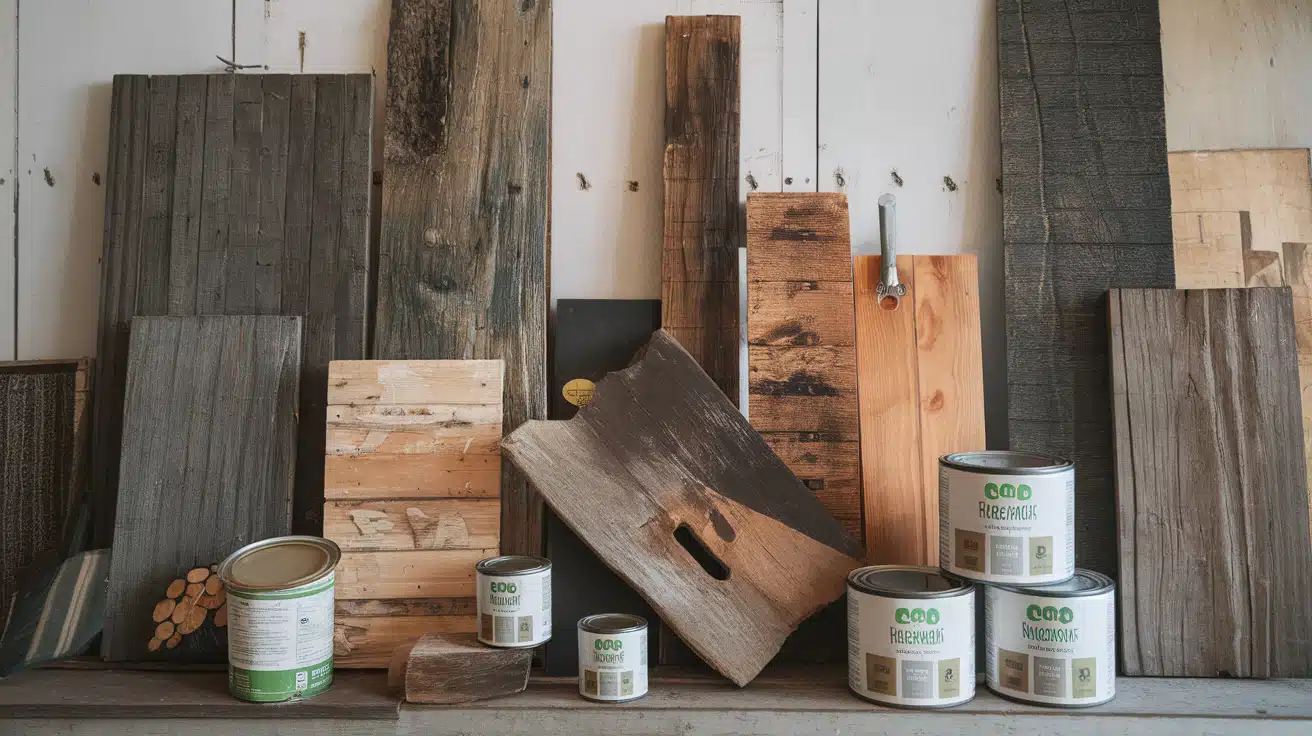
1. Wood Selection: Best Types of Wood for Outdoor Porch Signs

Pine boards make an excellent choice for porch signs due to their affordability and workability.
Cedar is another top option because it naturally resists decay and insects. These woods take stain and paint well, giving you flexibility in your design choices.
Reclaimed wood brings character to your project while being eco-friendly. Old fence boards or pallets can work well, but ensure they’re thoroughly cleaned and checked for nails first.
2. Best Outdoor Paints, Stains, and Weatherproofing Options
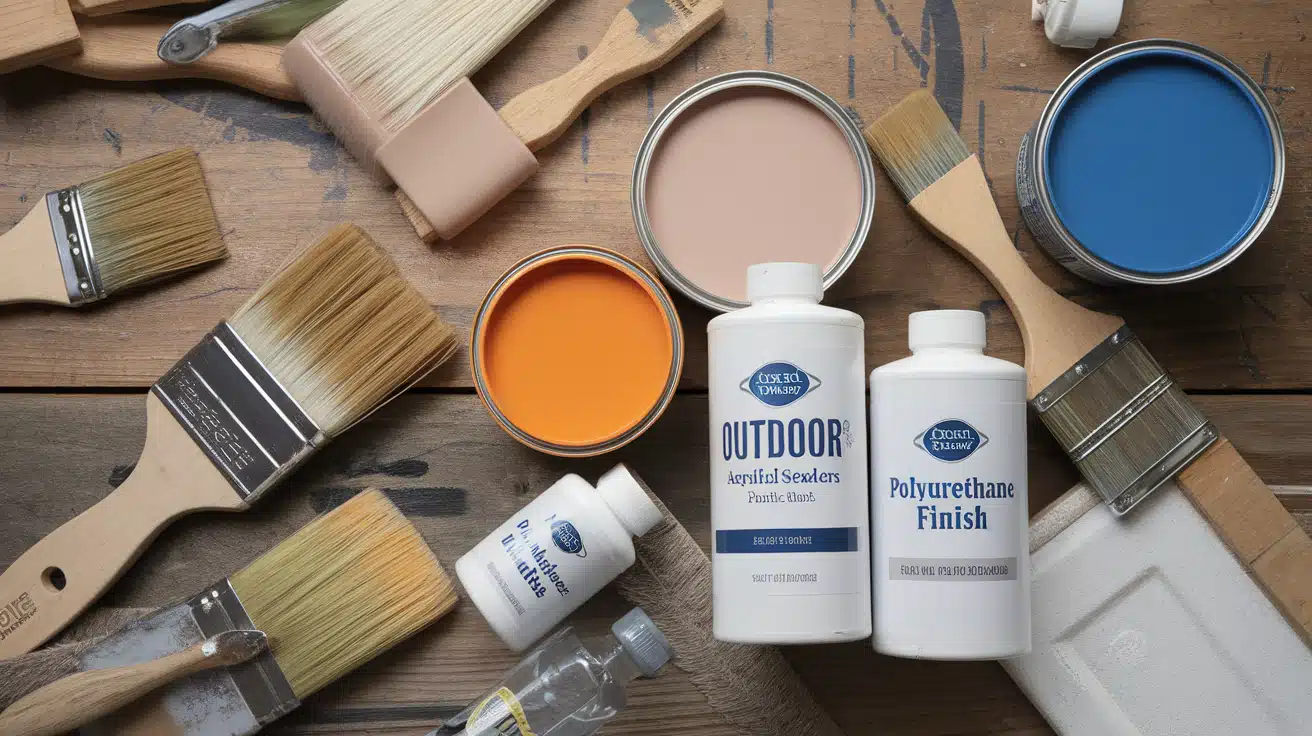
Exterior paint designed for outdoor use provides the best protection against sun and rain. Look for paint labeled specifically for outdoor wood surfaces. Water-based options dry quickly and clean up easily.
A quality exterior sealer helps protect your finished work. Clear acrylic sealers work well over paint, while polyurethane protects stained signs. For maximum durability, apply at least two coats.
3. Stencils, Vinyl Decals, and Other Decorative Elements
Stencils offer consistent lettering and come in various fonts and sizes. Self-adhesive vinyl provides clean edges and is easy to remove if you make mistakes.
Add decorative elements like small wreaths or metal accents for extra visual interest.
4. Required Tools: Sanding Tools, Measuring Tools, and Brushes

A measuring tape and pencil help ensure accurate cuts and letter spacing. Medium-grit sandpaper smooths rough spots, while fine grit creates a professional finish. Quality paintbrushes in various sizes allow for detailed work and even coverage.
5. Protective Gear: Gloves, Safety Glasses, and Other Essentials
Safety glasses protect your eyes during sanding and cutting. Work gloves shield your hands while handling rough wood. A dust mask keeps you safe when sanding, especially if working with reclaimed wood.
Planning Your DIY Porch Sign

1. Common Dimensions and Tips for Different Porch Types
The perfect size for your porch sign depends on your available space and entrance style. Most vertical porch signs range from 3.5 to 6 feet tall. Small porches work well with signs around 4 feet tall, while larger spaces can handle taller versions.
Width matters as much as height for visual balance. Standard boards measuring 11.25 to 12 inches wide create pleasing proportions.
Consider your door size when choosing dimensions – your sign shouldn’t overpower or get lost beside the entrance.
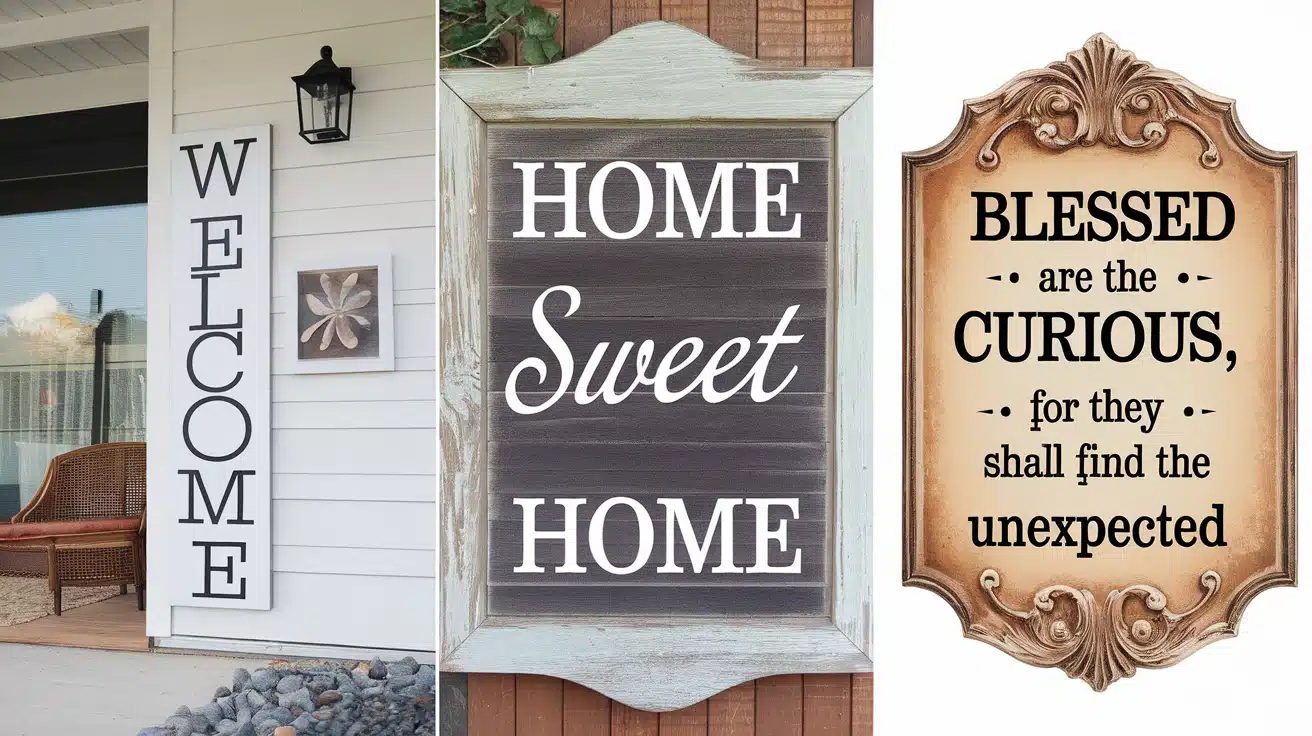
2. Text, Fonts, Layout, and Color Scheme Ideas
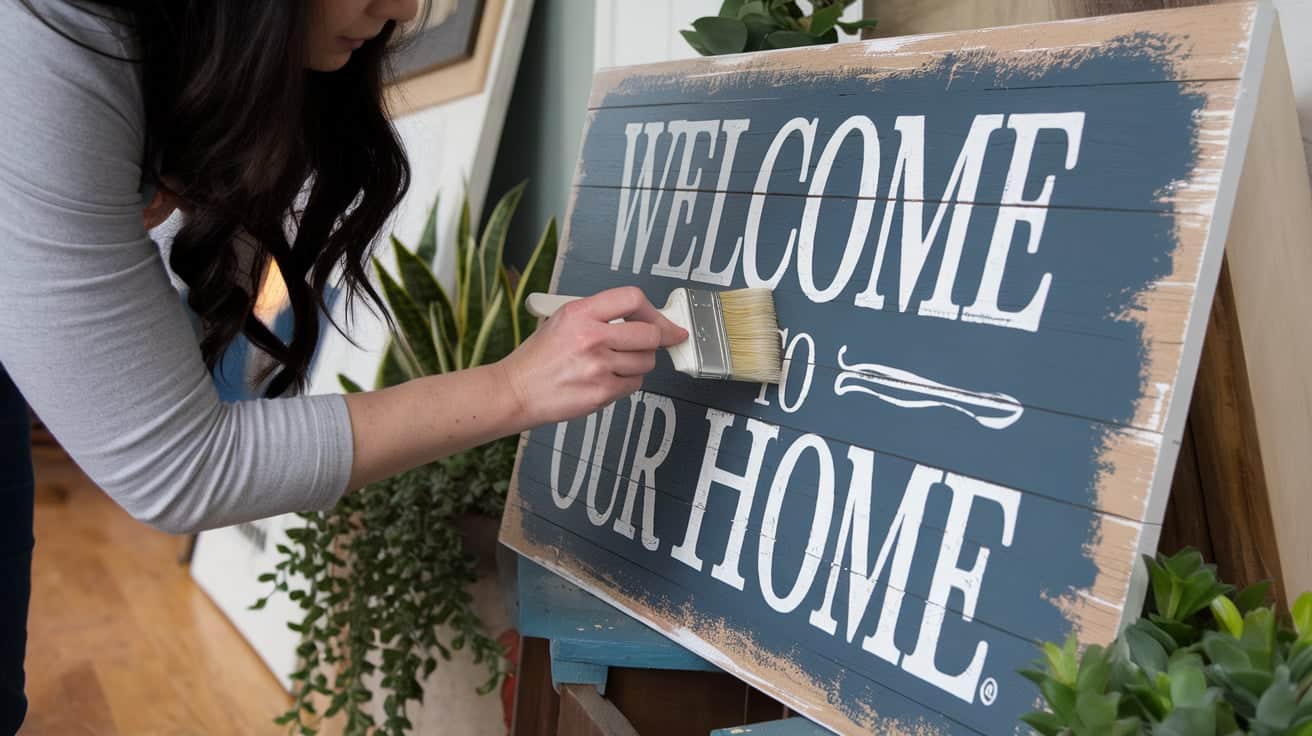
Your sign’s message sets the tone for your entire porch—simple phrases like “Welcome” or “Home” never go out of style. Family names paired with established dates create meaningful personalization.
Color choices should complement your home’s exterior. Dark stains with white lettering offer classic appeal. Bold paint colors can make your sign pop, but consider using shades that match your shutters or door for a cohesive look.
3. Best Placement for Visibility and Weather Resistance
Place your sign visible from the street but protected from direct weather when possible. Covered porches provide ideal protection. For exposed areas, consider using extra weatherproofing measures.
The sign should enhance your entrance, not block it. Test different positions before mounting. Many homeowners prefer placing signs slightly off the door, creating a balanced look with other porch decor.
4. Helpful Placement Tips
When choosing your spot, consider lighting. Natural daylight should make your sign readable. If you have porch lights, position the sign where it receives even illumination at night.
Consider foot traffic patterns, too. Your sign shouldn’t interfere with walking paths or door swings. Leave enough space for seasonal decorations you might add throughout the year.
Step-by-Step Guide on Crafting A DIY Porch Sign
1. Preparing the Wood: Cutting, Sanding, and Applying Base Coat
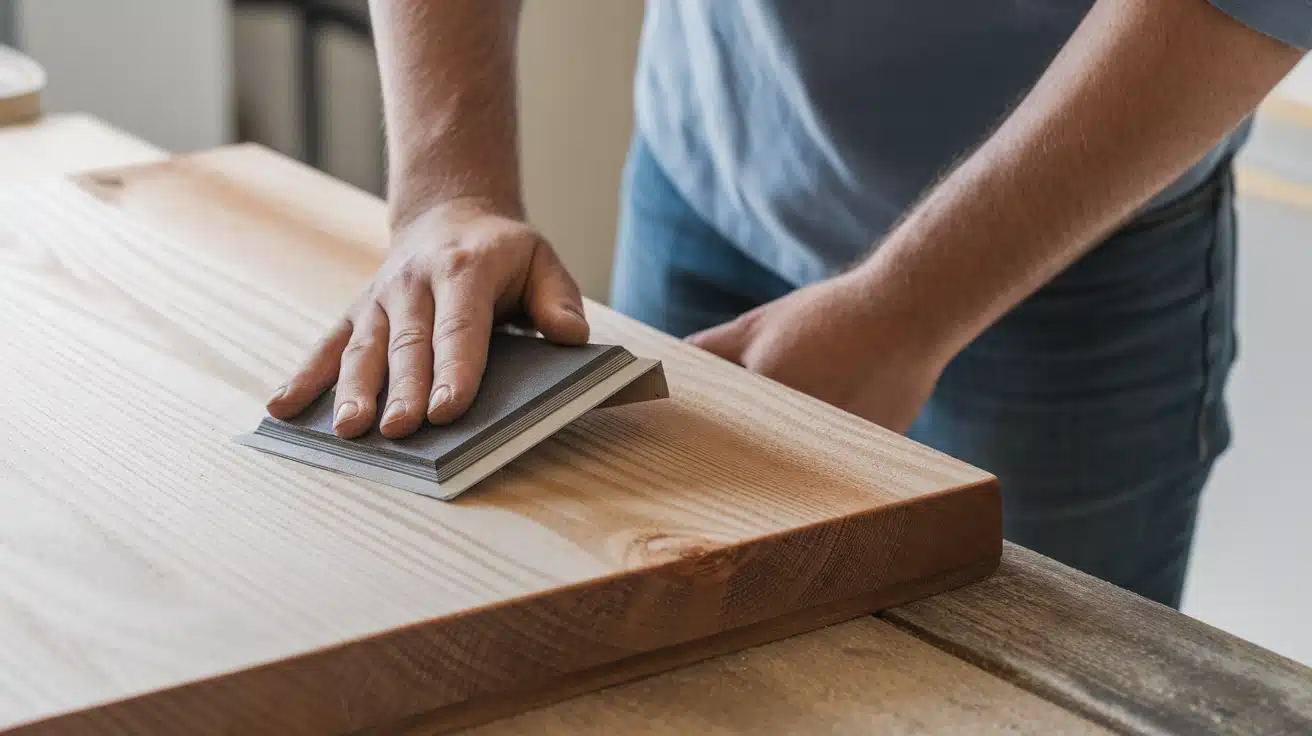
Start with a clean, dry board cut to your chosen size. Sand all surfaces thoroughly, beginning with medium-grit sandpaper to remove rough spots. Move to fine-grit paper for a smooth finish that the paint will adhere to properly.
Before painting, wipe away all dust with a tack cloth. Apply your base coat in thin, even layers. Light colors may need multiple coats for full coverage. Let each coat dry completely before adding another.
2. Techniques for Perfect Lettering
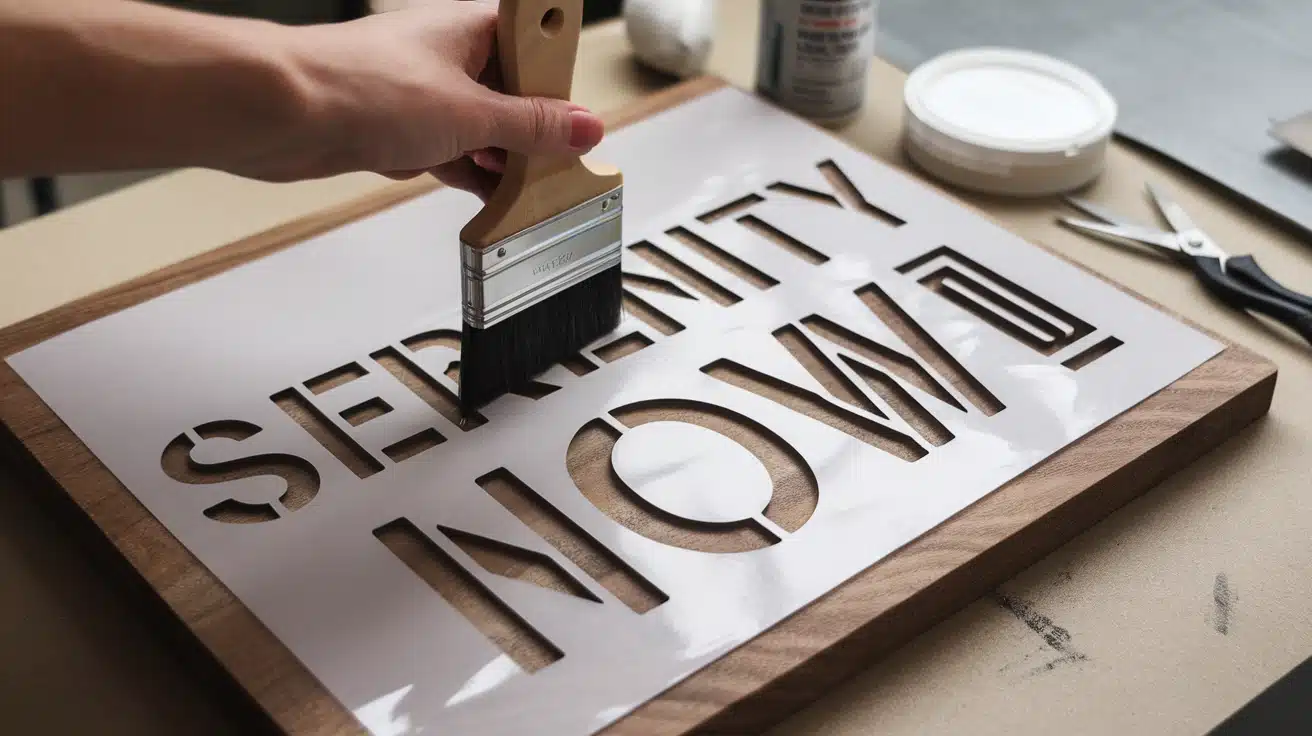
Position your stencils or vinyl letters with careful measuring. Mark the center point of your board and work outward for balanced spacing. Secure edges firmly to prevent paint from bleeding underneath.
Apply paint for letters using a dabbing motion rather than brushing strokes. This technique creates crisp edges without seepage. Remove stencils while the paint is slightly wet to prevent peeling.
3. Sealing and Long-Term Care Tips
A proper seal significantly extends your sign’s life. Choose a clear, exterior-grade sealer appropriate for your paint type. Avoid glossy finishes that might create glare.
Apply sealer in thin, even coats using long strokes. Sand lightly between coats if needed. The final coat should provide an unbroken barrier against moisture and UV rays.
4. Important Finishing Notes
Test your sealer on a scrap piece first to ensure compatibility with your paint. Some sealers can yellow over time, particularly in sunlight. If your sign will face direct sun, look for UV-resistant options.
Allow plenty of drying time between steps. Rushing the process can lead to bubbling or peeling later. Most sealers need 24-48 hours to cure fully before exposure to weather.
Creative DIY Porch Sign Customization Ideas
1. Reversible Porch Signs, Holiday Themes, Color Ideas
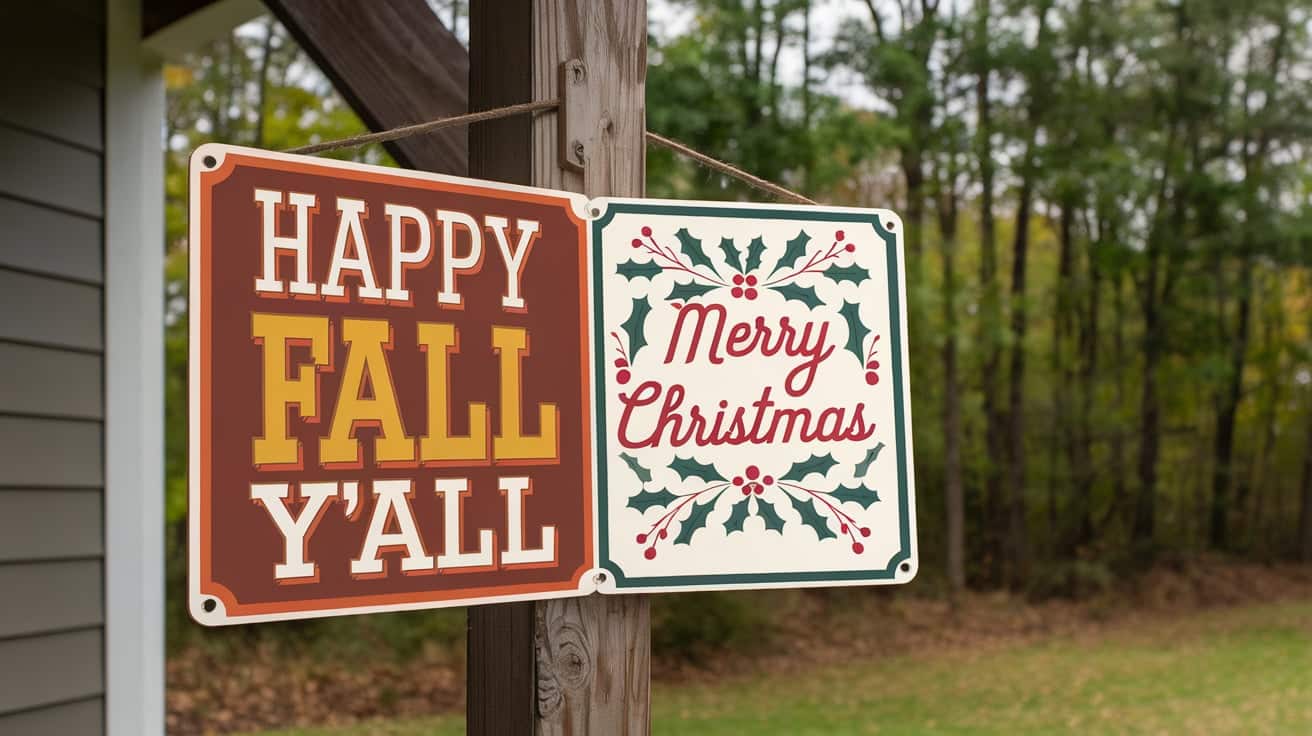
Consider making your sign reversible to maximize its usefulness. Paint different designs on each side for easy seasonal changes.
A “Welcome” message on one side could flip to show “Happy Holidays” or “Happy Fall” on the other.
Color choices can reflect the seasons without changing the entire sign. White letters work year-round, while accent colors can shift seasonally. Deep reds suit winter holidays, while soft pastels complement spring.
2. Wreaths, Floral Arrangements, and Seasonal Accents
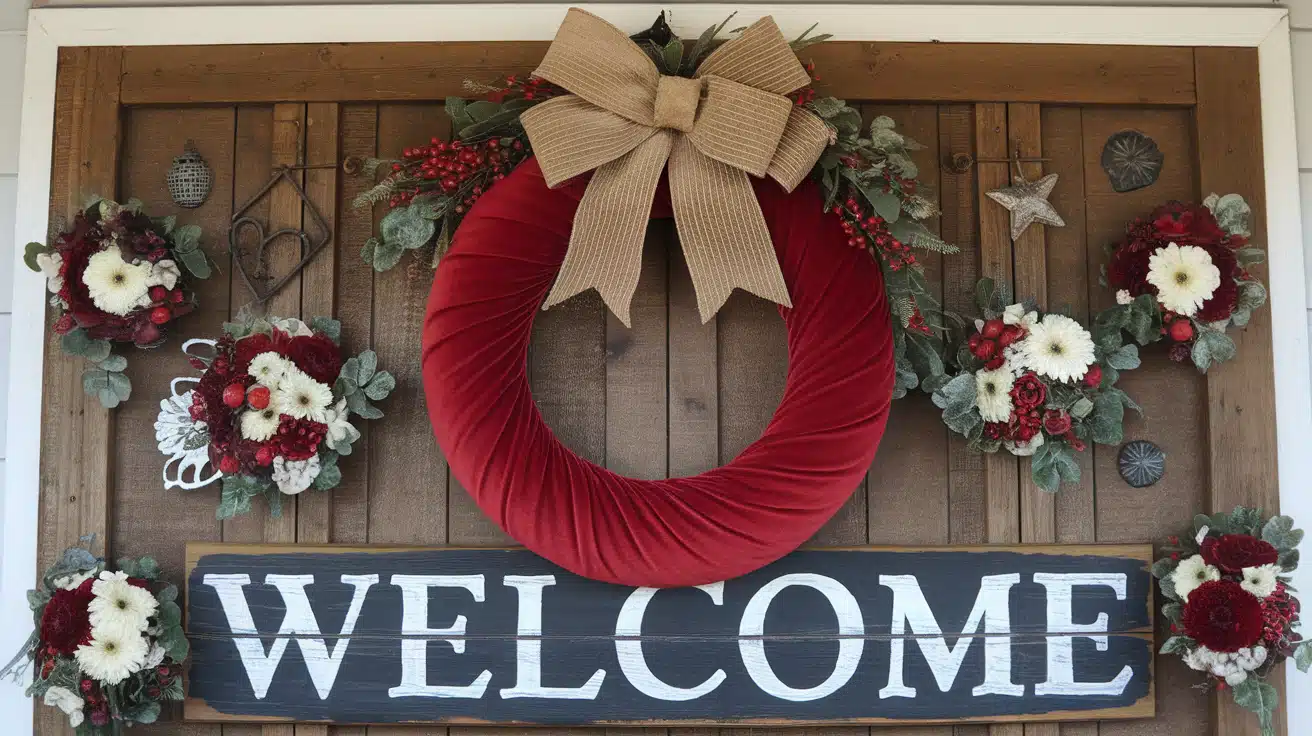
Small wreaths make perfect letter substitutions, especially for “O”s in words like “Home” or “Welcome.” Select artificial materials that withstand outdoor conditions. Change these elements seasonally to refresh your sign’s look.
Metal accents add dimension and interest to your sign. Simple hooks or brackets can hold interchangeable decorations. This flexibility lets you update your sign’s look without repainting.
3. Modern, Rustic, Vintage Porch Sign Designs
Modern designs feature clean lines and simple fonts. Black and white create a striking contrast, while metallic accents add sophistication. Keep decorative elements minimal for a contemporary feel.
Rustic styles welcome imperfection. Light distressing along edges creates aged character. Natural wood grain showing through paint adds warmth and authenticity to your design.
Vintage looks combine traditional fonts with subtle aging techniques. Choose muted colors that appear softened over time. Small details like corner scrollwork enhance the period feel.
Design Integration Tips
Match your sign’s style to your home’s architecture. Victorian homes suit ornate designs, while craftsman styles pair well with simpler, geometric patterns.
Remember that simpler designs often have more impact. Too many decorative elements can make your sign look cluttered. Focus on one or two special features that enhance your message.
Budget-Friendly and Eco-Friendly Tips
Cost-Saving Ideas
Local hardware stores often sell “cull” lumber at reduced prices. These boards might have minor flaws, but they’re perfect for rustic signs. Check their discount sections regularly for deals on paint and supplies.
Building supply stores typically cut wood for free or for a small fee. This service saves you money on tools while ensuring straight cuts. You can also save leftover paint and supplies for touch-ups or future projects.
Eco-Friendly Practices
Reclaimed wood makes excellent sign material while keeping usable lumber out of landfills. Look for old fence boards, pallets, or barn wood. Clean these thoroughly before use.
Low-VOC paints and stains reduce harmful emissions. Many brands now offer eco-friendly options that perform as well as traditional products. Choose water-based formulas when possible for easier cleanup.
Porch Sign Maintenance and Long-Term Care
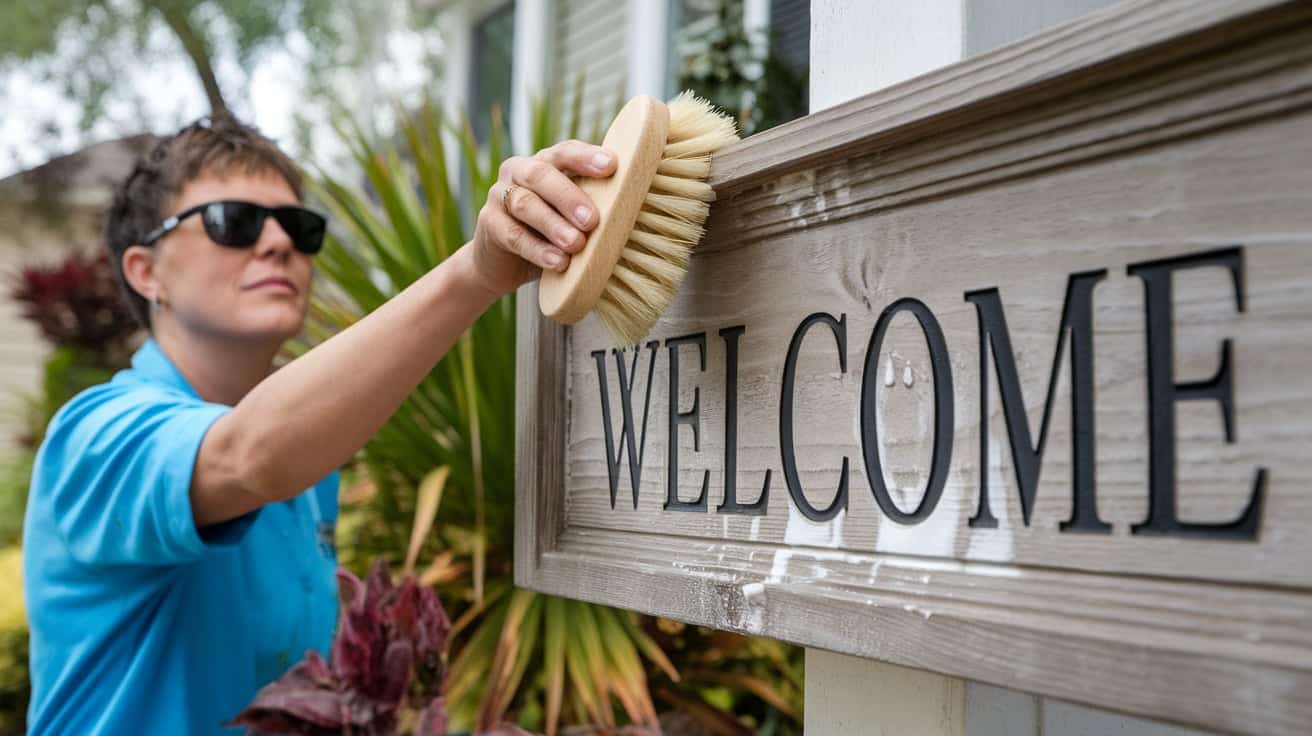
1. How to Clean and Touch Up Your Porch Sign?
Regular cleaning keeps your sign looking fresh. Use a soft brush to remove dust and cobwebs monthly. Gentle soap and water work well for deeper cleaning when needed.
Check your sign every season for wear. Touch up paint chips promptly to prevent wood damage.
Keep small amounts of your paint colors for repairs. Light sanding, followed by careful paint application, makes fixes nearly invisible.
2. Protecting Your Sign During Extreme Weather
Remove portable signs during severe storms or extreme weather. Store them in a dry, covered area to prevent warping. To maintain their shape, stand signs upright rather than laying them flat.
For permanent installations, add extra sealant before harsh weather seasons. Consider a removable cover during long periods of rain or snow. Good air circulation prevents moisture buildup that can damage wood.
3. Keeping Your Porch Sign Looking Great Year-Round
Evaluate your sign’s finish yearly for UV damage or wear. Most signs need resealing every two to three years. Watch for peeling or fading signs, which indicate it’s time for maintenance.
Small cracks can be filled with wood putty before refinishing. Sand repairs smooth and match paint carefully. A complete refresh with new paint sometimes makes more sense than spot repairs.
4. Long-Term Protection Tips
Position your sign so that water won’t pool at its base. If mounting directly to walls, use spacers. Good air circulation significantly extends wood life.
Consider adding a small roof or awning above permanently mounted signs. This extra protection can double or triple the time between refinishing. Keep trees and bushes trimmed back to prevent moisture traps.
Conclusion
Creating your porch sign offers more than cost savings—it adds a unique touch to your home’s entrance. With basic tools and materials, you can craft a sign that reflects your style and withstands outdoor conditions.
Remember, the best porch signs combine good design with proper construction.
Following the steps in this guide, you’ve learned how to select materials, create lasting finishes, and add personal touches that make your sign special.
Your handmade sign will welcome guests and bring you joy each time you come home.
Whether you choose a classic design or swap decorations with the seasons, your DIY porch sign shows that you care about your home’s appearance.
Start your project confidently, knowing you can create something beautiful that will last for years.