
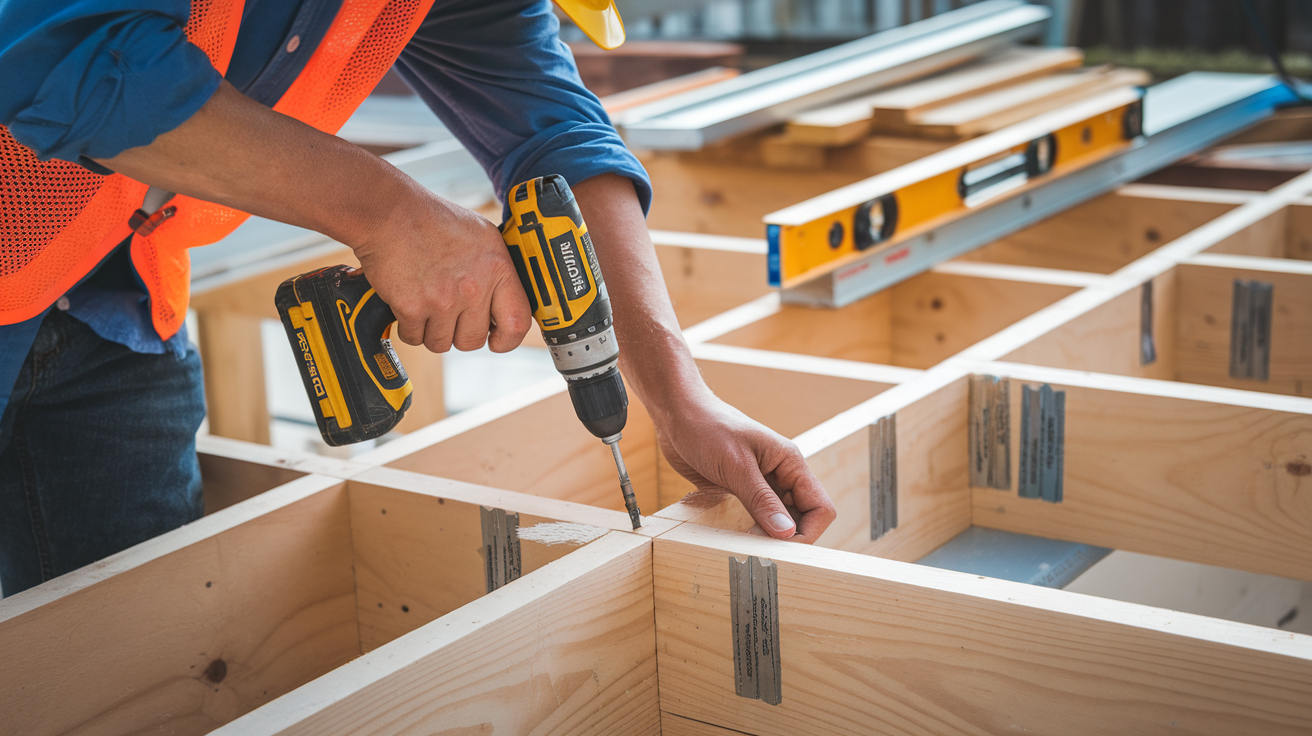
Framing a deck is one of the most important, and honestly, most satisfying parts of the entire build. It’s the structural backbone that supports everything, so getting it right matters.
I remember how overwhelming it felt the first time I picked up a post-hole digger, but with the right guidance, it quickly became manageable.
If you’re building a ground-level platform or something multi-level and complex, framing is where the magic starts.
In this post, I’ll walk you through all the essential steps, from measuring and digging post holes to setting beams, leveling joists, and squaring everything up.
Each part has its role, and once they come together, your deck begins to feel real. So grab your tools, take a deep breath, and let’s frame this deck the right way, strong, level, and built to last.
Why Frame a Deck?
Framing is the most important part of building a deck; it supports the weight of everything on it, including people, furniture, and weather-related loads like snow or rain.
A well-built frame keeps the deck stable, level, and durable over time. It also defines the layout, from corners to stair openings, and supports features like railings or pergolas.
Since the framing sets the foundation for decking boards and trim, it has a direct impact on the deck’s appearance and functionality.
DIY or professionally built, a deck with solid framing will be safer, code-compliant, and built to last.
Understanding: Deck Framing Basics
Every strong deck begins with a solid frame. This section breaks down the key parts so you can see how they work together for a safe, sturdy build and make the process easier overall.
- Ledger Board: Attaches the deck to your home and supports one end of the joists. It must be securely fastened and properly flashed to prevent water damage.
- Posts: Vertical supports that transfer the deck’s load into the ground. They’re set in concrete or anchored to footings for strength and stability.
- Beams: Horizontal supports that rest on the posts and carry the load from the joists above. Beams are often doubled for added strength.
- Joists: These run perpendicular to the beams and support the decking boards. Proper spacing and sizing are key to preventing sagging and ensuring a firm walking surface.
Step by Step Guide: How To Frame a Deck
Framing is the foundation of a safe, sturdy deck. This section covers each step, from setting posts to installing joists, to help you build with confidence, whether starting fresh or sharpening your skills.
Materials Needed
Before you start framing, gather all the essential materials to ensure a smooth build.
- Post bases: Secure connectors that anchor deck posts to concrete footings.
- Pressure-treated posts: Rot-resistant wood posts used for vertical structural support.
- Concrete footings: Solid base poured below the frost line to support deck posts.
- Measuring tape: Essential tool for accurate layout and consistent spacing.
- Chalk line: Used to mark straight layout lines across footings or framing.
- Masonry drill: Heavy-duty drill for boring holes into concrete surfaces.
- Wedge anchors: Concrete fasteners that lock post bases into place.
- Level: Ensures beams, joists, and posts are perfectly horizontal or plumb.
- Joist boards: Horizontal framing members that support decking boards.
- Composite decking boards: Durable, low-maintenance surface boards for the deck.
- Composite deck screws: Special screws designed for securing composite boards without splitting.
- Hidden fastener clips: Grooved-edge clips for seamless, screw-free deck surfaces.
- Wood slats (for spacing): Temporary spacers used to maintain consistent board gaps.
- Circular saw: A power tool for cutting framing lumber and decking boards.
- Drill/driver: Used to drive screws and install fasteners efficiently.
- Rubber mallet: Helps tap pieces into place without damaging the material.
- Straight edge: Used to align posts or boards in a straight line.
Step 1: Plan and Measure for the Beam Placement
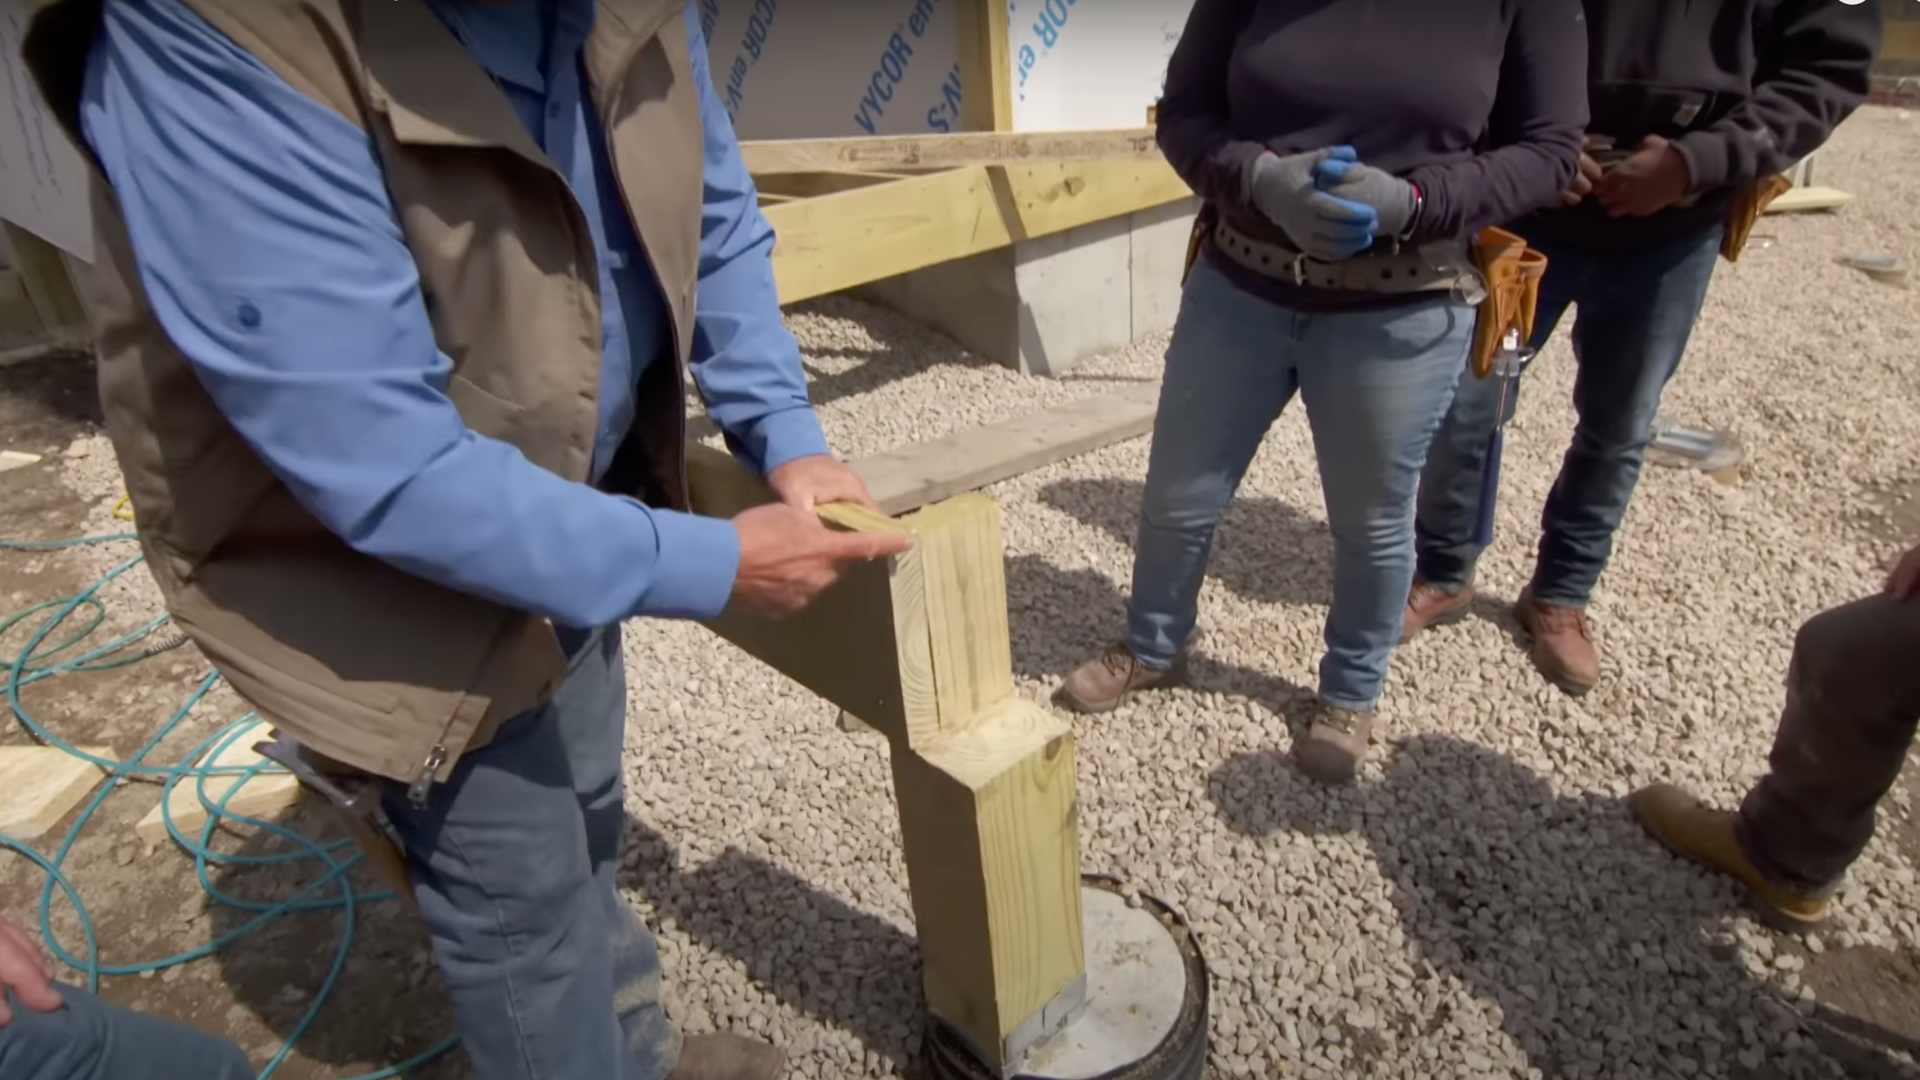
Begin by marking out your deck layout using clear measurements. Determine the exact span for your carrying beam by cutting and testing a joist.
Use this to confirm the inside dimensions for your beam placement.
Establishing accurate measurements upfront ensures that your frame will be square, level, and in the right position before you begin drilling or setting posts.
Step 2: Snap Chalk Lines for Post Bases
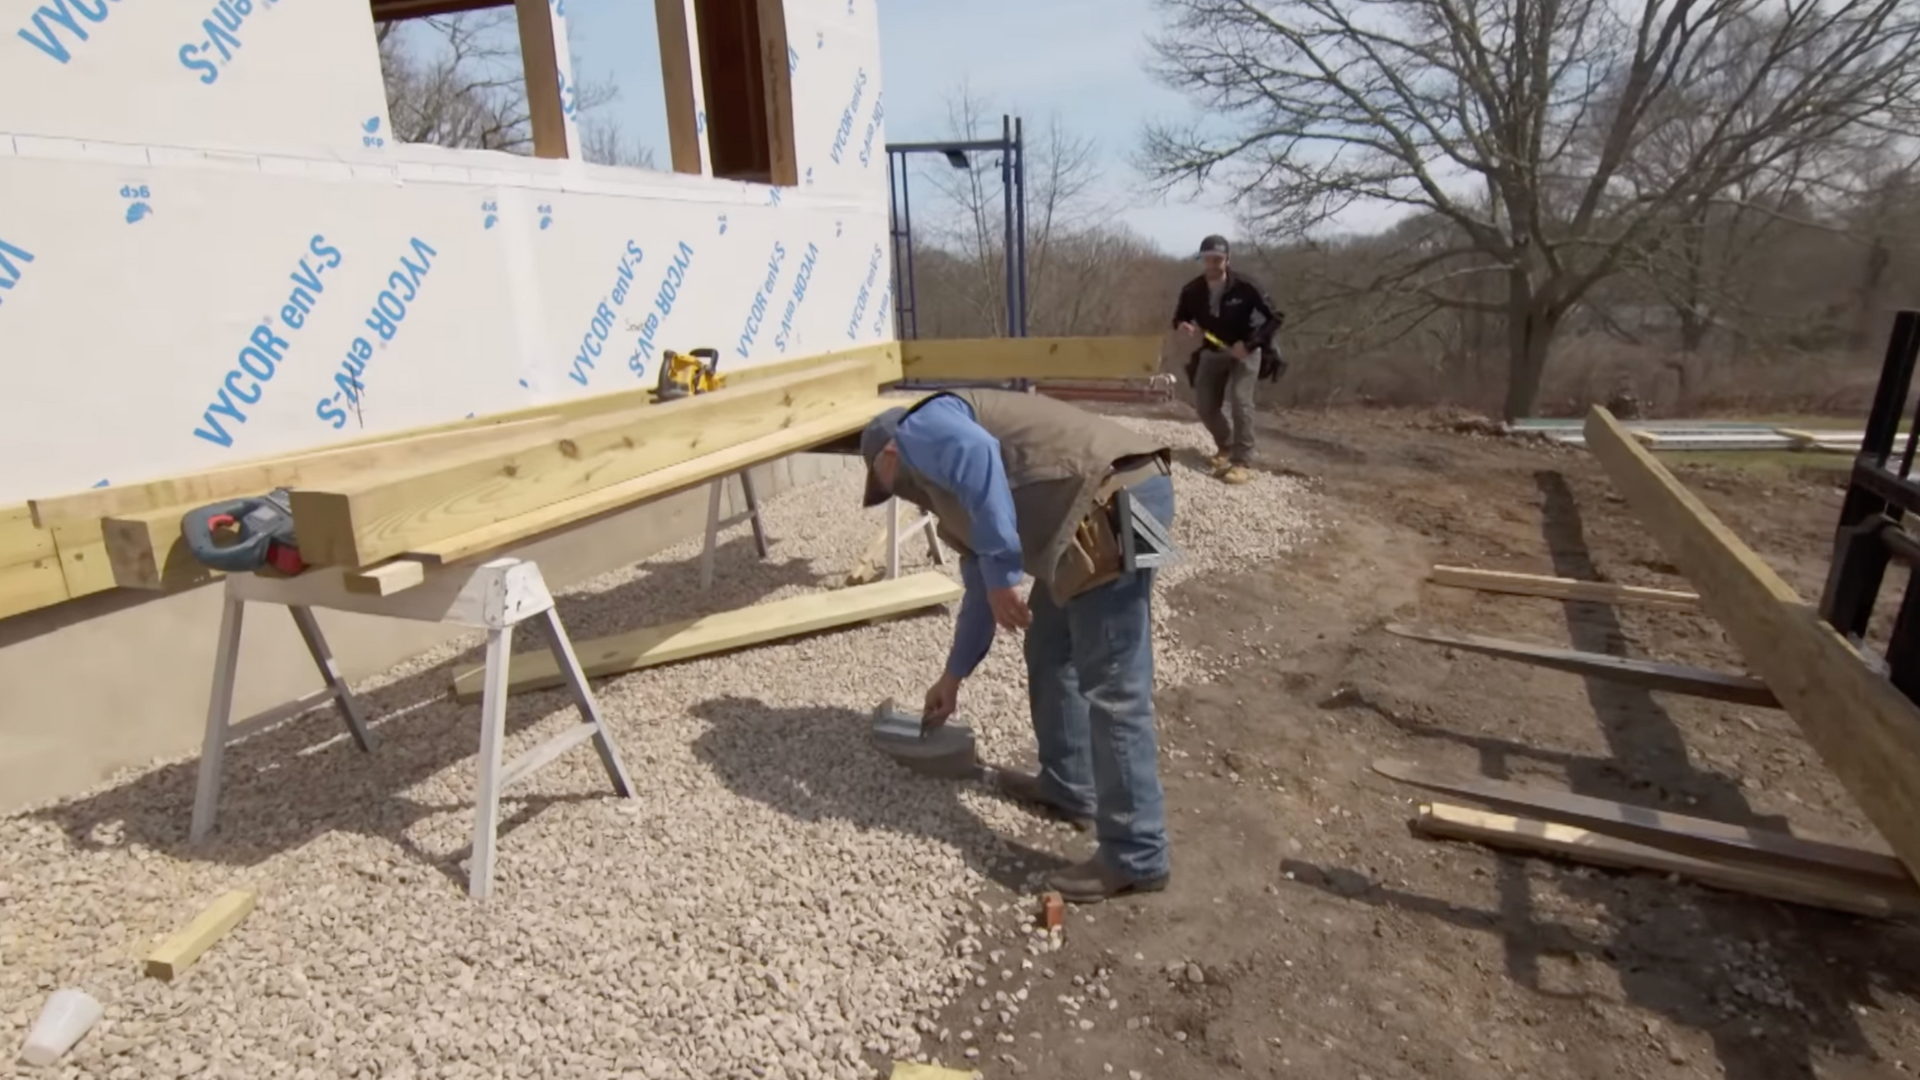
Once your dimensions are set, snap a chalk line across the top of each post base location.
Clear away any debris or stones to ensure an accurate snap. This line serves as a reference for aligning all the outer posts evenly.
Getting this alignment right now helps keep your entire deck frame square and ensures the posts and beams are installed in a straight, level line.
Step 3: Drill and Anchor Post Bases
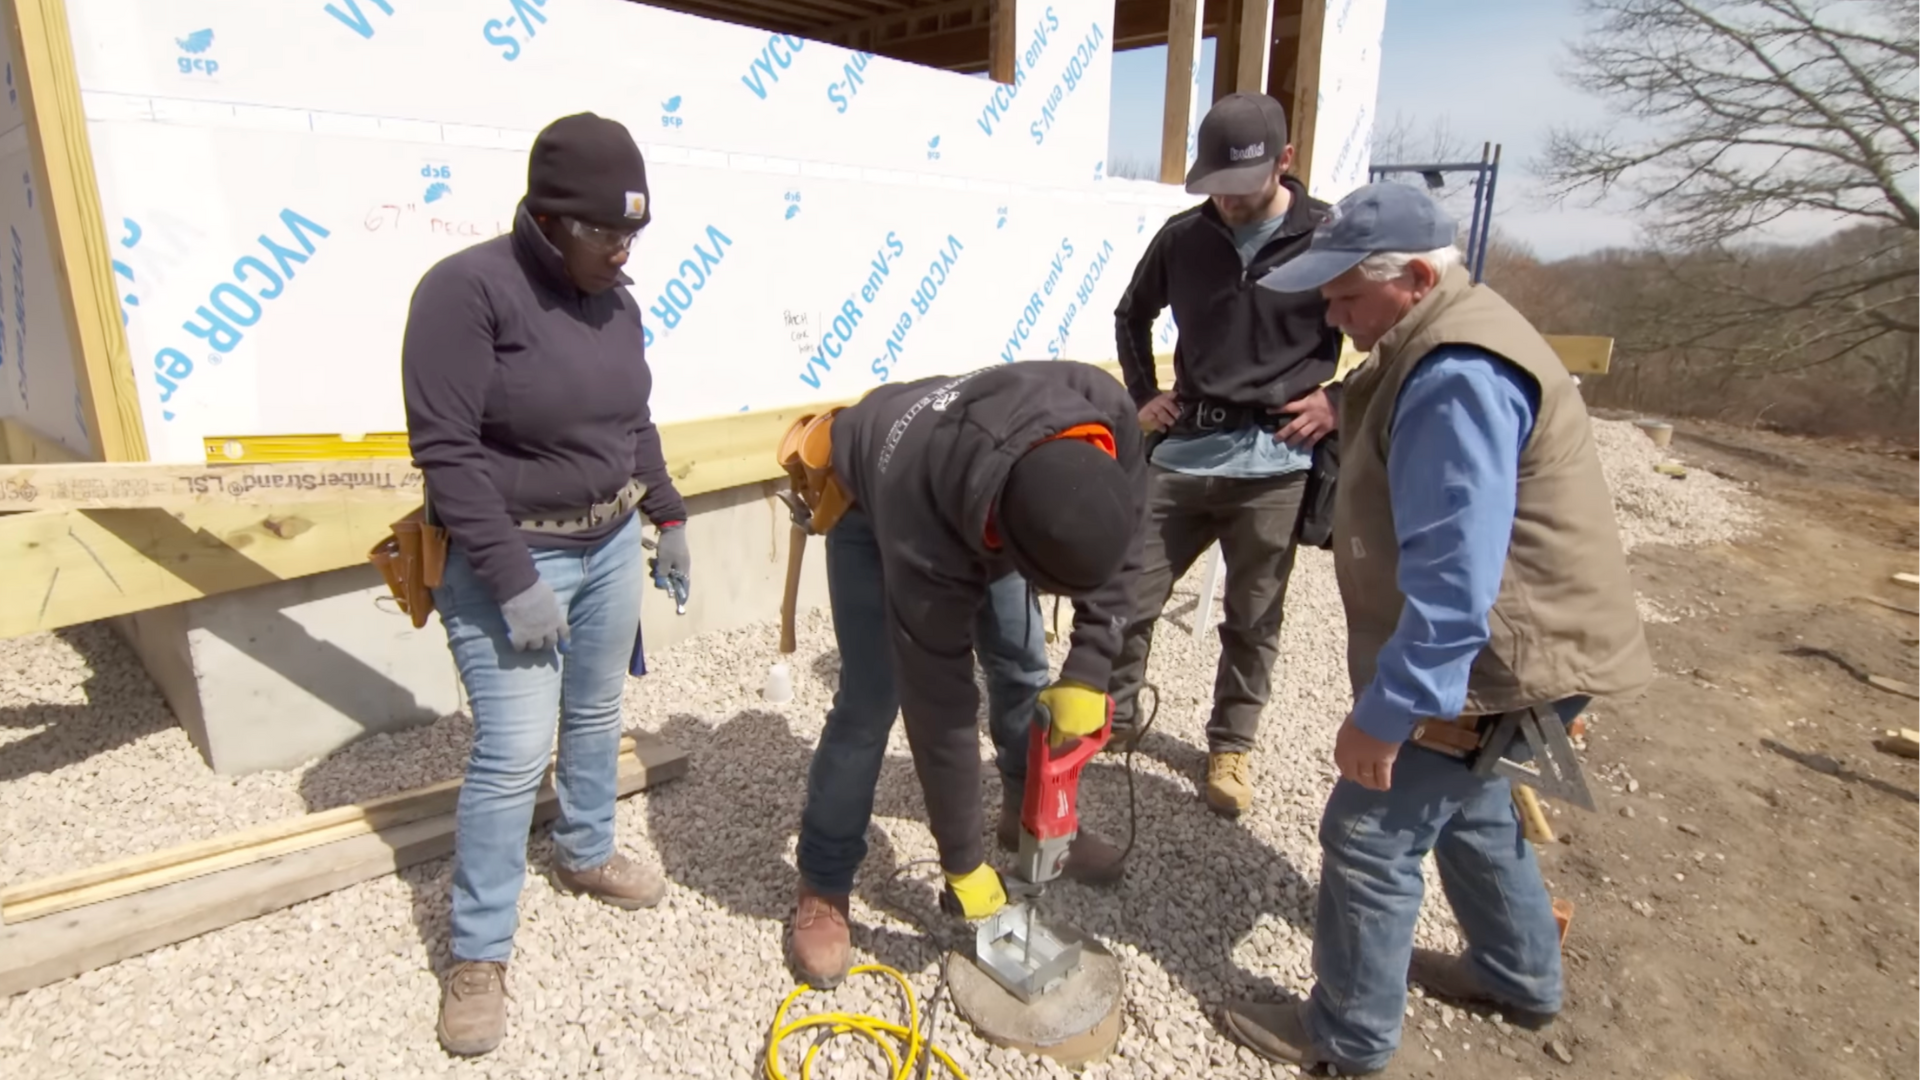
Use a masonry drill to make holes in the concrete footings where each post base will be secured.
Insert wedge anchors into the holes and line up the face of the base with your chalk line.
Tighten down the post bases firmly. Anchoring the bases accurately is critical because they serve as the foundation for the vertical load-bearing posts that will support your beams and joists.
Step 4: Level Posts Using a Straight Edge and Bubble Level
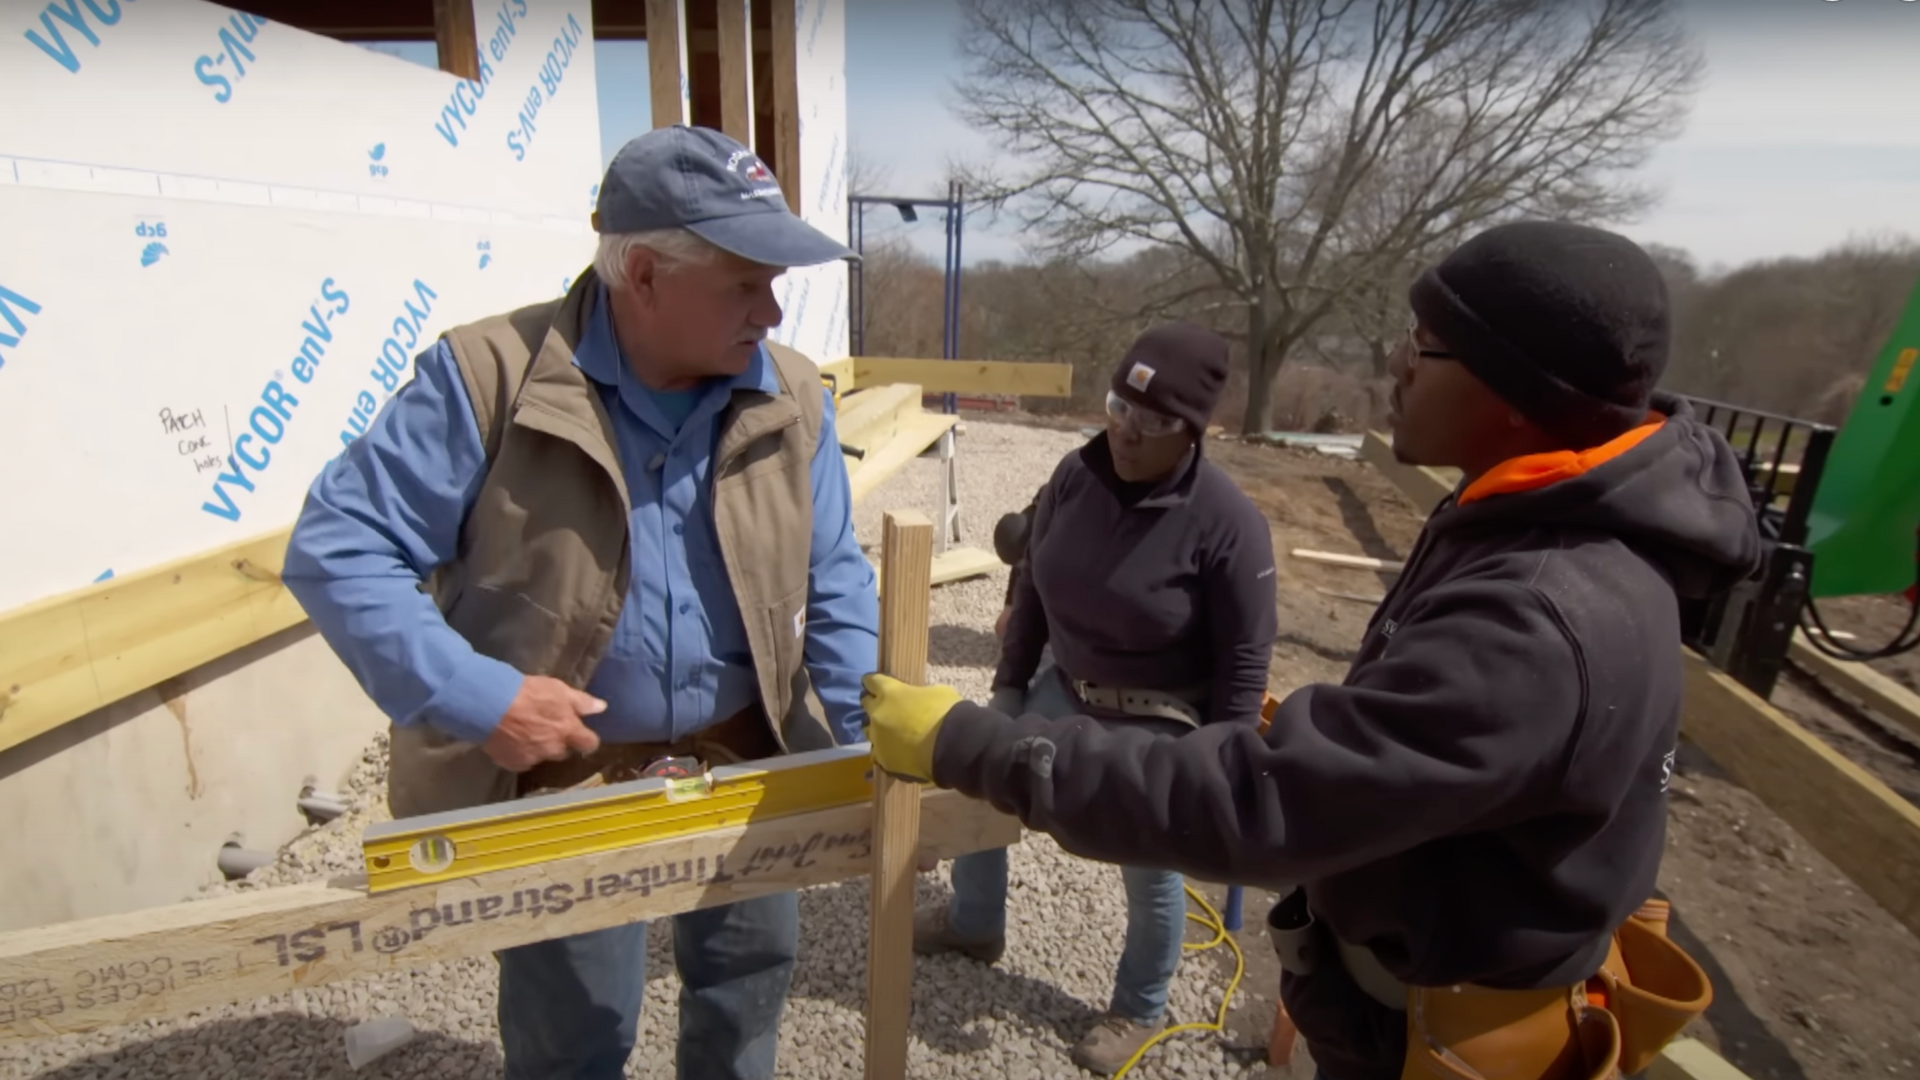
To determine post height, rest a straight edge on the ledger board attached to the house and extend it to the post.
Use a level to find a slight pitch, so water drains away from the house.
Mark this line as the top of the beam, then measure down the beam height to mark the cut line for your vertical support post.
Step 5: Cut and Set Posts
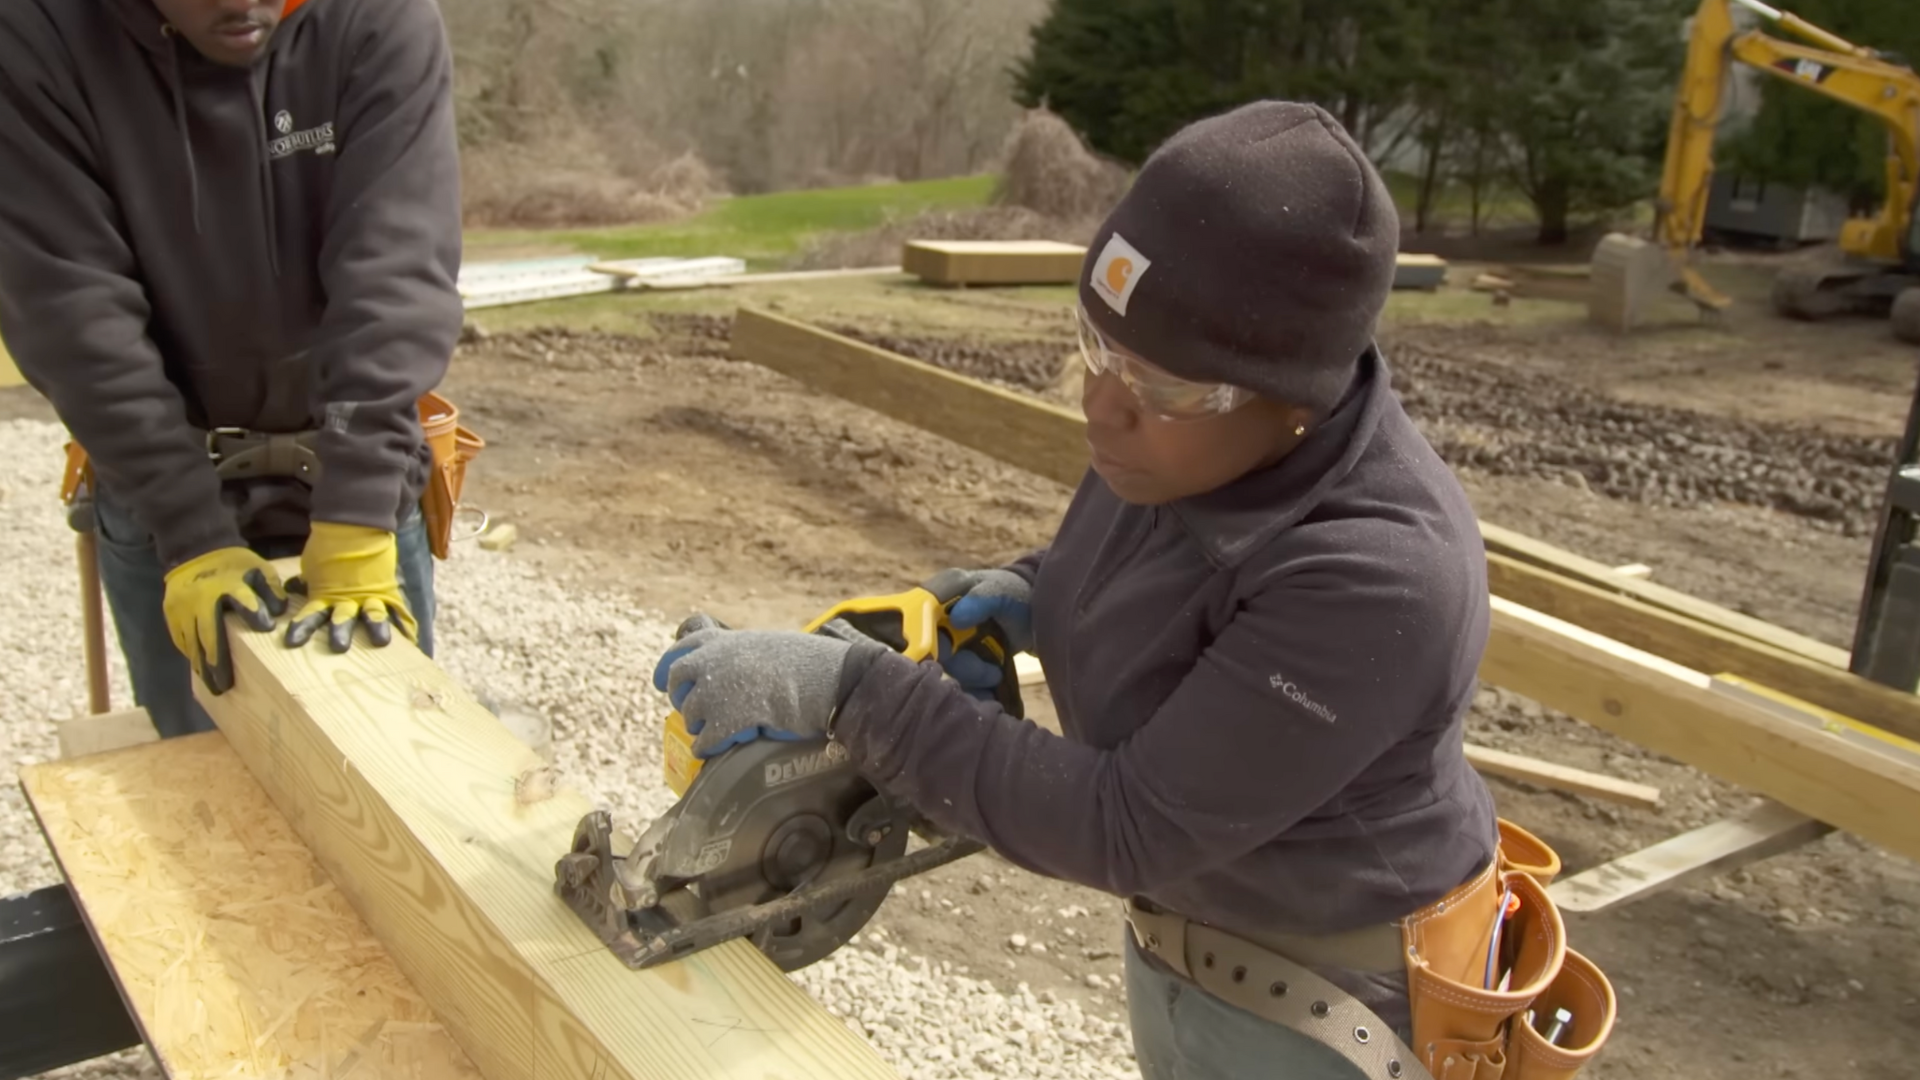
Once your post height is marked, measure carefully and cut the post to fit. Set the post into the anchored base and plumb it using a level. Repeat for all outer posts.
This step is vital to creating a stable framework; your posts must be perfectly vertical to ensure the beams and joists that follow are properly supported and leveled.
Step 6: Install the Perimeter Composite Deck Boards
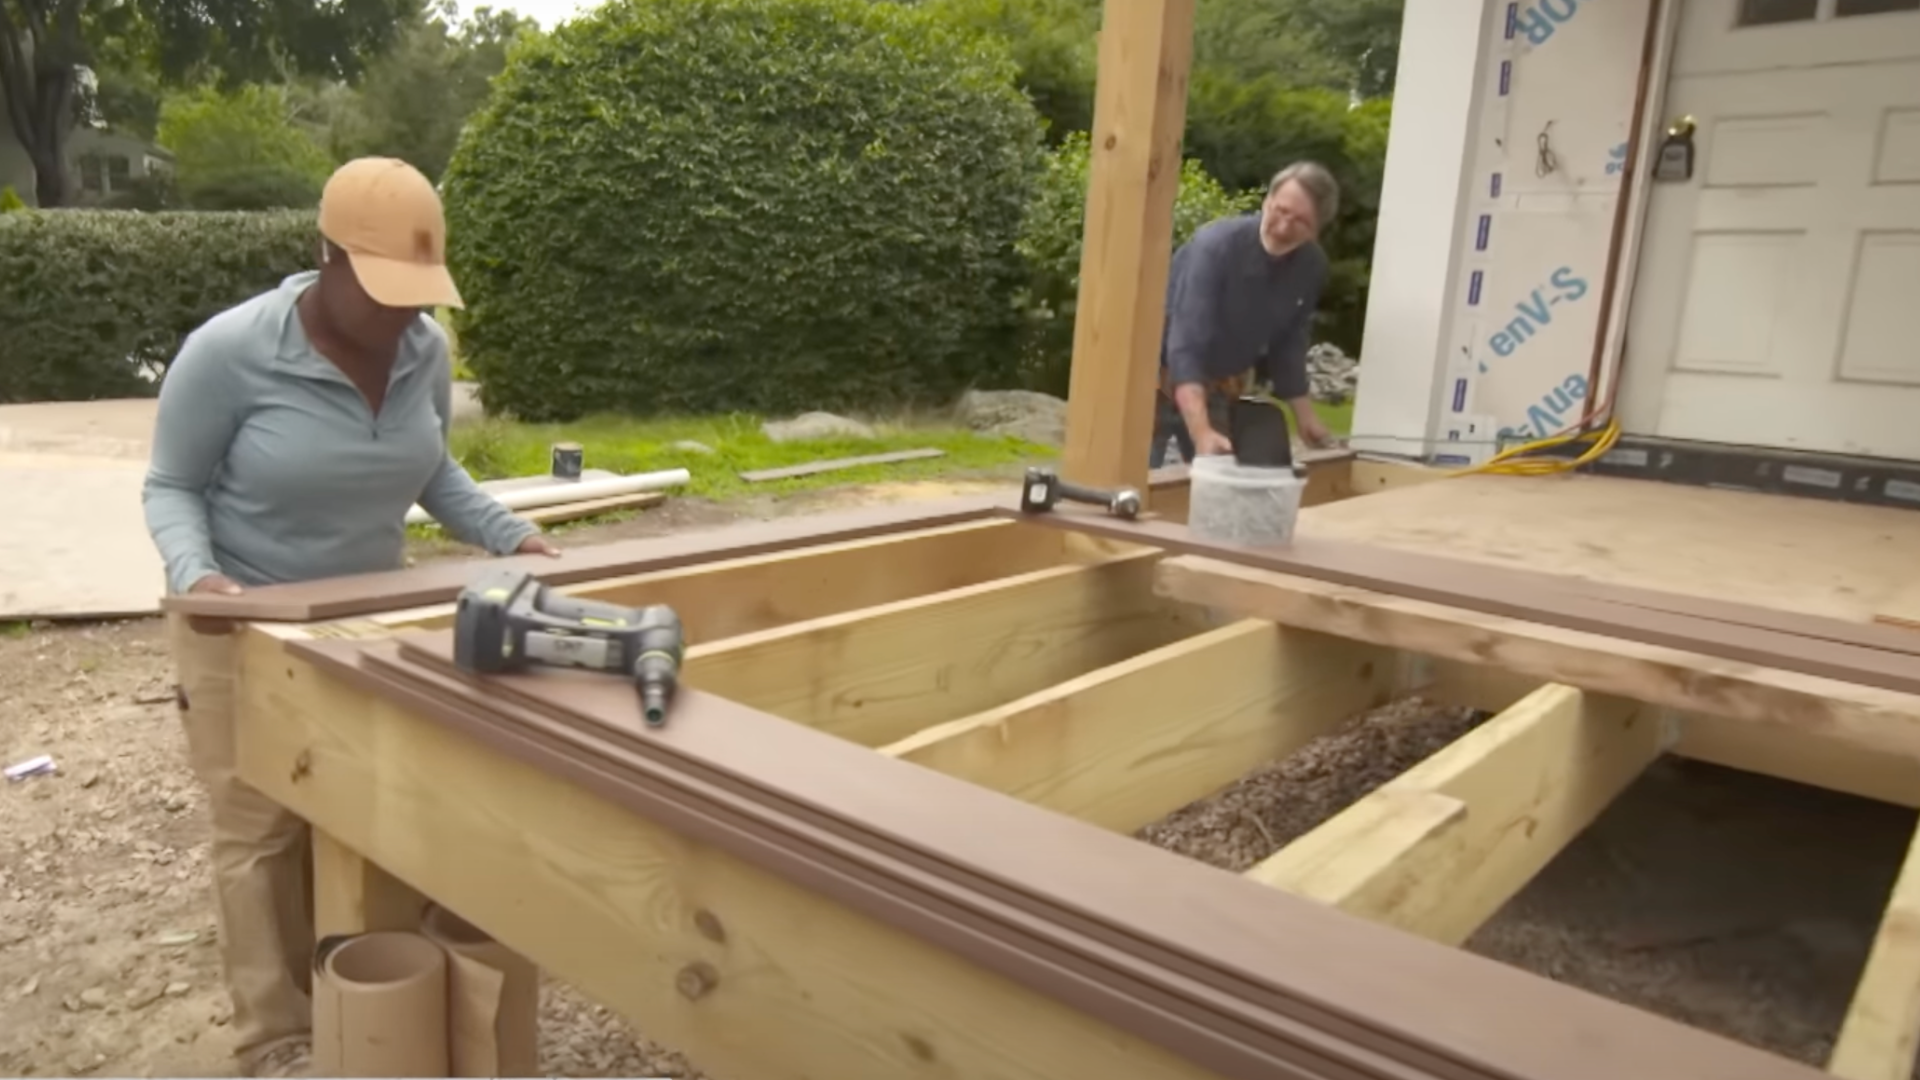
Start the decking process by placing a perimeter composite board. Let it overhang slightly to leave room for trim later.
Use composite-specific screws to fasten the board, then insert color-matched plugs to conceal the fastener heads.
A consistent edge adds polish to the deck while setting a clear frame for the remaining boards to fit neatly inside.
Step 7: Miter and Fasten Outer Edge Boards
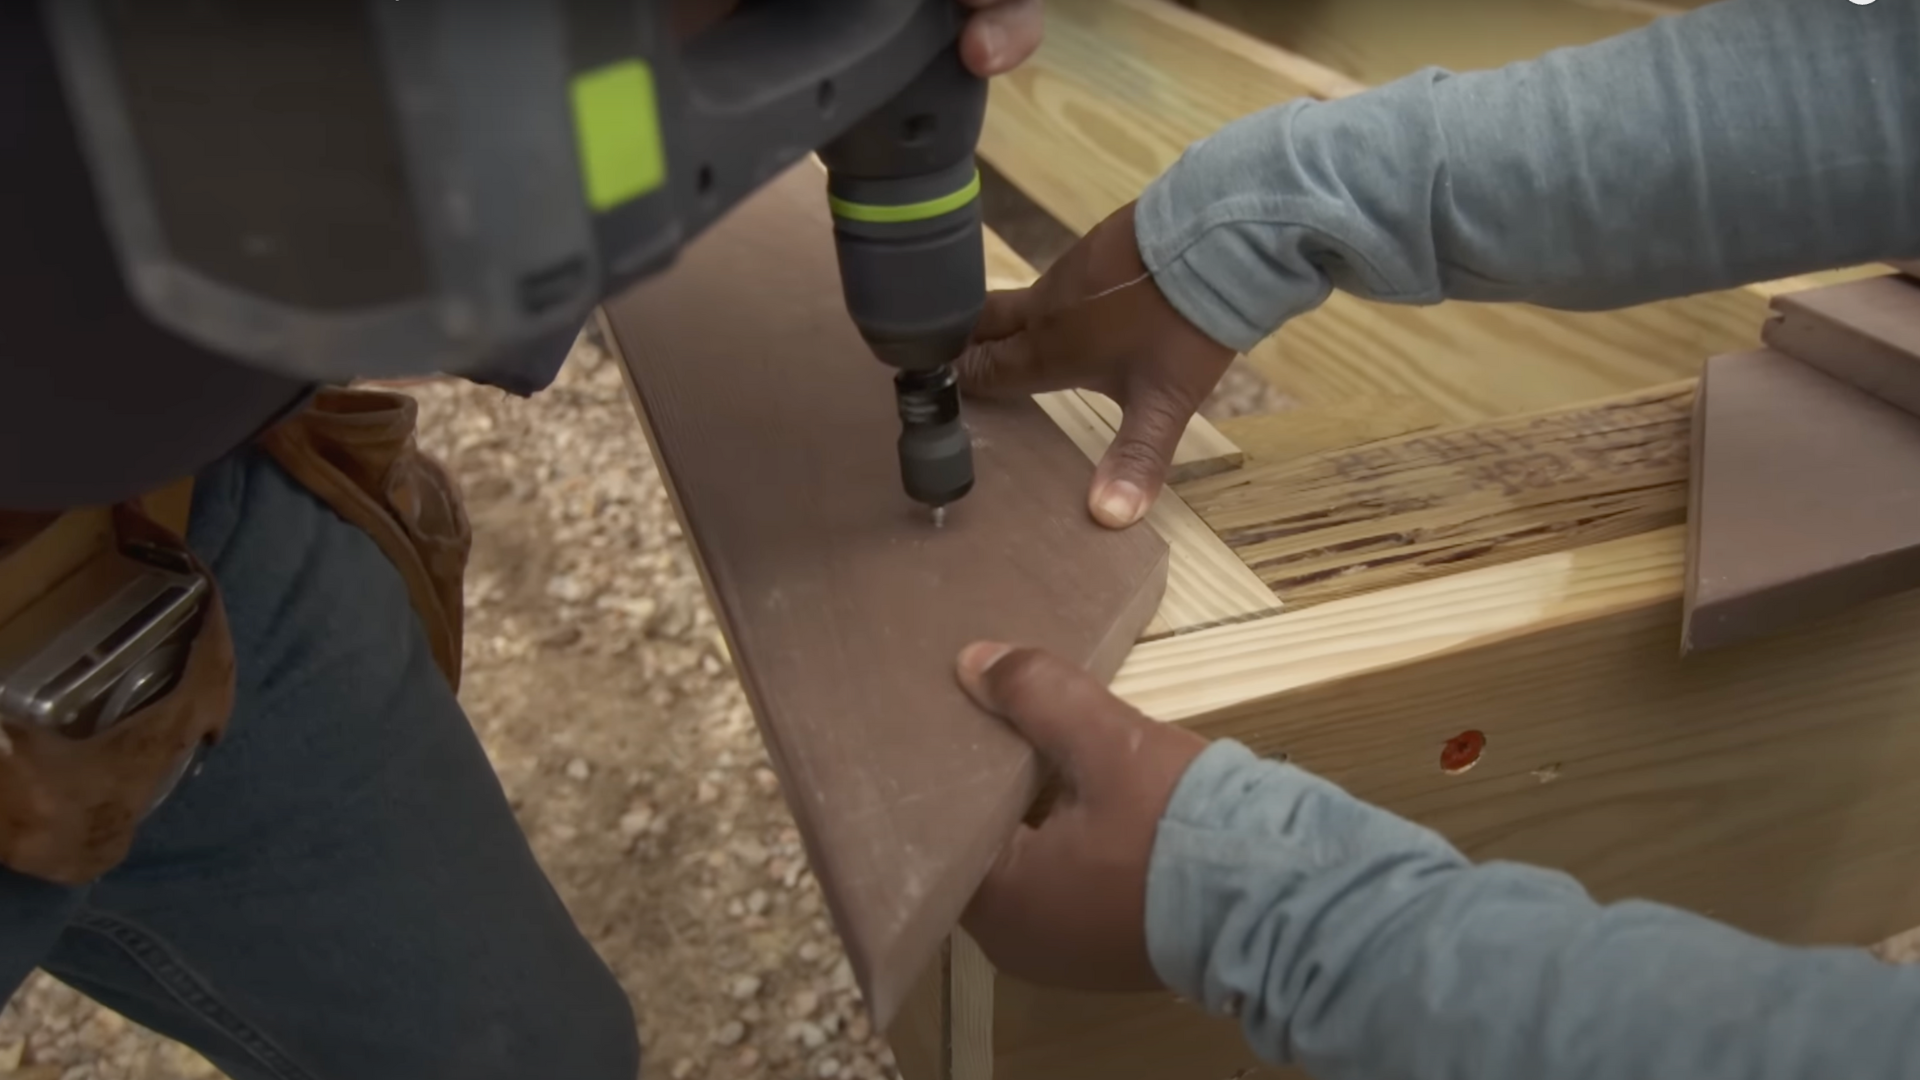
Use pre-mitered boards to wrap around the deck perimeter. Pull joints tightly together for a clean, professional fit.
Fasten the boards every few feet using recessed composite screws, then cover the holes with matching plugs.
Check each overhang with a gauge to keep it consistent, ensuring the edge trim is even and visually aligned all the way around.
Step 8: Prep and Install Field Boards with Spacers
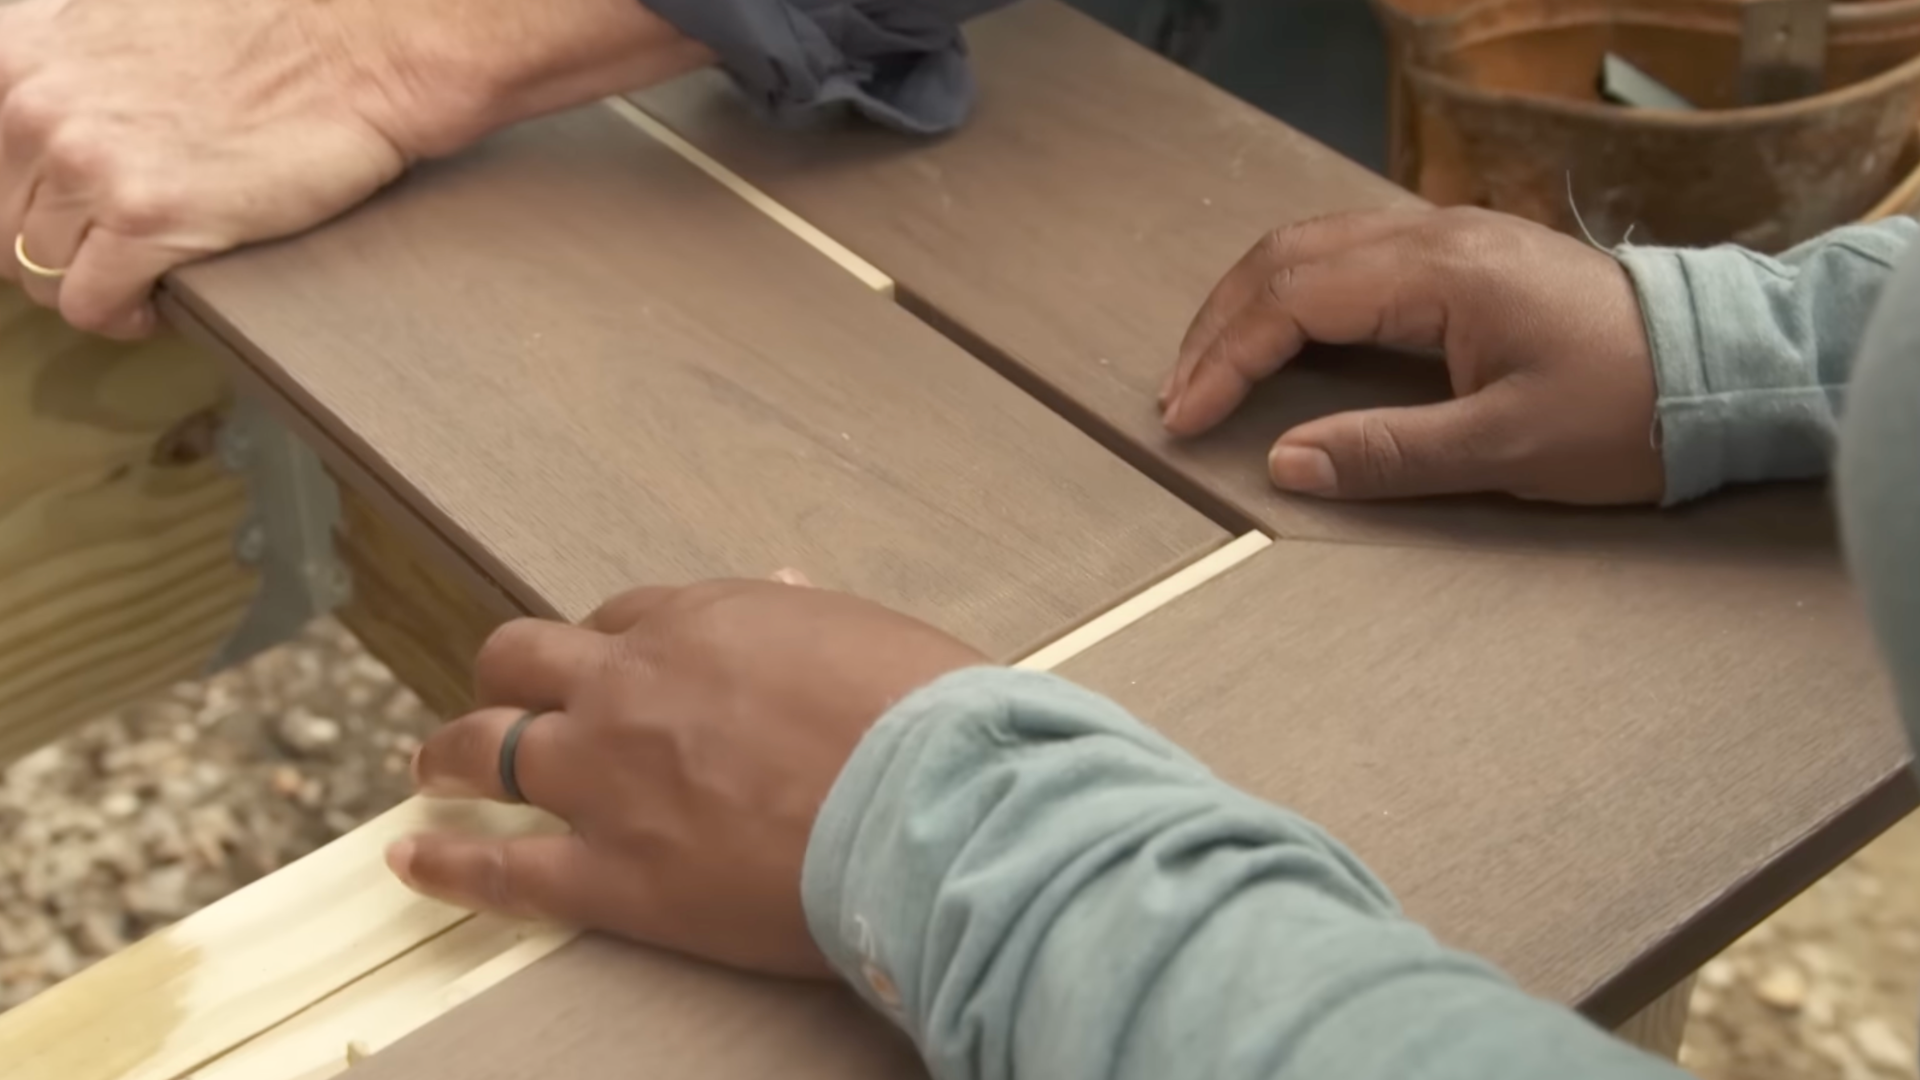
Field boards with side grooves are installed using hidden fasteners. Begin by inserting temporary wood spacers to match the final gap size.
Secure the first board to the joists using top screws. This creates a stable starting point and maintains consistent spacing for the rest of the deck boards across the surface.
Step 9: Insert Hidden Fastener Clips Between Boards

Slide a hidden fastener clip into each groove where the field board meets the joist. Line up the next board, then screw the clip down to hold both boards in place.
These clips provide consistent gaps and eliminate visible screws. They’re key to achieving a seamless, modern look across the entire deck surface.
Step 10: Continue Decking Installation with Hidden Fasteners

Continue working across the deck by repeating the fastener process: insert clips, line up the next board, and screw them in. Keep everything aligned and snug.
Don’t overtighten the screws you want a secure hold without stripping. This system ensures an even, clean finish with reliable board spacing and a strong attachment to the frame.
Recommended: Want to see how it all comes together step by step? Check out the full process by @thisoldhouse in our YouTube video below! From setting posts to securing decking boards, you’ll get a clear visual guide to follow along.
Average Cost of Deck Framing
Framing a deck typically costs between $15 and $25 per square foot, depending on the materials, design, and labor. For a 12×16-foot deck, this adds up to approximately $2,880 to $4,800.
- Lumber Type: Pressure-treated wood is the most affordable, while cedar, redwood, and composite framing materials are more expensive.
- Deck Height: Raised or multi-level decks require more posts, beams, and bracing, increasing cost.
- Labor: Professional installation costs $10–$15 per square foot for framing, depending on your location.
- Footings & Hardware: Concrete, post anchors, joist hangers, and fasteners can add $300–$800 or more to your budget.
For a strong, code-compliant frame, it’s worth investing in quality materials and professional help if needed.
When to Call in a Professional for Framing Help
Framing a deck may seem manageable, but certain projects require professional help. If your deck is elevated, includes multiple levels, curves, or heavy loads like hot tubs, it’s best to call a pro.
A contractor ensures your framing meets local building codes, uses the correct materials, and handles structural challenges safely.
They also take care of permits and inspections, reducing the risk of costly mistakes or failed approvals.
Complex soil conditions, unique layouts, and tight property lines can all add complications.
When in doubt, hiring a professional can save time, stress, and ensure your deck is safe and built to last.
Common Deck Framing Mistakes to Avoid
Framing a deck requires precision, and even small errors can lead to long-term problems like sagging, warping, or structural failure. Build smarter by starting with a solid, mistake-free frame.
- Improper Joist Spacing: Spacing joists too far apart can lead to sagging or a bouncy deck surface. Always follow code requirements or decking manufacturer guidelines for proper support.
- Uneven or Misaligned Beams: If beams aren’t level or properly aligned, your entire frame can shift out of square, making decking installation difficult and compromising structural integrity.
- Poorly Secured Ledger Boards: Ledger boards must be fastened with structural hardware and properly flashed. Loose or unsealed ledgers can cause water damage, rot, or even deck collapse.
- Skipping, Blocking, or Bracing: Failing to install blocking between joists can result in twisting, instability, and a noisy deck. Bracing is critical in longer spans or high decks.
- Not Checking for Square: If your frame isn’t square, everything from joists to decking will be off. Always use the 3-4-5 rule or diagonal measurements to verify the squareness of your measurements.
- Ignoring Building Codes or Permits: Failing to comply with code requirements can result in failed inspections, fines, or structural failure. Always build to local code and get necessary permits before starting.
Conclusion
Deck framing might feel overwhelming at first, but once you understand the role of each component, posts, beams, joists, and ledger, it becomes much more manageable.
A solid frame is the foundation for a safe, beautiful, and long-lasting deck, whether you’re building a small backyard platform or a multi-level showpiece.
I’ve broken down the process step by step to give you the confidence and clarity to tackle the job right.
With good planning, the right tools, and a focus on detail, you’ll be well on your way to building a deck that stands strong for years.
So grab your plans, gather your materials, and get ready to build with purpose.
And if you hit a snag or want to show off your work, drop a comment or photo below, I’d love to hear how your framing project turns out!