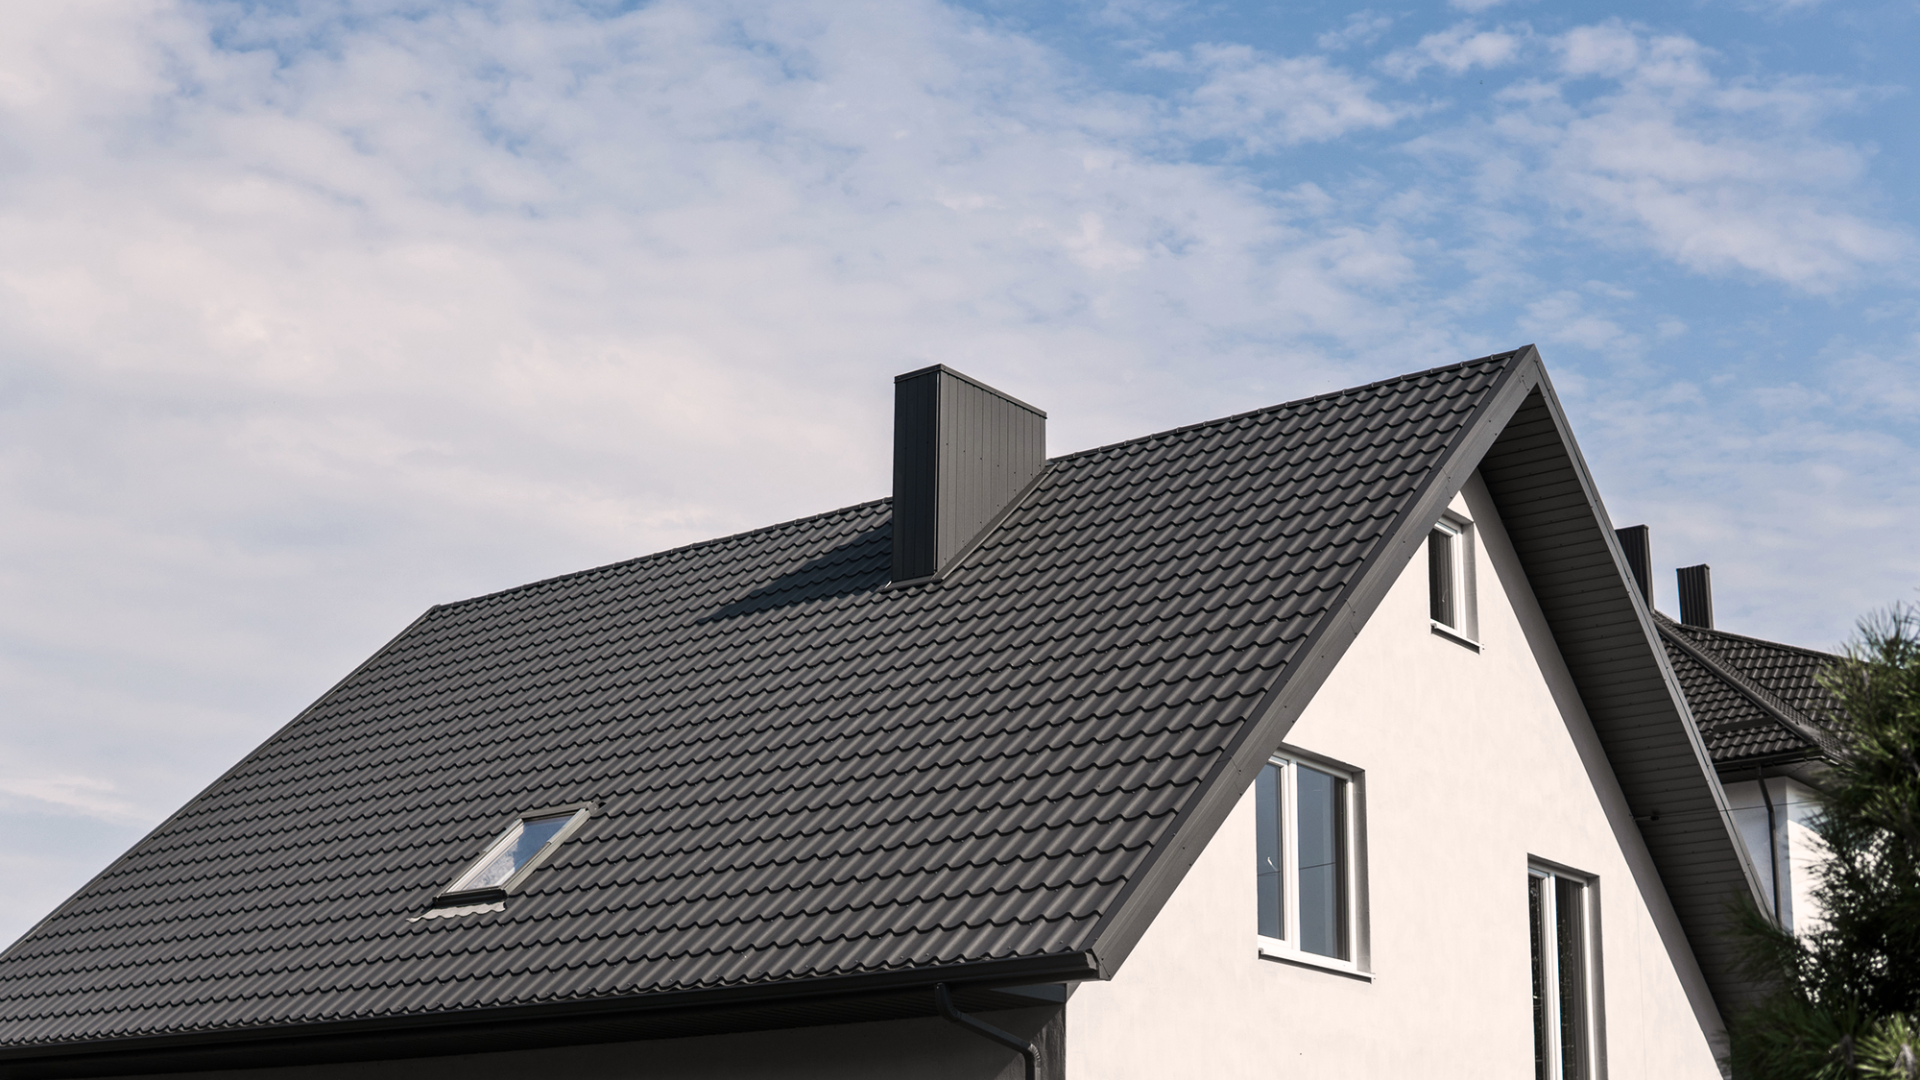
Are you tired of repeatedly fixing roof leaks? Do you want a strong roof that lasts for many years? PVC roofing might be the perfect solution for you.
I’ve helped hundreds of homeowners install PVC roofs. Today, I’ll teach you everything you need to know. You’ll learn step-by-step instructions that actually work.
Trust me, I’ve been working with roofs for a long time. I know what works and what doesn’t. This guide will help you save time and money.
Maybe you’re building a shed, patio cover, or carport. And you want to do the roofing yourself. That’s why you’re here.
By the end of this article, you’ll know how to install PVC roofing the right way. You’ll also learn about the tools you need and pick up some expert tips along the way.
Let’s get started!
What is PVC Roofing?
PVC roofing is made from a strong type of plastic called polyvinyl chloride. The panels are lightweight, making them easy to carry and install.
At the same time, they are durable and withstand well to rain, wind, and sunlight. This makes them more reliable than many other roofing materials.
One of the primary reasons people opt for PVC roofing is its exceptional longevity. With the right care, it can last for 20 to 30 years. It also requires minimal upkeep; just a bit of cleaning now and then.
PVC roofing is a smart choice for many projects. It works well on sheds, patios, garages, greenhouses, and even small homes.
The panels are available in clear, tinted, or solid styles to suit various needs, from allowing light to adding privacy.
Tools and Materials You’ll Need
The following are all the supplies you’ll need:
- Drill with various bits
- Circular saw or specialized PVC shears
- Measuring tape
- Level
- Chalk line
- Safety glasses
- Work gloves
- Ladder or scaffolding
- PVC roofing panels
- Purlins (support beams)
- Saddle pieces
- Edge trim pieces
- Self-drilling screws
- Foam closure strips
- Sealant or caulk
- Safety harness (for steep roofs)
- Hard hat
DIY PVC Roof Installation
Installing a PVC roof requires careful planning and execution. The key is taking your time, and rushing leads to mistakes that cost money later.
Step 1: Prepare the Edging and Purlins
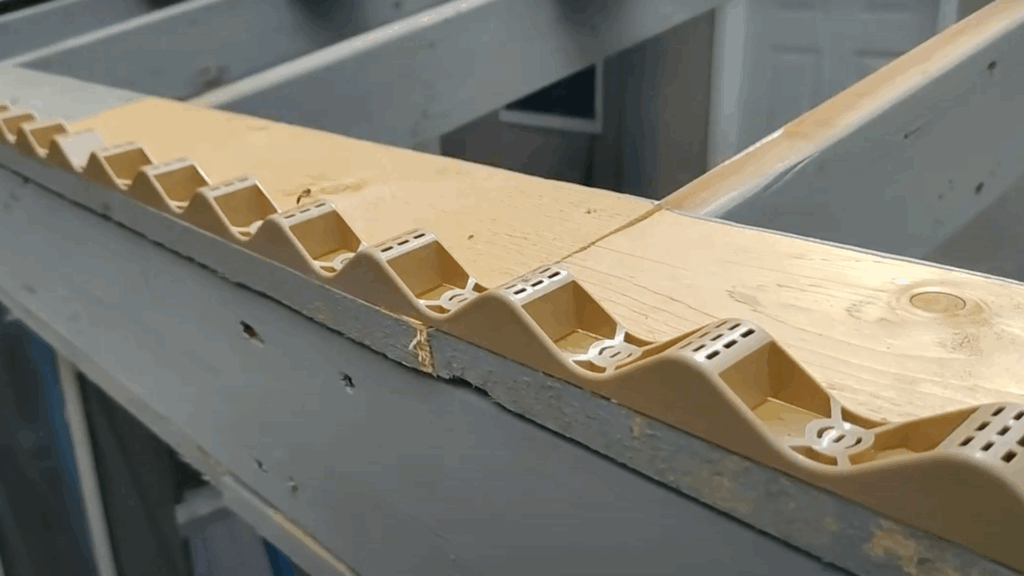
Begin by ensuring your roof has a solid, level foundation. Your purlins must be straight and evenly spaced; use a chalk line to mark their placement.
Most PVC panels require support every 2 to 4 feet, so please refer to your product guide for specific details. Install the edge trim first to help line up your first panel correctly.
Use a level often to check your work. Small mistakes in leveling can grow into big problems as you go, so it’s best to fix them now rather than later.
Step 2: Choose Your Panel Type and Layout
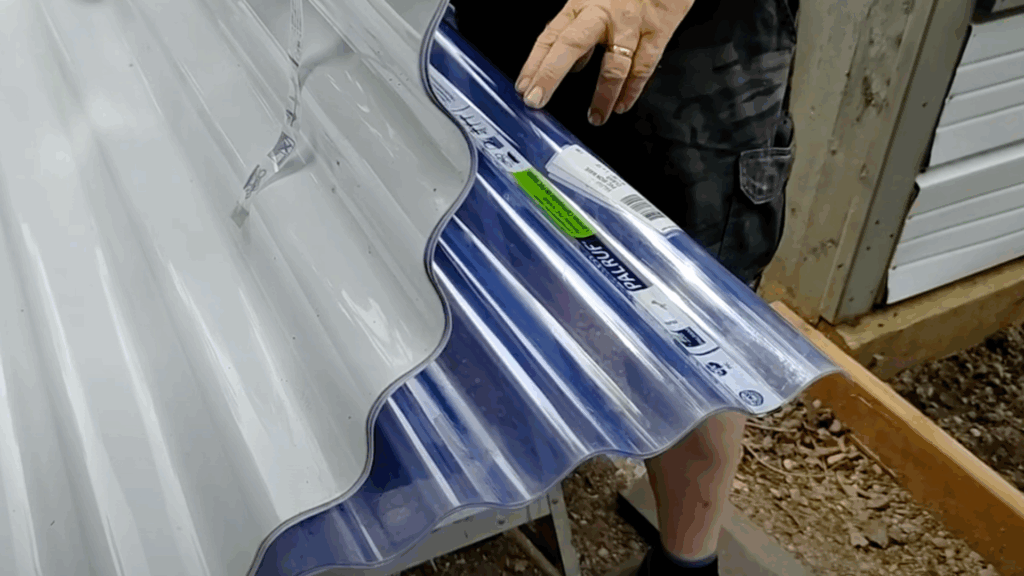
Plan the layout of your roof before cutting anything. Sketch the roof on paper to visualize how the panels will fit. Consider the wind direction and ensure that the overlapping edges face away from the wind to help shed water.
Mixing clear and solid panels can help control the amount of sunlight that comes through. If you use too many clear panels, it may become too bright or too hot.
Always start in one corner and move in order to avoid fitting issues later.
Step 3: Drill and Cut the PVC Panels
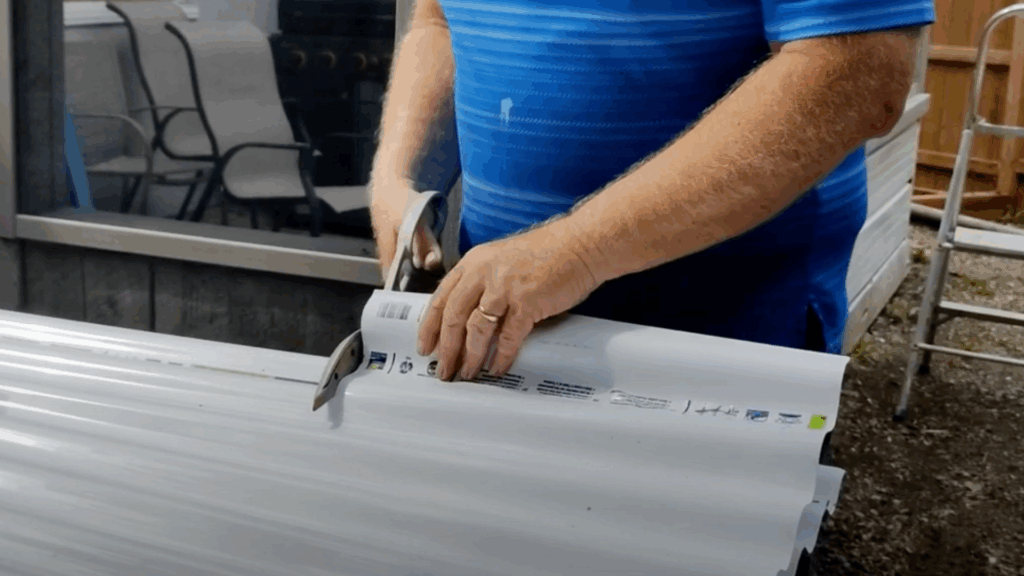
Before cutting, measure each panel carefully to ensure accuracy. Roofs are not always square, so minor adjustments may be necessary.
Use sharp cutting tools to get clean, smooth edges. Dull blades can cause cracks or rough cuts that look messy. Always drill pilot holes before screwing panels in place. This helps avoid cracking and gives a cleaner finish.
Try to work in shaded areas whenever possible. Hot panels can expand and become harder to cut or shape properly.
Step 4: Install the Saddle and Interlock Panels
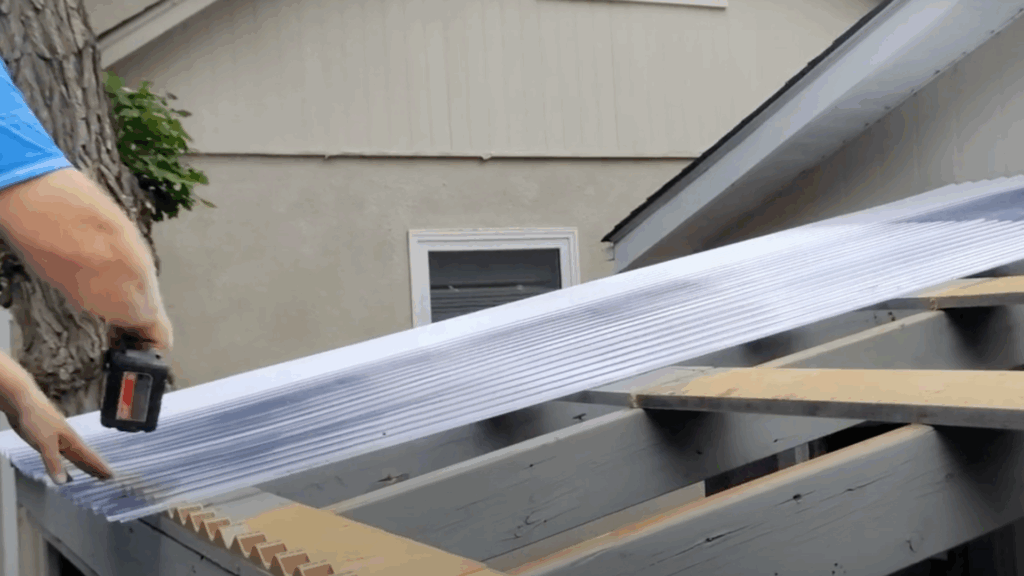
The saddle sits on top of the ridge of the roof, as it stops water from leaking into the highest point. Interlock panels are designed to snap together tightly at the edges.
Ensure the edges are securely locked in place to prevent leaks. Use foam closure strips where the panels meet the purlins. These strips block out insects, dirt, and water. Keep checking your work as you install.
Fixing small mistakes early is easier than removing panels later to correct them.
Step 5: Install Top and Bottom Edging
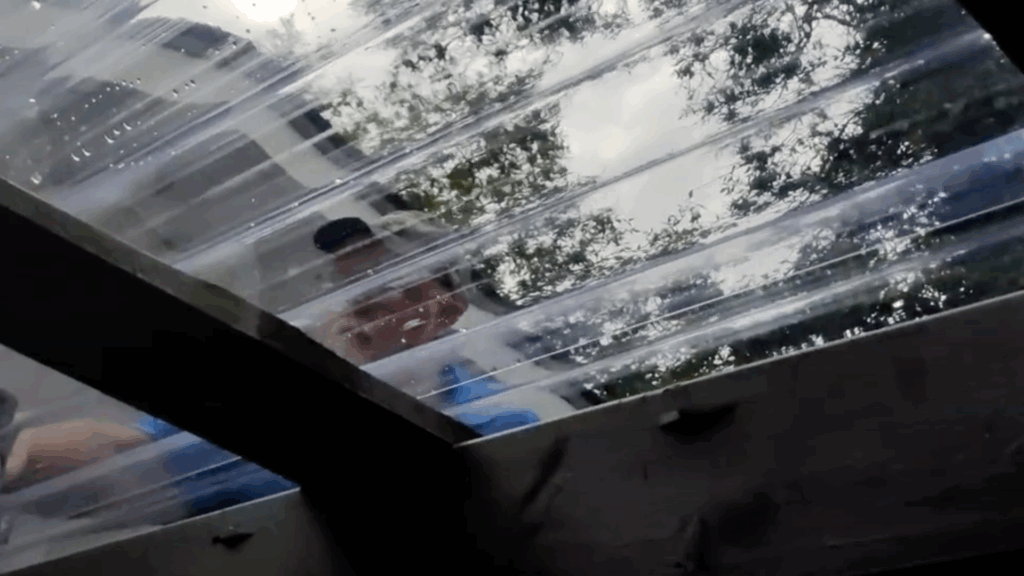
Bottom edging helps guide rainwater into your gutters. It must be placed correctly and slope toward the gutter to avoid puddles.
The top edging covers the ridge area and stops water from entering through the top of the roof. Always use enough sealant at the ridge because it’s the most common place for leaks.
Make sure each piece of edging overlaps in the direction the water flows. Don’t screw too tightly into the panels, or you might crack them or strip the holes. After that, your PVC roof is finished.
To see the steps in action, watch this video from @CoffeeWalksandWhatever to understand the steps better.
Community Discussions Surrounding PVC Roofs
People often talk about PVC roofing when choosing a long-lasting and energy-saving roof. It is strong, resists water, and lasts 20 to 30 years.
It also reflects sunlight, which helps lower cooling costs. PVC roofs come in different colors and shapes, which makes them look good on many types of buildings.
Even though PVC roofing costs more at first, it saves money over time because of its low upkeep and energy benefits. Still, some worry about cracks as the material gets older.
This can happen when plastic parts in the roof break down. Better-quality PVC, like KEE types, can fix this problem. Recycling PVC is possible, but it can be challenging at times. Like any roof, good installation and care are very important.
Maintenance Tips for PVC Roofs
Taking care of your PVC roof is simple yet crucial. Regular maintenance helps it last longer and perform better. The following are some maintenance tips you need to consider:
1. Regular Cleaning Matters: PVC roofs need consistent care to stay in top shape. I’ve learned that simple cleaning can prevent major problems down the line. Grab a soft-bristled brush and mild detergent: this is your first defense against dirt and grime.
2. Inspect for Damage Frequently: Every few months, I recommend a thorough roof check. Look for warning signs like small tears, loose edges, and unusual discoloration. Catching these early can save you thousands in repair costs. Trust me, your wallet will thank you later.
3. Avoid Chemical Disasters: Not all cleaners are roof-friendly. I’ve seen homeowners accidentally destroy their PVC roofs with harsh chemicals. Stick to manufacturer-recommended products. When in doubt, water and mild soap are your safest bet.
4. Handle Debris Carefully: Leaves, branches, and other debris can be silent roof killers. Remove them gently: no power washing! Use a soft brush or leaf blower. Aggressive cleaning does more harm than good.
5. Professional Checks Are Crucial: Even if you’re handy, some things need a professional touch. I suggest an annual inspection by a roofing expert. They’ll spot issues you might miss and provide expert maintenance advice.
6. Seal the Deal: Small cracks happen. Quick repairs prevent big problems. Use PVC-specific sealants recommended by your roof manufacturer. DIY can work, but don’t hesitate to call a pro for significant damage.
7. Weather-Proof Your Approach: Different seasons bring different challenges. In winter, remove snow carefully. During summer, check for heat-related stress. Your roof needs year-round attention.
Pro tip: Keep a maintenance log. Track your cleaning, inspections, and repairs. This isn’t just good practice – it can be valuable if you ever need to make a warranty claim.
Conclusion
You can install a PVC roof by yourself, and it’s a great way to save money. Many people save thousands by not hiring a contractor.
But to do it right, you need to plan carefully and take your time. Always double-check your measurements before cutting and don’t rush the job. A good installation will help you avoid leaks and damage later.
If your roof has many angles or is very steep, it may be safer to hire a professional. The risk of falling or making a mistake may not be worth the savings.
Always follow the manufacturer’s instructions. This protects your warranty and helps the roof last longer. Keep all your paperwork in a safe place.
With regular care, your PVC roof should last for many years. Have you tried this before? Share your tips in the comments below.
Frequently Asked Questions
Do I Need Building Permits?
It depends on local rules and the size of your structure. Always check with your city or town’s building department before you begin installing your PVC roof.
How Much Weight Can PVC Roofs Support?
Weight limits vary by panel and spacing of supports. Most panels hold regular snow loads, but always check the product’s engineering guide for exact weight ratings.
Can I Walk on PVC Roofing?
You can walk on it, but only step where there’s support underneath, like on purlins. Wear soft shoes to avoid scratching or damaging the surface of the panels.
What Causes PVC Panels to Crack?
Cracks usually happen from overtightening screws, sudden impacts, or heat expansion. Using correct tools and techniques during installation helps avoid these common issues.
How Do I Fix Small Cracks?
Seal small cracks using PVC-friendly caulk. For larger damage, it’s best to replace the panel to keep the roof fully sealed and protected from water.

