
Looking for a fun way to update your space without spending too much? A herringbone accent wall might be just what you need.
This eye-catching pattern adds a cool, modern touch to any room.
Painting a herringbone design on a wall can really make a room pop, whether you want to make your bedroom cozier or give your living room some extra style.
The best part? You don’t have to be a pro to do it. With a few basic tools, some paint, and a little patience, you can create a stunning feature wall all on your own.
In this blog, I’ll explain everything you need to know, from picking the right wall and colors to painting the design step by step.
Let’s get started and turn that plain wall into something truly special!
What Is a Herringbone Accent Wall?

A herringbone accent wall is a wall that features a special zigzag pattern called “herringbone.”
It’s made by arranging short lines or rectangles in a way that looks like fish bones, similar to how bricks might be stacked but on an angle.
You can create this look using paint, wood panels, or even wallpaper, but one of the easiest and most affordable ways is to paint the design right onto your wall.
This pattern isn’t new; it’s been used in flooring and tile for years. But now, people love using it to add style and personality to their walls.
It brings movement and texture to any room, making the space feel more alive and fun.
Benefits of a Herringbone Accent Wall
- Adds visual interest without needing extra furniture or decor
- Makes a simple room feel more stylish and unique
- Works well with both bold and soft paint colors
- Looks great in bedrooms, living rooms, hallways, and even bathrooms
A herringbone accent wall is a great way to change up your space without doing a full makeover. It’s simple, eye-catching, and a fun weekend project to try at home!
Step-by-Step Guide to Painting a Herringbone Accent Wall
Painting a herringbone accent wall might look tricky at first, but I promise, it’s totally doable, even if you’ve never painted a wall before.
In this step-by-step guide, I’ll walk you through everything you need to know, from the tools you’ll need to the final touches.
Just take it slow, enjoy the process, and don’t be afraid to make it your own!
Tools and Materials You’ll Need
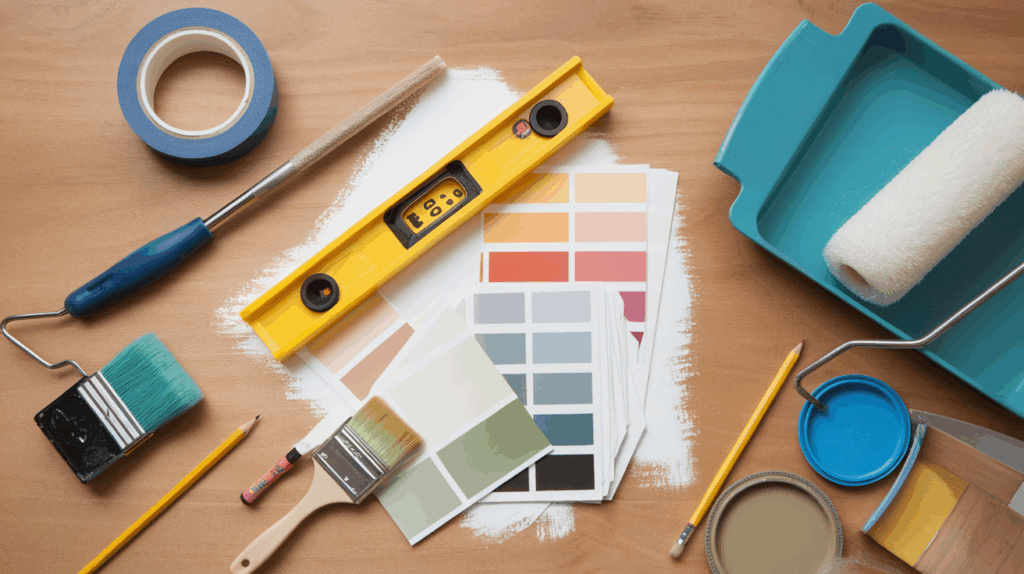
- Painter’s tape (the kind that peels off easily)
- Level or laser level
- A measuring tape or ruler
- Pencil
- Step ladder (if your wall is tall)
- Paint (choose 2–3 colors or shades if you want variety)
- Paint roller and tray
- Small paintbrush (for edges and tight spots)
- Drop cloth or old sheet (to protect your floors)
- Sandpaper (if your wall has bumps)
- Damp cloth (for cleaning the wall)
Step 1: Prep the Wall
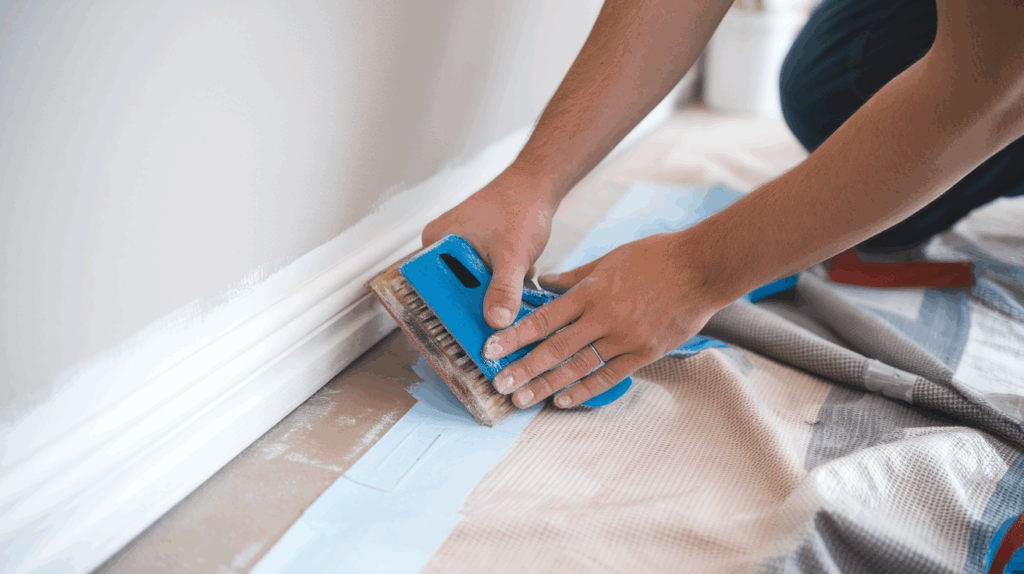
Before painting, your wall needs to be clean and smooth. Wipe it down with a damp cloth to remove dust or dirt.
If there are any holes or bumps, patch them up and sand the area until it feels even. This helps the paint stick better and look smoother.
I always lay down a drop cloth to protect your floor from spills or splatters.
Then, tape off the edges of the wall where it meets the ceiling, baseboards, or other walls to get crisp, clean lines.
Step 2: Measure and Mark the Pattern
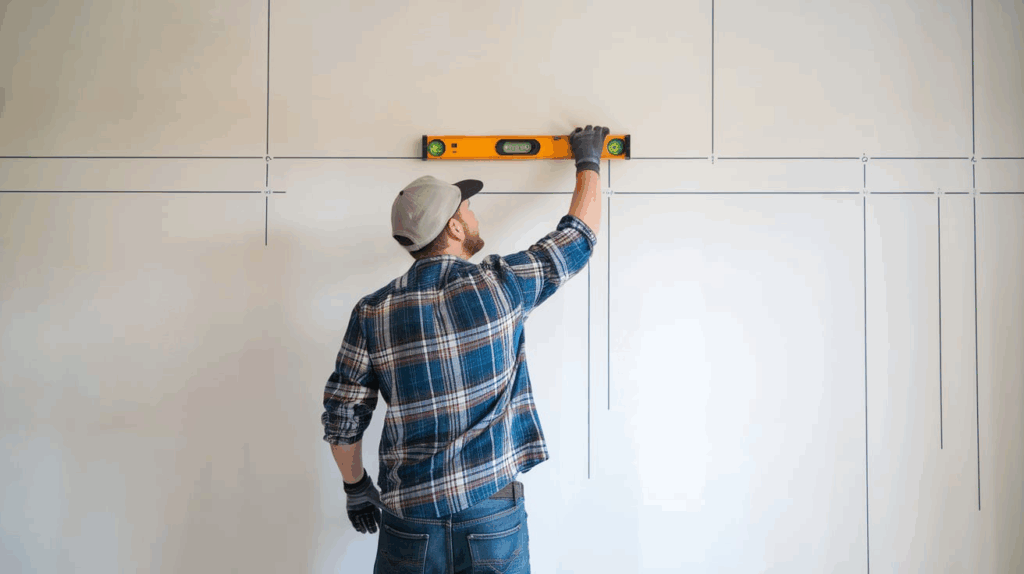
This is the most important part, so take your time! Use your level and pencil to mark a vertical line straight down the middle of the wall. This will be your guide.
Now, starting from the middle line, begin marking diagonal lines to form the herringbone pattern.
You can make the rectangles as long or short as you like, but keep them even. Most people go with a 45-degree angle.
If that sounds tricky, use cardboard or poster board to make a simple stencil to trace.
Step 3: Apply Painter’s Tape
Once your lines are drawn, carefully place painter’s tape along each side of the lines, this will keep your paint inside the right spaces and create sharp, clean edges.
Make sure the tape is pressed down all the way so the paint doesn’t bleed underneath.
Step 4: Start Painting
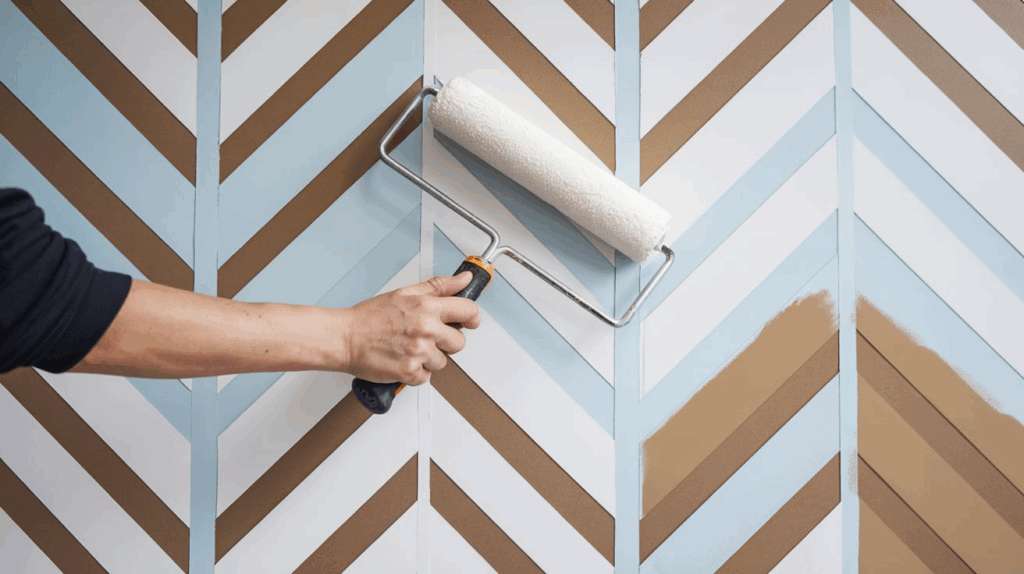
Pour your paint into a tray and use a roller to fill in the larger areas.
Use a small brush for corners or edges near the tape. If you’re using more than one color, plan ahead so you know which parts will be which color.
Let the first coat dry completely (check the paint can for dry time), then add a second coat if needed for full coverage.
Step 5: Remove the Tape and Touch Up
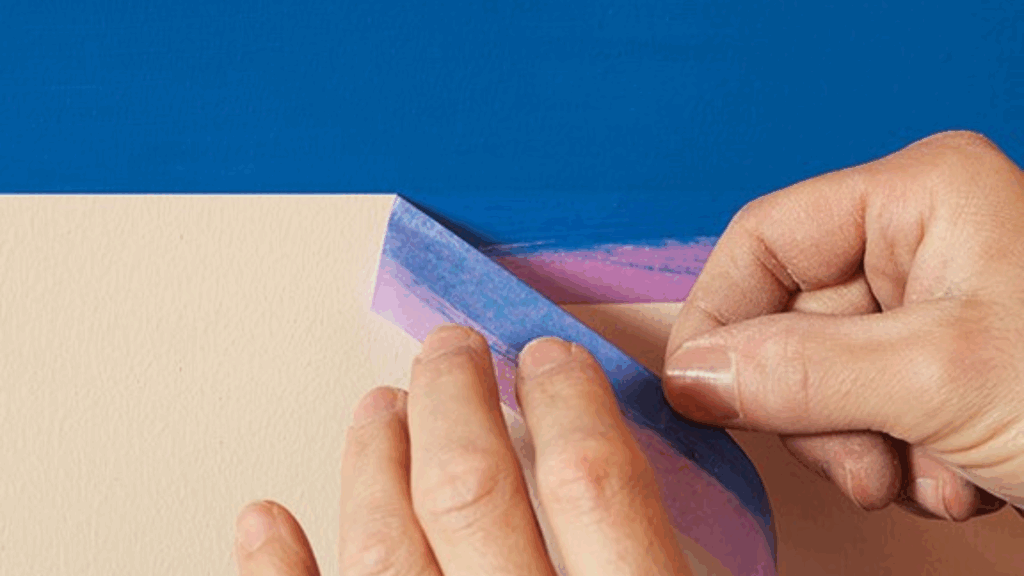
Once the paint is mostly dry, but not completely, carefully peel off the painter’s tape. This helps prevent the paint from peeling with the tape.
I use a small brush to fix any spots where the paint may have bled or where the lines aren’t perfect. A little touch-up goes a long way to make the wall look clean and professional.
Give your new accent wall a few hours (or overnight) to dry completely. Then step back and admire your hard work!
You just created a stylish herringbone accent wall that adds personality and charm to your space.
Painting a herringbone wall takes some time and patience, but it’s totally worth it.
It adds a unique look that feels high-end, but you can do it all on your own, and for a lot less than hiring someone.
Just follow these steps, and you’ll have a wall that’s sure to get compliments!
Choosing the Right Wall and Colors
Before you start painting a herringbone accent wall, it’s important to choose the right spot and colors. Picking the best wall and paint shades can make your design really stand out.
Wall
Not every wall is meant to be an accent wall. You want to choose one that naturally draws attention. A few good options are:
- The wall behind your bed or couch: It becomes the perfect focal point.
- A hallway wall: Great for adding interest to a small or narrow space.
- The first wall you see when you enter the room: This gives a strong first impression.
Also, make sure the wall is clear of things like windows, shelves, or vents that could interrupt the pattern. A clean, flat wall works best.
Colors
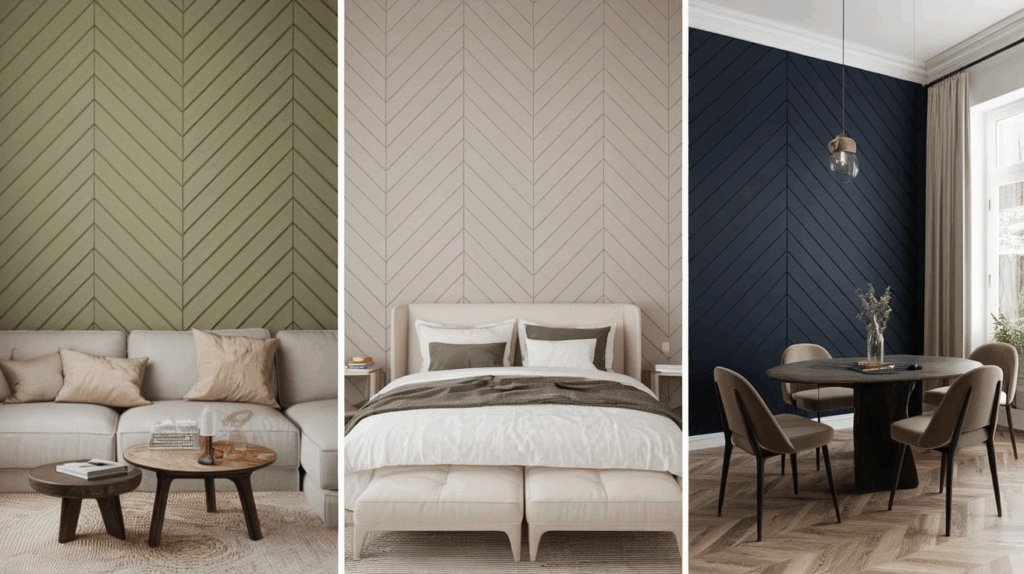
Now comes the fun part, color! You can go bold, soft, or anywhere in between.
- For a calm space: Try soft, cool shades like light gray, pale blue, or muted green. These work great in bedrooms or bathrooms.
- For a bold statement: Go with deep navy, black, or dark green. These look striking in living rooms or entryways.
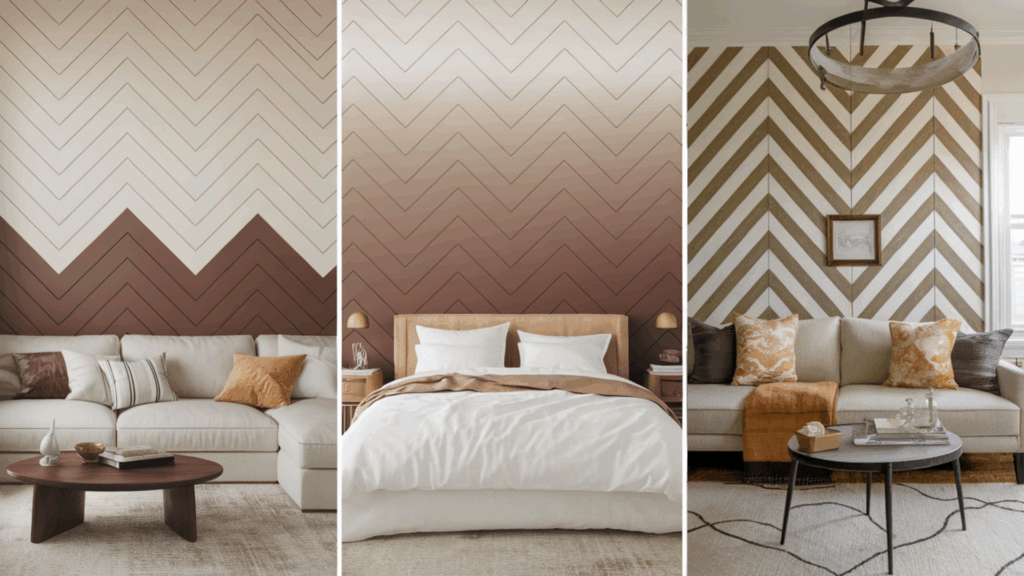
- For warmth and coziness: Use warm tones like terracotta, beige, or soft browns.
Taking time to choose the right wall and color scheme makes a big difference. It helps your herringbone design look clean, balanced, and just right for your space.
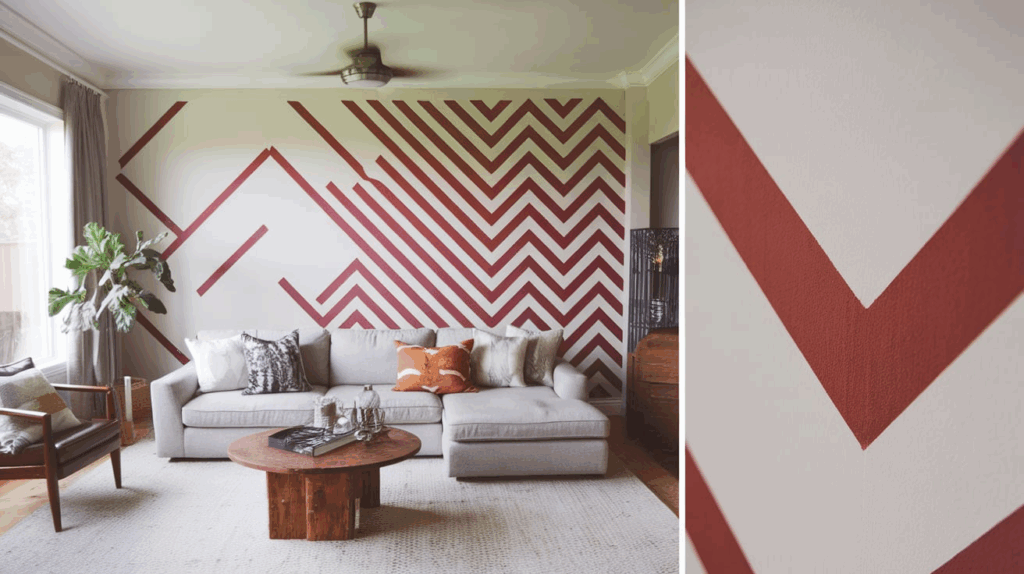
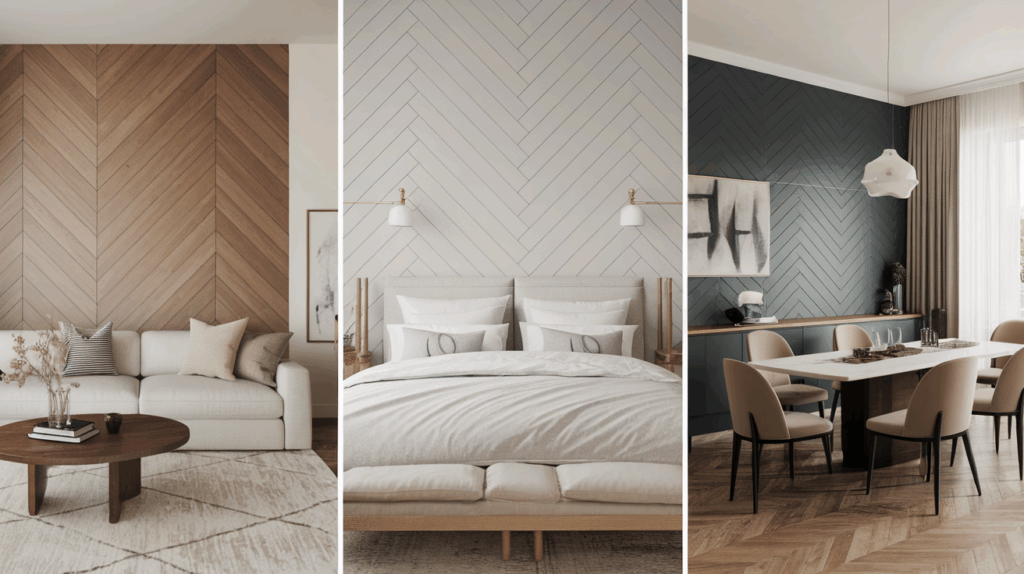
Herringbone Accent Wall: Design Variations and Creative Ideas
Once you know how to paint a basic herringbone wall, you can start having fun with creative twists.
The great thing about the herringbone pattern is that it’s super flexible. You can keep it classic or change things up to match your personal style.
1. Play with Color Combos
- Two-Tone Design: Use two colors that go well together, like navy blue and light gray, to make the pattern pop.
- Ombre Effect: Blend shades from light to dark to create a fading effect across the wall.
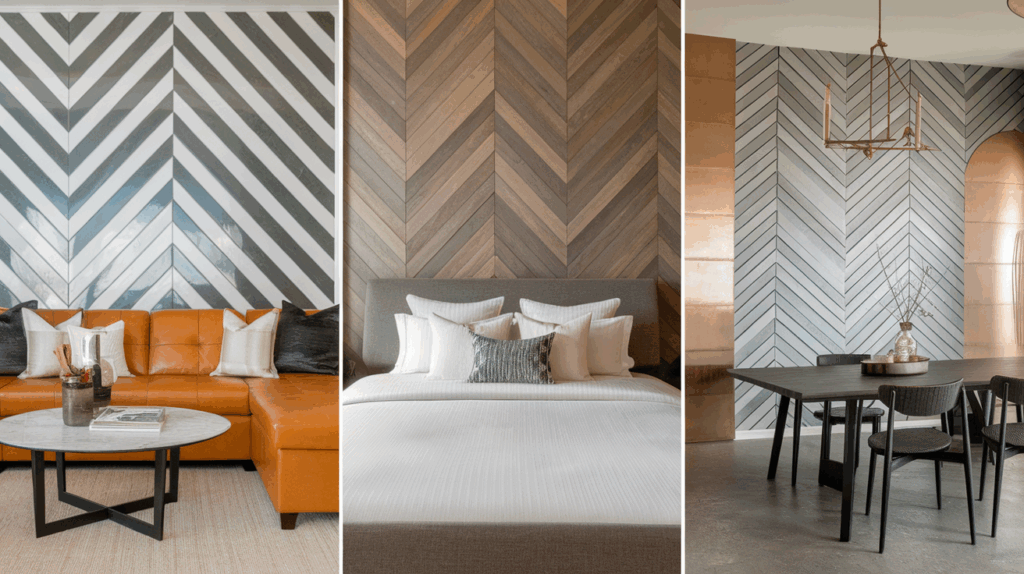
- Bold Contrast: Try black and white for a modern, high-impact look.
- Changing up the colors is an easy way to make your wall stand out and feel more “you.”
2. Mix Finishes for Extra Texture
- Glossy vs. Matte: Use a glossy paint for one set of stripes and matte for the other. It’ll catch the light in a cool way.
- Metallic Accents: Add a touch of gold, silver, or bronze in a few lines for a fancy, glam look.
Even if you use just one color, different finishes can add depth and style.
3. Combine with Other Wall Features
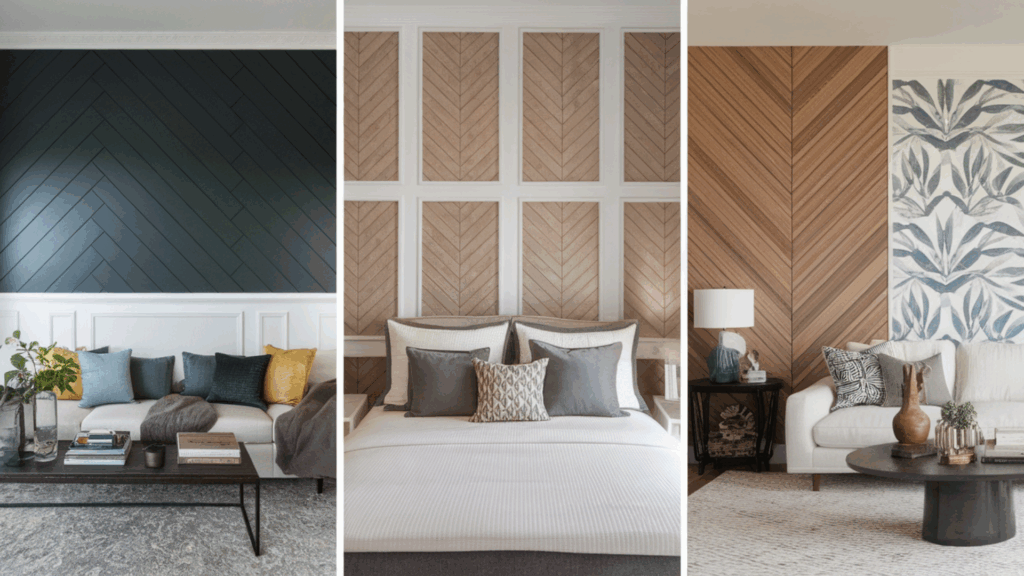
- Wainscoting Below: Paint the herringbone on the top half and add wood trim or paneling below.
- Framed Sections: Tape off boxes or rectangles and paint herringbone inside each one. It adds a modern, geometric vibe.
- Mix with Wallpaper: Use wallpaper on one side and paint on the other for a balanced, stylish space.
Combining the herringbone with other features can turn a plain room into something super eye-catching.
There’s no one “right” way to do a herringbone accent wall. You can keep it simple or get as creative as you like. Try different colors, shapes, or finishes—whatever fits your room and personality best.
Conclusion
Creating a herringbone accent wall is a simple and fun way to give your space a fresh new look.
With just some paint, a few tools, and a little patience, you can turn a plain wall into a stylish feature that stands out.
Whether you go for bold colors, soft shades, or something unique, the herringbone pattern adds texture and charm to any room.
Plus, you can get creative with color combos, finishes, and even mix in other wall styles.
The best part? You don’t need to be a pro to get great results. Just take your time, follow the steps, and enjoy the process.
Once it’s done, you’ll have a beautiful wall that reflects your style and makes your home feel more personal. So grab your paint and get started, you’ve got this!