
Painting baseboards might seem like a minor upgrade, but it can make a huge impact on the look and feel of your home.
If you’re refreshing a room or finishing a renovation, clean and crisp baseboards instantly add polish and professionalism to any space.
However, getting smooth, brush-mark-free results can be tricky, especially if you’re not a seasoned painter.
Fortunately, you don’t need years of experience to paint baseboards like a pro.
With the right preparation, tools, and techniques, even beginners can achieve flawless results.
From prepping your trim to choosing the right brush and paint additives, you’ll learn everything required to avoid common mistakes and save time.
Why Paint Baseboards?
Baseboards are often overlooked, but they play a key role in the overall appearance of your interior space.
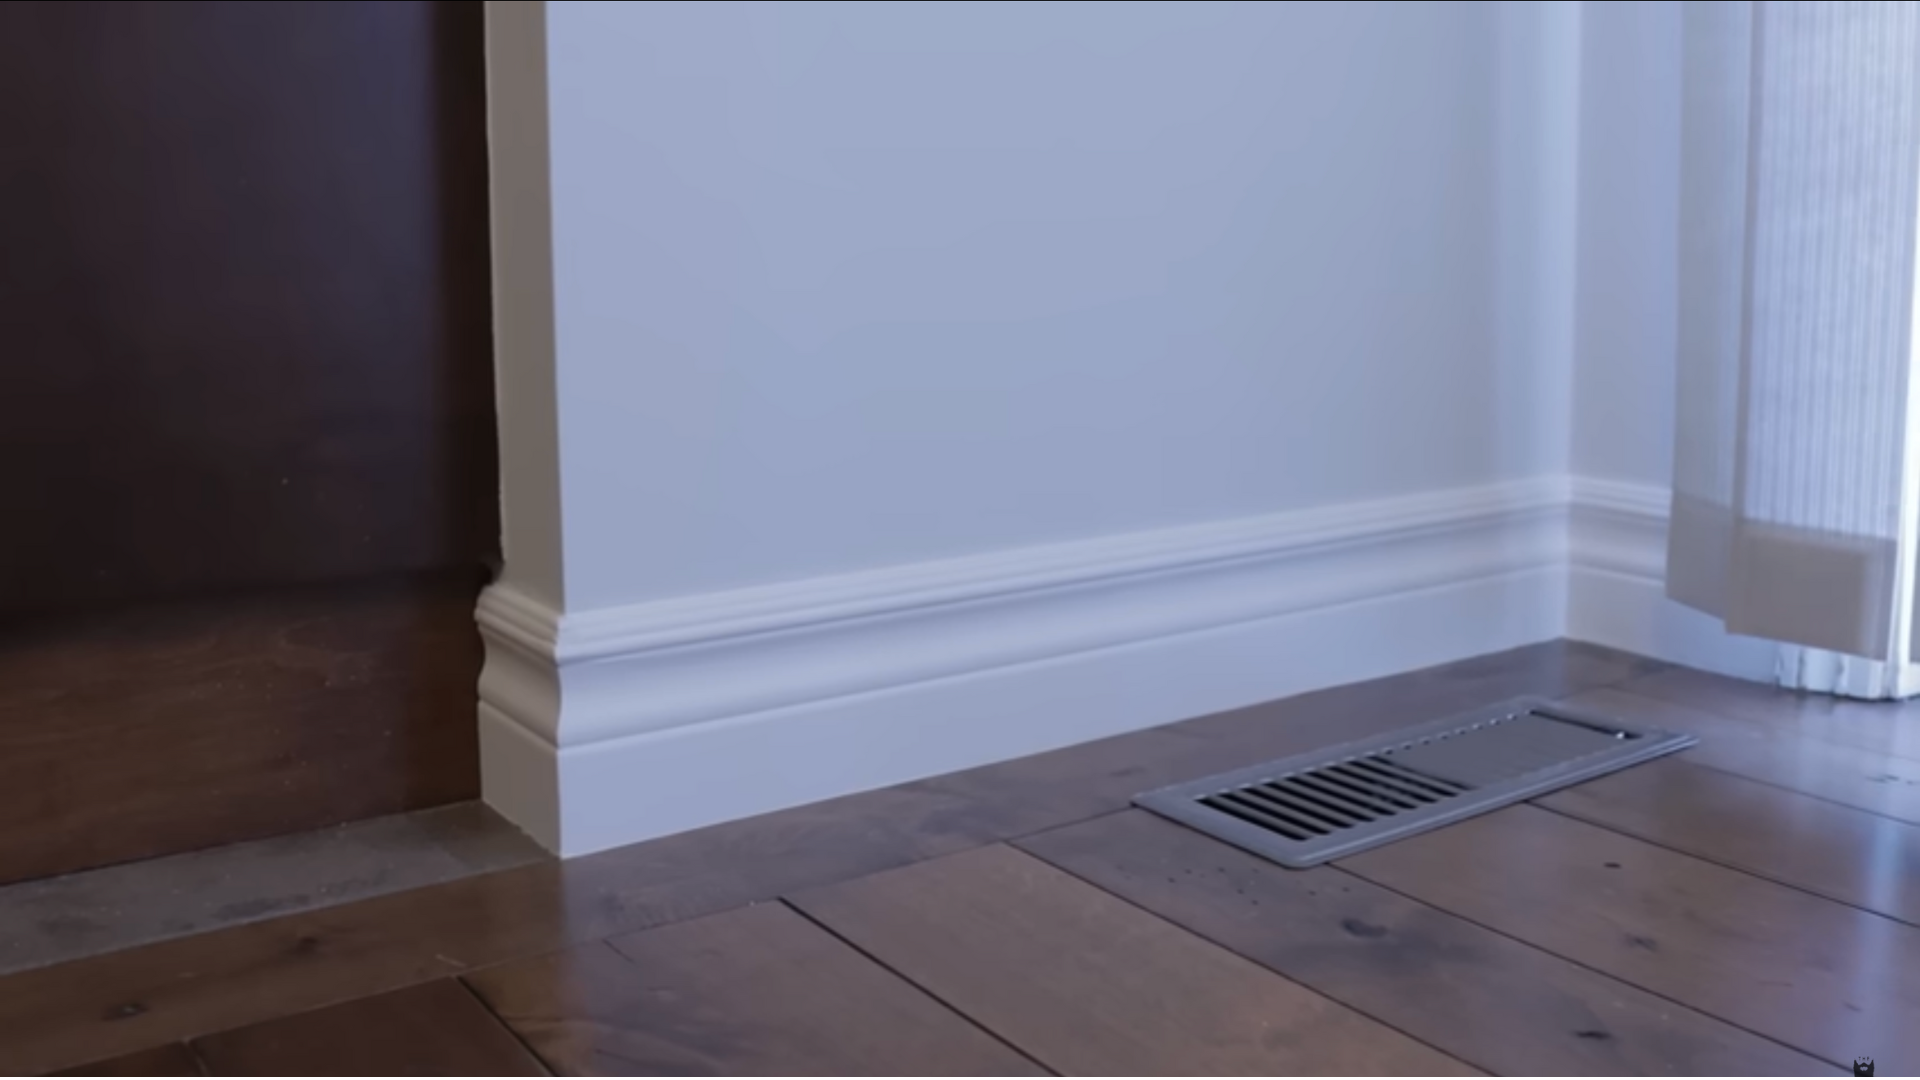
When baseboards are freshly painted, they create clean lines and visual contrast that can frame your flooring and walls beautifully.
Painting baseboards helps:
- Refresh worn or dirty trim without replacing it
- Hide imperfections and damage from wear and tear
- Match the new wall paint or updated flooring
- Increase home appeal before selling
Even subtle color or finish upgrades, like switching from flat to satin or gloss, can make your trim stand out in the best way.
Tools and Materials Needed
These tools and materials help ensure smooth results and a durable finish.
Painting Tools:
- 2.5-inch angled paintbrush (Wooster or Purdy recommended)
- Paint tray or small container
- Putty knife (for cutting tape and applying filler)
- Sanding sponge or 120-grit sandpaper
- Vacuum, microfiber cloth, or soft brush (for dust removal)
Taping and Protection:
- Delicate-surface FrogTape
- Drop cloth or painter’s plastic (to protect floors)
Cleaning and Prep Supplies:
- TSP (trisodium phosphate) solution or mild cleaner
- Clean rags or sponges
Repair Materials:
- Drydex spackle (for small dents and holes)
- Wood filler (for larger cracks or corner damage)
Paint and Additives:
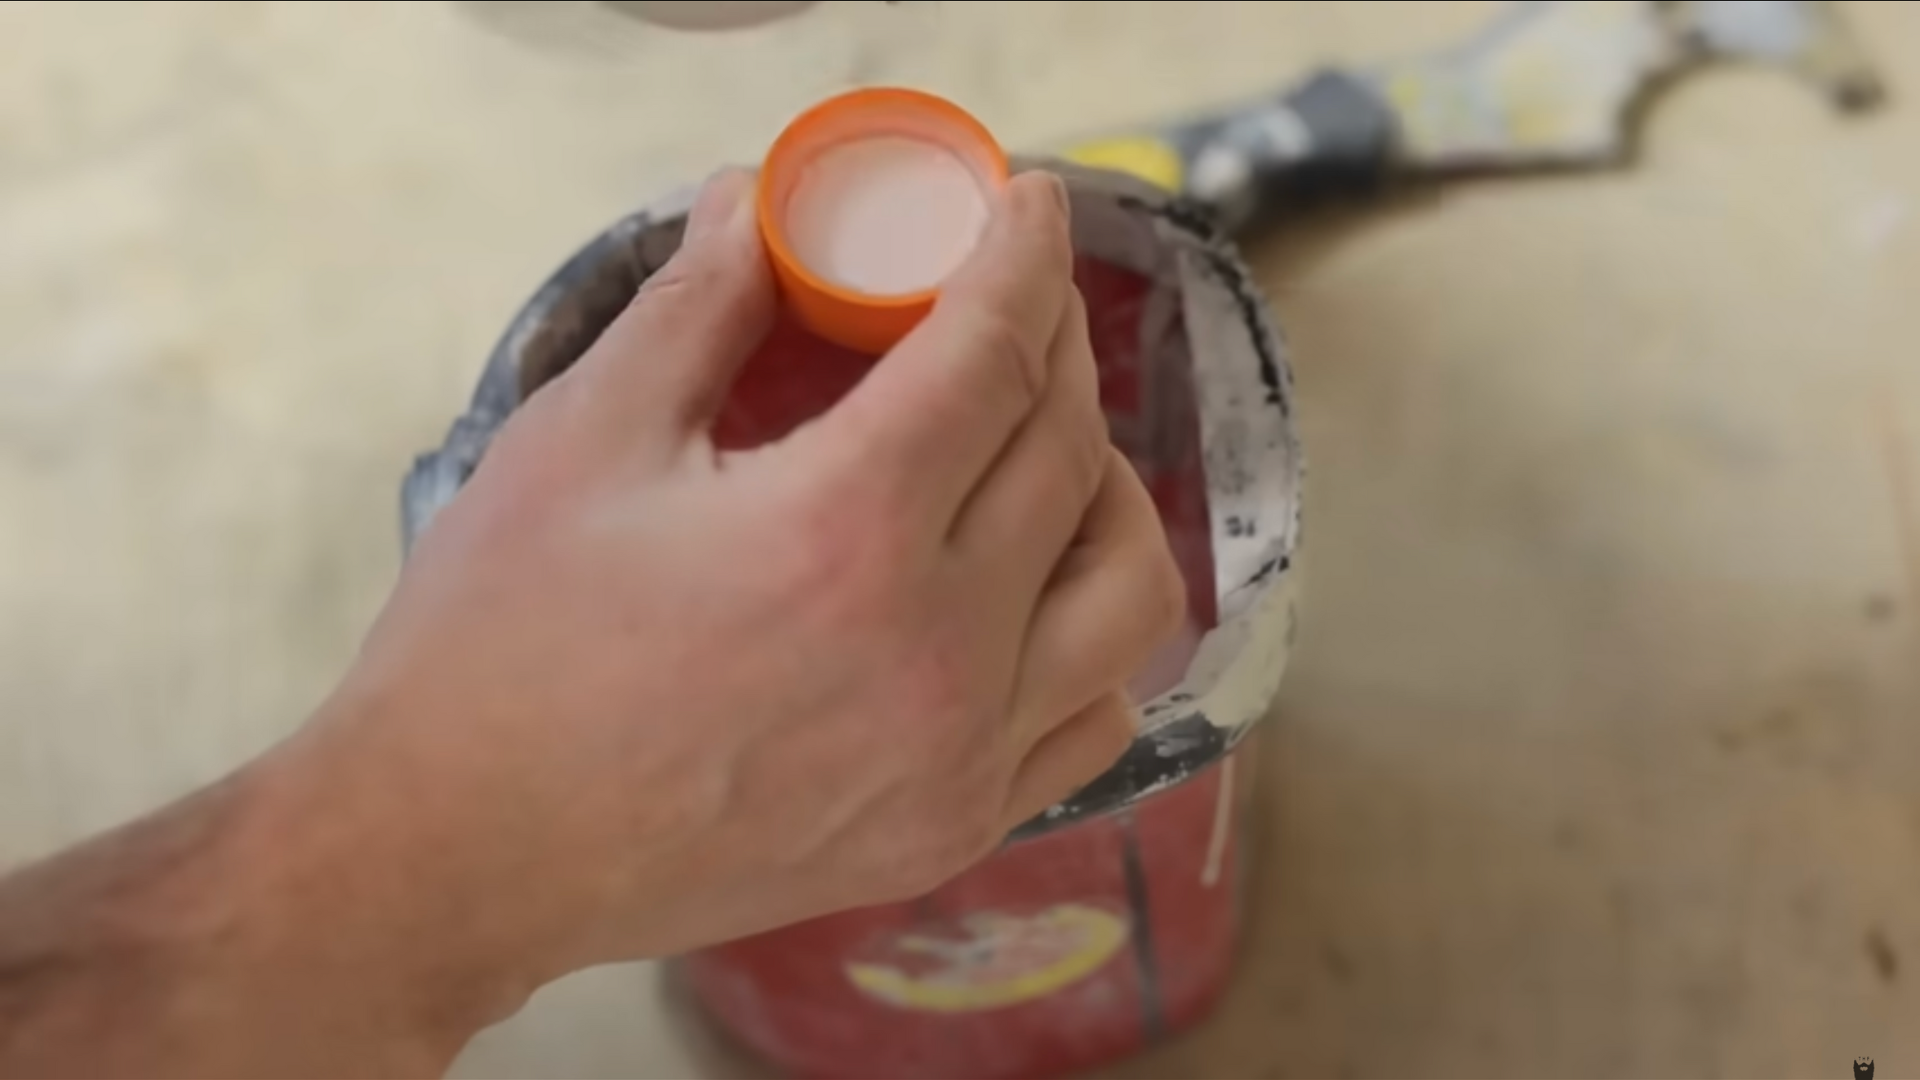
- Latex trim paint in satin or semi-gloss finish
- Floetrol (paint conditioner for smooth application)
Step-by-Step Guide: How to Paint Baseboards
Follow these simplified and effective steps to get clean results without hiring a pro.
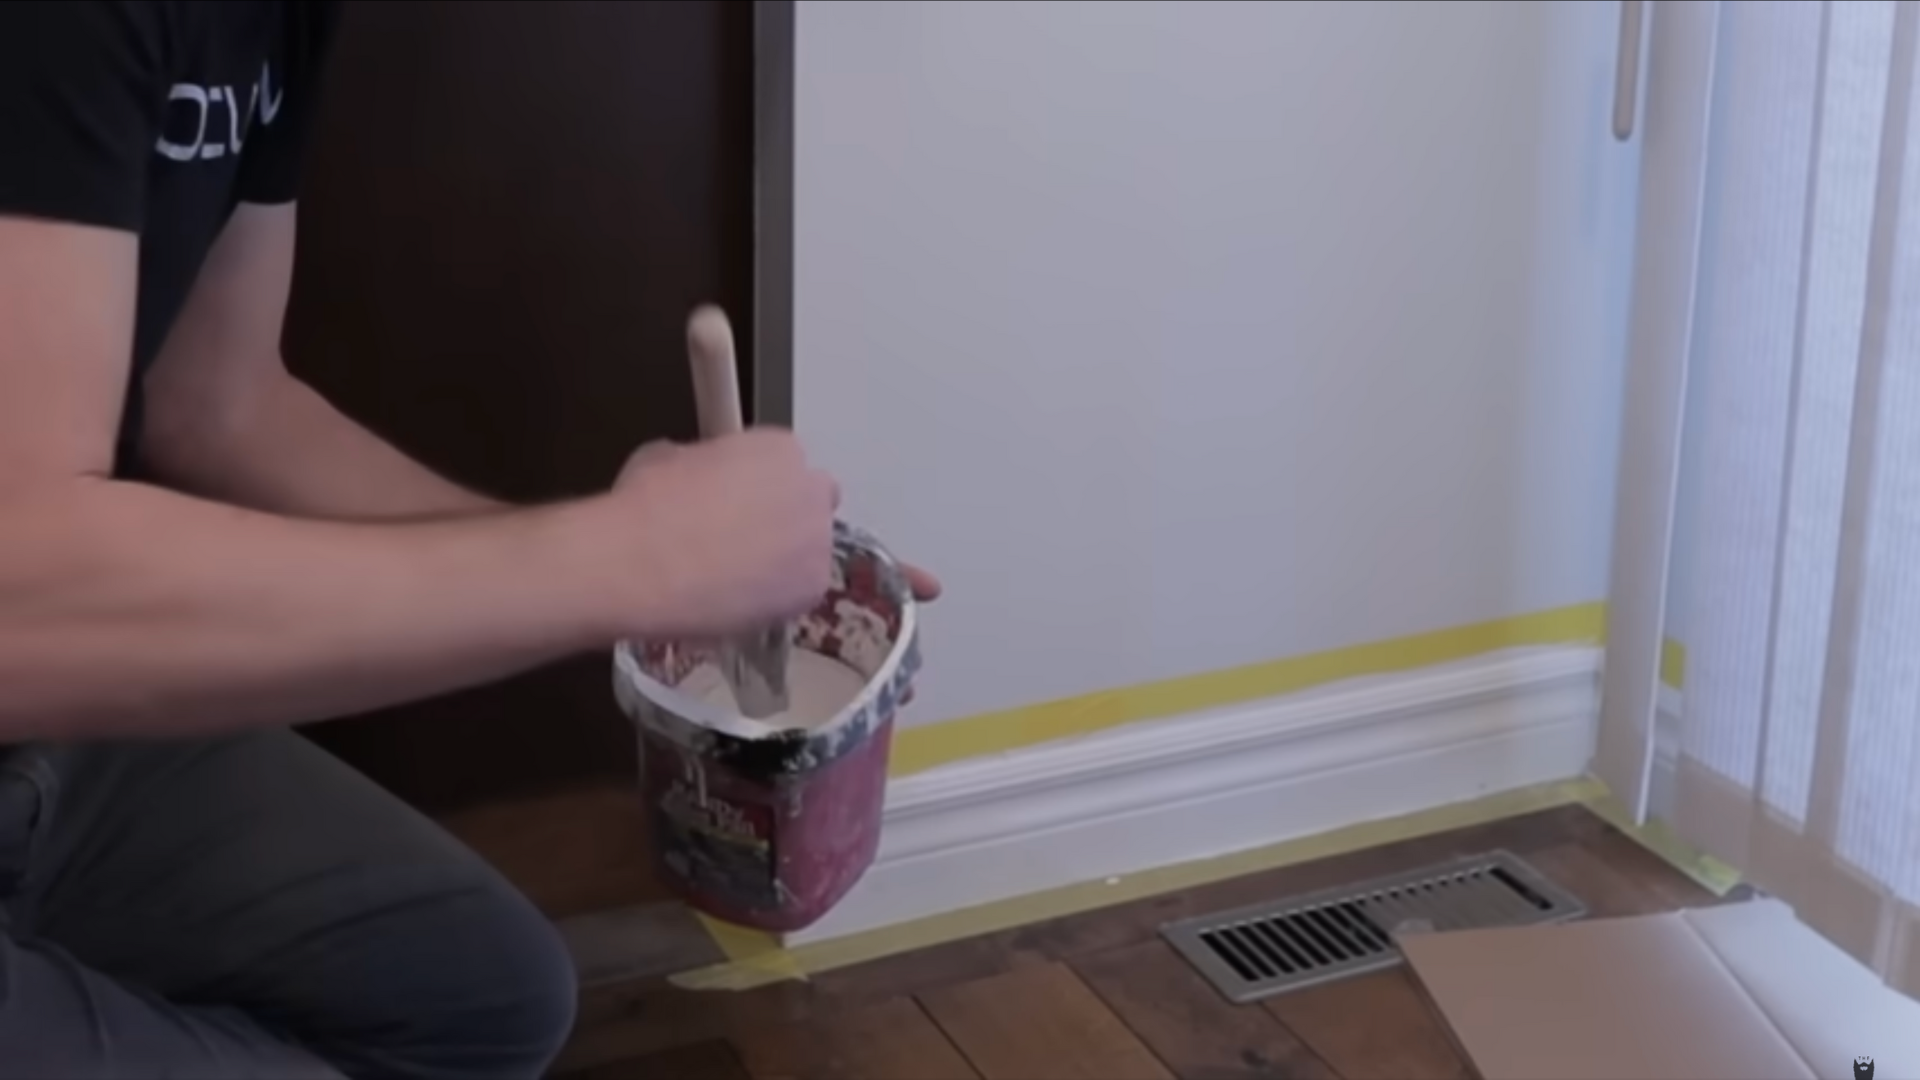
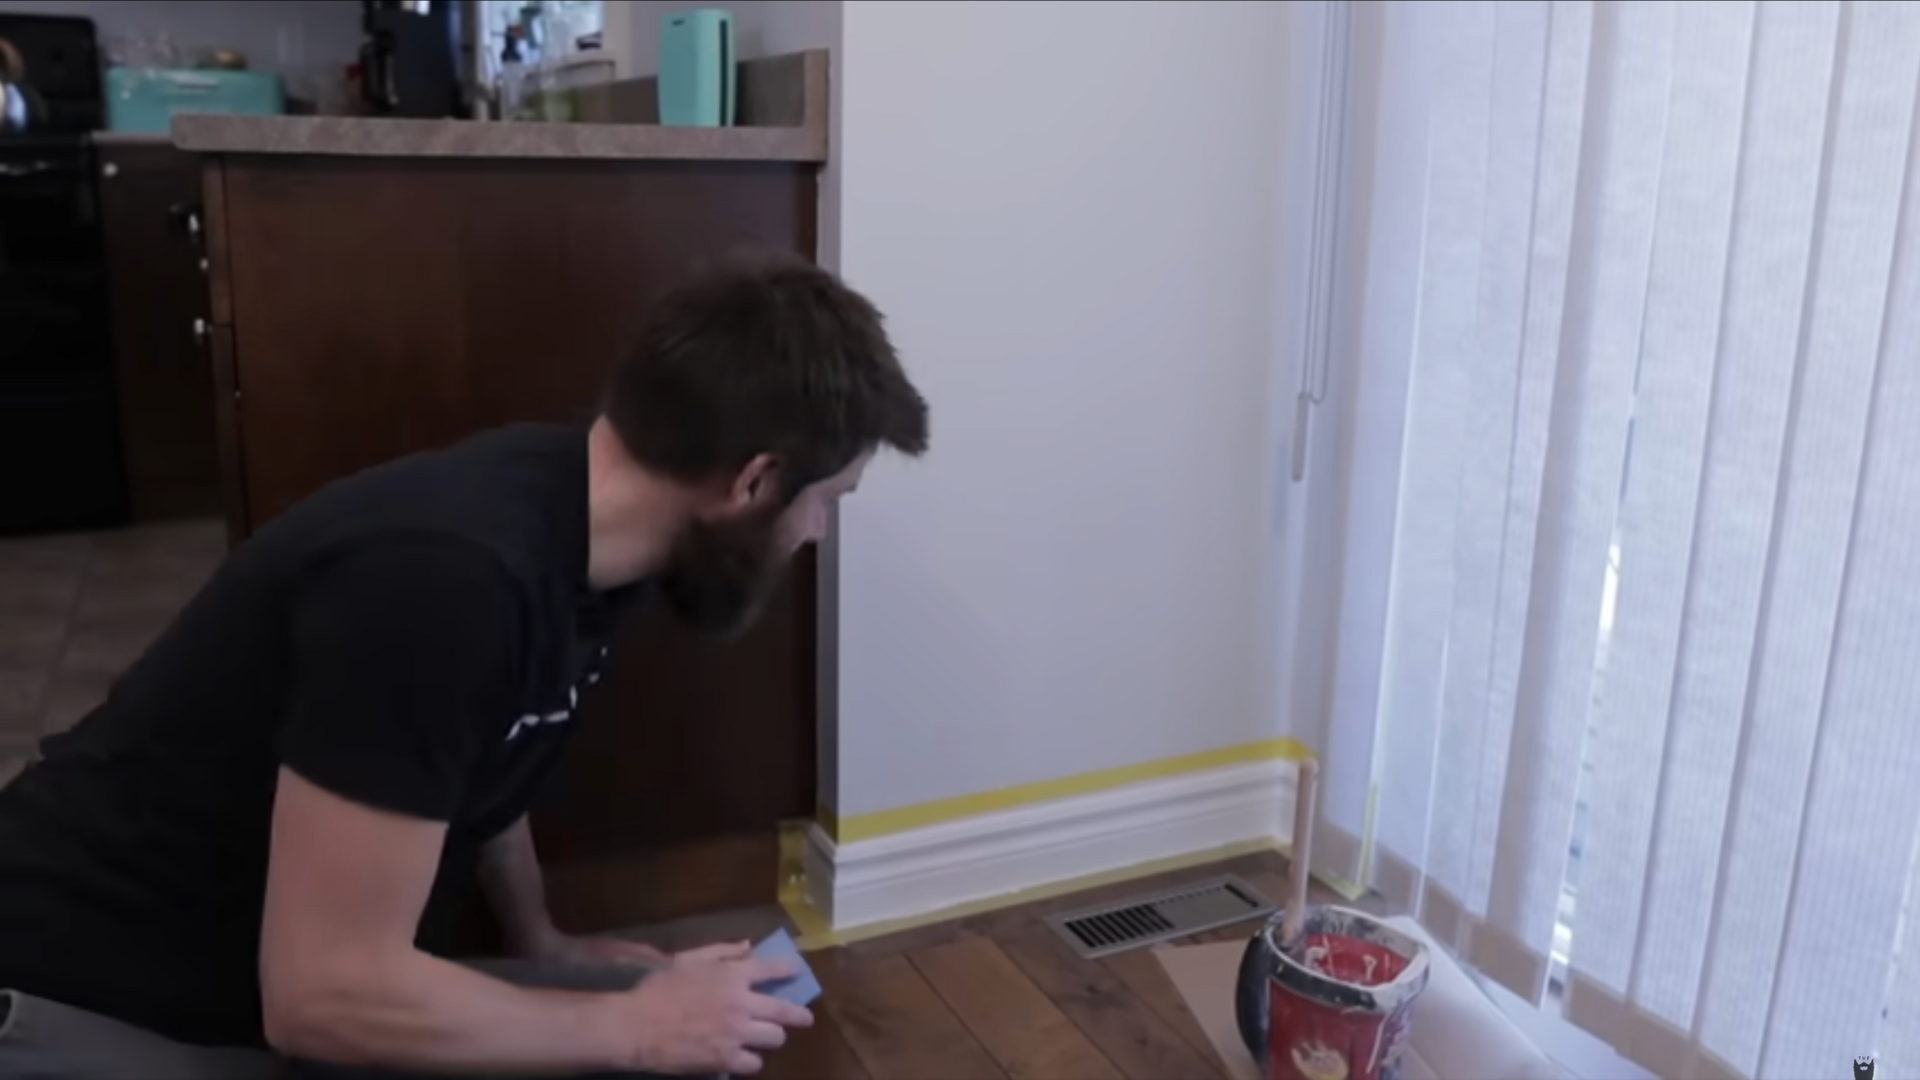
1. Tape Off the Area
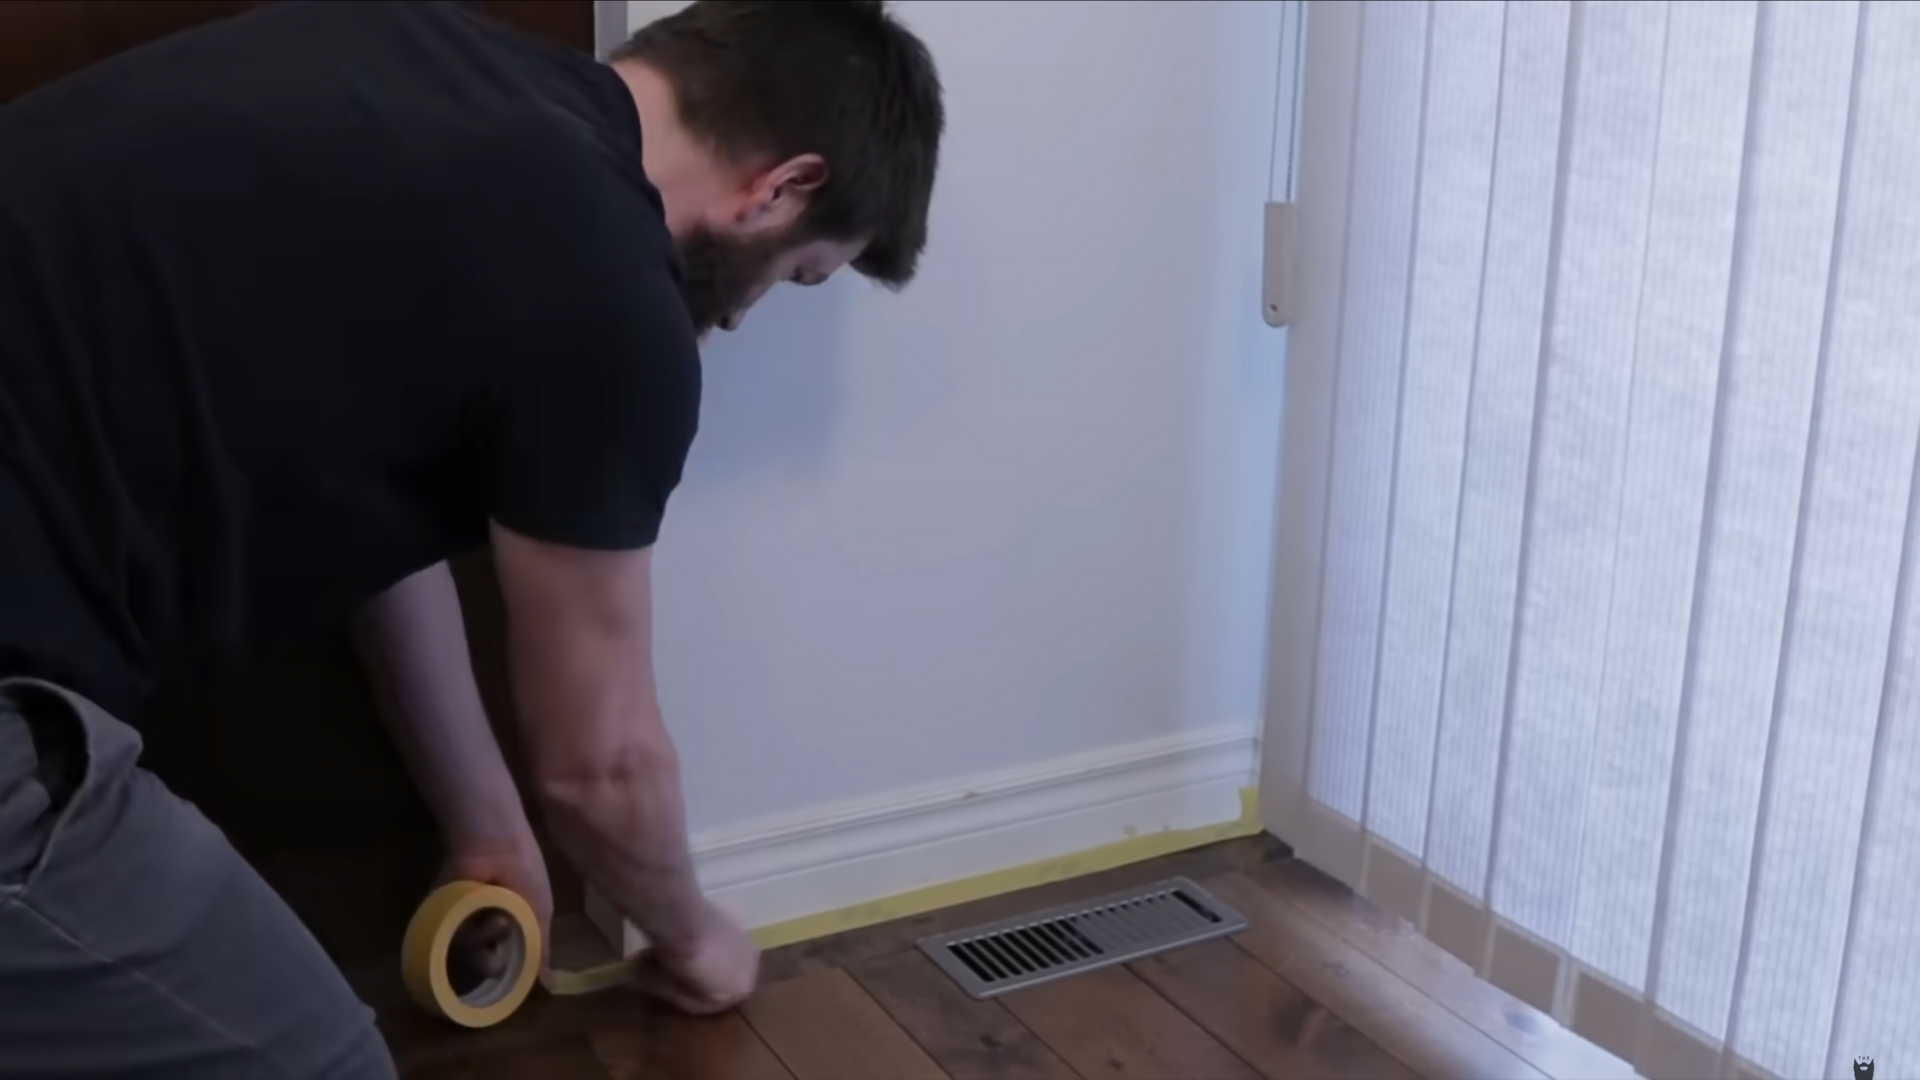
- Use delicate-surface FrogTape to protect your walls and floors.
- Press it down firmly where the baseboard meets the wall and floor.
- Use a putty knife to cleanly cut edges in corners for a crisp look. Pull the tape gently at a downward angle to avoid ripping drywall or paint.
2. Light Cleaning and Sanding
- If your baseboards are greasy or dusty, use a TSP solution and a cloth to wipe them down.
- After that, use a sanding sponge or 120-grit sandpaper to smooth out the surface and remove old paint buildup or scuffs.
- This step helps the new paint stick better.
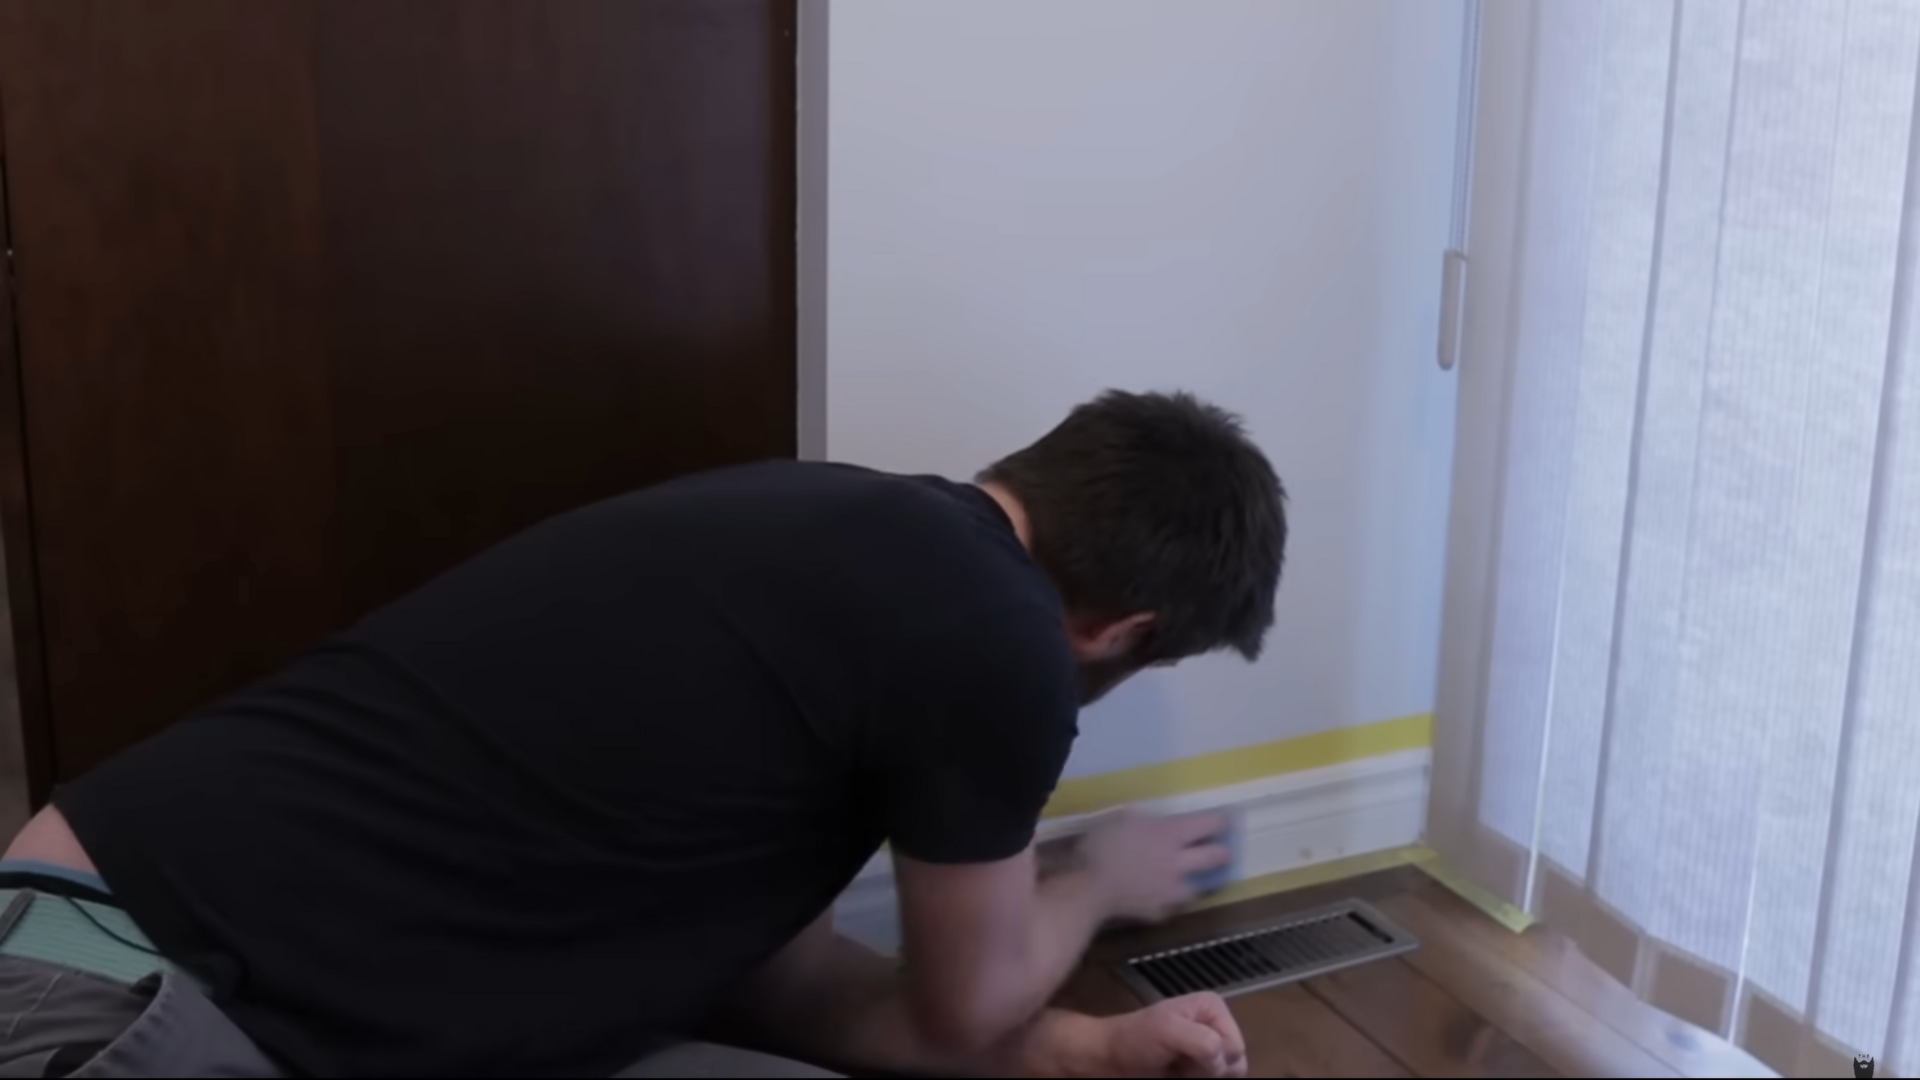
3. Patch Minor Imperfections
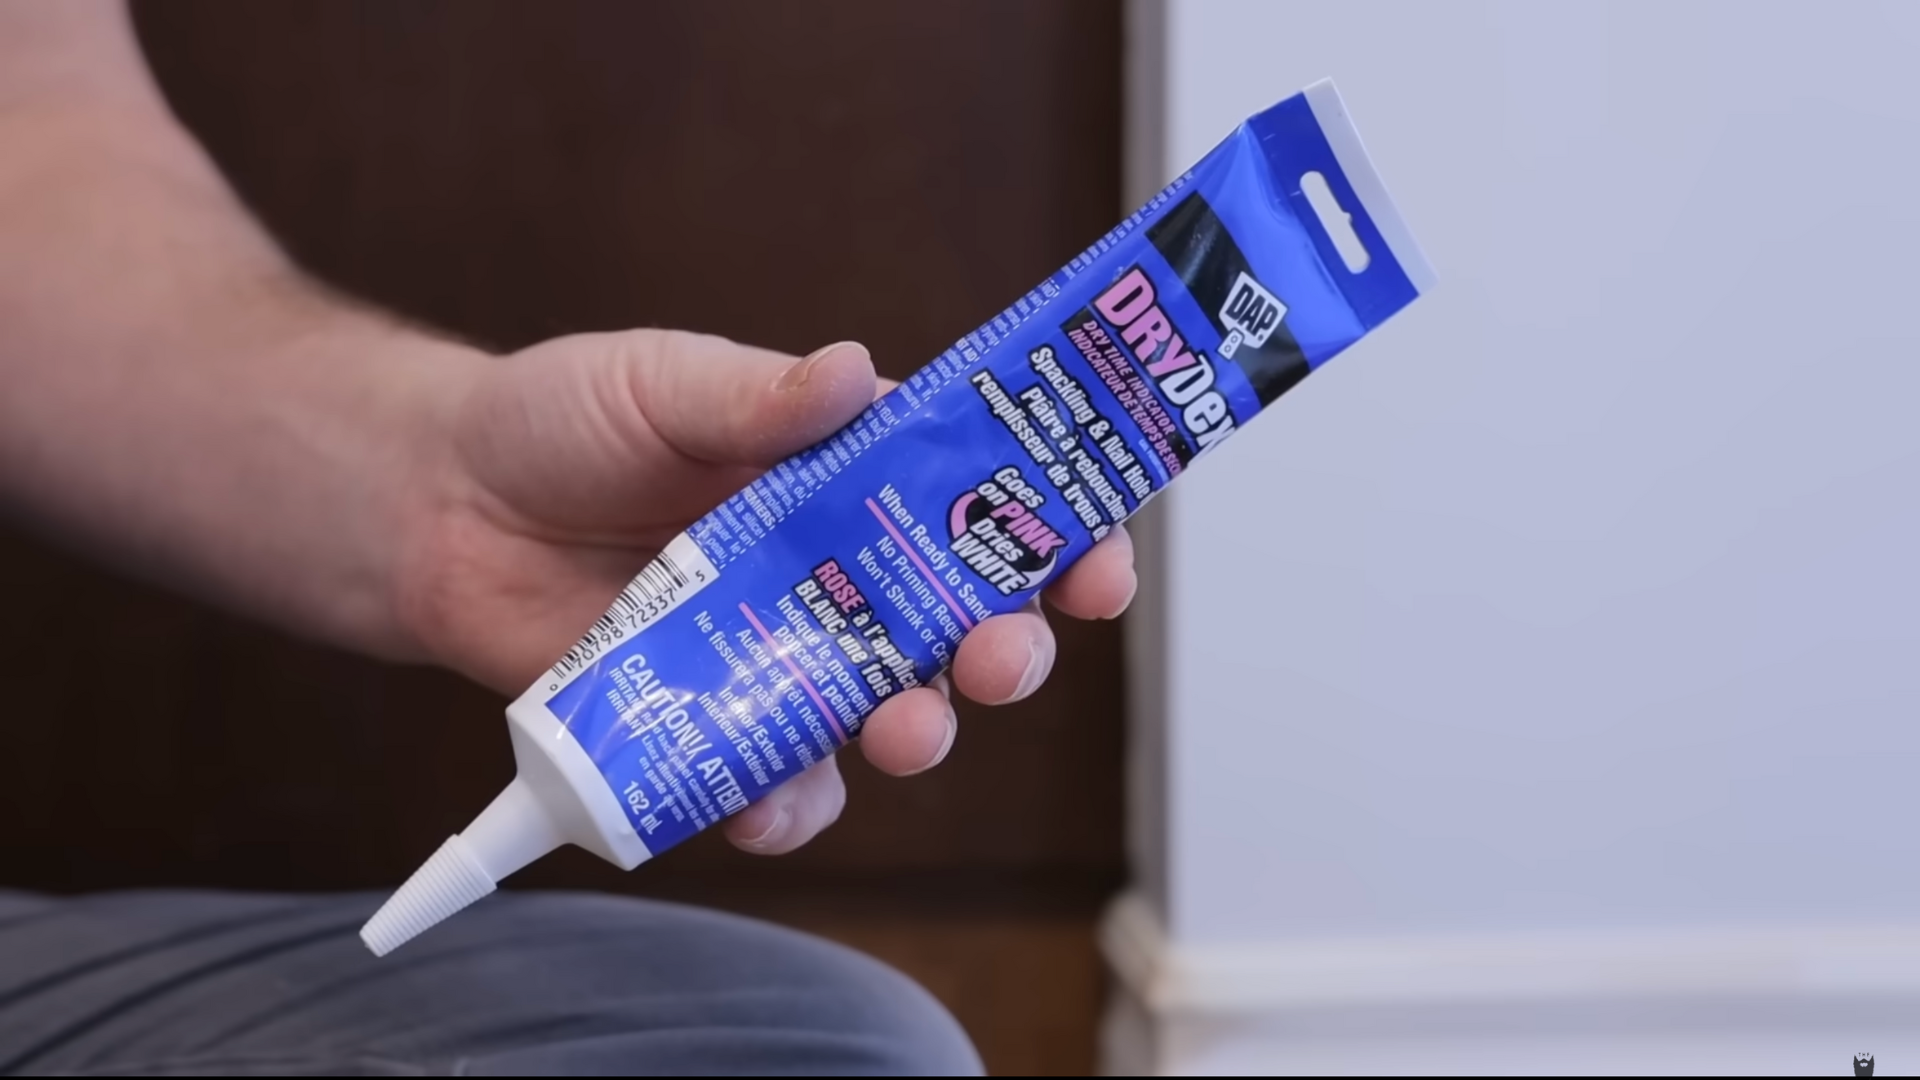
- For small dents or cracks, apply Drydex spackle.
- It dries quickly and sands down well.
- For bigger repairs, use wood filler; once dry, sand flush with the surface. If needed, check for more detailed repair guides on rebuilding corners.
4. Dust and Prep for Paint
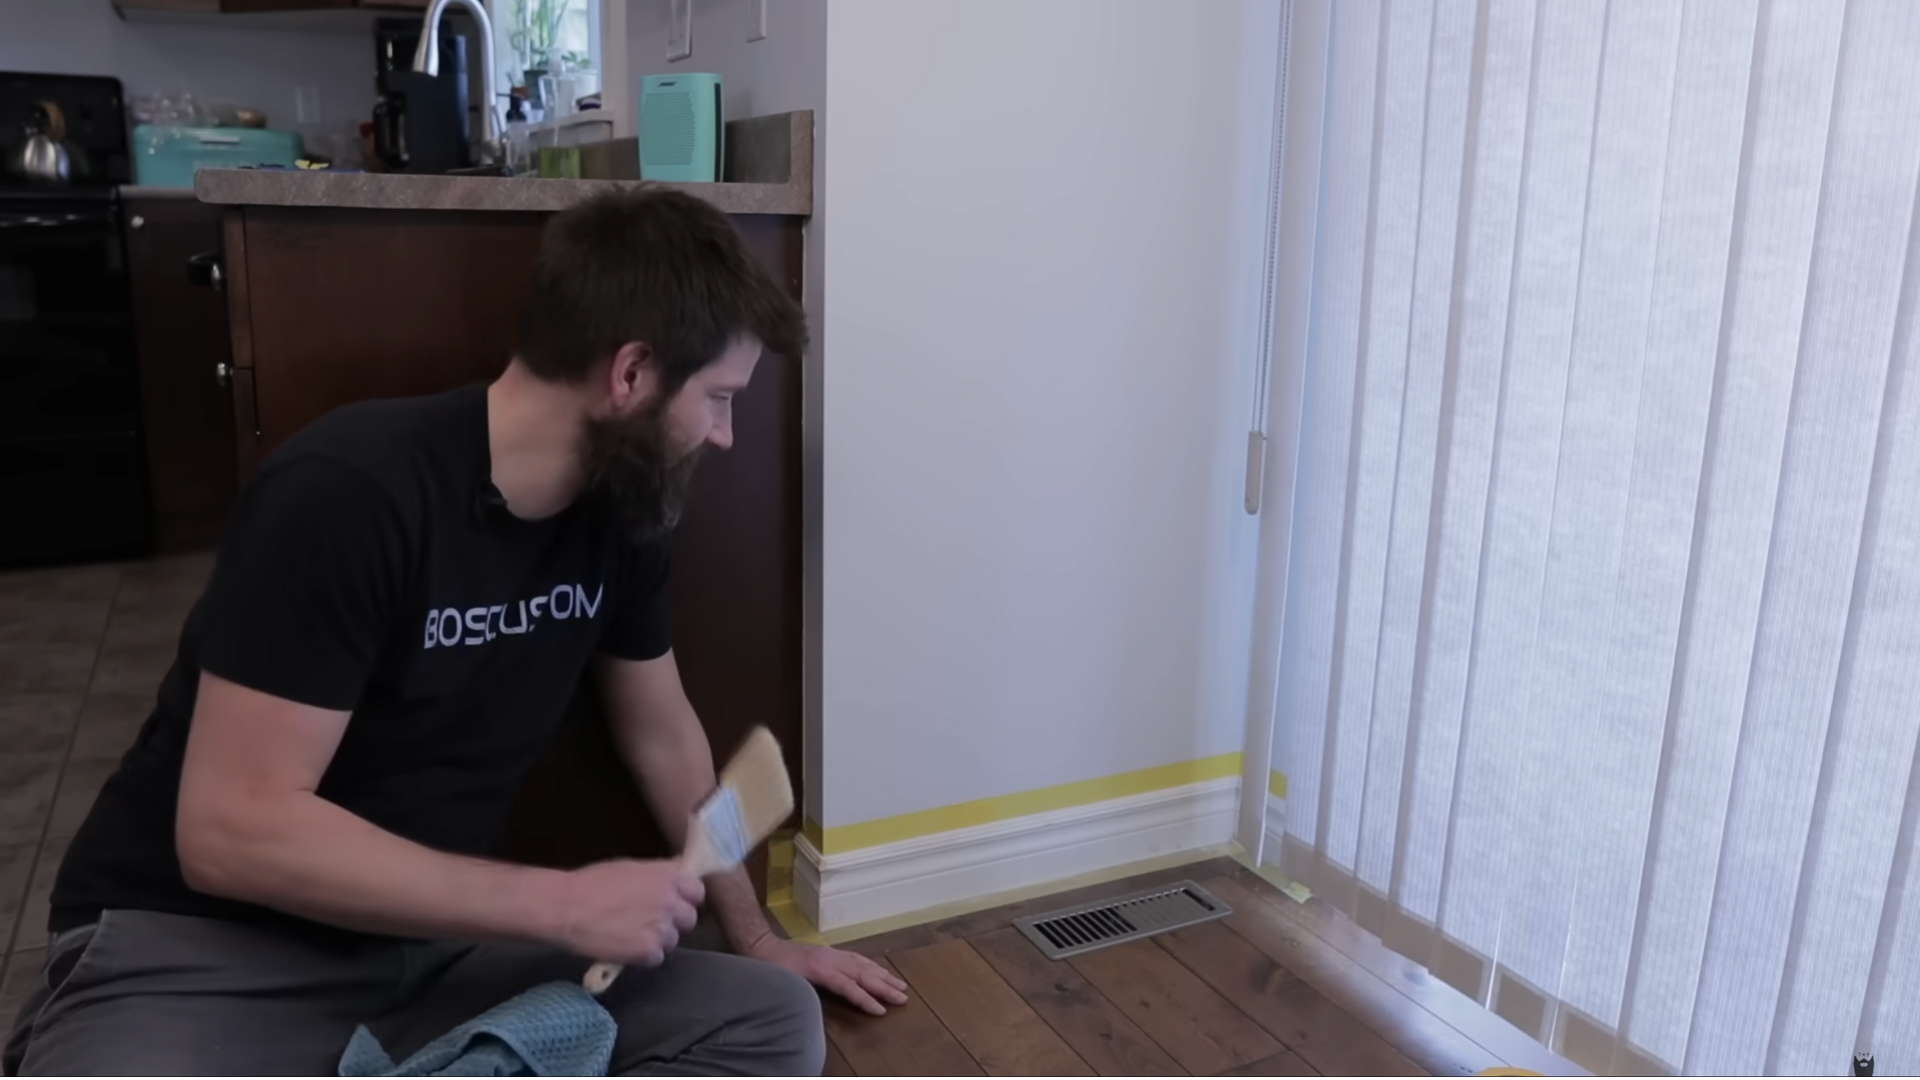
- After sanding, use a vacuum, brush, or cloth to remove dust.
- This ensures a clean paint surface. Even small debris can cause bumps or rough spots in your finish.
5. Choose the Right Paint and Additive
- Use a satin gloss latex trim paint for a durable, washable finish.
- For ultra-smooth results, add Floetrol. It helps paint level better and reduces brush strokes.
- A small amount makes a big difference and works with most latex paints.
6. Apply the First Coat
- Use a 2.5-inch angle brush (Wooster or Purdy recommended).
- Apply paint generously, working in 2–3 foot sections. Then go back and smooth out the paint using long strokes.
- Floetrol helps the paint settle evenly and avoid tacky buildup during brushing.
7. Sand Between Coats
- After your first coat dries (typically 2 hours), do a light sanding.
- Look for dried debris like pet hair or dust. Smooth out any rough patches.
- This ensures your final coat looks clean and even.
8. Final Coat and Finishing Touches
- Apply your final coat with the same technique: steady, even brush strokes with a quality brush.
- If you used Floetrol, you’ll notice fewer brush marks.
- A premium brush will also give smoother application compared to dollar-store alternatives.
For a more detailed understanding, watch “How To Paint Baseboards- The Easiest Way to Professional Results!!!” by @The Funny Carpenter-
Simple and Efficient Techniques for Painting Baseboards
Painting baseboards can be done in a few ways, depending on your tools, space, and skill level. Below are the most common methods:
1. Brush Painting
This is the most traditional and beginner-friendly method.
- Use a high-quality angled brush (2” or 2.5”) for clean edges.
- Start from the top edge and pull the brush in long, smooth strokes.
- Use painter’s tape along the floor or wall to avoid splatter.
- Great for small areas or detailed trim.
2. Roller Painting
Ideal for covering longer runs of baseboard quickly.
- Use a small foam roller (4” or 6”) for smooth, even coats.
- Follow up with a brush for tight corners or grooves.
- It’s faster than brushing alone and gives a nice, clean look.
- Works best on wide or flat baseboards.
3. Spray Painting
Best for large projects or when painting baseboards before installing them.
- Use a paint sprayer for a flawless, factory-like finish.
- Prep is key; mask off everything nearby and work in a ventilated space.
- Not ideal for tight or furnished rooms unless everything is covered.
- Very fast and smooth, but requires more cleanup and skill.
4. Remove and Paint
If you want a super clean look and don’t mind extra work:
- Gently remove the baseboards from the wall.
- Paint them flat on sawhorses or a table.
- Reinstall once fully dry.
- Best when replacing flooring or doing a full-room makeover.
Common Mistakes to Avoid When Painting Baseboards
Small missteps can lead to uneven finishes, peeling paint, or wasted effort. Avoiding common mistakes ensures a smoother, more professional result.
- Using the Wrong Brush: Cheap brushes often shed bristles and leave streaks. Invest in a quality 2.5-inch angled brush like the Wooster Silver Tip for better control and smoother coverage.
- Skipping Prep Work: Dust, pet hair, or grease can prevent paint from sticking. Clean baseboards with a TSP solution and sand lightly. Fill dents or gaps with DryDex or wood filler.
- Applying Paint Too Thickly: Thick coats can cause drips and visible marks. Instead, apply thin, even layers. Flowtrol helps, but a steady technique is essential.
- Not Sanding Between Coats: A quick sand between coats smooths out imperfections and helps the next layer adhere cleanly.
- Peeling Tape Incorrectly: Always peel painter’s tape slowly at a 45° angle. Use delicate-surface tape on freshly painted walls to avoid tearing.
- Painting in Poor Conditions: Avoid humid or extremely hot days. Ideal conditions are mild, dry, and well-ventilated for even drying and adhesion.
Avoiding these common pitfalls will help you achieve clean, crisp, and professional-looking baseboards with less effort and fewer do-overs.
Helpful Tips for Professional Results
- Use Floetrol: It dramatically improves leveling and reduces brush marks.
- Don’t skip sanding: Light sanding before and between coats ensures smoother finishes.
- Invest in a good brush: A high-quality brush like the Wooster Silver Tip makes a huge difference.
- Work in sections: Paint 2–3 feet at a time, then smooth it out.
- Pull tape correctly: Always remove painter’s tape at a 45-degree angle for clean lines.
- Protect floors with drop cloths: Even if you’re careful, drips happen.
- Scan for imperfections: Pet hair and dust love wet paint—watch for them during drying.
Conclusion
Painting baseboards is one of the easiest DIY upgrades you can do. It’s budget-friendly but takes some prep, patience, and the right tools.
You might be reviving dull trim or finishing off a remodel, but fresh paint makes a big difference.
With tools like Floetrol, sanding sponges, and quality brushes, even beginners can get pro-looking results.
Prep the surface, fix flaws, and use good materials for smooth coats that last. Follow this guide to skip common mistakes and give your trim a clean, modern finish.
Grab your tape, your paint, and your brush; it’s time for a baseboard glow-up.