
If you are starting a project that needs nails, like putting up trim or finishing wood, you’ve likely asked yourself which nailer is right. That’s where things can get confusing fast.
Each tool looks the same, but they work best for different tasks.
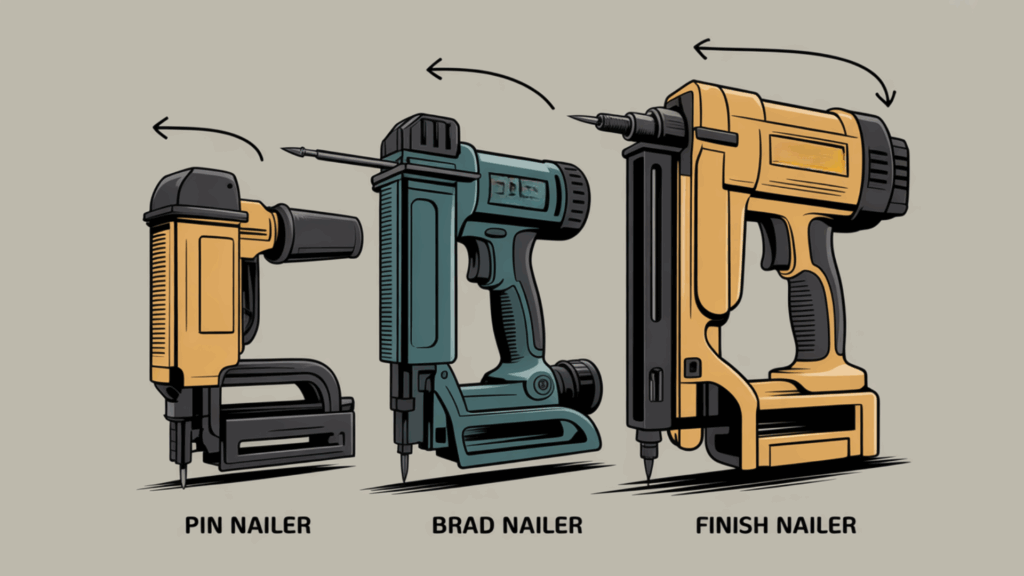
In this blog, I will discuss three main types of nailers: pin nailers, brad nailers, and finish nailers.
You’ll see how each one works, what kind of nails they use, and which jobs suit them best. I’ve kept things clear, with simple terms and real examples.
I’ve used these tools myself, so I know the common mistakes people make and how easy it is to choose the wrong one when you’re just starting out.
This isn’t about selling you tools, it’s about helping you understand them. So if you want to make the right call without wasting time or money, you’re in the right place. Let’s make this easy for you.
What Is a Pin Nailer?
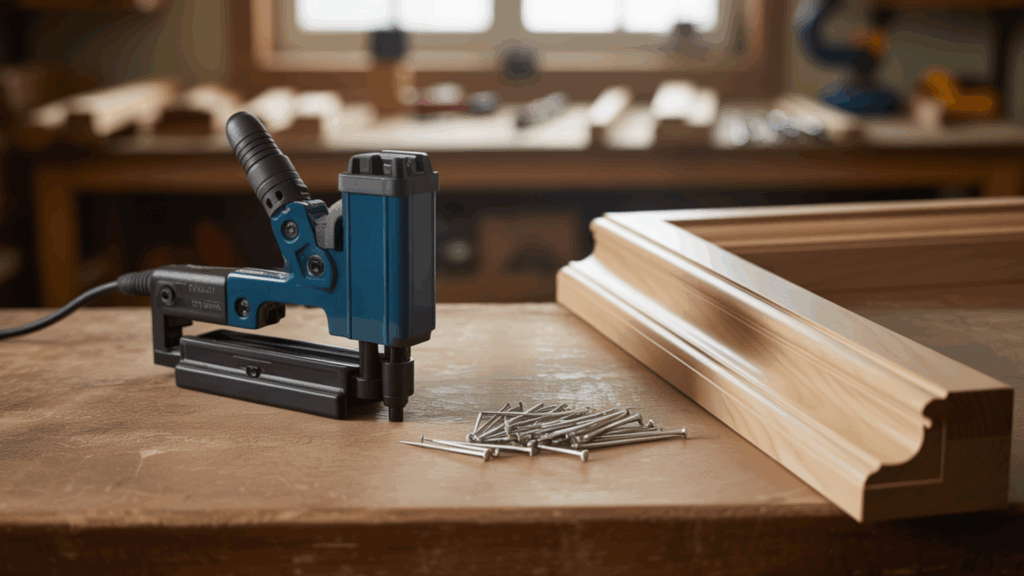
A pin nailer is the smallest kind of nail gun you’ll find in woodworking. It’s made for light jobs where you don’t want visible nail holes or damage to delicate wood.
It fires tiny, headless nails that are nearly invisible once they’re in.
These small nails don’t hold heavy pieces well, but they’re great for things like trim, thin moldings, or helping glue set by holding parts in place. That’s why they’re often used when the final look is more important than strength.
Pin nailers are light, easy to control, and don’t leave big marks behind. That means less filling and sanding. If you’re working on detail-focused projects, this tool makes your job cleaner and faster.
A pin nailer is a small, easy-to-hold tool made for gentle work. It uses tiny nails, often called pins, that are so thin they barely leave a mark.
These nails don’t have heads, so they don’t hold tightly. That’s why pin nailers are mostly used for detail work.
Common Uses for Pin Nailers
Pin nailers are perfect when you want a clean, smooth finish without a lot of patching or sanding. I reach for mine when the job calls for precision over power. Some of the best uses are:
- Attaching small trims and delicate moldings without splitting the wood
- Building or repairing picture frames where appearance matters
- Holding thin wood panels or veneers in place temporarily or permanently
- Keeping parts together while the glue dries, especially on detailed woodworking projects
- Working on crafts or model-building that need tiny, nearly invisible fasteners
Since the nails are so small, they’re almost invisible once in place, so no major hole-filling is needed. Just keep in mind, they’re not meant for heavy-duty work or load-bearing pieces.
Use a pin nailer when the look counts more than the strength, it’s the little jobs where it really shines
Pros and Cons of Pin Nailers
Pin nailers are great for small, delicate tasks where a clean look matters more than strong holding power.
Pros
- Tiny Holes, No Filler Needed: Pin nails are so small (usually 23-gauge) that you often don’t need to fill the holes. This is a huge plus for finish work where you want a clean, seamless look.
- Perfect for Delicate Trim: If you’re working with fragile materials – like thin trim, small moldings, or veneer – a pin nailer won’t split the wood. It’s gentle but holds things just enough while the glue dries.
- Great Glue Assist: Pin nailers are not meant to hold heavy weight on their own. But if you’re gluing two pieces together, a pin nailer acts like a temporary clamp – it holds the parts together while the glue sets.
- Hardly Leaves a Mark: Because the pins are so thin and headless, they practically disappear into the wood. This makes them ideal for visible areas like cabinet faces, furniture trim, or small craft pieces.
- Easy to Maneuver: Most pin nailers are lightweight and compact, which means you can use them with one hand and fit them into tight spots without much fuss.
Cons
- Not Strong on Their Own: Pin nails don’t have heads, so they don’t grip like brad nails or finish nails. You can’t rely on them to hold heavy parts or load-bearing joints – they’re mostly for positioning.
- Limited to Small Jobs: These tools are best for light-duty work. If you’re doing baseboards, framing, or anything thick or structural, you’ll need a stronger nailer.
- Hard to See Where You Nailed: Since the pins are nearly invisible, it can be hard to tell where you nailed. This can be frustrating if you need to remove or adjust something later.
- Need an Air Compressor: Many pin nailers are pneumatic, so you’ll need an air compressor to use one. Cordless versions are available, but they’re usually expensive.
- Pins Can Bend Easily: Because the pins are so thin, they can sometimes bend if you hit a knot in the wood or angle the tool wrong. It’s not common, but it does happen.
Pin vs Brad vs Finish Nailers: What I Use and Why
When I started working on wood projects, I had no clue which nailer to choose. They all looked the same to me, but over time, I learned how different they really are.
1. Matching Nailers to Materials
Start with the wood. Thin or soft wood splits easily, so go with a pin nailer. It holds things in place without damage. Use it for trims, veneers, or lightweight frames.
For medium wood like pine or poplar, a brad nailer is your best bet. It gives a better hold while still being gentle on the surface.
Only a finish nailer will do for hardwood or large trim pieces. It drives long nails that bite deep, which means fewer slips and less shifting.
Each tool fits a material type. Pick the wrong one, and you might ruin the wood or weaken the joint.
2. Project-Based Recommendations
If you’re fixing delicate trim or attaching lightweight pieces, use a pin nailer. It’s quick, clean, and nearly invisible. Great for model work or tiny moldings.
Brad nailers work well for furniture repair, small baseboards, and softwood paneling. They’re good for projects that need medium hold and a clean look.
Finish nailers are perfect for doors, window trim, crown molding, and large casings. Anything that gets opened, closed, or moved frequently needs a stronger hold.
Think about how the piece will be used. The more stress it takes, the stronger the nailer should be.
3. Precision vs Holding Power
Pin nailers offer the most precision. The nails almost disappear, which is great for looks, but they don’t hold much weight.
Brad nailers strike a balance. They’re more accurate than finish nailers but stronger than pins. Use them when you want a mix of looks and strength.
Finish nailers focus on holding power. They don’t look as clean, but they’ll keep heavy parts in place for years. They’re best for parts that carry weight or move often.
So ask yourself you need it to look clean or hold tight? That answer will guide your choice every time.
Below is a simple table I put together to help you see how brad, finish, and pin nailers compare side by side.
| Feature | Pin Nailer | Brad Nailer | Finish Nailer |
|---|---|---|---|
| Nail Size | 23-gauge, headless | 18-gauge, small head | 15–16-gauge, thicker with head |
| Best For | Delicate trim, veneers, crafts | Baseboards, molding, paneling | Doors, large trim, crown molding |
| Holding Power | Low (mostly for positioning) | Medium (stronger hold, still neat) | High (great for heavy or load-bearing pieces) |
| Visibility | Almost invisible | Small holes may not need filling | Larger holes usually need filling |
| Risk of Splitting | Very low | Low | Medium to high on thin pieces |
| Ease of Use | Lightweight and easy | Balanced and beginner-friendly | Heavier, more power, takes more control |
| Finish Look | Super clean | Clean and subtle | Strong but visible |
| Power Type | Usually air-powered | Air or battery | Mostly air, some battery models |
Quick Usage Tips for Beginners
If you’ve never used a nail gun before, it can feel a little strange at first. But once you learn the basics, it gets easier and safer.
If you’re using a pin, brad, or finish nailer, there are simple things you can do to get better results right away.
Start by learning how your tool works. Always wear safety gear. Take your time, especially on detailed work. And always test on scrap wood before starting your actual project.
This section will walk you through the most important things: staying safe, avoiding beginner mistakes, and getting better nail depth and cleaner surfaces.
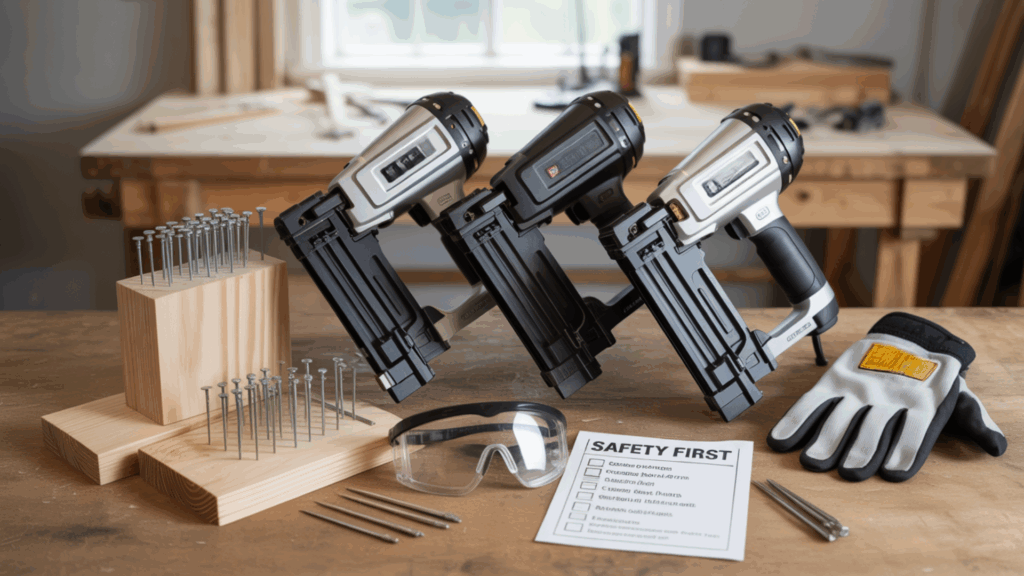
Safety Guidelines for Nail Gun Use
- Always wear safety glasses to protect your eyes.
- Keep fingers away from the nail path.
- Never point the nail gun at yourself or others.
- Disconnect power or air before fixing jams or loading nails.
- Test on scrap wood before using it on your real project.
- Hold the tool firmly, but don’t press too hard.
- Keep your work area clean and dry.
Avoiding Common Mistakes
When I first started using nailers, I learned that small mistakes could lead to big problems. Here are a few key things to watch out for so you get clean, safe results every time:
- Don’t use a finish nailer on thin trim; it can split the wood.
- Don’t use a pin nailer on heavy trim; it won’t hold securely.
- Always check nail length and material thickness to make sure they match.
- Keep the nailer flat and aim straight to avoid nails blowing out the side.
- Test on a scrap piece first to check depth and alignment.
- Make adjustments before the real cut, not after; it saves time and prevents damage.
Taking a few extra minutes to set things up right can save you a lot of frustration. Preparation is what makes the job go smoothly.
Conclusion
I know that picking the right nailer can feel confusing at first. But once I understood how each one works and what it’s made for, the choice became much easier.
When I’m doing light and detailed work, like trimming or veneer, I always reach for my pin nailer. It keeps things clean and smooth without splitting the wood.
I use a brad nailer for medium jobs like small moldings or baseboards. It holds just enough without making big holes.
And when I need real strength-like with doors or heavy trim-I trust my finish nailer. The nails show more, but the hold is solid.
Now that you know how these nailers work, I hope you feel ready to choose the right one and get building with confidence.
I’d love to hear what you think. If you’ve used any of these nailers or have tips of your own, feel free to share them in the comments.