
Sealing your wood floors is one of the best things you can do to protect and improve your home. It helps keep your floors safe from water, dirt, and everyday wear and tear. Plus, it brings out the natural beauty of the wood, making your space look clean and polished.
Sealing can make a big difference, if you’re working with brand-new floors or trying to refresh old ones. The best part? You don’t need to be a professional to do it right. With a little time and the right steps, you can seal your wood floors and make them last longer.
In this blog, I will explain everything you need to know, what products to use, how to apply them, and tips to avoid mistakes. Let’s make your floors look great and stay strong for years to come!
Why Sealing Wood Floors Is Essential
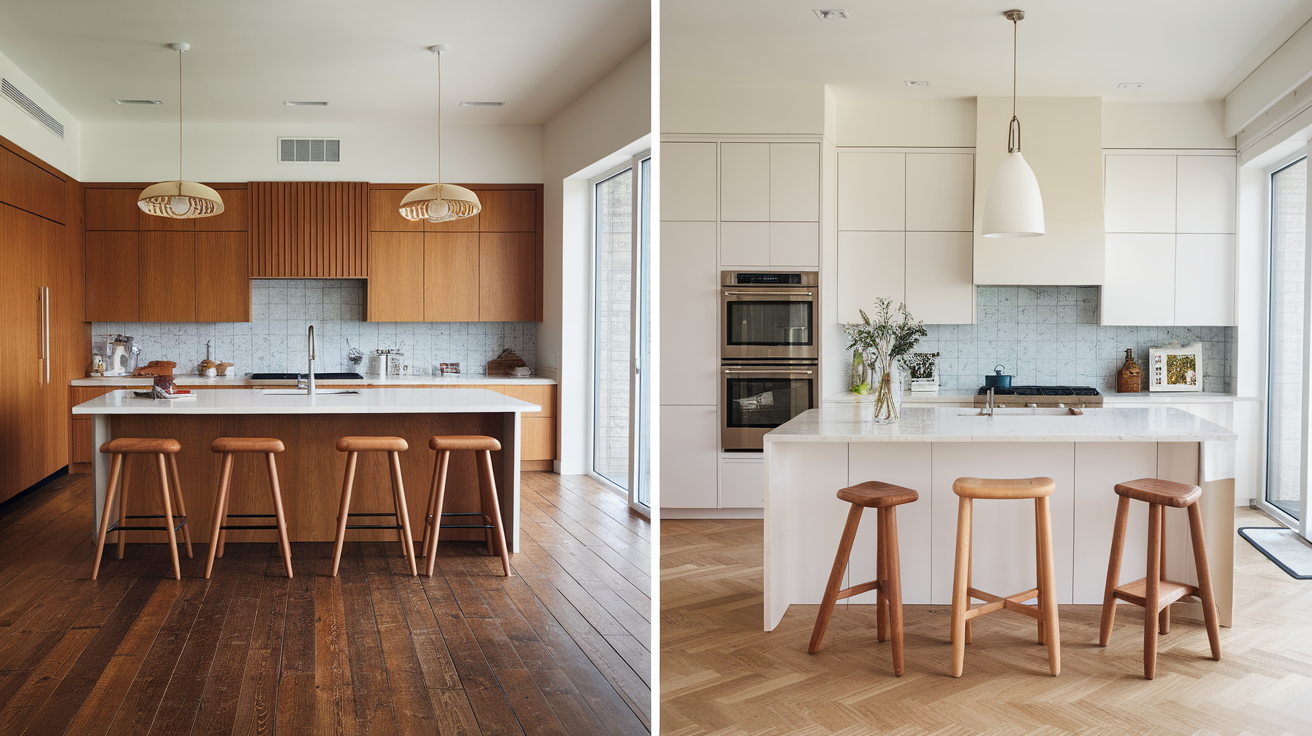
Sealing your wood floors is super important if you want them to last a long time and look great. Wood is a natural material, which means it can soak up water and get damaged easily. A good seal stops water from getting in and protects your floors from stains, dirt, and scratches. It also keeps the wood from drying out or cracking over time.
Another reason to seal your floors is to help them stay strong. Sealed floors can handle more foot traffic and are easier to clean. You won’t have to worry as much about spills or messy shoes.
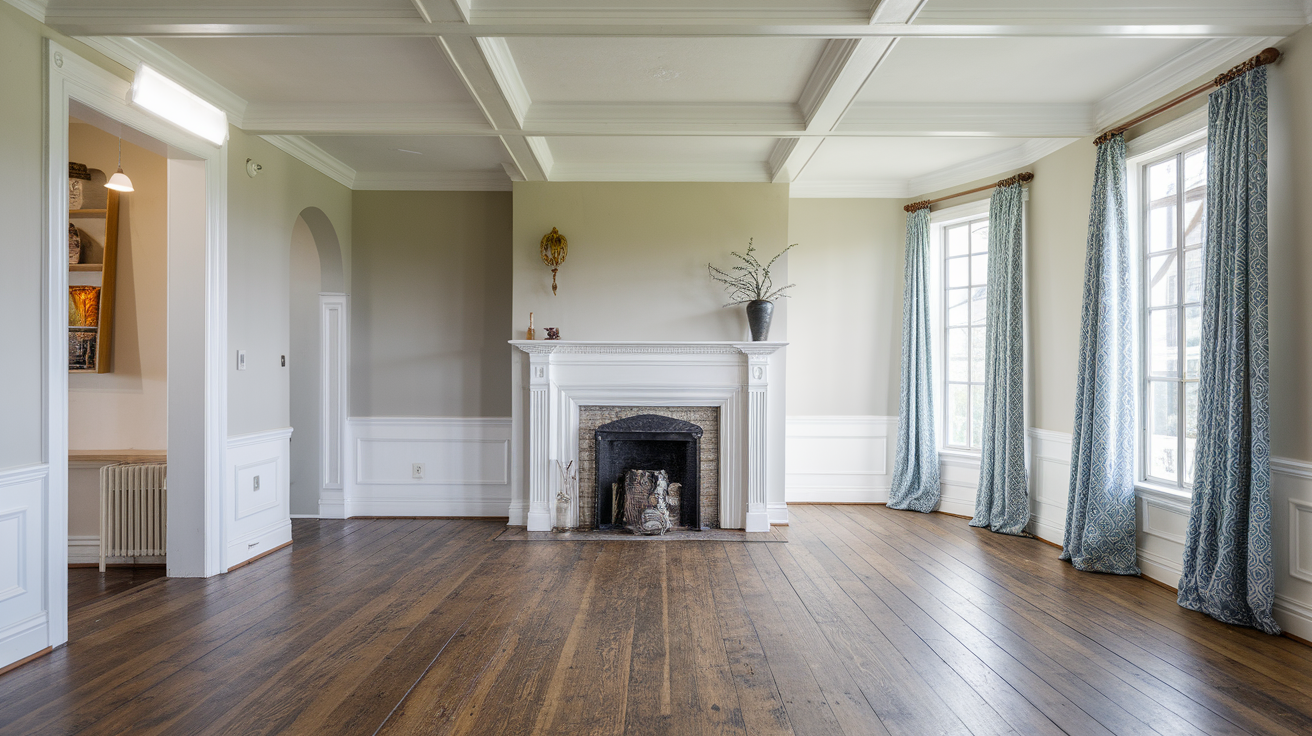
Let’s not forget, sealed wood floors look really nice. A clear seal brings out the wood’s color and grain, making it shine. It gives your floors a smooth, polished look that helps your whole home feel clean and cozy.
Choosing the Right Sealant for Your Wood Floors
Choosing the right sealant for your wood floors is a big step in keeping them looking great and lasting longer. There are a few different types out there, and each one works a little differently. Picking the best one depends on what kind of look you want and how much wear your floors get.
- Water-based polyurethane: This dries fast and doesn’t smell too strong. It keeps the wood looking natural and is a good choice if you want a clear finish.
- Oil-based polyurethane: This type adds a warm color to your floors and is super tough. It takes longer to dry, but it gives great protection.
- Penetrating sealers: These soak into the wood instead of sitting on top. They give a more natural, matte look and help protect from the inside.
- Wax finishes: Wax gives a soft shine and is easy to reapply. However, it might need more upkeep and isn’t the best choice for high-traffic areas.
When choosing a sealant, think about your home and how your floors are used. If you have pets, kids, or lots of foot traffic, go with something strong and easy to clean. The right sealant makes a big difference in how your floors look and how long they last.
Step-by-Step Guide to Sealing Wood Floors
Sealing your wood floors may sound like a big job, but it’s something you can do yourself with a little time and care. It helps protect your floors from damage, makes them easier to clean, and brings out their natural beauty. Follow these simple steps to get the job done right from start to finish.
Step 1: Get Your Tools and Materials Ready
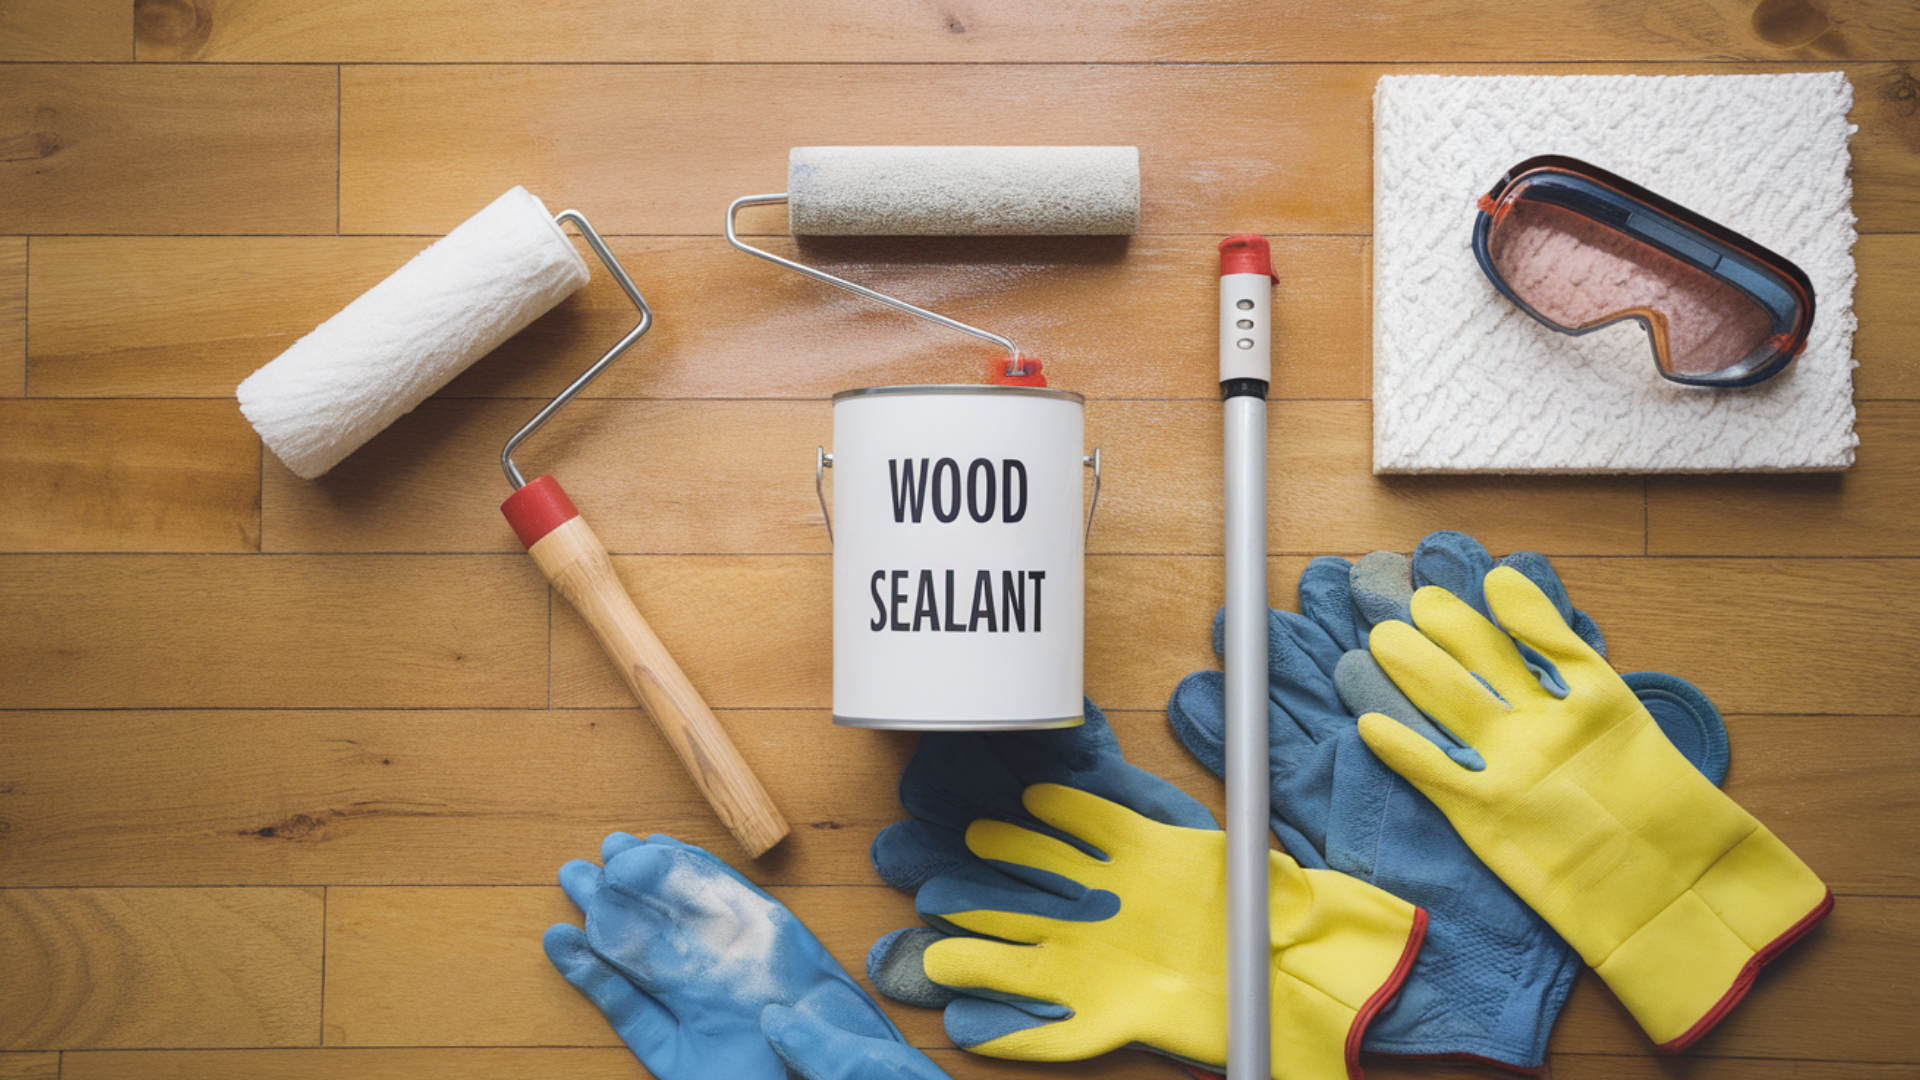
Before you start, gather everything you’ll need. This includes:
- A broom or vacuum
- Mop and bucket
- Wood cleaner
- Sandpaper or a floor sander (for old or rough floors)
- The sealant you’ve chosen (like polyurethane)
- A brush or roller
- Safety gear (gloves, mask, and safety glasses)
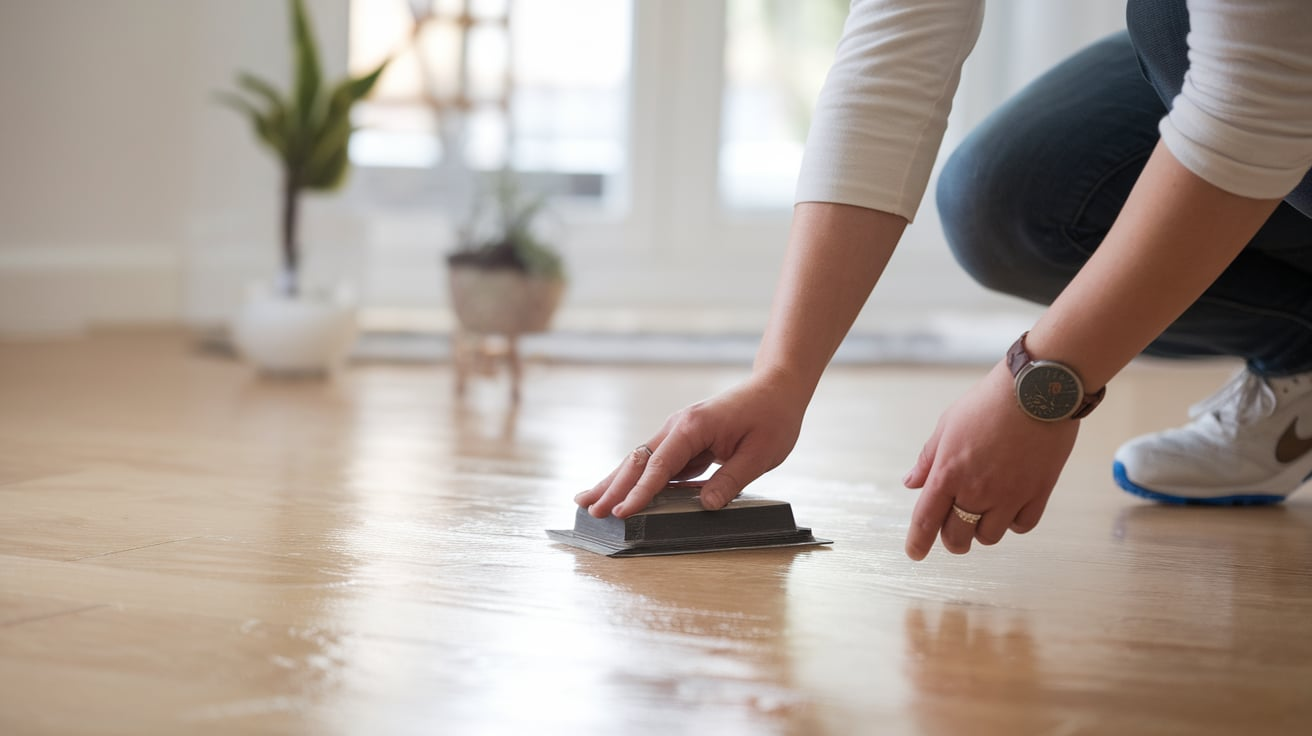
Step 2: Clean the Floor
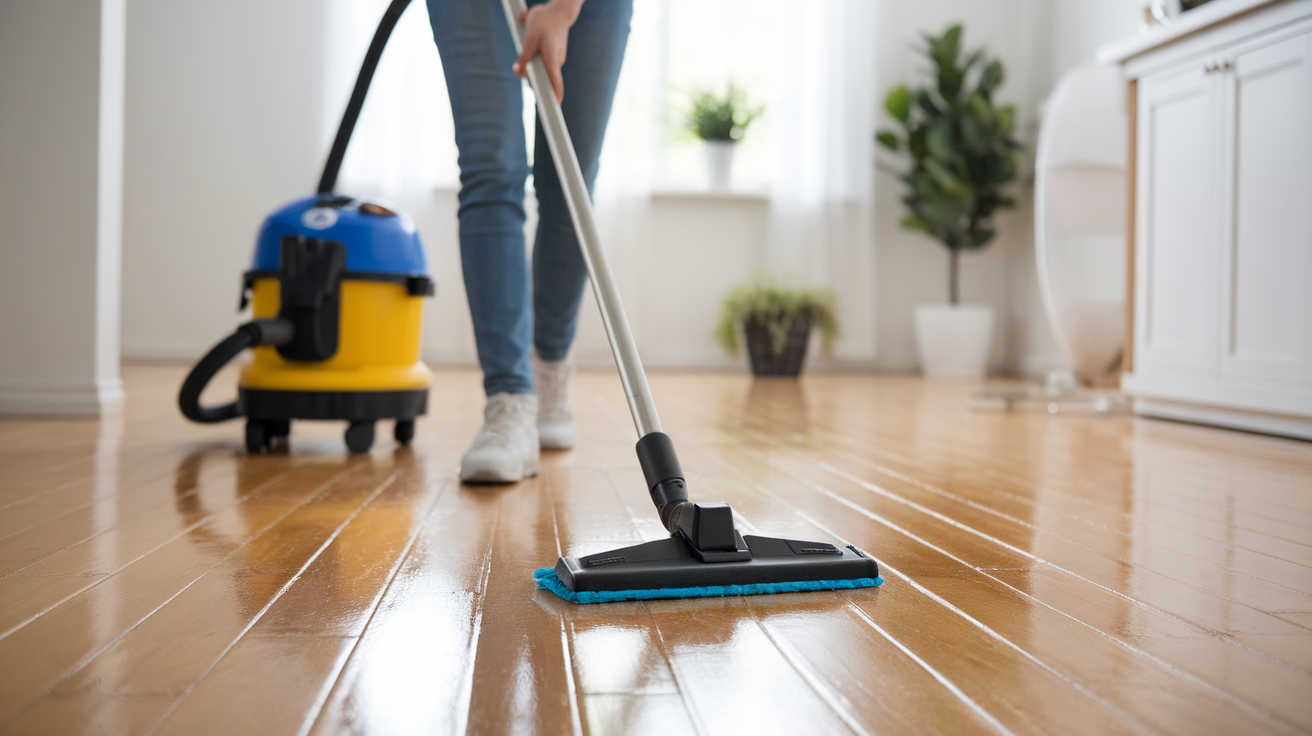
Start by sweeping or vacuuming the floor to remove dust and dirt. Then mop it using a wood-safe cleaner. Make sure the floor is totally dry before moving to the next step. A clean floor helps the sealant stick better and look smoother. Take your time during this step, any leftover dirt can ruin the final finish.
Step 3: Sand the Surface (If Needed)
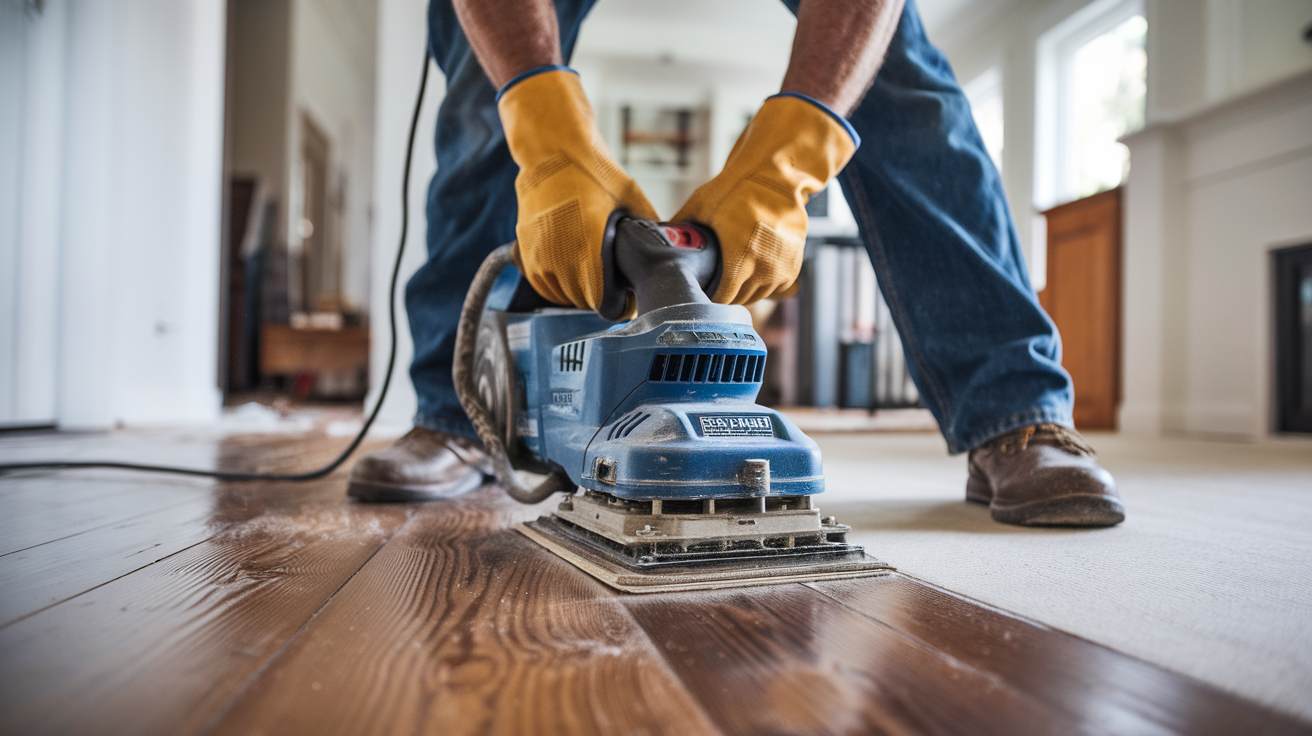
If your floor is old, scratched, or has an old finish, lightly sand it. You can use sandpaper or a sanding machine. This smooths out rough spots and helps the new sealant stick better. After sanding, vacuum again and wipe the floor with a damp cloth to remove all dust.
Step 4: Apply the First Coat of Sealant
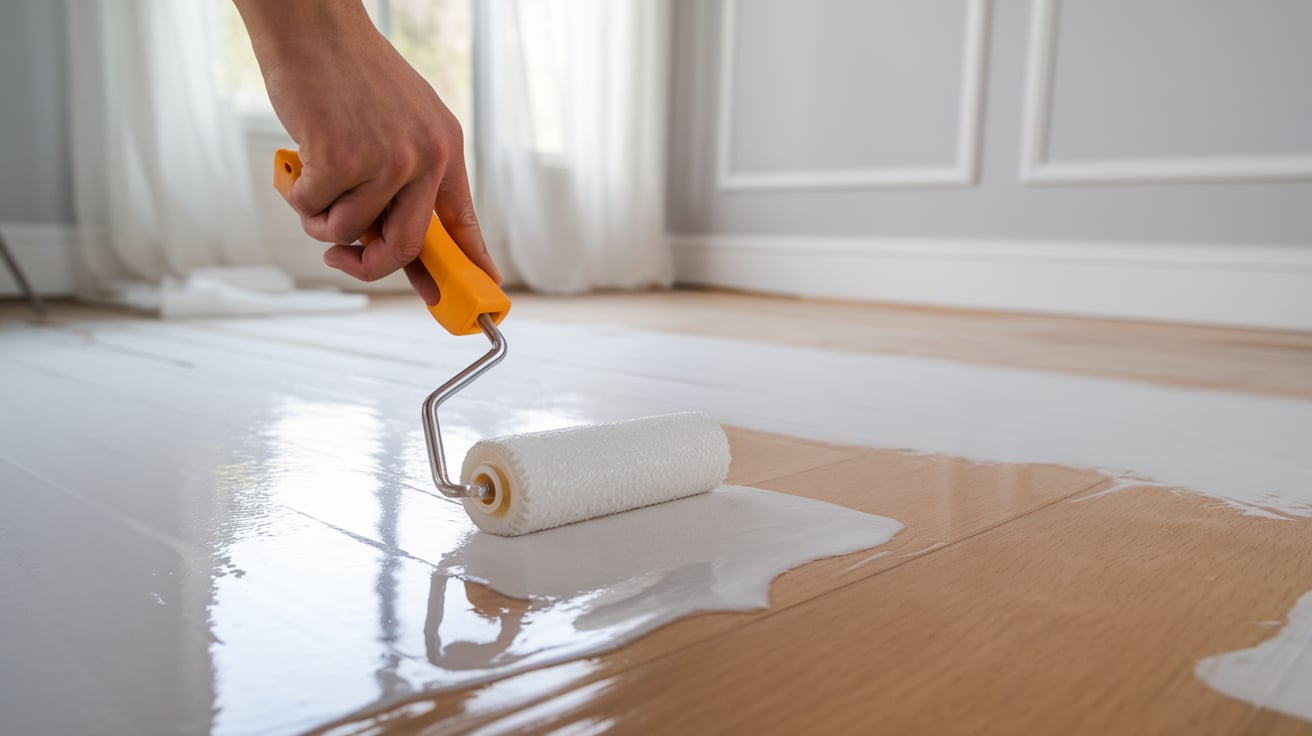
Now it’s time to seal. Start at the far end of the room and work your way toward the door so you don’t step on the wet floor. Use a brush for edges and a roller or pad for the big areas. Apply a thin, even coat. Don’t rush, take your time, and make sure it goes on smoothly.
Step 5: Let It Dry
Follow the drying time listed on your sealant can. Most need at least a few hours to dry, and some may require overnight. Make sure no one walks on the floor while it’s drying. Keep windows open or a fan running to help speed things up.
The floor should feel completely dry to the touch before you move on to the next step.
Step 6: Sand Between Coats (Optional but Helpful)
After the first coat dries, lightly sand the floor again. This helps the next coat stick and gives a smoother finish. Use fine sandpaper, and don’t press too hard. Clean up the dust before applying the next layer.
This extra step gives your floors a more even and polished look in the end.
Step 7: Apply More Coats
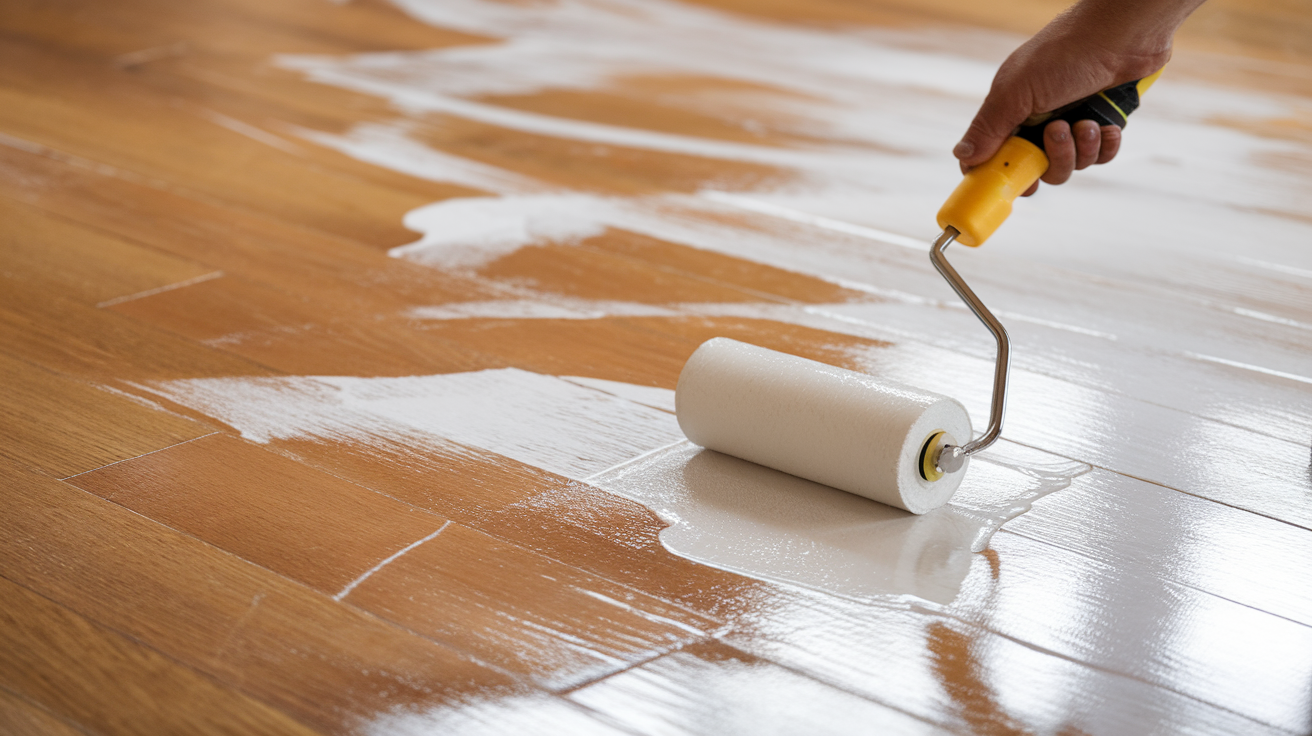
Most floors need at least two or three coats. Repeat the same process: apply a thin, even coat, let it dry, and sand lightly in between. More coats mean better protection and a stronger finish.
Be patient, each layer adds strength and helps the floor last longer.
Step 8: Final Dry Time
Once your last coat is on, let the floor dry completely. You might need 24 to 48 hours to walk on it and up to a week before placing furniture back. Always check the instructions on the sealant for exact times. Avoid dragging furniture across the floor to keep the fresh seal from getting scratched.
Once everything is dry and back in place, take a moment to enjoy your hard work. Your floors will not only look better, but they’ll also be protected from spills, scratches, and wear. Sealing wood floors takes some effort, but it’s totally worth it. Just go step by step, don’t rush, and you’ll have floors that stay strong and look great for years.
Sealing New vs. Old Wood Floors: What’s the Difference?
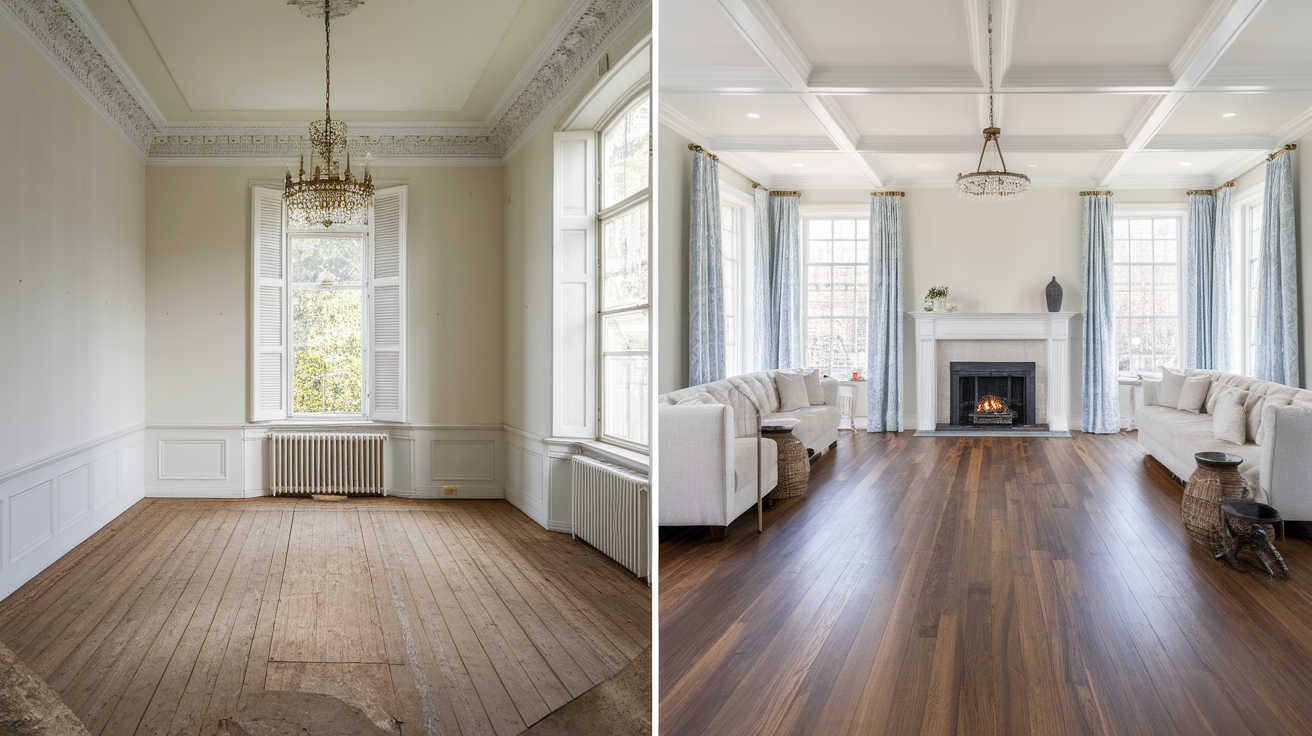
Sealing wood floors is important, no matter how old they are. But the way you seal new floors is a little different from how you seal older, already-used floors. Each type needs its own prep and care to get the best results.
| Step | New Wood Floors | Old Wood Floors |
|---|---|---|
| Surface Condition | Smooth, unfinished, or just installed | May be scratched, stained, or previously sealed |
| Cleaning Needs | Basic sweep and dust removal | Deep cleaning, sometimes with special products |
| Sanding Required? | Usually light sanding or none if prepped well | Often needed to remove the old finish or damage |
| Sealant Choice | Any type works—choose based on the finished look | Choose based on past treatments and condition |
| Repair Needed? | Rarely | Often needs patching or gap-filling |
| Dry Time Consideration | Faster due to a smooth surface | It might take longer if the wood is older or more porous |
Sealing new floors is often quicker and easier since the wood is fresh and clean. Old floors may take more work because of past use, but they can still look amazing with the right prep. Whether your floors are brand new or have been around for years, sealing them properly will help them last longer and look their best.
Maintenance Tips for Sealed Wood Floors
Once you get the hang of it, caring for sealed wood floors is simple. With regular care, your floors will stay looking shiny and strong for years.
Clean regularly by sweeping or vacuuming to remove dust and dirt. This helps prevent scratches that can wear down the seal over time. A microfiber mop is great for picking up fine dust without harming the finish.
Avoid harsh cleaners like bleach or ammonia. These can ruin the finish and make your floors look dull. Always read product labels before using them.
Place mats at doorways and use felt pads under furniture legs. These small steps help stop scratches and dents. Clean up spills quickly so water doesn’t have time to soak in.
Reseal your floors every few years, depending on wear and tear. If you notice dull spots or scratches, it may be time for a new coat. With these simple habits, your sealed wood floors will stay beautiful and protected every day.
Conclusion
Sealing your wood floors is one of the best ways to keep them looking great and lasting longer. It protects against water, dirt, and scratches while bringing out the wood’s natural beauty. Whether you’re sealing new floors or refreshing old ones, taking the time to do it right makes a big difference.
With the right sealant, proper prep, and regular maintenance, your floors can stay smooth and shiny for years to come. Remember to clean gently, avoid harsh products, and reseal when needed. These small steps go a long way in keeping your floors strong and beautiful.
You don’t have to be an expert, just follow the steps and take your time. In the end, you’ll enjoy floors that not only look amazing but also withstand daily life with ease and comfort.