
No one wants to come home to find water all over their floor.
A flood inside your home can quickly cause extensive damage, whether caused by a burst pipe, too much rain, or a leaking appliance.
But if you act quickly, you can prevent problems from getting worse and even save money on repairs.
The most important thing is to stay calm and follow the right steps. In this guide, I’ll show you exactly what to do, from stopping the water to drying everything out and fixing your floors.
These steps have helped many homeowners take control of a bad situation and avoid long-term problems like mold or warped wood.
Even though it feels overwhelming at first, you can get through this. You need to know what to do and take action quickly. Let’s go step by step and get your home dry, clean, and safe again.
Importance of Immediate Action for a Flooded Floor
Acting quickly is very important when dealing with water on your floors. Water spreads fast and can soak into wood, walls, and even your home’s foundation.
The longer it stays, the more damage it can cause. Mold can begin to grow within just 24 to 48 hours, and once it does, it’s hard to stop.
If wet materials stay soaked too long, they may become too damaged to fix. Quick cleanup can help protect your home’s structure and lower the risk of electrical problems.
The faster you act, the better your chance of saving your floor and avoiding major repairs. Waiting even one day can turn a small problem into a big and costly one.
How to Fix a Flooded Floor?
When your floor is underwater, it’s easy to feel overwhelmed. But I’ve found that breaking the process into small, manageable steps helps me stay calm and in control. Follow these steps in order, skipping any could lead to incomplete drying or missed damage.
1. Ensure Safety First

Safety should always come first when dealing with flooding. If it’s safe, turn off the electricity to the area from your breaker box.
But if water is close to outlets or the breaker box, don’t take chances; call an electrician.
Avoid walking in water where electrical devices are submerged. Watch out for slippery floors, sharp objects, or weak areas that might break.
Floodwater can carry bacteria or chemicals, so wear rubber boots, gloves, and a mask.
If you think the water is dirty or unsafe, always take extra precautions. Being careful in the beginning helps you stay safe during cleanup.
2. Identify and Stop the Source of Water

You can’t start drying anything until the water stops coming in. Find where it’s coming from. If it’s plumbing, shut off the main water valve right away.
Look for burst pipes, leaks, or broken appliances.
For weather-related flooding, use sandbags or plastic sheets to block more water. Try redirecting water away from your home with simple ditches.
If an appliance is leaking, unplug it if it’s safe and turn off its water valve.
Check for loose hoses or clogs. Figuring out where the water is coming from might take some time, but it’s the most important first step.
3. Document the Damage
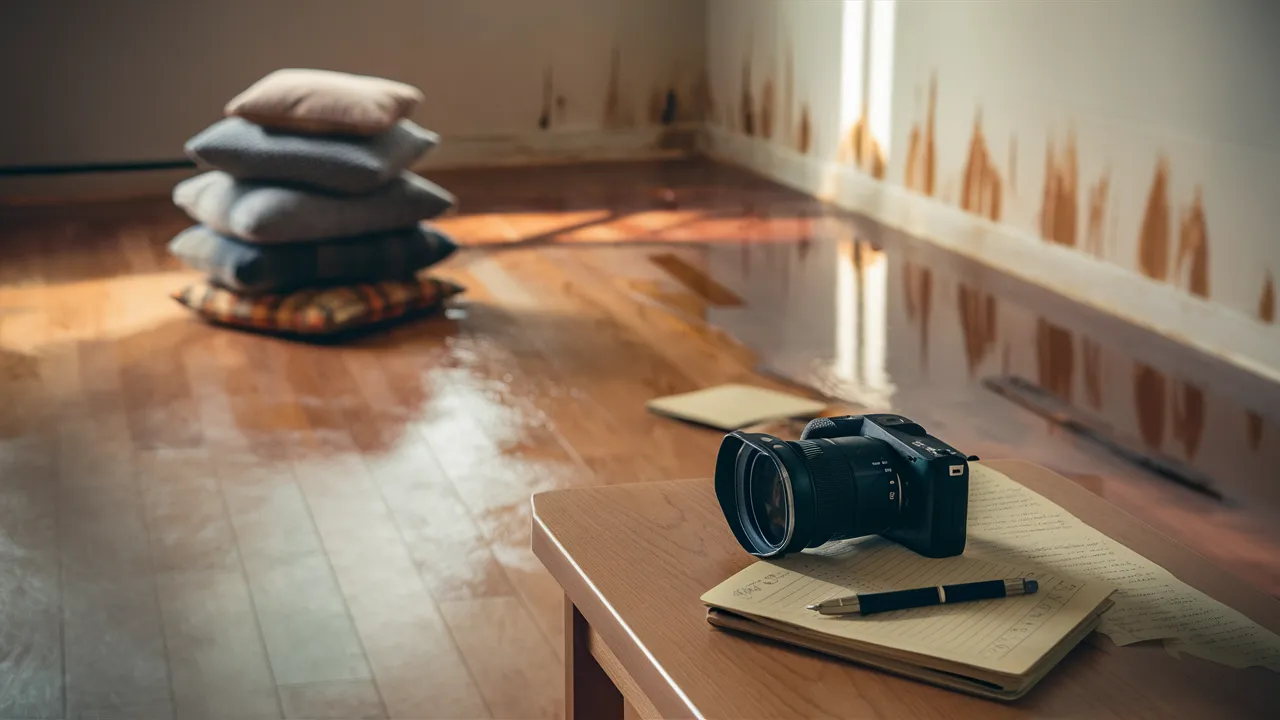
Before you clean up, take pictures and videos of everything that got wet or damaged. This will help with your insurance claim and keep things organized.
Snap photos of the floor, furniture, and water marks on the walls.
If you can, show where the water came from. Please make a list of damaged items and write down their names, ages, and costs.
Contact your insurance company as soon as you can. Ask them what proof they need and if they work with any cleanup companies nearby. Acting fast helps your claim go more smoothly.
4. Remove Standing Water
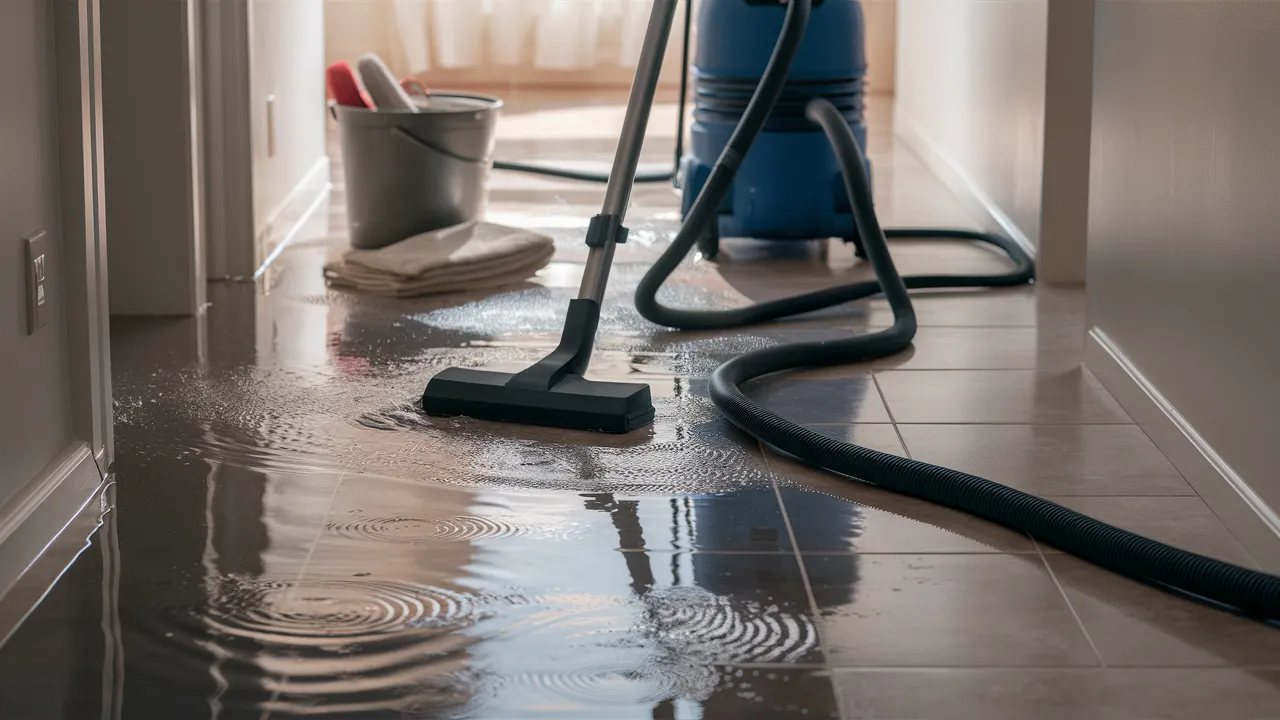
Getting rid of the water quickly helps stop damage from getting worse. If the water is shallow, you can mop it up with towels or use a bucket.
For bigger puddles, use a wet/dry vacuum and empty it often. If the water is deeper than a few inches, you might need a submersible pump.
Aim the hose so that water flows away from your house.
After the main water is gone, go back with a vacuum to suck up what’s left. Start from the edges and work toward the middle so you don’t miss any hidden puddles.
5. Clear Out Furniture and Belongings
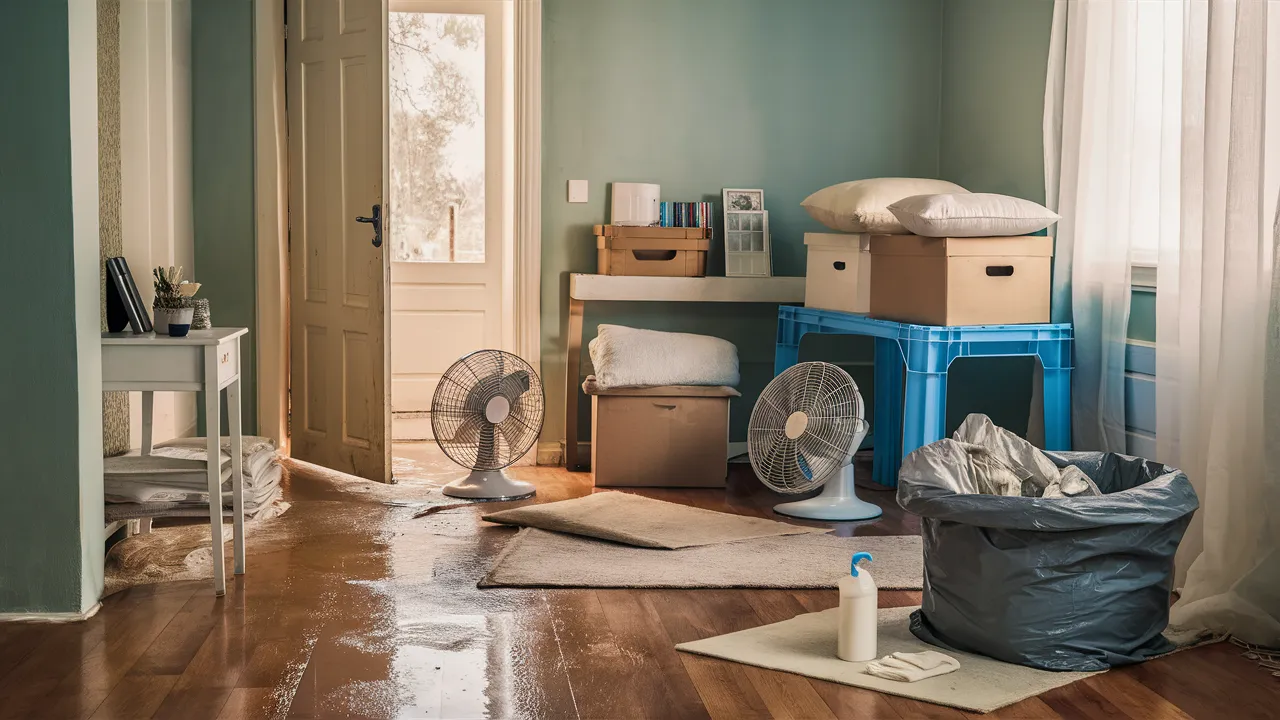
Once the water is gone, move everything out of the room.
Sort your things into three groups: dry items, wet but fixable items, and items that are too damaged to save. Move wet stuff to a dry place and use fans to help it dry faster.
Keep items raised off the ground. If the water is dirty, use disinfectant. Throw away anything that’s soaked through and can grow mold, like carpets or couches.
Important papers or pictures should be dried carefully. If they’re really valuable, call a cleanup specialist who knows how to handle water-damaged items safely.
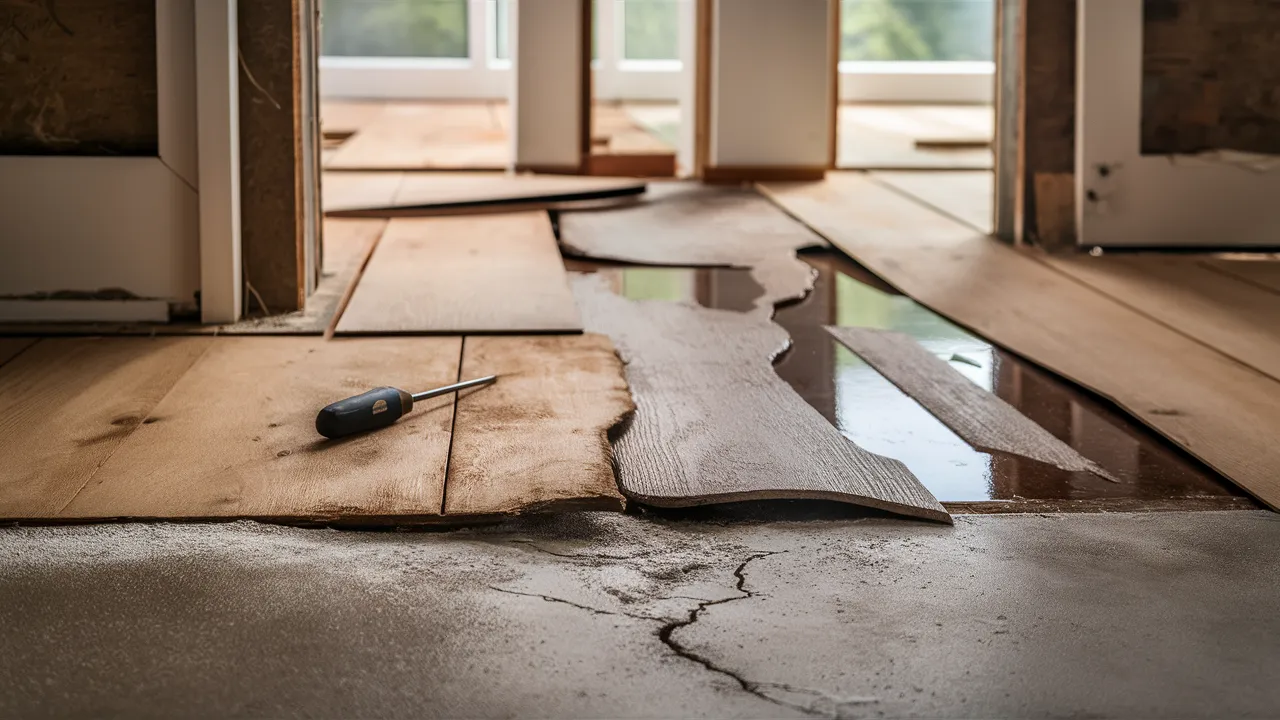
6. Pull Up Damaged Flooring
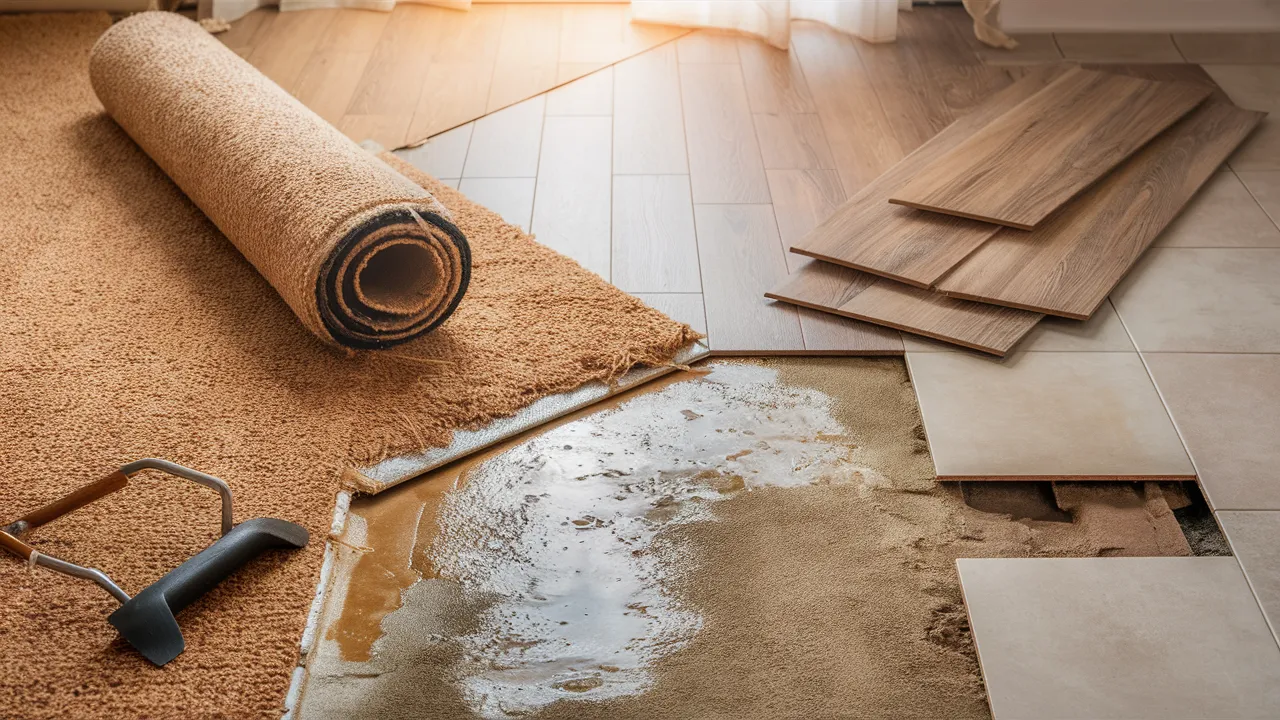
Some flooring holds up better than others, but if it’s soaked, you’ll likely need to remove it. For carpet, pull it up and roll it away. Take out and throw away the wet padding underneath.
Laminate floors usually get ruined once they’re wet and should be removed.
Hardwood might be saved if it’s not too warped, but ask a pro before pulling it up. For tile floors, check if the tiles are loose.
If water gets underneath, you’ll need to remove some tiles so the floor beneath can dry. Even if the floor looks okay now, water under it can cause mold later.
7. Dry the Area Thoroughly
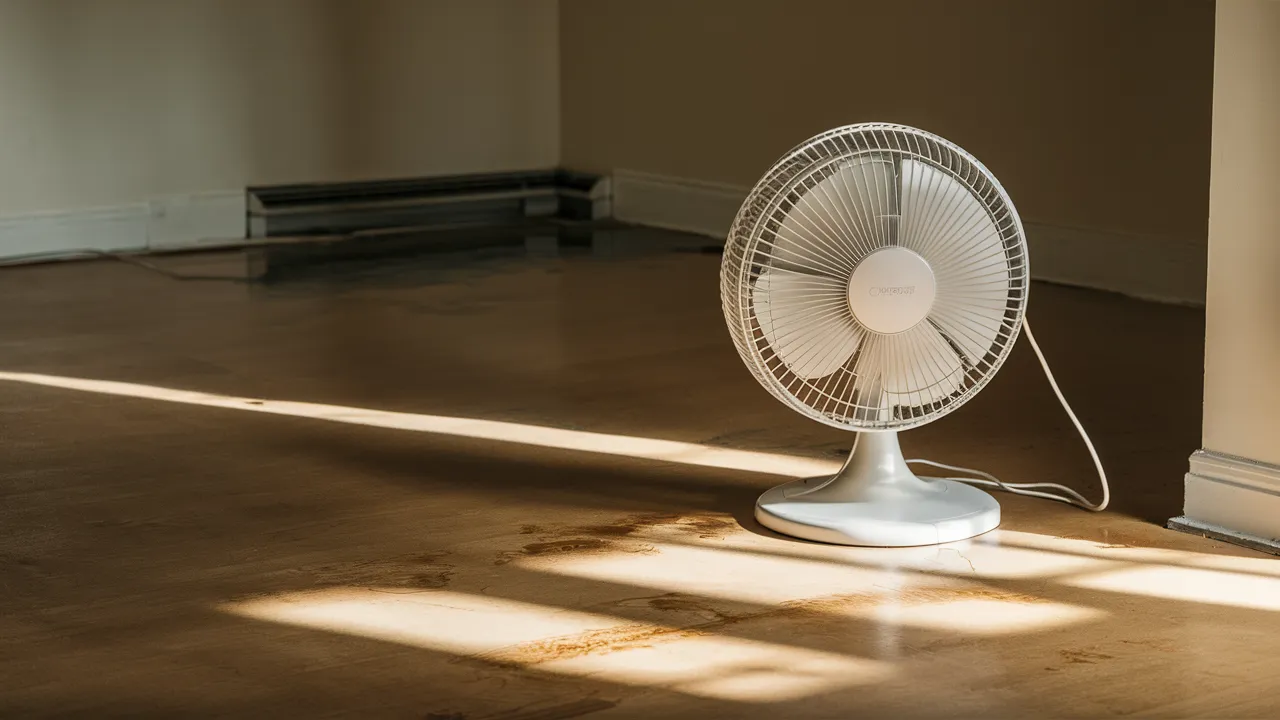
One of the most important parts is drying everything fully. Use fans to move air across the room in different directions, and set up dehumidifiers to pull water out of the air.
These work better than just using fans. Please put them in the center of the space and empty them often.
Open baseboards and drill small holes in drywall near the floor to help air get inside the walls. Drying can take 3–5 days or longer.
Use a moisture meter to make sure everything is really dry. Just because it feels dry doesn’t mean the inside is moisture-free.
8. Inspect for Mold and Clean Surfaces
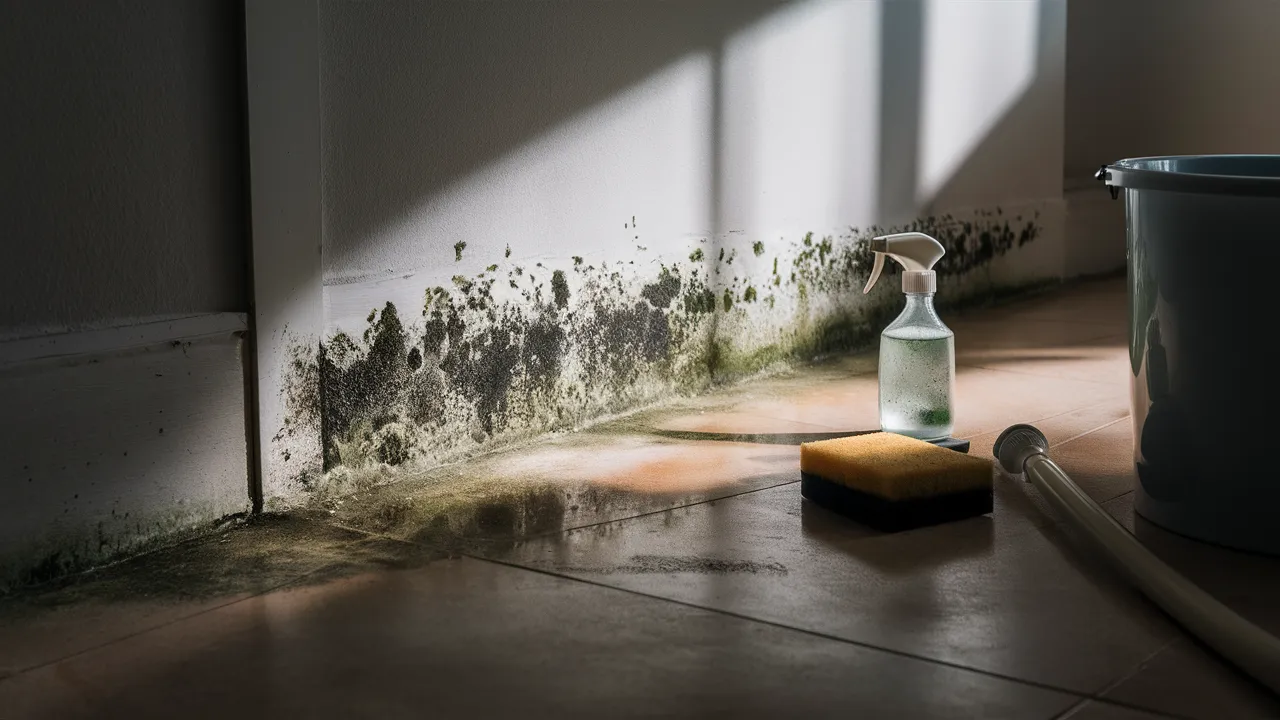
Once the area feels dry, check carefully for mold. Look for dark spots, green patches, or white fuzz. If it smells musty, mold may be hiding.
For hard surfaces like tile or concrete, clean with a bleach and water mix.
Let it sit for 10 minutes before wiping it away. For wood or softer surfaces, use special mold cleaners made for those materials.
Clean everything, even if you don’t see mold. If the mold covers a big area, call a professional. Trying to clean a large mold problem yourself can make it worse and spread spores in the air.
9. Check Subfloor and Structure
Before you install new flooring, make sure the floor underneath is in good shape. Look for soft, saggy, or warped spots.
If the wood feels weak or your screwdriver pushes through easily, the wood may be rotting and needs replacing.
For concrete, check for cracks or white powder, which means water got in. The subfloor and structure must be dry and strong before laying anything over them.
Also, inspect beams and joists if you can see them. If you’re not sure the structure is safe, hire a professional to examine it.
10. Replace Flooring and Baseboards
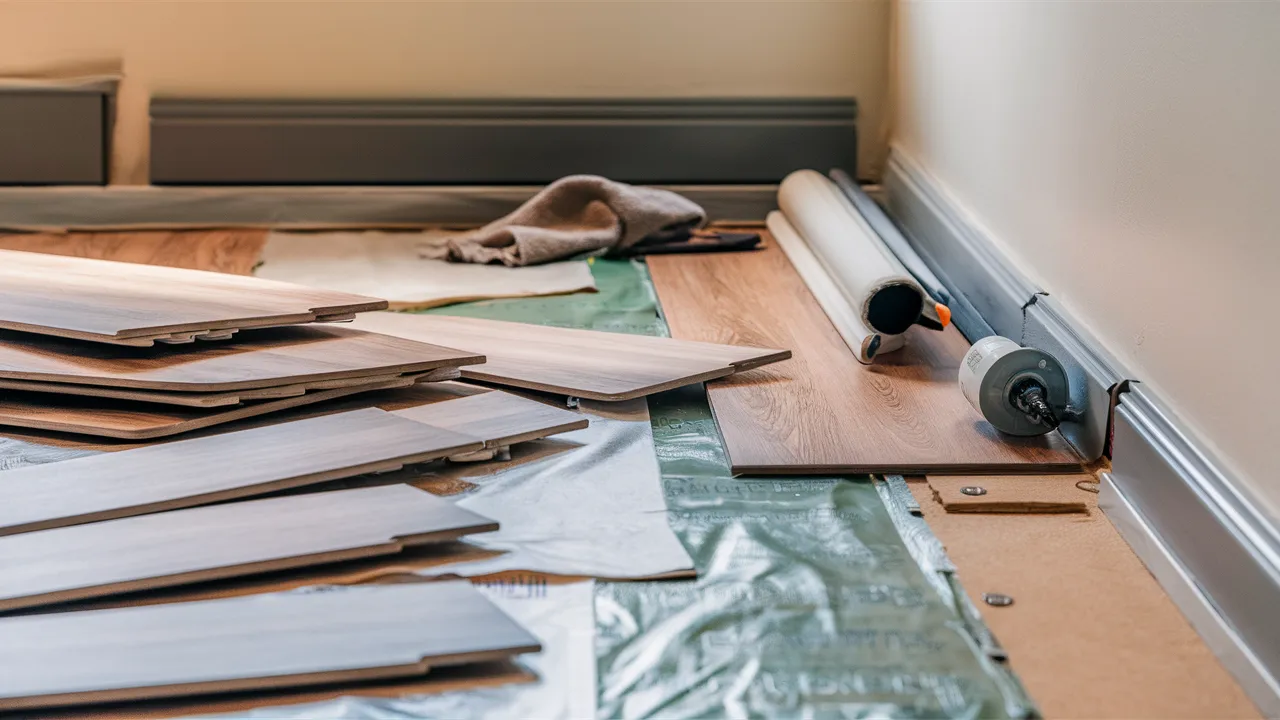
Once everything’s dry and solid, it’s time to install new flooring. If flooding happens again, choose water-resistant materials. When installing carpet, always use new padding.
Never reuse old padding, even if it seems dry. For laminate or engineered flooring, let it sit in the room for a few days before installing it.
This helps it adjust to the room’s air. Hardwood should only be installed after checking that the subfloor is completely dry.
Use moisture barriers where needed. For baseboards, use vinyl or water-safe material and caulk the edges to block moisture.
11. Take Preventive Measures

After you fix water damage, please do what you can to stop it from happening again. Put water alarms near appliances and pipes. Install automatic shut-off systems that cut water flow when leaks are detected.
Check your hoses and plumbing once a year. Keep gutters clear so water flows away from your house.
In flood-prone areas, use a sump pump with a backup battery. Store valuables off the floor in basements. Apply waterproof paint to walls where water might get in.
Make an emergency plan, and have fans or vacuums ready. Also, review your insurance to make sure you’re covered next time.
Conclusion
No one wants to deal with a flooded floor, but acting fast can make a big difference. The first 24 to 48 hours are crucial; quick action can mean saving your floor instead of replacing it.
What helped me most was following clear steps to stop the damage, dry everything out, and prevent mold. If the situation feels unsafe or overwhelming, it’s smart to call in professionals.
Have you faced a flooded floor before? Share what worked in the comments; your experience might help someone else.
A little preparation can stop a small leak from turning into a major problem. Stay safe, stay dry, and protect your home.