
Want to refresh your home decor without spending a fortune? Envelope pillow covers are the answer.
These simple covers slide on and off without zippers or buttons. They’re perfect if you’re new to sewing.
In this guide, I’ll show you exactly how to make envelope pillow covers from start to finish. You’ll only need basic sewing skills and a few simple supplies. No complicated patterns or techniques required!
I’ve made dozens of these covers over the years. I’ve figured out all the tricks to get them looking professional. Even my friends who “can’t sew” have successfully made these using my method.
Whether you want to update your seasonal decor, hide stained pillows, or just try a new craft project, this tutorial has everything you need.
Let’s transform your space with custom pillow covers that look store-bought but cost much less.
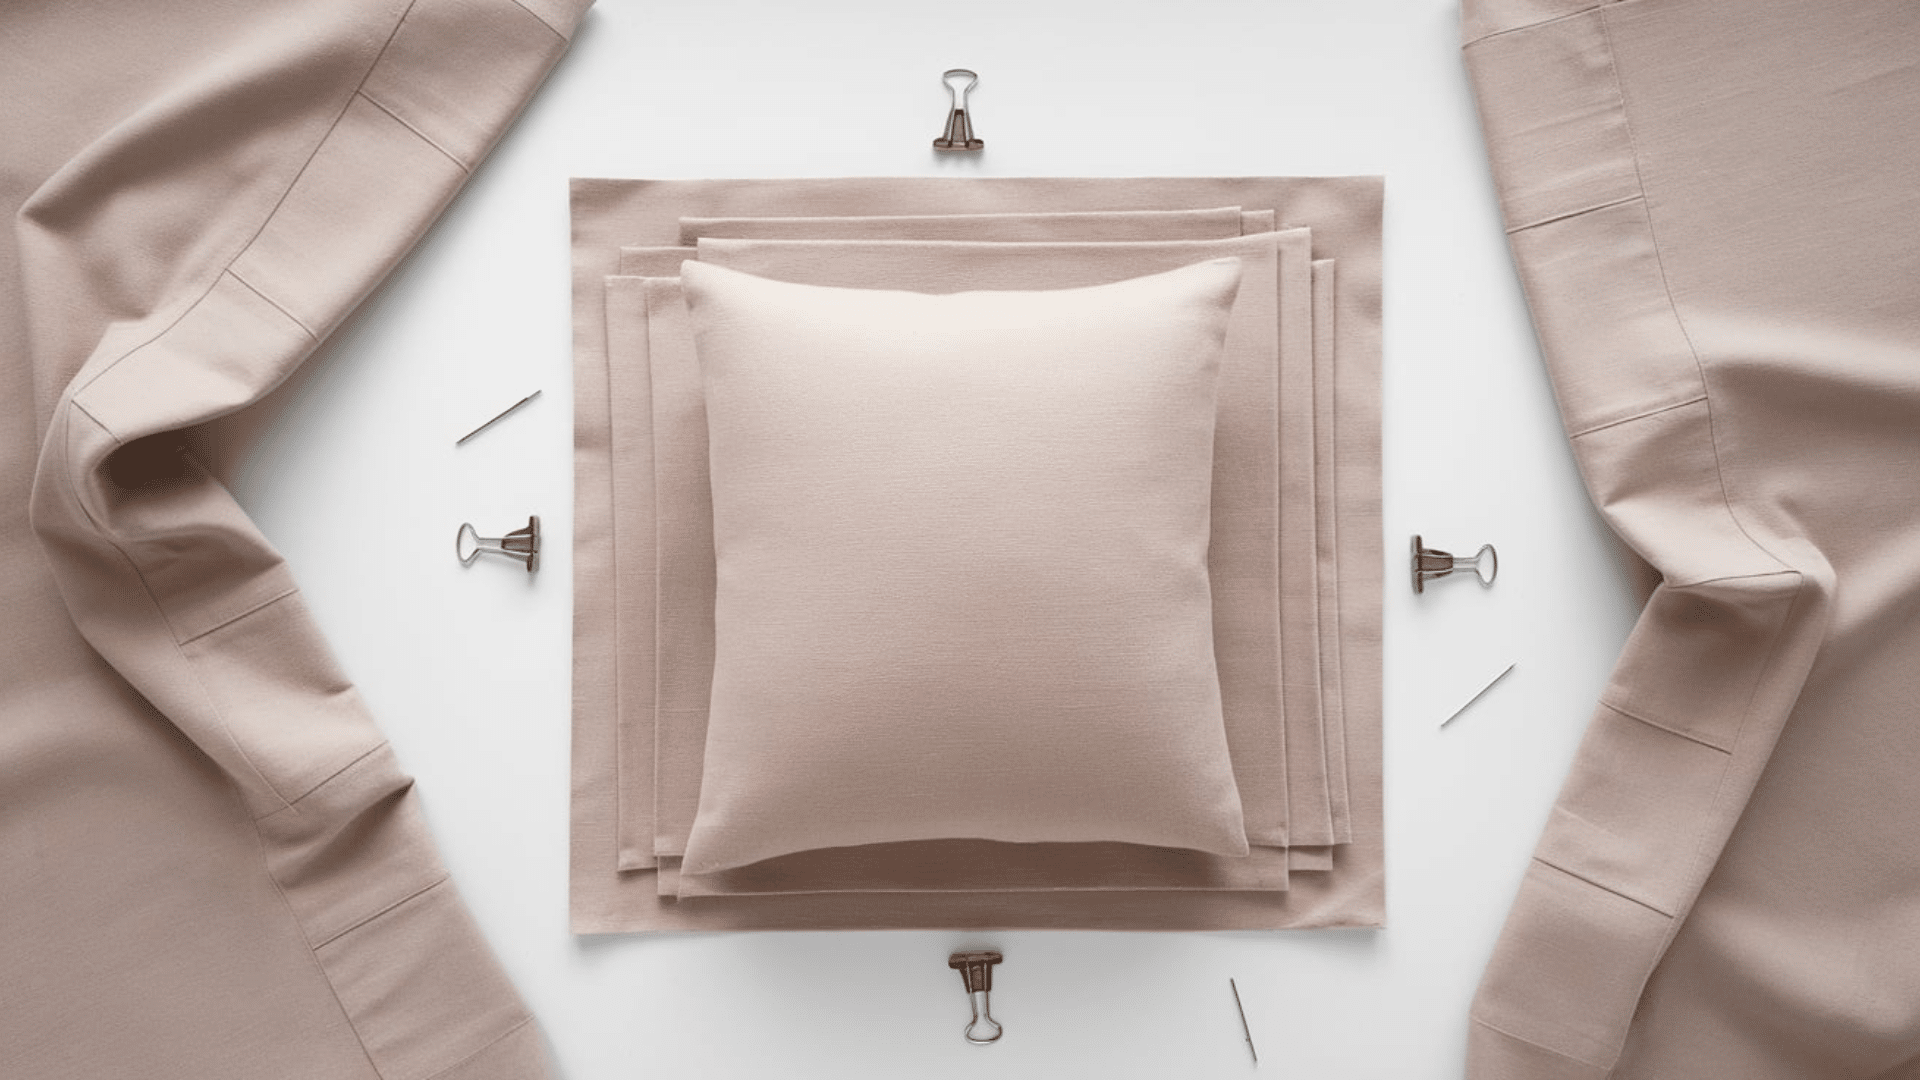
Materials You’ll Need for Making Envelope Pillow Covers
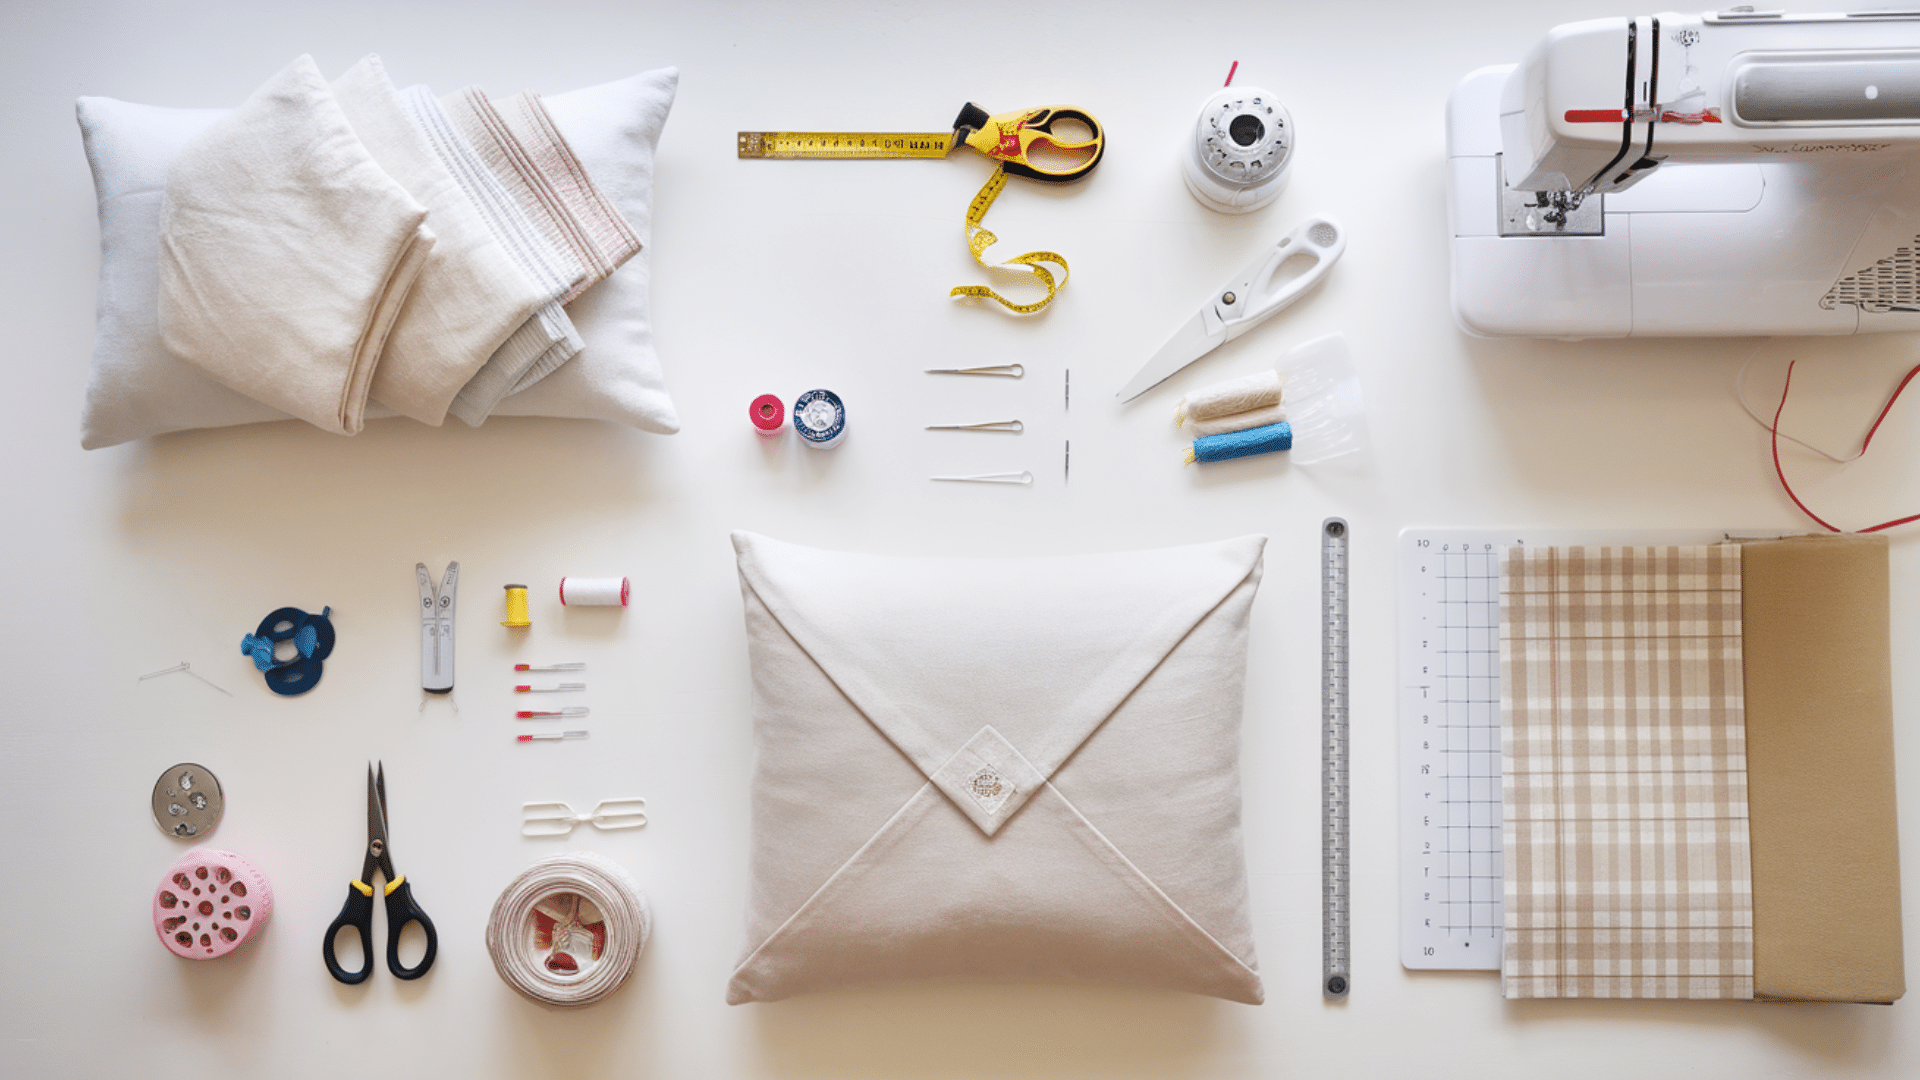
Before we start cutting and sewing, let’s gather everything you’ll need. Having your supplies ready makes the process much smoother.
I like to set up my workspace with all materials within reach. This saves time and prevents frustration mid-project.
You’ll need:
- Pillow insert (or an existing pillow you want to cover)
- Fabric (about 3/4 yard for a standard 18-inch pillow)
- Measuring tape or ruler
- Scissors or rotary cutters (rotary cutters give cleaner edges)
- Pins or fabric clips (clips are easier for thicker fabrics)
- Iron and ironing board
- Sewing machine (or needle and thread for hand sewing)
- Thread that matches your fabric
Optional but helpful:
- Cutting mat (if using a rotary cutter)
- Fabric marker or chalk
- Seam ripper (just in case!)
The great thing about envelope pillow covers is that you can use almost any fabric. Cotton works well for beginners. Heavier fabrics like canvas or upholstery fabric last longer for everyday use.
How to Make Envelope Pillow Covers?
Envelope pillow covers are an easy, beginner-friendly project that adds beauty to any space. With just a few straight stitches and your favorite fabric, you can create removable, washable covers that look store-bought.
I’ll walk you through each step to make your own envelope-style pillow covers—no fancy tools required!
1. Measure and Cut the Fabric
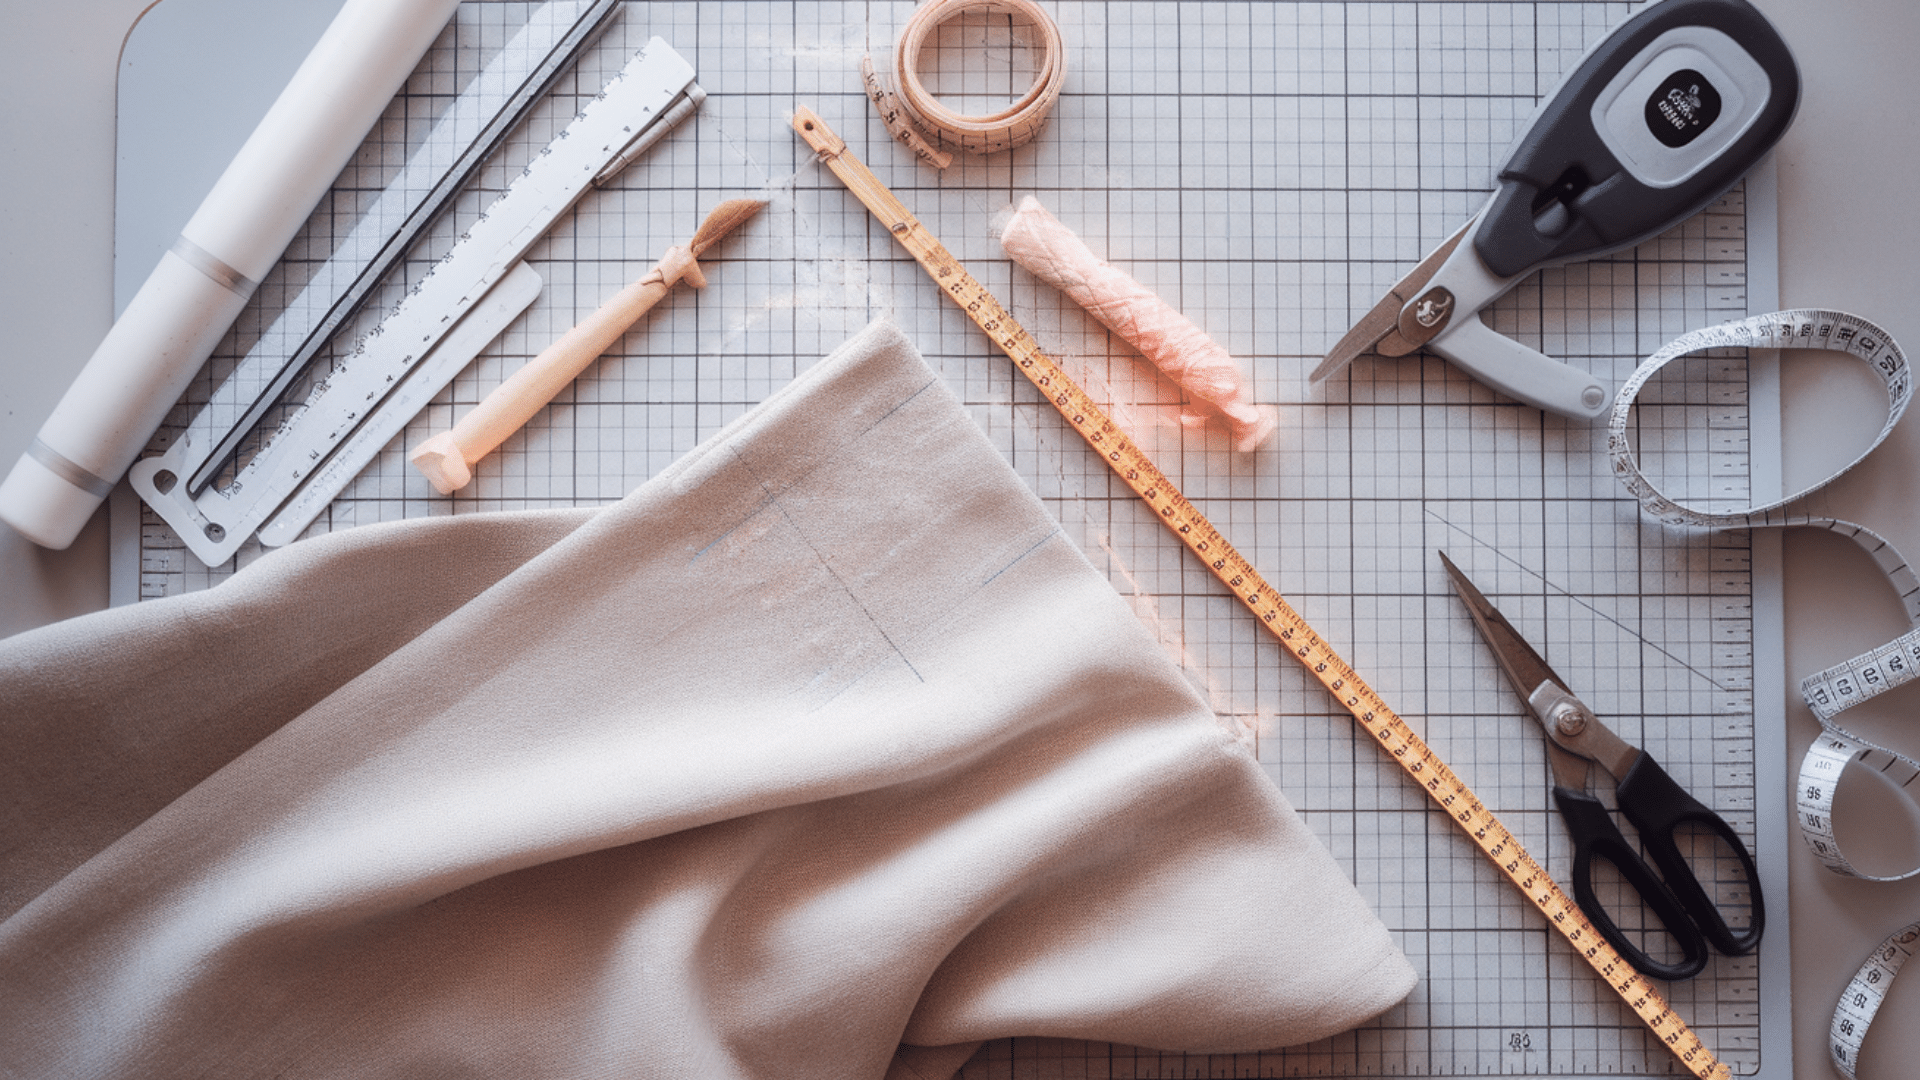
First, you need to know how big to make your cover. Measure your pillow insert from seam to seam across the middle.
For a snug fit, use the exact measurements of your pillow. If you prefer a looser fit, add 1/2 inch to each dimension. I usually keep mine snug because it looks more polished.
For an 18-inch square pillow, you’ll need to cut one front panel 18.5 inches × 18.5 inches and two back panels: 18.5 inches × 12 inches each.
The back panels are smaller because they’ll overlap to create the envelope opening. Together, they need to be about 5 inches longer than your pillow width to allow for proper overlap and seams.
Make sure to cut your fabric with sharp scissors or a rotary cutter. Dull tools can snag your fabric and create jagged edges.
2. Prepare the Fabric
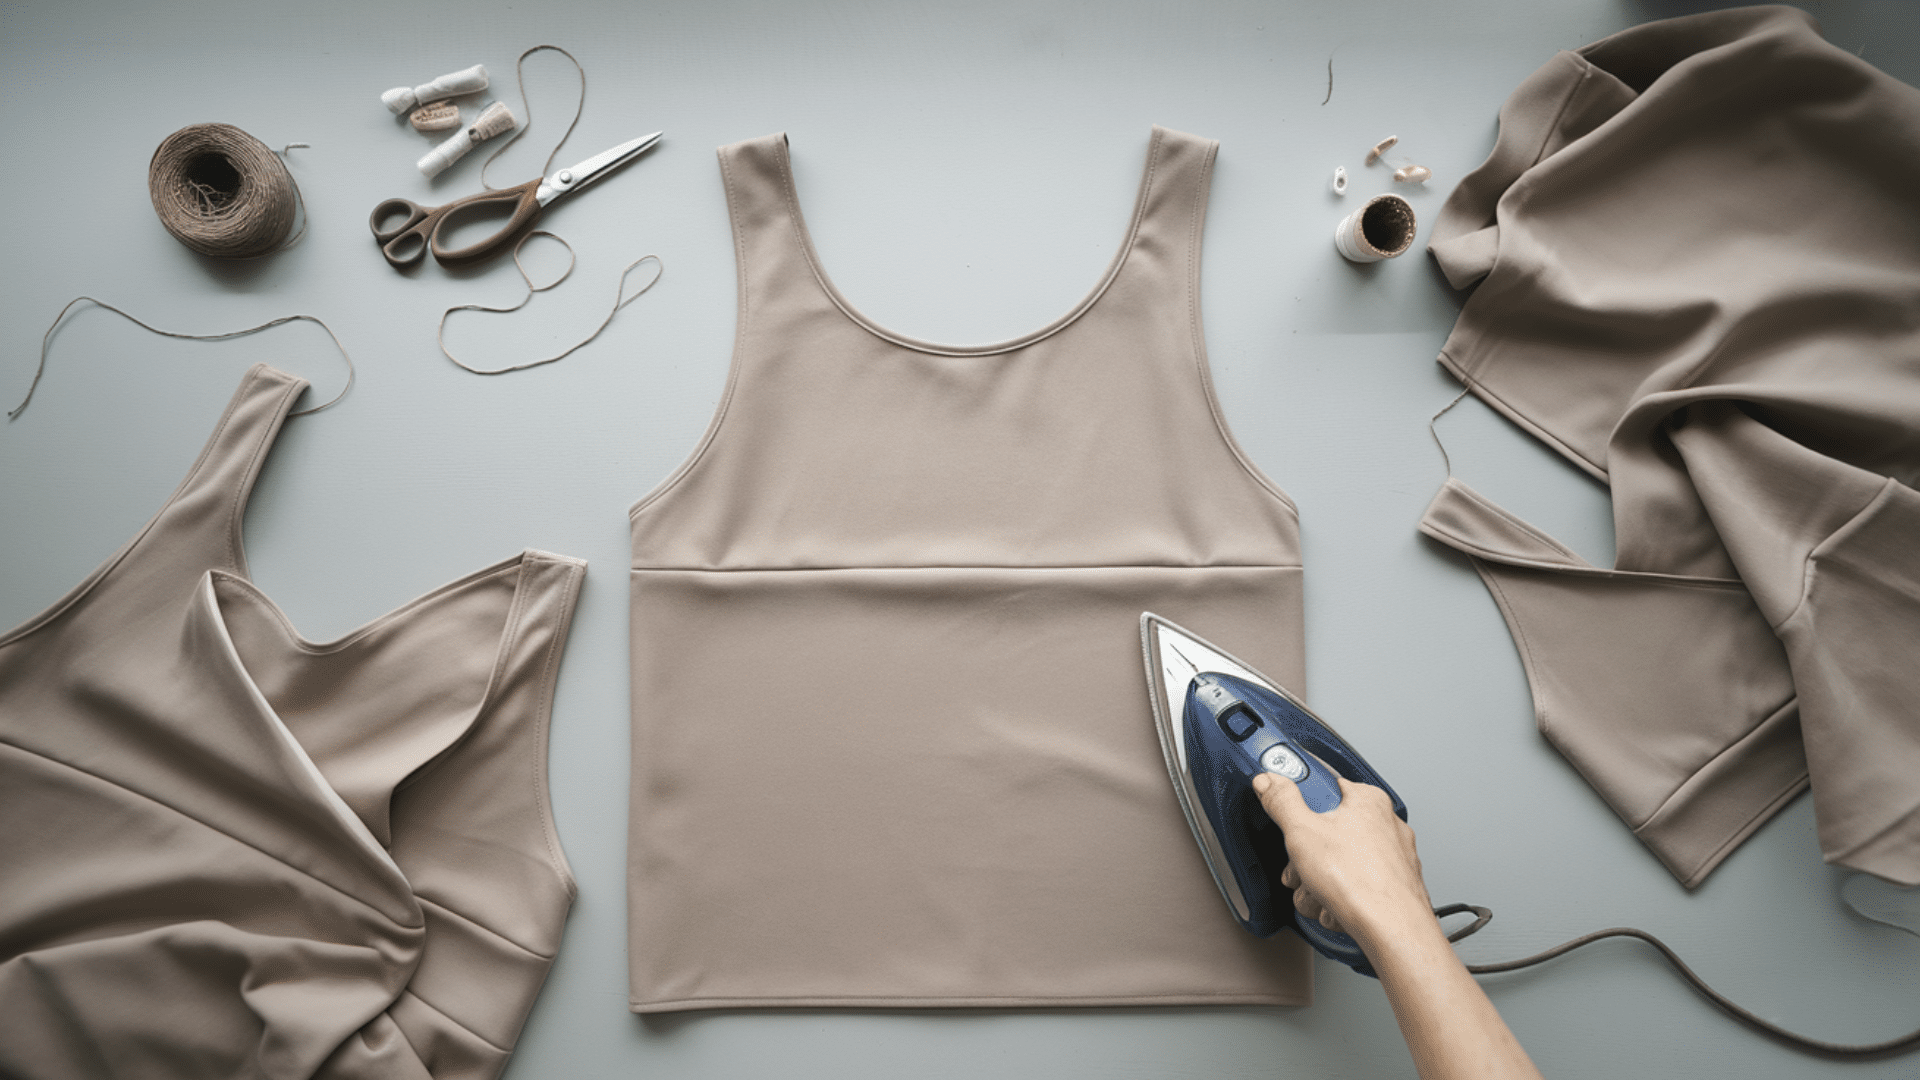
Now it’s time to get your fabric ready for sewing. This step makes a big difference in how professional your finished pillow cover looks.
First, press your fabric with an iron. Smooth fabric is much easier to work with. It helps you get precise measurements and cleaner seams.
Remove any loose threads or fuzzy edges from your cut pieces. This prevents them from getting caught in your stitches later.
If your fabric has a pattern or direction, make sure it’s facing the way you want. Check that any designs are centered properly on your front panel.
Take a moment to lay out all three pieces in their proper positions. This helps you visualize the final product and catch any mistakes before sewing.
3. Hem the Back Panels
The back panels need hemmed edges where they’ll overlap. This creates a clean finish for the opening of your envelope cover.
Take one back panel and fold one of the 18.5-inch edges over by 1/2 inch. Press with an iron to create a crease.
Fold it over again by 1/2 inch and press once more. This hides the raw edge inside the fold, creating what’s called a double-fold hem.
Pin or clip this folded edge in place. Then sew along the inner fold with a straight stitch, about 1/8 inch from the edge.
Repeat this process with one 18.5-inch edge of the second back panel. These hemmed edges will form the opening of your envelope pillow cover.
Take your time with this step. A neat hem makes your pillow cover look much more professional.
4. Assemble the Pillow Cover
Now comes the fun part—putting all the pieces together! This step requires attention to detail, but it’s simpler than it sounds.
Lay your front piece flat on your work surface with the right side (the pretty side) facing up. This forms the base for assembly.
Take one back panel and place it right side down on top of the front piece. Line up the raw edges (not the hemmed edge) with the edge of the front piece.
Now take the second back panel and place it right side down on the opposite side. Again, line up the raw edges with the front piece.
The hemmed edges of the two back panels should overlap in the middle by several inches. This creates your envelope opening.
Pin or clip around all four sides to hold everything in place. Double-check that your corners are lined up perfectly square before moving on.
5. Sew the Pillow Cover
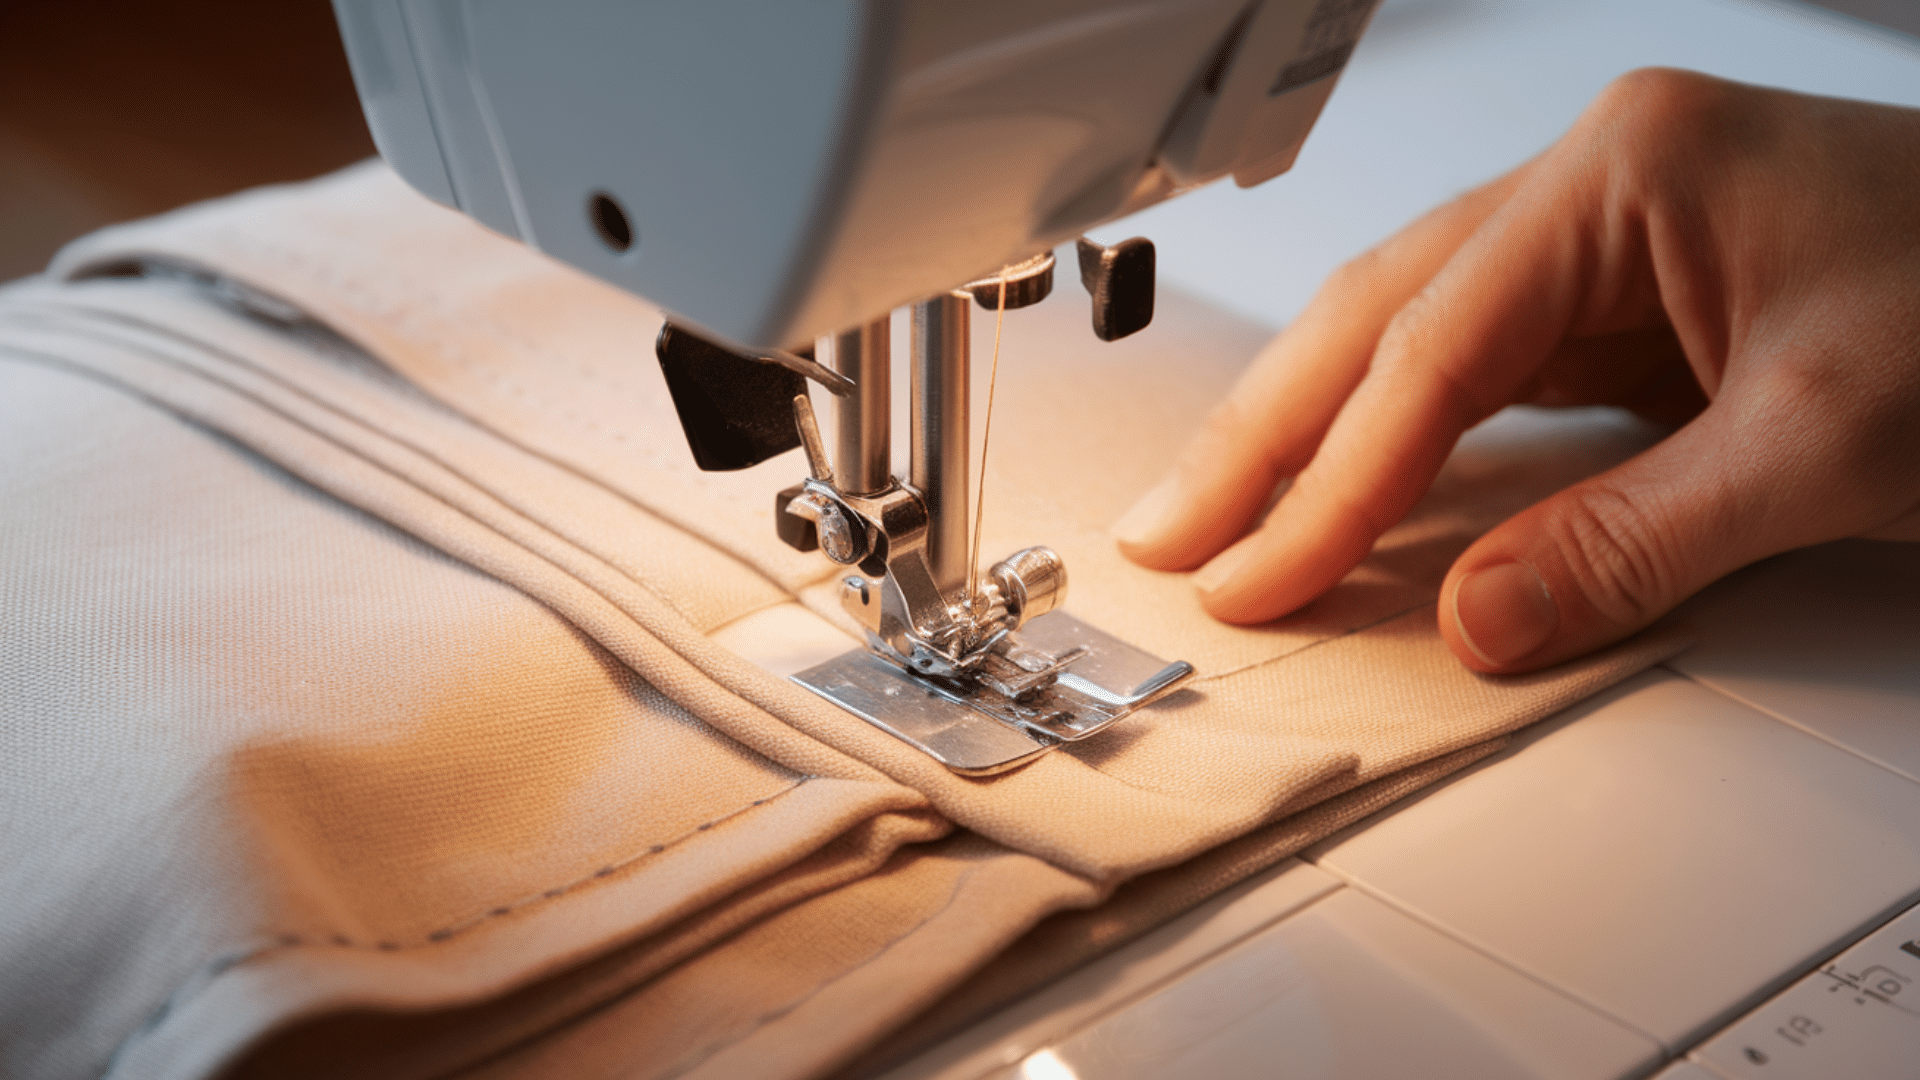
With your three pieces pinned together, it’s time to sew them into a cover. This is the most satisfying part of the process!
Start at one corner and sew all the way around the perimeter of your pillow cover. Use a straight stitch about 1/2 inch from the edge.
When you reach each corner, leave the needle down in the fabric. Lift the presser foot, rotate the fabric 90 degrees, lower the presser foot, and continue sewing.
For stronger seams, you can sew a second time around, especially if you plan to wash your pillow covers often. This is called a double stitch and adds durability.
If you don’t have a sewing machine, you can sew by hand using a backstitch. It takes longer but works just as well.
Make sure to remove pins as you go to avoid hitting them with your needle. This can damage your machine and your project.
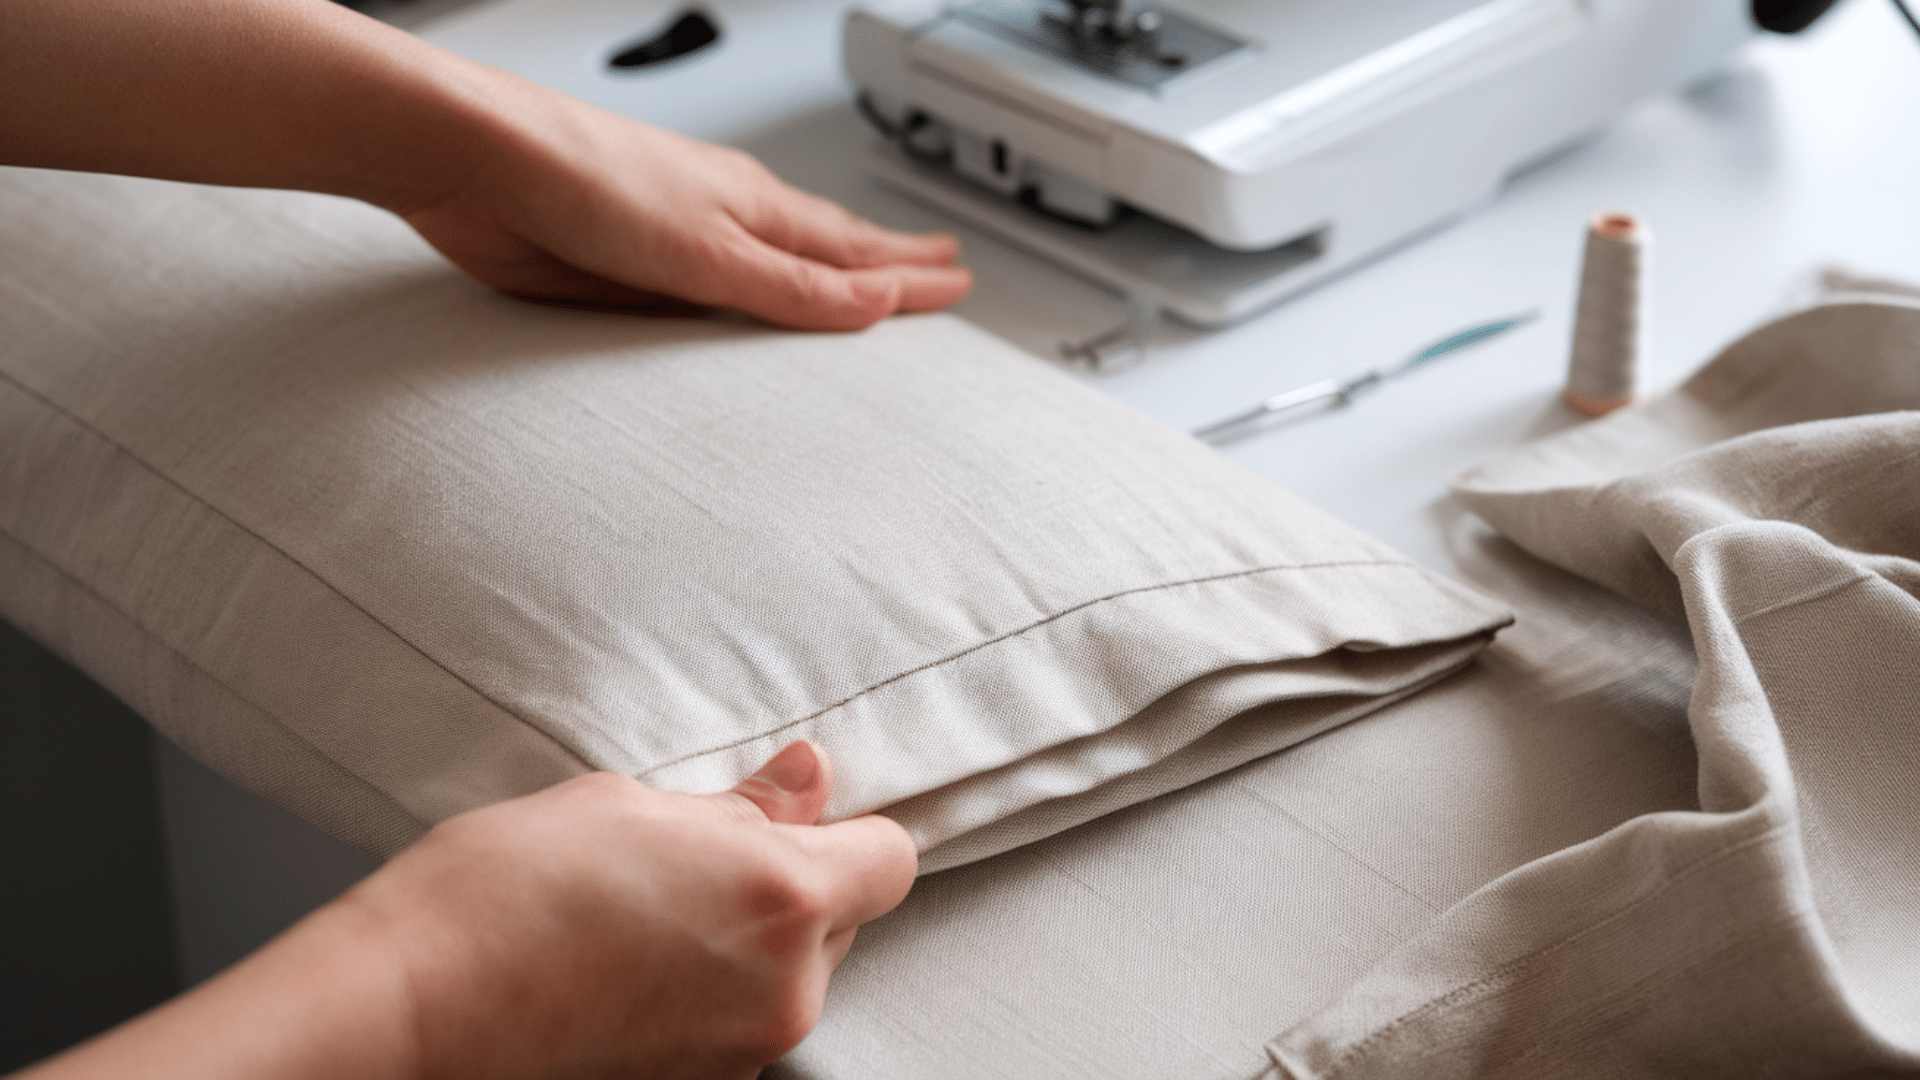
6. Turn and Finish

You’re almost done! Just a few finishing touches, and your pillow cover will be ready to use.
First, trim the excess fabric at the corners at a 45-degree angle. Be careful not to cut too close to the stitching. This reduces bulk and helps your corners look sharp when turned right side out.
Turn your pillowcase right side out through the envelope opening in the back. Use a pencil or chopstick to gently push out the corners until they’re nice and pointed.
Press the entire cover with an iron, paying special attention to the seams and corners. This gives your pillow cover a crisp, professional appearance.
Stand back and admire your work! Your envelope pillow cover is now ready for its pillow insert.
7. Insert the Pillow
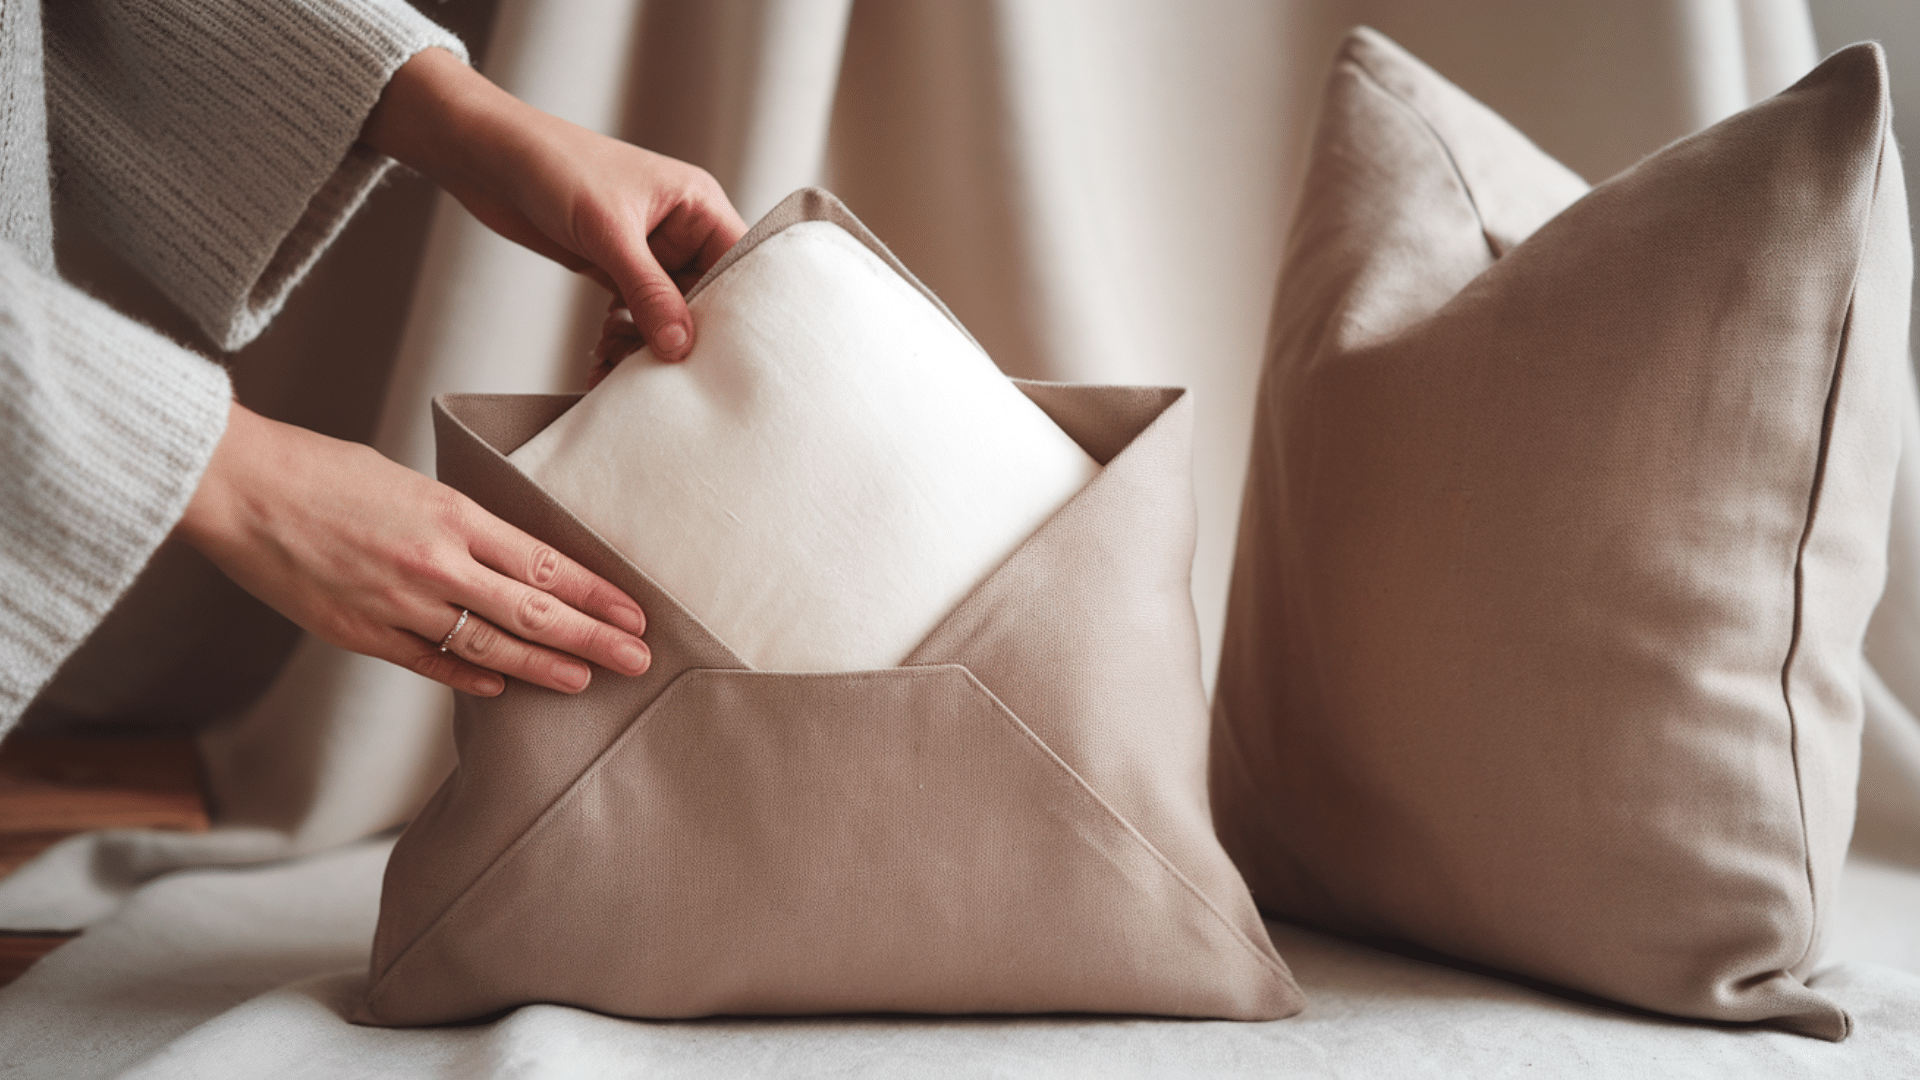
The final step is putting your pillow insert into its new cover. This is where you get to see all your hard work come together!
Find the envelope opening on the back of your cover. Gently push one corner of your pillow insert into a corner of the cover. Work your way around, pushing the remaining corners into place. Adjust the pillow as needed so it fills out the cover evenly.
Smooth out any wrinkles or bulges. The overlapping flaps on the back should lie flat and hold your pillow securely inside.
If your cover feels too tight, you can adjust the seams for future projects. If it’s too loose, make a note to subtract an inch next time.
Stand your pillow up and give it a good fluff. Doesn’t it look amazing? You did that!
Bonus Tips for Perfect Envelope Pillow Covers
After making countless envelope pillow covers, I’ve picked up some tricks that make a big difference. These tips will help your covers look store-bought.
Pre-wash your fabric before cutting and sewing. This prevents surprise shrinkage later when you wash your covers. Nothing’s worse than a perfect cover that suddenly becomes too small!
For a plumper look, make your cover about 1 inch smaller than your pillow insert. This creates that designer “karate chop” effect where pillows look full and luxurious.
Use contrasting fabric for the back panels if you’re short on your main fabric. This can become a design feature rather than just a necessity.
Add piping around the edges for a professional touch. This takes a bit more skill but elevates your pillow cover to a whole new level.
Try decorative stitches if your sewing machine has them. A simple zigzag or scalloped edge can add unique detail to your covers.
For extra durability, reinforce the corners with a second line of stitching. This prevents the seams from splitting when the pillow gets heavy use.
Label your templates if you make multiple sizes. This saves time when you want to make more covers in the future.
Conclusion
Making your own envelope pillow covers is satisfying and practical. You’ve now learned all the steps to create custom covers for any room in your house.
With just basic sewing skills and simple materials, you can completely transform your space. Change covers with the seasons or whenever you want a fresh look.
The best part? Each cover costs a fraction of store-bought versions. Plus, you get exactly the fabric, size, and style you want.
I hope you’ll try making these envelope pillow covers soon. Once you make your first one, you’ll be hooked on how easy and rewarding they are!
What fabric will you use for your first envelope pillow cover? I’d love to hear about your projects in the comments below.