
Are you getting ready to paint new drywall? If you want your walls to look smooth and clean, the prep work is super important. It’s not just about picking the right color.
If you paint over dust or rough spots, your walls won’t look good-and the paint might not last.
In this article, I’ll show you the easy steps you need to take before painting. You’ll learn how to clean the walls, fix the corners, smooth rough areas, and protect your space with plastic.
This guide is great if you want to paint your walls yourself, or if you just want to know what a professional should do.
I’ll simply explain everything that’s easy to follow-even if this is your first time working with drywall.
You don’t need a bunch of fancy tools. Just take it slow, follow each step, and you’ll get results that look neat, clean, and professional. Let’s get started!
What Is Drywall Painting?
Drywall painting is the final step after new drywall is put up in a room. Drywall is the flat surface you see on most walls and ceilings.
Once it’s installed and sanded, it needs to be painted to protect it and make it look nice. But before you grab a brush or roller, the surface has to be cleaned, smoothed, and prepared.
If the drywall still has dust, rough spots, or loose edges, the paint won’t stick well and could look uneven.
Painting drywall the right way means taking time to prep, then using the right paint and tools.
When done properly, it makes your walls look clean, bright, and brand new, and it helps the paint last longer, too.
Tools You’ll Need for Drywall Painting
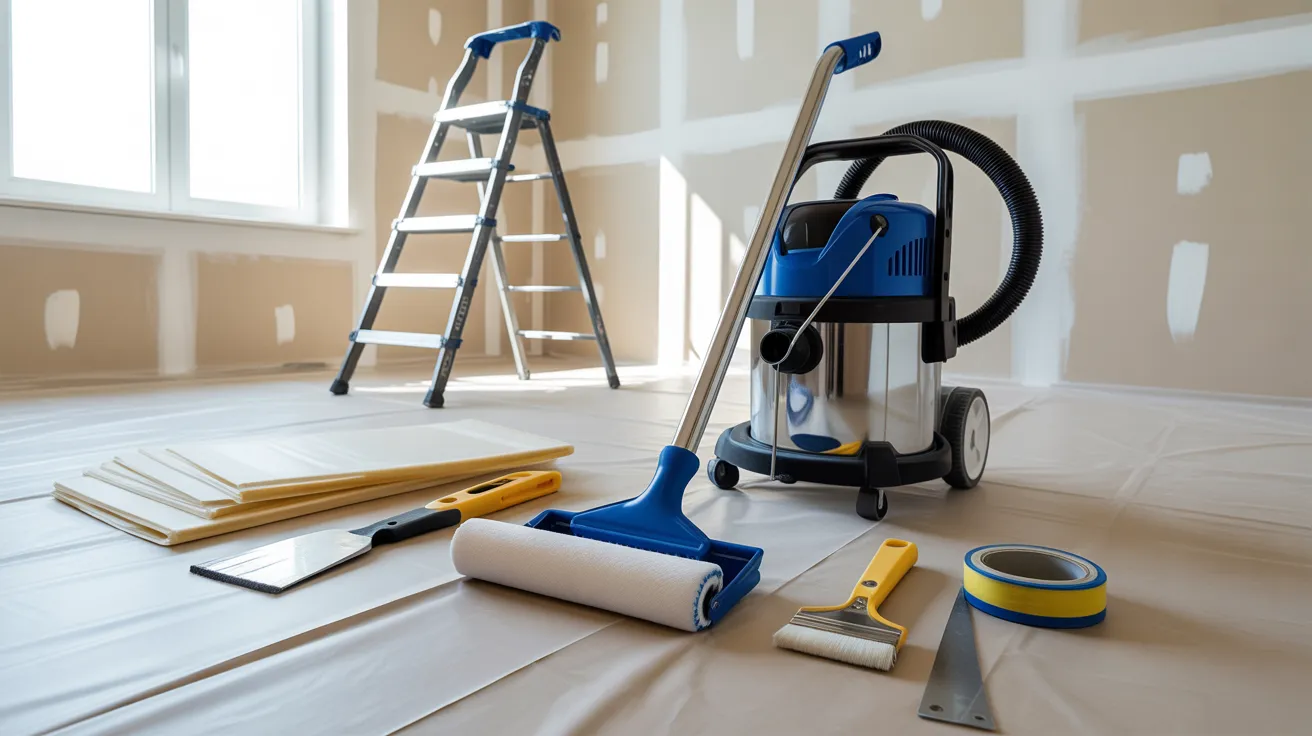
Before you get started, make sure you have the right tools on hand. You don’t need anything fancy, but the right tools can make the job easier and help your walls look smooth and clean.
- Vacuum with a brush attachment: Great for cleaning up drywall dust
- Paintbrush: For painting edges and corners
- Paint roller and tray: For covering large areas quickly and evenly
- Sanding pad or sandpaper: To smooth out any rough spots or fuzzies
- Sharp knife: To trim drywall edges and foam cleanly
- Plastic sheeting: For covering floors, doors, and windows
- Stapler and painter’s tape: To hold plastic in place and protect edges
- Step ladder: To help you reach high walls or ceilings
Step-by-Step Process: How to Prepare Drywall Painting
Follow these easy steps to prepare your drywall to start painting.
Step 1: Clean Up the Dust
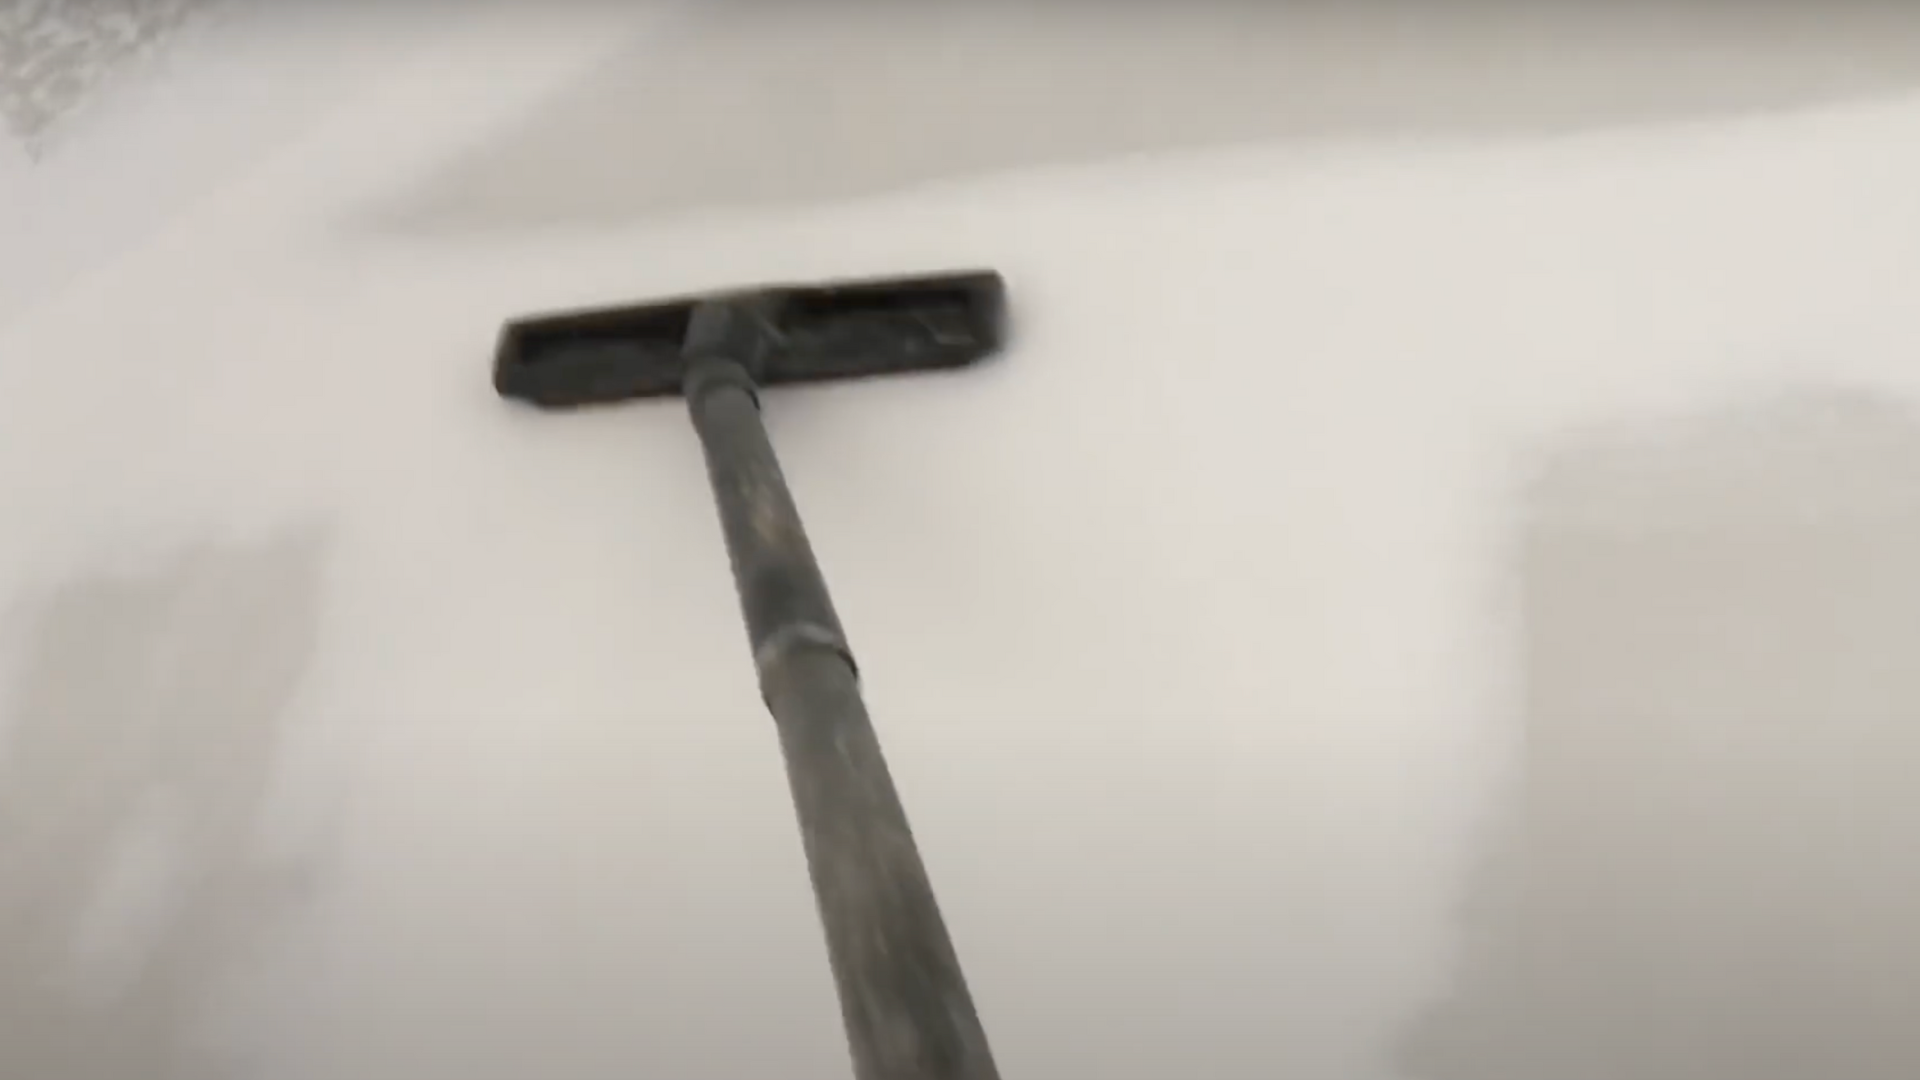
Drywall sanding makes a huge mess. All that white dust can stop your paint from sticking. Start by vacuuming the floor and edges where the wall meets the floor.
That’s where most of the dust settles. Next, gently vacuum the walls using a soft brush attachment.
A horsehair brush works great because it won’t scratch the surface.
Be gentle so you don’t damage the drywall. It’s tempting to skip this step, but don’t! Dust left behind can mix with your paint and ruin the finish.
Cleaning well now helps your paint go on smooth and stay looking nice for years.
Step 2: Trim Rough Edges and Foam
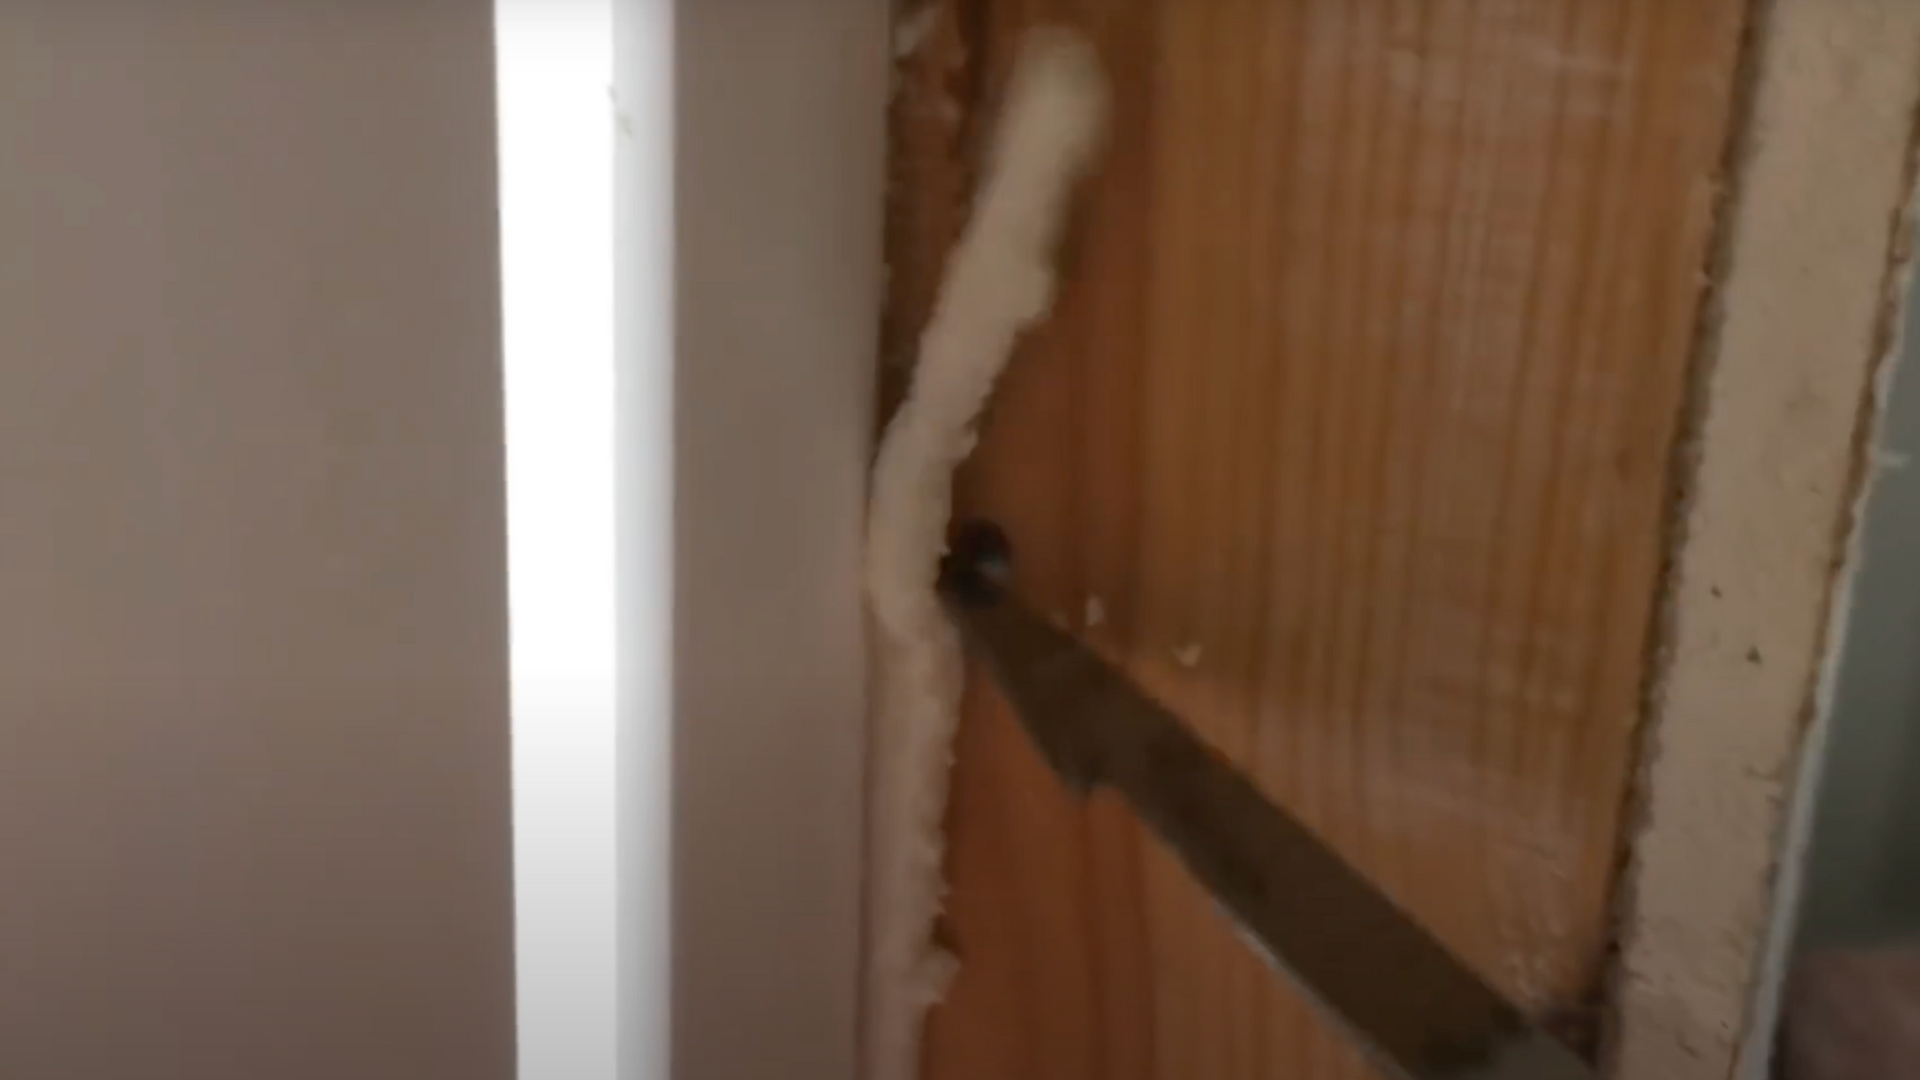
After drywall is installed, some edges may stick out-especially around doors and windows. These need to be trimmed so you get clean lines when you paint.
Use a long, sharp knife, not a utility knife-for better control. Cut slowly and carefully. You might also see extra foam near window frames.
If so, trim that too. Getting rid of these rough spots now keeps your paint from bubbling or peeling later.
Smooth edges make a big difference in how professional your walls look once you’re done painting.
This small step really helps your paint job turn out clean and sharp.
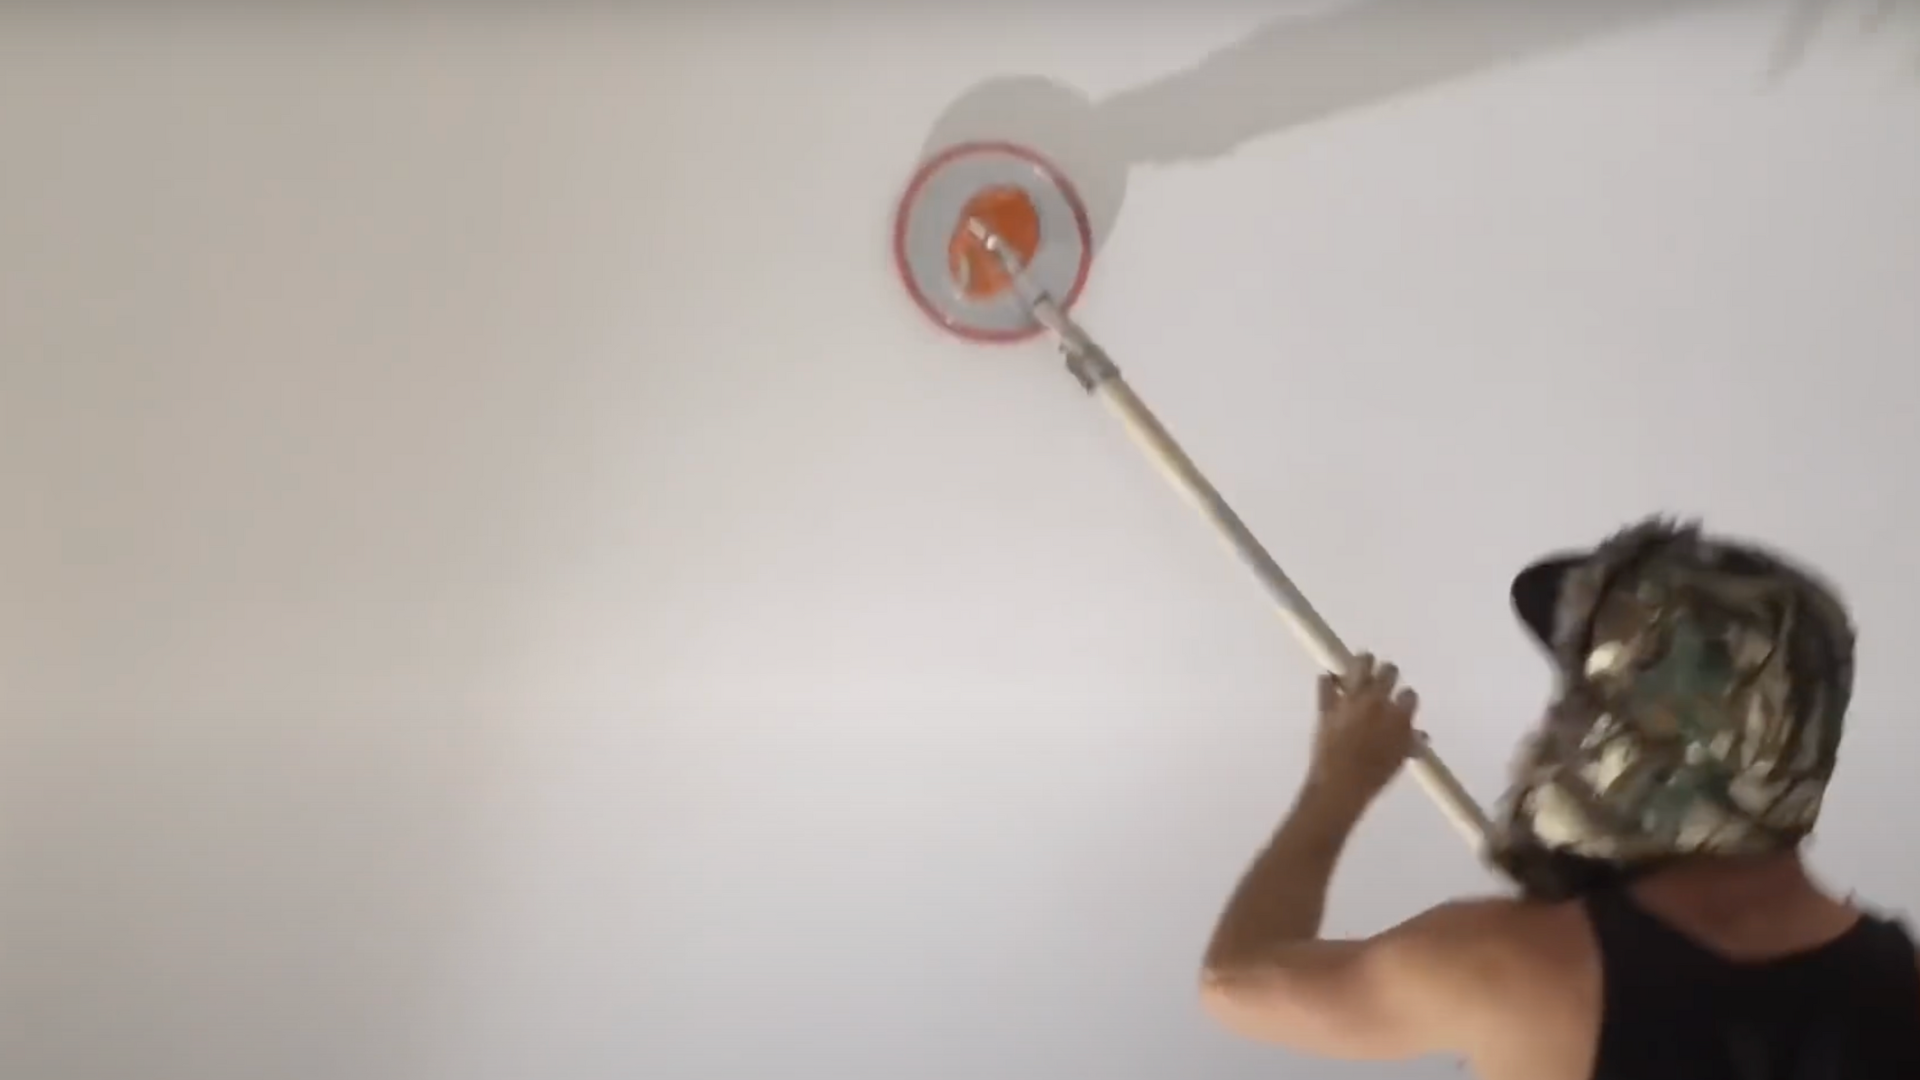
Step 3: Brush the Dust from the Corners
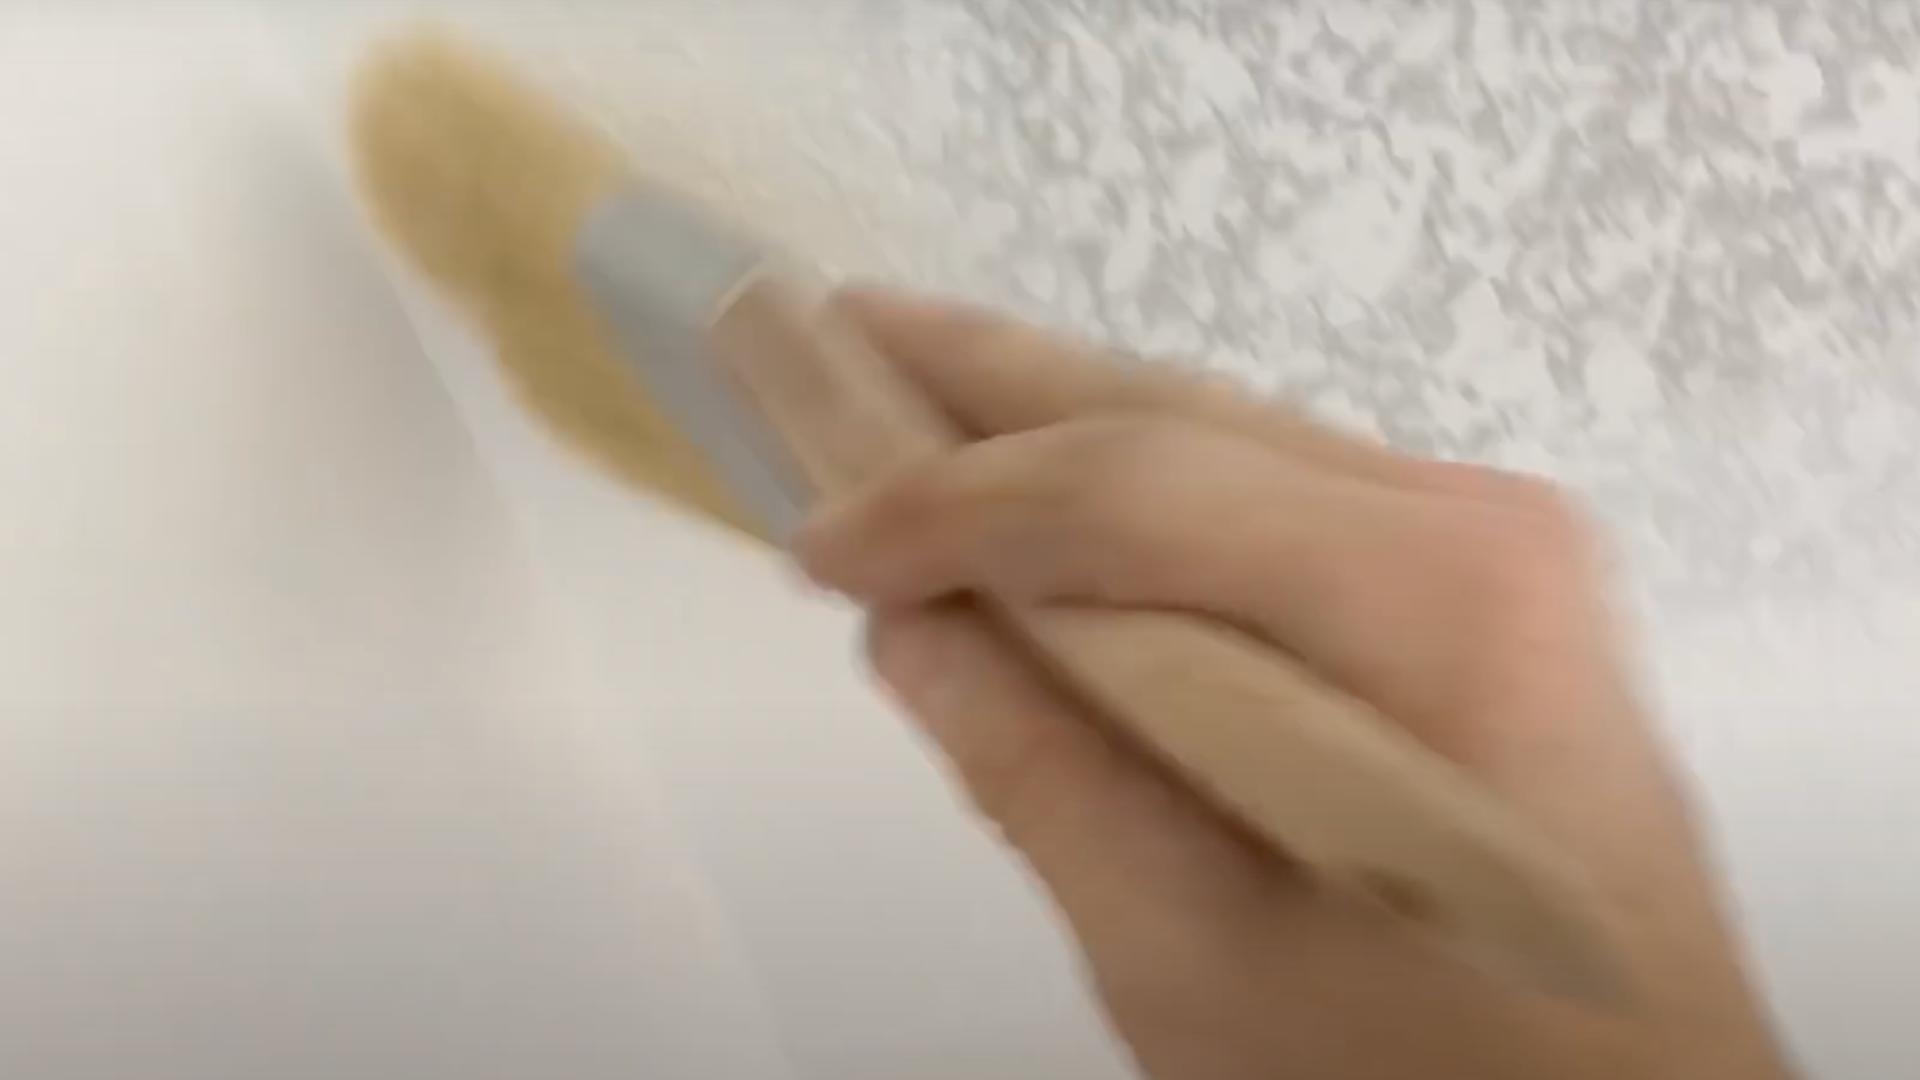
Even after vacuuming, some dust can hide in the corners where the walls meet the ceiling. That dust will mess up your paint if you don’t clean it out.
Grab a clean, soft paintbrush you don’t mind using for cleaning-and gently sweep along all the upper corners of the room.
The goal is to loosen any leftover dust from sanding. It only takes a few minutes, but it makes a big difference.
Your paint will stick better and look smoother when there’s no dust in the way. Don’t forget to check the baseboards and lower corners while you’re at it!
Step 4: Cover Everything with Plastic
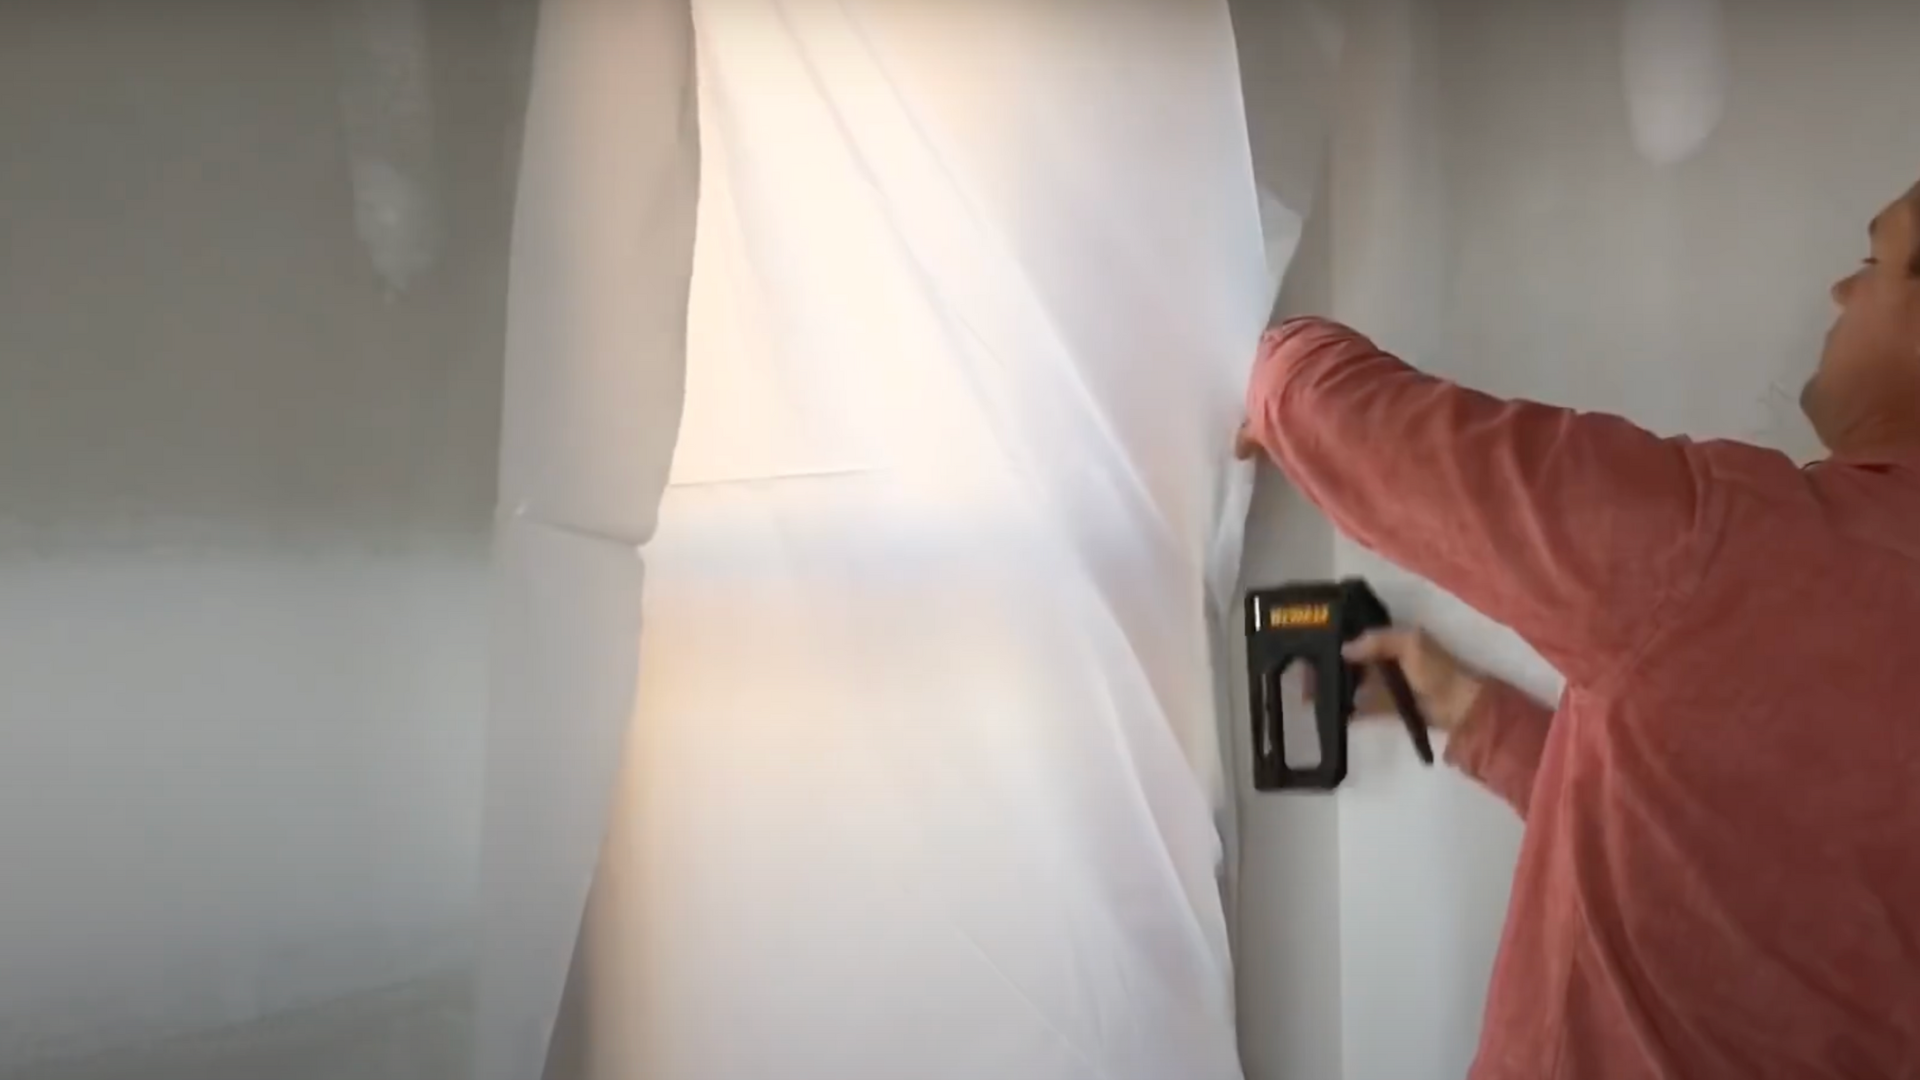
If you plan to use a paint sprayer, protecting your space is a must. Paint can go everywhere if you’re not careful.
Use thick plastic sheeting least 3 to 4 mil-to cover floors, doors, and windows. Staple the plastic in place, but here’s a tip: roll the edge of the plastic under before you staple.
This creates a small “gasket” that blocks paint from sneaking under.
It also makes cleanup much easier when you’re done. Take your time masking everything off.
The better you prep now, the less cleanup you’ll have later. It’s worth the extra effort.
Step 5: Smooth Out the “Fuzzies”
After sanding drywall, you may notice tiny rough spots on the surface. These are called “fuzzies”-small paper fibers that lift up during sanding.
They don’t look like much at first, but once you paint over them, they really stand out. To fix this, take a sanding pad and gently go over any fuzzy areas.
You don’t need to press hard- just a light touch will smooth them out.
Your goal is to make the drywall as smooth as the mudded sections.
Taking this step helps your paint go on evenly and keeps your walls looking clean and polished when finished.
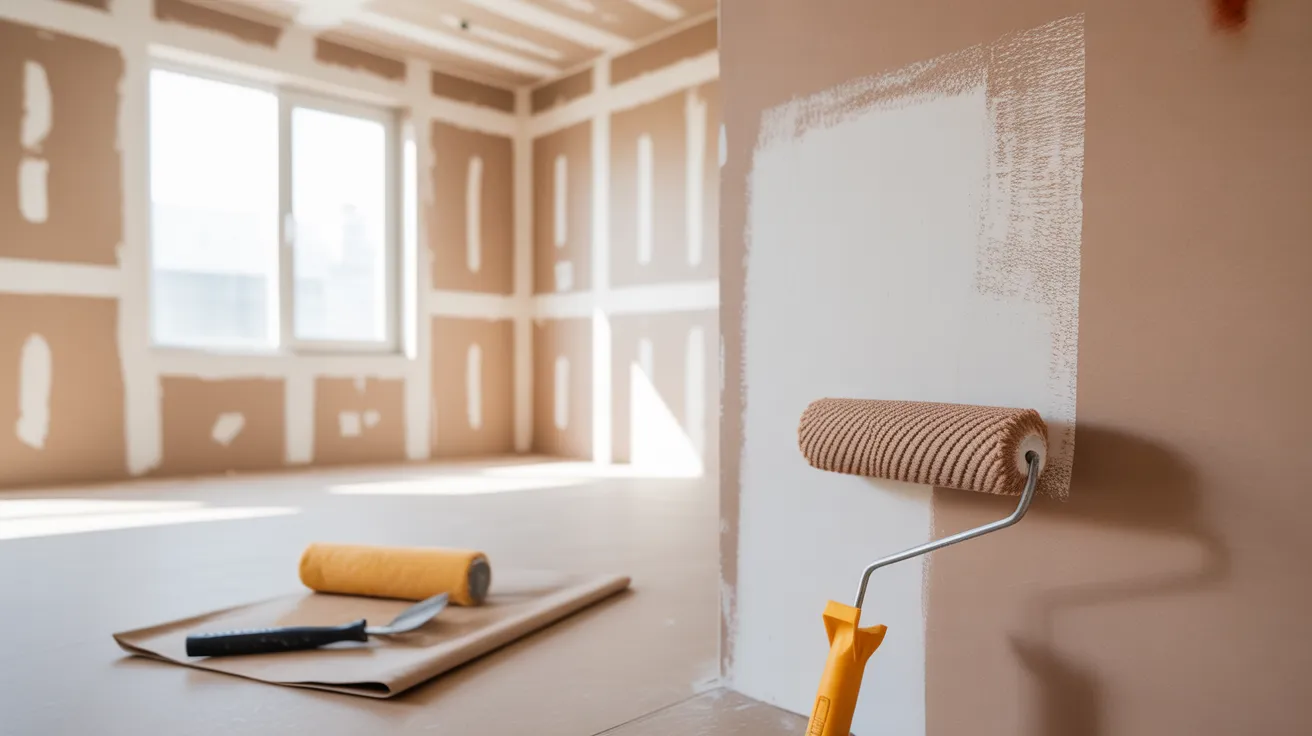
Step 6: Paint the Wall
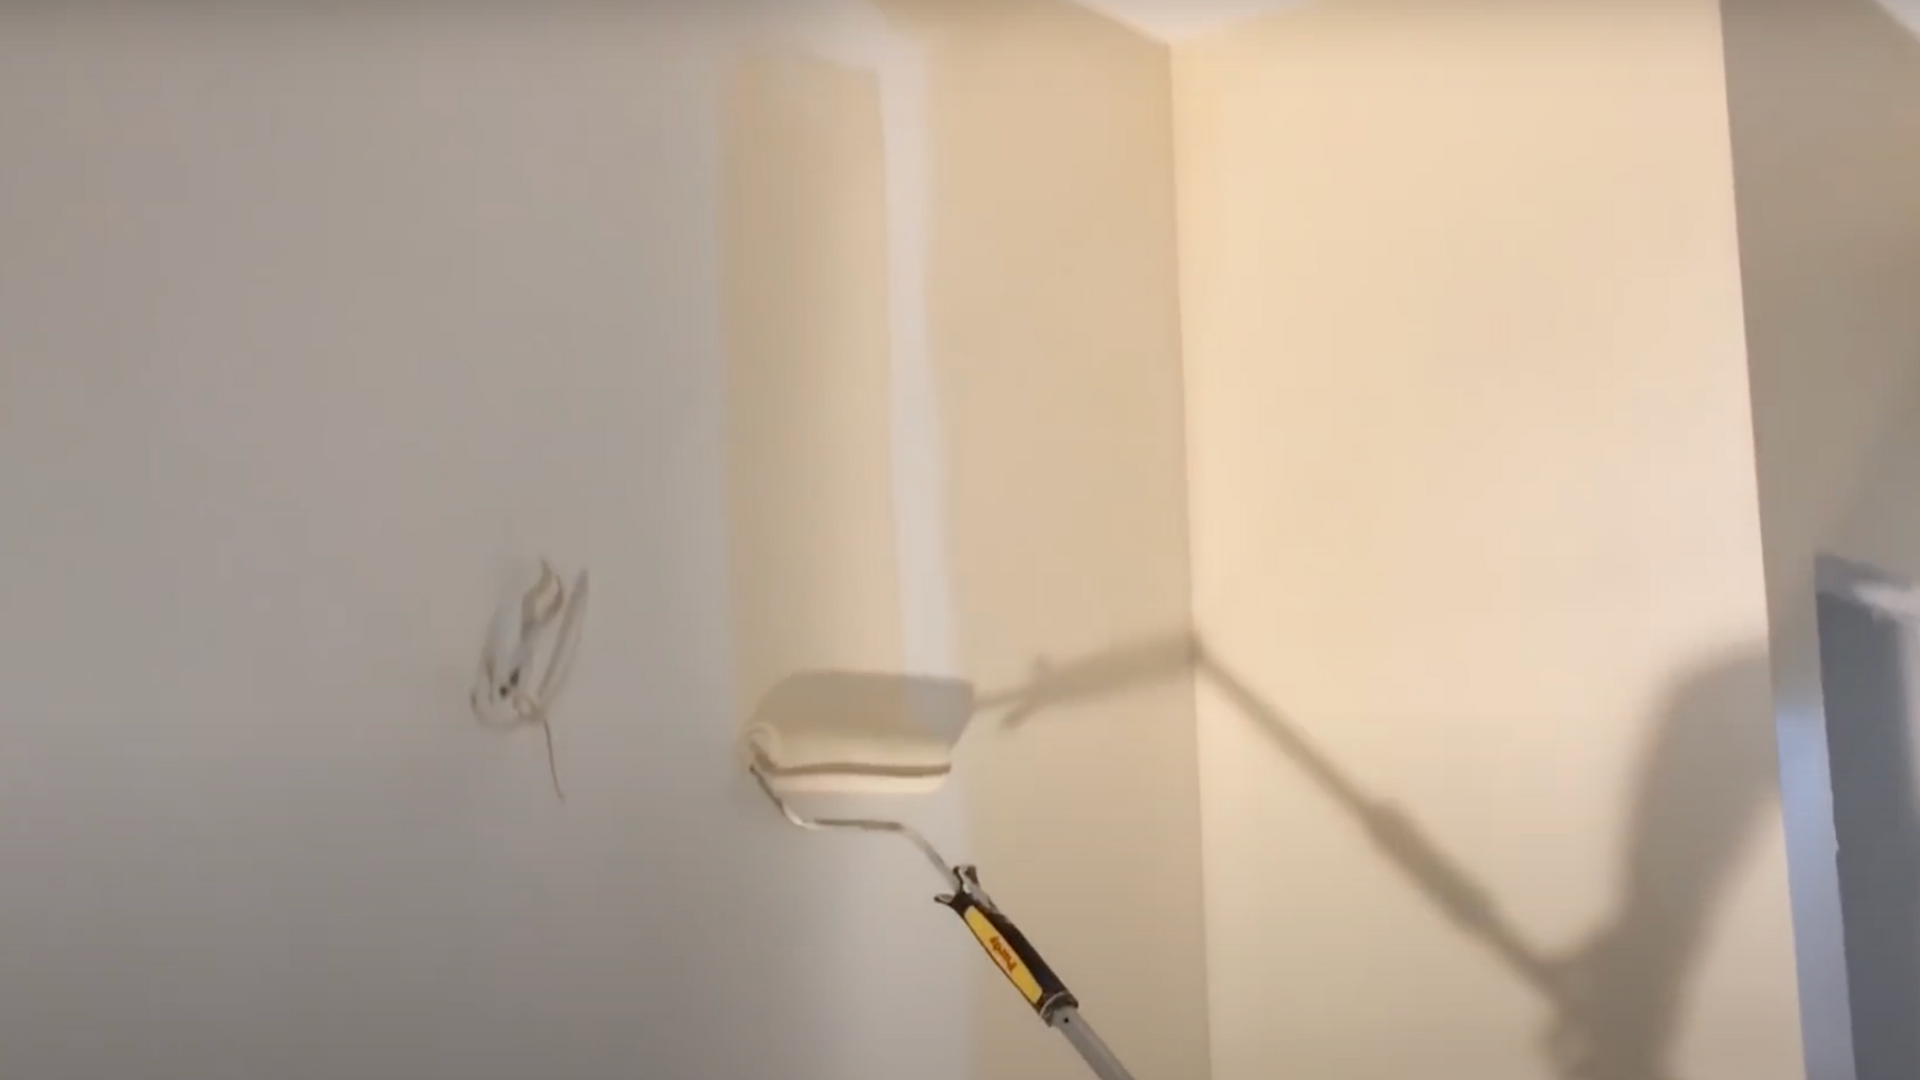
Now that your drywall is ready, it’s time to paint! Start by using a brush to paint along the edges and corners of the wall.
This helps you get clean lines where a roller might miss. Then use a roller to paint the big, flat areas.
Try to spread the paint evenly across the wall without leaving streaks or thick spots. Take your time and make sure everything is covered.
Let the first coat dry all the way before adding a second coat. When you’re done, your wall will look fresh, clean, and ready to enjoy!
To see each step in action and make the process even easier, check out this video from @Perkins Builder Brothers for a clear, step-by-step guide you can follow easily.
Simple Tips to Get a Great Paint Finish
- Always use primer first: Primer helps paint stick better and makes your color look even. Without it, your drywall can soak up too much paint. Use a drywall primer before your first coat of paint for the best results.
- Use good-quality brushes and rollers: Cheap tools can leave marks, fuzz, or streaks on your walls. A better brush or roller will give you a smoother finish and make painting easier.
- Let each coat dry completely: Don’t rush it. Just because paint feels dry doesn’t mean it’s ready for the next coat. Wait the full time listed on the can-usually a few hours.
- Work in good lighting: Make sure the room is bright so you can spot any missed spots or rough areas before painting. Natural light is best if you can get it.
- Keep your tools clean: Wash brushes and rollers between coats if you’re taking a break. Clean tools help your paint go on smoother and last longer.
DIY or Hire a Professional: What’s Right for You?
Should you paint the drywall yourself or hire someone to do it? It depends on what you feel comfortable doing.
If you like doing projects at home and have the time, painting it yourself can save money. It’s also a fun way to learn something new.
Just remember, it takes a bit of time, patience, and the right tools to do a good job.
Hiring a pro costs more, but it can save you time. Professionals know what they’re doing and can make your walls look great-especially if the drywall is tricky or needs repairs.
Think about what’s best for you.
Do you have the time and tools to do it right? Or would it be easier to let a pro handle it? Either choice is okay- it just depends on what works best for your home and your schedule.
Conclusion
Getting drywall ready for paint might seem like a lot, but it’s really not too hard. I’ve learned that when you clean, trim, and smooth the walls first, the paint looks much better.
It goes on easier and lasts longer. Whether you paint it yourself or just want to know what to expect, these steps will help.
If you follow this guide, your walls will be ready, and your paint job will look neat and clean. I hope this makes your project feel simple and less stressful.
You don’t need fancy tools or a lot of experience. Just take your time and check your work as you go.
And if you don’t want to do it yourself, that’s okay too- hiring a pro can be a great choice.
Either way, you’ll end up with walls that look great and make your space feel fresh and new.