
Want to transform your kitchen without spending thousands on new cabinets?
Painting your kitchen cabinets might be the perfect solution. I’m about to show you exactly how to get smooth, professional results that will make your friends think you hired a contractor.
In this guide, you’ll find every step broken down in simple terms.
From choosing the right supplies to applying that final coat, I’ve got you covered. No more guessing or watching endless videos that leave out crucial details.
I’ve helped hundreds of homeowners transform their kitchens, and I’ve learned all the tricks to avoid common mistakes.
Your cabinets will look amazing, and they’ll stay that way for years to come. Let’s turn that outdated kitchen into a space you’ll love showing off!
Tools and Materials You’ll Need
Before starting your cabinet painting project, gathering all the right tools and materials is essential for a smooth, professional-looking finish. The proper supplies will make the job easier and help you avoid common painting mistakes.
Essential Tools
- Screwdrivers (Phillips and flathead)
- Drill (for removing hinges)
- Painter’s tape
- Medium and fine-grit sanding blocks or sandpaper (120-220 grit)
- Foam rollers (4-inch mini rollers work best)
- High-quality paintbrushes (2-inch angled brush for details)
- Drop cloths or plastic sheeting
- Vacuum with brush attachment
- Clean rags and tack cloths
- Small buckets or containers for hardware
- Stir sticks
- Paint trays
Materials
- Degreasing cleaner (TSP substitute works well)
- Wood filler (if needed for repairs)
- High-quality bonding primer
- Cabinet paint (alkyd, acrylic, or oil-based enamel)
- Clear topcoat (optional for extra protection)
- Fine-grit sandpaper (220 grit or higher for between coats)
- Painter’s pyramids or wood blocks (for elevating doors while painting)
Optional but Helpful
- Paint sprayer (for ultra-smooth finish)
- Cabinet door labeling system (numbered tape or stickers)
- Sanding sponges (easier to hold than regular sandpaper)
- Caulk (to fill any gaps)
- Lint-free cloth gloves (to handle dried pieces without fingerprints)
- Respirator mask (especially when sanding or using oil-based products)
How to Paint Your Kitchen Cabinets Smoothly?
Painting kitchen cabinets can completely change your kitchen’s look without the high cost of replacement. While it seems like a simple weekend project, achieving a smooth, lasting finish requires careful preparation and technique.
Follow my guide to get professional-quality results for your cabinet makeover.
1. Plan Your Project Timeline

A full kitchen cabinet painting project typically takes 5-7 days from start to finish. This isn’t something you can rush through in a weekend. Most of this time is waiting for things to dry properly.
Break your project into manageable stages. If you can’t be without your kitchen for a week, consider painting in sections. Start with upper cabinets, then move to lowers.
Take “before” photos so you can enjoy the dramatic transformation when you’re done. These pictures will also help you remember how everything fits back together.
2. Prepare Your Workspace
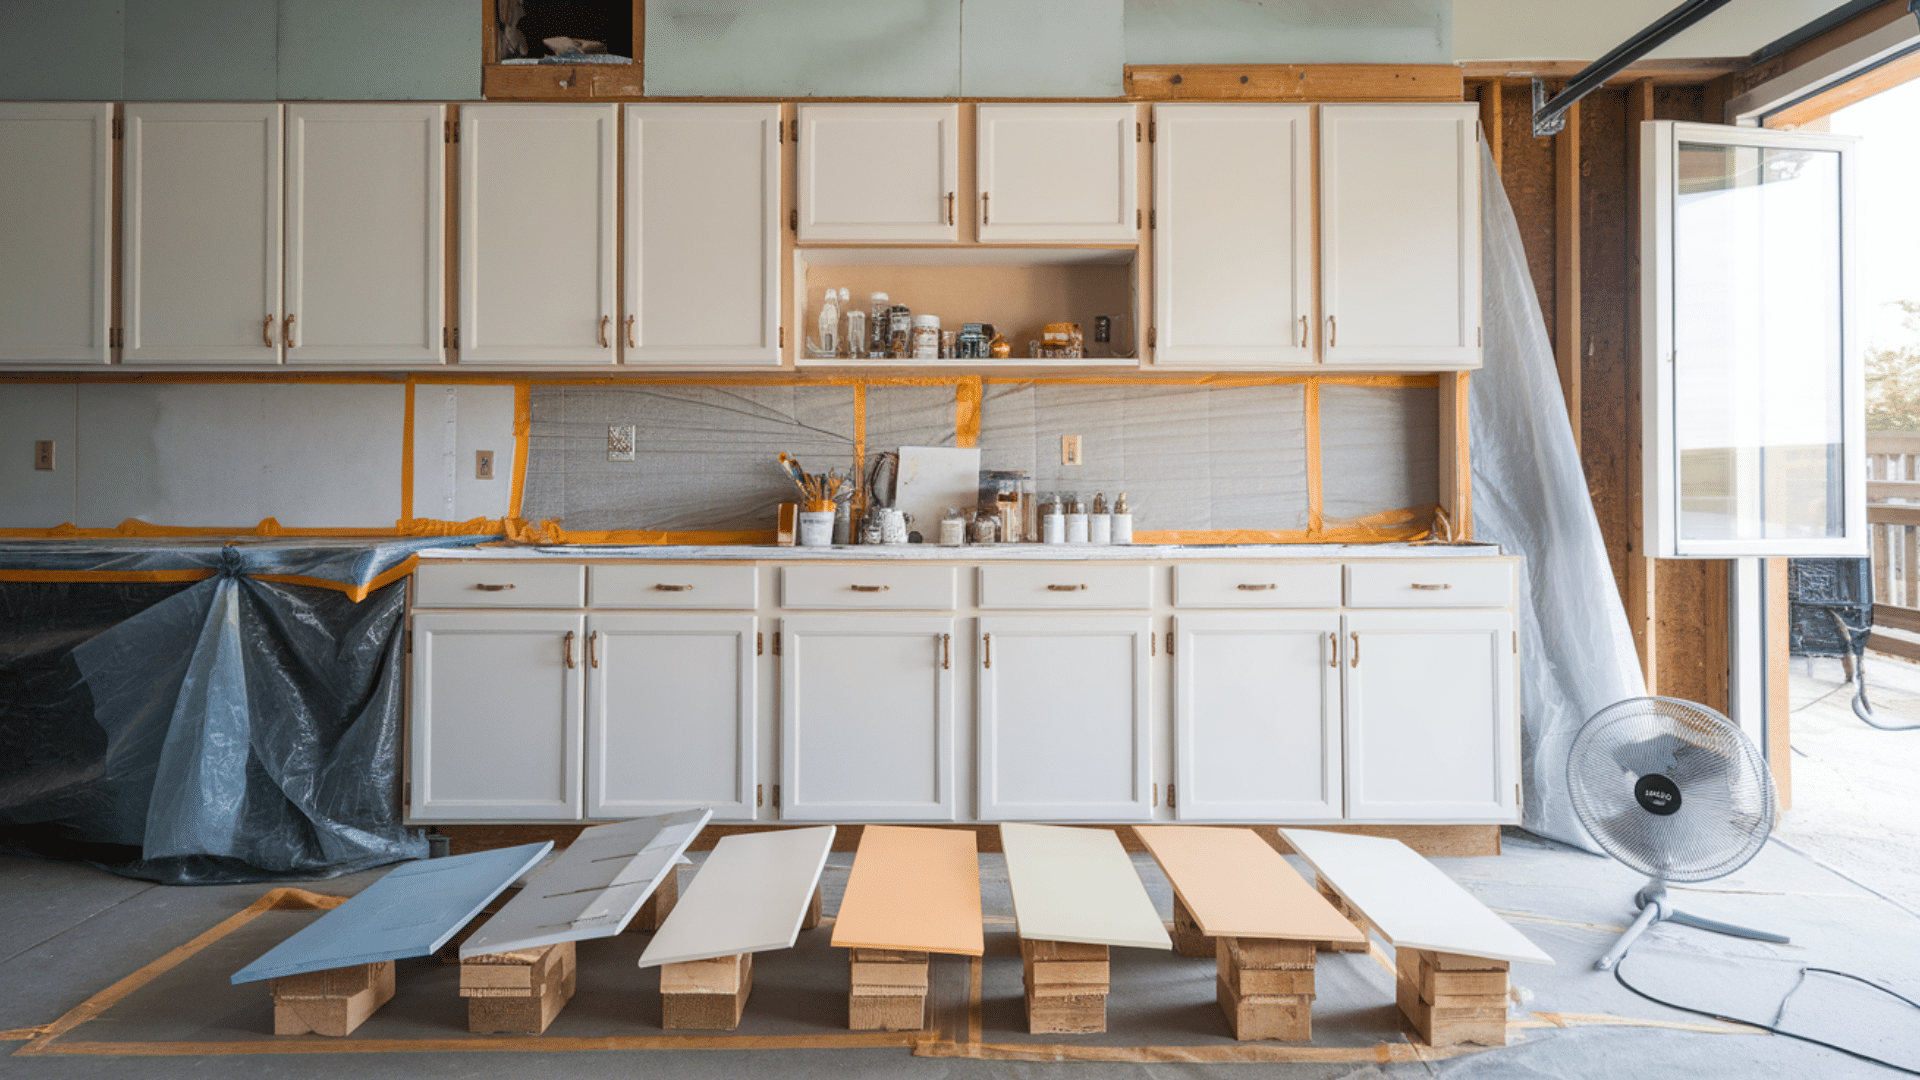
Clear everything from your countertops and remove all items from inside your cabinets. You’ll need easy access to all surfaces. Lay down drop cloths or plastic sheeting to protect your floors and countertops.
Tape them in place so they don’t slip. Set up a painting station in a well-ventilated area, ideally a garage or outdoor space protected from dust and bugs. If you must work indoors, open windows and use fans to improve air circulation.
Create a drying rack system using painter’s pyramids on a flat surface where cabinet doors and drawers can dry undisturbed. Each piece needs space around it for even drying.
3. Remove Cabinet Doors and Hardware
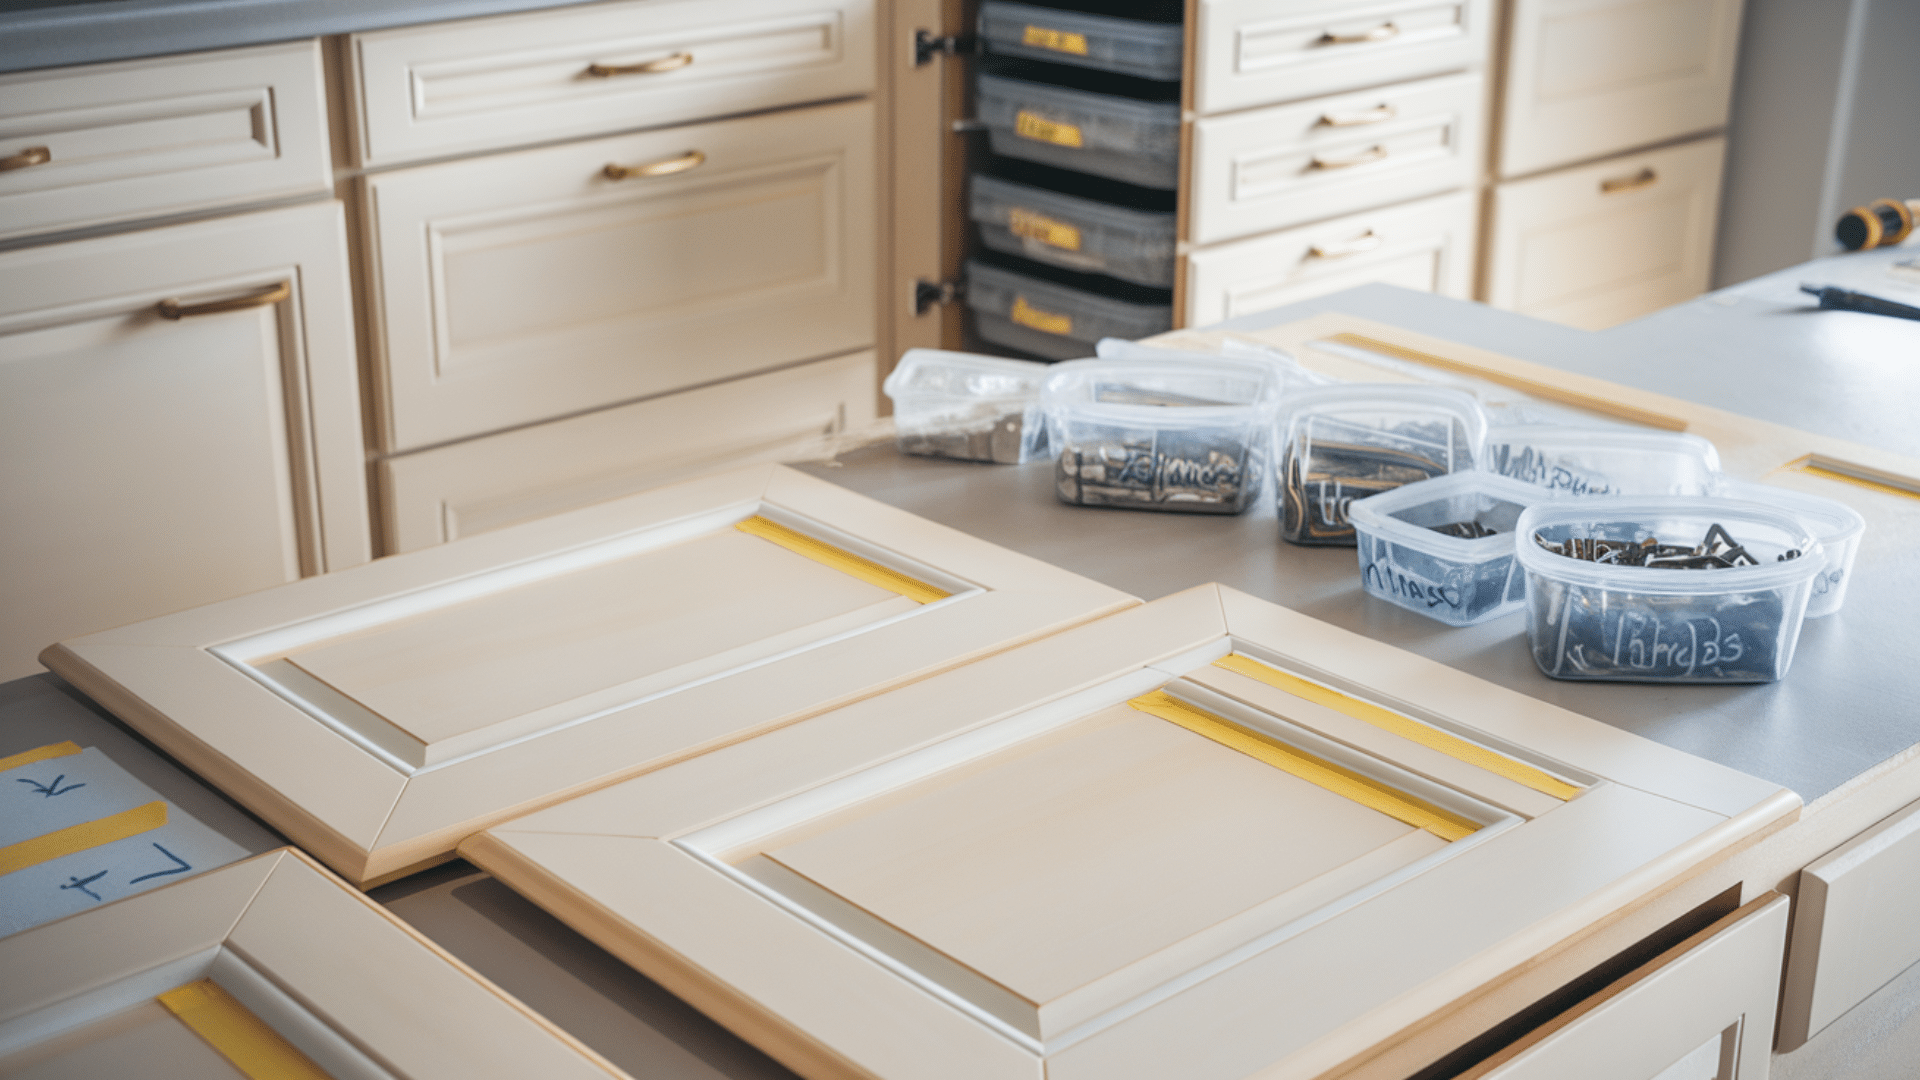
Label each door and drawer with numbered tape to remember where everything goes. A simple system is to number each opening and its corresponding door. Remove all doors by unscrewing the hinges.
Most hinges stay attached to the door, while the mounting plate remains on the cabinet frame. Take out all drawers completely. If drawer fronts can be removed separately, unscrew them to paint them individually.
Remove all hardware including hinges, pulls, and knobs. Put hardware in labeled bags or containers so you know exactly where each piece belongs.
Pro tip: Take photos of your cabinet configuration before disassembly. This creates a visual reference for reassembly later.
4. Clean All Surfaces Thoroughly
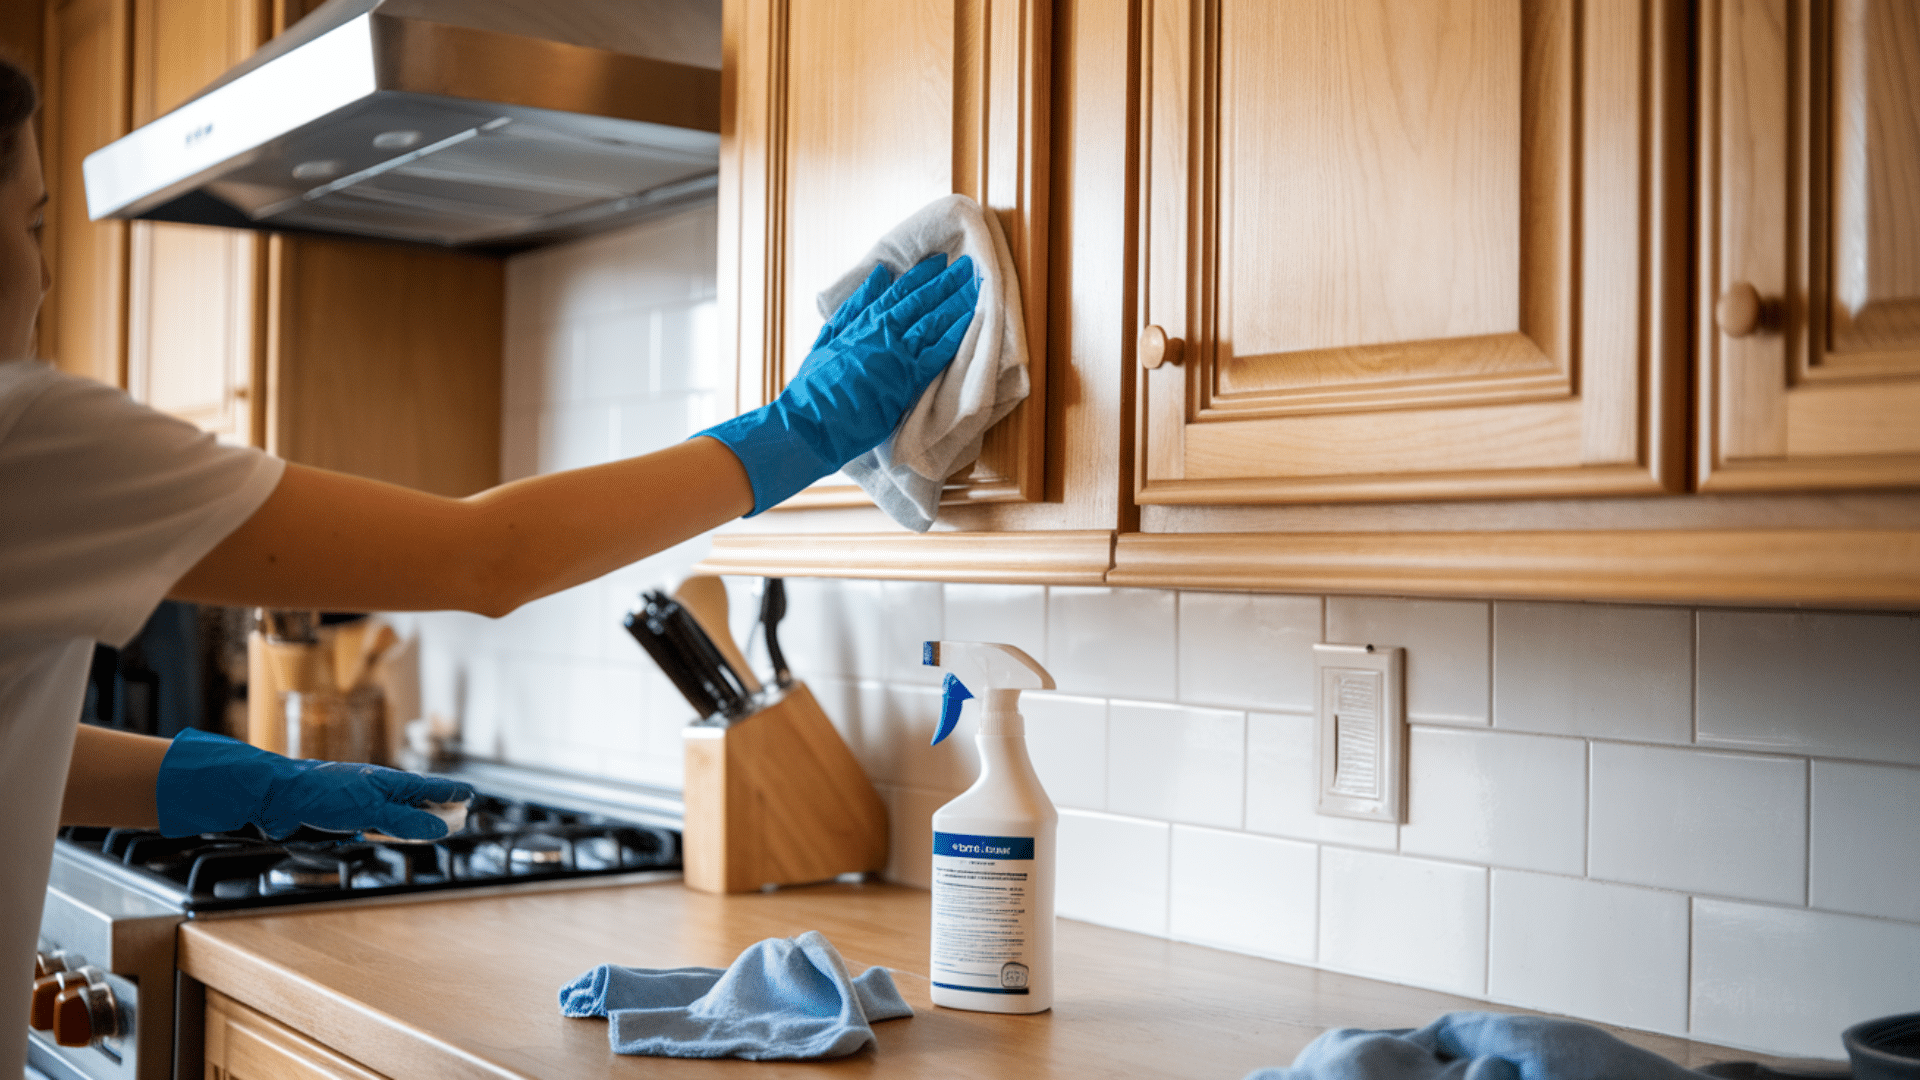
Kitchen cabinets accumulate years of grease, food particles, and dust—especially near the stove and range hood. This grime must be completely removed for paint to adhere properly.
Mix a degreasing cleaner according to package directions. TSP substitute or specialized cabinet cleaners work well. Scrub all surfaces with the degreaser and a clean cloth. Pay special attention to areas near the stove and any sticky spots.
Rinse with clean water afterward to remove all cleaning residue. Any leftover cleaner can interfere with paint adhesion.
Allow all surfaces to dry completely before moving to the next step. Moisture trapped under paint will cause peeling later.
5. Repair Any Damage
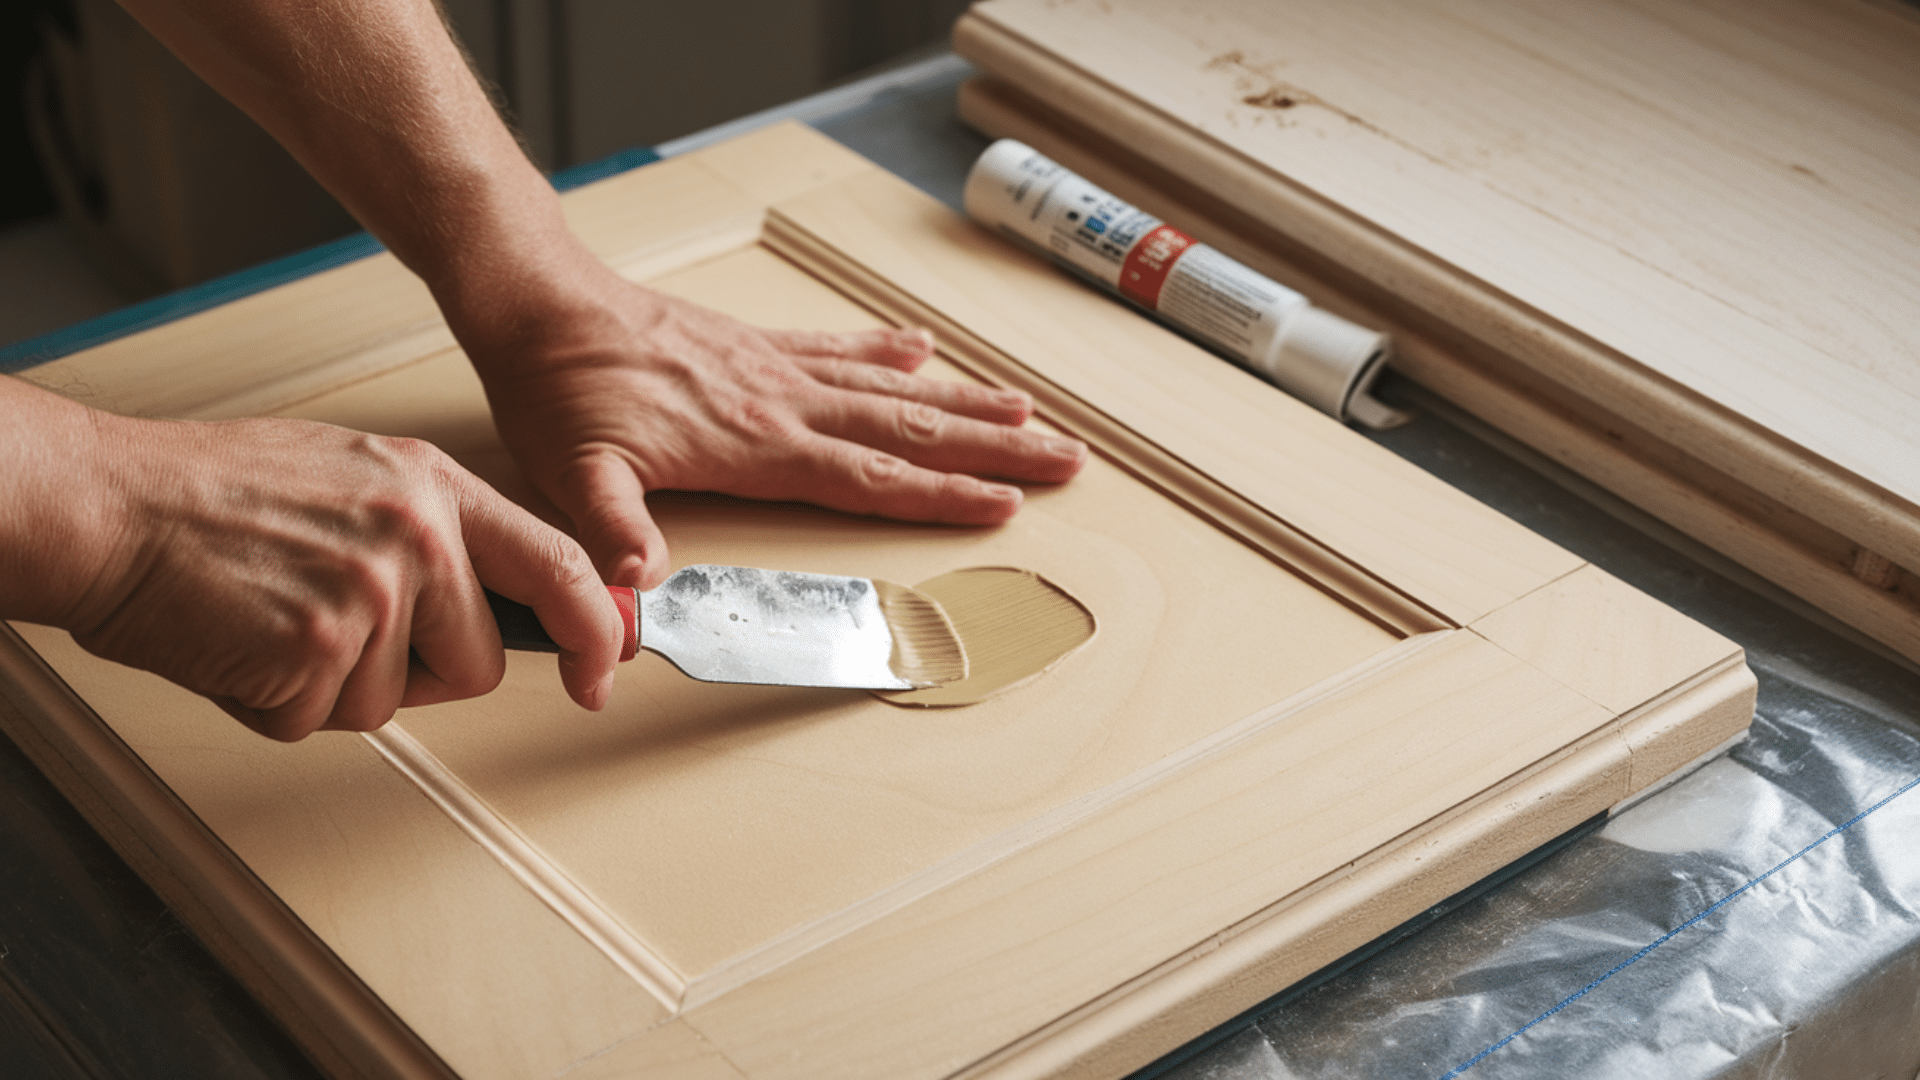
Examine all cabinet surfaces for damage that needs repair before painting. Now is the time to fix these issues. Fill any holes, dents, or deep scratches with wood filler. Apply with a putty knife, slightly overfilling each hole.
Once dry, sand the repairs flush with the surrounding surface. Run your hand over the area to ensure it feels smooth. If your cabinets have significant gaps where pieces join, fill these with caulk for a more professional look.
Replace any damaged or warped doors rather than trying to repair them. The cost of a few new doors is worth the improved final result.
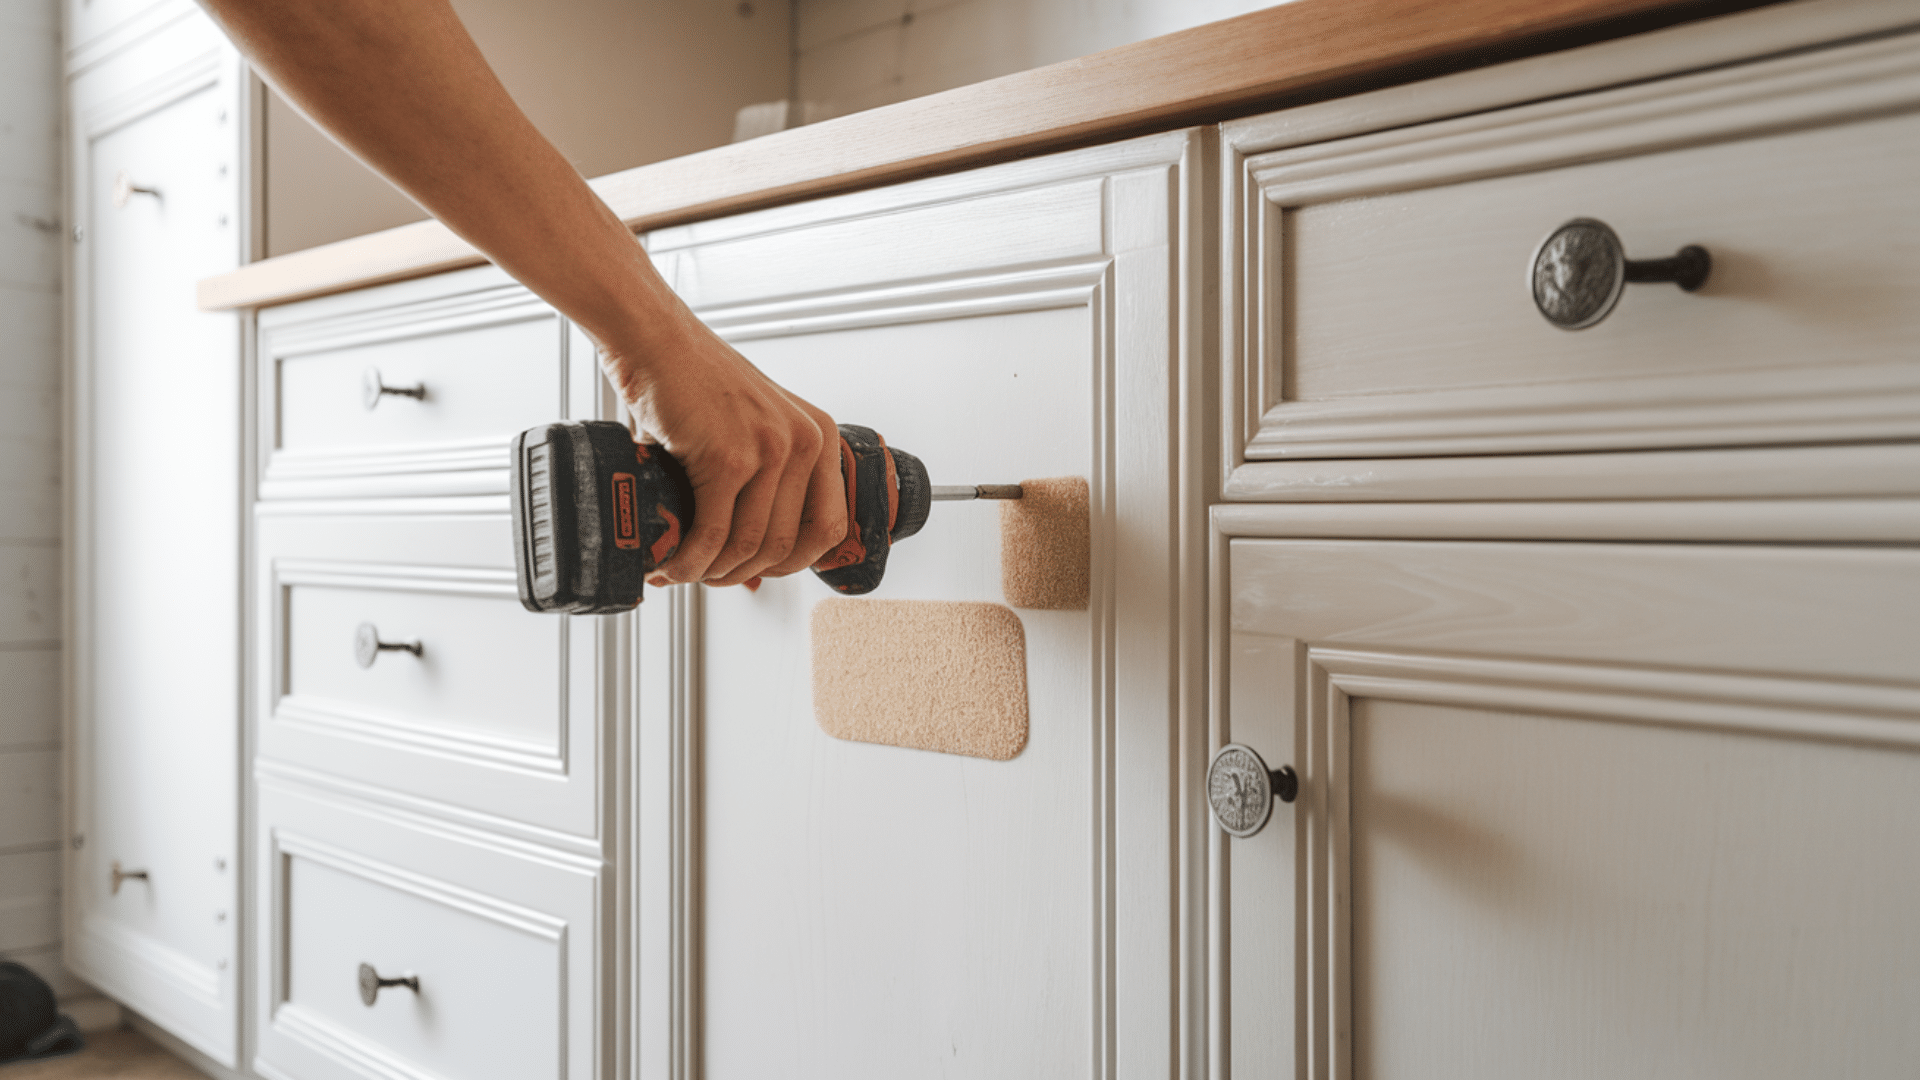
6. Sand All Surfaces
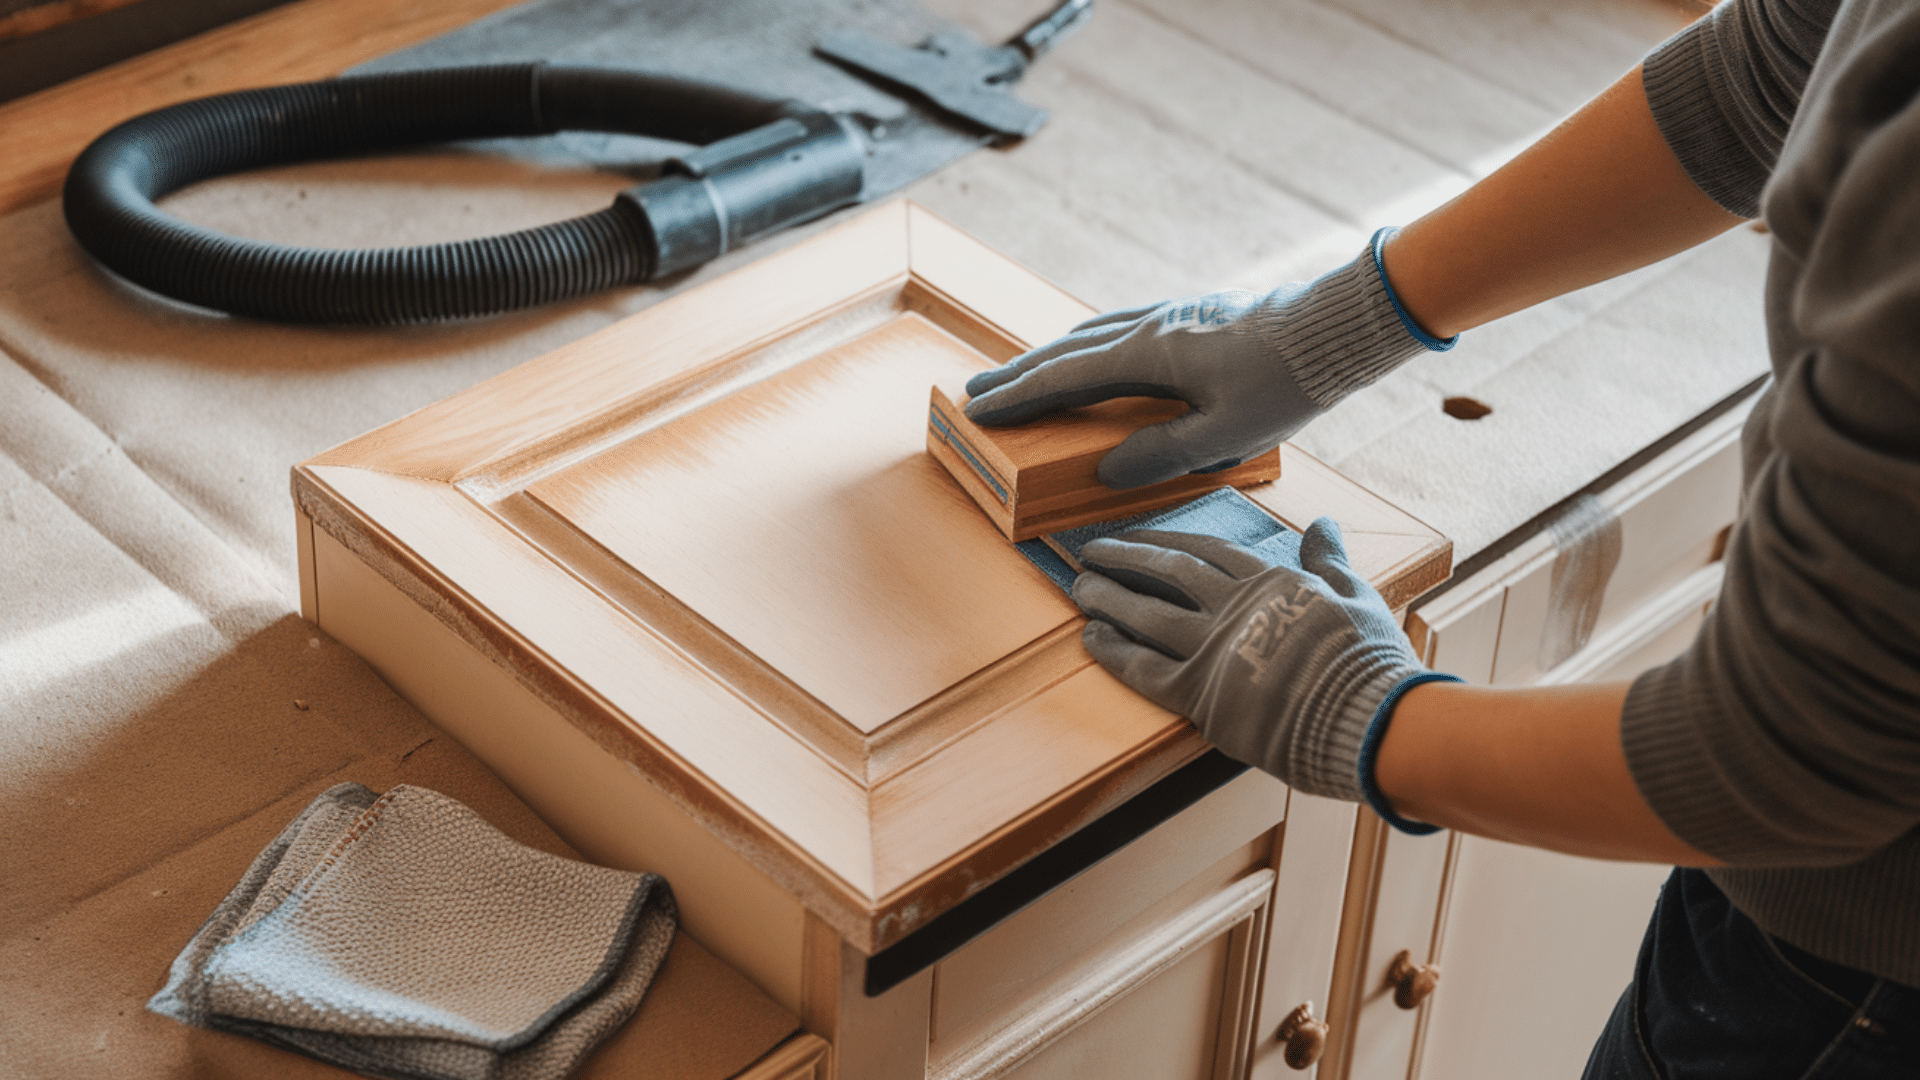
Sanding is crucial for two reasons: it removes the existing finish and creates a slightly rough surface for the new paint to grip.
Start with medium-grit sandpaper (120-150) on glossy finishes. If your cabinets only have a light finish, you might be able to start with fine-grit (180-220).
Sand in the direction of the wood grain using even pressure. You don’t need to remove all the existing finish—just scuff it up well.
Pay special attention to edges and detailed areas, as these are often missed but are very visible in the finished project.
After sanding, vacuum all surfaces to remove dust. Then wipe everything with a tack cloth to catch any remaining particles.
7. Apply Primer
Primer creates the foundation for your paint. It seals the wood, prevents bleed-through, and helps paint adhere better.
Choose a high-quality bonding primer designed for cabinets. Shellac-based primers are excellent for preventing stains from bleeding through.
Stir the primer thoroughly but gently to avoid creating bubbles. Never shake primer (or paint) as this introduces air bubbles that will show in your finish.
Apply primer with a foam roller on flat areas and a quality brush for detailed areas and edges. Work in thin, even coats.
Let the primer dry completely according to the manufacturer’s instructions. This typically takes 24 hours for full hardening.
Once dry, lightly sand with fine-grit sandpaper (220+) to ensure a smooth surface. Wipe with a tack cloth afterward.
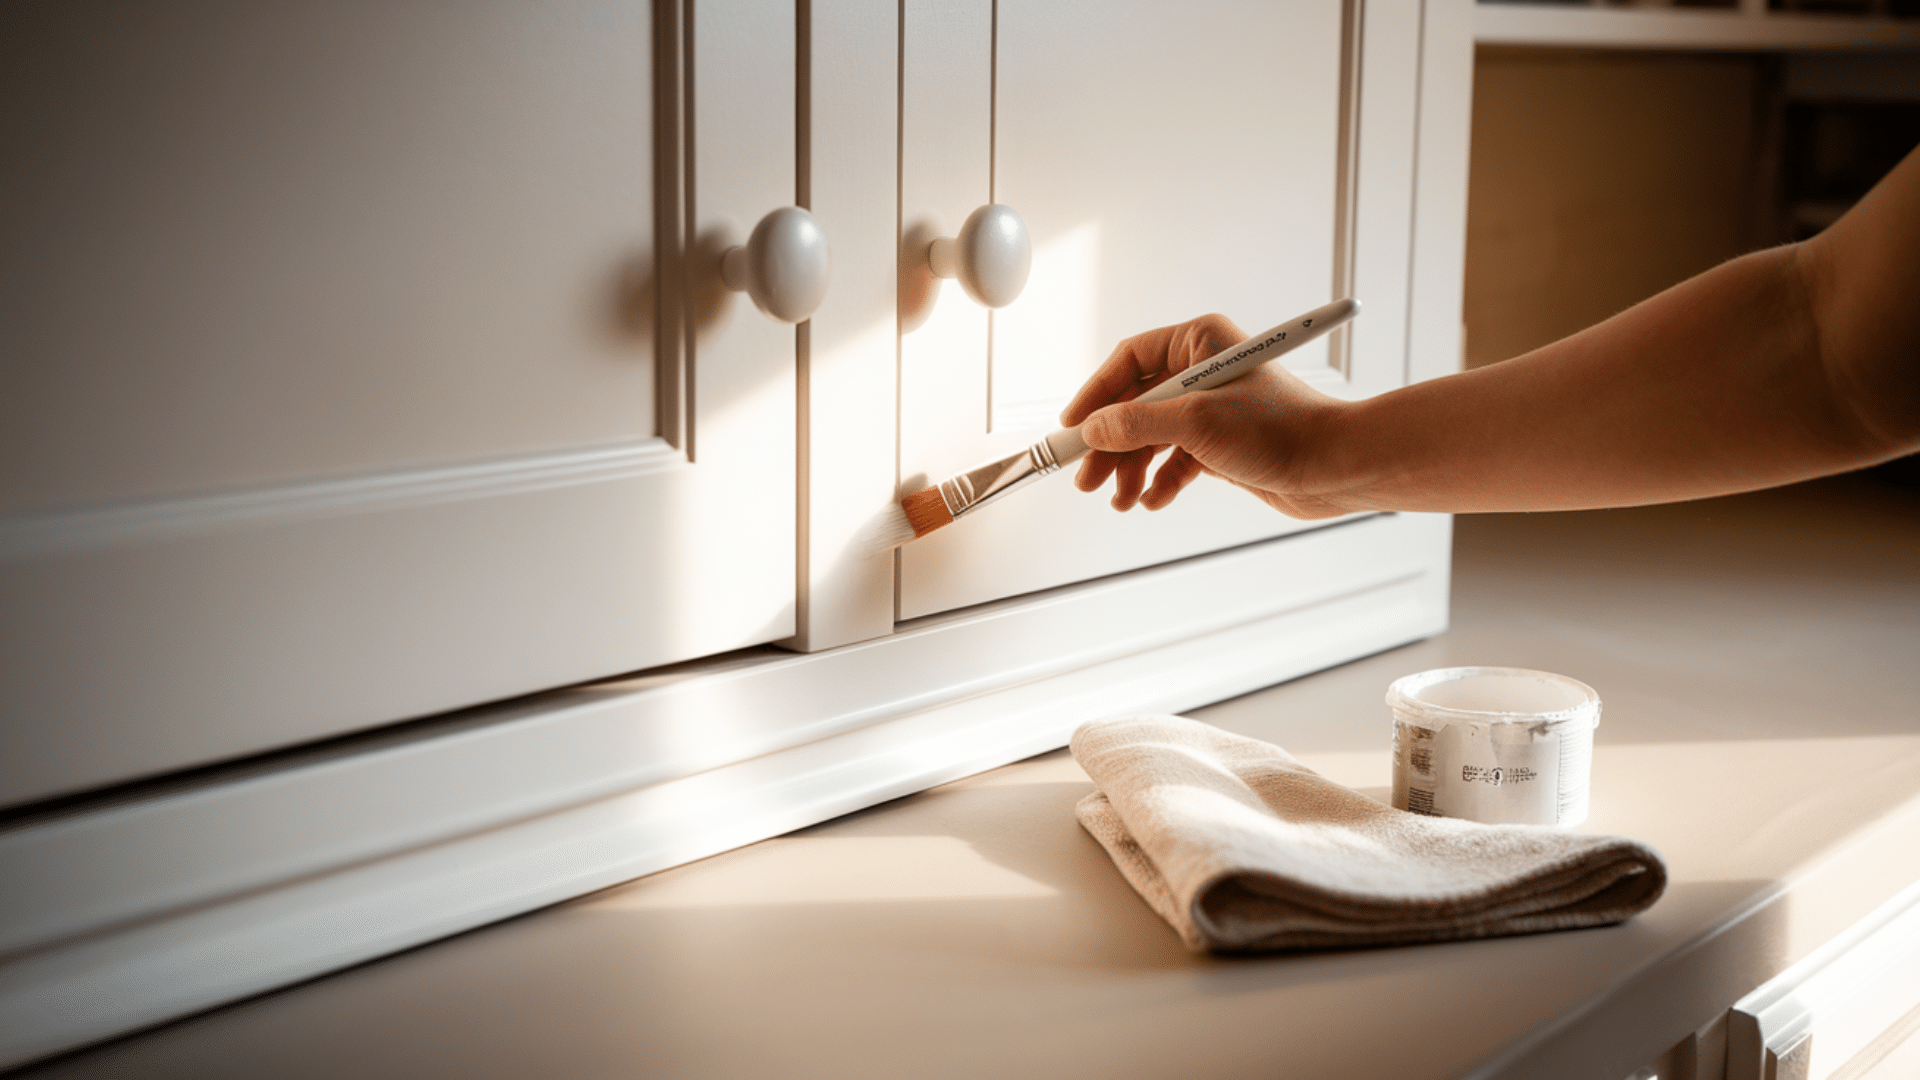
8. Paint the Cabinet Boxes
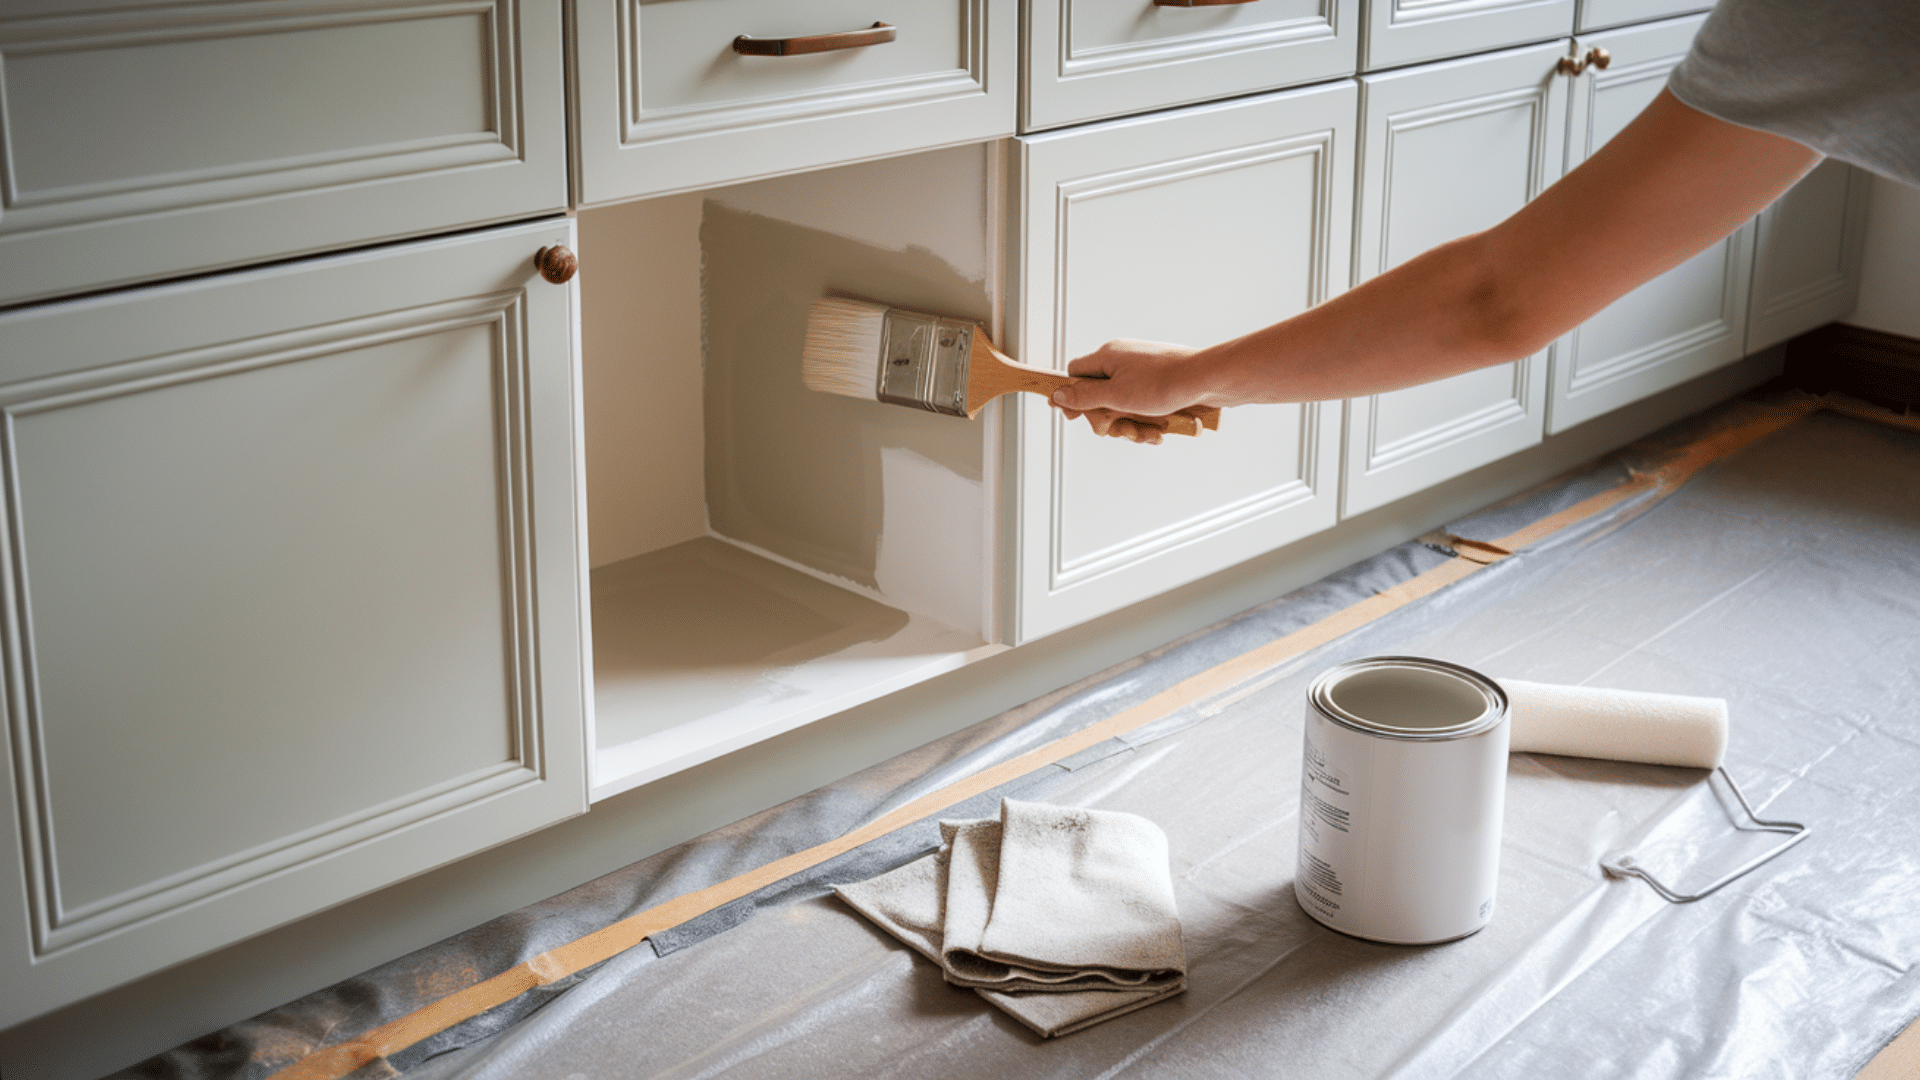
While doors and drawers are easier to paint when removed, you’ll need to paint the cabinet frames (boxes) in place.
Start with the inside edges and work your way outward. This prevents accidentally brushing against wet paint.
Use a high-quality angled brush for corners and edges, then a foam roller for flat surfaces. The foam roller leaves minimal texture.
Apply thin coats rather than one thick coat. Thin coats dry more evenly and are less likely to drip or sag.
Allow proper drying time between coats as specified on your paint can. Rushing this step leads to peeling and improper curing.
Sand lightly with very fine sandpaper (220+ grit) between coats, then wipe with a tack cloth to remove dust.
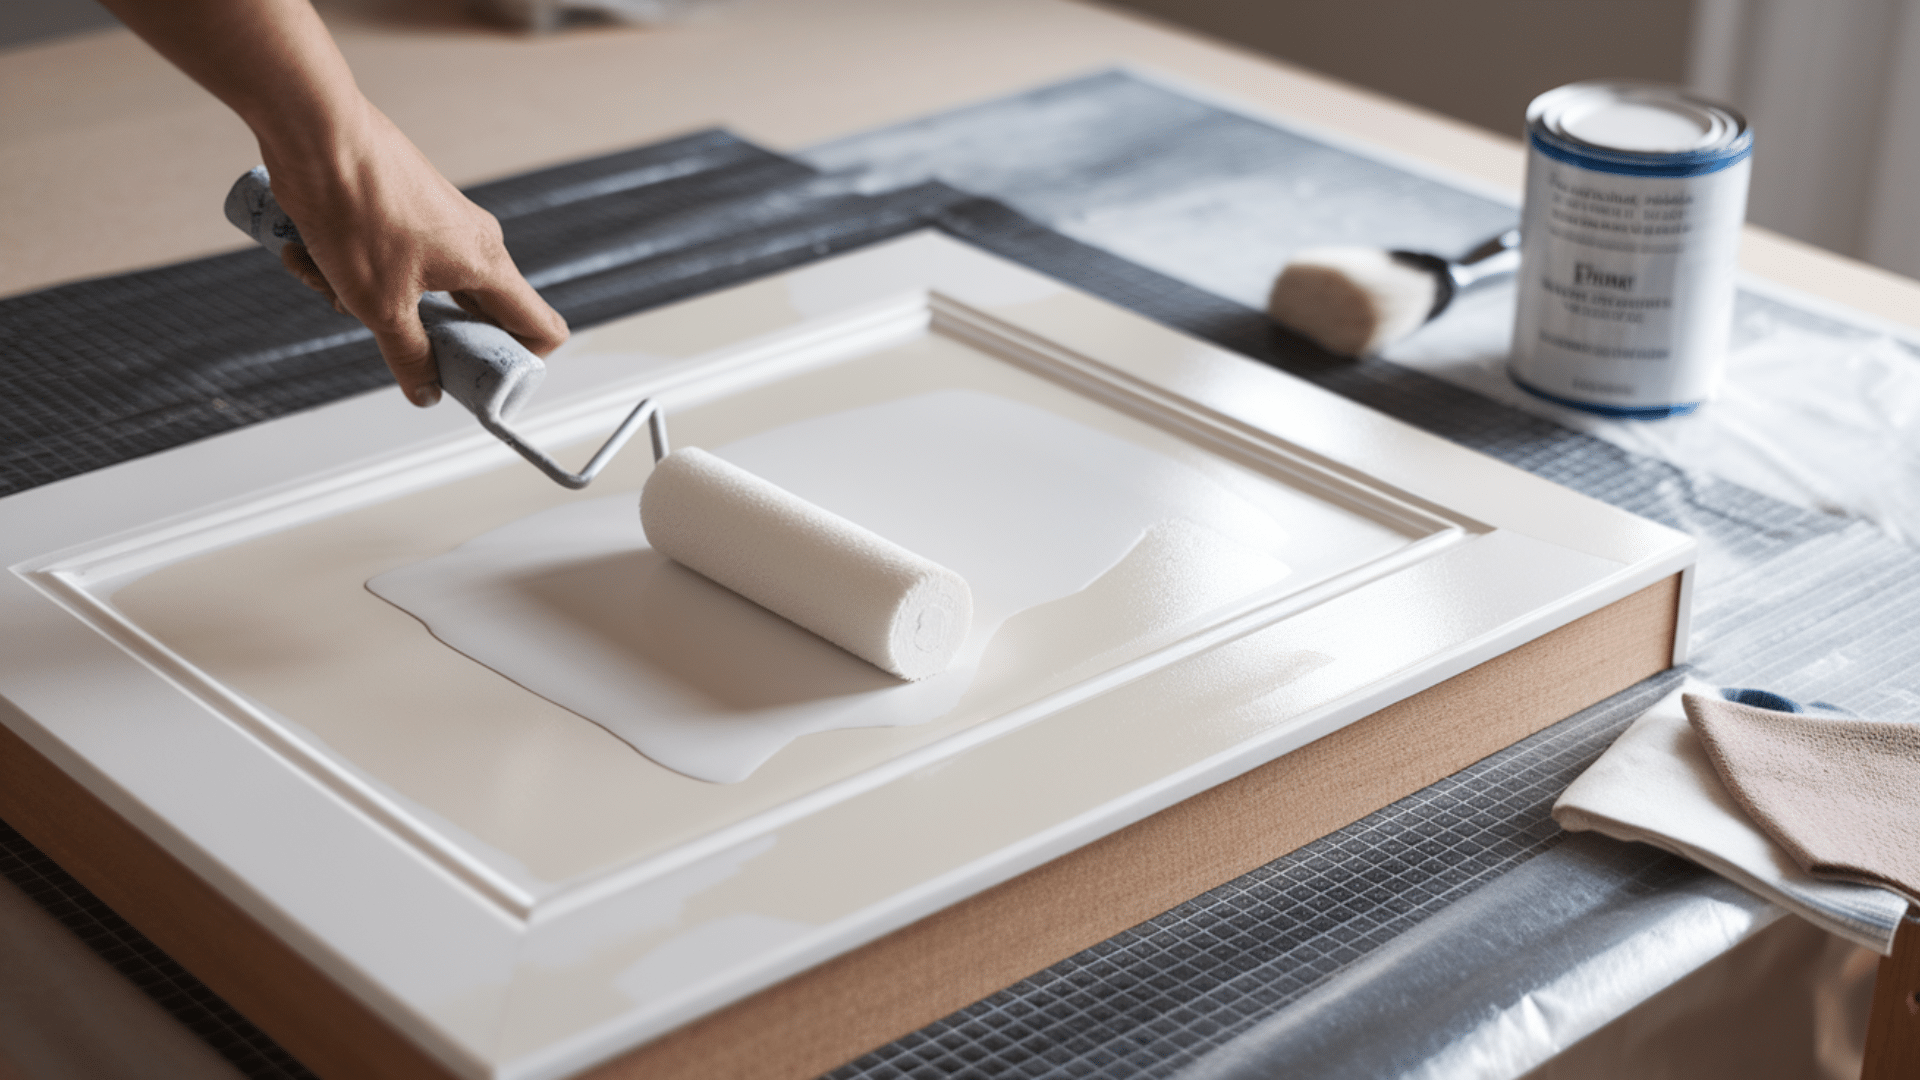
9. Paint Doors and Drawers

Set up doors and drawer fronts on your painting pyramids or blocks so all edges can be painted at once.
Start by painting the back side (inside) of doors first. This allows you to set them face-up to dry, which prevents dust from settling on the more visible front side.
When painting raised or recessed panel doors, paint the panels first, then the rails (horizontal pieces), and finally the stiles (vertical pieces).
Use long, smooth strokes in the direction of the wood grain. Avoid overworking the paint, which can cause brush marks and an uneven finish.
Apply 2-3 thin coats, allowing proper drying time between each. Light sanding with 220+ grit sandpaper between coats will give you the smoothest result.
For the smoothest finish possible, consider using a paint sprayer for doors and drawer fronts. This eliminates brush strokes entirely.
10. Apply Clear Topcoat (Optional)
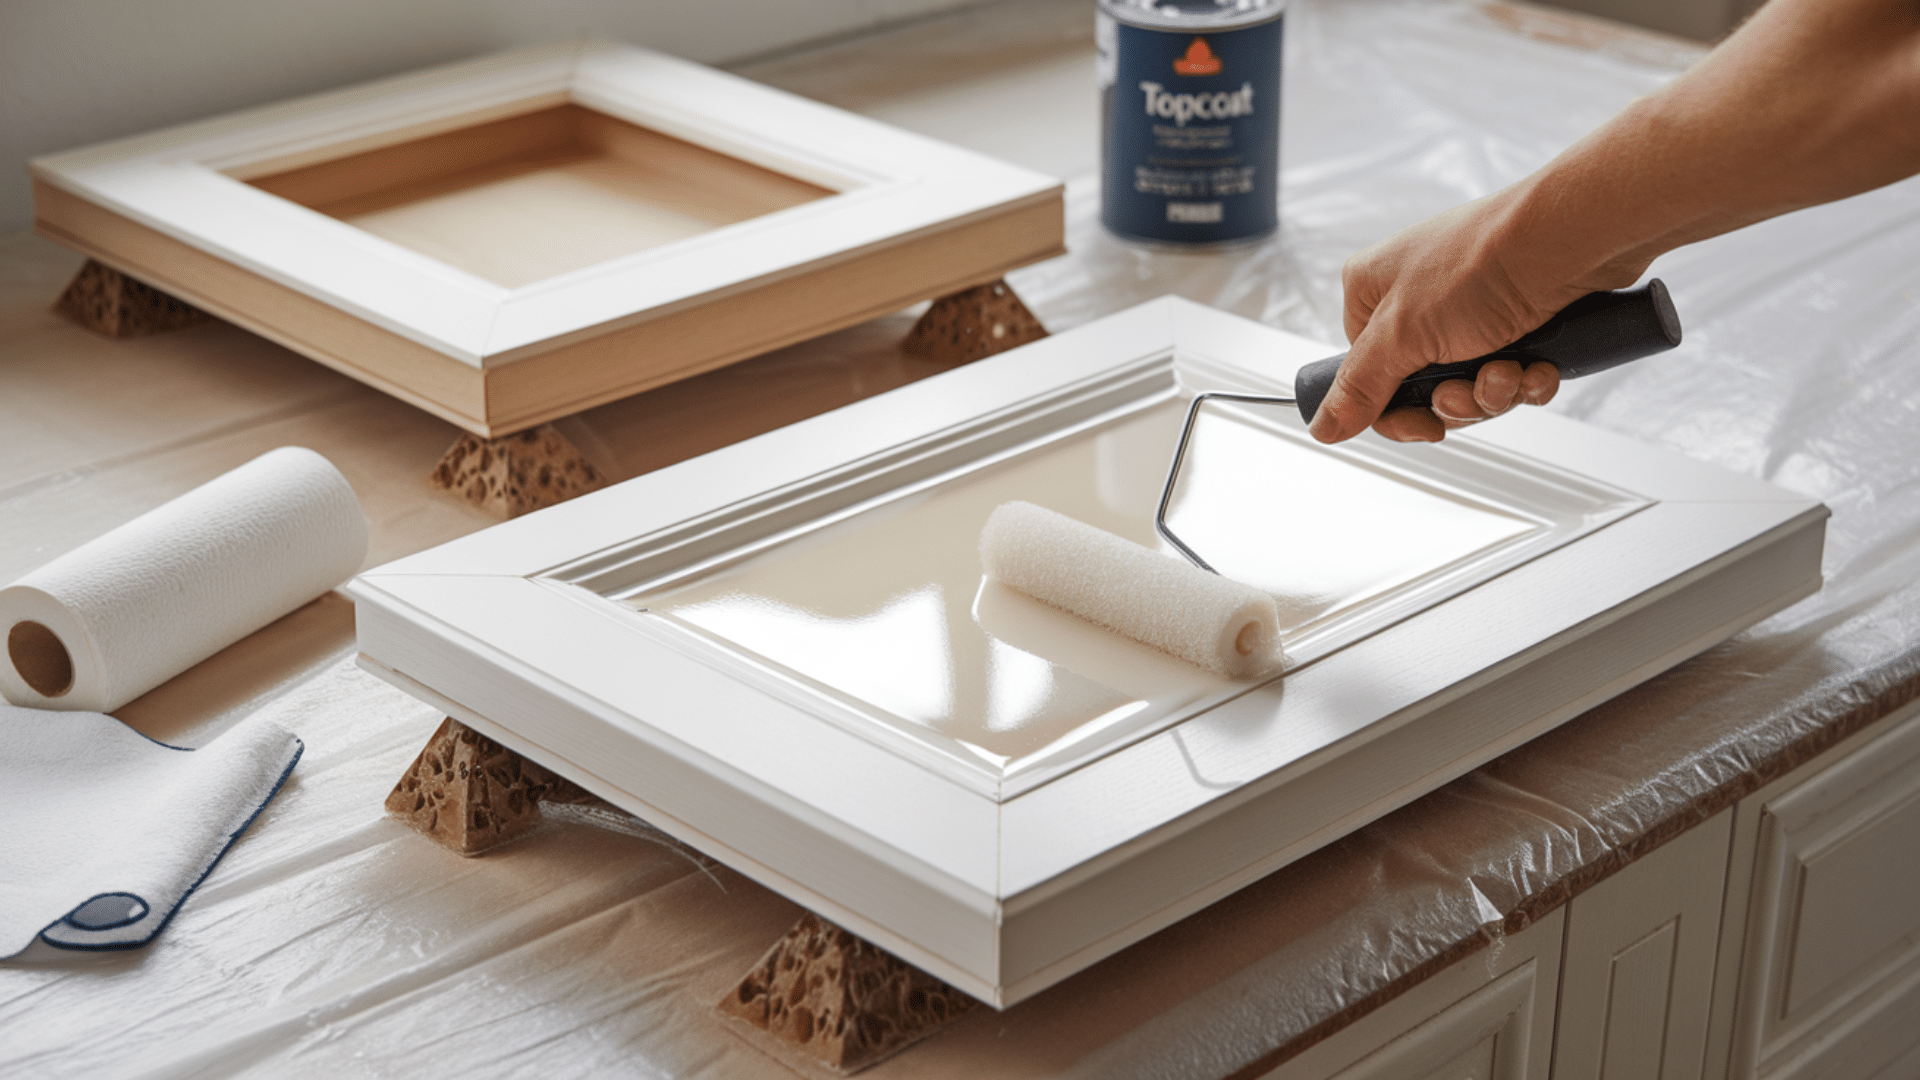
A clear topcoat adds extra protection, especially for high-use kitchens. This step is optional but recommended for long-term durability.
Choose a water-based polyurethane or polycrylic for most painted cabinets. These dry clear and resist yellowing over time.
Apply using the same technique as your paint—foam roller for flat surfaces and quality brush for details. Use thin coats and allow proper drying time between applications. Two coats are usually sufficient for good protection.
The topcoat might appear slightly milky when wet but will dry clear. Don’t panic if it looks cloudy during application. Sand very lightly with extra-fine sandpaper (320+ grit) between topcoat layers for the smoothest finish.
11. Reassemble Your Cabinets
Wait at least 24 hours after the final coat before handling painted pieces. For full curing, most paints need 3-7 days, so be gentle with your cabinets during this time.
Reattach doors to their original positions using your labeling system as a guide. Adjust hinges as needed to ensure proper alignment.
Replace drawer fronts if they were removed separately, then reinstall the complete drawers. Add bumper pads to the inside corners of doors to prevent them from slamming and to protect your new paint job.
Install all knobs and pulls. If you’re using new hardware that requires different hole positions, use a cabinet hardware template to ensure precise alignment.
12. Final Touches and Care Tips
Inspect all surfaces in good lighting for any missed spots or imperfections. Touch up as needed with a small artist’s brush. Wait at least 7 days before cleaning your newly painted cabinets. The paint needs time to fully cure and harden.
Clean painted cabinets regularly with a soft cloth and mild soap solution. Avoid abrasive cleaners or scrubbing pads that can damage the finish.
Keep a small amount of your paint for future touch-ups. Cabinet doors occasionally get chipped from normal use. Consider applying a fresh clear coat every few years in high-use areas to maintain protection and shine.
Maintenance Tips for Painted Cabinets
1. Clean with careand use a soft cloth with mild soap and water for routine cleaning. Avoid harsh chemicals, which can break down the paint over time.
2. Address spills immediately so don’t let liquids sit on painted surfaces, especially near the sink area where water exposure is common.
3. Use touch-up paint for chips. And keep your leftover paint in a small jar for quick repairs of any chips or scratches that occur.
4. Avoid excessive moisture and use the exhaust fan when cooking to reduce steam and grease buildup on your cabinets.
5. Prevent damage from hardware. Check that knobs and pulls remain tight, as loose hardware can cause extra wear on painted surfaces.
6. Consider refreshing high-use areas. Cabinet doors under the sink or near the trash might need more frequent touch-ups or maintenance.
7. Protect from heat damage. Ensure that your cabinets aren’t too close to heat sources like toasters or coffee makers, as excessive heat can damage the paint.
Conclusion
Painting your kitchen cabinets is definitely a project worth taking on. The transformation can make your whole kitchen feel brand new at a fraction of the cost of replacement.
The key to success is patience and preparation. Take your time with each step, especially the cleaning and sanding. These seemingly small details make the biggest difference in your final results.
Don’t rush the drying time between coats or before reassembly. A few extra days of inconvenience is worth years of beautiful, durable cabinets.
I’d love to see how your cabinet painting project turns out! Have questions about a specific step? Wondering which paint might work best for your situation?
Ask away in the comments below—I’m here to help you create a kitchen you’ll love showing off!