
Building a picture frame deck sounds tricky, but it doesn’t have to be. My guide will walk you through exactly how to frame your deck step by step.
Whether you’re a weekend DIY fan or a first-time builder, I’ve got the blueprint to turn your deck dreams into reality. What’s inside this article:
- Complete framing instructions
- Tools you’ll need
- Common mistakes to avoid
- Pro tips for a solid deck frame
I’ve helped dozens of homeowners tackle deck projects, and I understand the challenges you’re facing. Deck building can feel overwhelming, but with the right guidance, you can create a beautiful outdoor living space.
My approach is simple: break down complex tasks into easy-to-follow steps. I’ll show you how to frame your deck like a pro, without spending thousands on professional help.
Ready to build the deck of your dreams? Let’s get started!
What Is Picture Framing a Deck?
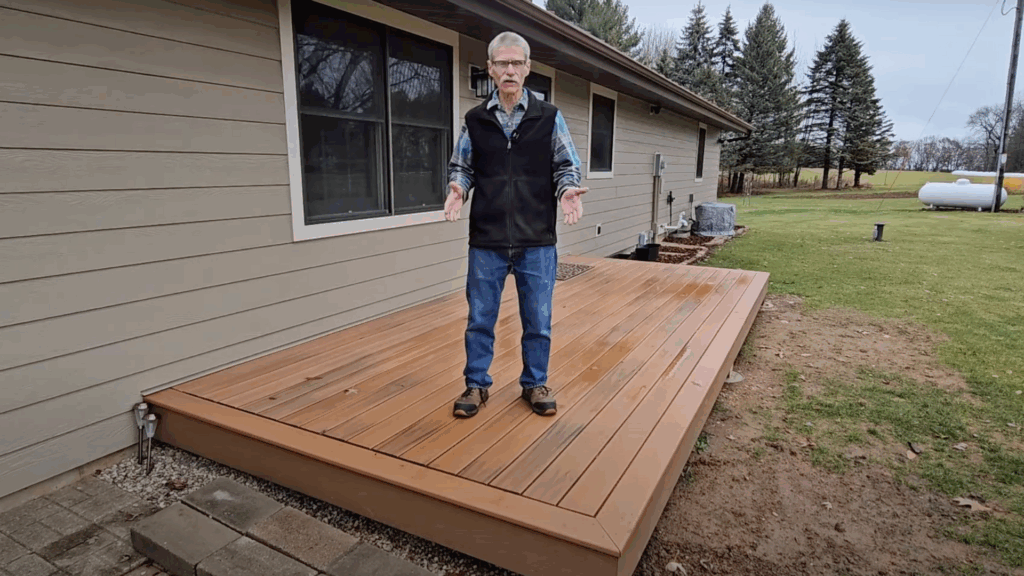
Picture framing a deck is like giving your outdoor space a custom picture frame. Imagine your deck with a beautiful border that makes it look clean and professional.
I first found this technique when my own backyard needed a serious upgrade. The concept is simple: you create a border around the deck’s edges that looks different from the main decking boards.
How It Works:
- Main deck boards run in one direction
- Border boards run perpendicular
- Creates a defined, finished look
- Adds visual interest to your deck
Think of it like a photo mat in a picture frame. The border draws your eye and makes everything look more intentional. It’s not just a deck; it’s a design statement.
The magic happens in the details. Those border boards aren’t just for looks. They actually help protect the deck’s edges and create a clean finishing touch.
Why do people love this method? It’s all about the wow factor. Your deck goes from basic to beautiful with just a few extra cuts and careful placement.
Not a woodworking expert? No worries. This technique is surprisingly simple. With some patience and basic tools, you can change your outdoor space.
Pro Tip: Each deck tells a story. Your picture frame design can make that story more interesting.
What Tools Will You Need
Below is the list of tools you will need to picture frame a deck.
- Tape Measure
- Circular Saw
- Miter Saw
- Shovel
- Hammer
- Deck Screws
- Fasteners
- Saws
- Chalk
- Safety Glasses
- Safety Googles
- Joist Hangers
How to Picture Frame a Deck?
Learn the art of creating a beautiful deck with a professional-looking picture frame border. This method adds style and value to your outdoor space, making your deck stand out from the rest.
Follow this easy process to picture frame a deck and get a cleaner look for your deck.
Step 1: Measure the Width and Length of the Deck
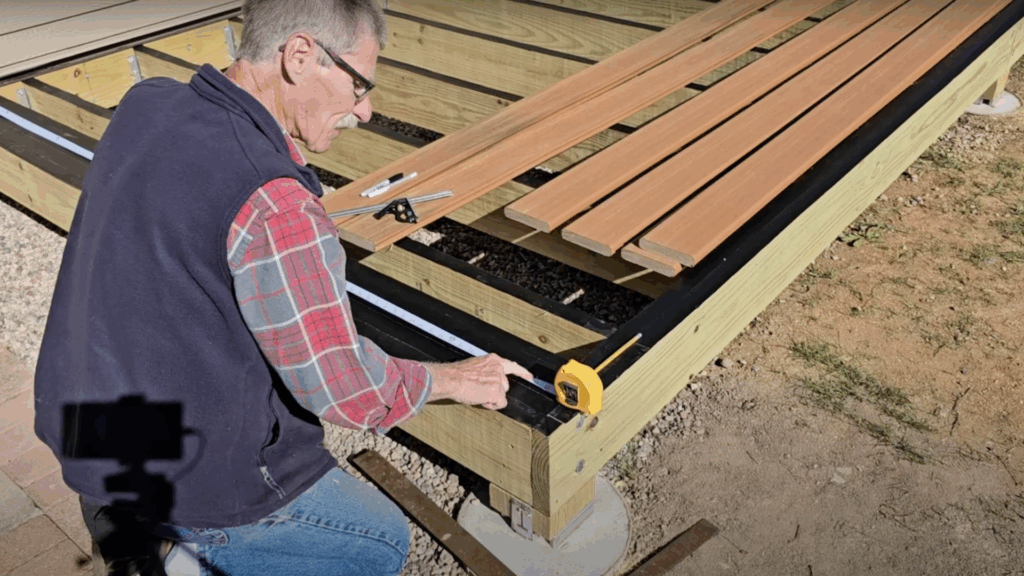
So, the first step to picture frame the deck is to measure the width and length of the deck. Measure it with the tape measure and mark all the points on the deck with the chalk.
Whatever the width and length are, you have to take 1 inch less than the actual length to get a good 45-degree angle around the deck for a clean look. After this, measure all the other sides of the deck, so you can cut it all at once
Step 2: Add Extra Support
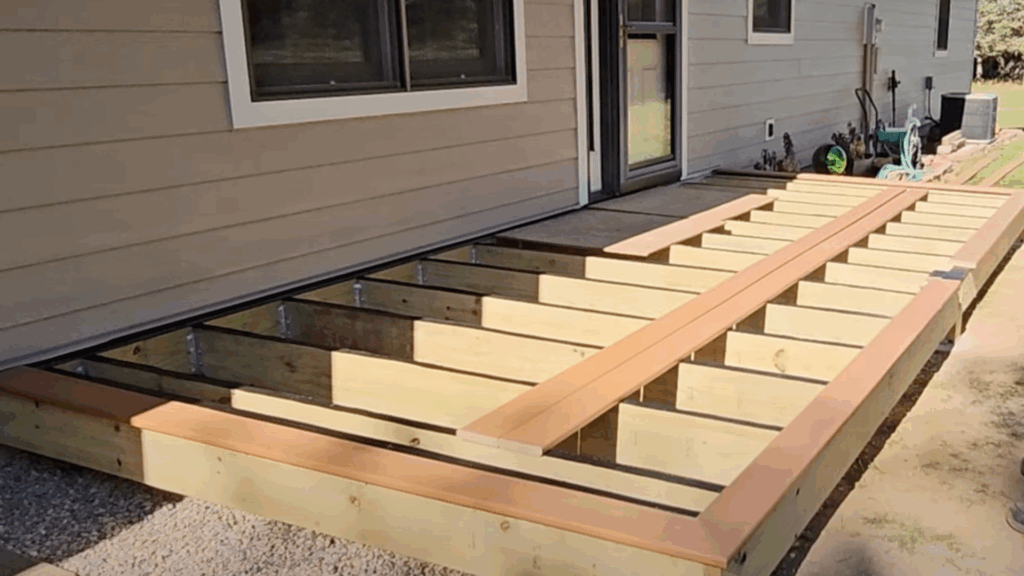
In the next step, try to add extra support to the picture frame around your deck, as this area is more sensitive compared to the area between the deck.
Also provide some support to boards that have to to filled inside the frame of the deck. This support will make your deck stronger and increase its life.
Step 3: Cut the Frames
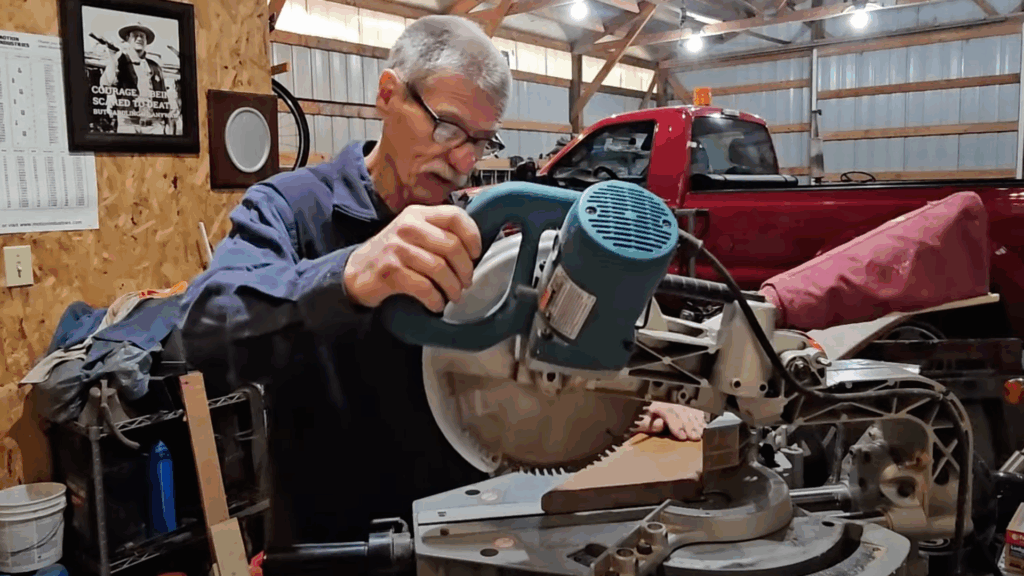
The most important step for the construction of a picture frame deck is the cutting part. Here you have to be sure about your measurements as it can lead waste of material if wrongly cut.
So be double sure that all your measurements are correct. Now, cut your frame material with the circular saw to get a clean look.
Additionally, cut your frame material diagonally at a 45-degree angle. Do not give it a straight cut as that will make a V-shaped gap along the corners of the deck, which doesn’t look nice.
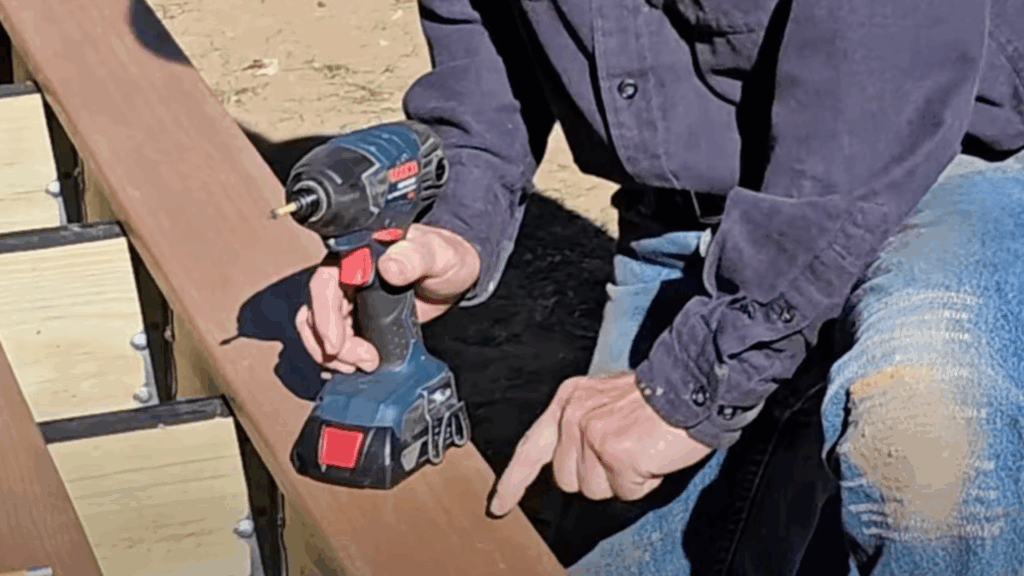
Step 4: Installing the Frame
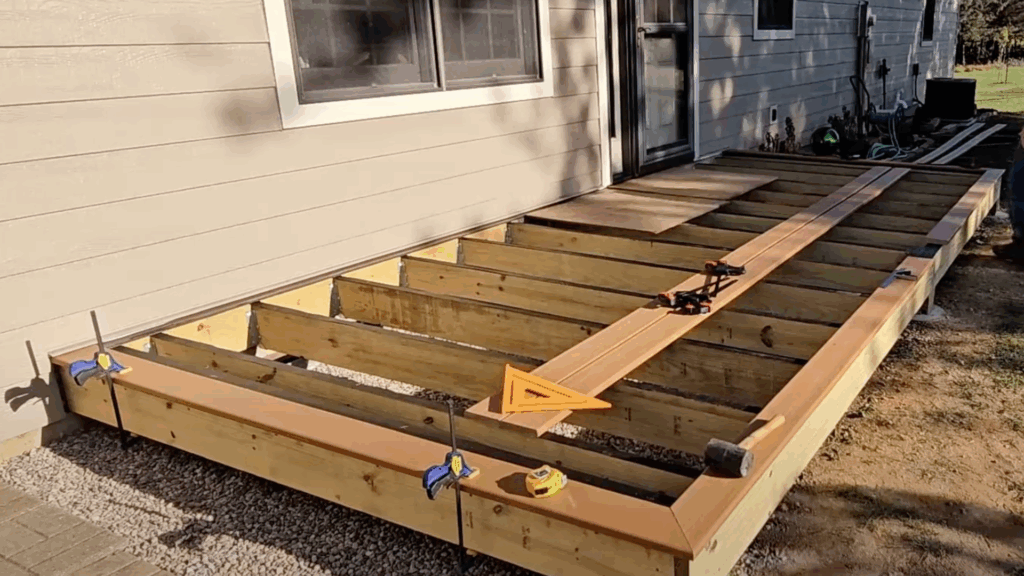
After cutting down your frame, now comes the installation part of the frame around the deck. Here ,you have to ensure that your frame is 1/2 or 1 inch outside the deck for better stability and look, according to your needs.
Install the frame in a deck with the help of a nail gun and hammer for a proper and clean look of the frame around the deck.
Step 5: Fill the inner part
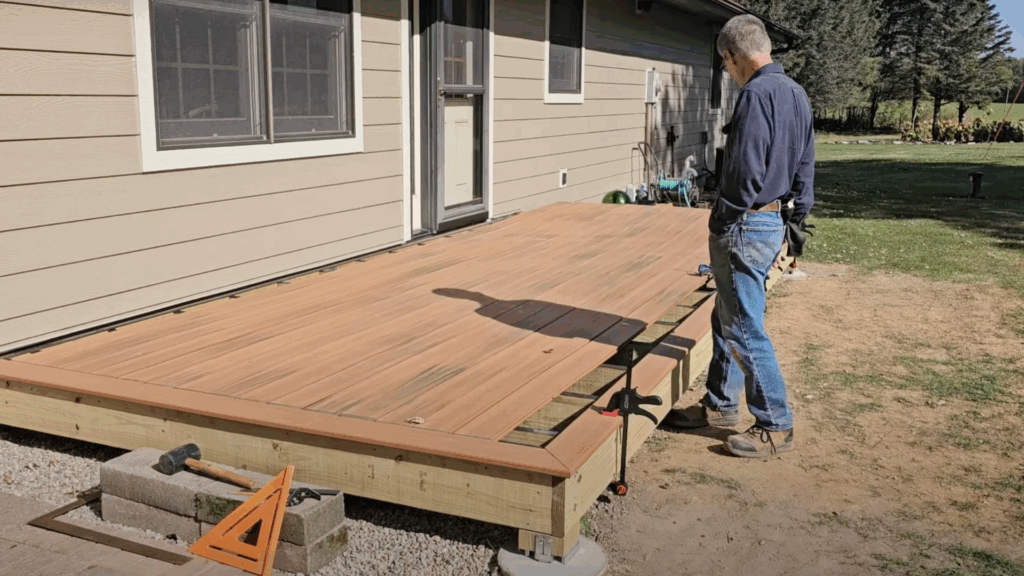
Right after you have installed the frame around the deck, fill the inner part of the frame with the board. During this installation, try to give a slight gap between the inner board and also from the frame of the board.
As this would ensure that whatever dirt or water comes on the deck will spill off the deck from those gaps, which will help keep your deck clean and tidy.
Step 6: Final Touch
Now, after the frame installation and inner filling, check for the final touch, as everything is alright, that is, all the gaps are properly equal and all the nails are properly fitted.
If required, you can trim the picture frame for a more detailed look, and if you are using wood as your deck, you can use oil paint to paint the deck to make it more attractive.
Also, if you want to see how it is done, you can watch this video at @New Venture New Day on YouTube for complete and detailed visual steps.
Best Deck Material for Picture Framing
And this is the hardest part for picture framing a deck: choosing the right deck material. Choosing the right material for the deck completely depends on the weather conditions in your area and also on your defined budget for the deck.
Wood picture framing your deck provides a clean and classic look for your deck, but using wood for the deck requires regular maintenance.
And if you have a tropical climate, wood decking is prone to decay of wood and can also have problems from insects like termites.
Composite picture framing your deck is a little over budget as compared to wood, but it is very sustainable and can work for years once used. It is not affected by climatic conditions or insects and is also a good option for picture framing.
Along with wood and composite picture framing, PVC decking is also a very good option, as it is very cheap compared to wood and composite materials.
PVC provides good performance and also low maintenance, and it is safe from tropical climate conditions and insects as well.
So, choosing the picture framing material totally depends on you. Now let’s quickly know what tools you would be requiring for the picture framing of your deck.
Conclusion
I’ve been in your shoes. Building a deck seemed impossible until I learned the right techniques. Now, I want to help you succeed.
Remember, every great project starts with a single step. Your picture frame deck isn’t just about wood and nails. It’s about creating a space where memories happen.
Quick wins to get started:
- Gather your tools
- Review the steps one more time
- Measure twice, cut once
The best thing about picturing the frame of your deck is that you can choose your own material and colors that will make your deck and the outside of your house more attractive.
Your backyard is waiting. Your skills are stronger than you think. Take a deep breath, trust the process, and start building.