
Is your picnic table looking worn out, faded, or just not as nice as it once was? Maybe the wood feels rough or the old stain is peeling off.
Don’t worry, you don’t need to toss it or spend money on a new one. With a little time and the right steps, you can make it look fresh again.
In this guide, I’ll show you how to stain your picnic table the easy way. You’ll learn how to sand, clean, and stain it step by step.
No fancy tools or experience needed, just some basic supplies and a little patience.
I’ll cover everything you need to know, including how to resolve common issues and extend the finish’s lifespan.
If you searched for how to stain a picnic table, you’re in the right place. Let’s get started!
Tools You’ll Need

Before you begin, make sure you have all your supplies ready. This makes the job easier and helps things go smoothly.
- Sandpaper: Start with a rough grit (like 80 or 120) to remove old finishes, then use 220 grit to smooth the wood before staining.
- Pressure washer: Helps blast away dirt, old stains, and dust from the wood.
- Wood cleaner: A special cleaner that helps remove deep-down dirt and grime.
- Clean rags or towels: Use these to wipe off dust and extra stains.
- Outdoor wood stain: Choose a stain specifically designed for outdoor furniture to withstand sun, rain, and various weather conditions.
- Brush, roller, or rag: Use whichever you prefer to apply the stain. Brushes work great for edges and corners.
Once you’ve got your tools ready, it’s time to start!
Step-by-Step Picnic Table Staining Process
Now that you have everything ready, it’s time to get started. Follow these simple steps to clean, smooth, and stain your picnic table the right way.
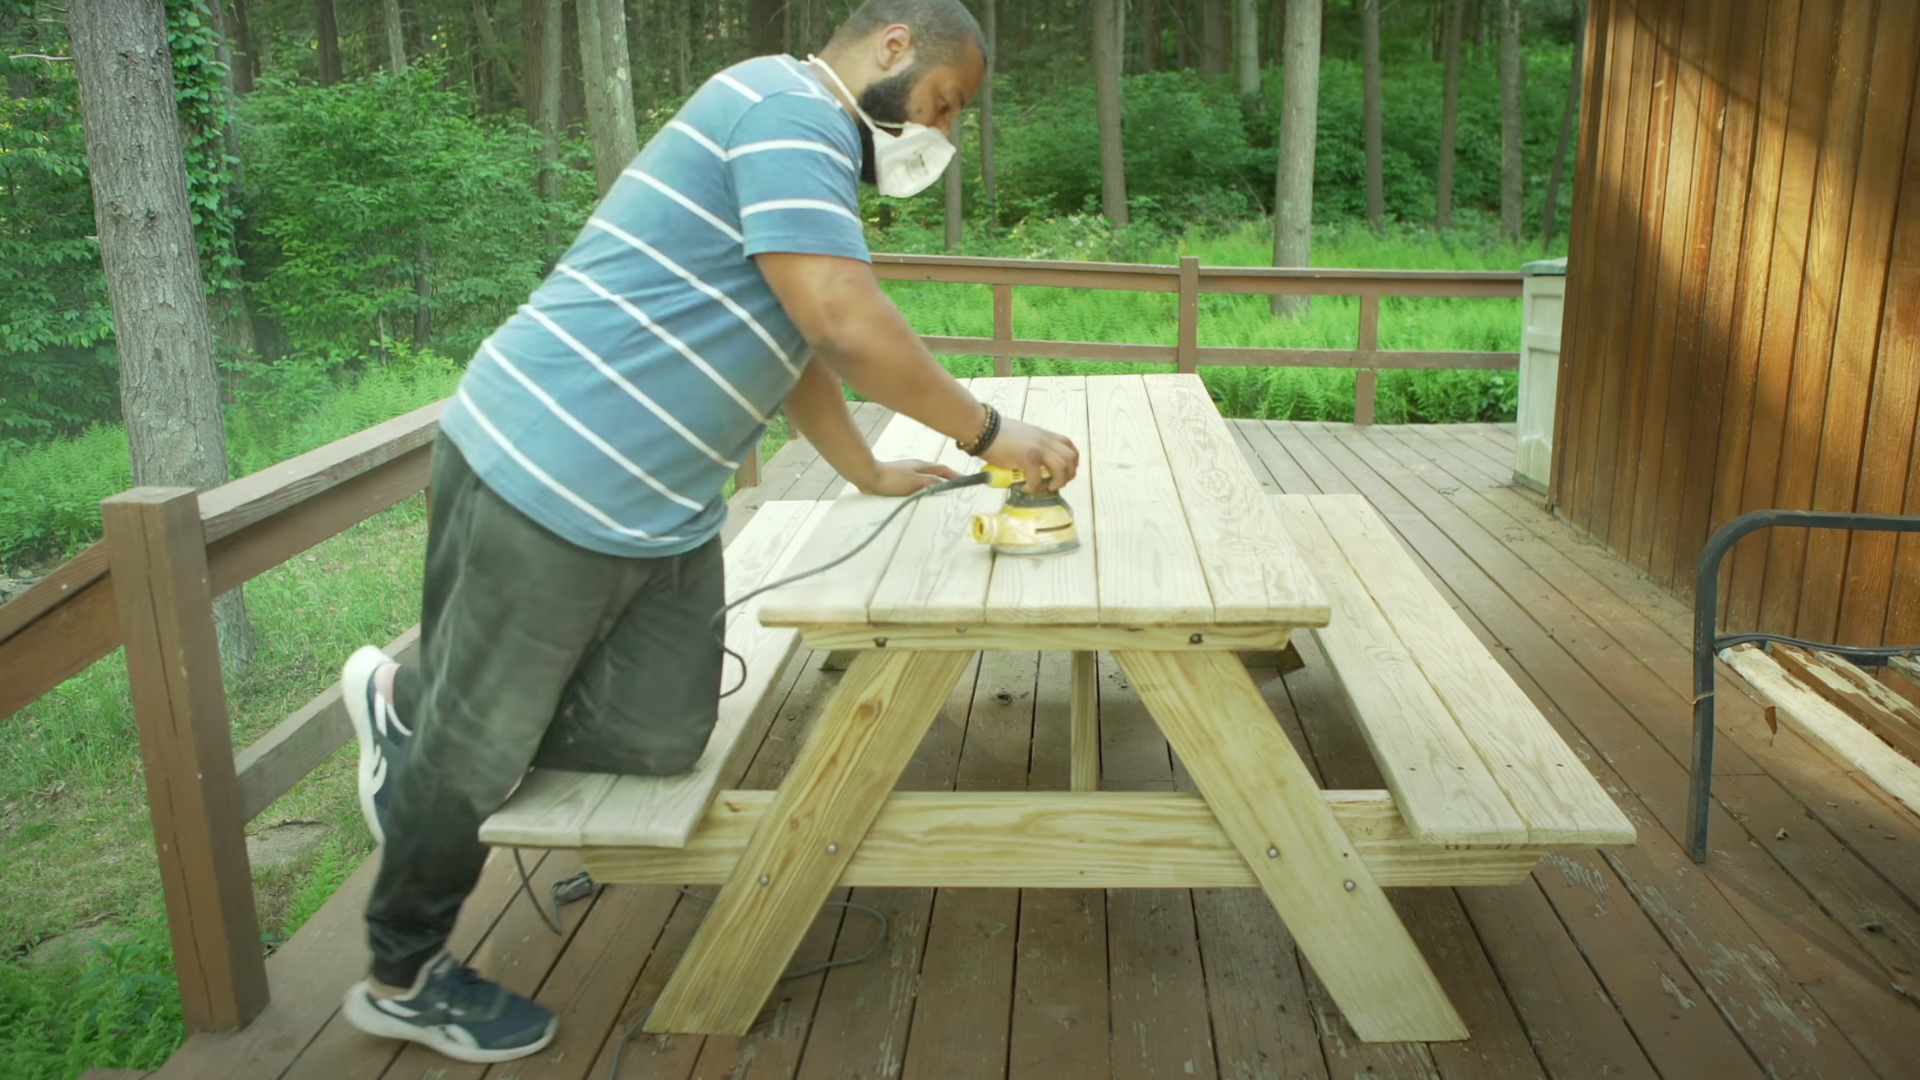
Step 1: Sanding
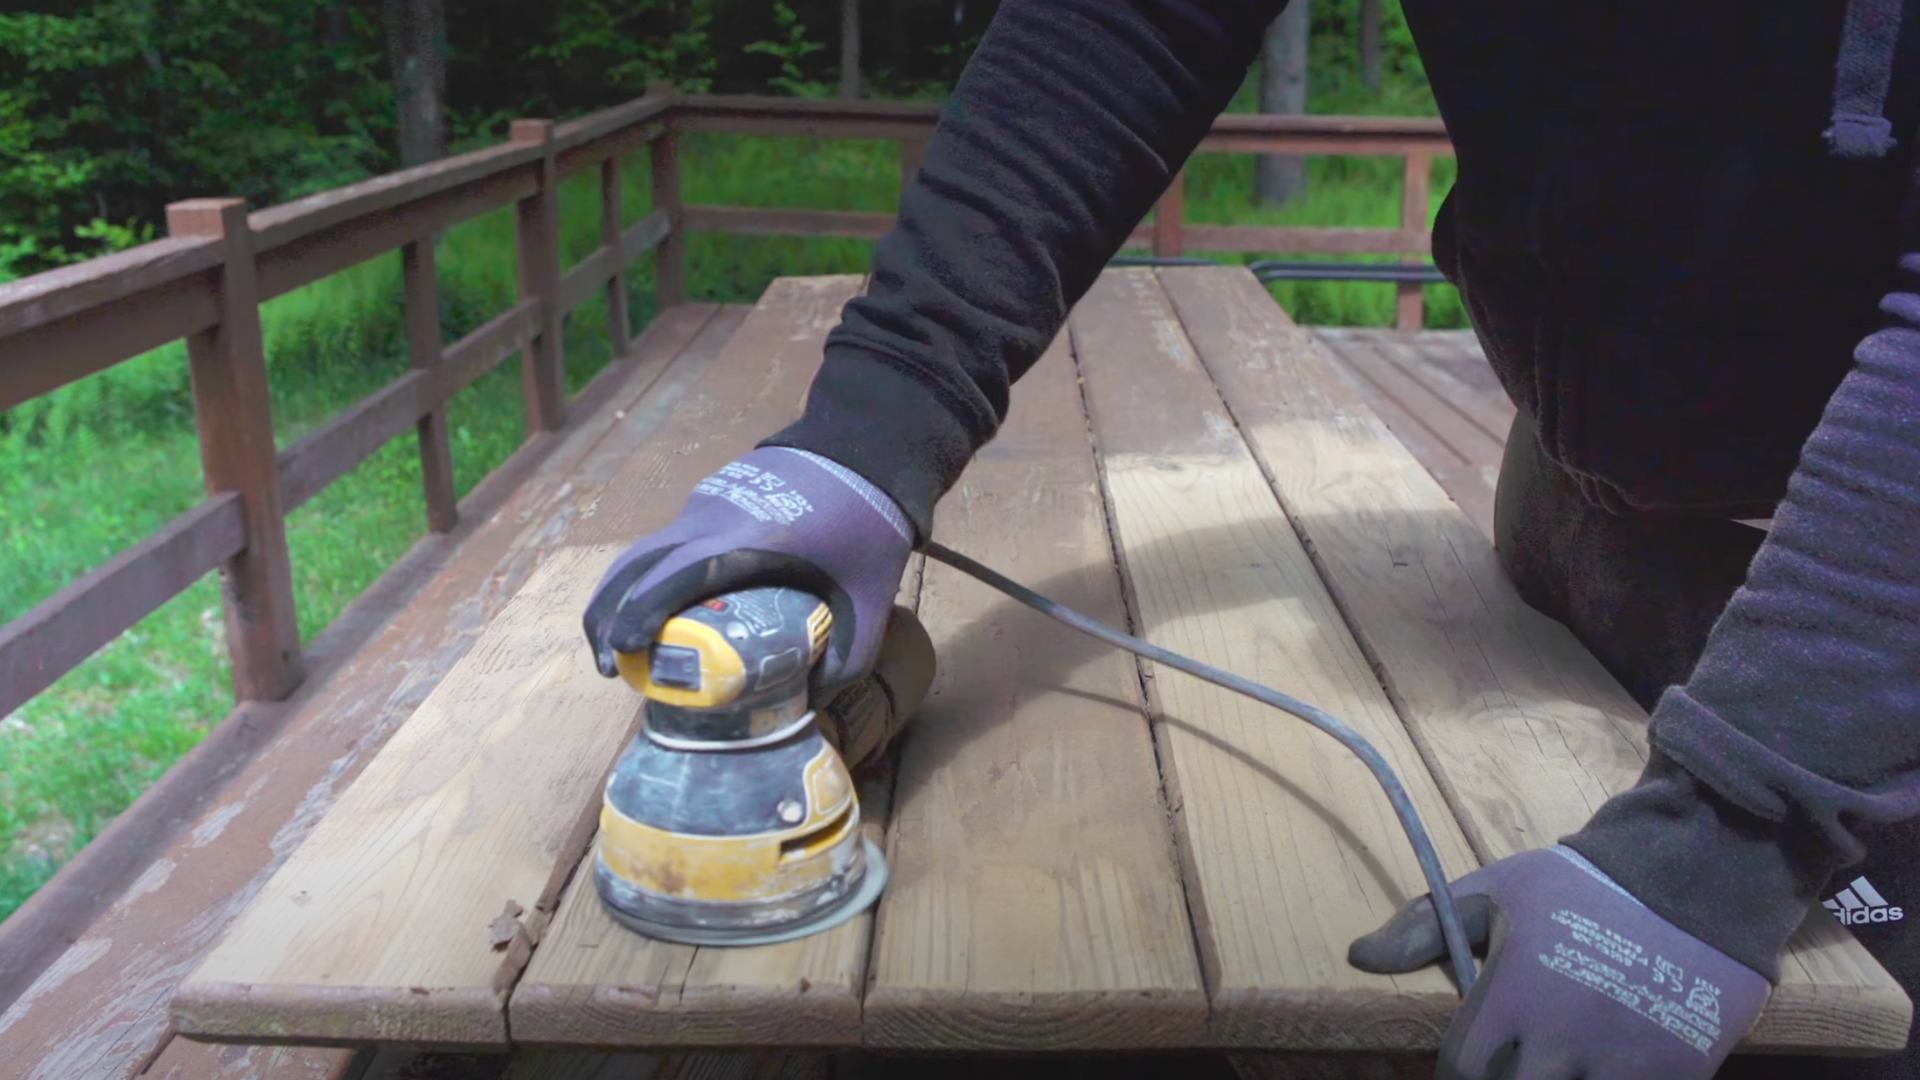
The first thing you need to do is sand your picnic table. Sanding helps remove any old paint, stain, or rough spots. Start with coarse sandpaper.
This kind of sandpaper helps smooth out rough wood and gets rid of anything left on the surface.
Always sand in the same direction as the wood grain so you don’t scratch the surface. When you’re finished, brush off the dust or wipe it down with a dry rag.
Don’t skip this step; sanding helps the stain soak into the wood and look better.
Step 2: Pressure Wash the Table
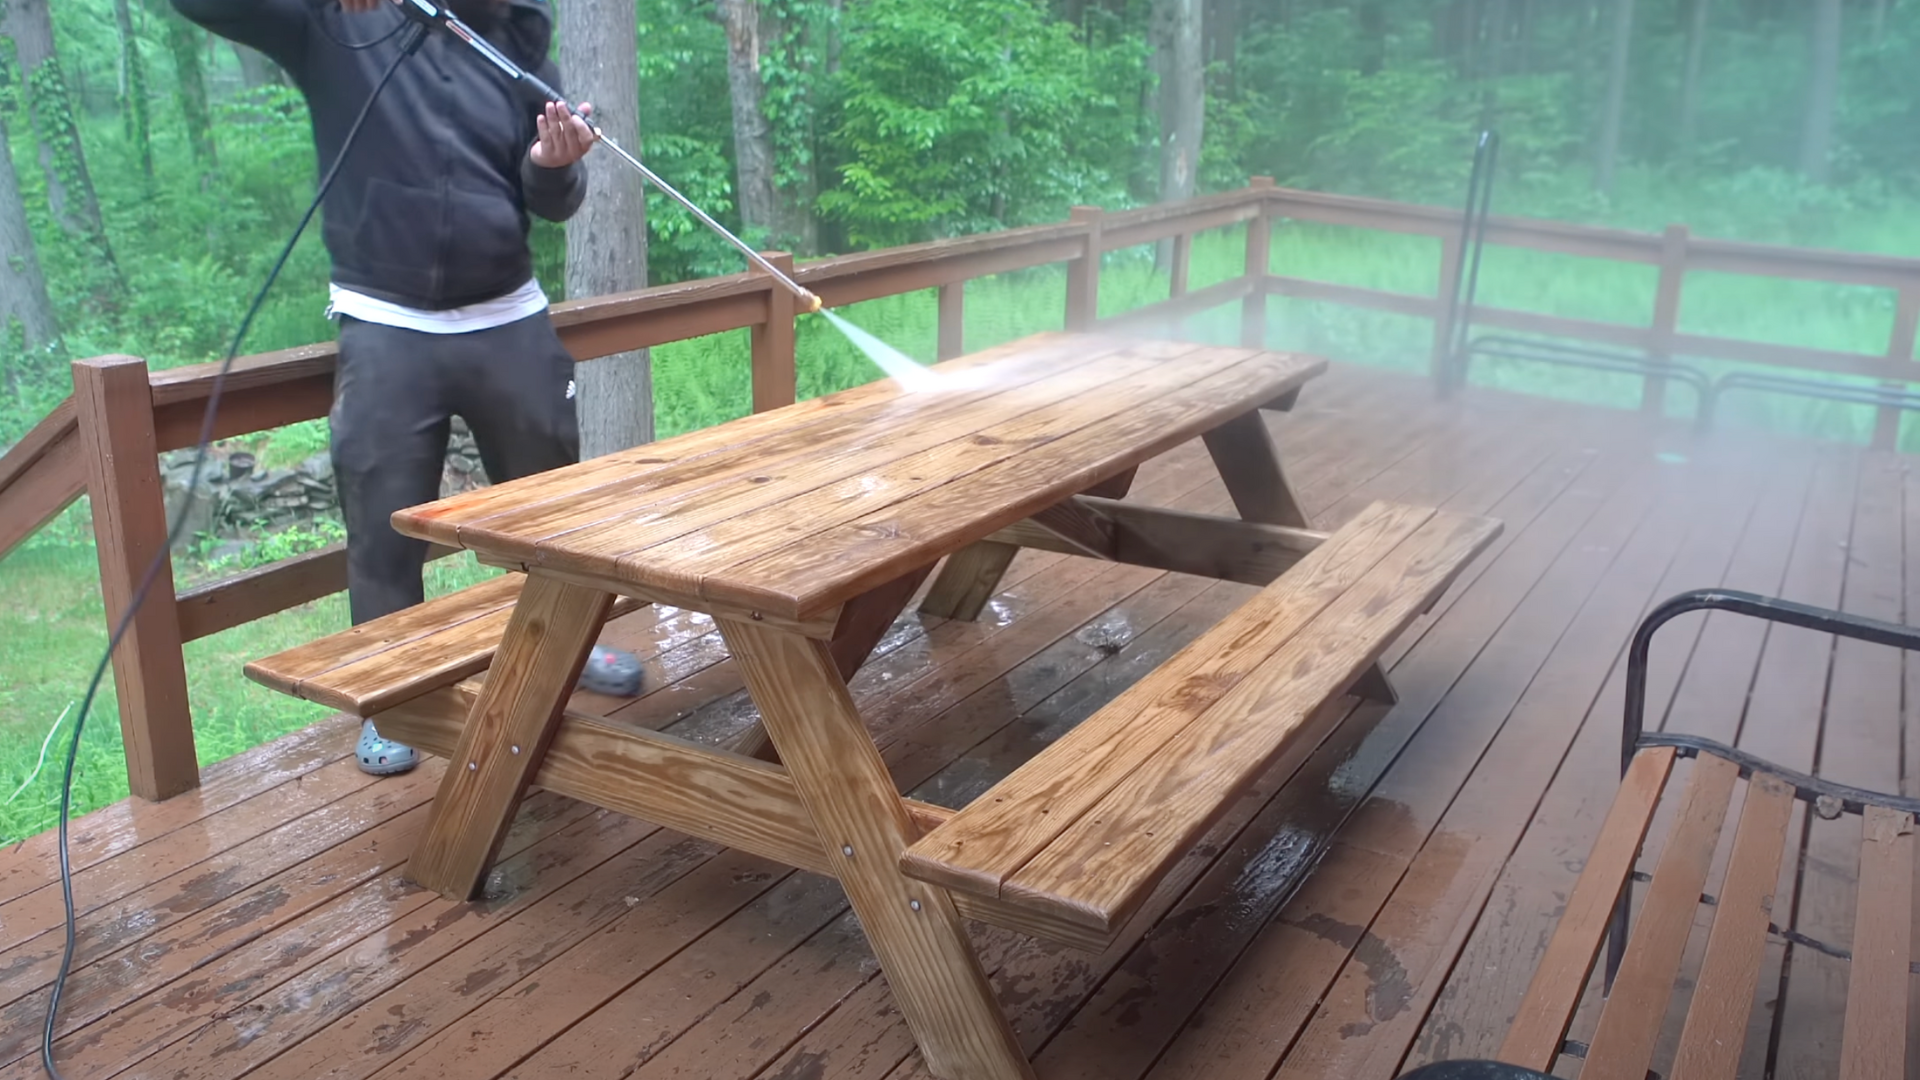
Now that your table is sanded, it’s time to give it a good wash. Use a pressure washer to spray off all the dust, dirt, and anything else stuck to the surface.
Make sure to spray every part of the table-even the legs and sides. This deep cleaning helps remove old stains or grime you couldn’t get with just sanding.
Be gentle so you don’t damage the wood, and hold the washer at a safe distance.
Once you’re done, let the table dry completely. Wet wood won’t hold stain well, so this part is really important.
Step 3: Apply Wood Cleaning Fluid
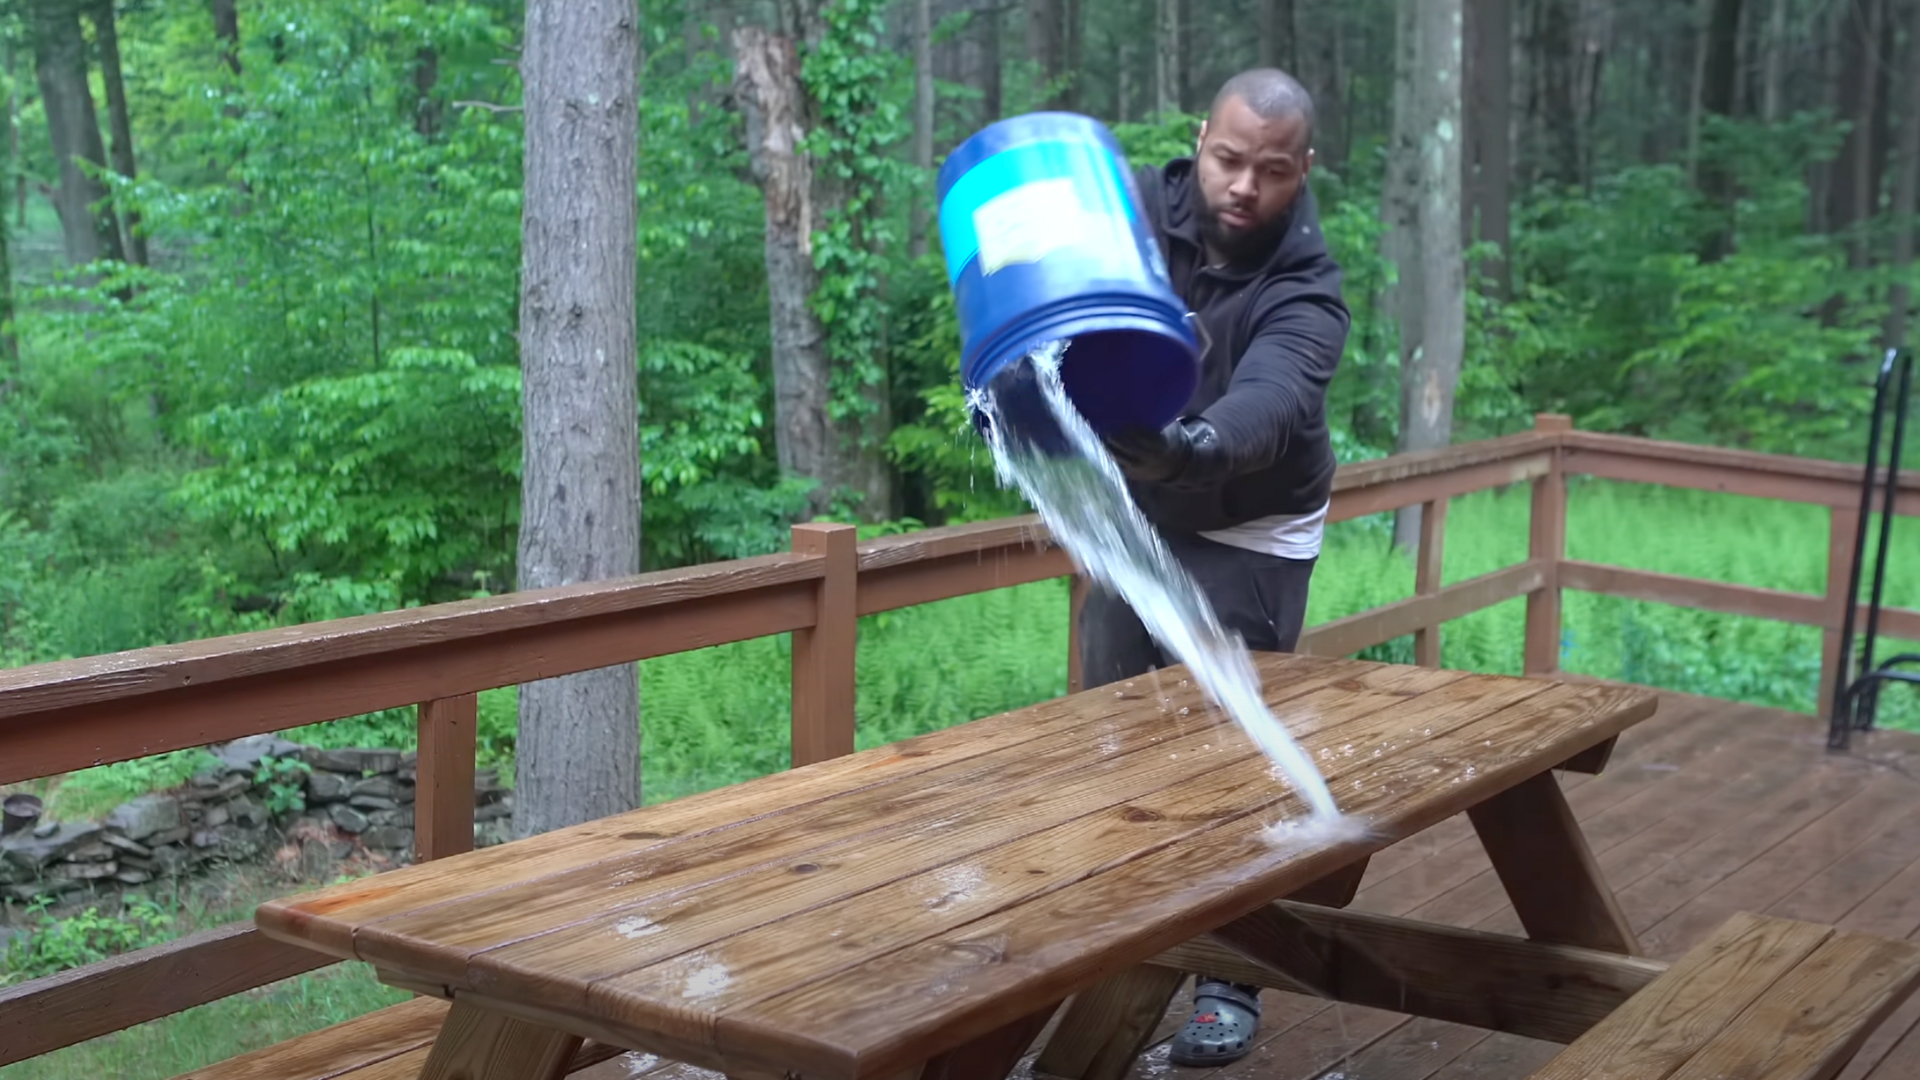
After the table is dry, use a wood cleaning fluid for a deeper clean. Mix the cleaner according to the instructions on the label.
Then, use a brush, sponge, or rag to spread the mixture evenly over the table. Try to cover every part of the wood. Let it sit for about 10 minutes so it can break down any hidden dirt or stains.
This step helps your table look cleaner and ensures the stain will apply evenly later.
Once the cleaner has done its job, you’ll rinse it off in the next step.
Step 4: Second Pressure Wash
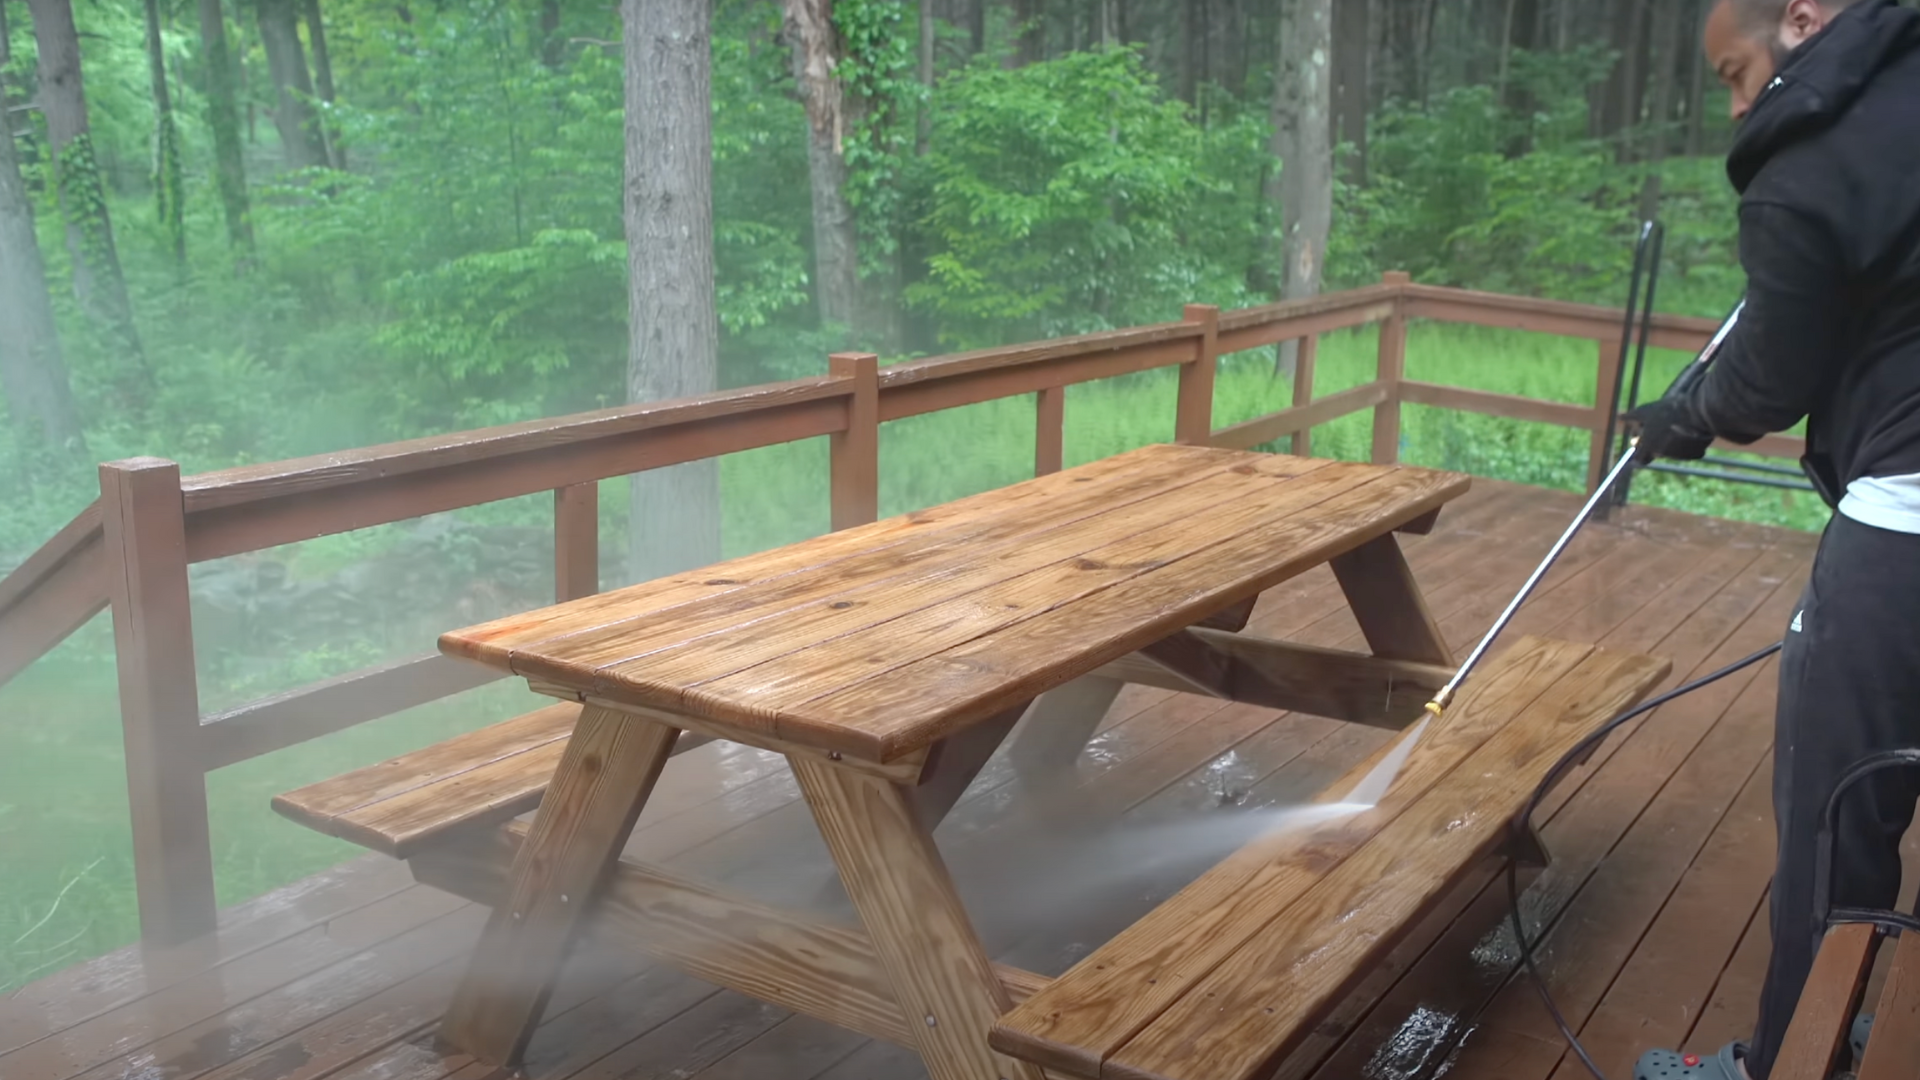
Now it’s time to rinse off the wood cleaner. Use your pressure washer again to wash the entire table. This removes the cleaner and any dirt or gunk that came loose.
Be sure to rinse everything, including the sides and underneath. If you leave any cleaner behind, it could cause the stain to spread.
Once you’ve rinsed it well, let the table dry completely again. This may take several hours, or even overnight, depending on the weather conditions.
The wood should look fresh and clean, and now it’s ready for one last sanding.
Step 5: Final Sanding
After the table is dry, give it one more sanding- but this time, use fine 220-grit sandpaper. This smooths the wood and helps the stain absorb more evenly.
Focus on any rough spots or areas that feel uneven. Ensure that you sand with the wood grain, not against it.
When you’re done, wipe the entire table with a clean rag to remove dust.
This step may feel small, but it makes a big difference. A smooth surface helps the stain go on evenly and gives your table a nice, clean finish.
Step 6: Apply the Wood Stain
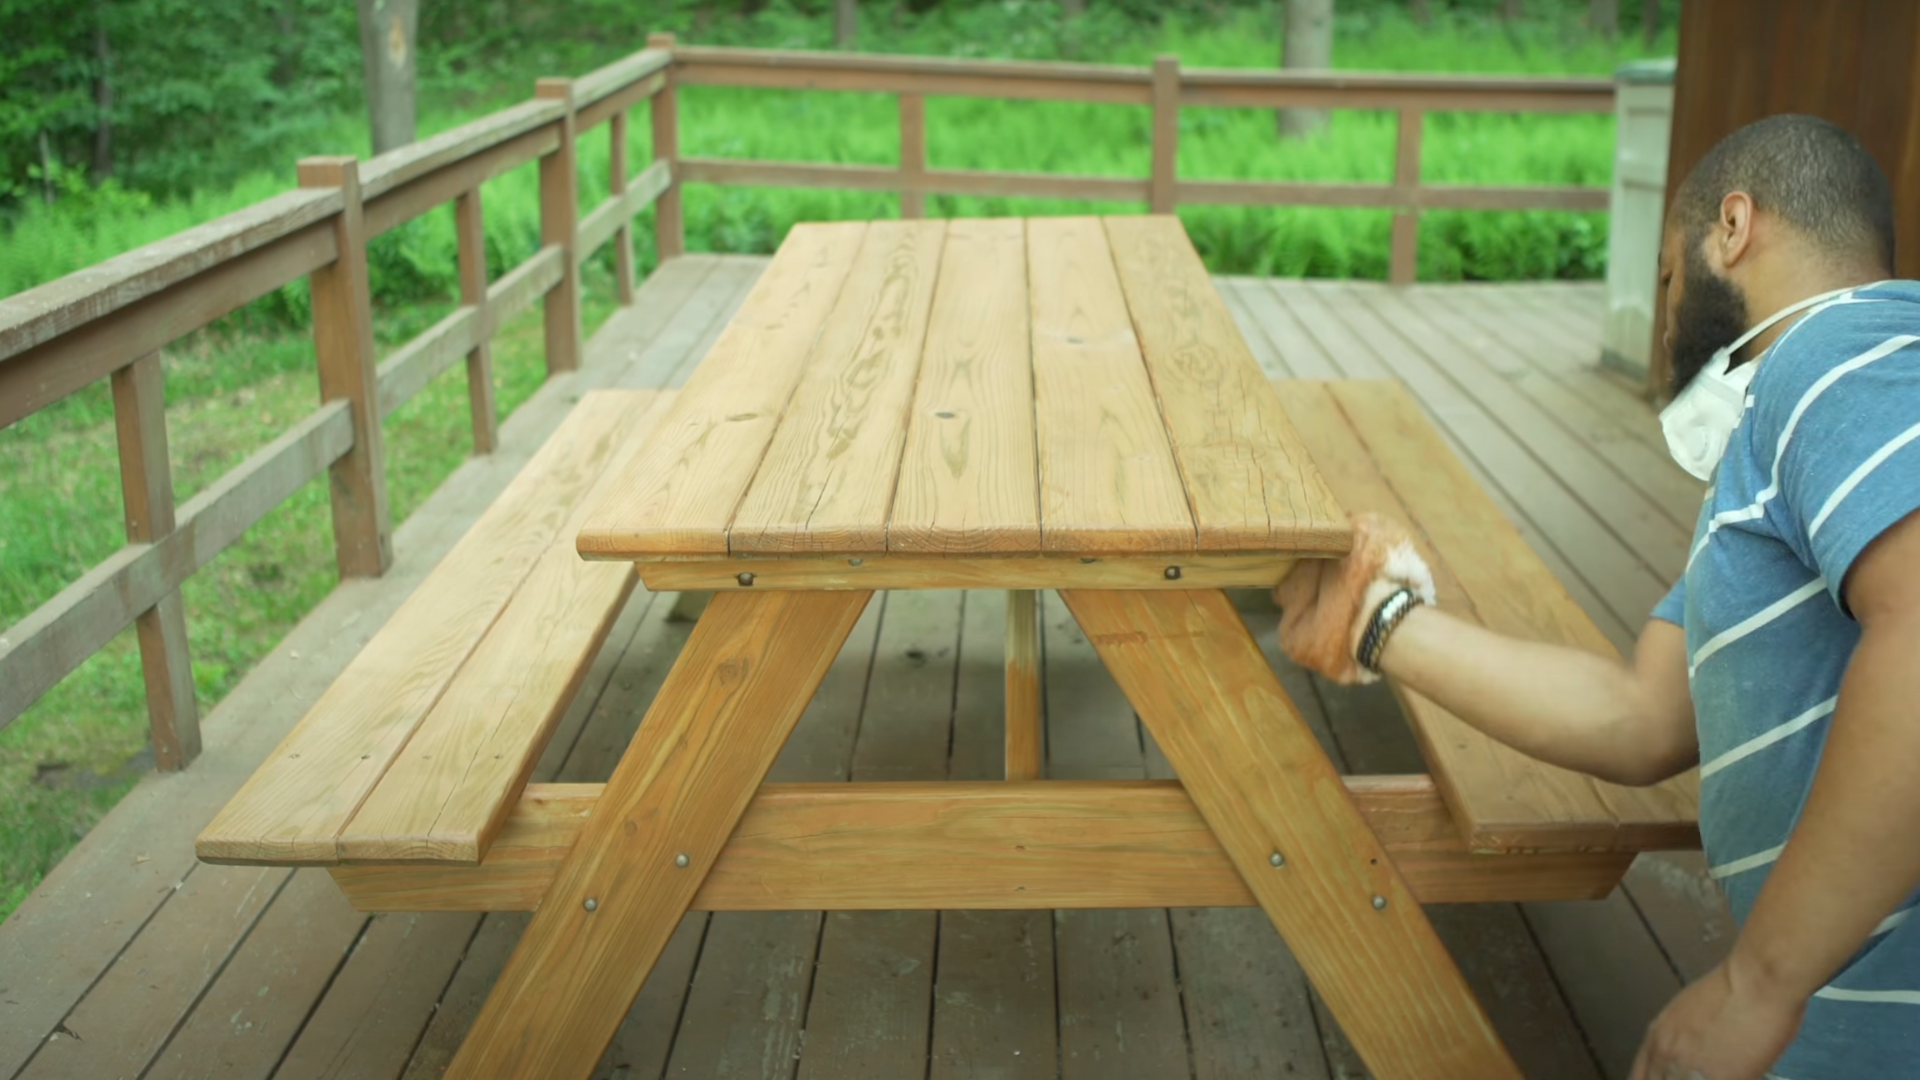
Now your table is ready for stain! Select an outdoor wood stain that offers protection against the sun and rain.
Use a brush, rag, or roller to apply the stain, working in small sections. Always go with the wood grain. Let the stain sit for a few minutes so the wood can absorb it.
Then, wipe off any extra stain with a clean cloth. If you want a darker color, wait for it to dry and add a second coat.
Let the stain dry completely-usually 24 to 48 hours-before using the table again.
Want to see how it’s done in real time? Watch this helpful video by @Jean Cast on YouTube to follow along with the steps and get a better idea yourself.
Tips for Best Results
Before you grab your brush and start staining, take a moment to set yourself up for success. These quick tips will help make the job easier and give your table a smoother, longer-lasting finish.
- Check the weather first: Stain doesn’t do well in extreme heat, cold, or humidity. Aim for a dry, mild day.
- Work in the shade: Direct sunlight can make the stain dry too quickly, leading to uneven color.
- Test the color: Try the stain on a small, inconspicuous spot to ensure you like the final look.
- Don’t rush: Hurrying leads to drips, streaks, or missed patches. Slow and steady wins here.
- Let it dry fully: Each coat, prep, stain, or seal needs time to dry before moving on to the next step.
With just a little patience and prep, your finished piece will be something to admire for years to come.
How Long Will the Finish Last?
Once you’ve stained your picnic table, you’ll want to know how long it’ll last looking nice. In most cases, a good stain job can last anywhere from 1 to 3 years.
It really depends on where your table sits and how much weather it gets. If your table is out in the sun and rain all the time, you may need to re-stain it every year or two.
If it’s on a porch or covered area, it might last longer.
Keep an eye on the color. If it starts to fade, peel, or look dry, it’s probably time to freshen it up.
Another good way to check is by sprinkling water on if the water soaks in instead of beading up, the stain is wearing off.
Doing a quick touch-up now and then can keep your table looking great and help the wood last for many more seasons.
Conclusion
Staining your picnic table might seem like a big job, but it’s really not hard when you take it one step at a time.
With a little sanding, cleaning, and staining, you can turn an old, weathered table into something that looks brand new.
You can trust that these steps actually work. They’re based on real experience and made for real people like you who want their outdoor space to look and feel better.
No fancy skills needed, just a bit of time and effort.
If you follow the steps and take care of your table over time, it will last for many more seasons of backyard fun. Don’t worry about getting it perfect.
Just take your time and enjoy the process. You’ve got a picnic table that is going to look amazing when you’re done.