
I’ve always loved turning what others see as trash into something valuable and beautiful.
That’s the magic of “Trash to Treasure”, transforming discarded items into unique, useful creations.
Upcycling not only helps reduce waste and protect the environment but also sparks creativity and saves you money.
In this blog, I’ll guide you through a curated collection of inspiring ideas, practical tips, and easy projects to help you start your own trash-to-treasure journey.
If you’re ready to get creative and make a positive impact, keep reading.
Together, we’ll look at how to transform everyday trash into treasures that bring charm and purpose to your home and life.
What Is Trash to Treasure?
“Trash to Treasure” is all about seeing value where others see waste.
It’s the creative process of turning discarded or unused items into functional, beautiful, or artistic pieces.
It could be giving an old chair a fresh coat of paint or turning scrap wood into floating shelves; this approach combines imagination with sustainability.
It encourages us to view everyday objects with a new perspective and potential.
Upcycling reduces landfill waste, conserves natural resources, and helps lower your carbon footprint.
It’s also a smart financial move; many upcycled pieces cost little to make but offer big visual or practical impact.
Best of all, each project is one-of-a-kind, eco-friendly, budget-friendly, and entirely yours.
Understanding: Upcycling vs. Recycling
Upcycling upgrades old items into something new without breaking them down, while recycling processes materials into raw form. Knowing the difference helps you choose eco-friendly methods that save energy, reduce waste, and inspire creative reuse.
| Feature | Upcycling | Recycling |
|---|---|---|
| Definition | Transforming old or discarded items into something new and useful without breaking them down | Breaking down materials to create new raw materials for manufacturing |
| Process | Creative reuse, usually done at home or by hand | Industrial process involving melting, shredding, etc. |
| Energy Consumption | Low | High |
| End Product Value | Often higher than the original item (added value) | Often lower due to material degradation |
| Examples | Turning old jeans into a tote bag, a pallet into a shelf | Melting plastic bottles into new plastic containers |
| Environmental Impact | Very eco-friendly; reduces the need for raw materials | Still eco-friendly but energy-intensive |
| Accessibility | Easy to do at home with basic tools | Requires access to recycling facilities |
How to Find Inspiration and Visual Resources
Finding creative ideas is easier than ever with online tools and visual platforms. Learn where to look for inspiring projects, tutorials, and communities that fuel your trash-to-treasure journey.
- Pinterest & Image Boards: Explore thousands of DIY upcycling ideas with step-by-step photos and tutorials.
- YouTube Channels: Watch detailed videos from creators specializing in trash-to-treasure projects for hands-on guidance.
- Instagram & Hashtags: Follow popular accounts and hashtags like #UpcyclingIdeas and #TrashToTreasure for daily inspiration.
- Online Communities: Join forums and groups on Reddit and Facebook to share ideas, ask questions, and connect with fellow upcyclers.
Trash to Treasure ideas
These trash-to-treasure ideas show how to reuse and upcycle everyday objects, reducing waste while adding unique style to your home and life.
1. Tin Can Planters
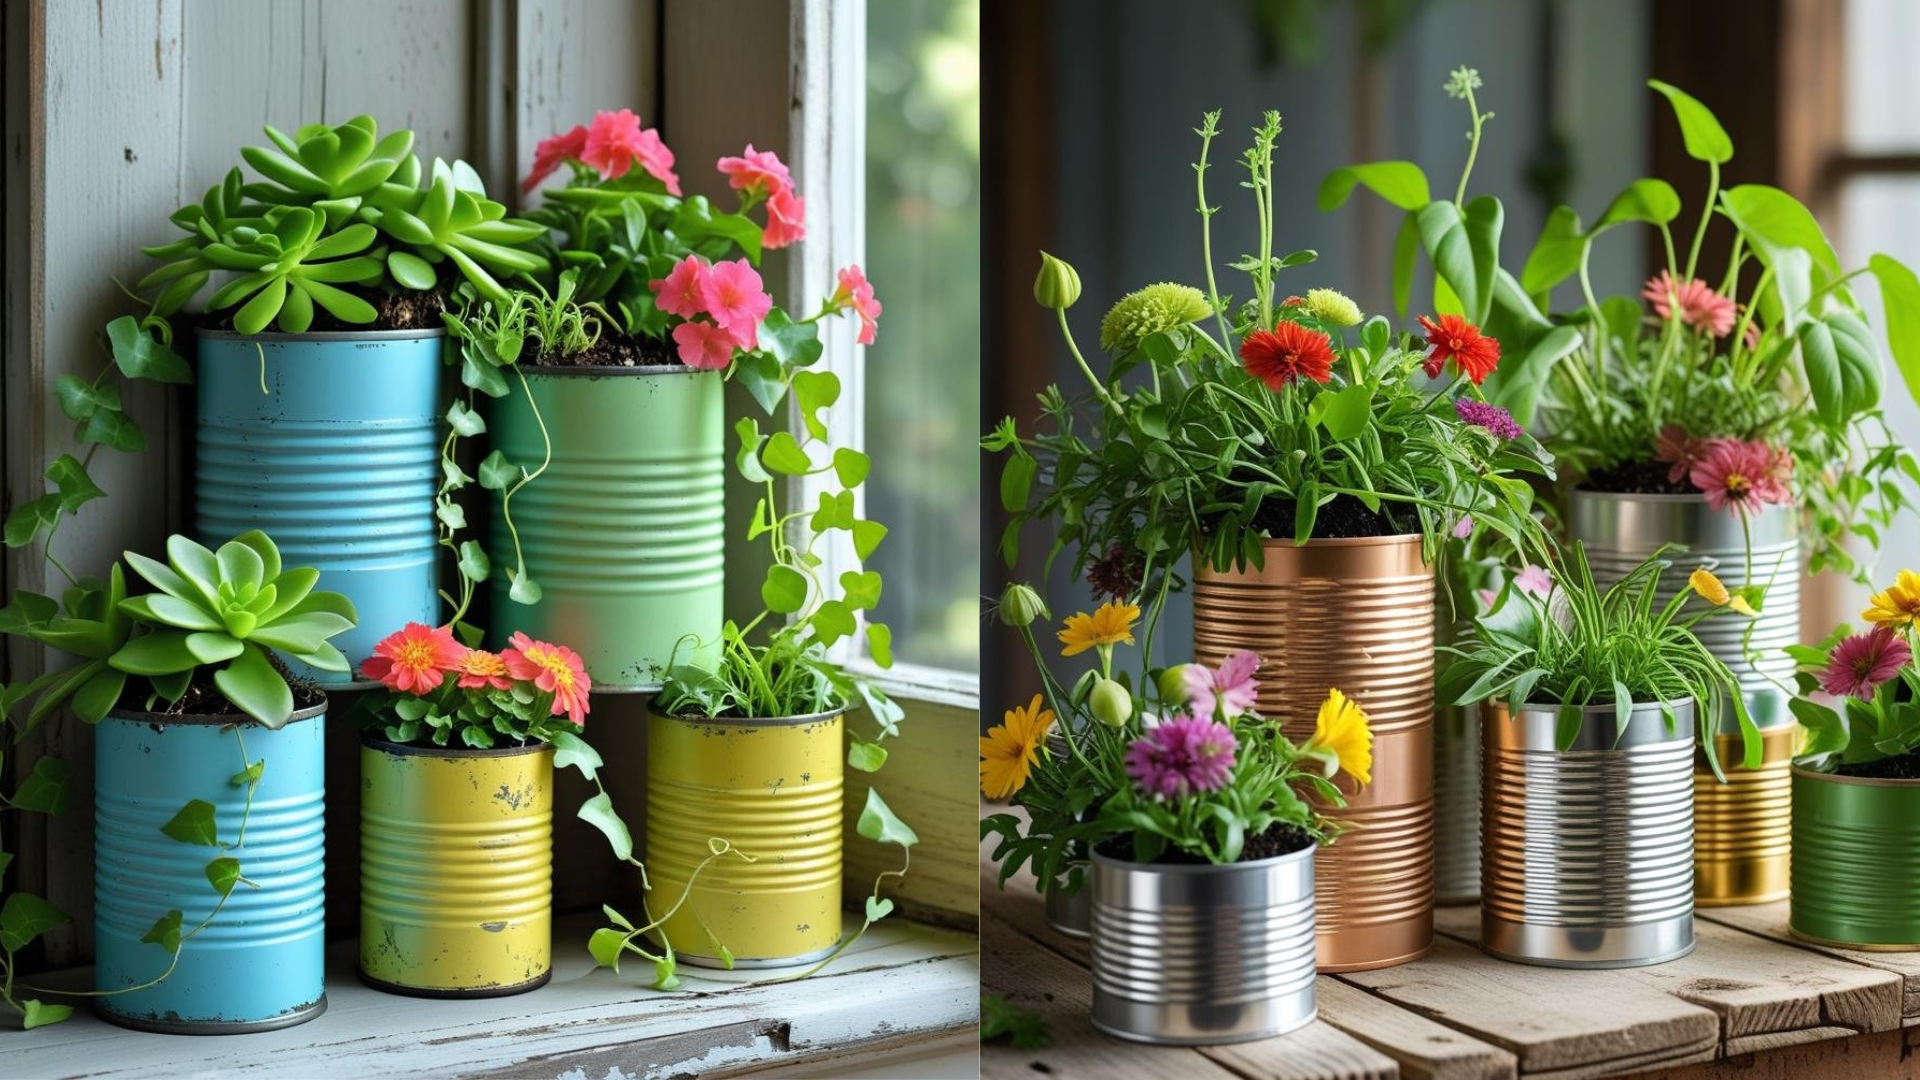
Clean and remove labels from empty tin cans. Paint or decorate them with washi tape, fabric, or spray paint to add color and texture.
Use them as small planters for herbs, succulents, or flowers. They’re perfect for windowsills or patios and make charming, inexpensive garden decor.
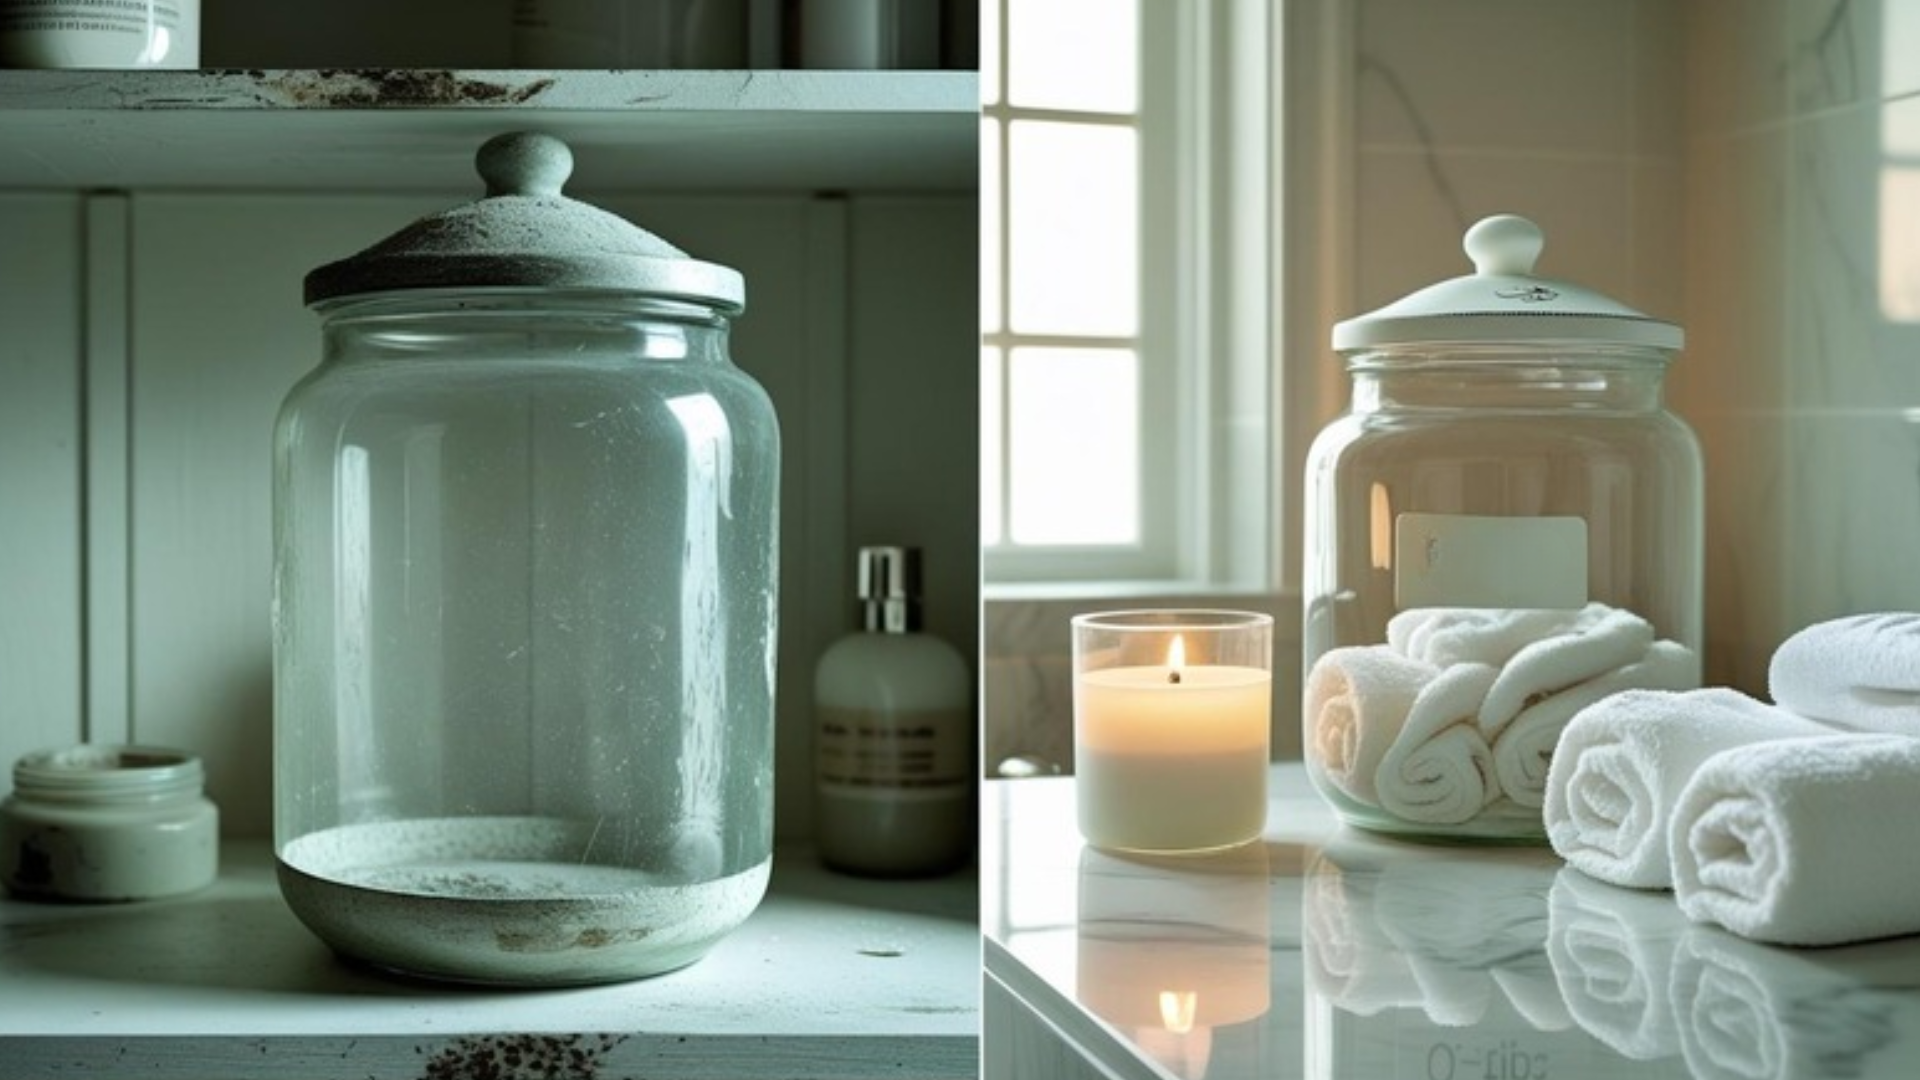
2. Glass Jar Storage
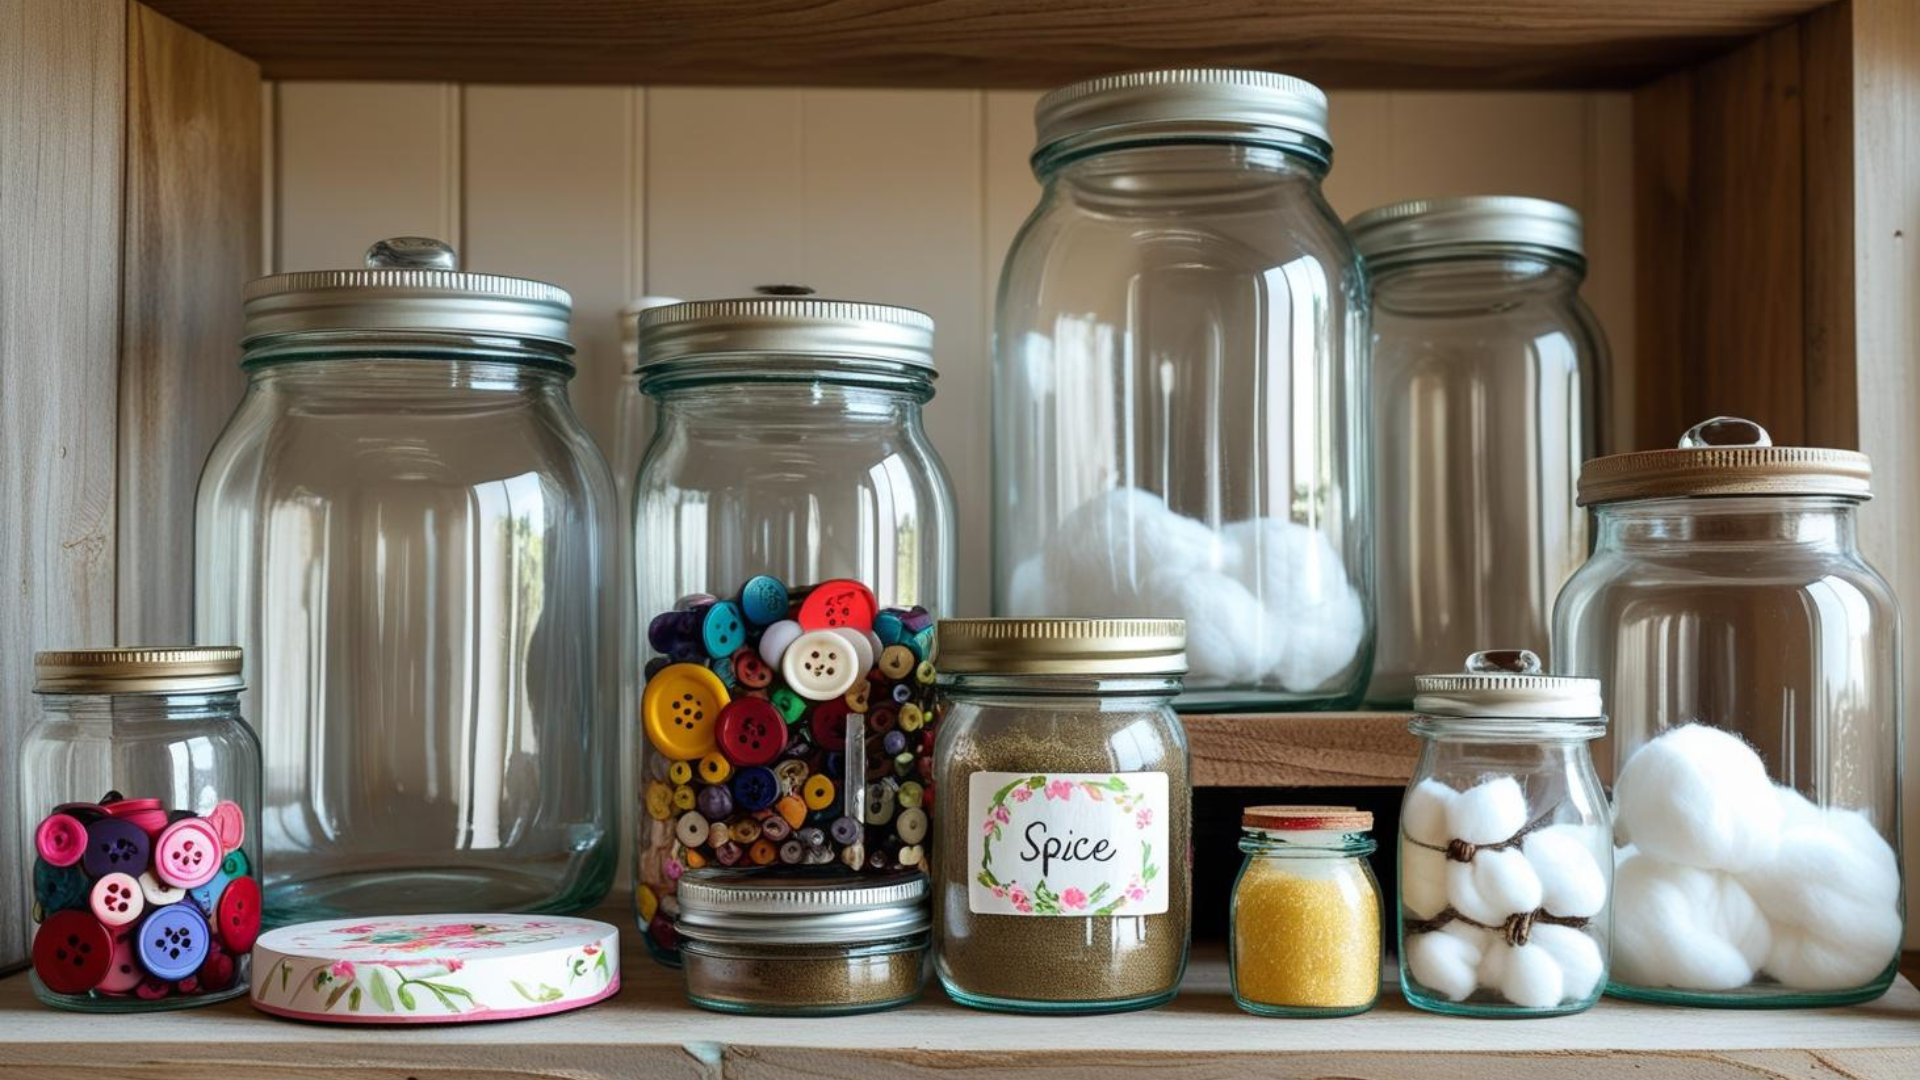
Save empty glass jars from jams or sauces. Clean thoroughly and remove labels.
Use them to store spices, craft supplies like buttons or beads, or bathroom essentials like cotton balls.
You can add labels or decorate lids with paint or fabric for a personalized touch.
3. Old Mug Planter
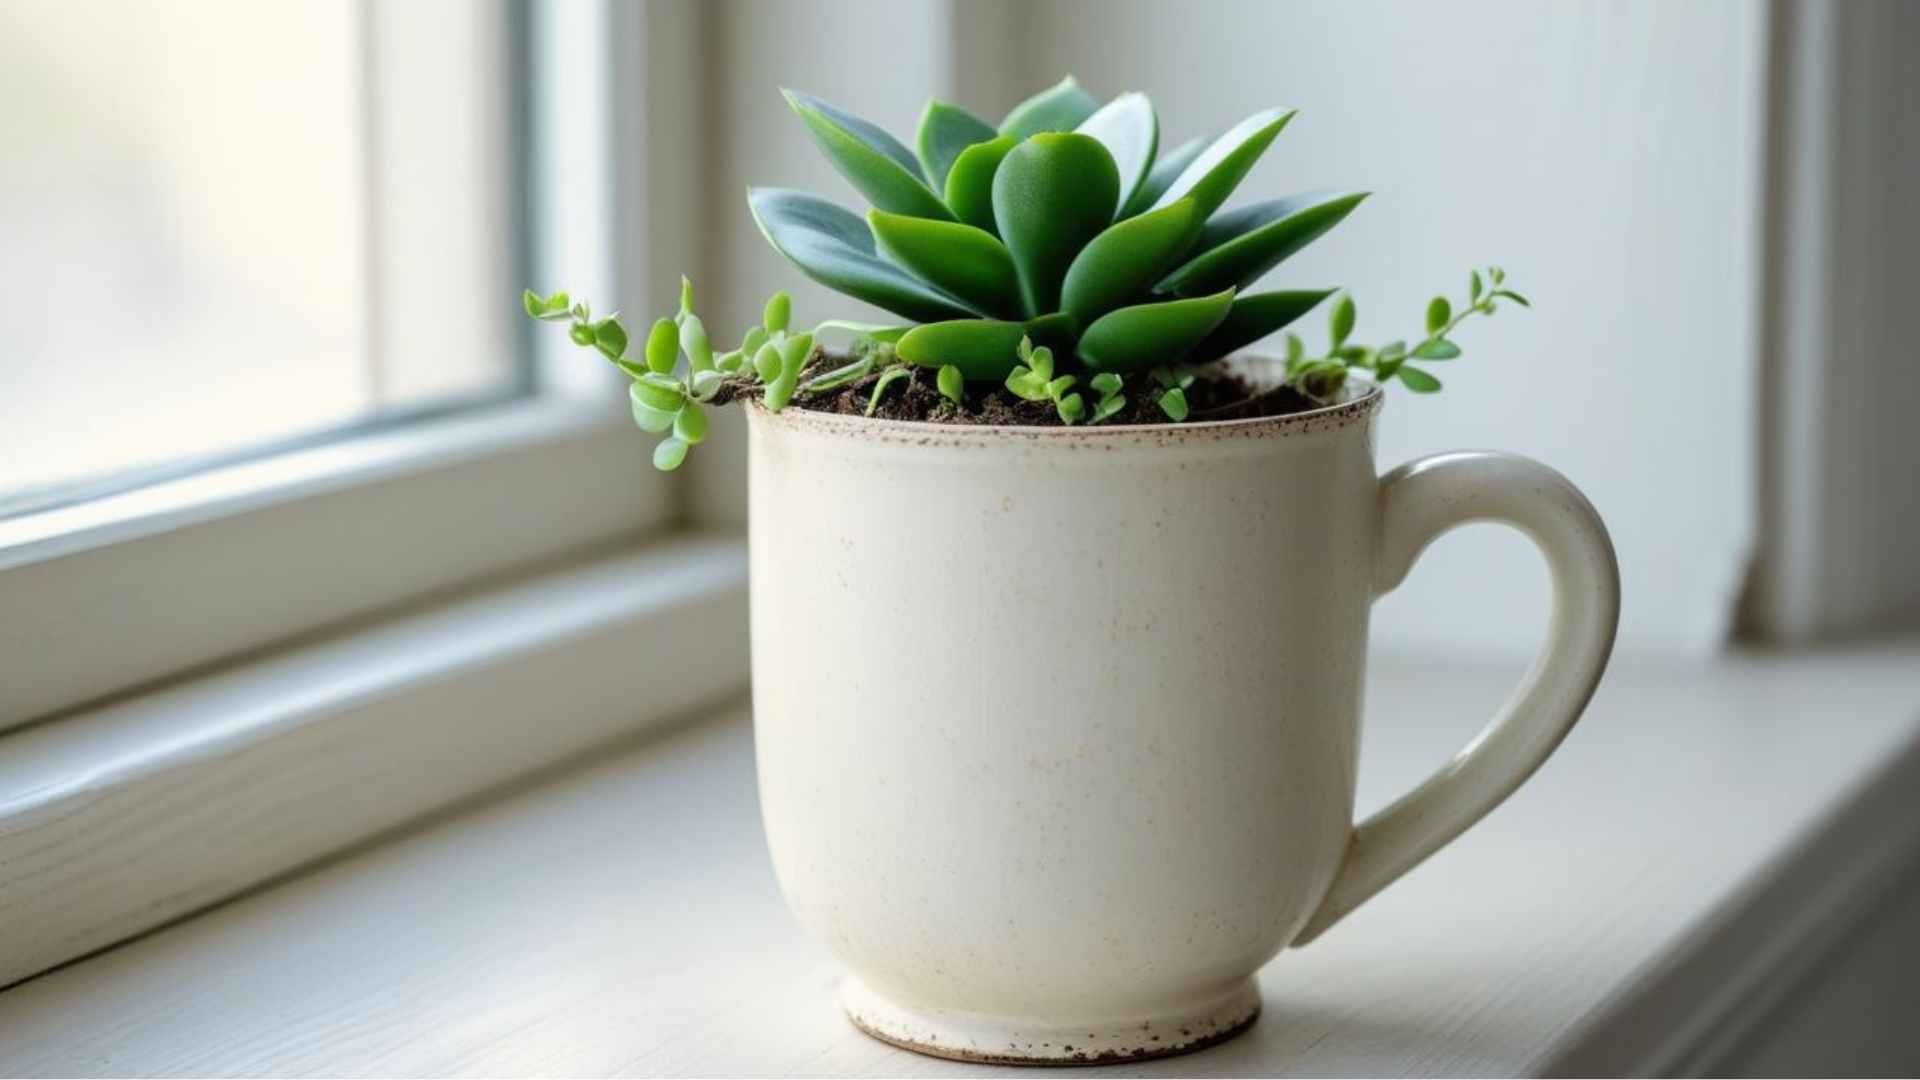
Got a chipped or mismatched mug? Turn it into a mini planter! Just add some pebbles at the bottom for drainage, fill with soil, and plant a small succulent or herb.
It’s perfect for windowsills and makes a charming, low-effort decor piece.
4. Wine Cork Keychains
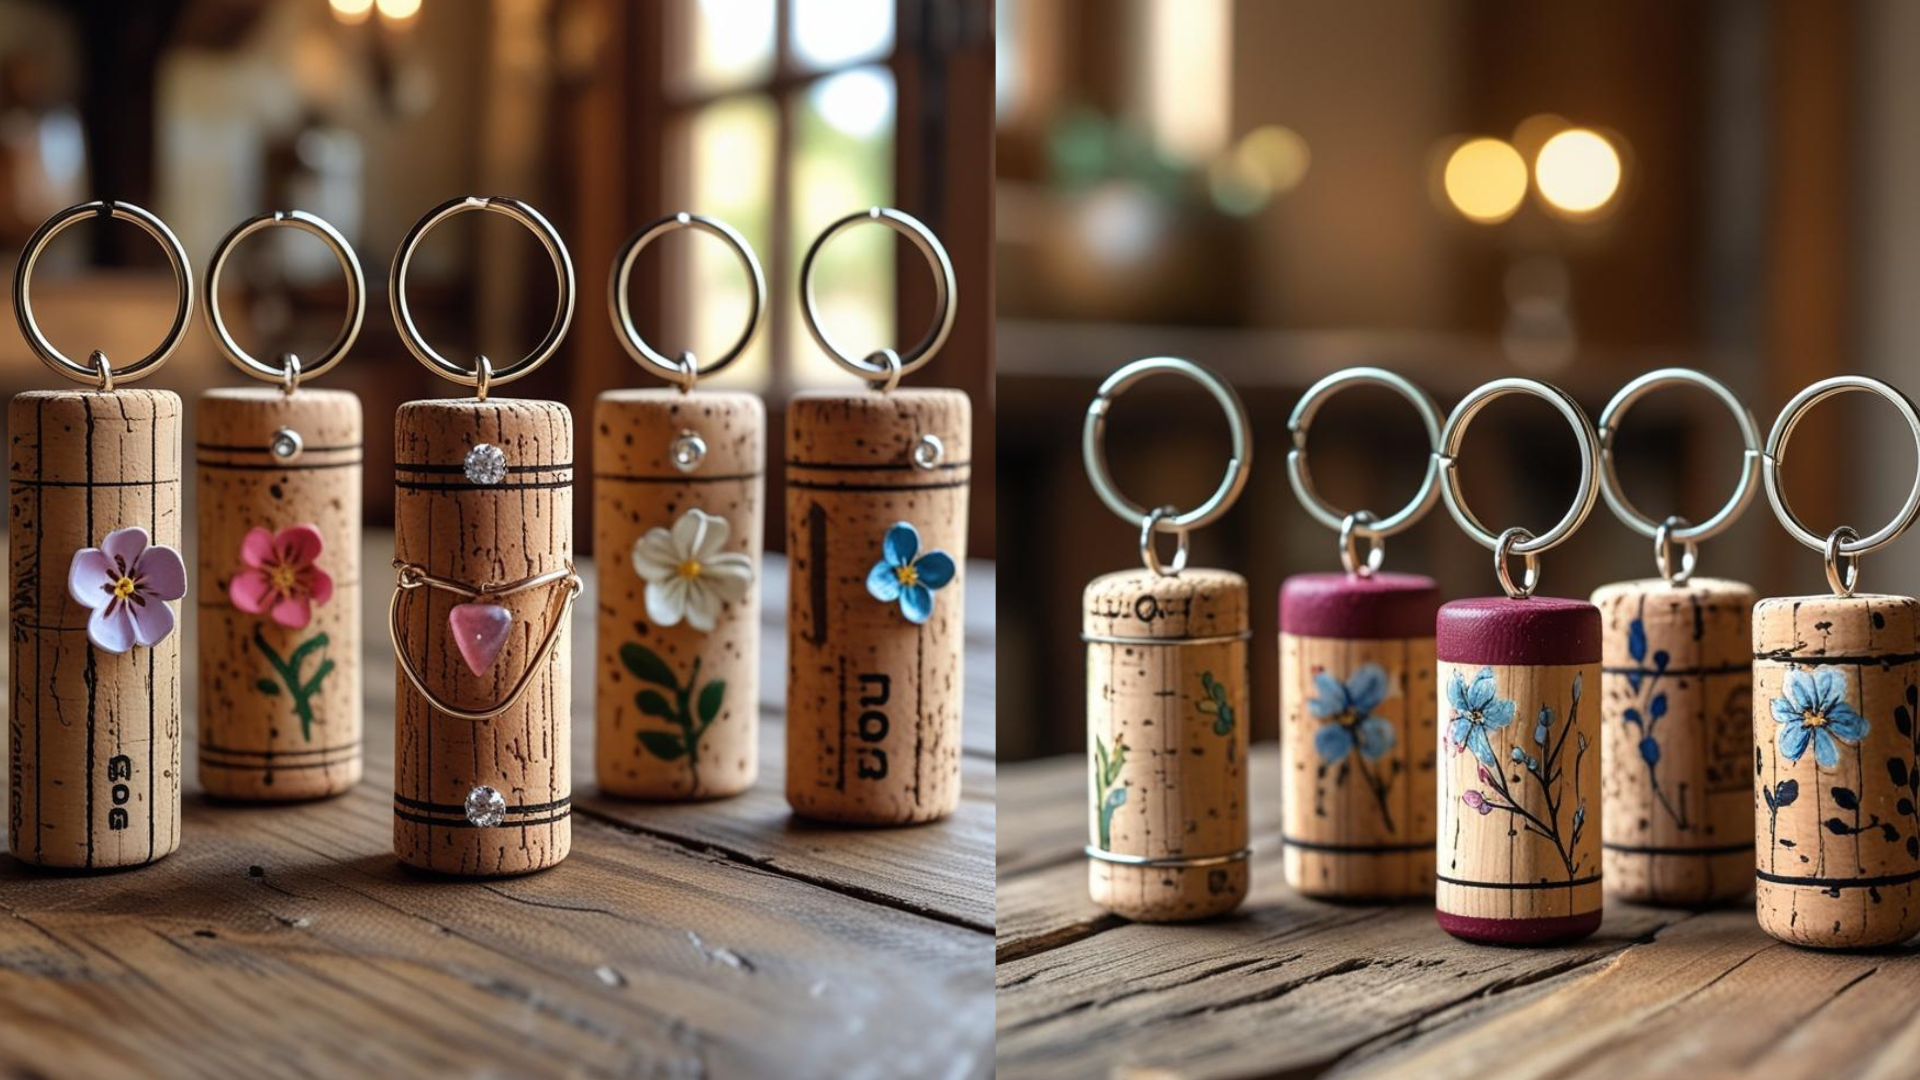
Collect wine corks and clean them. Attach a small screw eye or keyring to one end. You can paint or decorate the corks with markers or stickers.
These make lightweight, easy-to-make keychains or bag charms, perfect for gifts or personal use.
5. Shoe Box Organizer
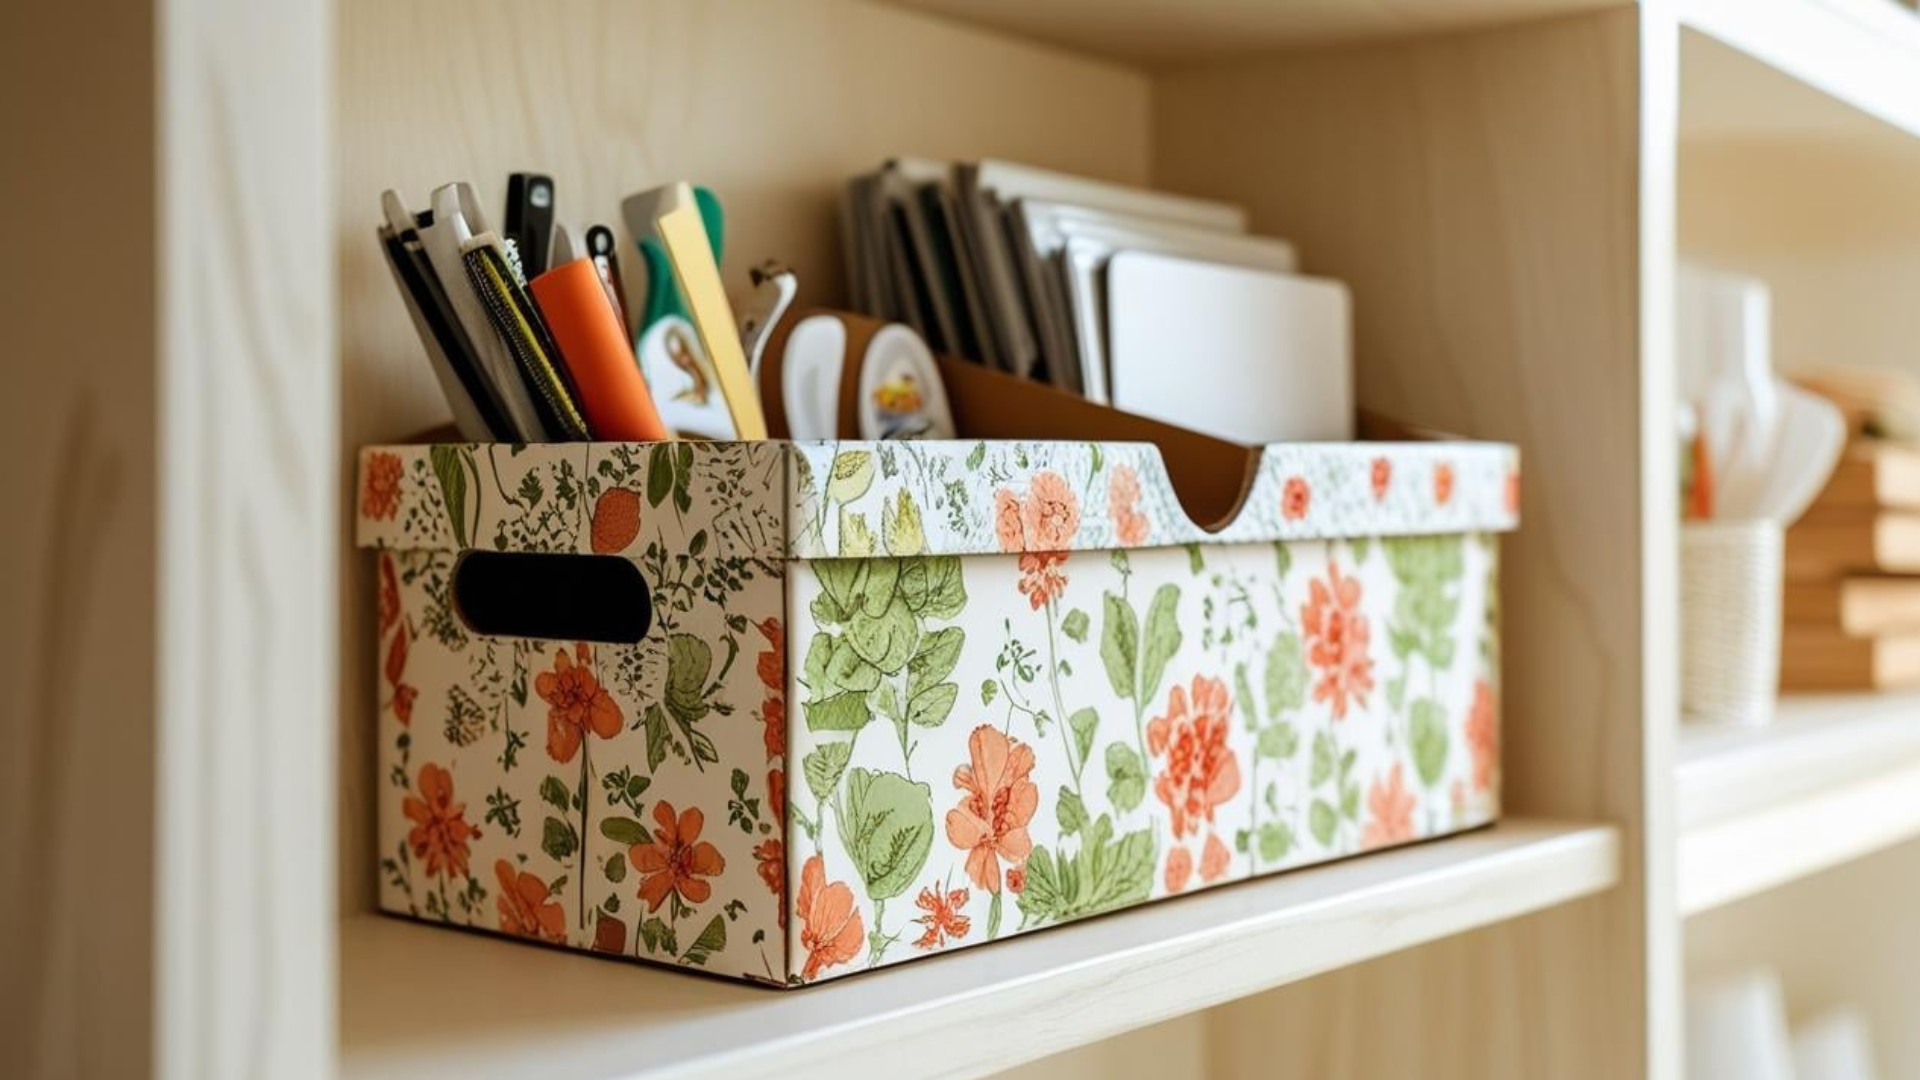
Cover old shoe boxes with decorative paper, fabric, or paint to give them a fresh look. Use these boxes to organize jewelry, stationery, or craft supplies.
Stackable and customizable, they help reduce clutter while making use of boxes that would otherwise be thrown away.
6. Mason Jar Organizer
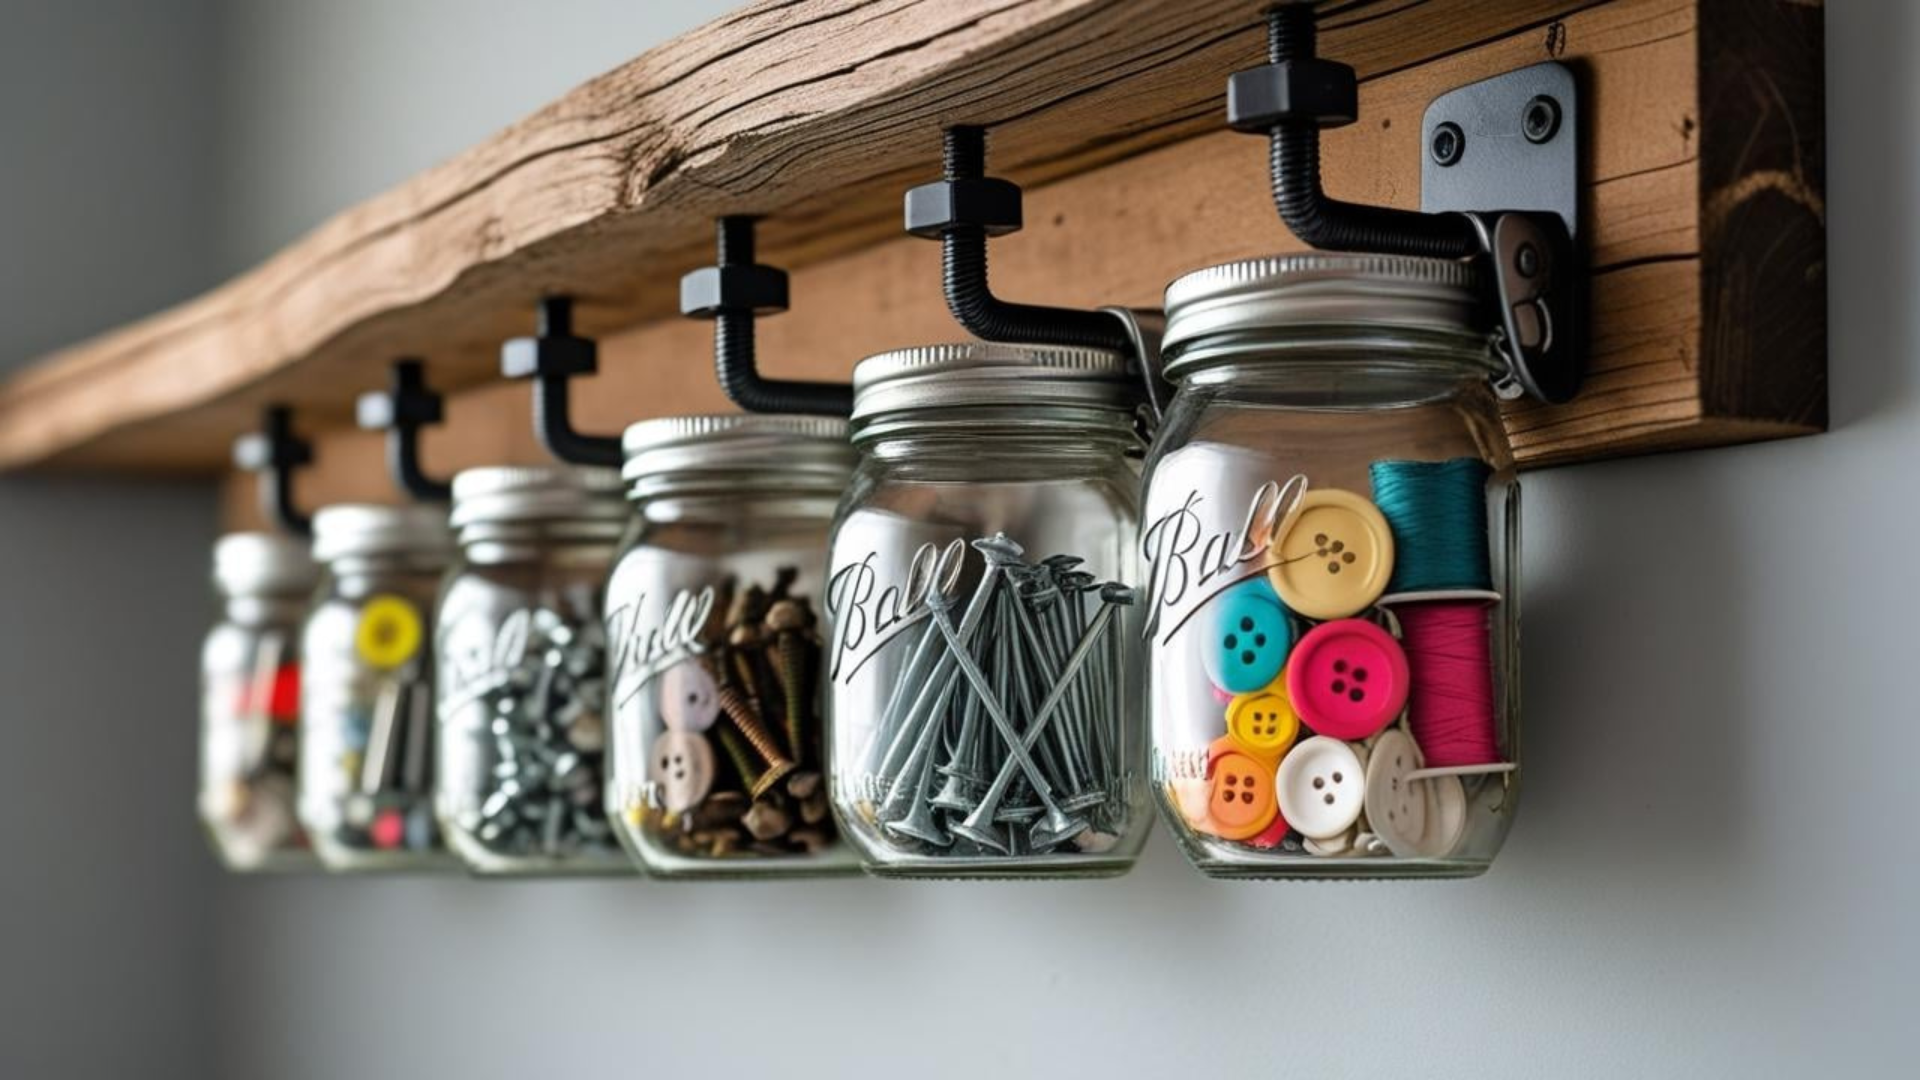
Attach mason jars upside down under a wooden shelf or board using hose clamps. Use these jars to hold screws, nails, or small craft supplies.
This idea saves drawer space and makes it easy to see and access small items while repurposing common household items.
7. Old Ladder Bookshelf
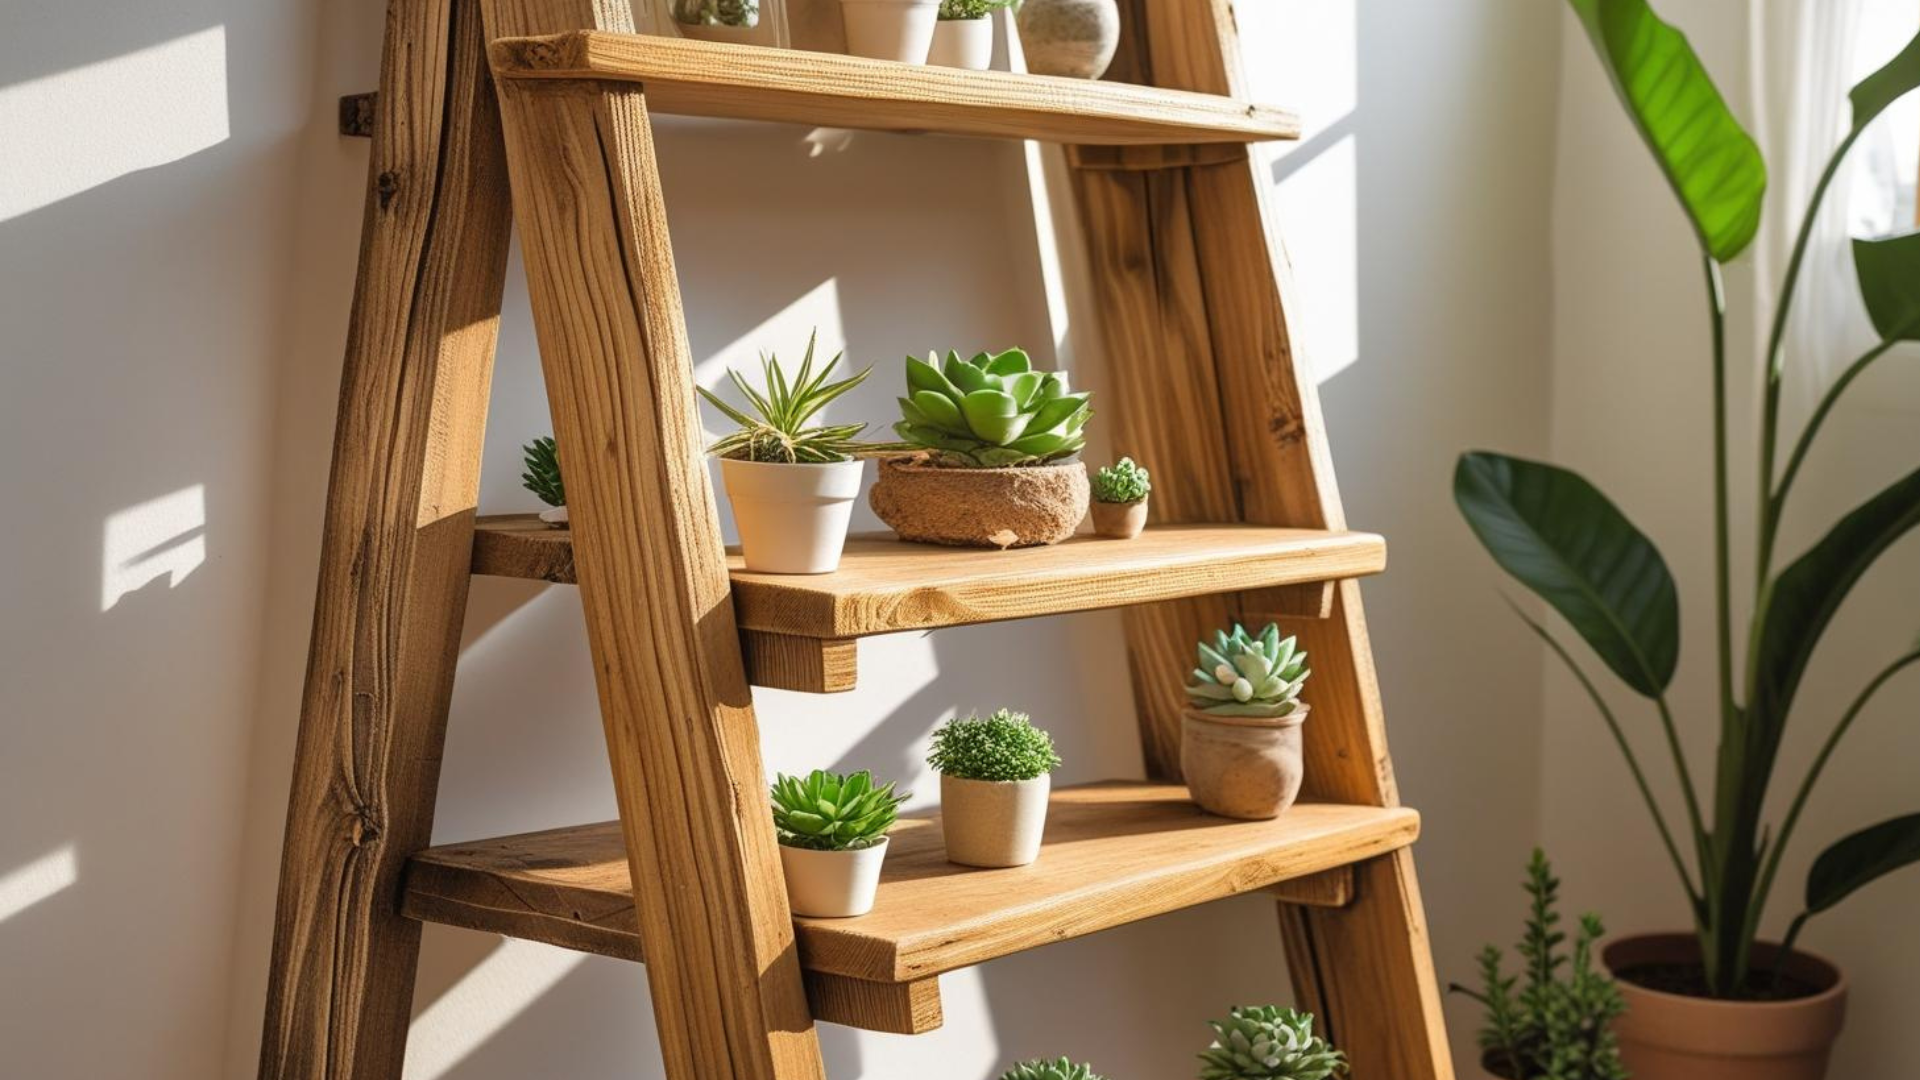
Take an old wooden ladder and clean or repaint it. Place wooden planks across the rungs to create shelves.
Use it as a unique bookshelf or display for plants and decor items. This project turns a discarded ladder into a charming, functional piece.
8. CD Mosaic Art
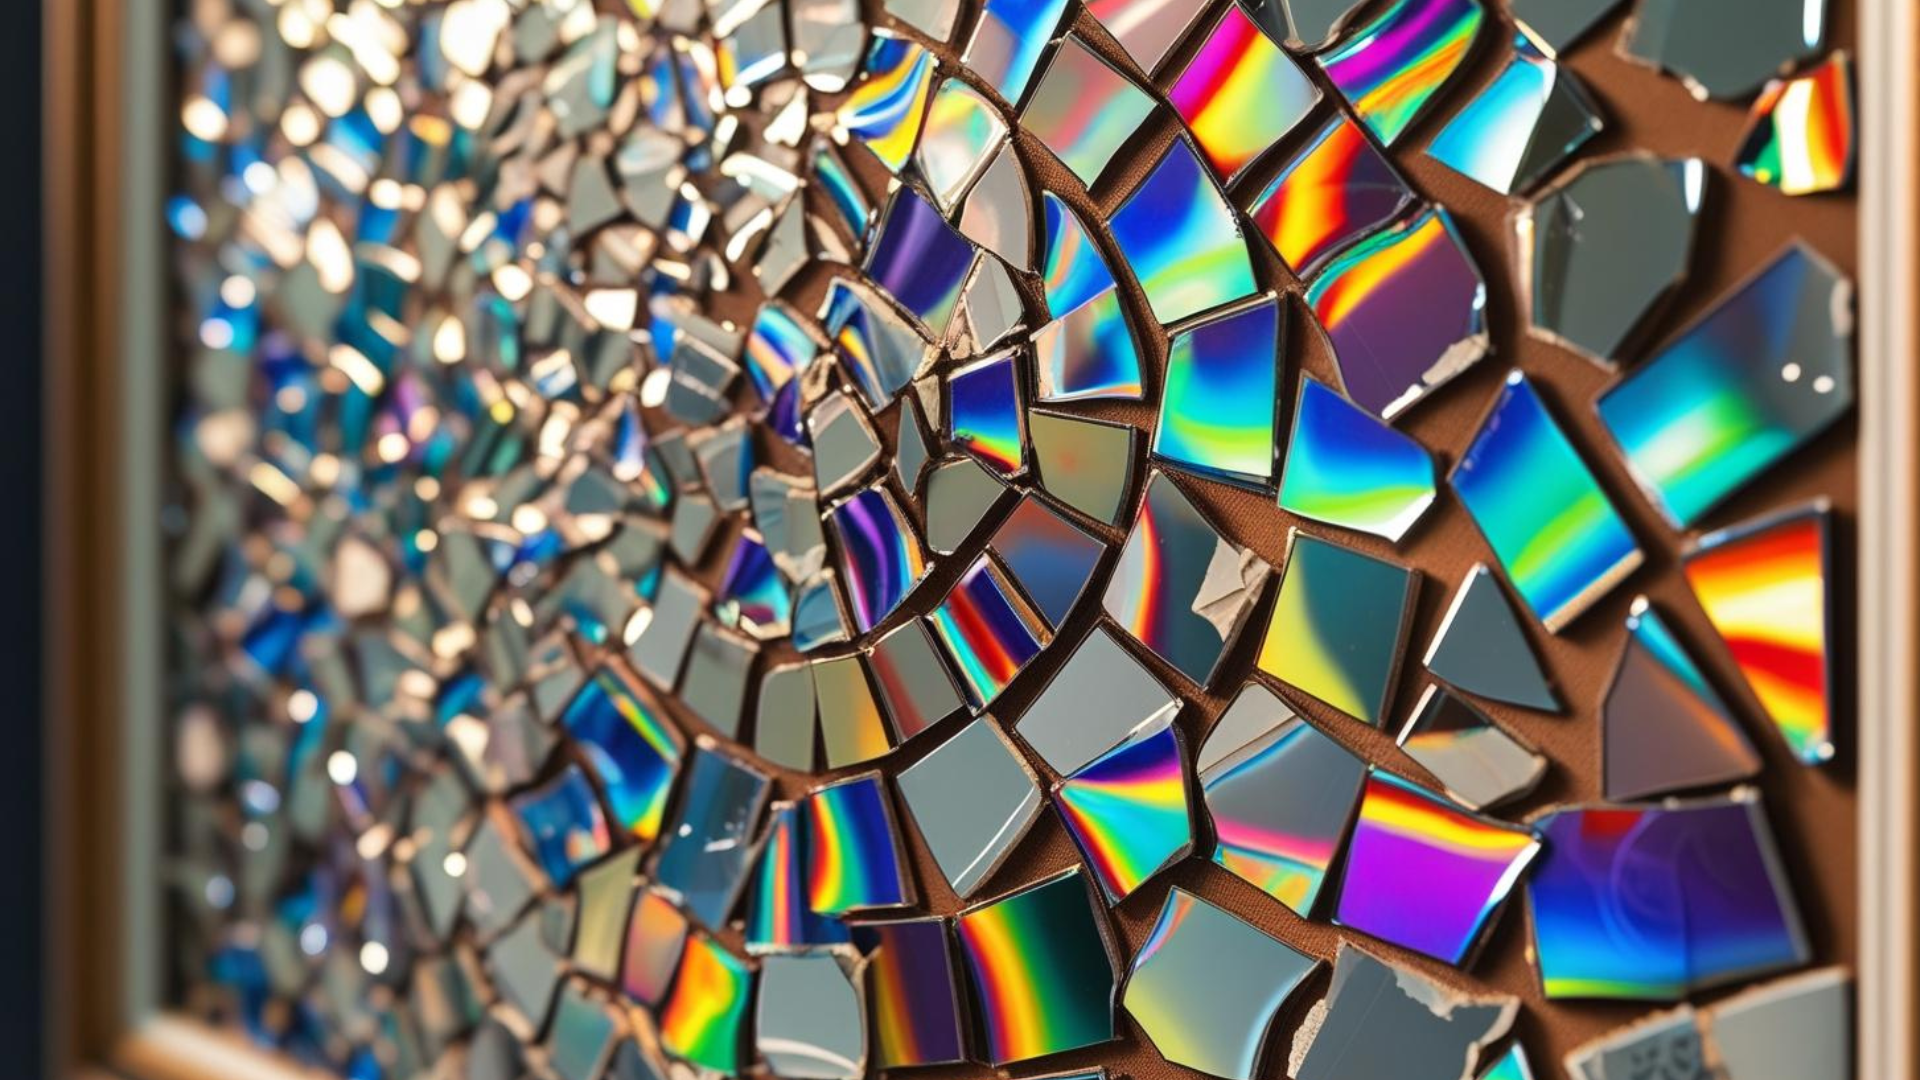
Break outdated CDs into small pieces with care. Glue the shiny pieces onto picture frames, trays, or flower pots to create reflective mosaic art.
This sparkly, creative project helps recycle old technology while adding a personal touch to home decor.
9. Drawer Planter Box
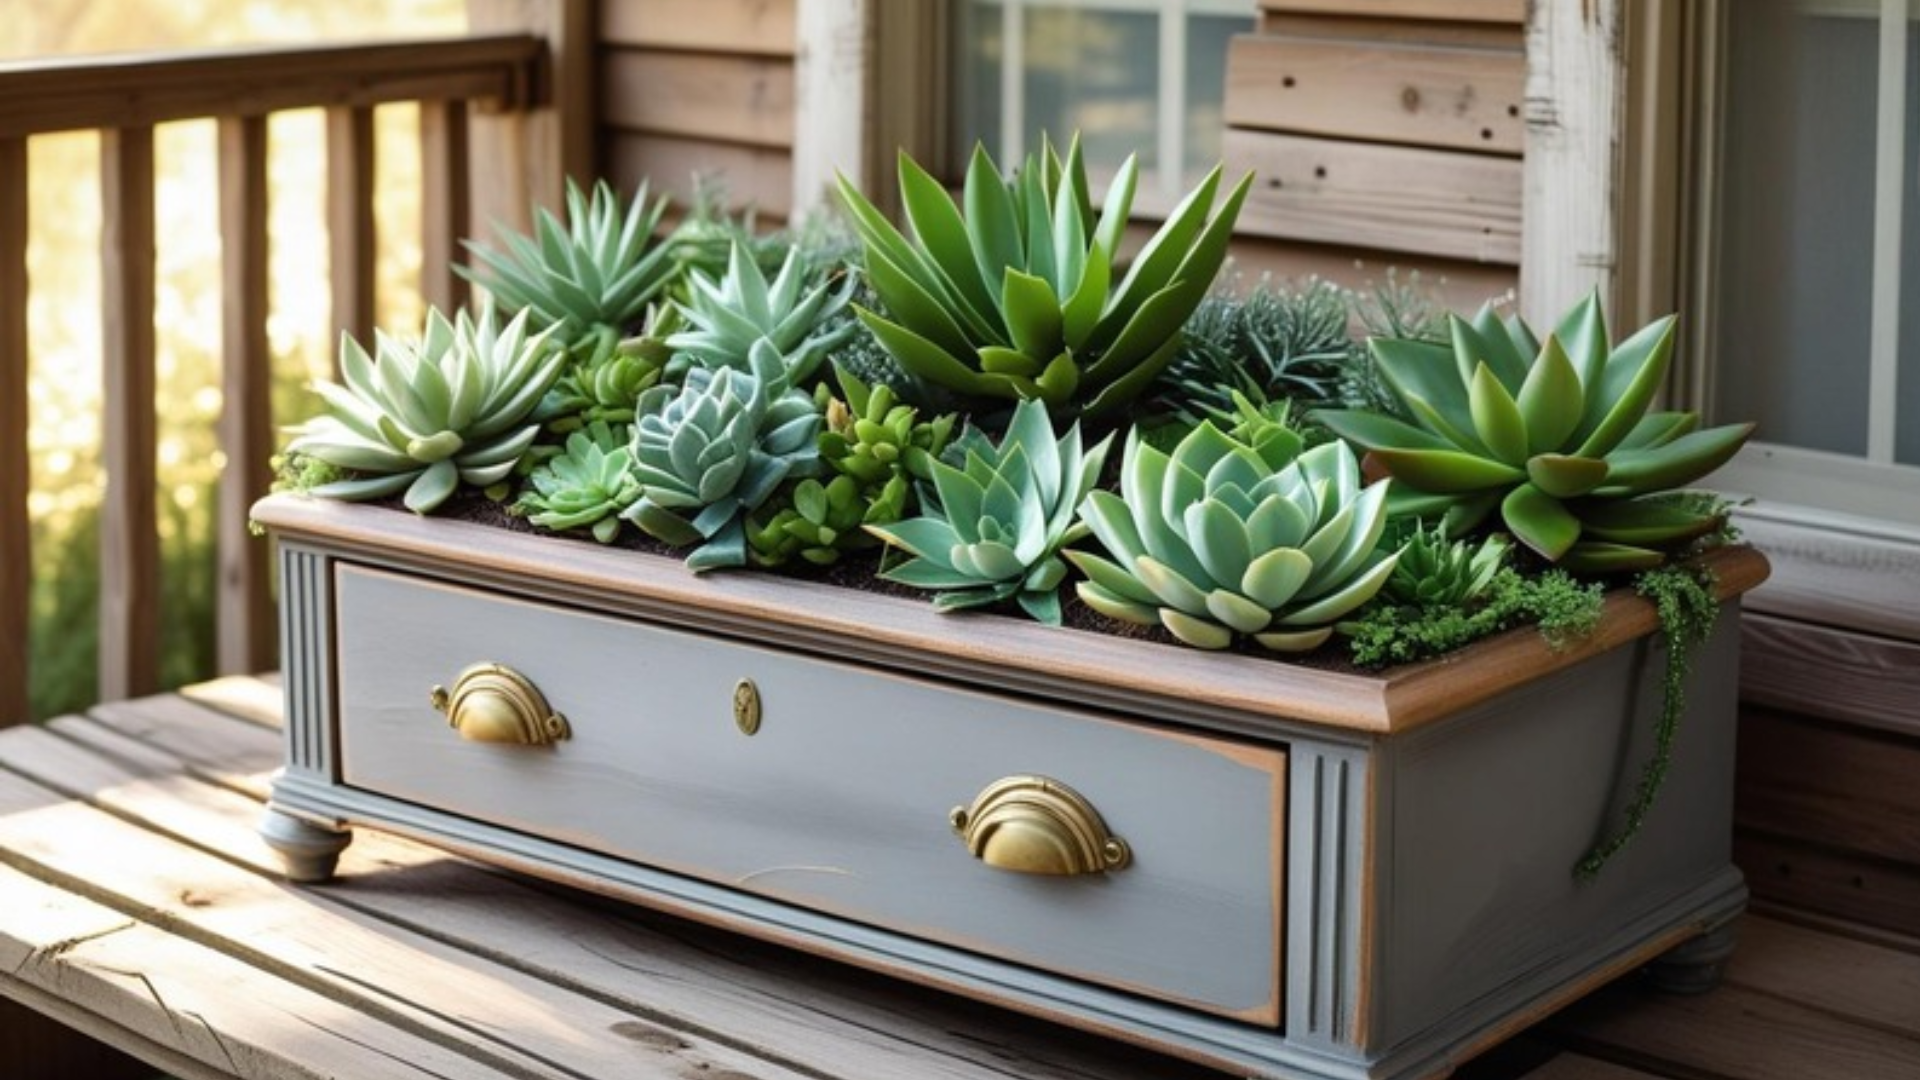
Repurpose an old dresser drawer by sanding it down and applying waterproof sealant or paint. Fill it with soil and plant flowers, herbs, or succulents.
These vintage-style planters are perfect for porches or garden spaces and add rustic charm to your outdoor decor.
How to Turn a T-Shirt Into a Tote Bag
Learn a simple, no-sew method to transform an old t-shirt into a stylish and reusable tote bag. This easy project requires minimal materials and is perfect for beginners looking to upcycle clothing into practical, eco-friendly accessories.
Materials Needed
Gather a few basic items to get started: an old t-shirt, fabric scissors for clean cuts, and optional embellishments like pom poms or patches to personalize your tote bag.
- Old t-shirt
- Fabric scissors
- Optional embellishments
Step 1: Cut Sleeves and Neckline
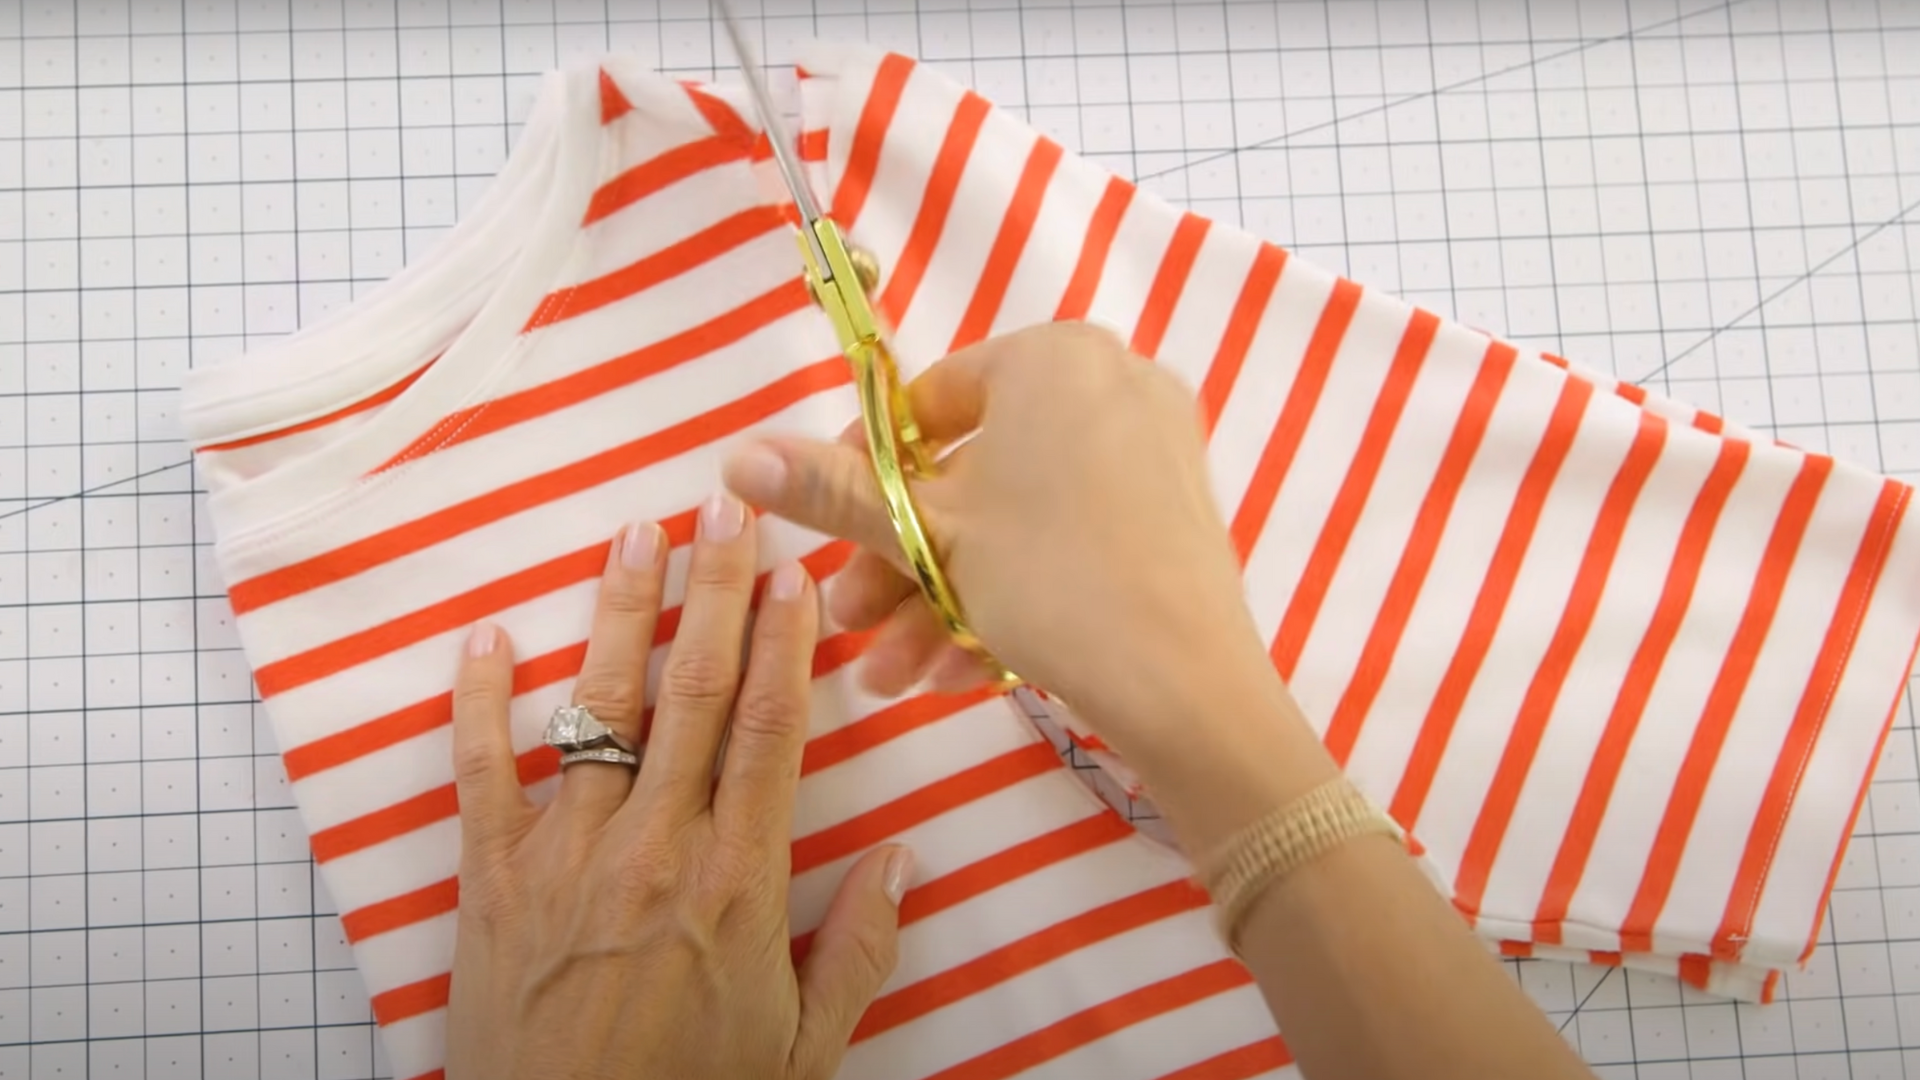
Fold the t-shirt in half with the edges aligned. Cut off both sleeves along the seams to create tank-top style armholes.
Then, cut a deep “U” shape around the neckline, shaping the handles of your tote bag for easy carrying.
Step 2: Prepare the Bottom Fringe
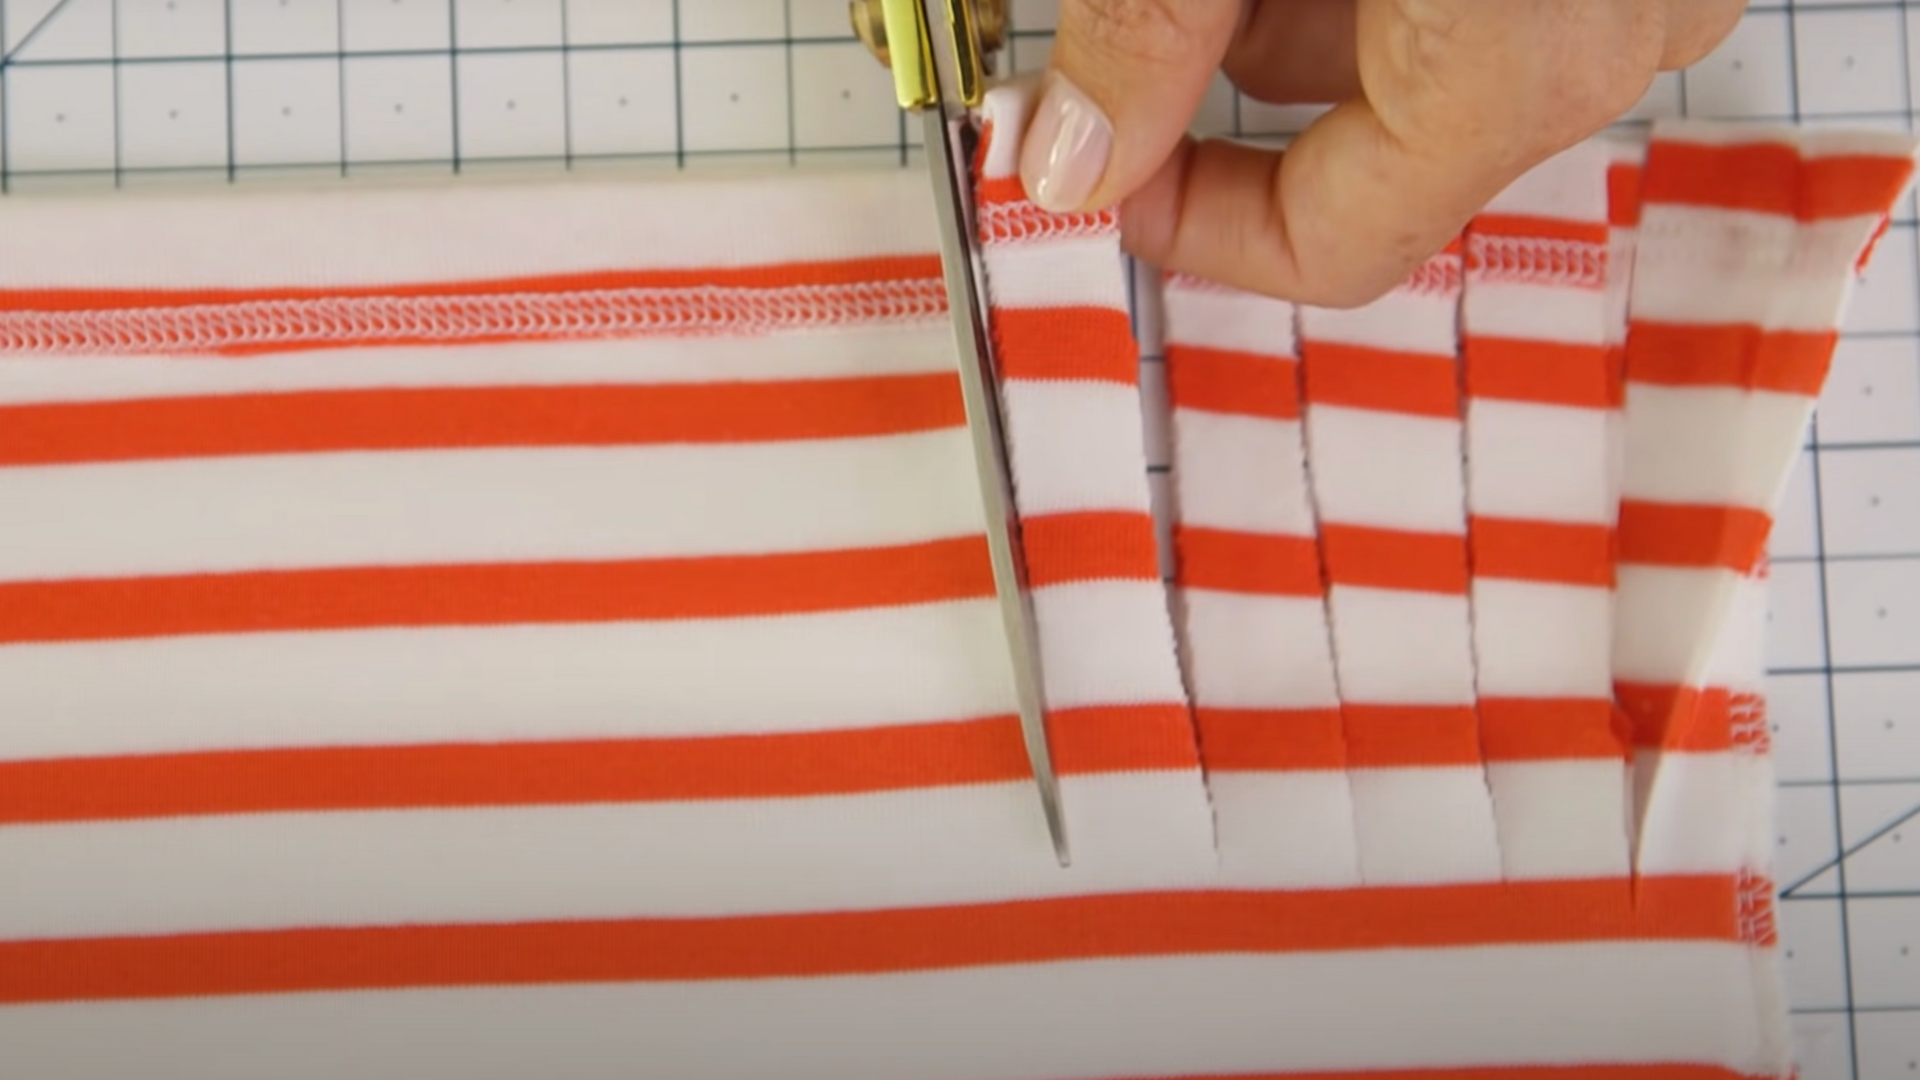
Turn the t-shirt inside out and smooth out the bottom edges. Cut vertical strips about 3 to 4 inches long and half an inch wide along the hem.
These fringe strips will be tied together to securely close the bottom of your bag.
Step 3: Tie Fringe Strips Together
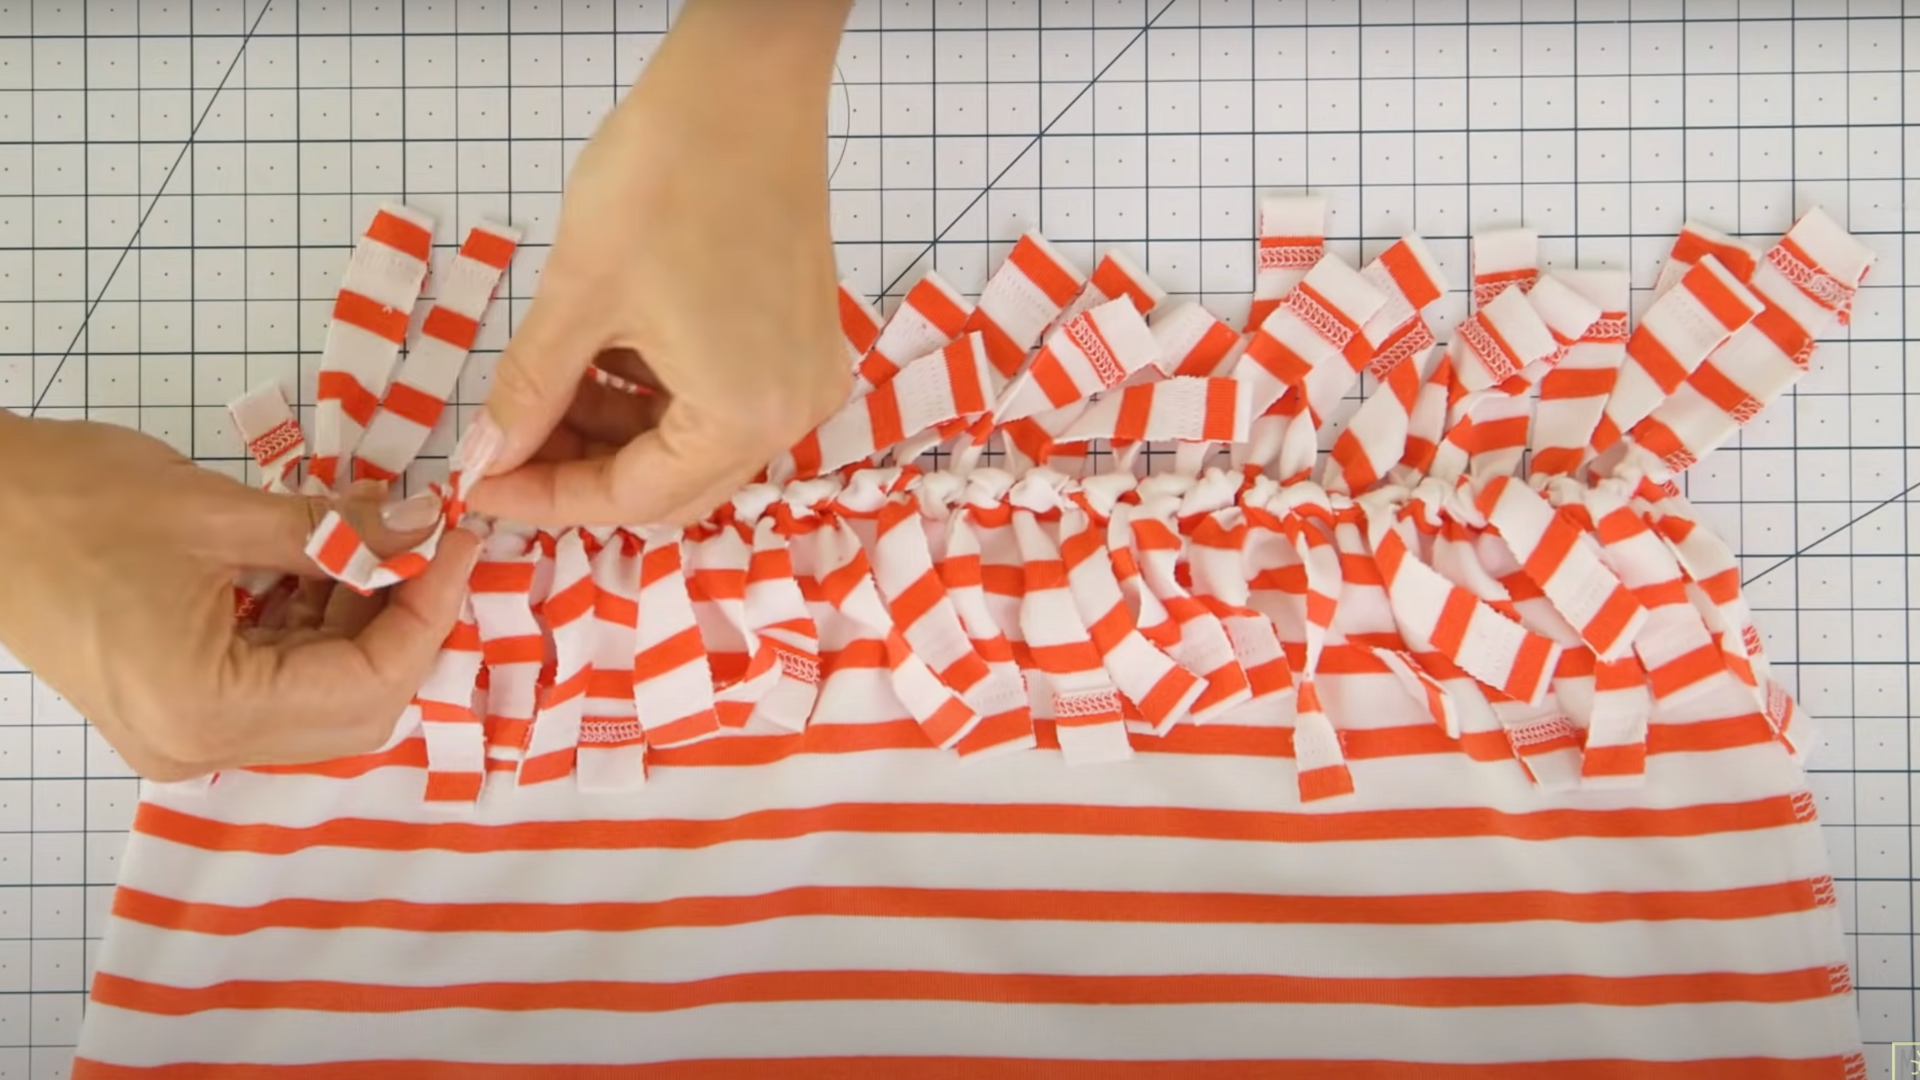
Pair up the fringe strips and tie them tightly in knots to close the bottom of the bag.
To seal any gaps between knots, tie the top of each strip to the bottom of the adjacent strip, strengthening the bag’s base for durability.
Step 4: Secure the Knots
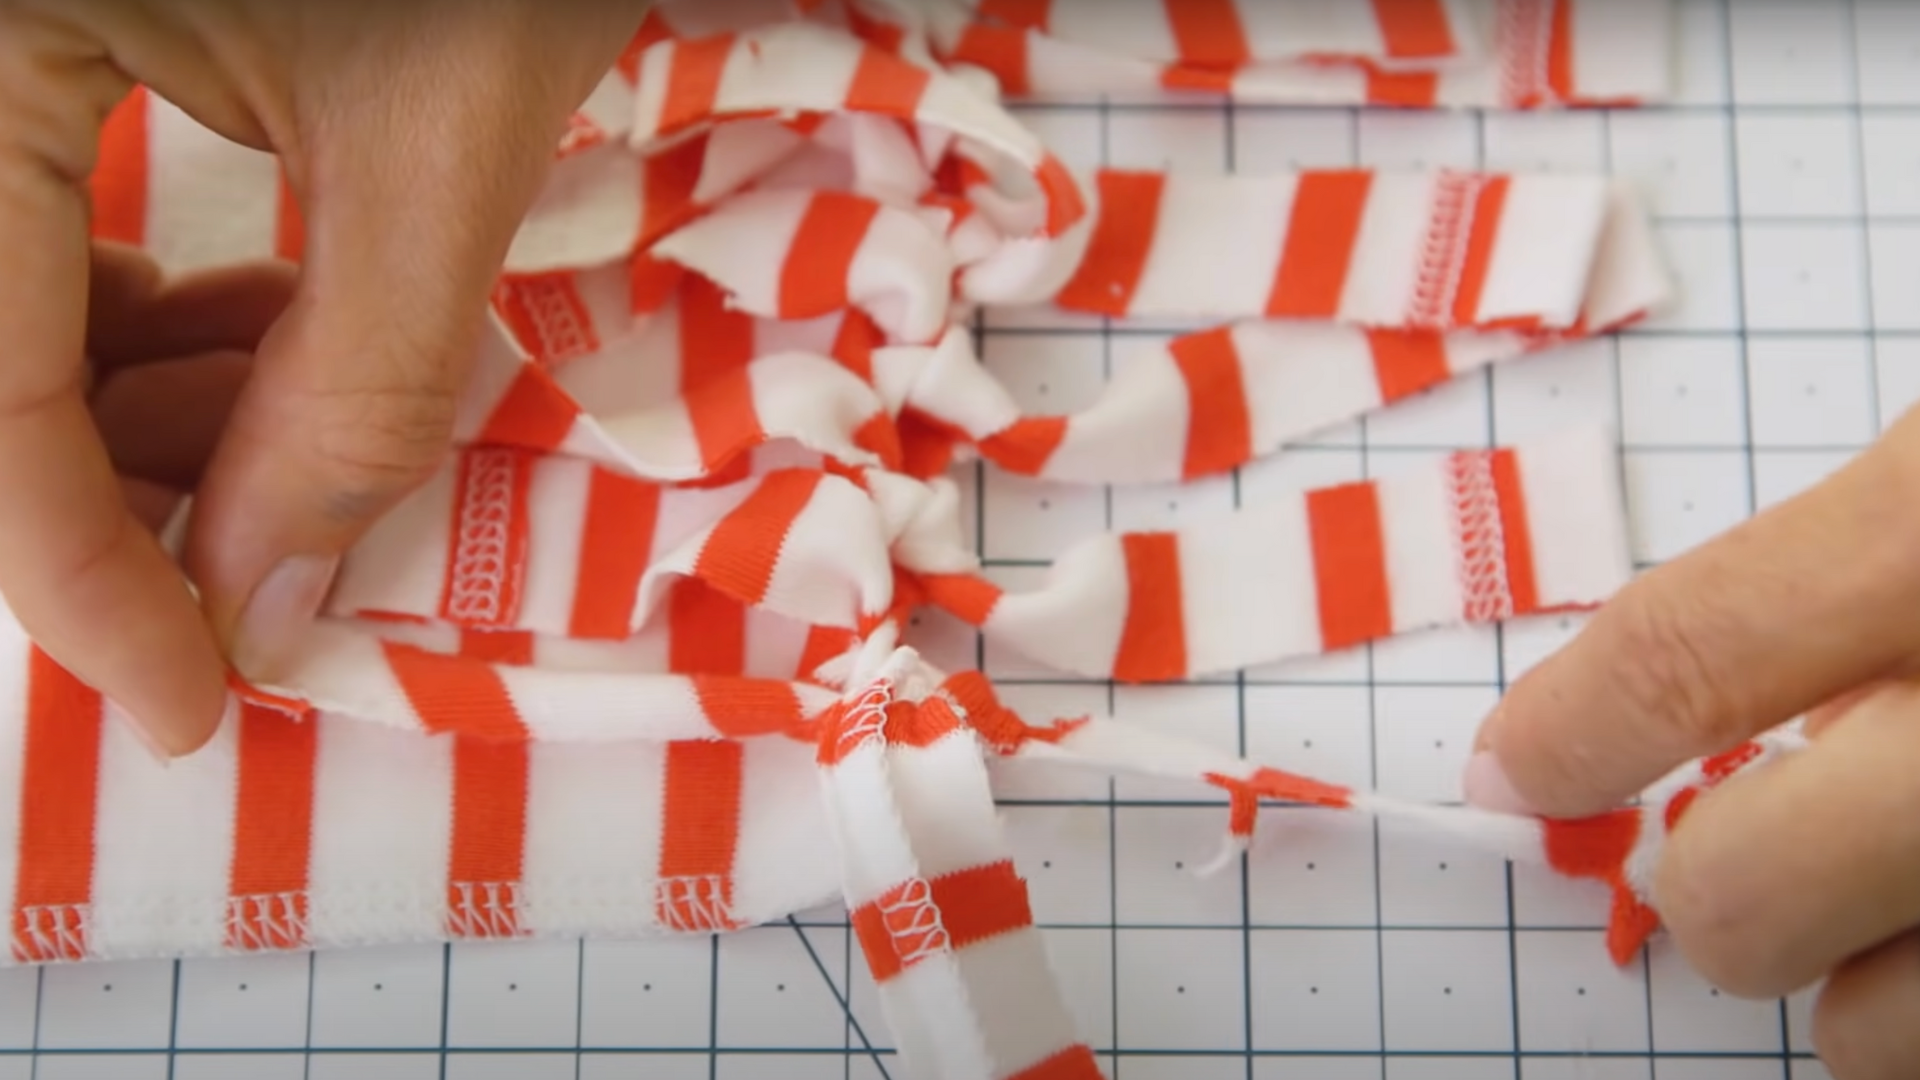
Double knot each tied fringe strip to reinforce the closure. This extra security prevents the knots from loosening or coming undone, ensuring your bag’s bottom stays firmly closed and able to hold weight without risk of tearing or losing contents.
Step 5: Turn the Bag Right Side Out and Finish
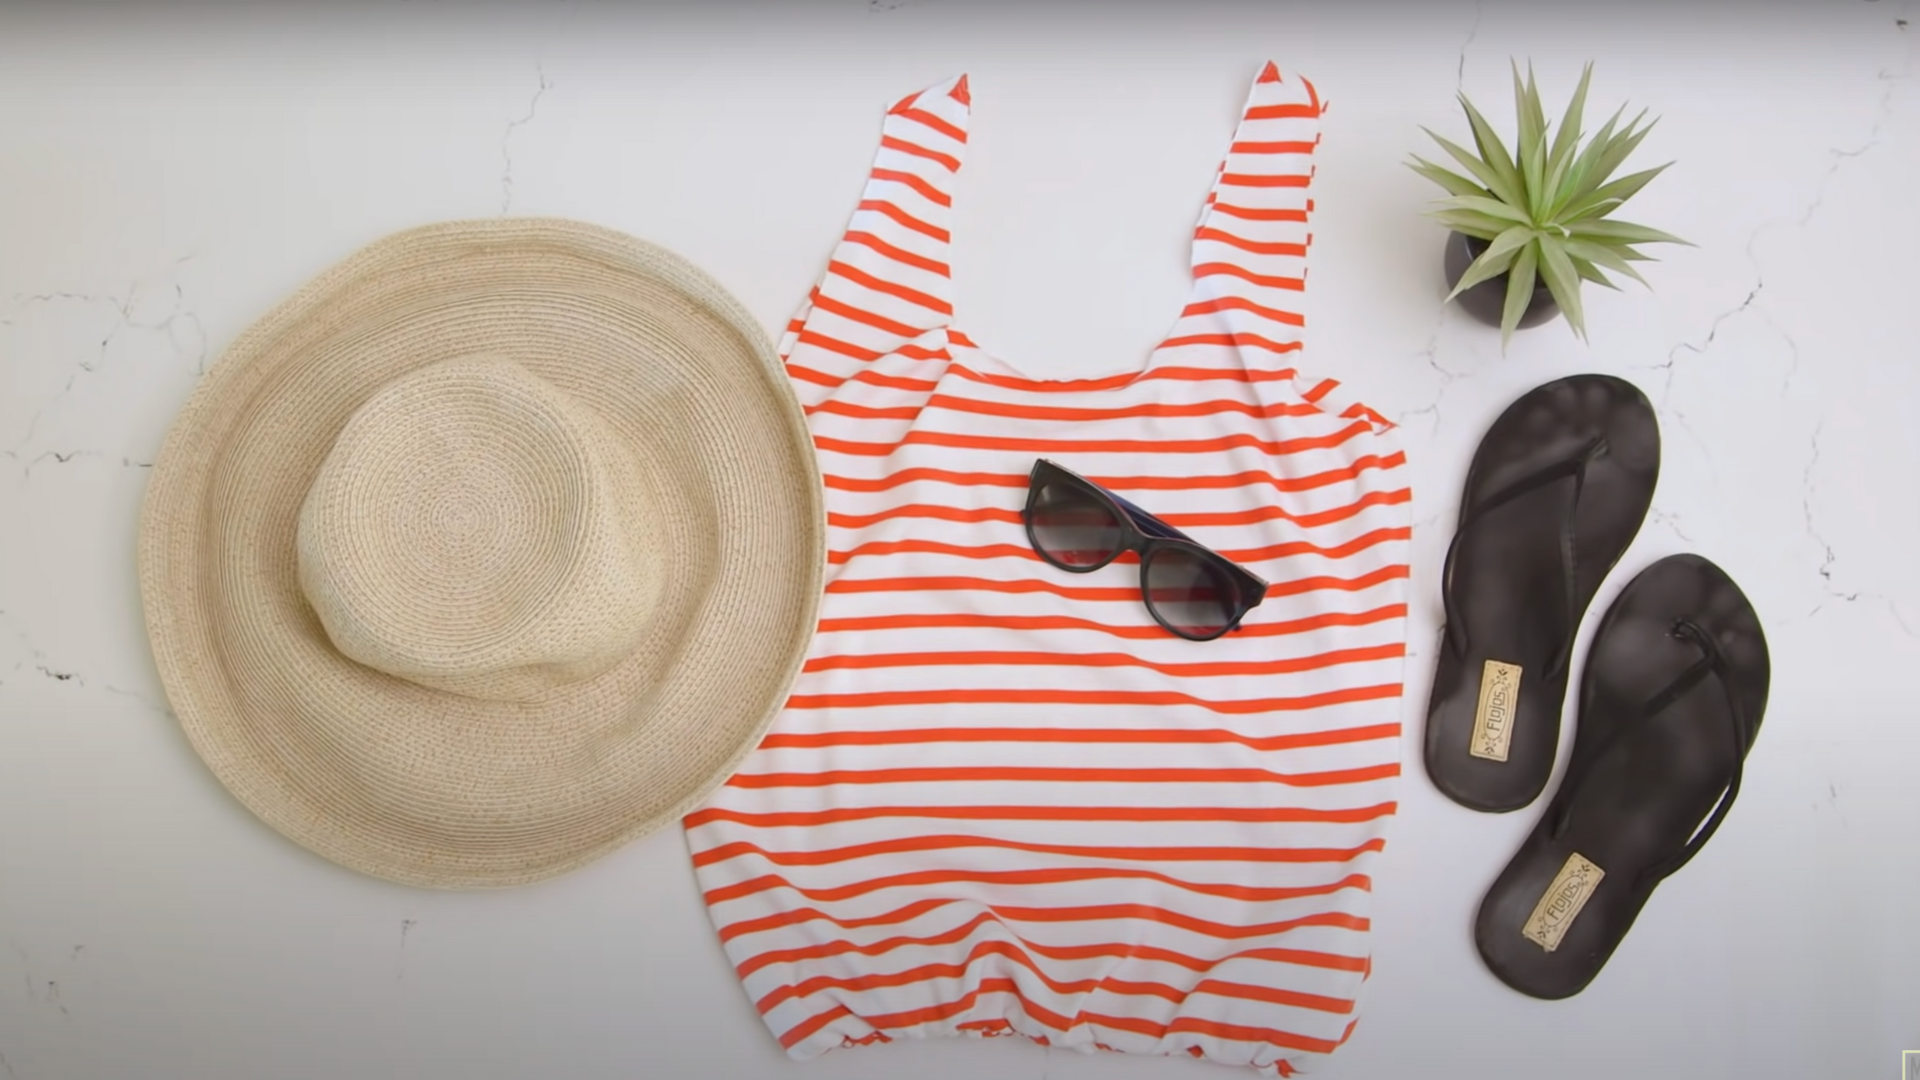
Carefully flip the bag right side out so the tied fringe forms the base. Add optional decorations like pom poms or patches to personalize your tote.
Your DIY bag is now complete and ready to carry groceries, gym gear, or everyday essentials.
Watch this step-by-step video tutorial by @WhatsUpMOMS to see exactly how to turn an old t-shirt into a stylish tote bag on YouTube.
Tips for Successful Trash to Treasure Projects
Get the most out of your upcycling efforts with practical tips on safety, budgeting, creative techniques, and community sharing.
- Safety Precautions and Tools Needed: Always wear gloves, safety glasses, and a mask when sanding, painting, or cutting. A well-ventilated space and basic tools like screwdrivers and sandpaper are essential.
- Budgeting Your Projects: Start with free or low-cost materials from around your home or local giveaways. Set a small budget and reuse supplies to keep your project affordable and eco-friendly.
- Combining Techniques for Unique Results: Mix materials like wood, fabric, or glass to add interest. Try layering paint, stenciling, or distressing for texture.
- Sharing Your Creations and Building a Community: Post your projects online to inspire others. Use relevant hashtags, join upcycling groups, and share tutorials or tips to connect with fellow DIY enthusiasts and grow your creativity network.
Conclusion
If there’s one thing I’ve learned from upcycling, it’s that you don’t need to start big to make a difference.
A small project, such as repurposing a jar or refreshing an old chair, can spark creativity and boost confidence.
Upcycling isn’t just about saving money or reducing waste; it’s about reimagining what’s possible.
Every project you complete is a win for both the planet and your creative spirit. I’d love to see what you come up with!
Share your own trash-to-treasure transformations or favorite upcycling ideas with me.
Let’s inspire each other to create more, waste less, and turn the ordinary into something extraordinary.