
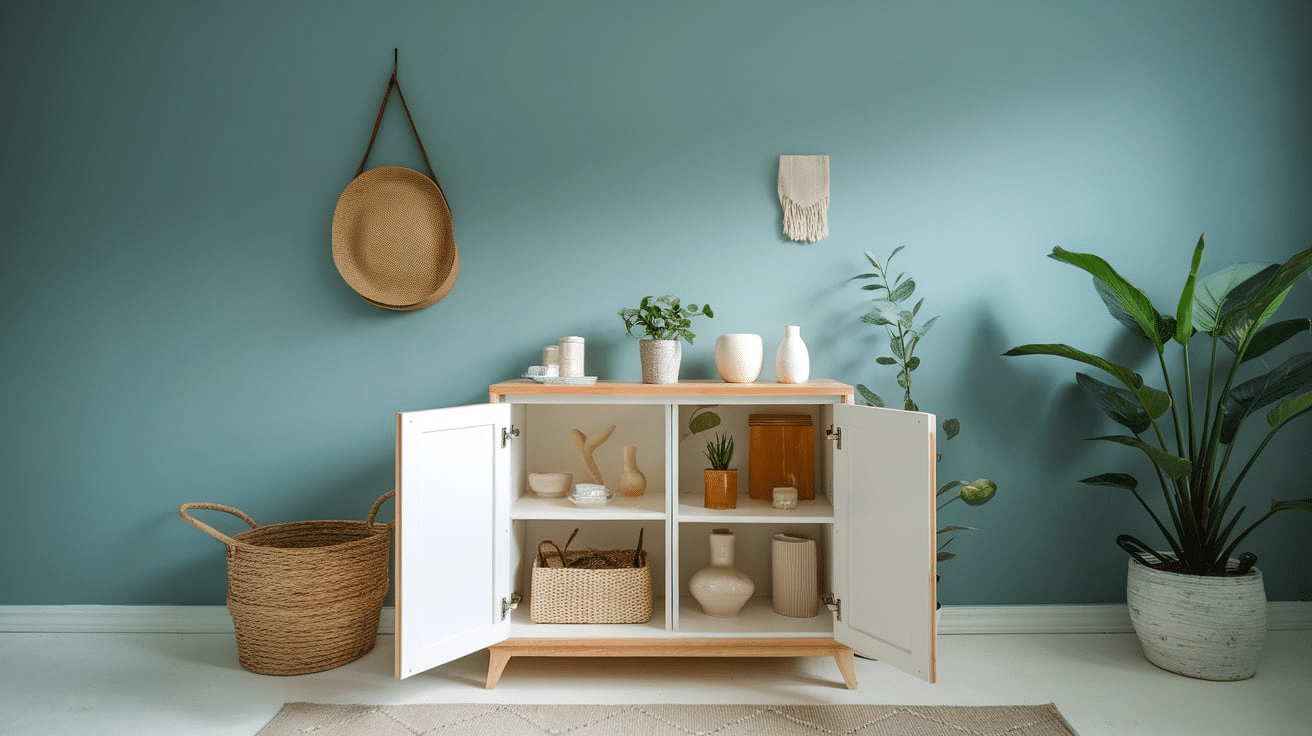
Want to build your own cabinet box but not sure where to start? You’re in the right place! Making a simple cabinet box is a great DIY project, even if you’re new to woodworking. It’s an easy way to add storage and style to your space, and you don’t need fancy tools or skills to do it.
In this blog, I’ll walk you through everything step by step. You’ll learn what tools and materials you need, how to plan your cabinet, and how to put it all together. I’ll also share tips to make the process smoother and the results look great.
If you’re building a cabinet for your kitchen, garage, or bathroom, this guide will help you get the job done. Let’s get started and make a cabinet box you’ll be proud of!
Why Build Your Own Cabinet?
Building your own cabinet box might sound like a big job, but it’s actually a fun and smart DIY project. If you’re fixing up your kitchen, organizing your garage, or want something custom for your space, making your own cabinet has some real perks.
You get to control the look, the size, and even how much money you spend. Here are a few great reasons to build your own cabinet:
1. Save money: Buying cabinets can be expensive. Doing it yourself costs way less.
2. Custom fit: You can build it to the exact size you need for your space.
3. Learn new skills: Great for beginners who want to start woodworking.
4. Make it your style: Choose the finish, hardware, and design that fits your taste.
So, if you’re ready to try a useful, affordable, and satisfying project, building a cabinet box is a great place to start.
Designing and Planning Your Cabinet
Before you start building, it’s important to plan your cabinet the right way. Good planning saves time, money, and stress. Don’t worry—this part is easier than it sounds!
1. Start with the purpose: Think about where your cabinet will go and what you’ll use it for. Is it for your kitchen, garage, or bathroom? Knowing how you’ll use it helps you decide the right size and style.
2. Choose the Right Size: Start by measuring the space where your cabinet will go. Write down the width, height, and depth. Keep a little room on each side so it fits easily. Common sizes:
- Base cabinets (floor): 34½” high x 24″ deep
- Wall cabinets (hanging): 12″–15″ deep
3. Pick the Right Material: The best material for a simple cabinet box is ¾-inch plywood. It’s strong, easy to work with, and holds screws well. Choose cabinet-grade plywood if you want a smooth, clean look.
4. Sketch Your Design: Draw a simple picture of your cabinet. Label each part: sides, bottom, back, and top. Sketch shelves or doors, too. This will help when it’s time to cut your wood.
5. Choose a Style: Do you want an open-shelf look or doors to hide what’s inside? Will it sit on the floor or hang on the wall? You can even add drawers or trim later to match your style.
Planning makes the building part so much easier. With your design ready and your materials picked out, you’ll be all set to start cutting and building with confidence!
Step-by-Step: How to Build a Simple Cabinet Box
Before you start building your cabinet box, it’s important to gather everything you’ll need. This will help the project go smoothly and prevent you from running back and forth to the hardware store.
Materials
- ¾” plywood – for the sides, bottom, top, and back
- Wood glue – to help hold the joints together
- 1¼” pocket hole screws – for strong connections
- Edge banding (optional) – to cover the raw edges for a clean look
- Finishing materials – like paint, stain, or clear coat
Tools
- Circular saw or table saw
- Drill
- Pocket hole jig (like a Kreg Jig)
- Measuring tape
- Clamps
- Sander or sanding block
- Safety gear
Now that you’ve planned your cabinet and gathered all your materials, it’s time to build!
Step 1: Cut Your Plywood Pieces

Start by cutting your plywood based on the measurements from your plan. You’ll need:
- 2 side panels
- 1 bottom panel
- 1 back panel
- 2 top stretchers (small strips that go across the top for support)
Use a circular saw or table saw to make straight cuts. If you’re new to cutting plywood, using a guide (like a straight board clamped to the sheet) can help keep your cuts straight. Always measure twice before you cut—just to be sure!
Step 2: Drill Pocket Holes
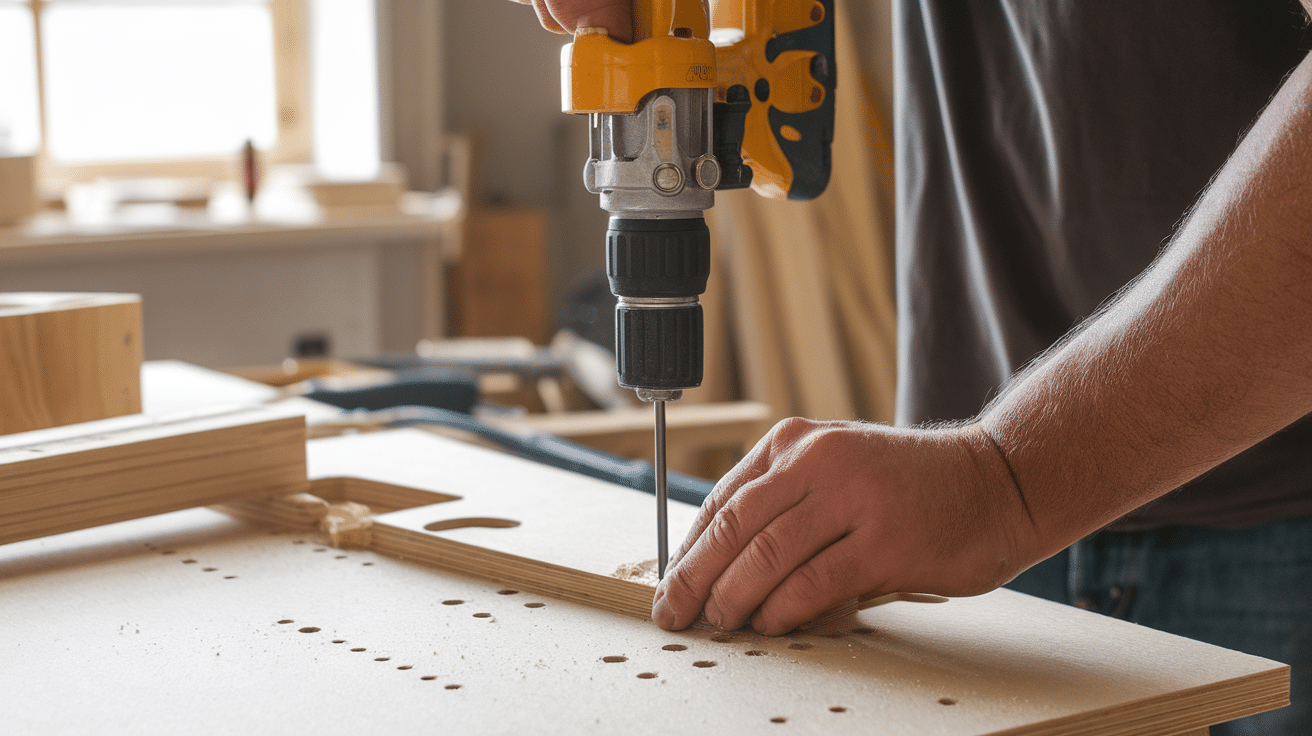
Pocket holes are small, hidden holes that let you screw two pieces of wood together at an angle. They’re strong and easy to make with a pocket hole jig (like a Kreg Jig).
Drill pocket holes:
- On the ends of the bottom panel
- On both top stretchers
You’ll be screwing these pieces into the side panels later.
Step 3: Sand All Pieces
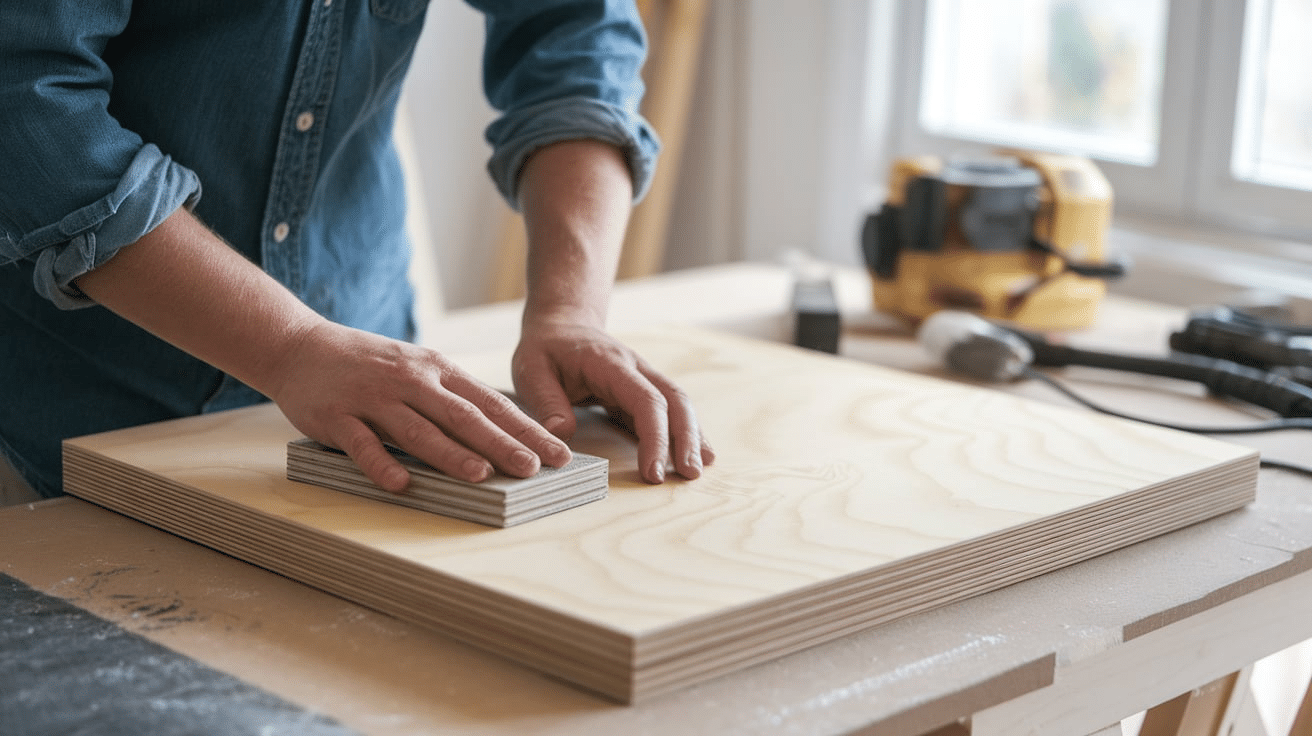
Before you start putting everything together, give each piece a quick sanding. This helps smooth rough edges and removes any splinters. Use a sanding block or power sander with 120-grit sandpaper, and then go over it again with 180 or 220-grit for a nice finish.
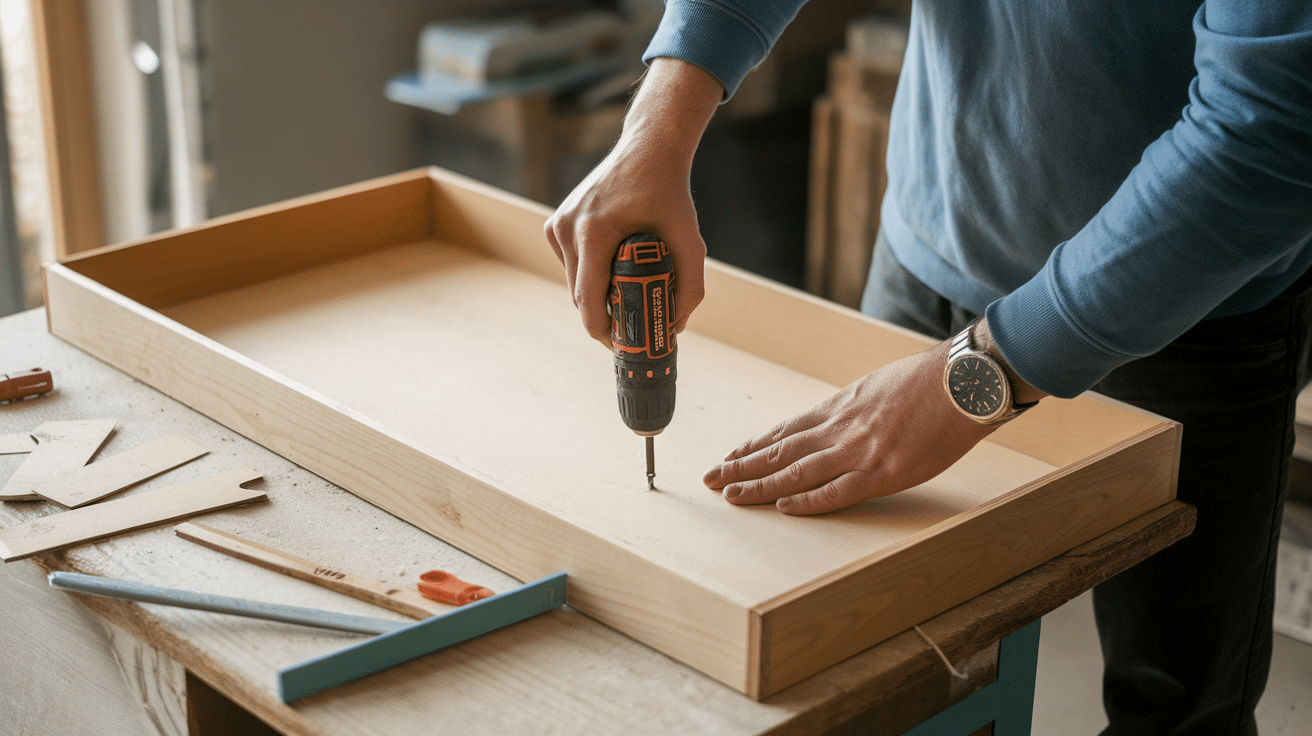
Step 4: Attach the Bottom Panel
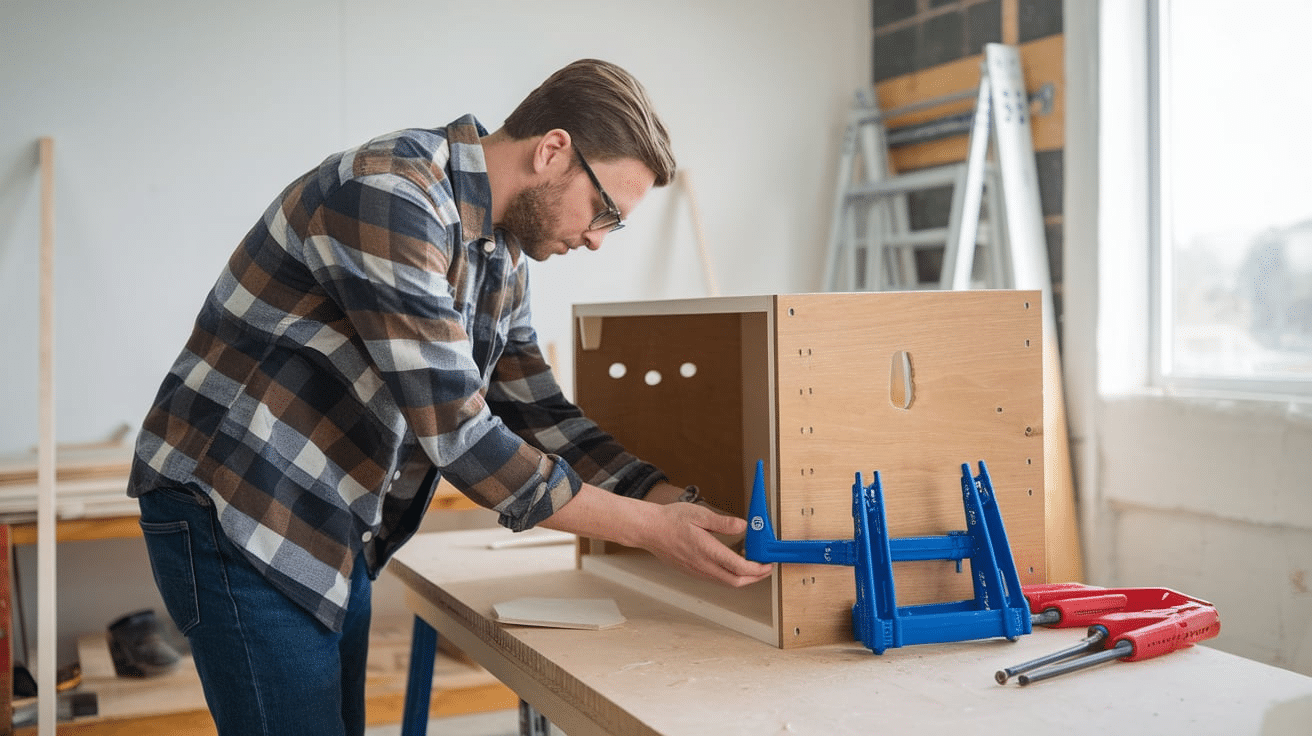
Lay one side panel flat on your work surface. Add wood glue to the edge of the bottom panel, then place it against the side panel (toward the bottom). Use screws and your pocket holes to attach it. Repeat this step with the other side panel so the bottom is now held between both sides.
Step 5: Add the Top Stretchers
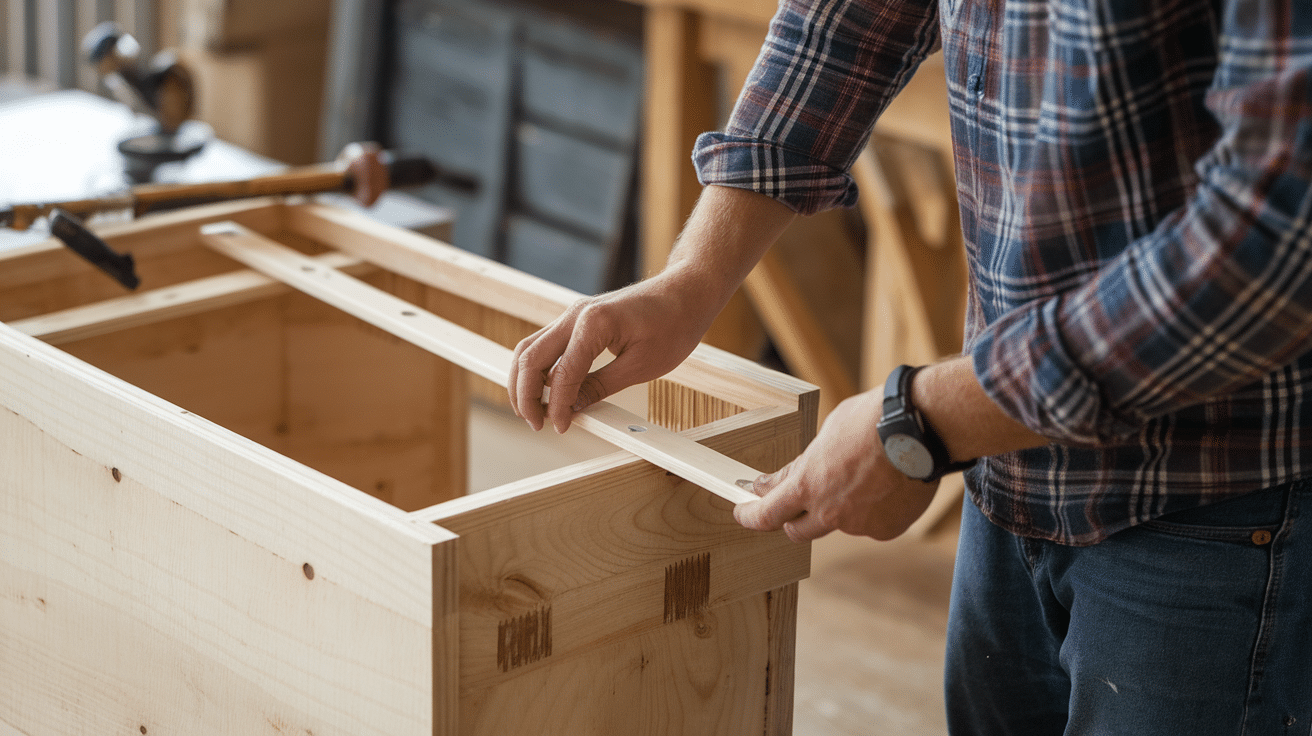
Next, attach the two top stretchers between the side panels. One should go across the front top edge and the other across the back. These help keep the cabinet square and sturdy. Use wood glue and pocket screws to attach them. Make sure they sit flush with the top edge of the side panels.
Step 6: Attach the Back Panel
Now it’s time to close up the back. Lay the cabinet face down and place the back panel over it. It should cover the back edges of the sides, bottom, and top stretchers. Make sure everything is lined up, then use wood glue and screws (or a nail gun) to attach the back panel. This also helps square up your cabinet box.
Step 7: Check for Square
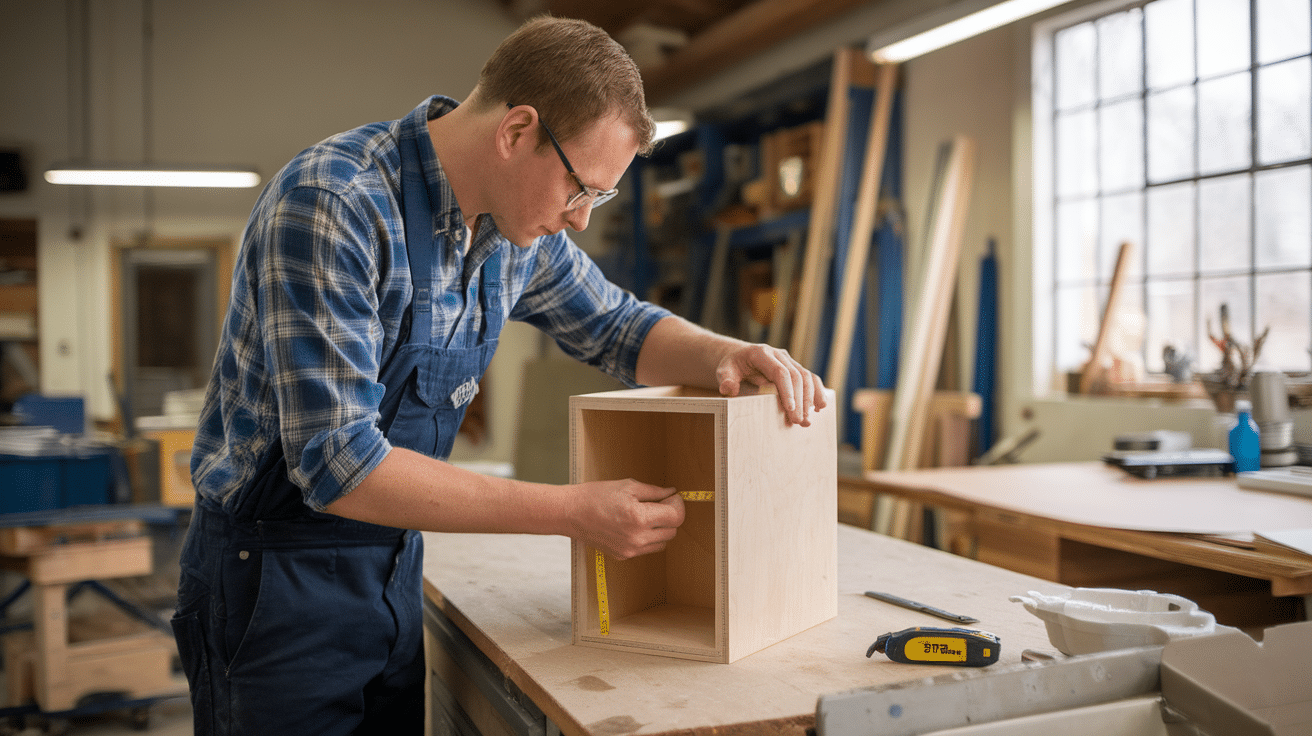
Before the glue dries, double-check that the cabinet is square. Measure diagonally from one corner to the opposite corner. Then, check the other two corners. If the numbers match, your cabinet is square. If not, gently adjust it before the glue sets.
Step 8: Sand the Whole Cabinet
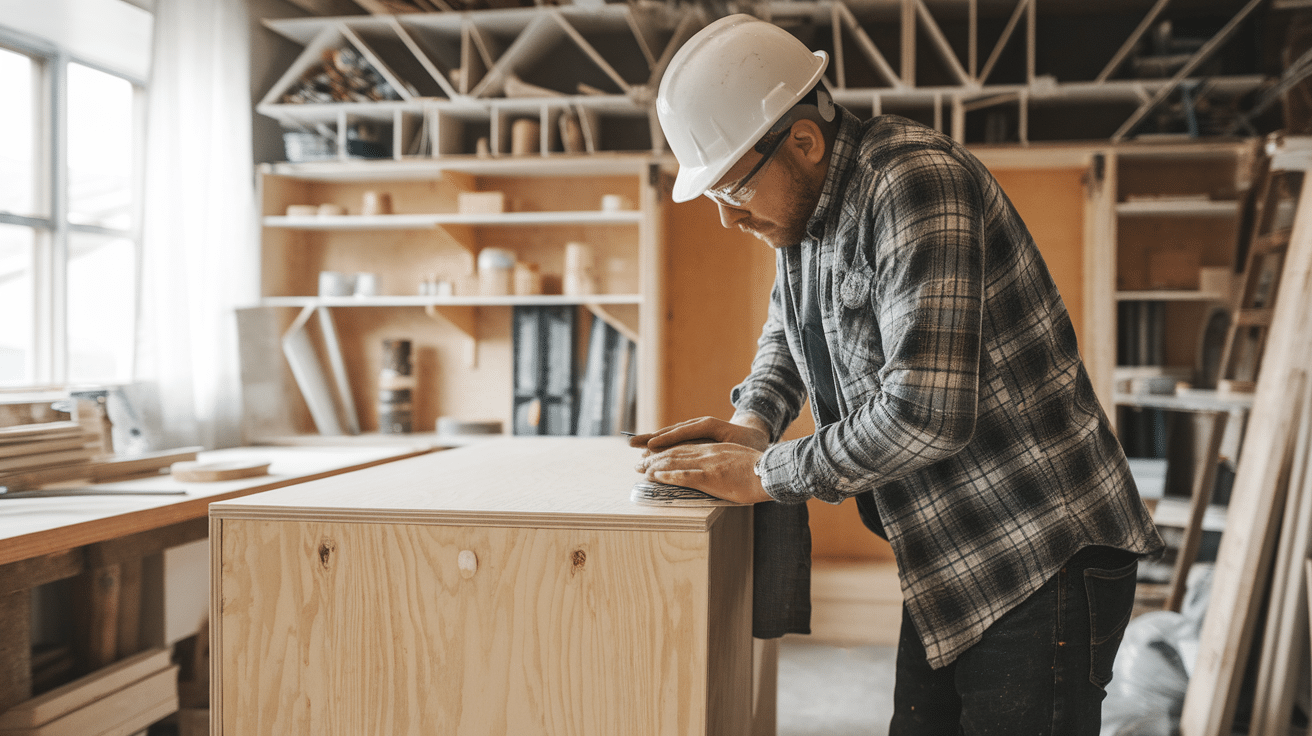
Now that the cabinet is built, give the entire thing another sanding. Smooth out any rough spots and clean up glue lines. This step makes your cabinet look polished and ready for finishing. Pay extra attention to the edges and corners so everything feels smooth to the touch.
Step 9: Finish Your Cabinet
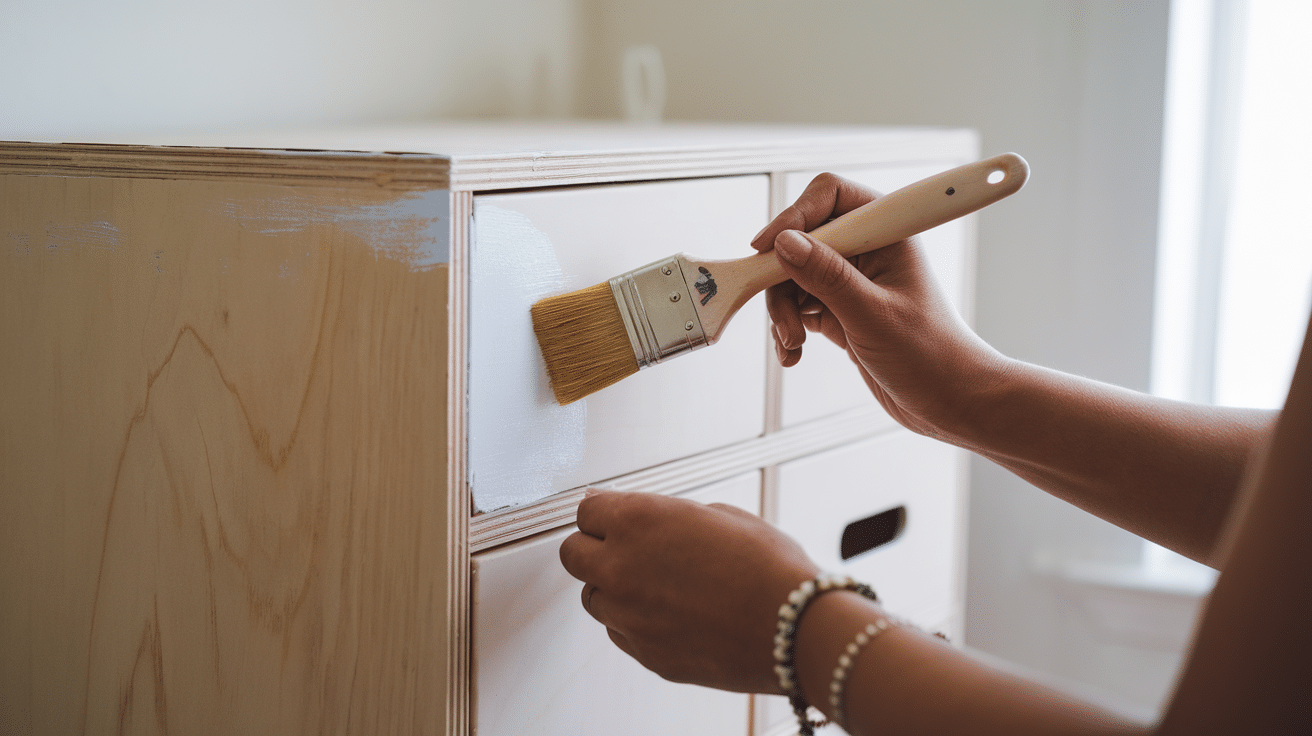
This is the fun part—painting, staining, or sealing your cabinet! Choose a finish that matches your style. If you’re painting, you may want to add a primer first. If you’re staining, apply the stain with a cloth or brush and wipe off the excess. Let it dry completely before moving it or installing it.
And that’s it! You’ve just built a simple cabinet box from start to finish. Whether you use it in your kitchen, bathroom, garage, or craft room, you can be proud of your work. Take your time, have fun, and don’t stress if it’s not perfect. Every project is a chance to learn and grow.
Frameless vs. Face Frame Cabinet Box Styles
When designing your cabinet, one of the first choices you’ll make is whether to build it frameless or with a face frame. Both styles work well—it just depends on the look you want and your building skills.
Frameless Cabinets
Frameless cabinets, also called “European-style” cabinets, don’t have a wooden frame on the front. Instead, the doors attach directly to the sides of the cabinet box. Why choose frameless?
- Clean, modern look: Great for modern or minimalist spaces.
- More storage: No frame means a wider opening inside the cabinet.
- Easier to build: Fewer pieces to cut and attach.
- Good for beginners: Simple and fast to put together.
Face Frame Cabinets
Face-frame cabinets have a wooden frame on the front, similar to a picture frame. The doors attach to this frame instead of the cabinet sides. Why choose face-frame cabinets?
- Stronger front structure: This adds extra support and keeps the box square.
- Classic, traditional style: Works well in farmhouse or vintage designs.
- Great for uneven walls: The frame helps hide small gaps during install.
- More door options: Works with inset or overlay doors.
If you’re new to DIY, frameless cabinets might be the easier choice to start with. But if you like a classic look and don’t mind the extra step, face-frame cabinets are a strong, stylish option, too!
Customizing Your Cabinet Box
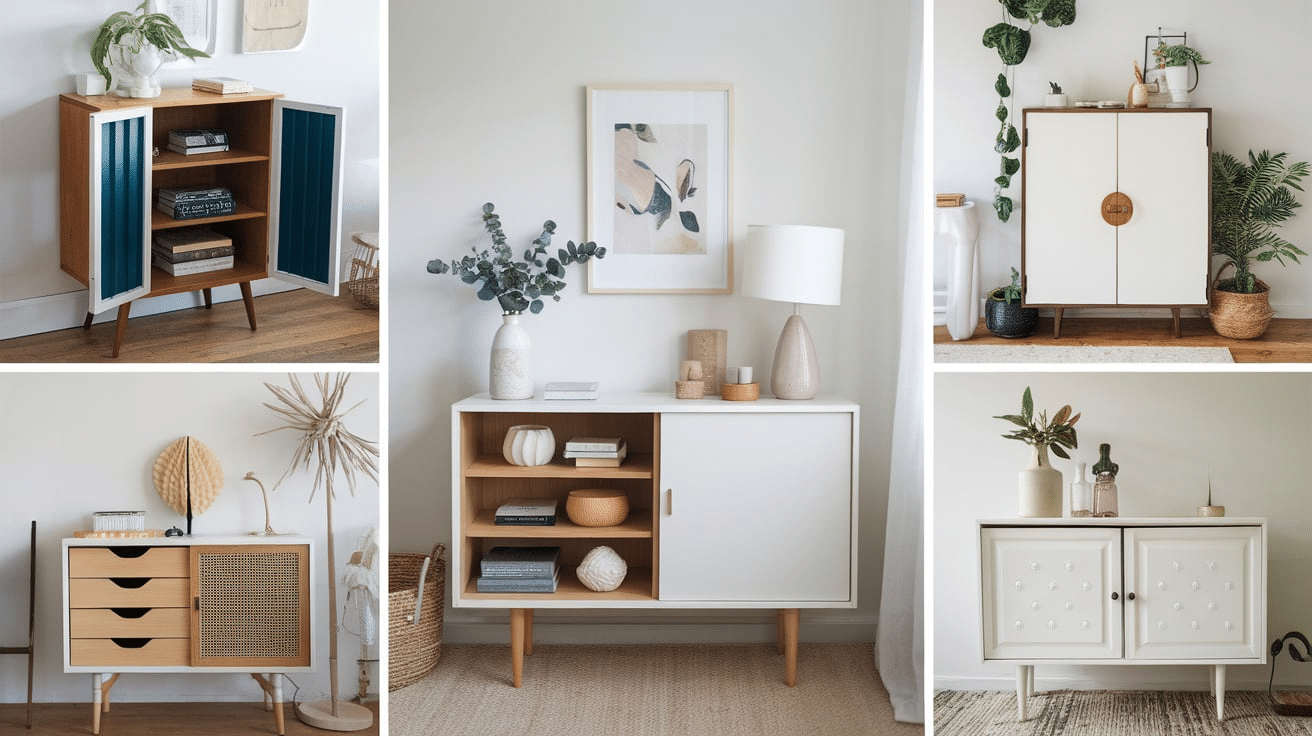
Once you’ve built your basic cabinet box, you can make it your own by adding a few custom touches. This is the fun part! You get to decide how the cabinet looks and works based on your space and style.
1. Add Shelves: Want more storage? Add one or two shelves inside the cabinet. Just measure the inside width and depth, then cut a piece of plywood to fit. You can screw the shelf in place, or use shelf pins so it’s adjustable.
2. Add Doors: To hide what’s inside, you can attach a door (or two) to the front. Use simple cabinet hinges and cut a flat door from plywood. You can paint it, add handles, or even glue on trim for a more decorative look.
3. Make it a Drawer Cabinet: Feeling a little more advanced? You can add a drawer or two under the top stretcher. You’ll need drawer slides, a drawer box, and a drawer front. It’s extra work, but great for organizing small items.
4. Add Legs or a Toe Kick: If your cabinet is going on the floor, think about how it will sit. You can screw on furniture legs for a modern look, or build a simple toe kick base to raise the cabinet and make it easier to reach.
5. Finish It Your Way: You can paint your cabinet a bold color, stain it for a wood look, or keep it natural with a clear coat. Add fun knobs or handles that match your room’s style.
With just a few tweaks, your simple cabinet can become something really special. Customizing it is a great way to make it fit your needs—and show off your creativity!
Common Mistakes to Avoid When Building Cabinets
Building your own cabinet box is a great project, but like any DIY job, it’s easy to make a few mistakes—especially if you’re new to woodworking. Don’t worry! Most of these are easy to avoid once you know what to look out for.
Not Measuring Correctly: One of the biggest mistakes is cutting your wood too short or too long. Always measure twice, cut once, and double-check all your numbers before you start cutting your plywood.
Using the Wrong Screws: Using screws that are too long can poke through your wood. Too short, and the pieces won’t hold well. Stick with 1¼” pocket hole screws for ¾” plywood. That size is just right for strong joints.
Skipping the Sanding: Sanding might seem boring, but it makes a big difference in how your cabinet looks and feels. Smooth edges and surfaces give you a cleaner finish and help paint or stain go on better.
Rushing the Build: It’s tempting to speed through the project, but taking your time leads to better results. Dry-fit your pieces first, follow each step carefully, and let the paint or stain dry fully between coats.
Avoiding these common mistakes will help you build a cabinet that’s strong, neat, and ready to use. Everyone messes up sometimes, but now you know how to get ahead of the game!
Conclusion
Building a simple cabinet box might seem like a big job at first, but once you break it down into steps, it’s totally doable—even for beginners. With just a few tools, some plywood, and a little patience, you can create a strong, useful cabinet that fits your space and your style.
The best part? You get to customize it just the way you like—add shelves, doors, drawers, or a fresh coat of paint. It’s okay if things aren’t perfect. Every project helps you learn and grow your DIY skills. Just take your time, follow the steps, and don’t be afraid to make a few changes along the way.
You’ll have something you built with your own hands—and that’s something to be proud of. So grab your tools, plan your build, and go for it. You’ve got this!