: Perfect for Kitchen")
Have you been staring at your kitchen cabinets, wondering how to refresh them without making a regrettable choice? You’re not alone.
Many homeowners want to update their kitchens with a color that will look good today and still feel fresh years from now.
Edgecomb Gray, with its LRV 63.09, offers the solution you’ve been looking for. This soft, warm neutral creates a welcoming kitchen that works with nearly any style.
In this guide, I’ll show you:
- Why Edgecomb Gray is becoming a top cabinet color choice
- How to pair these cabinets with other kitchen elements
- Simple ways to refresh your kitchen with this versatile shade
- Tips for a successful cabinet painting project
You don’t need to be a design expert to create a beautiful kitchen. Let’s break it down into manageable steps anyone can follow.
Why Choose Edgecomb Gray for Your Kitchen Cabinets?
Before getting into the how-to, let’s talk about why Edgecomb Gray cabinets make sense:
- Warmth: Provides a soft, welcoming feel, unlike cooler grays
- Flexibility: Works with both modern and traditional designs
- Timeless appeal: Avoids trendy colors that quickly look dated
- Hides marks: Less visible fingerprints and minor stains
- Matches most materials: Pairs well with many countertops and backsplashes
I updated my kitchen cabinets last year when I wanted a fresh look without a complete remodel. The total cost was reasonable, and they still look great today.
Color Combinations that Work with Edgecomb Gray
Edgecomb Gray is a chameleon color that pairs well with many other shades:
- White marble or quartz countertops for a clean, bright look
- Oil-rubbed bronze hardware for a touch of warmth and contrast
- Soft blues and greens as accent colors that complement perfectly
- Natural wood tones that enhance the warmth
- Black accents for definition and modern appeal
The beauty of Edgecomb Gray is its subtle warmth – it’s not quite beige, not quite gray, but a perfect blend that designers often call “greige.”
Preparing Your Cabinets for Painting
The prep work makes a huge difference in how long your cabinet paint job lasts. Many homeowners rush straight to painting, eager to see the changes, but professionals know that 80% of a successful paint job happens before the first coat of paint touches the surface.
1. Remove Hardware and Doors
Start by removing all cabinet doors, drawers, and hardware.
Label each piece with numbered tape to ensure everything goes back in the right place—store screws and hardware in labeled bags to keep track of what goes where.
Taking everything apart might seem time-consuming, but painting cabinets in place often results in drips, uneven coverage, and paint on hinges that causes sticking.
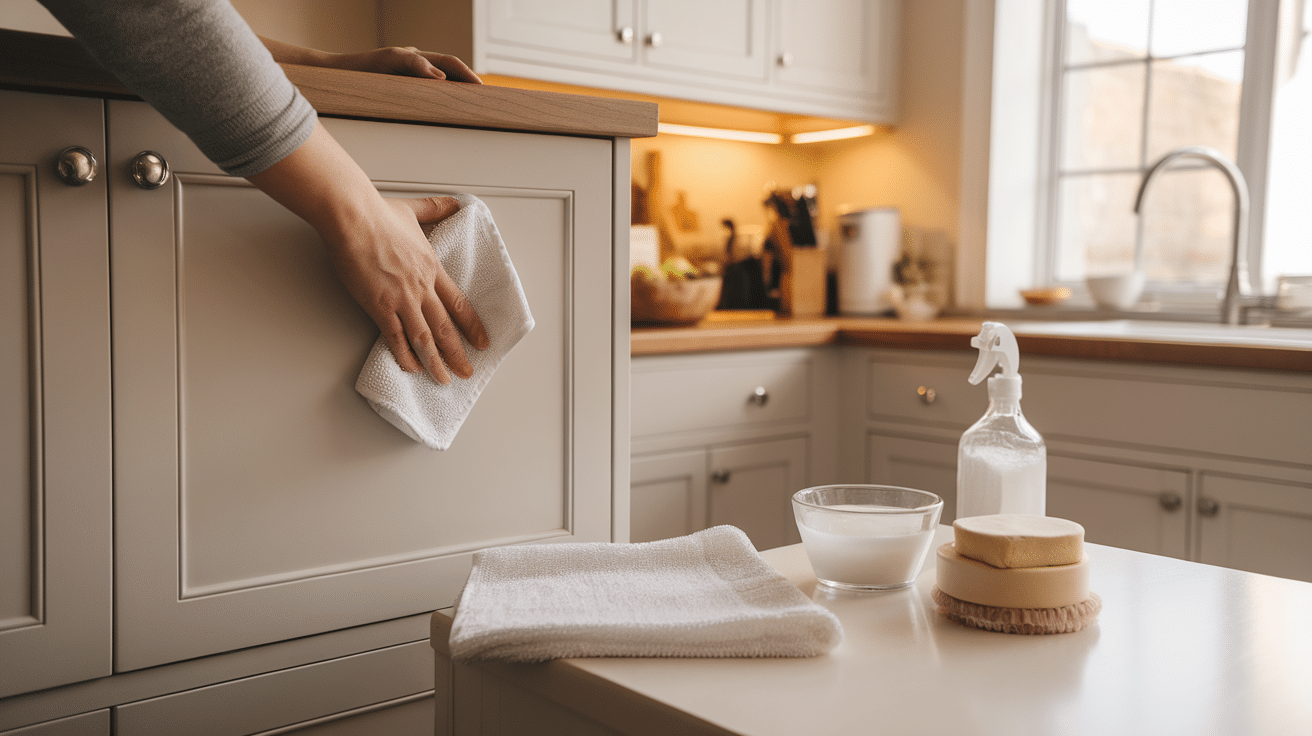
2. Deep Clean All Surfaces
Proper cleaning is essential before you begin painting. Use a degreasing cleaner to remove all cooking oils, food residue, and built-up grime from cabinet surfaces.
Pay special attention to areas near the stove and sink where grease accumulates. A soft scrub brush can help with textured areas, while cotton swabs work well for corners and crevices.
Rinse with clean water and allow the cabinets to dry completely before moving to the next step.
3. Create a Receptive Surface
After cleaning, prepare the surface by lightly sanding with 220-grit sandpaper, followed by 320-grit for a smoother finish.
You’re not removing the existing finish completely—just creating tiny scratches that help the primer adhere better. Sand in the direction of the wood grain using even pressure.
After sanding, vacuum all surfaces and wipe with a tack cloth to remove every speck of dust that could create bumps in your paint finish.
4. Apply Quality Primer
The right primer can make a world of difference in your final result. Choose a bonding primer specifically formulated for kitchen cabinets. This primer will seal the surface, prevent stains from bleeding through, and create the perfect base for your paint.
Apply the primer in thin, even coats using high-quality brushes for detailed areas and foam rollers for flat surfaces. Allow each coat to dry completely—usually 24 hours—before lightly sanding with 320-grit paper and applying a second coat if needed.
Good prep work might take two full days, but it’s worth it! Well-prepped cabinets will hold paint much longer than those that were rushed.
Painting Process for Perfect Edgecomb Gray Cabinets
Now for the fun part – actually painting your cabinets! After all that cleaning, sanding, and priming, you’re finally ready to see your vision take shape.
1. Choose the Right Paint
For kitchen cabinets, choose a semi-gloss or satin finish paint. These finishes are easier to clean and better withstand the moisture and temperature changes common in kitchens.
Semi-gloss offers excellent durability with a subtle shine that highlights the cabinet’s details while making it simple to wipe away cooking splatters and fingerprints.
Make sure your Edgecomb Gray paint is specifically made for cabinets or trim for the best results. Cabinet and trim paints are formulated with harder resins that cure to a tougher finish than wall paints, allowing them to withstand repeated cleaning and daily wear and tear.
2. Apply Paint Correctly
When you’re ready to apply the paint, use thin, even layers rather than trying to cover everything in one go. Keep your brush or roller moving constantly in a smooth motion to prevent drips or pooling.
For best results, use short, controlled strokes rather than long passes. Remember that 2-3 thin coats will always look better than a single thick coat, even if it means more waiting time.
Allow proper drying time between coats, though you should always check the instructions for your specific paint, as drying times vary by brand.
3. Drying Between Coats
Be patient! Rush this step, and your finish will suffer.
Patience during the drying process is crucial for a professional-looking finish. Set a timer between coats to avoid the temptation to rush—applying the next coat too soon is a common mistake that leads to peeling and bubbling.
Before adding another layer, touch the surface gently to confirm it doesn’t feel sticky. For the best drying, aim for a room temperature between 65-75°F with low humidity, as these conditions allow the paint to cure properly.
Design Ideas for Edgecomb Gray Kitchen Cabinets
Edgecomb Gray cabinets offer remarkable versatility across various kitchen design styles, from rustic farmhouse to sleek contemporary spaces.
The neutral gray base creates an ideal foundation that lets you express your style through accessories, hardware, countertops, and backsplashes without committing to a bold cabinet color that might feel dated in a few years.
1. Modern Farmhouse
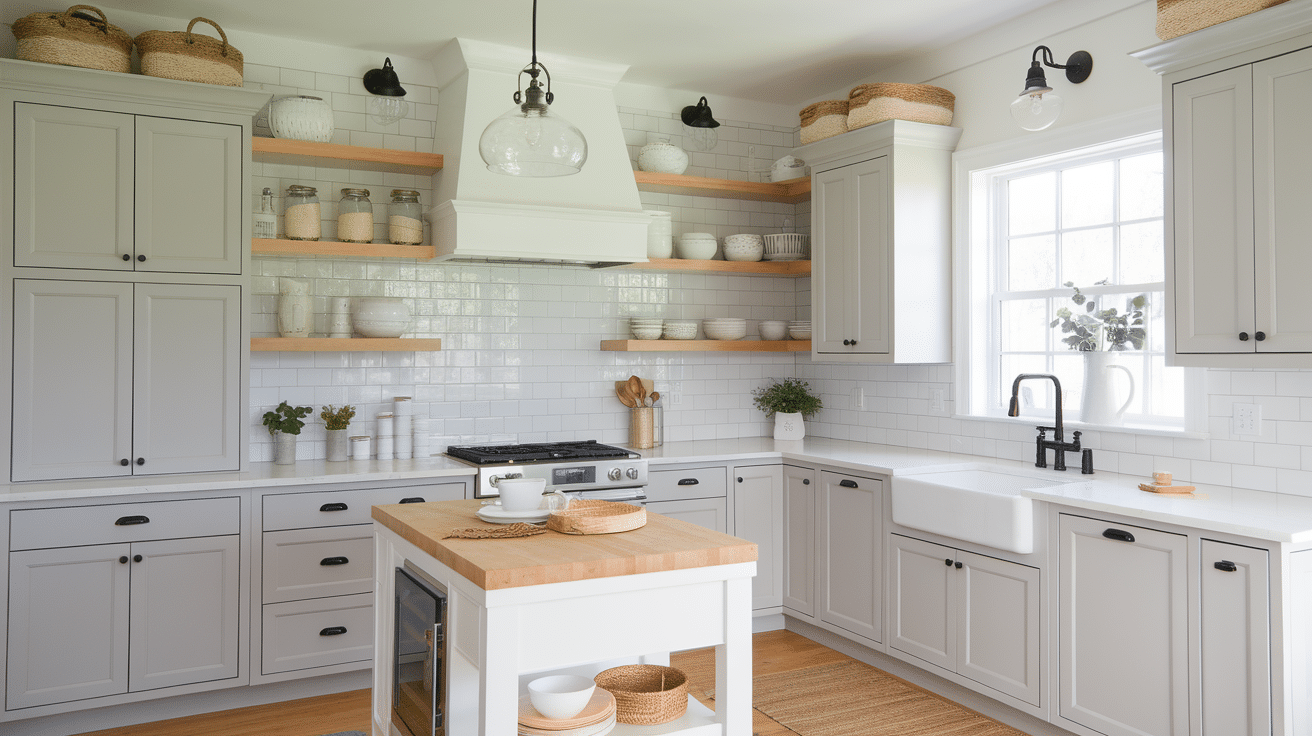
The Modern Farmhouse style brings warmth and simplicity to life when paired with Edgecomb Gray cabinets. Start with crisp white subway tile as your backsplash to create clean lines and brightness that contrasts beautifully with the soft greige cabinets.
Add matte black hardware in simple shapes like bar pulls or knobs that stand out against the cabinet color while maintaining that farmhouse beauty.
- Pair with white subway tile backsplash
- Add matte black hardware and light fixtures
- Include open shelving with natural wood tones
2. Classic Traditional
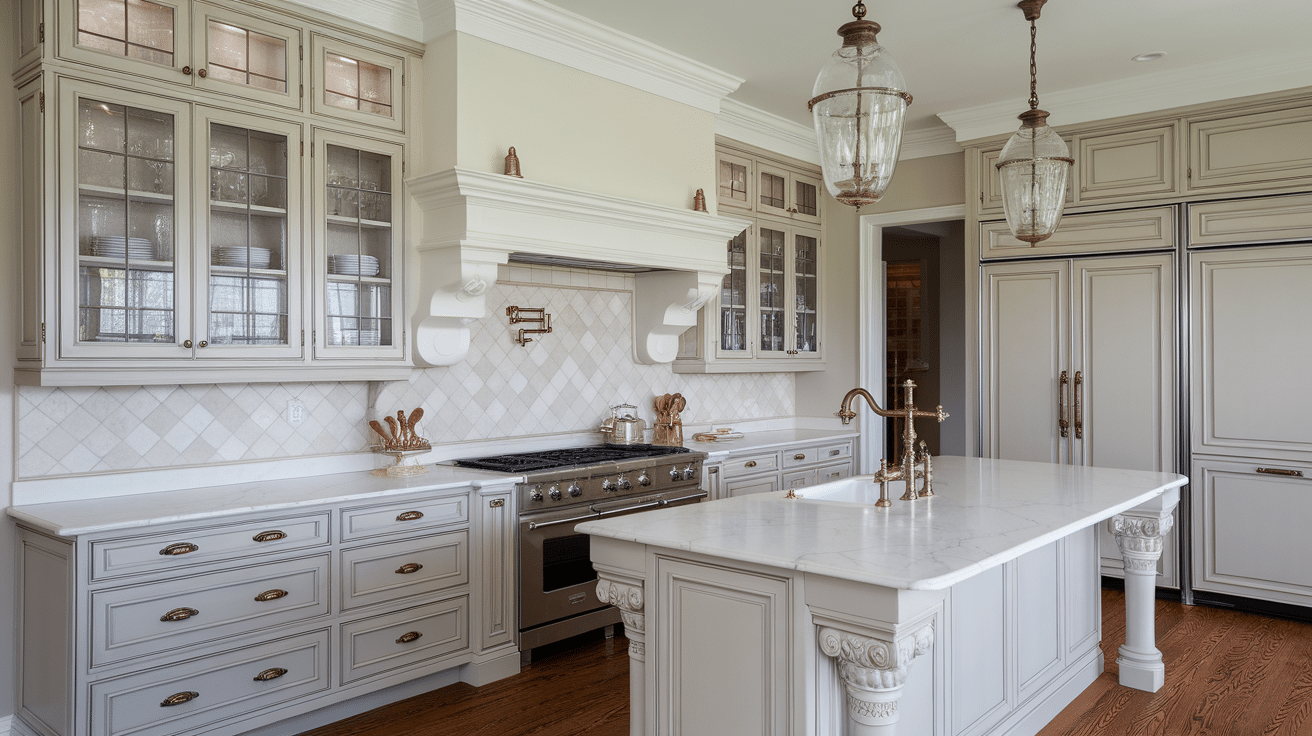
The Classic Traditional style exudes timeless beauty when anchored by Edgecomb Gray cabinets.
Start with detailed cabinet doors featuring raised panels or applied molding that showcase traditional craftsmanship. Then, for a built-in, custom appearance, add decorative crown molding that extends to the ceiling.
- Use marble or quartz countertops with subtle veining
- Choose brass or bronze cabinet handles
- Add crown molding to upper cabinets for extra detail
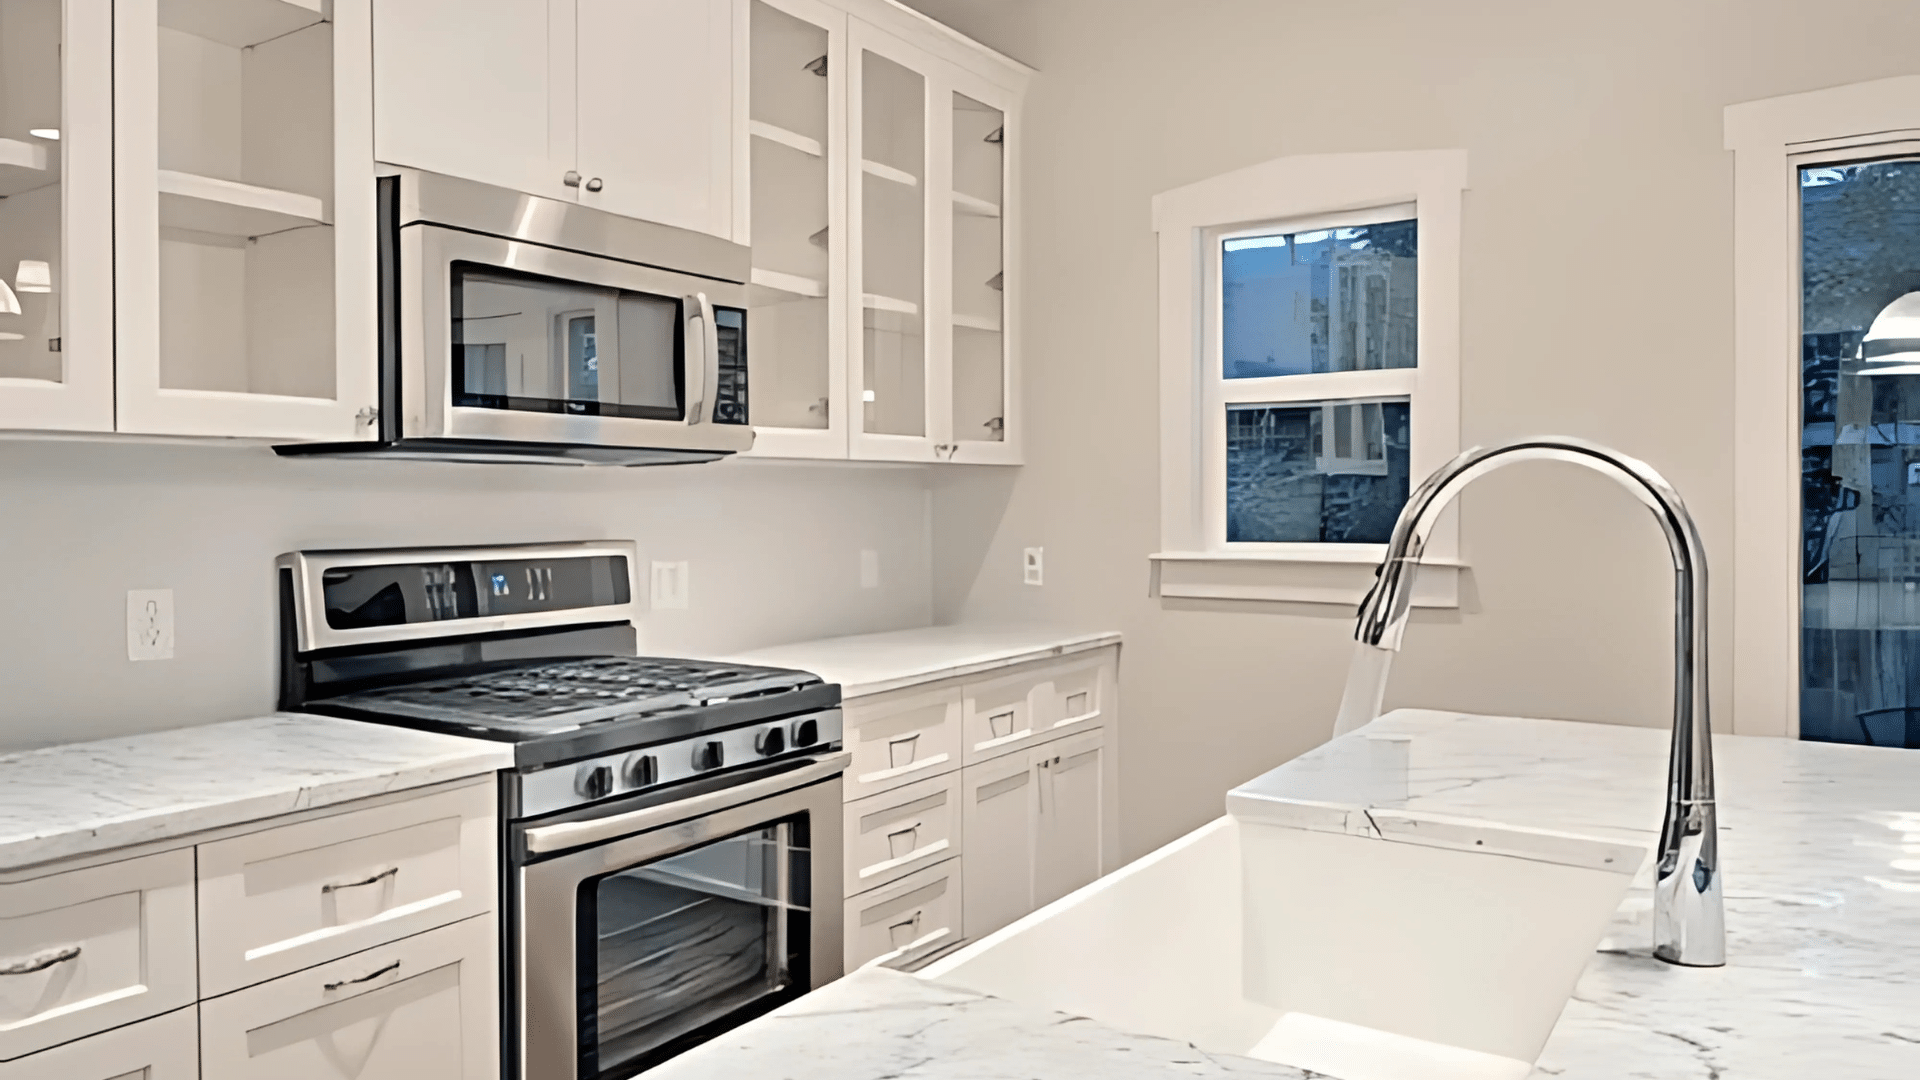
3. Contemporary

When Edgecomb Gray cabinets serve as the foundation, the Contemporary style shines with clean lines and minimal ornamentation. Begin with sleek, flat-panel cabinet doors or simple shaker-style fronts that emphasize the horizontal lines essential to contemporary design.
Choose hardware with a streamlined profile. Slim bar pulls in brushed nickel or chrome that span the width of drawers create a cohesive, uncluttered look that defines contemporary spaces.
- Combined with sleek stainless steel appliances
- Select simple, straight-line hardware
- Use white quartz countertops for a clean look
4. Transitional
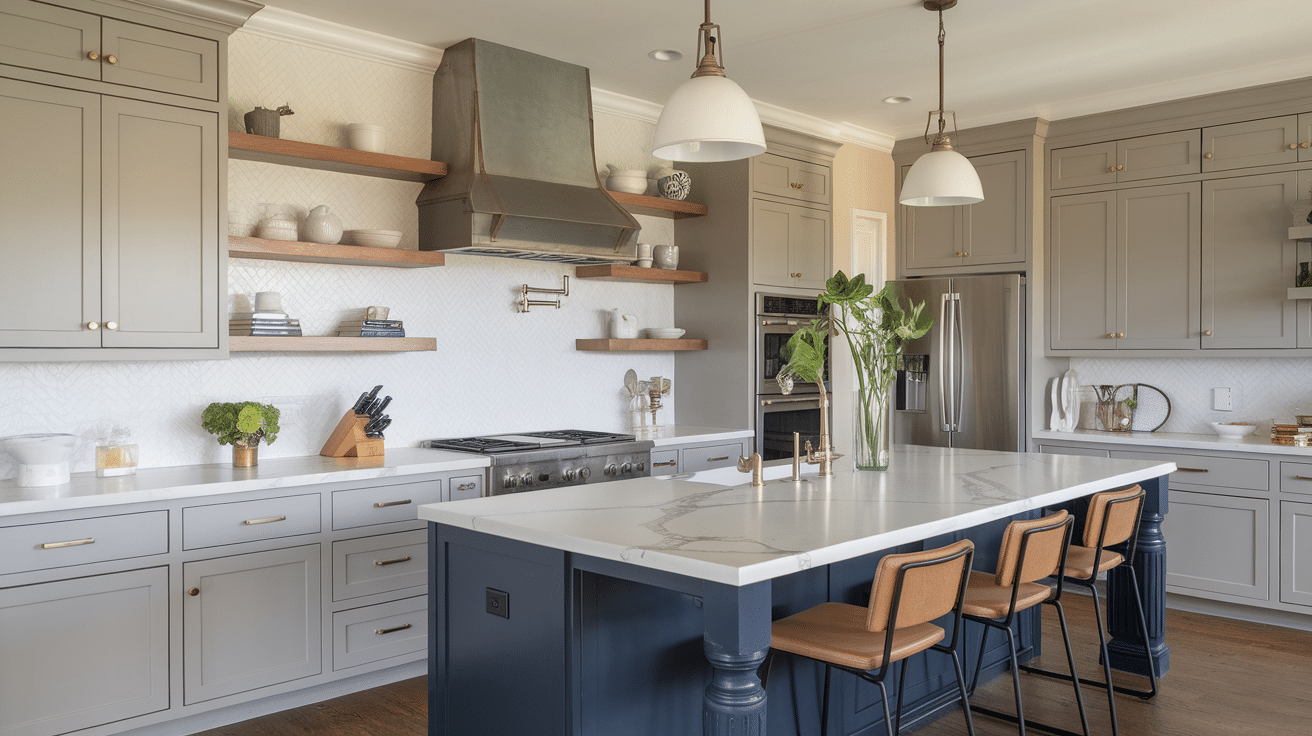
The Transitional style creates the perfect balance between traditional comfort and contemporary freshness when Edgecomb Gray cabinets anchor the design.
Begin with simple shaker-style cabinet doors that bridge classic and modern style. Their clean lines offer contemporary appeal, while their subtle framing provides traditional character.
- Mix metal finishes like nickel and brass
- Use a combination of open shelving and closed cabinets
- Add pendant lighting with clean lines but warm materials
Common Mistakes and How to Avoid Them
| Problem | Cause | Solution |
|---|---|---|
| Paint peeling too soon | Not cleaning or sanding properly | Take extra time on prep work – it’s worth it! |
| Uneven, blotchy finish | Applying too much paint at once | Use multiple thin coats instead of one thick one |
| Cabinet doors sticking | Paint on hinges or do not allow full drying time | Remove hardware completely and allow proper curing time |
| Visible brush marks | Using low-quality brushes or applying paint too thickly | Use high-quality brushes or foam rollers and apply thin coats |
| Color looks different than expected | Not testing the paint first | Paint a small test area and view it at different times of day before committing. |
Taking your time with each step will help you avoid most of these issues. Remember that rushing usually leads to redoing the work later.
Maintaining Your Edgecomb Gray Cabinets
Regular care and preventative maintenance are essential to keeping your Edgecomb Gray cabinets looking beautiful year after year.
The following maintenance practices require minimal time investment but offer significant rewards in extending the life and preserving the appearance of your Edgecomb Gray kitchen cabinets.
Establish a Cleaning Routine
Develop a consistent cleaning schedule using gentle products. Create a simple solution of warm water with a few drops of mild dish soap and apply with a soft microfiber cloth, working from top to bottom.
For stubborn spots, a paste of baking soda and water works effectively without scratching.
Finish by wiping with a clean, damp cloth to remove any soap residue, then dry thoroughly with a lint-free towel to prevent water spots.
Protect from Heat and Moisture
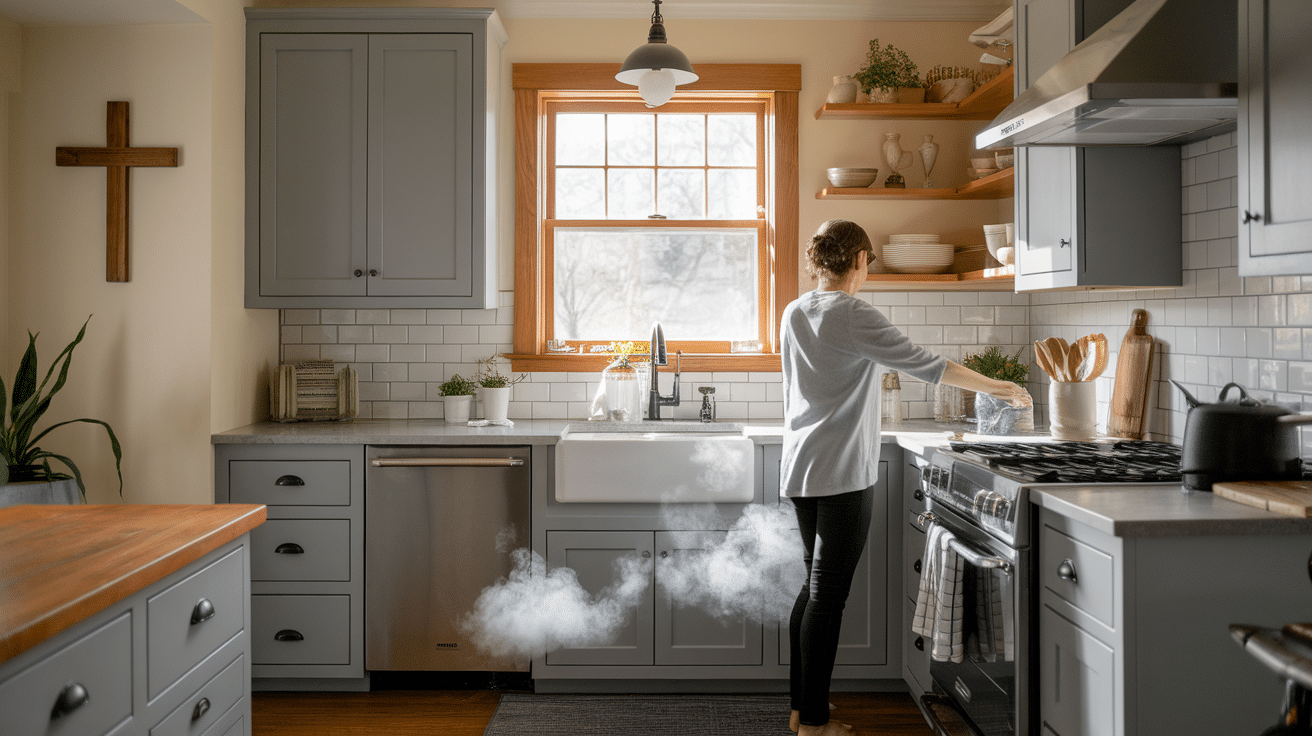
Shield your cabinets from excessive heat and moisture, which can damage even the most durable finishes.
Use heat deflectors for cabinets near cooking appliances and ensure your kitchen ventilation system works properly to reduce steam.
Wipe condensation promptly, especially during cooking or dishwasher cycles. For additional protection against moisture penetration, consider applying a thin coat of cabinet wax annually to cabinets near water sources.
Prevent Damage Before It Occurs
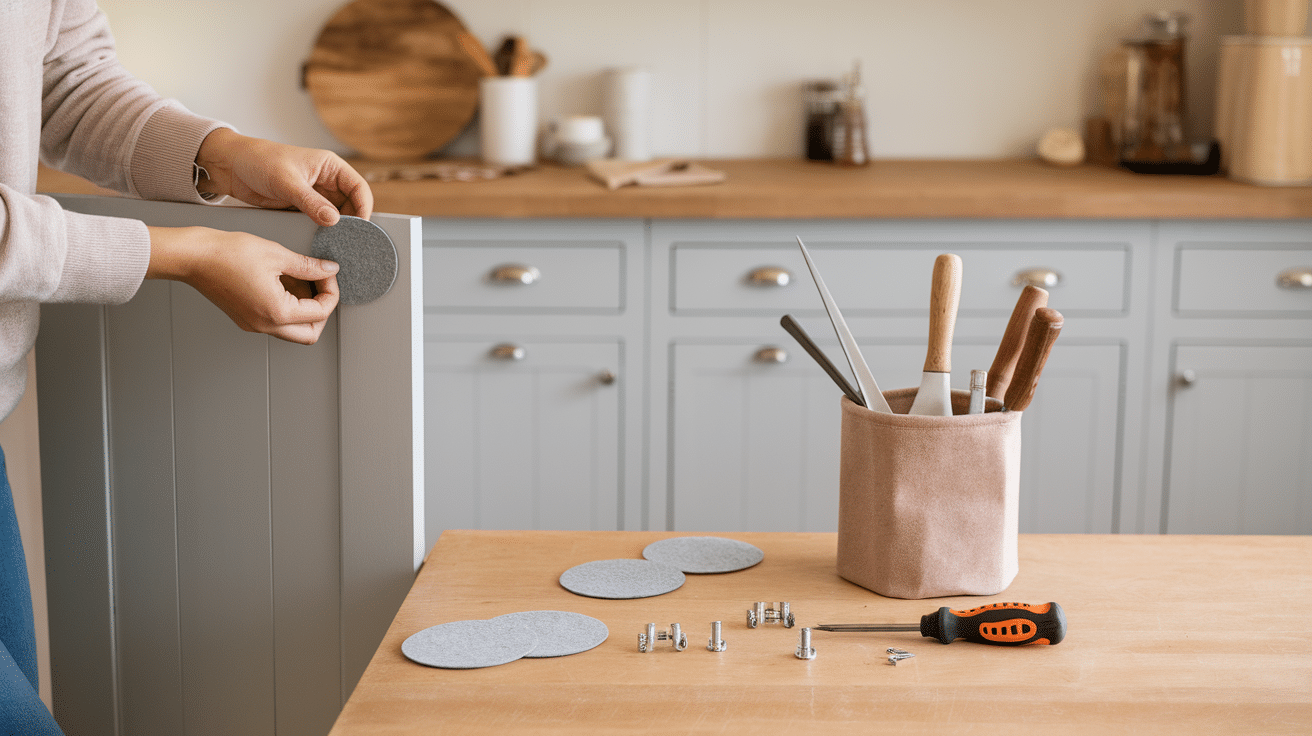
Take proactive steps to prevent wear rather than addressing it after the fact. For example, apply felt pads to the interior of cabinet doors to create soft closures and reduce impact.
Consider installing soft-close hinges on frequently used doors and drawers to minimize slamming.
Keep sharp objects and abrasive containers in protective bins rather than directly on cabinet shelves to prevent interior scratches that can eventually affect overall cabinet integrity.
Schedule Seasonal Maintenance

Perform thorough seasonal inspections beyond regular cleaning. Every three months, remove items from inside cabinets to check for early signs of wear, water damage, or loose hardware.
Tighten any loose screws and adjust hinges that may have shifted. Twice yearly, remove and clean hardware separately using appropriate cleaners for the specific metal type.
With proper care, your painted cabinets should look great for 3-5 years before needing a refresh. Kitchen cabinets near the sink or stove typically require more frequent attention than those in less-used areas.
Conclusion
Painting your kitchen cabinets Edgecomb Gray is a simple way to update your kitchen without spending much money. By following these steps and taking your time, you can create a finish that looks professional.
The key points to remember:
- Clean and sand properly before painting
- Use thin, even coats and be patient between them
- Choose the right hardware and countertops to complement the color
This weekend project can save you thousands of dollars compared to replacing your cabinets. Plus, you get the satisfaction of doing it yourself!
Now that you know how to do it, what’s stopping you? Those old, tired cabinets could have a whole new look by the end of next weekend.
Have you painted cabinets before? Did you try Edgecomb Gray or another shade? Share your experience in the comments below! I’d love to see how your project turned out.
Frequently Asked Questions
Is Edgecomb Gray Too Light for Kitchen Cabinets?
No, Edgecomb Gray provides enough depth and warmth for cabinets without looking washed out. Its subtle color stands up well to daily use.
How Does Edgecomb Gray Compare to Agreeable Gray for Cabinets?
Edgecomb Gray is warmer with beige undertones, while Agreeable Gray has more true gray tones. Edgecomb works better in spaces with warm lighting.
Can I Paint My Existing Cabinets Edgecomb Gray Over a Dark Color?
Yes, but you’ll need a high-quality primer and possibly an extra coat of paint to cover dark colors completely.
Do Edgecomb Gray Cabinets Work in A North-Facing Kitchen?
Yes, the warm undertones in Edgecomb Gray help balance cooler light in north-facing kitchens, creating a welcoming space despite less direct sunlight.
What Wall Colors Work Best with Edgecomb Gray Cabinets?
Whites like Simply White, soft blues like Sea Salt, gentle greens like Pale Oak, and deeper neutrals like Chelsea Gray all beautifully complement Edgecomb Gray.