
Sandpaper might look simple, but it comes in different grades for a reason. Each grade is made for a certain kind of job, whether you’re smoothing wood, removing paint, or getting a surface ready to paint.
Choosing the right sandpaper can make your work easier and give you better results. The numbers on sandpaper tell you how rough or fine it is – lower numbers mean rougher grit, and higher numbers mean smoother grit.
If you’ve ever been unsure about which one to use, you’re not alone. I used to think all sandpaper was the same until I learned how each grade works for different tasks.
In this blog, I’ll break down the different grades of sandpaper in a simple way. You’ll learn when to use coarse, medium, fine, and extra-fine grit, so your next project turns out just the way you want.
What Do Sandpaper Grades Mean?
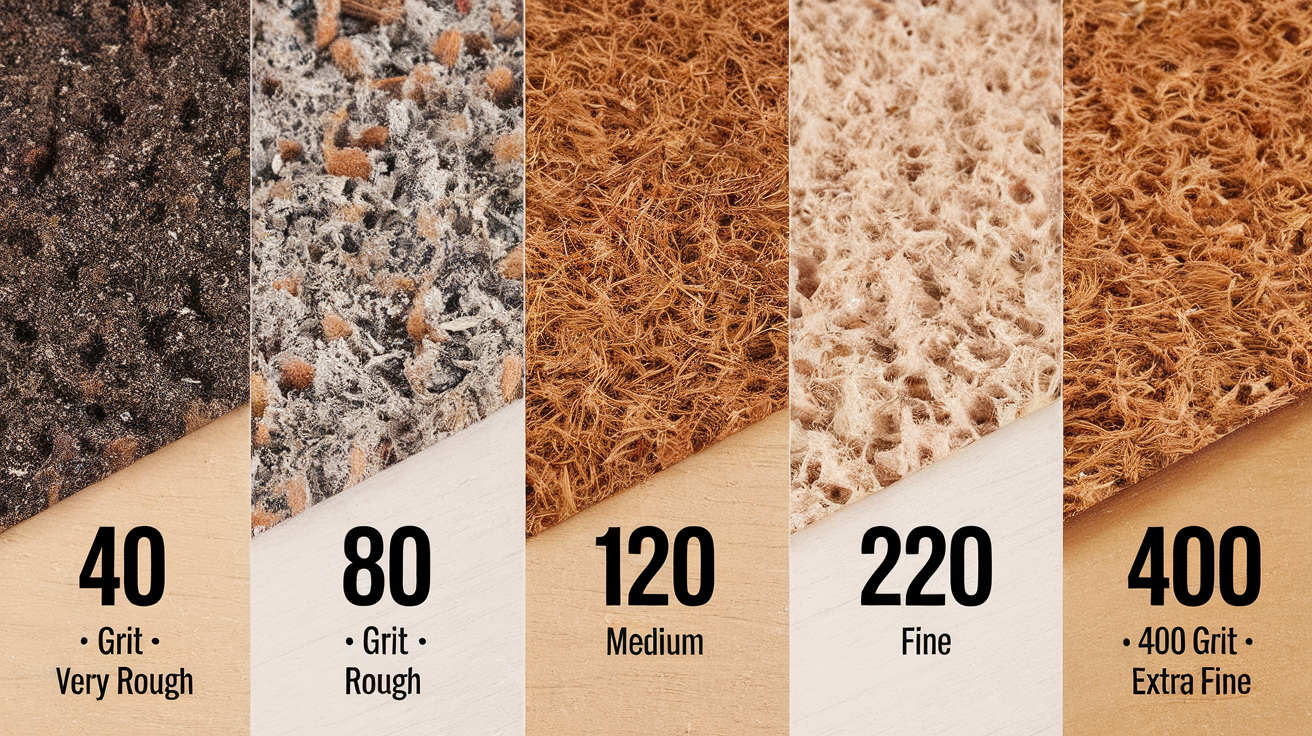
Sandpaper comes in different grades, also called grits, and each grit has a number printed on the back – like 40, 80, 120, 220, or even higher. These numbers aren’t just random – they tell you how coarse or fine the sandpaper is.
The grit number is based on how many abrasive particles (the tiny, sharp bits that do the sanding) fit into one square inch of sandpaper.
- A low grit number, like 40 or 60, means the particles are big and rough. There aren’t as many of them packed into the paper, so it feels very scratchy to the touch. This type of sandpaper is good for heavy-duty work, like removing paint, smoothing very rough wood, or shaping edges.
- A high grit number, like 220 or 400, means the particles are small and fine. They’re packed tightly together and feel much smoother. This kind of sandpaper is great for light sanding, polishing, or finishing touches – like smoothing wood between coats of paint or stain.
Different Grades of Sandpaper
Coarse Grit Sandpaper (40–60 Grit)
Coarse sandpaper has a grit number between 40 and 60, which means it has large, rough abrasive particles that are widely spaced apart.
When you touch this kind of sandpaper, it feels harsh, bumpy, and sharp – almost like tiny rocks glued to the surface. It’s not something you’d want to rub your skin on.
This grade is designed for fast, heavy-duty sanding. It removes material quickly and doesn’t take long to cut through rough spots, making it ideal for big jobs where precision isn’t needed immediately.
Best Uses
- Stripping paint, stain, or varnish: If you’re refinishing furniture or an old door, coarse grit helps take off thick layers of finish faster than finer sandpaper.
- Leveling rough wood: It’s perfect for smoothing out splintered boards, warped edges, or uneven surfaces.
- Shaping wood or edges: If a board is slightly too big, you can use 40-grit to grind it down to size before switching to a finer grit.
Coarse grit is very aggressive. If you use it for too long or push down too hard, it can leave deep scratches that are hard to remove later, especially in soft woods like pine or cedar.
These woods dent and scratch more easily, so you need to be gentle and watch closely as you sand.
Use coarse grit only as your first step to remove roughness or coatings. Once the surface is even, switch to a finer grit (like 100 or 150) to smooth things out before painting or staining.
This keeps your surface from feeling rough or looking scratched when you’re done.
Medium Grit Sandpaper (80–120 Grit)
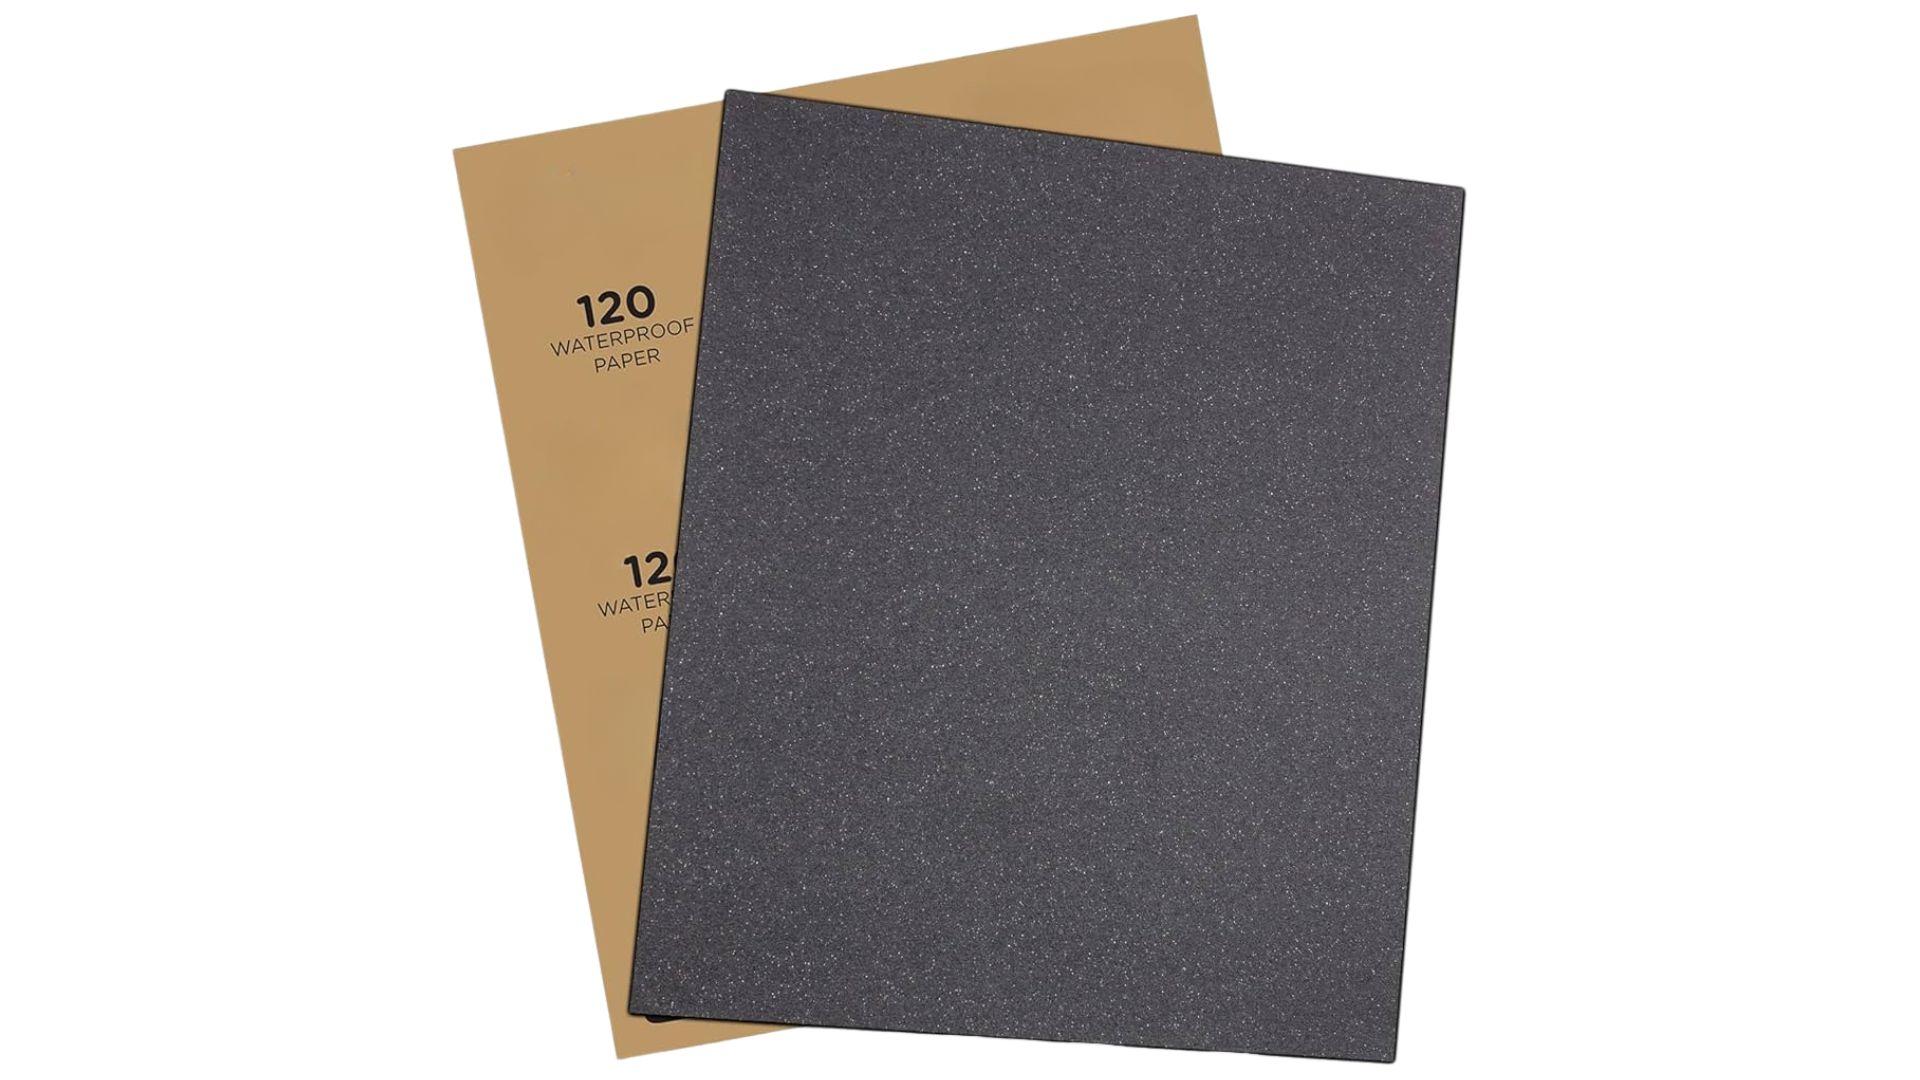
Medium-grit sandpaper is between 80 and 120 grit. It feels less scratchy than coarse grit, but it still has a noticeable texture when you run your fingers across it.
It’s not too rough, not too smooth – right in the middle, which is why it’s the most commonly used sandpaper for everyday projects.
This grit level is great for general-purpose sanding. It gives you more control and a smoother finish without removing too much material too quickly.
Best Uses
- General sanding tasks: Great for prepping bare wood, plywood, or particle board before moving on to finer grits.
- Smoothing wood before finishing: Medium grit gets rid of small splinters and flaws, making the surface ready for paint, stain, or sealer.
- Light shaping and cleanup: If an edge is a little too sharp or uneven, medium grit can gently shape it without damaging the material.
- Refinishing furniture or cabinets: After using coarse grit to remove old paint or varnish, medium grit helps clean up the surface and smooth it out.
- Most DIYers keep medium grit sandpaper on hand because it’s versatile and easy to control. It strikes a balance you can remove just enough material without being too harsh, and it prepares surfaces well for finer sanding or finishing.
Fine Grit Sandpaper (150–180 Grit)
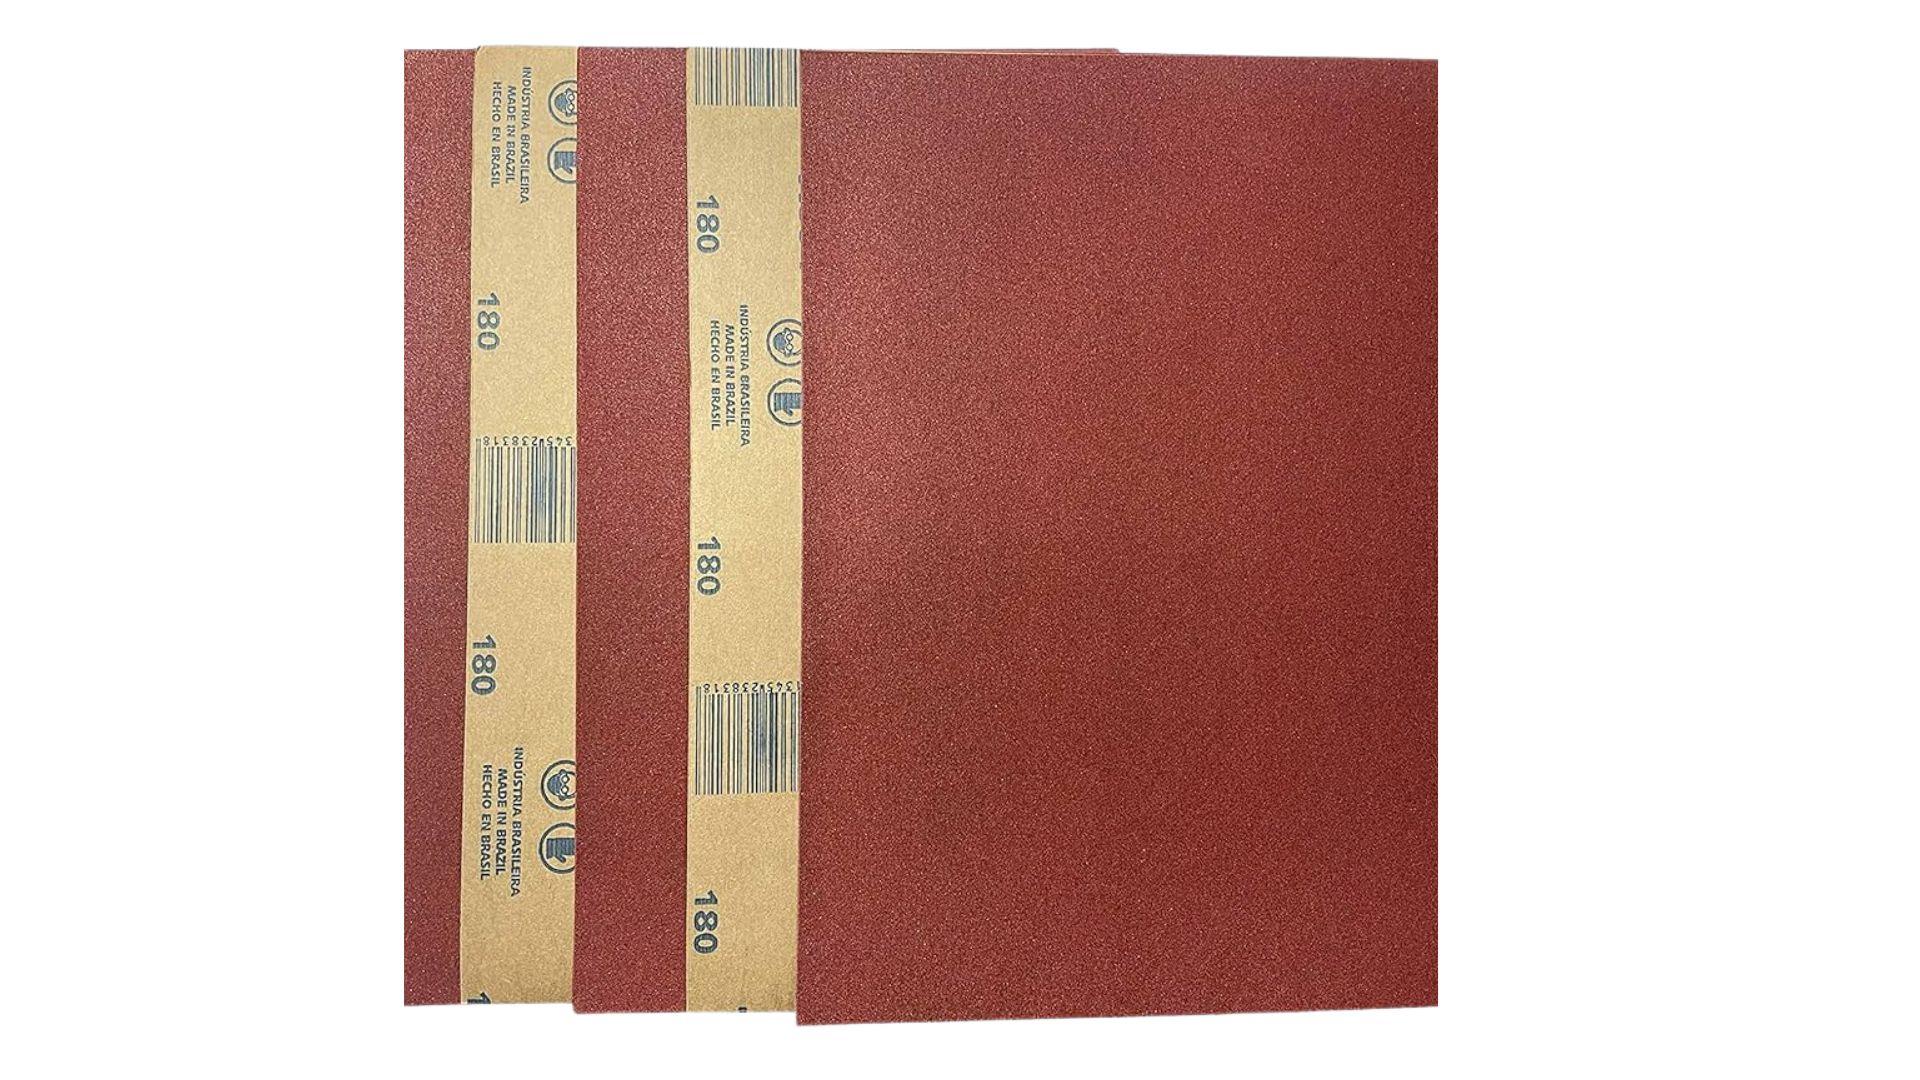
Fine-grit sandpaper, usually labeled between 150 and 180 grit, has small abrasive particles that are tightly packed together.
Compared to lower grits, it feels soft and smooth when touched, but it still has enough texture to do light work on surfaces.
This grade of sandpaper is not meant for heavy sanding or shaping. Instead, it’s used for gentle smoothing and getting surfaces ready for the final steps in a project. It works more like a polishing tool than a cutting one.
Best Uses
- Final surface smoothing: After using coarser grits to shape or prep wood, fine grit gives you that soft, clean finish you need before adding paint, stain, or polyurethane.
- Sanding between coats: When you’re applying multiple coats of paint, stain, or varnish, fine grit helps to knock down bumps or dust without damaging the coat underneath.
- Refining details: It’s great for lightly smoothing trim, rounded edges, or small carved areas where you want to keep the shape but remove any roughness.
Fine-grit sandpaper removes very little material. You won’t see much dust, and it won’t fix deep scratches or rough surfaces.
But it makes everything feel smoother to the touch, which matters a lot when you’re aiming for a clean, professional-looking finish.
Always sand with the grain of the wood when using fine grit. That helps prevent tiny swirl marks that can show up once you apply a finish.
Very Fine to Extra Fine Grit Sandpaper (220–400 Grit and Above)
When you get into the 220 grit and higher range, you’re dealing with very fine to extra fine sandpaper. This type of sandpaper feels almost smooth, with only a slight texture.
The abrasive particles are tiny and tightly packed, so it doesn’t remove much material at all – they just refine and polish.
This grit is mostly used for delicate finishing work or polishing surfaces that need to be extra smooth. It’s also used on materials other than wood, like metal or plastic, where a gentle touch is important.
Best Uses
- Final sanding before finishing: After all other sanding is done, 220 grit (or higher) is used as the last step to make the surface feel perfect before applying stain, paint, or varnish.
- Polishing surfaces: Extra-fine grits, like 320, 400, or even 600, are used to buff out small scratches, shine up a surface, or create a soft, polished feel – especially on wood furniture or musical instruments.
- Metal and plastic sanding: These materials need extra care. Fine grits work well to smooth edges, remove oxidation, or shine plastic and metal without leaving scratches.
- Wet sanding: These finer sandpapers are often used with water, a method called wet sanding. It keeps dust down and helps prevent clogging the paper. Wet sanding is great for things like car paint, countertops, or glossy finishes.
Very fine and extra fine sandpaper won’t change the shape or level of a surface – it’s all about smoothness and creating a clean look. It’s the finishing touch in most projects, giving your work a professional feel.
Use light pressure and let the sandpaper do the work. If you’re wet sanding, dip the paper in water first and keep the surface moist while you sand.
Choosing the Right Grit for Your Project
Picking the right sandpaper grit depends on what you’re sanding and what stage of the project you’re in. Using the wrong grit can waste time – or even ruin your surface.
As a general rule, I start with coarse grit to remove roughness, then move to finer grits to smooth things out.
That’s why most sanding jobs use more than one grit. You might begin with 80 grit, switch to 150 grit, and finish with 220 grit for the smoothest surface.
| Project Type | Recommended Grit |
| Furniture stripping | Start with 60 grit |
| Preparing bare wood | Use 100–150 grit |
| Sanding between coats | Use 220 grit |
Tips for Sandpaper Use
Sanding might seem like a simple task, but a few good habits can make a big difference in how your project turns out. Using sandpaper the right way helps you avoid mistakes, save time, and get smoother results.
1. Use a Sanding Block or Orbital Sander
If you’re sanding by hand, it’s best to wrap your sandpaper around a sanding block. This gives you better control and helps apply even pressure across the surface.
It also prevents you from accidentally creating dips or uneven spots. For larger jobs, an orbital sander is a helpful power tool that speeds things up while keeping your surface consistent.
2. Don’t Press Too Hard
You don’t need to push down hard when sanding. The grit is designed to do the work for you. Pressing too hard can wear out the sandpaper quickly and may leave unwanted scratches or grooves in the material.
Use light, even pressure, and let the sandpaper glide across the surface.
3. Always Sand With the Grain
When working with wood, look at the natural lines or patterns – that’s the grain. Always sand in the same direction as the grain.
Sanding against the grain can leave scratch marks that will show up later when you paint or stain the wood. Following the grain keeps your finish smooth and professional-looking.
4. Change Your Sandpaper Often
Don’t wait until your sandpaper looks worn out to replace it. As you use it, the abrasive particles break down or get clogged with dust, making it less effective.
If sanding starts to feel harder or slower, it’s probably time for a fresh sheet. Using dull sandpaper wastes time and can lead to uneven sanding.
5. Keep Surfaces Clean Between Grits
When moving from a coarse grit to a finer one, always wipe or vacuum the surface first. Leftover dust or grit from earlier sanding can cause scratches and prevent your finer sandpaper from doing its job properly.
A clean surface helps each grit level build on the last one for a smoother, better finish.
Conclusion
Sandpaper may seem simple, but choosing the right grit can make a big difference. Each grade has a specific purpose – coarse grits are great for removing material quickly, while fine and extra fine grits are best for smoothing and finishing.
Whether you’re stripping old paint, prepping bare wood, or polishing a metal surface, using the right sandpaper helps you get cleaner, more professional results.
It’s a good idea to keep a variety of grits on hand, especially if you do DIY projects regularly. That way, you’re ready for anything – from rough sanding to delicate final touches.
Remember, the key to a successful sanding job isn’t just effort – it’s using the correct grit at each step. Start rough, go smoother, and let the sandpaper do the work.
With the right approach, sanding becomes easier, faster, and far more effective.