
Last Christmas, I wanted to create something special for my mom, a way to showcase her cherished travel mementos. That’s when I found the magic of shadow boxes.
These clever display cases aren’t just frames, they’re memory keepers.
If you want to preserve ticket stubs, display family photos, or create unique wall art, a shadow box is your perfect DIY project.
In this guide, I’ll walk you through exactly how to build a shadow box with:
- Simple steps anyone can follow
- No complicated tools required
- Budget-friendly materials
- Plenty of personal tips
You don’t need woodworking experience. Just bring your creativity and willingness to try something new.
By the end of this blog, you’ll have the skills to turn an old picture frame into a beautiful display that tells your story.
Tools and Materials You’ll Need
I’ll be honest, you don’t need a workshop full of expensive equipment to make a shadow box. Most tools can be found in a basic home toolkit or borrowed from a friend.
Essential Tools Checklist:
- Saw: Handsaw or miter saw for cutting wood frames
- Measuring tape: Precision is key – measure twice, cut once!
- Wood glue: The secret weapon for strong connections
- Clamps: Hold pieces together while the glue dries
- Hammer or brad nailer: For securing wood pieces
- Sandpaper (220-grit works great): Smooth those rough edges
- Screwdriver or drill: For final assembly
Quick Hack: Lay out all your materials before starting. Trust me, it saves tons of time and prevents mid-project frustration.
Want alternatives? Pre-cut wooden frames or ready-made shadow box kits work perfectly for beginners. No shame in starting simple!
Step-by-Step Guide to Build a Shadow Box
From selecting materials to final assembly, you’ll learn how to change simple supplies into a beautiful memory keeper with these steps:
Step 1: Cut and Plane the Wood
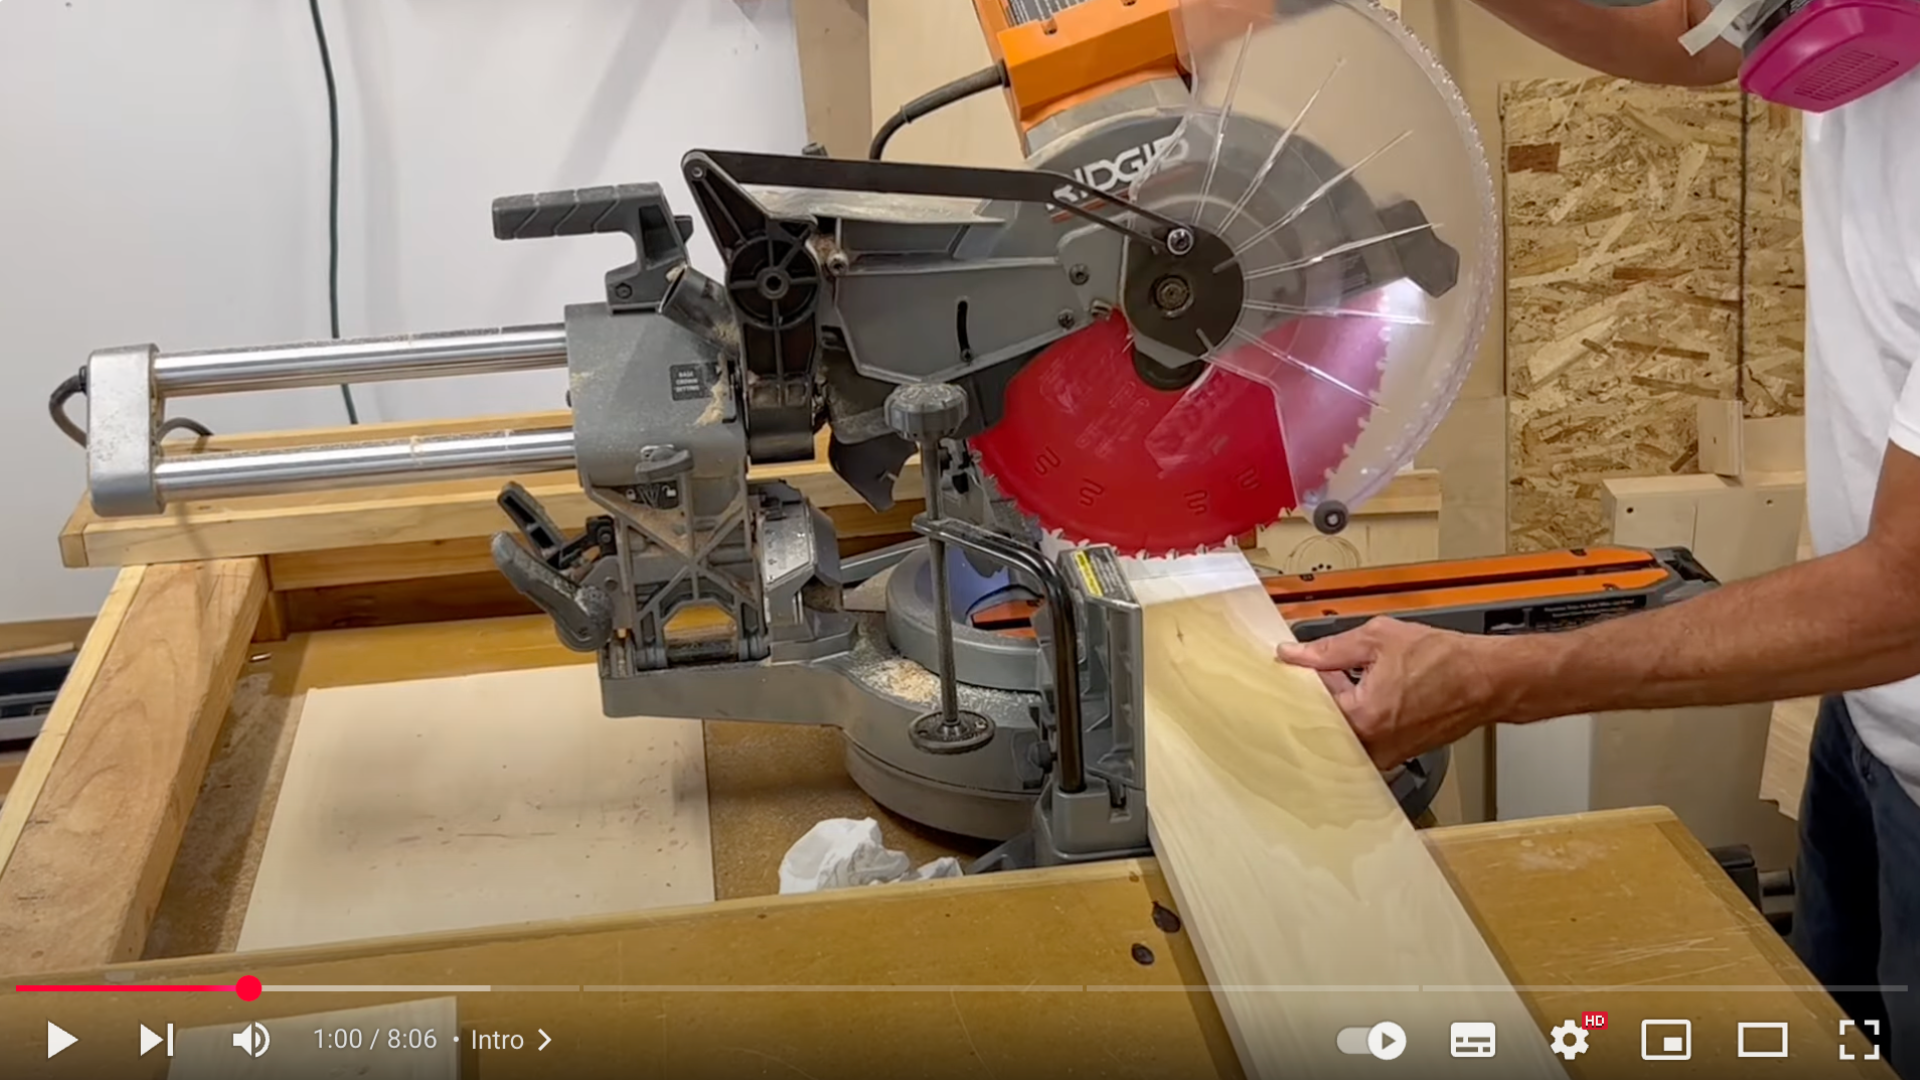
Begin by rough-cutting poplar boards using a chop saw. This wood is ideal for painting. Run each piece through a planer to ensure all surfaces are flat and even.
Properly prepared wood will make the shadow box sturdy and visually clean once assembled and painted.
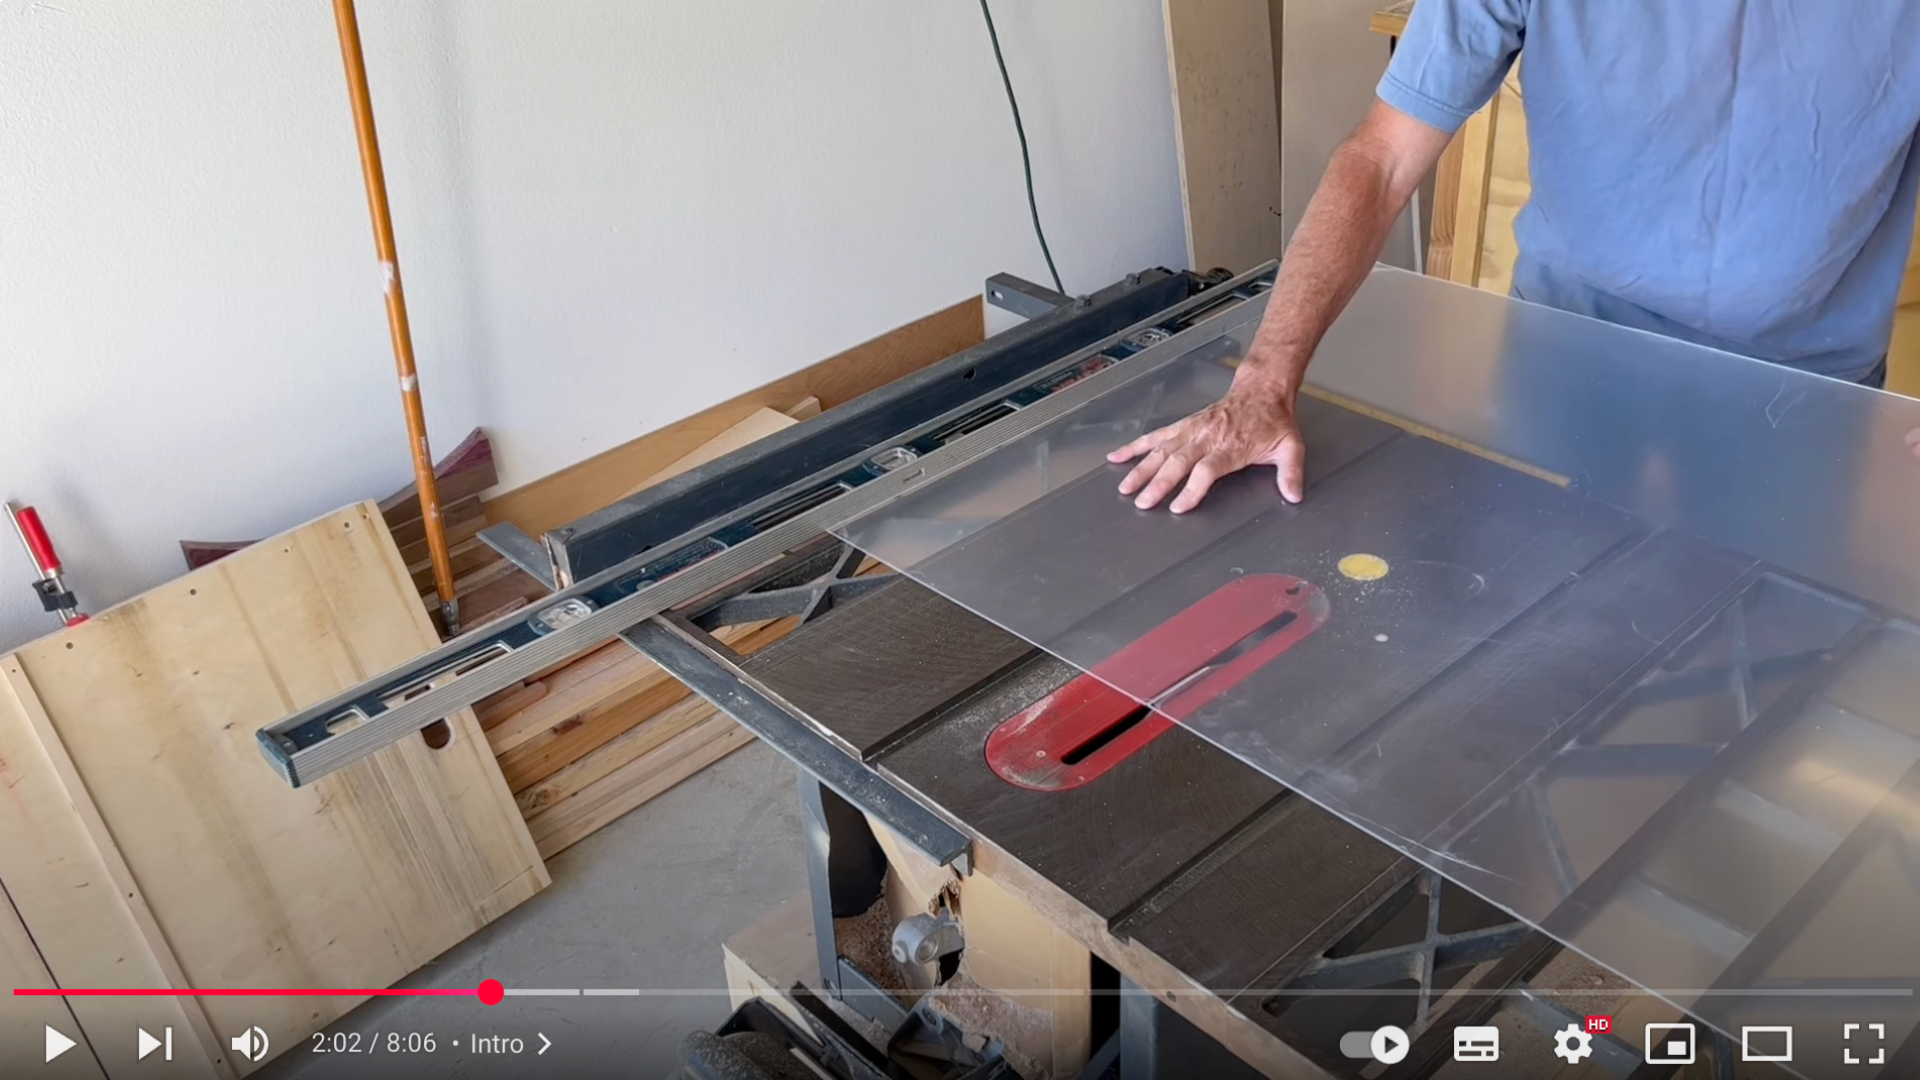
Step 2: Trim to Size and Miter Corners
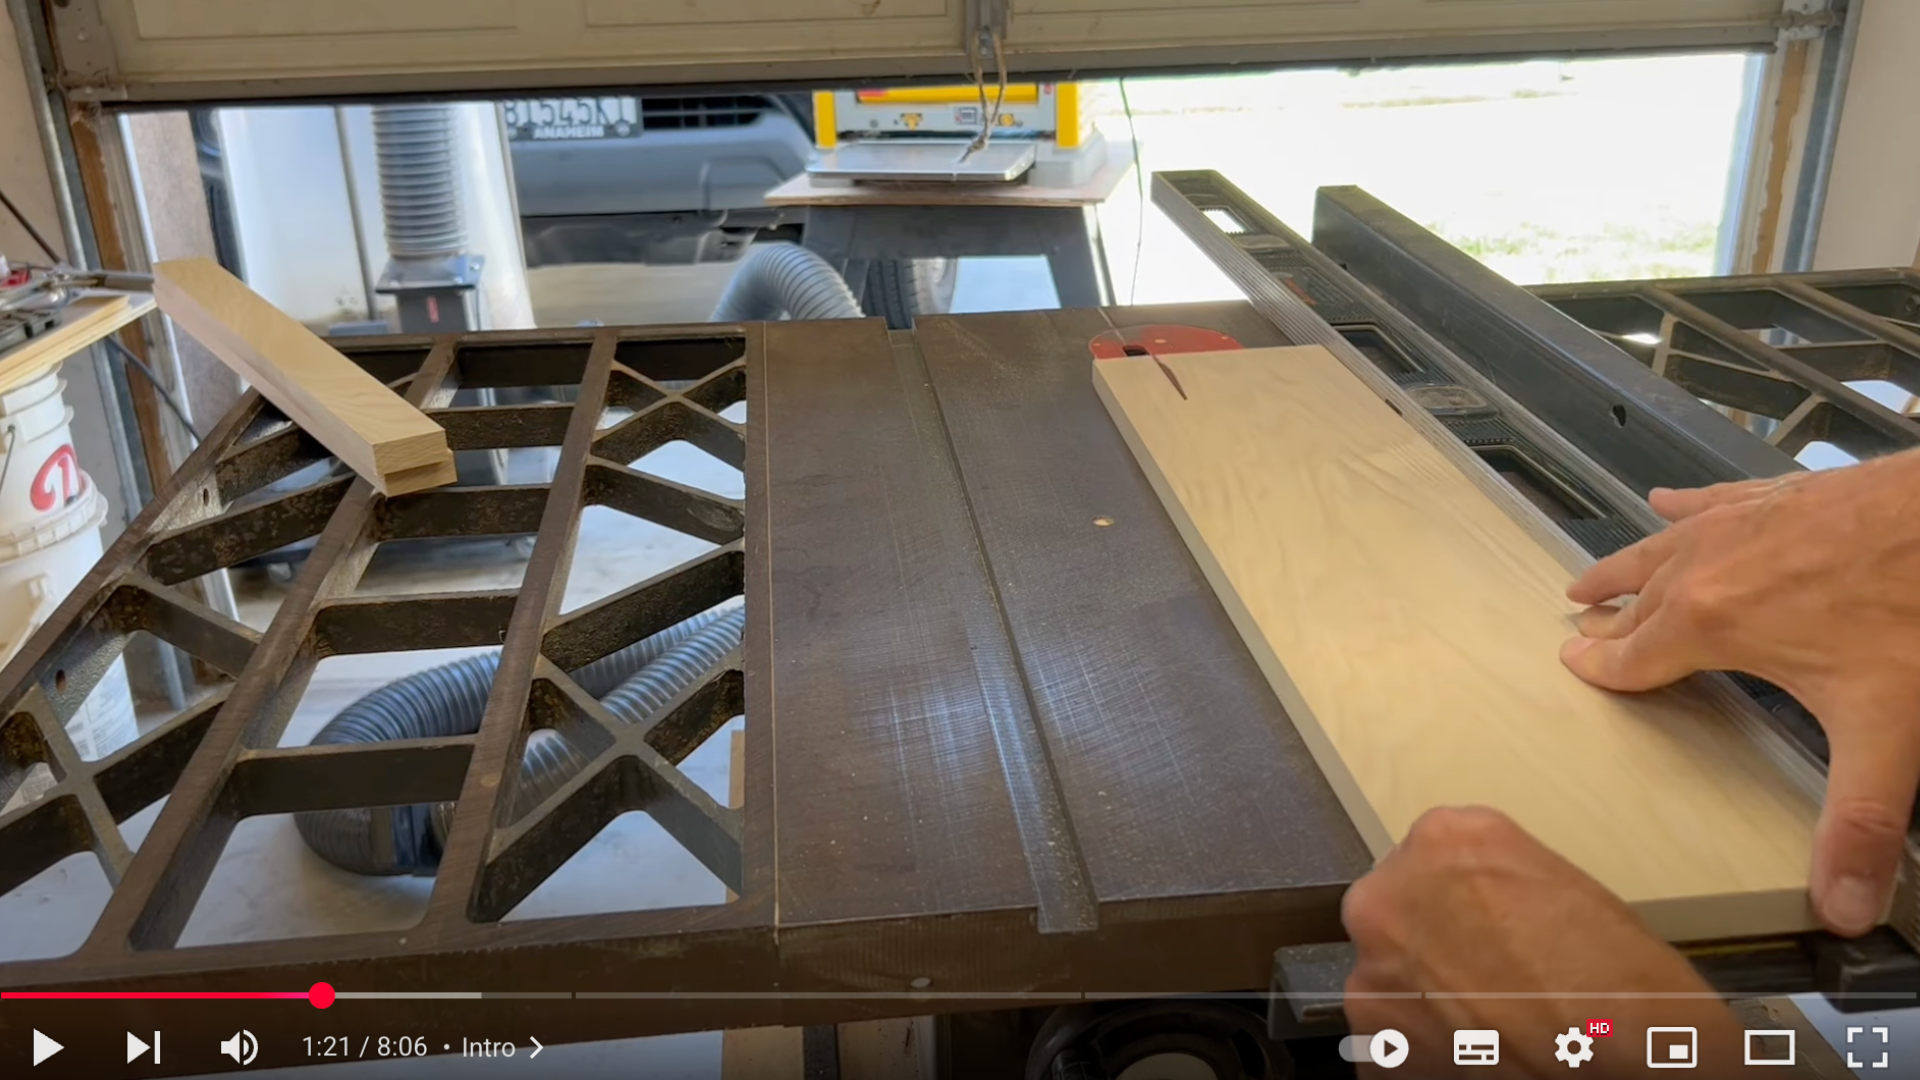
Cut each board to the correct width using a table saw. Next, use a chop saw to cut 45° angles on the ends for a clean, seamless corner fit.
This precision helps the box come together smoothly during assembly and ensures professional-looking joints once glued.
Step 3: Add Grooves and Dados
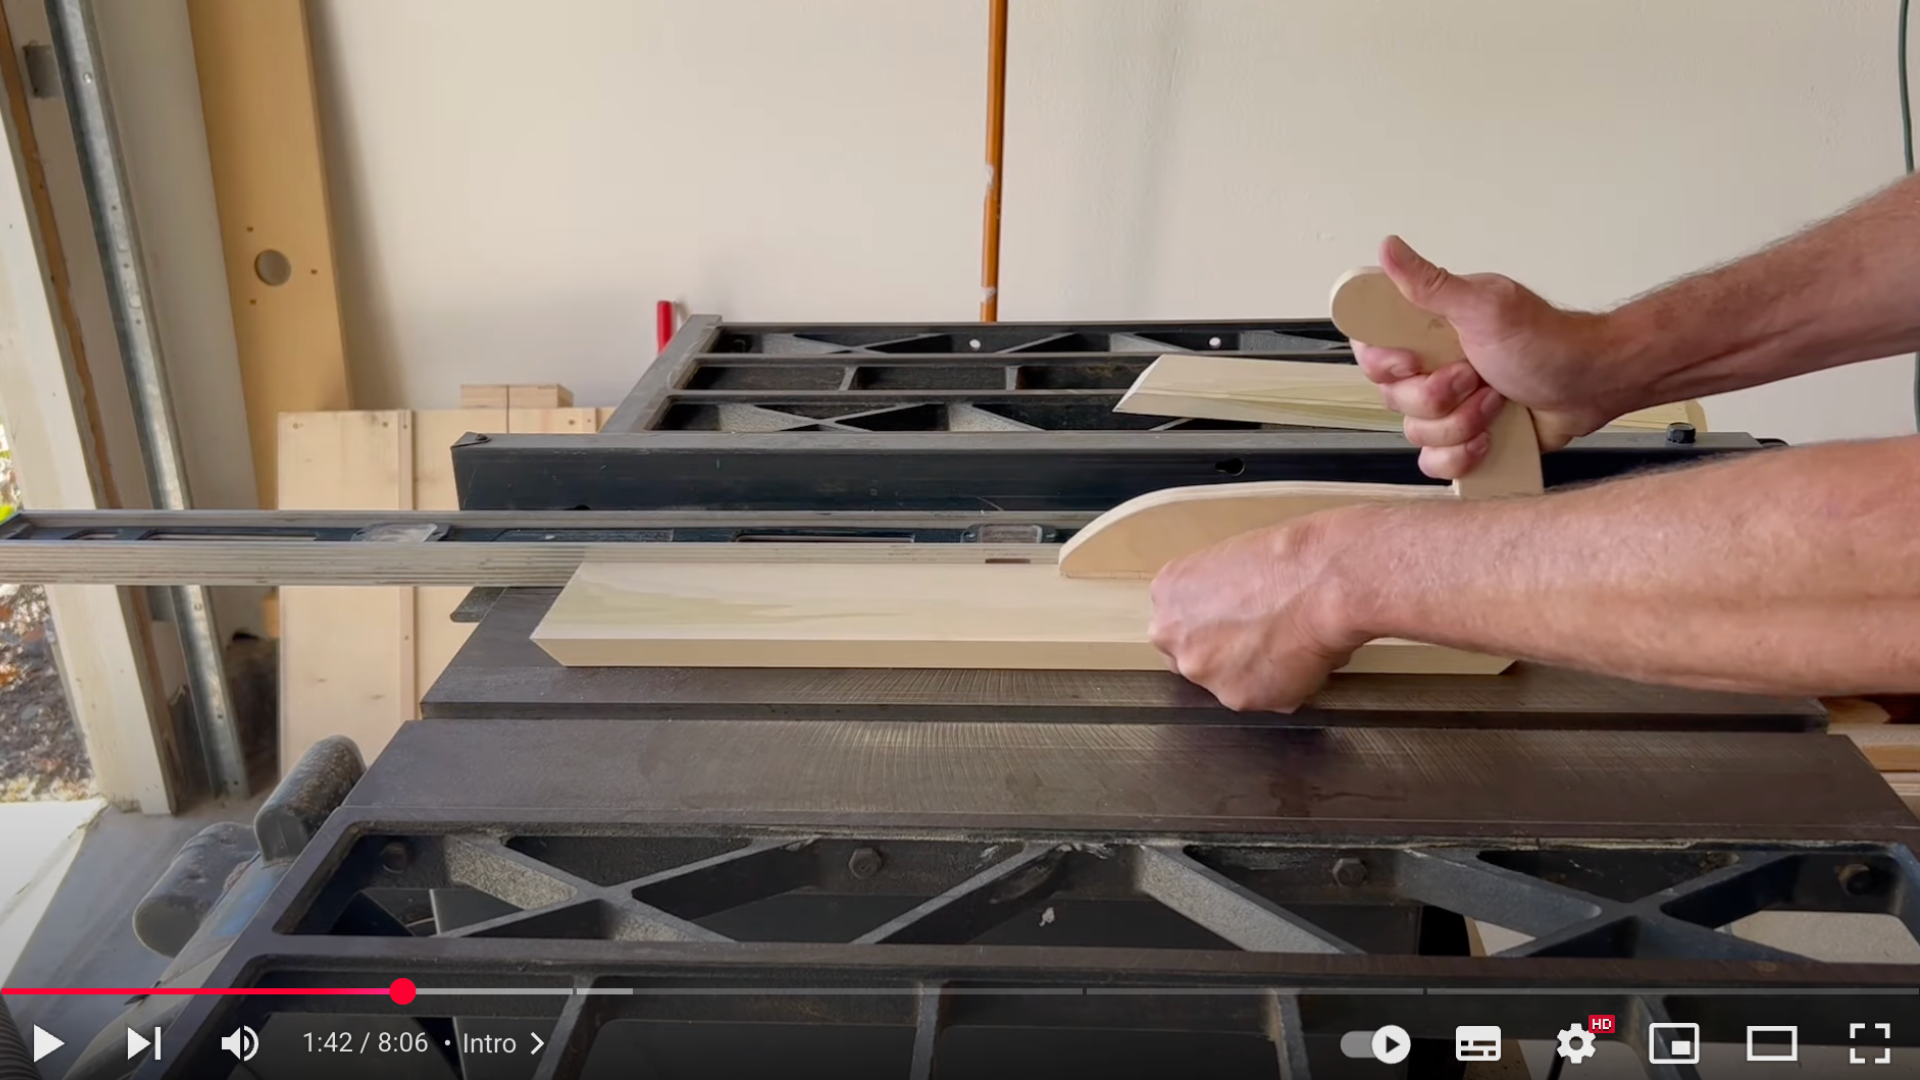
Cut grooves into each board using the table saw; these will hold the Plexiglas front securely. Add dados on the sides to slot in the back panel, usually MDF.
Taking time on these cuts ensures everything fits neatly and stays in place once fully assembled.
Step 4: Cut and Insert the Plexiglas
Cut the Plexiglas to fit your frame, keeping the protective plastic film on both sides to avoid scratches.
While inserting it during initial assembly is possible, it can make painting harder. For cleaner results, consider waiting until after painting to insert the Plexiglas.
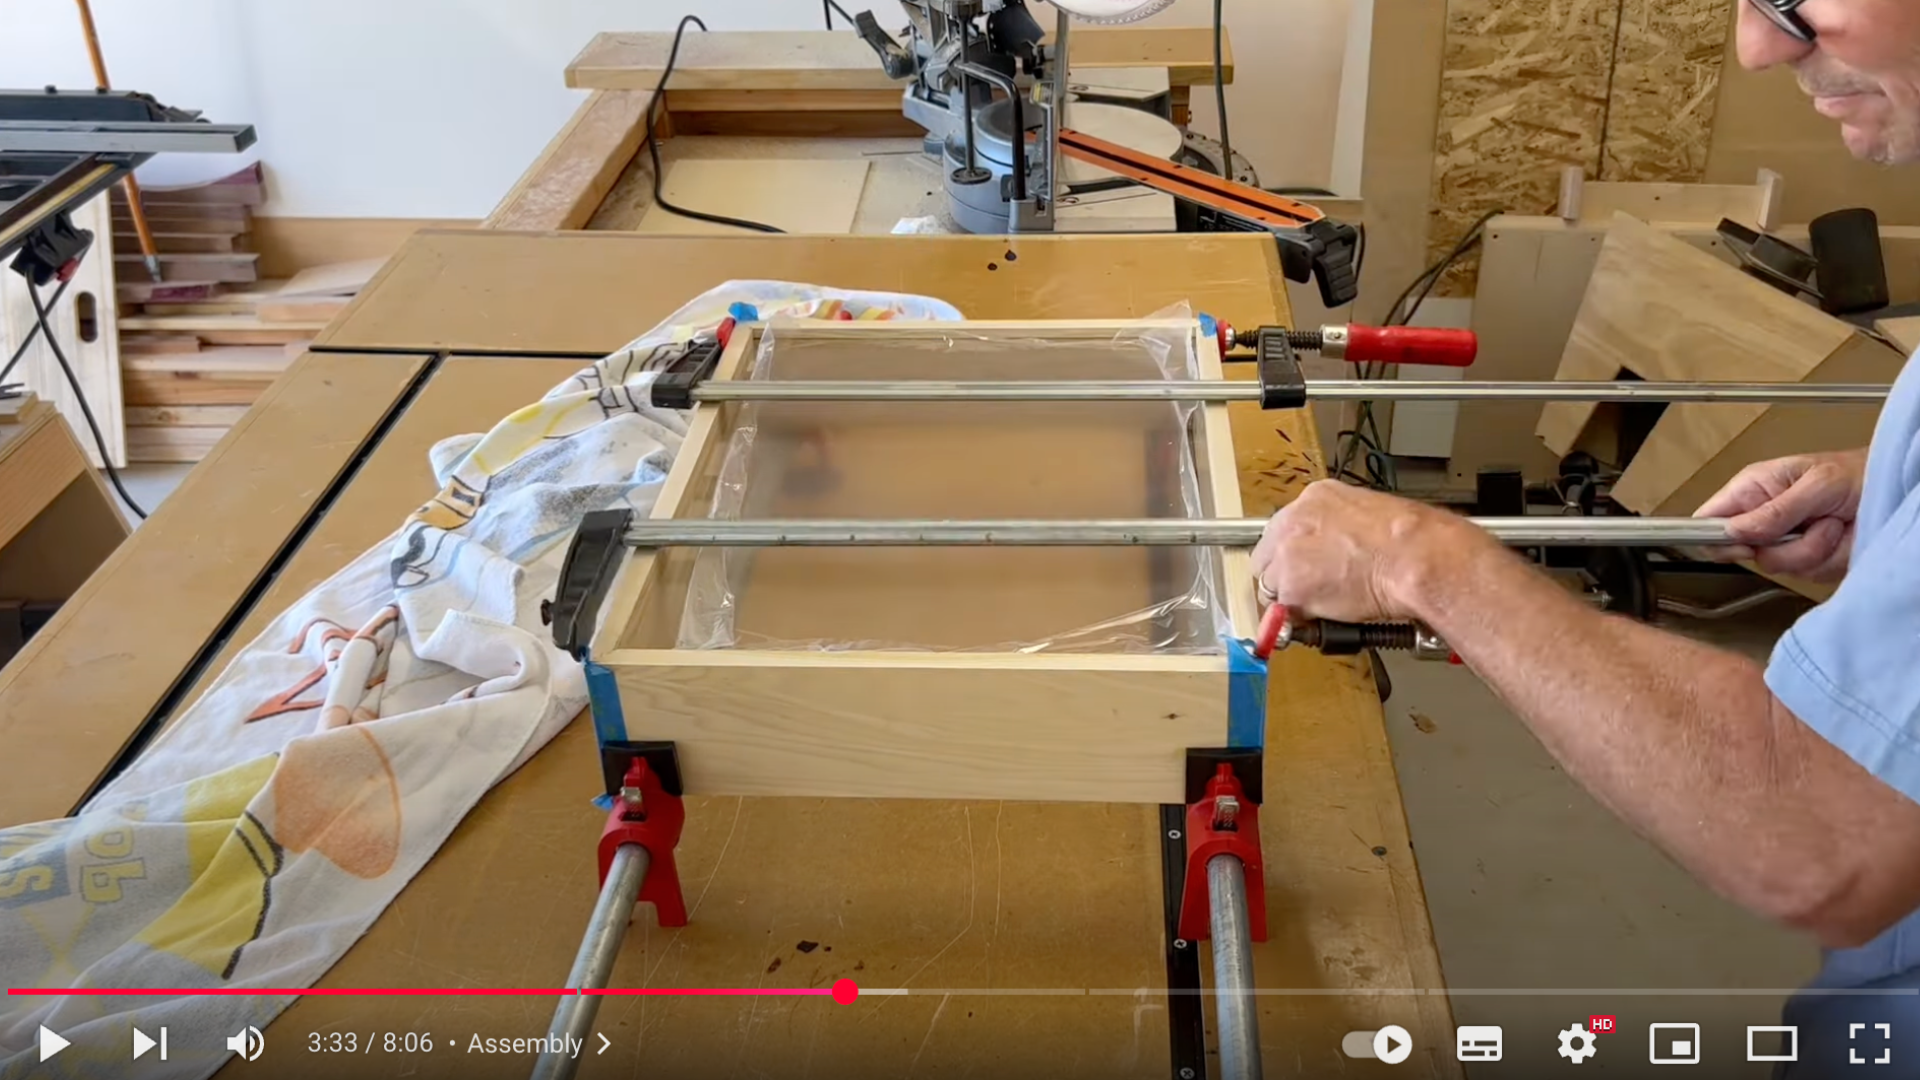
Step 5: Assemble and Glue the Frame
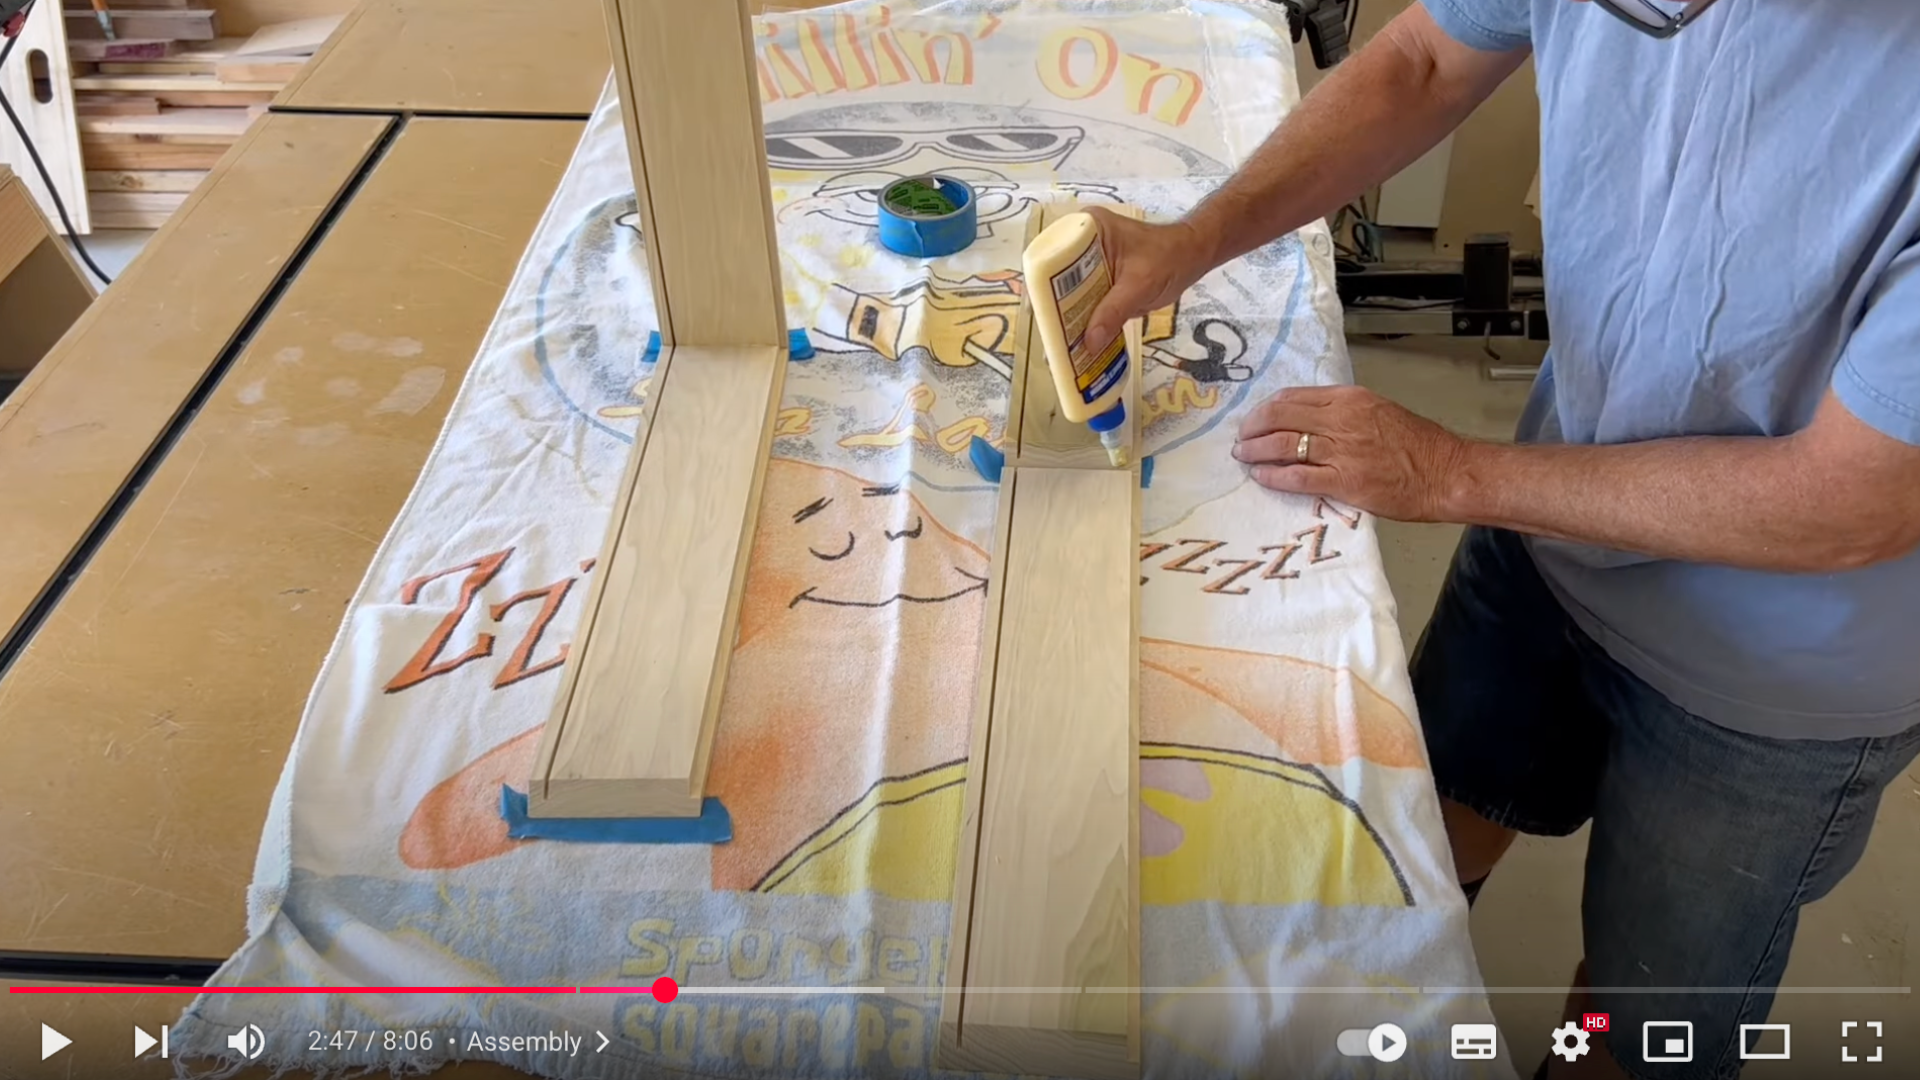
Tape the corners together temporarily to hold the box in shape. Spread glue along the joints and press the frame together.
Clamp the corners tightly to ensure strong bonds. Insert the Plexiglas now if you didn’t wait, though it might complicate the painting process later.
Step 6: Reinforce with Splines
After gluing, cut small slots into the corners and insert decorative hardwood splines (like purpleheart) for added strength and contrast.
Use a spline jig to hold the frame at a 45° angle while cutting. Trim the splines with a multi-tool (or preferably a pull saw), then sand everything flush.
Step 7: Paint and Finish the Box
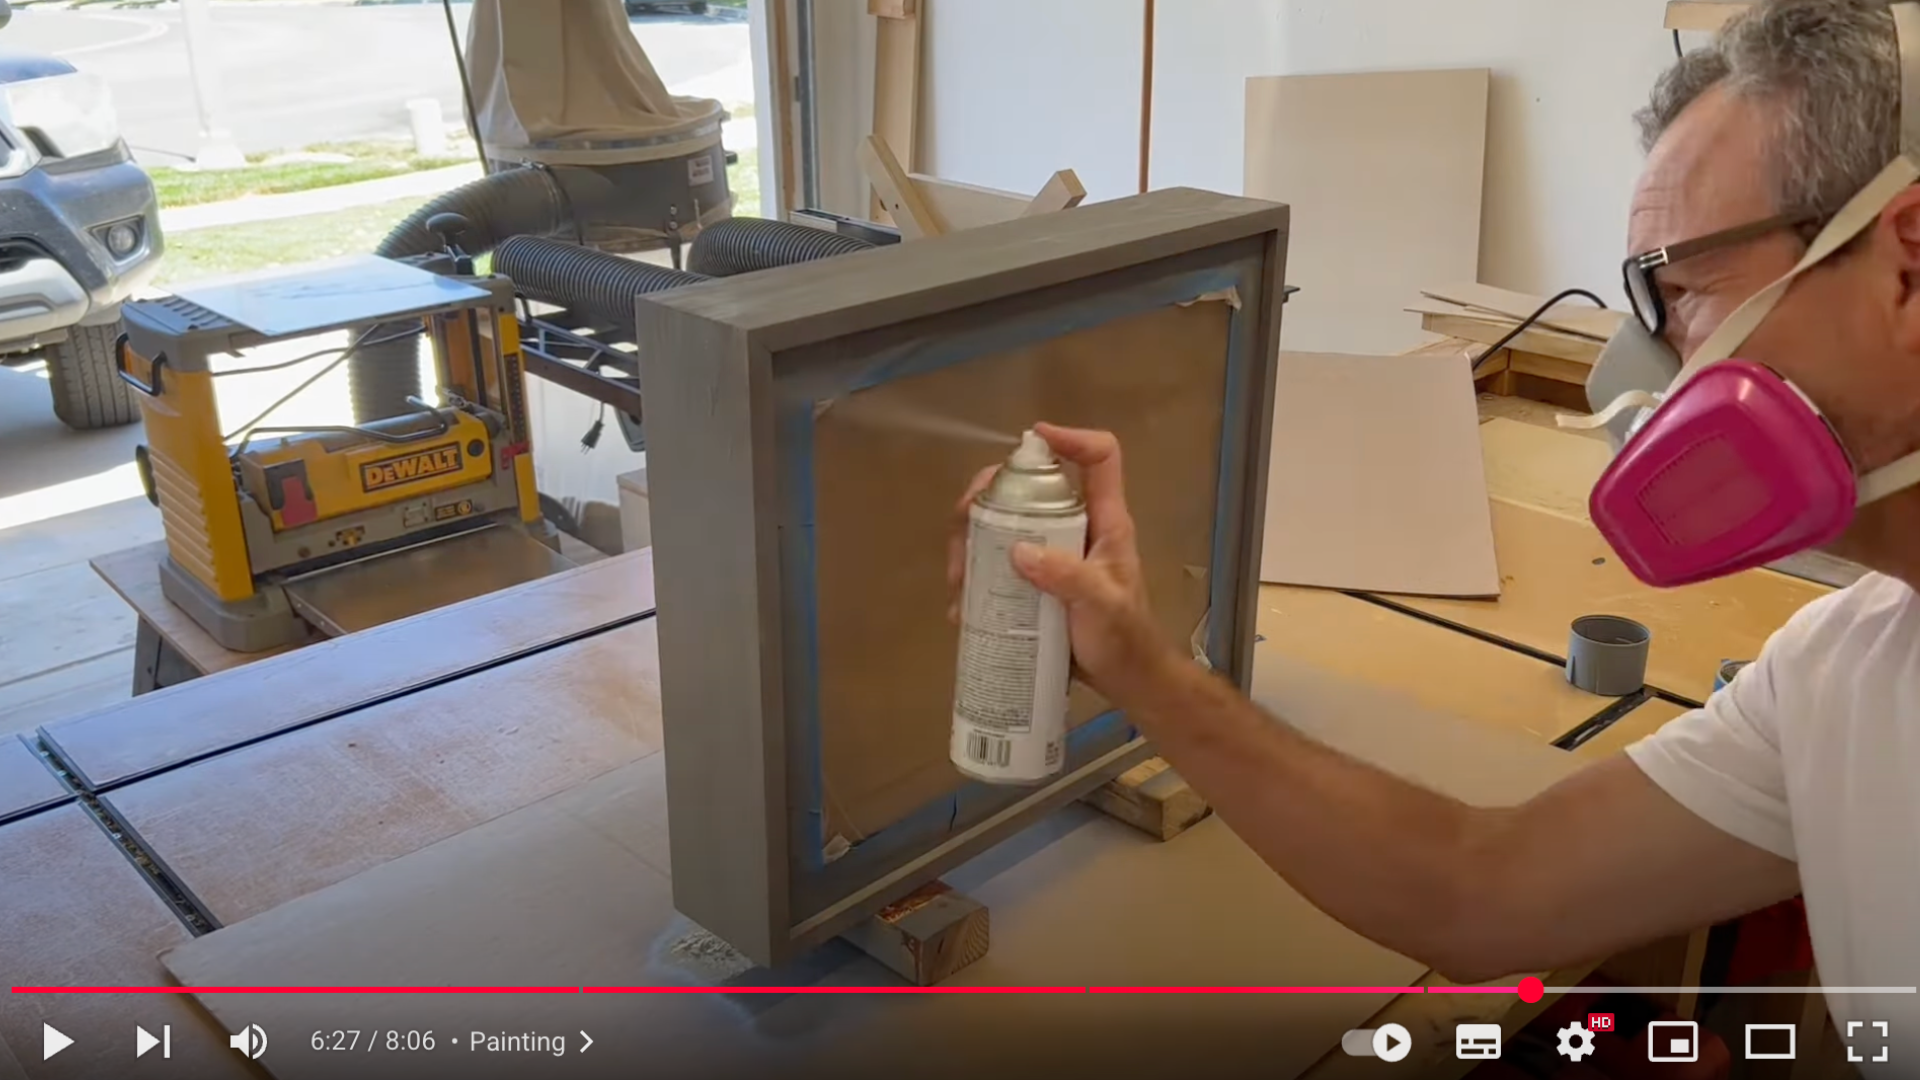
Carefully paint the box, covering the Plexiglas if it was inserted earlier. Once dry, peel off any masking tape.
Add decorative backing, such as fabric-covered MDF, for a finished interior. If needed, replace the front glass by cutting a top slot. Secure the back panel to complete your shadow box.
Must-Have Materials for Shadow Box Building
To get started, you’ll need to gather the right materials that will help you build a strong and long-lasting shadow box.
1. Wood Pieces
The right wood can make or break your shadow box project. Pine offers affordability and lightness, while cedar provides natural resistance to moisture.
Look for straight boards without knots or warping. Recycled picture frames can be treasure troves.
Check thrift stores for unique, pre-aged wood that adds character to your display. Aim for pieces 1-2 inches wide to ensure structural stability.
2. Backing Board
Your backing board serves as the critical support system for your entire shadow box. Plywood stands out as a versatile choice – lightweight, affordable, and easy to work with.
For added visual interest, consider cork boards that bring texture or fabric-covered boards that inject personality.
The ideal backing should be strong enough to hold your items securely without overwhelming the overall design.
3. Front Cover
Clear acrylic offers a modern, shatterproof alternative to traditional glass. It’s lighter and less prone to breaking, making it perfect for spaces with movement or for travelers.
Skipping the cover entirely works for rustic or industrial-style displays.
For precious items, such as vintage photographs or delicate memorabilia, glass provides essential protection. Measure carefully to ensure a perfect fit.
4. Hanging Hardware
D-rings provide a clean, professional hanging solution that distributes weight evenly. For lighter shadow boxes, budget-friendly command strips can work wonders.
Heavier displays demand robust wall anchors to prevent accidents.
Consider the weight of your display and choose hanging hardware that matches its specific needs. A secure hang is crucial for protecting your cherished memories.
5. Interior Styling
This is where your creativity truly comes alive! Small shelves or foam risers can add dimension to 3D items.
Experiment with fabric backgrounds or subtle lighting to create depth and visual interest.
Glue dots offer a gentle way to secure small objects without causing damage. Think of your shadow box as a miniature stage where each item tells part of a larger story.
6. Choosing the Right Materials
Different collections require different approaches. Preserve military medals with archival-quality materials that protect historical significance.
For children’s art collections, choose durable, washable options that can withstand time and touch. Your materials should complement the story you’re telling.
Each shadow box is a personal museum – let your choices reflect the memories you’re celebrating.
Pro Tips:
- Always handle materials with clean hands
- Take time to plan your layout before permanent placement
- Don’t be afraid to experiment
- Each shadow box is unique to you
Remember, there are no strict rules. Your shadow box is a personal expression of memories, creativity, and imagination. Have fun finding different materials and approaches!
Displaying Items in Your Shadow Box
Shadow boxes transform memories into art. They’re more than just frames – they’re storytelling platforms that let you showcase special moments, treasures, and personal milestones in a creative way.
1 Choosing Meaningful Items
I’ve learned that the best shadow boxes tell a story. Look around your home for items that spark emotion. Wedding mementos? Old concert tickets? Childhood trinkets?
Pick pieces that make you smile or remind you of important moments. The magic is in personal significance, not perfection.
2 Arranging with Purpose
Arrangement matters more than you might think. Start by laying out items without gluing. Experiment with different positions.
Some pieces might overlap. Others need breathing room. Think of it like a visual puzzle.
Play with height, using small risers or foam dots to create depth. Step back. Squint. See how the composition feels.
3 Creating Visual Balance
Balance doesn’t mean everything is exactly centered. Interesting shadow boxes have visual weight. Larger items can anchor one side.
Smaller pieces can fill gaps. Mix textures. Combine colors that complement each other. Remember: asymmetry can be beautiful.
4 Protecting Your Treasures
Preservation is key. Use acid-free backing materials. Avoid direct sunlight. Consider humidity and temperature.
If you’re displaying delicate items like old photographs, protect them carefully. A little care goes a long way in keeping your memories intact.
5 Adding Personal Touches
Want to make your shadow box unique? Add handwritten notes. Include a small quote. Use background paper that tells part of the story.
These details transform a simple display into a personal narrative. Your shadow box is more than decor; it’s a memory keeper.
Conclusion
When I first finished my shadow box, I felt like a total champion. There’s something magical about turning random materials into a meaningful display.
Those odds and ends suddenly became a story; my story.
Your first shadow box might not be perfect, and that’s completely okay. Perfection isn’t the goal; memories are.
Each scratch, uneven edge, and personal touch makes your creation unique. Think of it like a handwritten letter versus a typed email; imperfections make it real.
Don’t overthink it. Play, experiment, and have fun! Use photos, concert tickets, kids’ artwork, or travel souvenirs. Your shadow box is a blank canvas waiting for your creativity.
Curious how yours turns out? Drop a comment below! I’m looking forward to seeing what you create.