
Roofing a house is a significant and complex project for any homeowner.
While it might seem like a task best left to professionals, I can assure you that with the right tools, materials, and guidance, installing a roof on your own is achievable.
In this guide, I’ll walk you through every essential step, from the preparation stage to the final touches, covering the tools needed and the safety measures to ensure a successful installation.
Roofing your home can be a challenging yet rewarding experience, and by doing it yourself, I’ll save money on professional services while gaining the satisfaction of knowing I’ve secured my home.
With careful planning and attention to detail, I’ll help you achieve a roof that will protect your home for years to come.
What Is Roofing?
Roofing refers to the process of constructing and installing a protective covering on the top of a building or structure.
It involves selecting the right materials, such as shingles, tiles, metal, or slate, to ensure the roof is durable and can withstand various weather conditions like rain, snow, and extreme heat.
Roofing also includes the installation of components like underlayment, flashing, and vents to provide proper insulation, prevent leaks, and allow for proper ventilation.
The purpose of roofing is to protect the interior of the building from the elements, ensuring the structure remains dry and secure.
A well-installed roof also contributes to the energy efficiency of the home by preventing heat loss and keeping the temperature stable.
Why Roofing Is Important?
A roof is essential for protecting your home from the elements and ensuring its long-term stability. Here’s why proper roofing is so important:
- Weather Protection: Shields your home from rain, snow, wind, and sun, preventing leaks and weather-related damage.
- Structural Integrity: Helps maintain the integrity of the foundation and walls, protecting against water damage and deterioration.
- Energy Efficiency: Provides insulation, reducing heat loss in winter and keeping cool air inside during summer.
- Safety and Comfort: A reliable roof ensures your home stays safe, comfortable, and protected from nature’s forces.
Investing in a solid roof is crucial for lasting protection and stability.
Step-by-Step Guide to Roofing a House
Roofing your house might feel overwhelming, but with the right tools, materials, and a structured approach, you can successfully complete the project.
Materials Needed
Before you begin, make sure you have the following materials and tools to get the job done efficiently and safely:
- Roofing shingles (asphalt, metal, etc.)
- Roofing nails
- Tar paper or synthetic underlayment
- Ice and water shield
- Gutter apron
- Starter shingles
- Ridge cap shingles
- Flashing for valleys and vents
- Roofing shovel (tear-off shovel)
- Ladder
- Hammer and pry bar
- Utility knife
- Roofing nails gun (optional)
Step 1: Tear Off Old Shingles
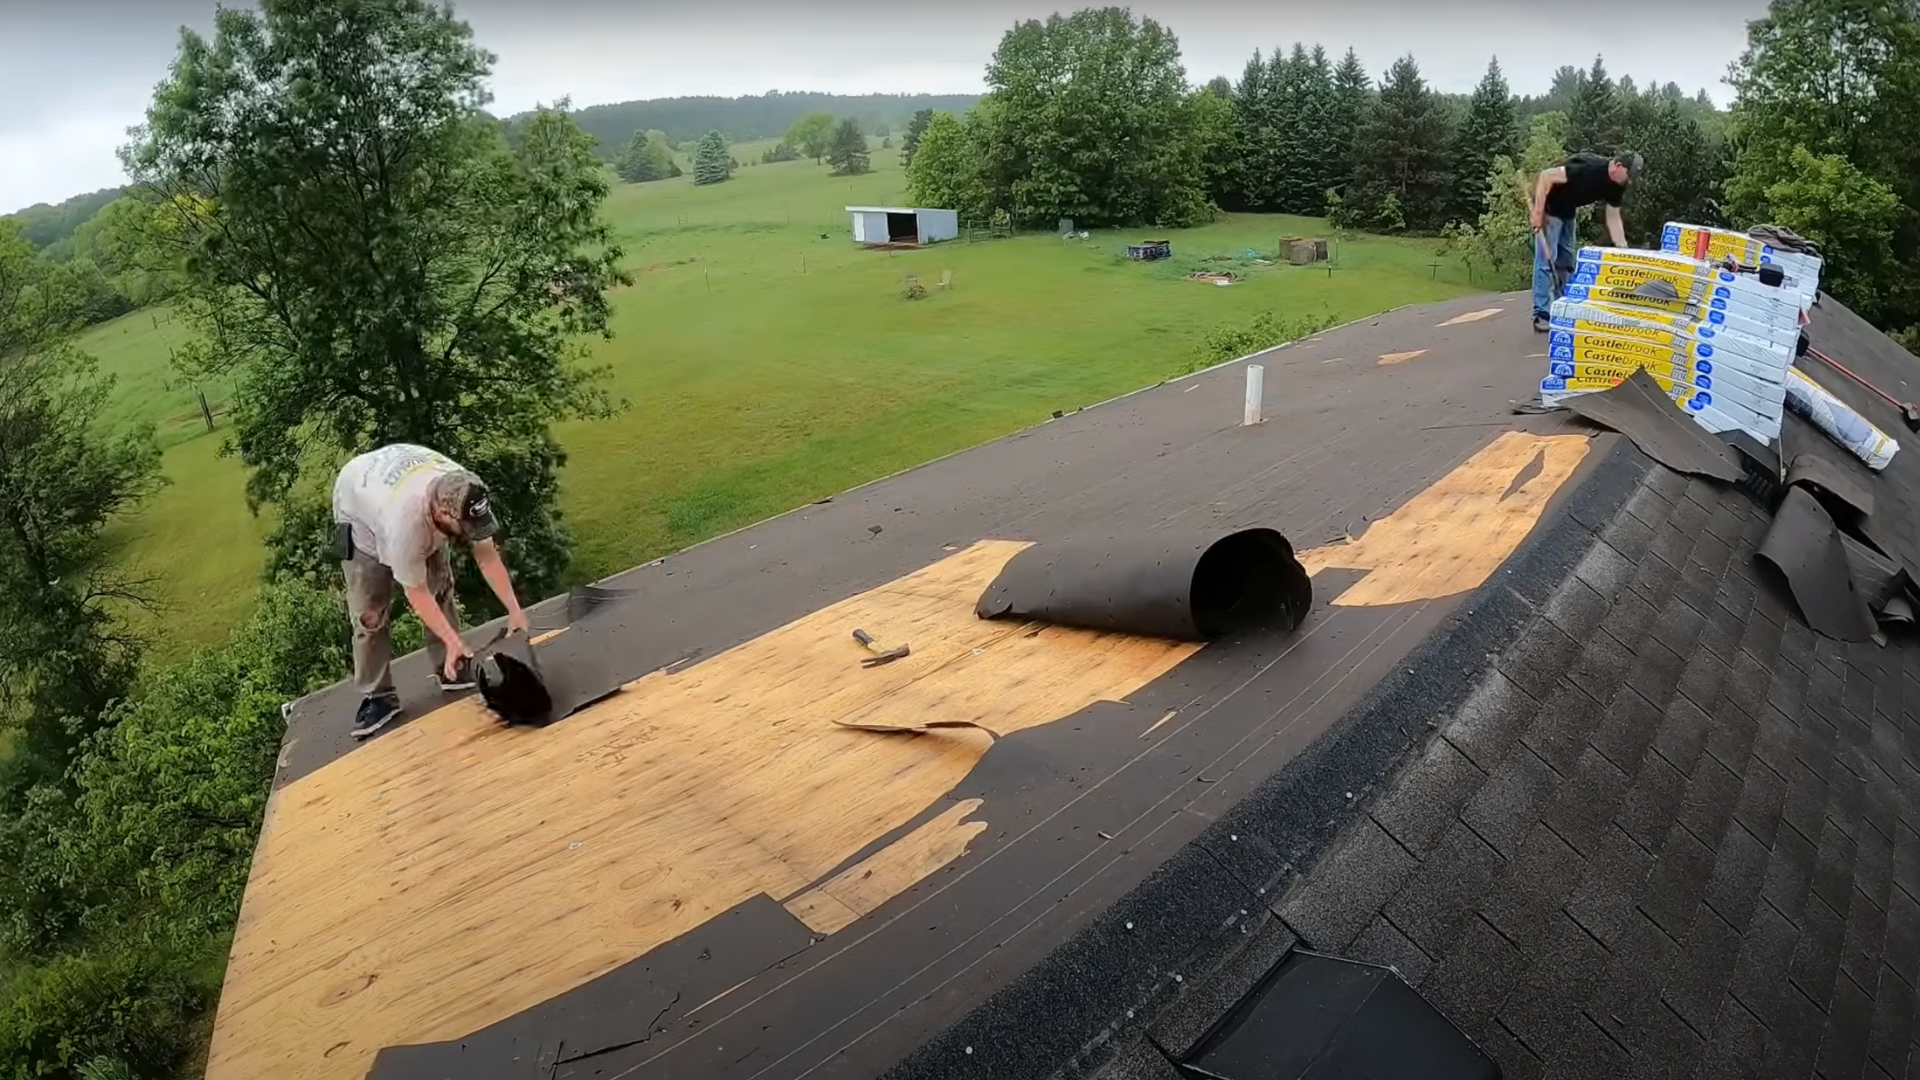
The first step in re-roofing is to remove the old shingles. Begin at the ridge of the roof and work downward, using a roofing shovel or pry bar to lift the shingles off the surface.
Take care to avoid damaging the underlying decking and ensure all nails are removed.
If any nails remain, use the pry bar to pull them out to prepare the surface for the new materials.
Step 2: Inspect and Repair the Decking
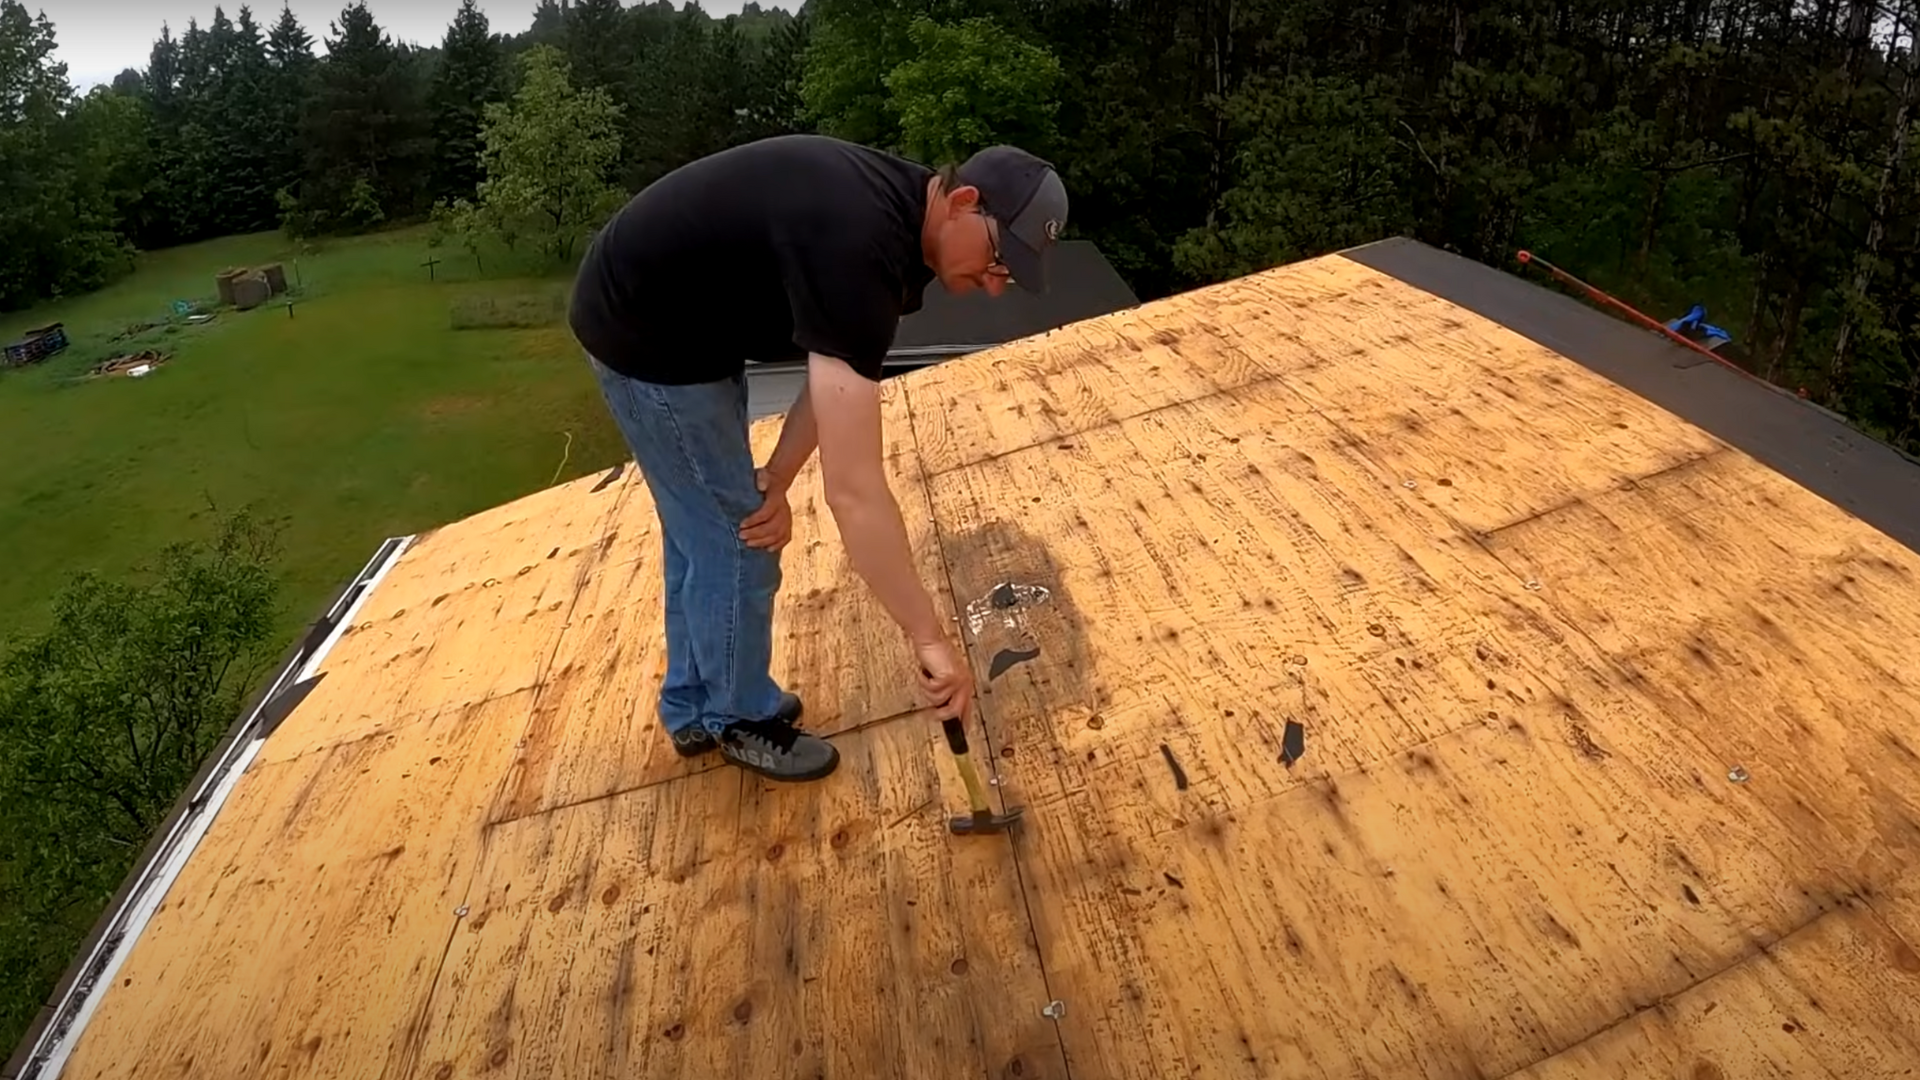
Once the old shingles are removed, inspect the roof deck for any damage. Look for areas with rotting or weakened plywood that could compromise the roof’s integrity.
Replace any damaged sections and re-nail any loose seams to reinforce the deck.
This step is crucial to ensure the new roofing material is installed on a solid and stable base, preventing future issues.
Step 3: Install Ice and Water Shield
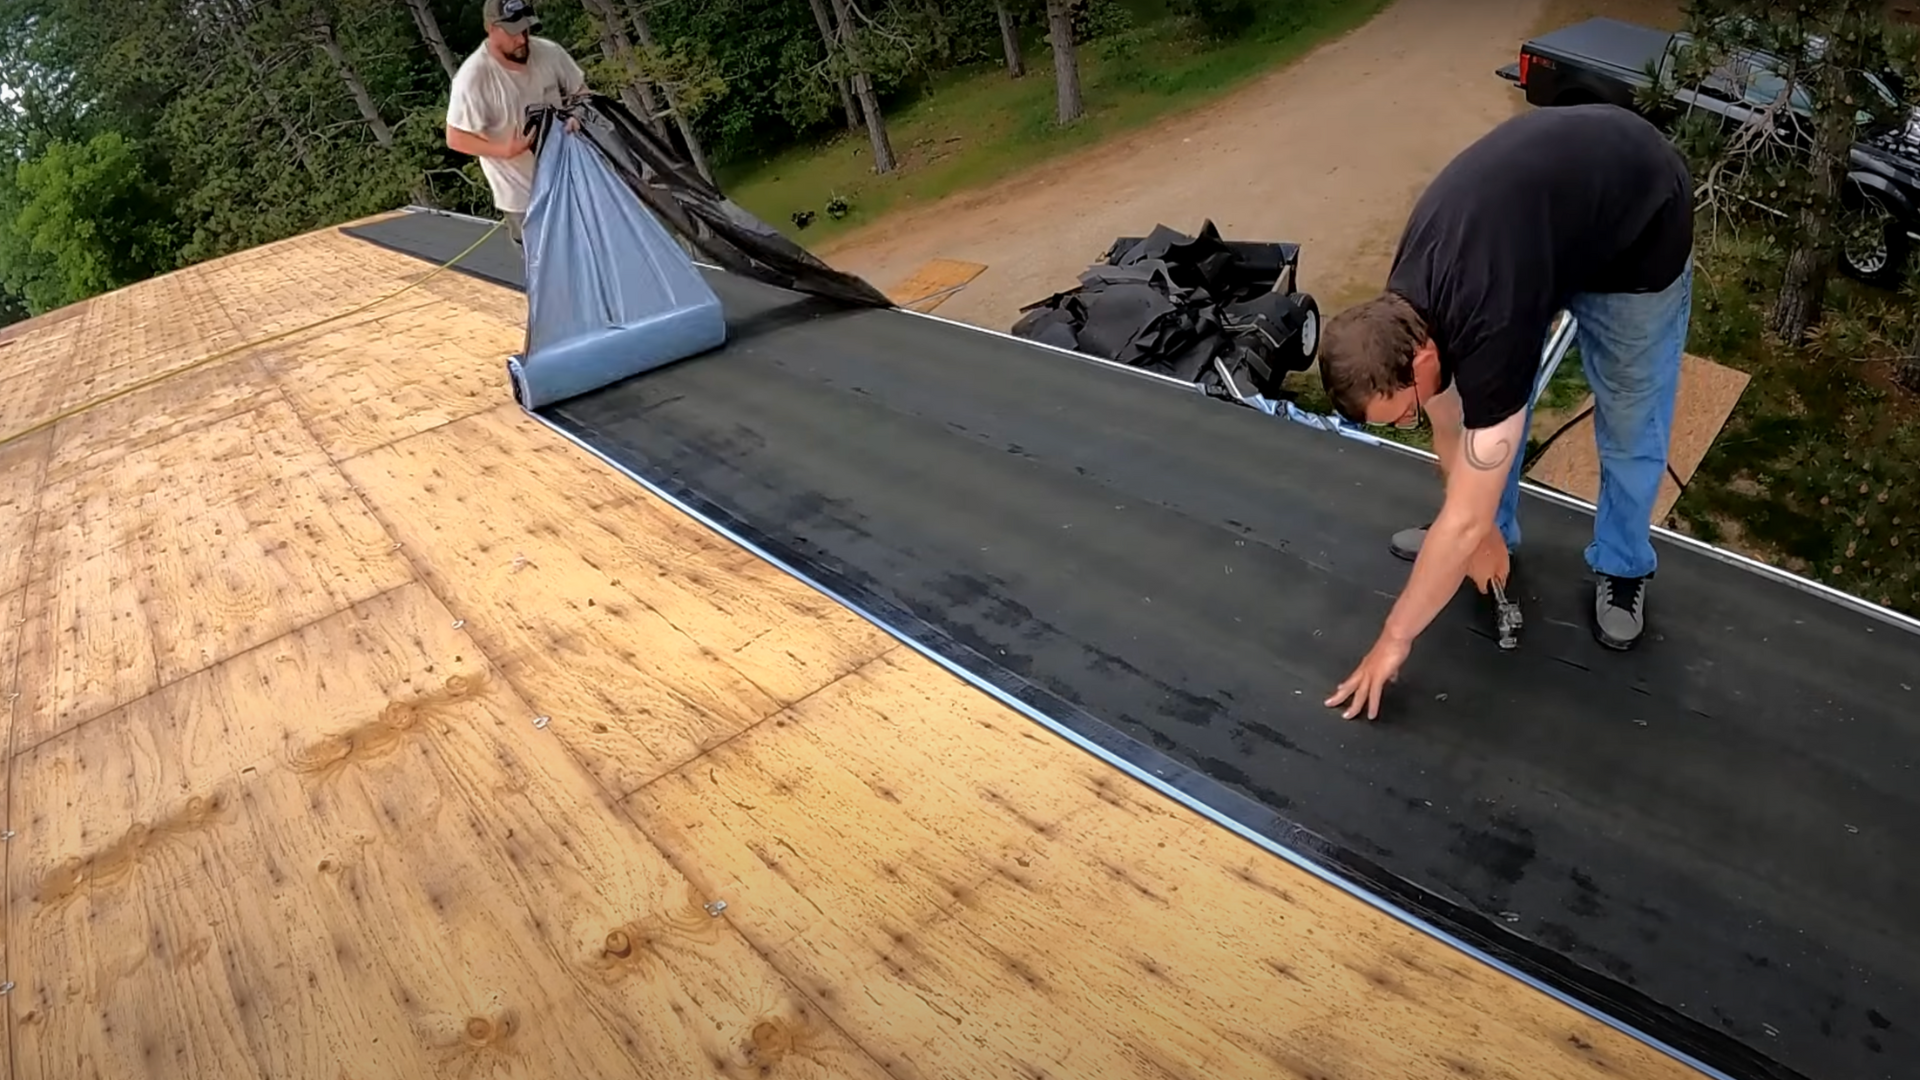
Ice and water shield is a vital protective layer for preventing water intrusion, especially in vulnerable areas like eaves and valleys.
Start installing the shield at the lowest point of the roof and work your way upward.
Be sure to overlap the shield properly to meet local building code requirements. This waterproof layer helps protect your home from leaks caused by ice dams or heavy rainfall, especially in colder climates.
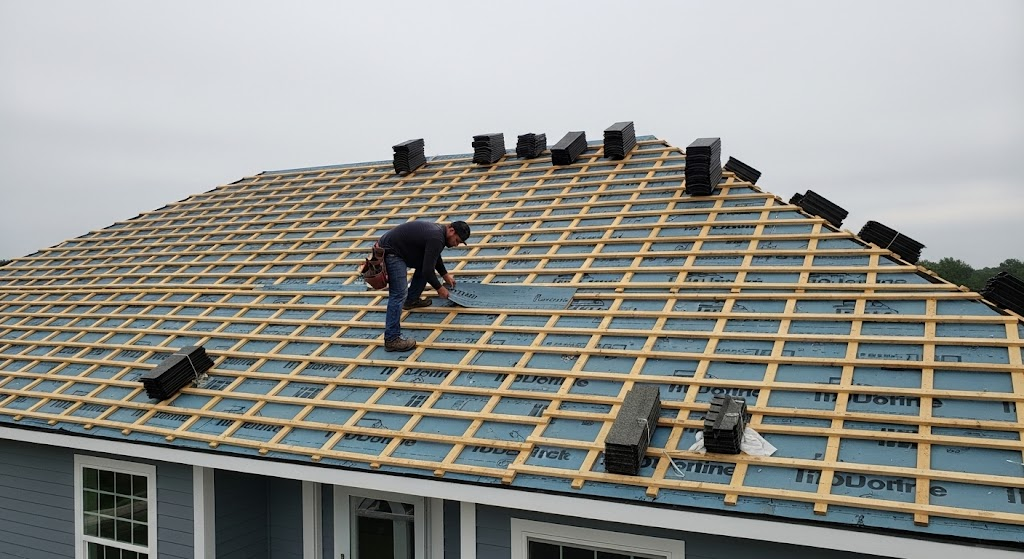
Step 4: Install Synthetic Felt or Tar Paper
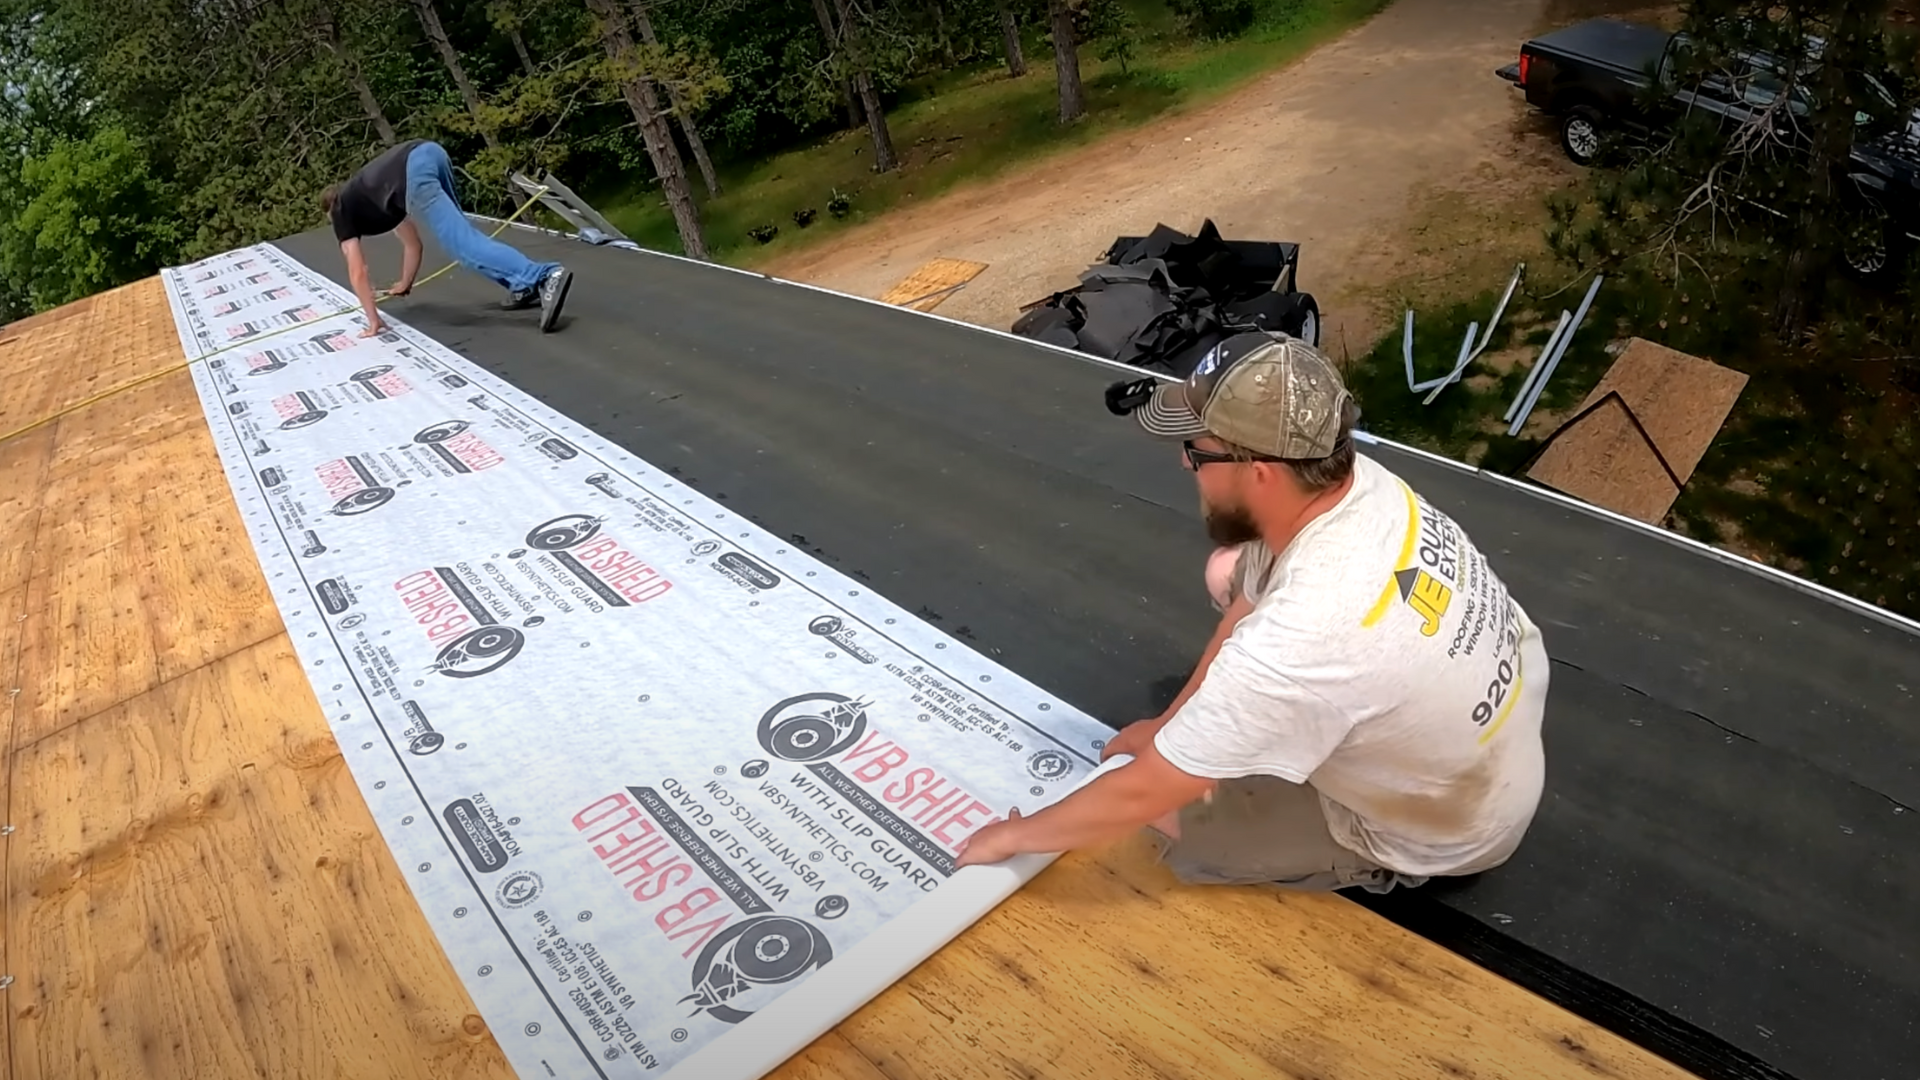
After the ice and water shield, lay down synthetic felt or tar paper over the entire roof surface. This underlayment provides additional protection against water penetration.
Make sure to overlap each row by about 4 inches to maintain a continuous, watertight barrier.
The felt or tar paper helps prevent leaks and ensures that water flows off the roof properly, safeguarding your home’s interior from moisture damage.
Step 5: Install Gutter Apron
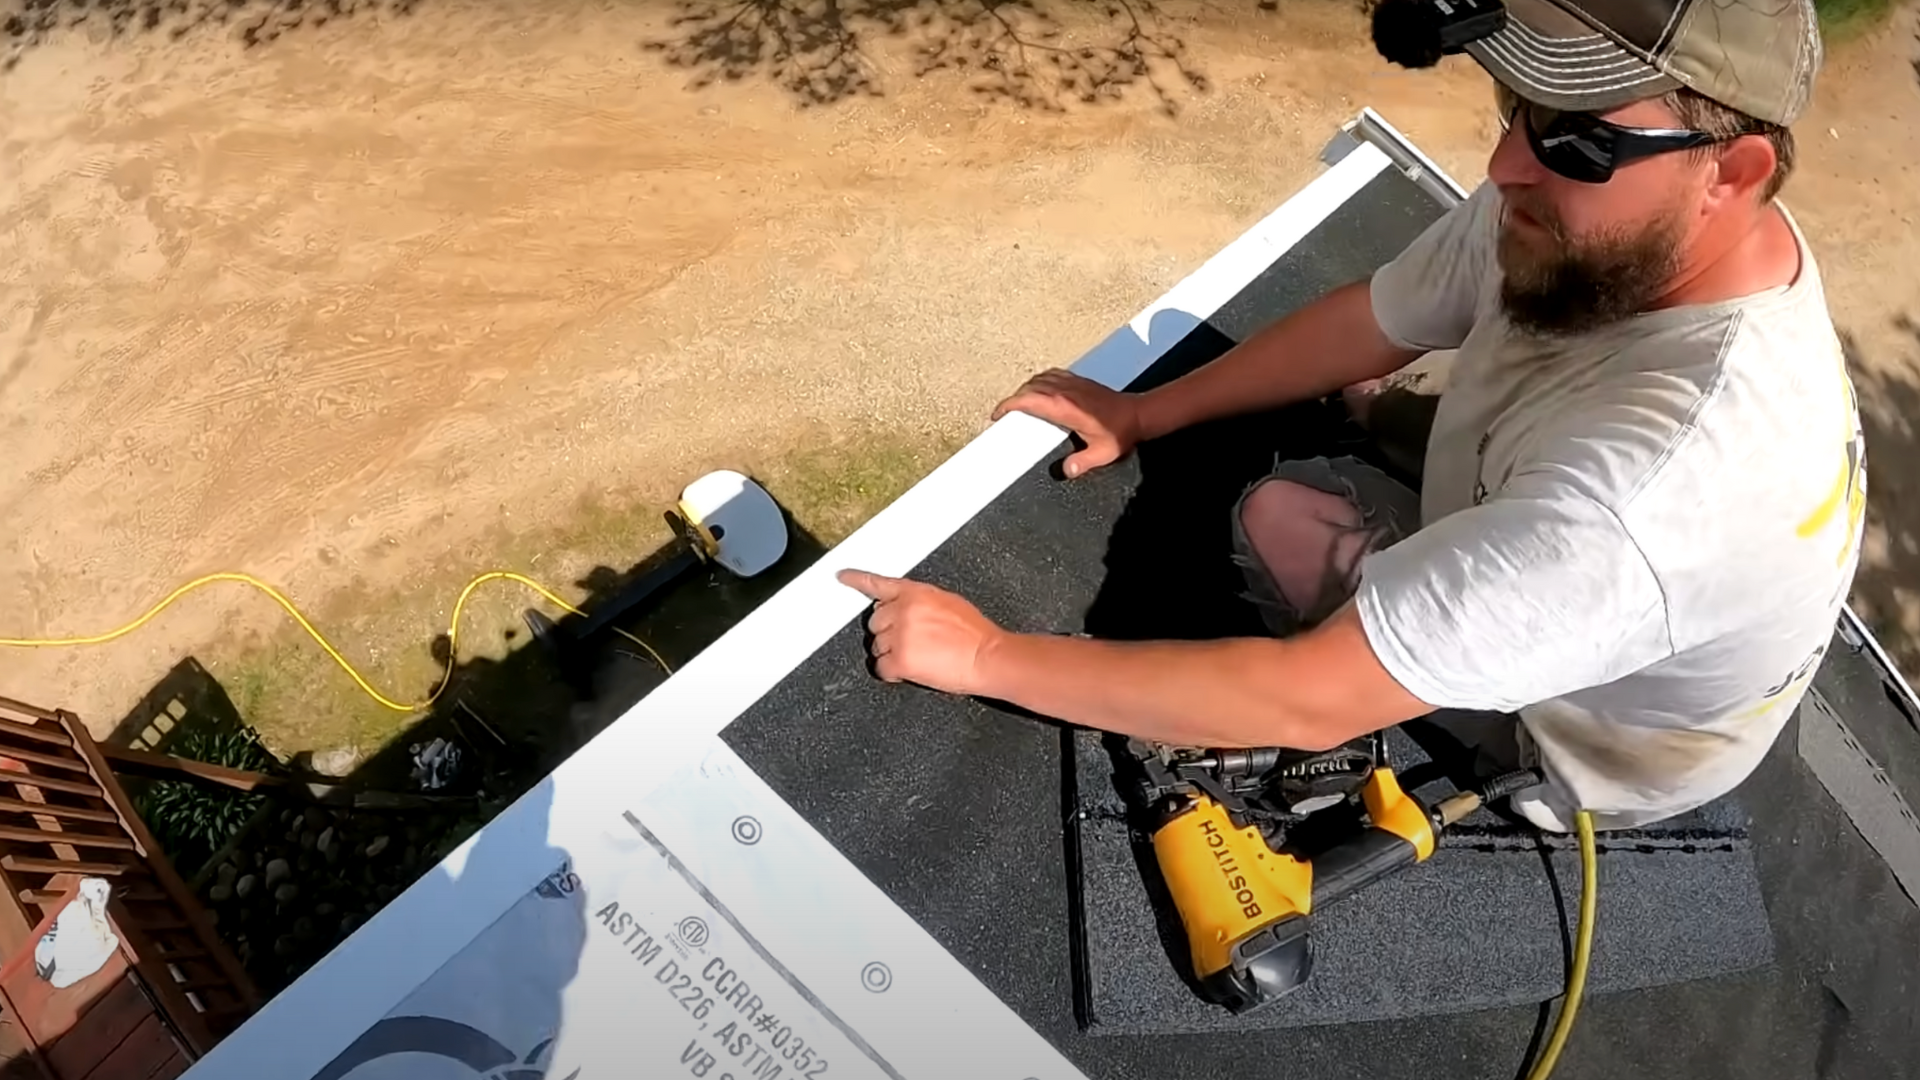
The gutter apron is a metal strip installed along the edge of the roof, which helps direct water into the gutters.
It prevents water from getting behind the gutters and potentially causing damage to the fascia board.
Install the apron over the tar paper or underlayment, making sure it fits securely.
Nail the apron into place, ensuring it remains tight to the fascia and is aligned correctly with the roof’s edge to ensure proper drainage.
Step 6: Install Starter Shingles
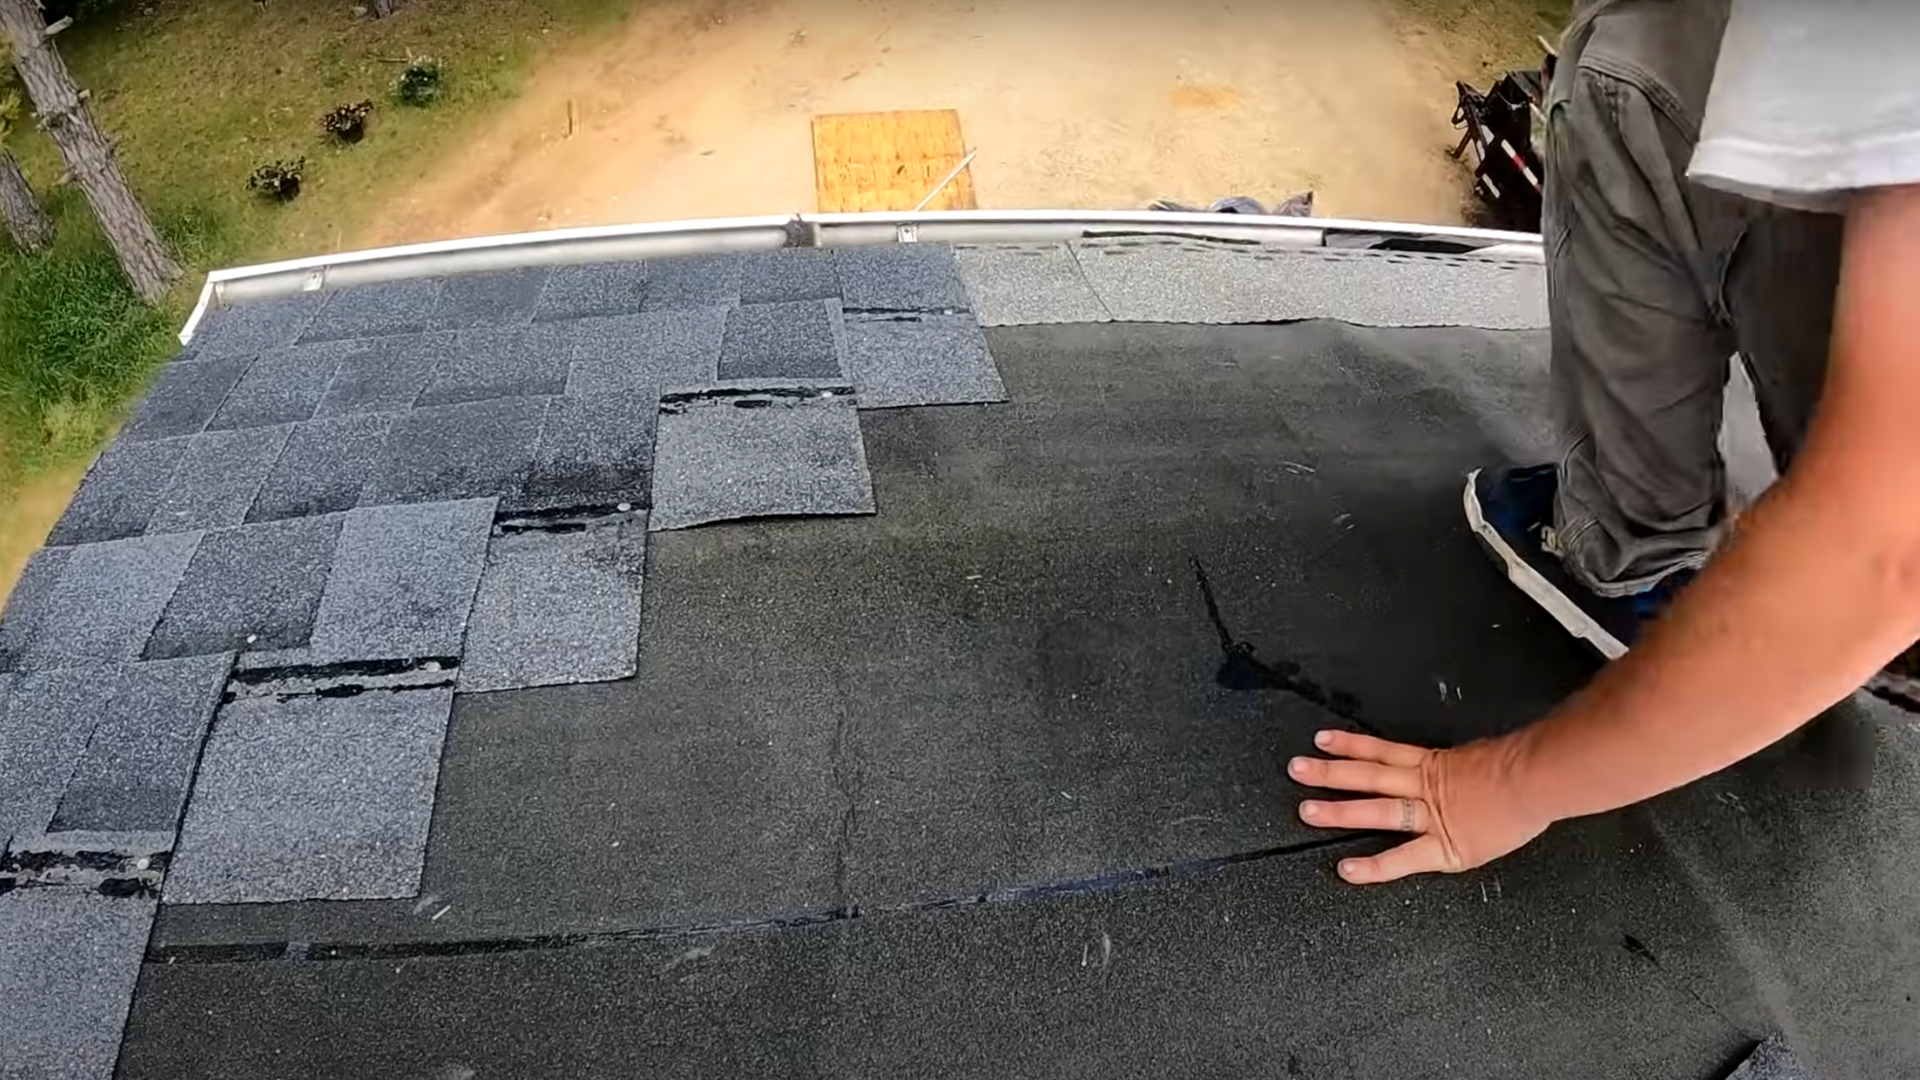
Starter shingles are the first layer of shingles installed at the roof’s edge. They help secure the bottom row of shingles and prevent wind uplift, which can damage the roof.
Nail the starter shingles into place, ensuring they slightly overlap the gutter apron.
This overlap is essential for directing water into the gutters and preventing leaks at the roof’s edge.
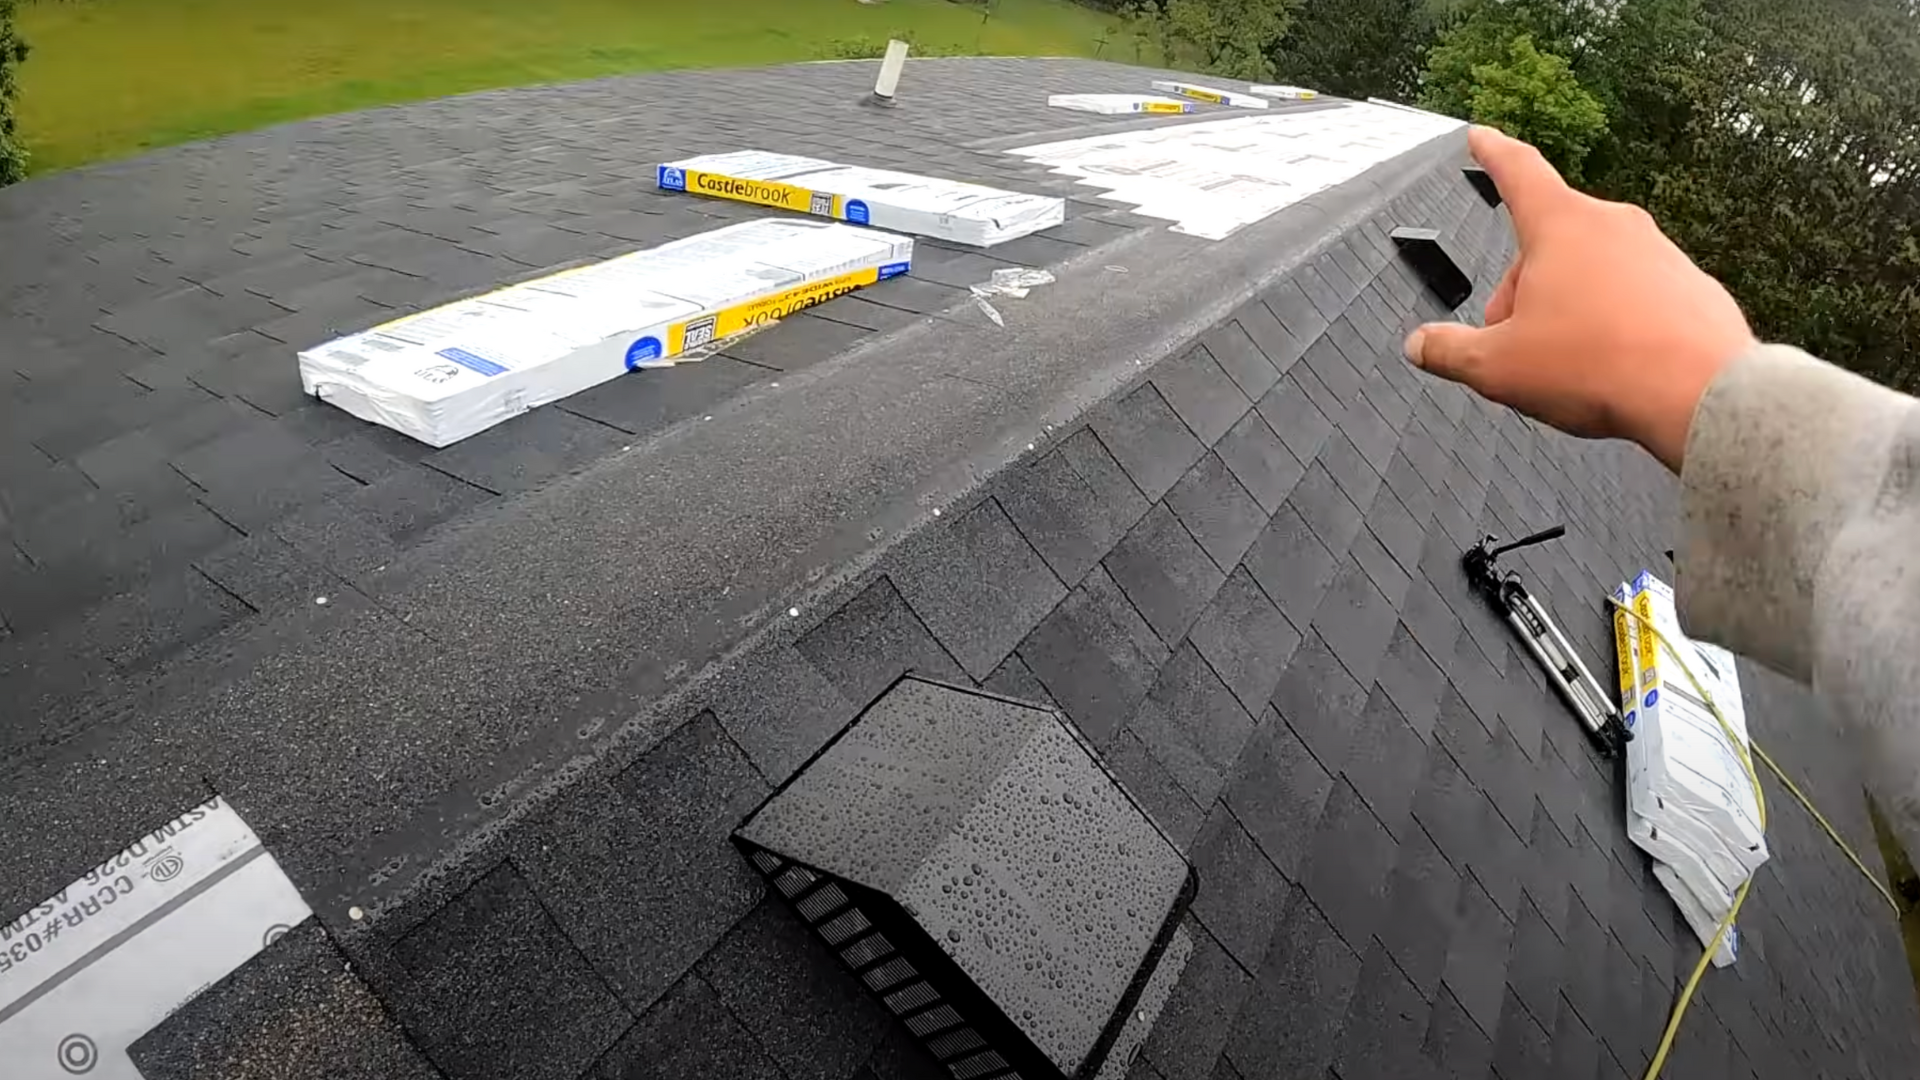
Step 7: Begin Installing Shingles
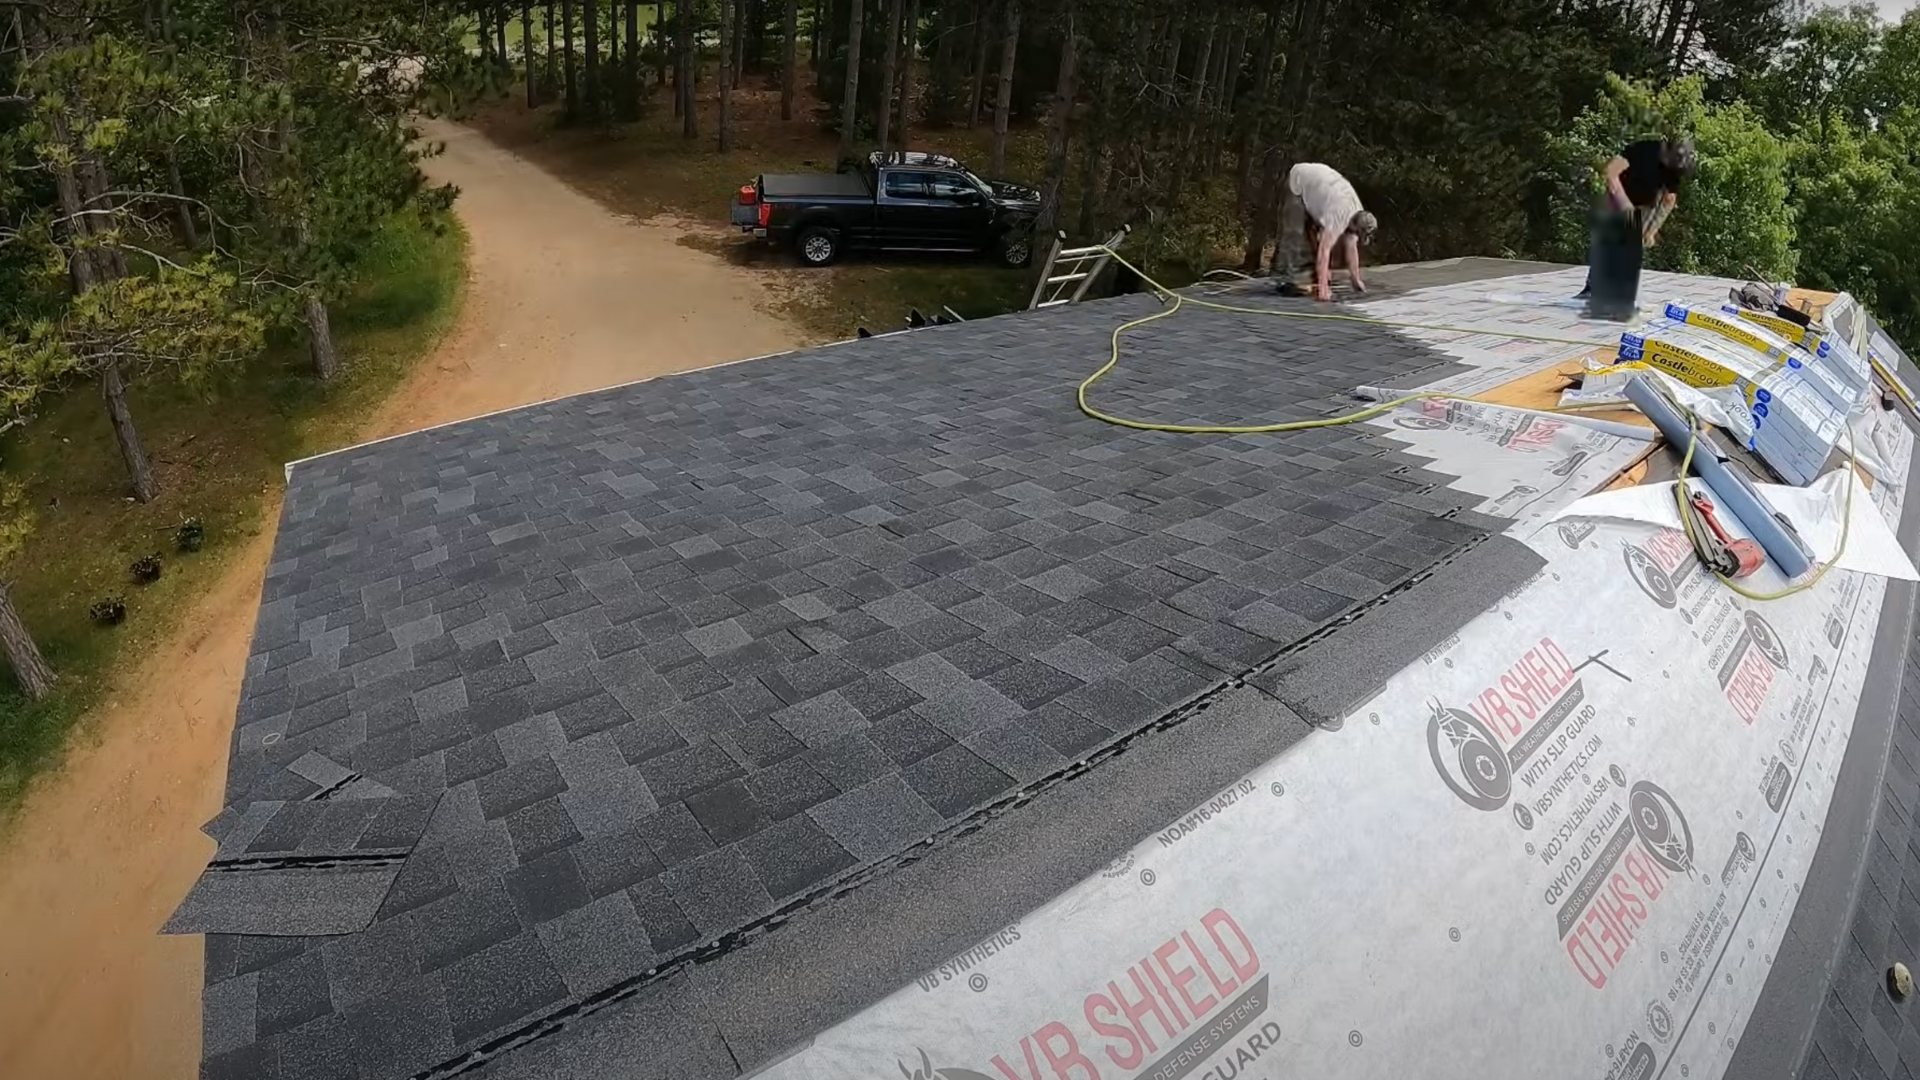
Start laying the shingles at the bottom edge of the roof, making sure each new row overlaps the one below it.
For proper waterproofing and stability, nail each shingle securely according to the manufacturer’s recommended nail placement.
Stagger the seams between each row to create a more durable and water-resistant roof.
Step 8: Install Ridge Cap Shingles and Final Inspection
Once the roof is covered with shingles, install ridge cap shingles along the roof peak to seal the top.
These shingles give the roof a finished look while preventing water from entering at the ridge.
Finally, inspect the entire roof for any loose shingles, missed nails, or other issues. Clean up debris and ensure everything is secure before finishing.
For a visual guide, refer to this tutorial on installing roofing by @Life’s Apprentice on YouTube.
How Much Does It Cost to Roof a House?
The cost of roofing a house can vary depending on several factors, including size, material, and whether you hire professionals or do it yourself. Look at this detailed breakdown:
Hiring a Professional:
- Typically costs between $3,000 to $10,000 for a 1,500 to 2,000-square-foot home, including materials and labor.
- The cost can vary based on the roofing material, with asphalt shingles being the most affordable, and metal or slate costing more.
DIY Roofing:
- Costs between $1,000 to $4,000, depending on material choice and tools you already have.
- DIY roofing requires careful planning and expertise to avoid costly mistakes.
Understanding these costs will help you make an informed decision for your roofing project.
Should You Hire a Professional or DIY?
Deciding whether to hire a professional or do it yourself depends on factors like skill level, roof complexity, and budget.
If you’re experienced and comfortable working at heights, DIY roofing can save money.
However, it requires the right tools, time, and knowledge to avoid mistakes that can lead to leaks or damage.
Hiring a professional ensures the job is done correctly and safely. Roofing contractors have the expertise and equipment to handle complex roofs and extreme conditions.
While more expensive, professional roofing guarantees quality work and often comes with warranties for added protection.
Maintain Your Roof After Installation
Regular maintenance ensures your roof continues to function effectively and lasts for many years.
- Inspect your roof regularly: Check for damage, missing shingles, or signs of wear at least twice a year.
- Clean gutters and downspouts: Clear debris to ensure proper water drainage and prevent water damage.
- Trim overhanging branches: Remove any tree limbs that could damage your roof or cause debris buildup.
- Check for leaks: Inspect areas around vents, chimneys, and skylights to catch any potential leaks early.
- Ensure proper ventilation: Maintain attic ventilation to prevent moisture buildup, which can damage roofing materials.
- Address any issues immediately: Fix any small problems before they become larger, more expensive repairs.
- Remove moss or algae: Clean your roof to prevent moss, algae, or mold growth that can cause decay.
Tips for Properly Sealing Your Roof
Proper sealing helps protect your roof from leaks, water damage, and harsh weather conditions.
- Use high-quality sealant: Choose a durable, weather-resistant sealant to ensure long-lasting protection.
- Seal all joints and seams: Apply sealant to areas where roofing materials meet, like ridges, valleys, and around vents.
- Pay attention to flashing: Ensure the flashing around chimneys, skylights, and vents is properly sealed to prevent water infiltration.
- Inspect the roof regularly: Check for any cracks or gaps in the sealant and reapply as needed to maintain waterproofing.
- Apply sealant on a dry, clear day: For best results, apply sealant when the roof is dry, and there’s no rain expected for at least 24 hours.
- Follow manufacturer instructions: Always read and follow the instructions on the sealant product to ensure proper application and curing time.
Conclusion
Roofing your house is a rewarding project that can be completed successfully with the right knowledge and tools.
I’ve shared the essential steps to help you navigate the process, from tearing off old shingles to installing the final ridge cap.
While DIY roofing can save money, it requires careful planning, attention to detail, and a strong understanding of the materials involved.
However, if you’re uncertain about your skills or the complexity of the job, hiring a professional is a great option to ensure quality and safety.
No matter which route you take, proper installation and maintenance are key to ensuring your roof lasts for years.
If you’re ready to tackle the project, gather your materials and start the process, or if you’re unsure, reach out to a professional who can guide you through.