
I used to wonder if I could just skip sanding and paint straight over varnish. It seemed like a shortcut worth taking until I saw the paint peeling off a few days later.
The truth is, yes, you can paint over varnish, but only if you prep the surface properly. Varnish is slick and sealed, so paint won’t bond without the right steps.
I’ve learned through trial and error how to do it the right way, and in this guide, I’ll show you exactly when it works, how to prep like a pro, and what products give the best, lasting results.
Got a glossy cabinet or shiny table you want to refresh? Let’s dive in and make sure your next paint job sticks and shines.
Ready to get started? Let’s go!
Can You Paint Over Varnish?
Yes, you can paint over varnish, but proper preparation is key. Varnish creates a slick surface that paint can’t grip naturally.
Without sanding or priming, the paint may peel or chip quickly.
Start by cleaning the surface to remove dust and grease, then lightly sand to roughen it up. Once the sheen is gone, apply a bonding primer to help the paint adhere properly.
Skipping prep might save time now, but it could lead to more work later. For a lasting, quality finish, proper surface preparation is essential.
When done right, painting over varnish is totally worth it.
When Is It Okay to Paint Over Varnish?
Painting over varnish is possible if the surface is in good condition. This is when it works best:
- Surface Condition: The varnish must be smooth, clean, and free of peeling or damage. This is common on indoor items like furniture, trim, and cabinets.
- Prep Work: Clean the surface thoroughly, lightly sand it to remove the gloss, and apply a bonding primer.
- No Residue: Make sure there’s no wax, polish, or oil-based residue for better adhesion.
When done properly, painting over intact varnish saves time and effort, making it an excellent option for refreshing pieces without completely stripping the finish.
Painting Over Varnish: Step-by-Step Guide
Follow this step-by-step guide to transform varnished wood. Learn how to sand, prime, and paint properly for smooth coverage, strong adhesion, and a finish that lasts for years.
Materials Used

These are the essential tools and products used to prep, prime, and paint over the varnished skirting board.
- Frog Tape: Painter’s tape used to protect floor edges and create sharp paint lines without bleeding.
- Knotting Solution: Seals wood knots to prevent resin or sap from bleeding through paint.
- Sash Brush: Angled brush ideal for cutting in along edges and corners with precision.
- Paint Brushes: Used for applying primer, undercoat, and topcoat evenly to the skirting board.
- Paint Kettle: A small container for holding manageable amounts of paint during application.
- Shellac-Based Primer: Seals varnished surfaces and blocks stains or yellowing from bleeding through.
- 80-Grit Sandpaper (Worn Down): Used to dull the varnish’s gloss and help primer adhere better.
- Farrow & Ball Water-Based Primer: Prepares the surface for even color and stronger paint bonding.
- Farrow & Ball Undercoat: Provides a smooth, uniform base that enhances topcoat coverage and durability.
- Farrow & Ball Topcoat: The final finish that gives the skirting board its new color and protection.
- Vacuum Cleaner: Removes sanding dust and debris for a clean painting surface.
- Methylated Spirit: Used to clean brushes after applying shellac-based primer.
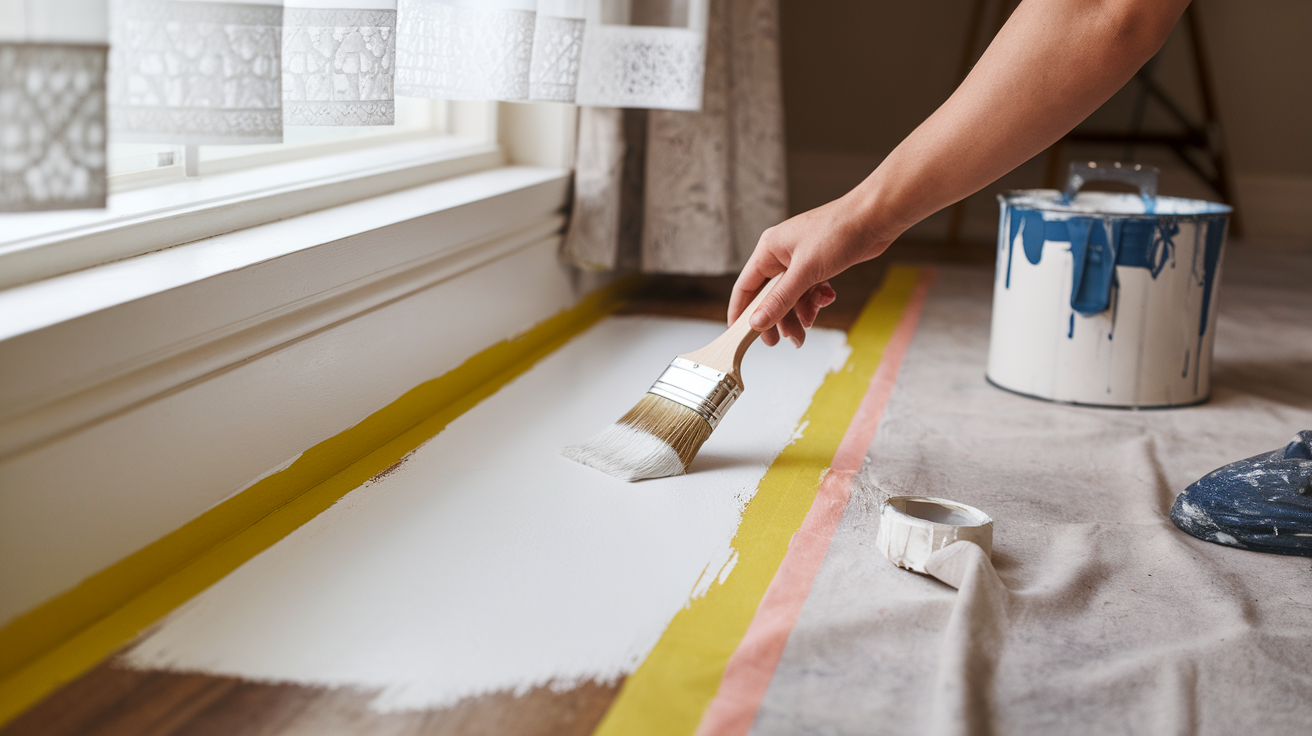
Step 1: Protect the Floor with Tape
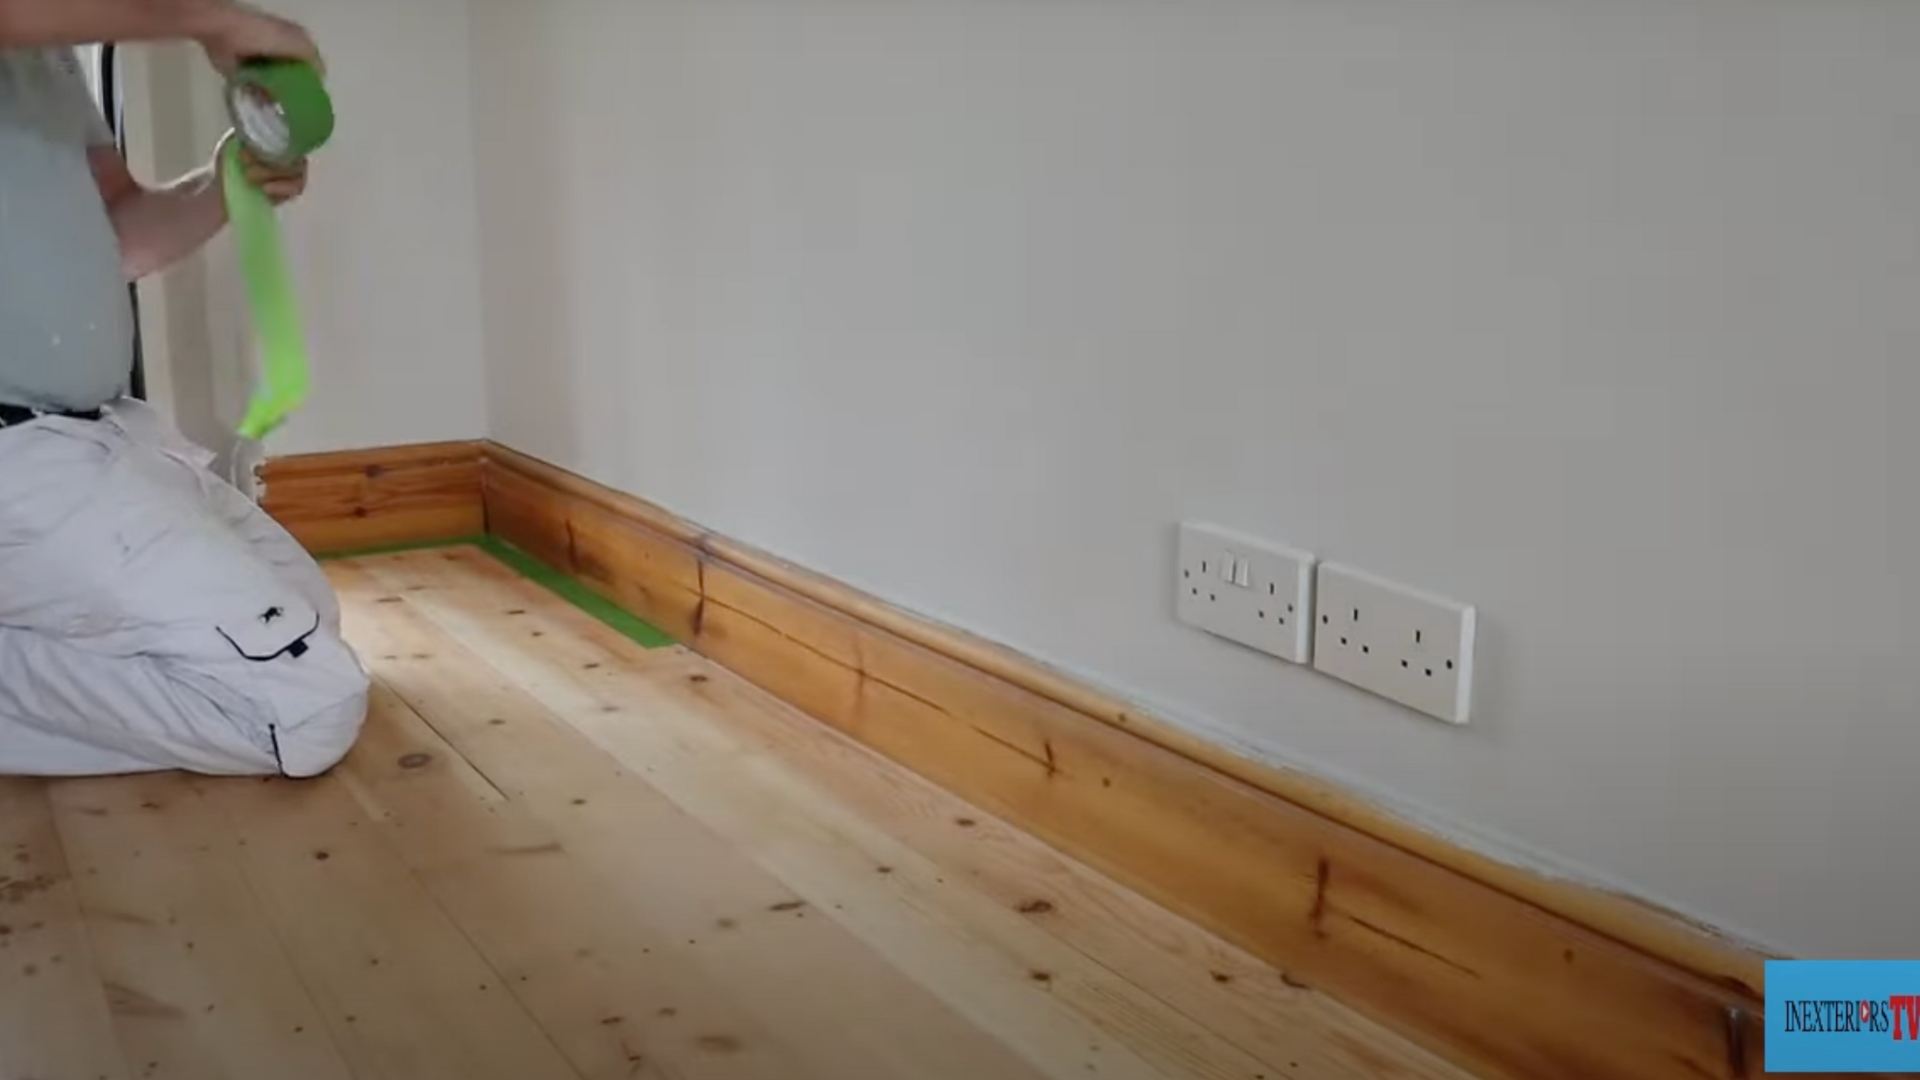
Use Frog Tape to mask off the base of the skirting board.
This protects freshly varnished floors from accidental paint drips and helps create a clean, sharp edge where the trim meets the floor.
Press the tape down firmly along the edge to prevent bleeding and ensure a neat, professional result when the tape is removed after painting.
Step 2: Sand the Varnished Surface
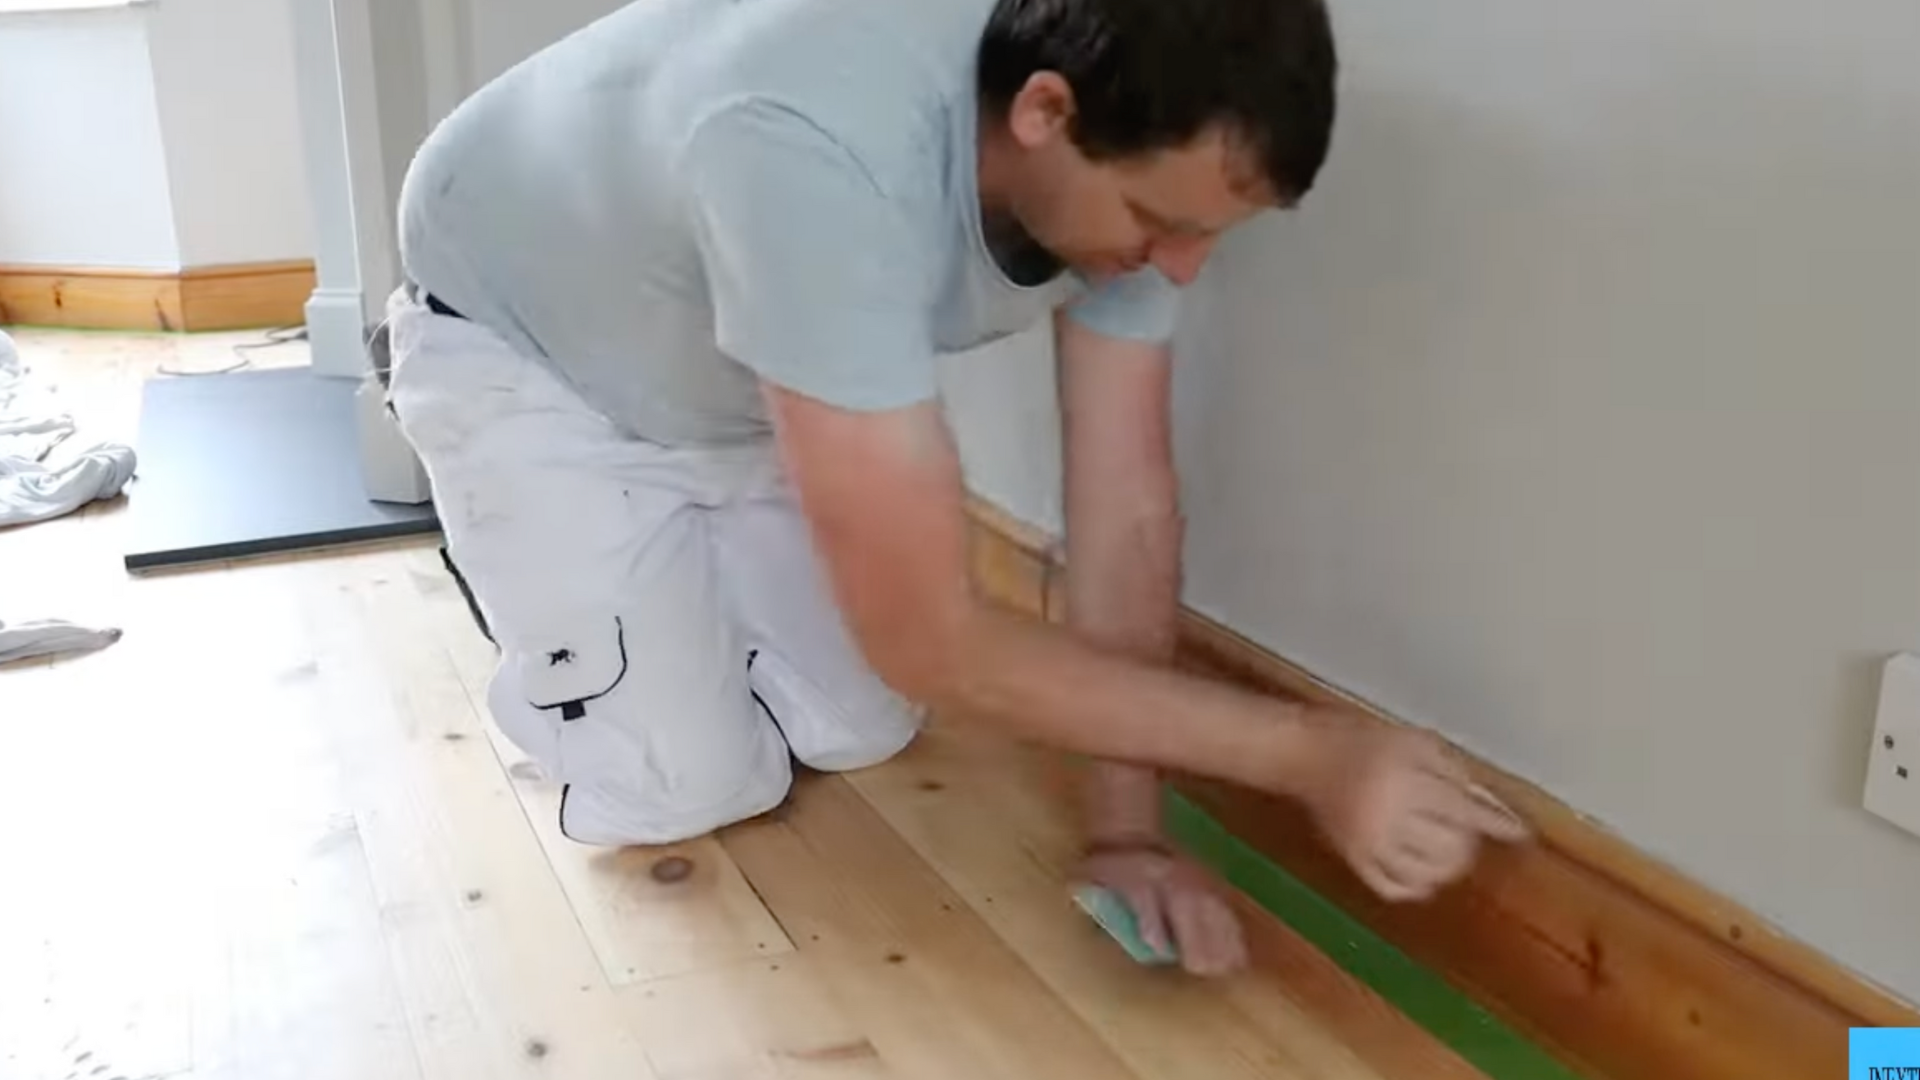
Lightly sand the varnished skirting board with worn 80-grit sandpaper. You’re not removing the varnish entirely, just dulling the glossy finish so the primer can adhere to it.
Sand evenly across the surface, and as you go, use a soft brush or cloth to dust off the sanding residue.
This helps the next layers stick better and look smoother when finished.
Step 3: Clean Dust and Vacuum
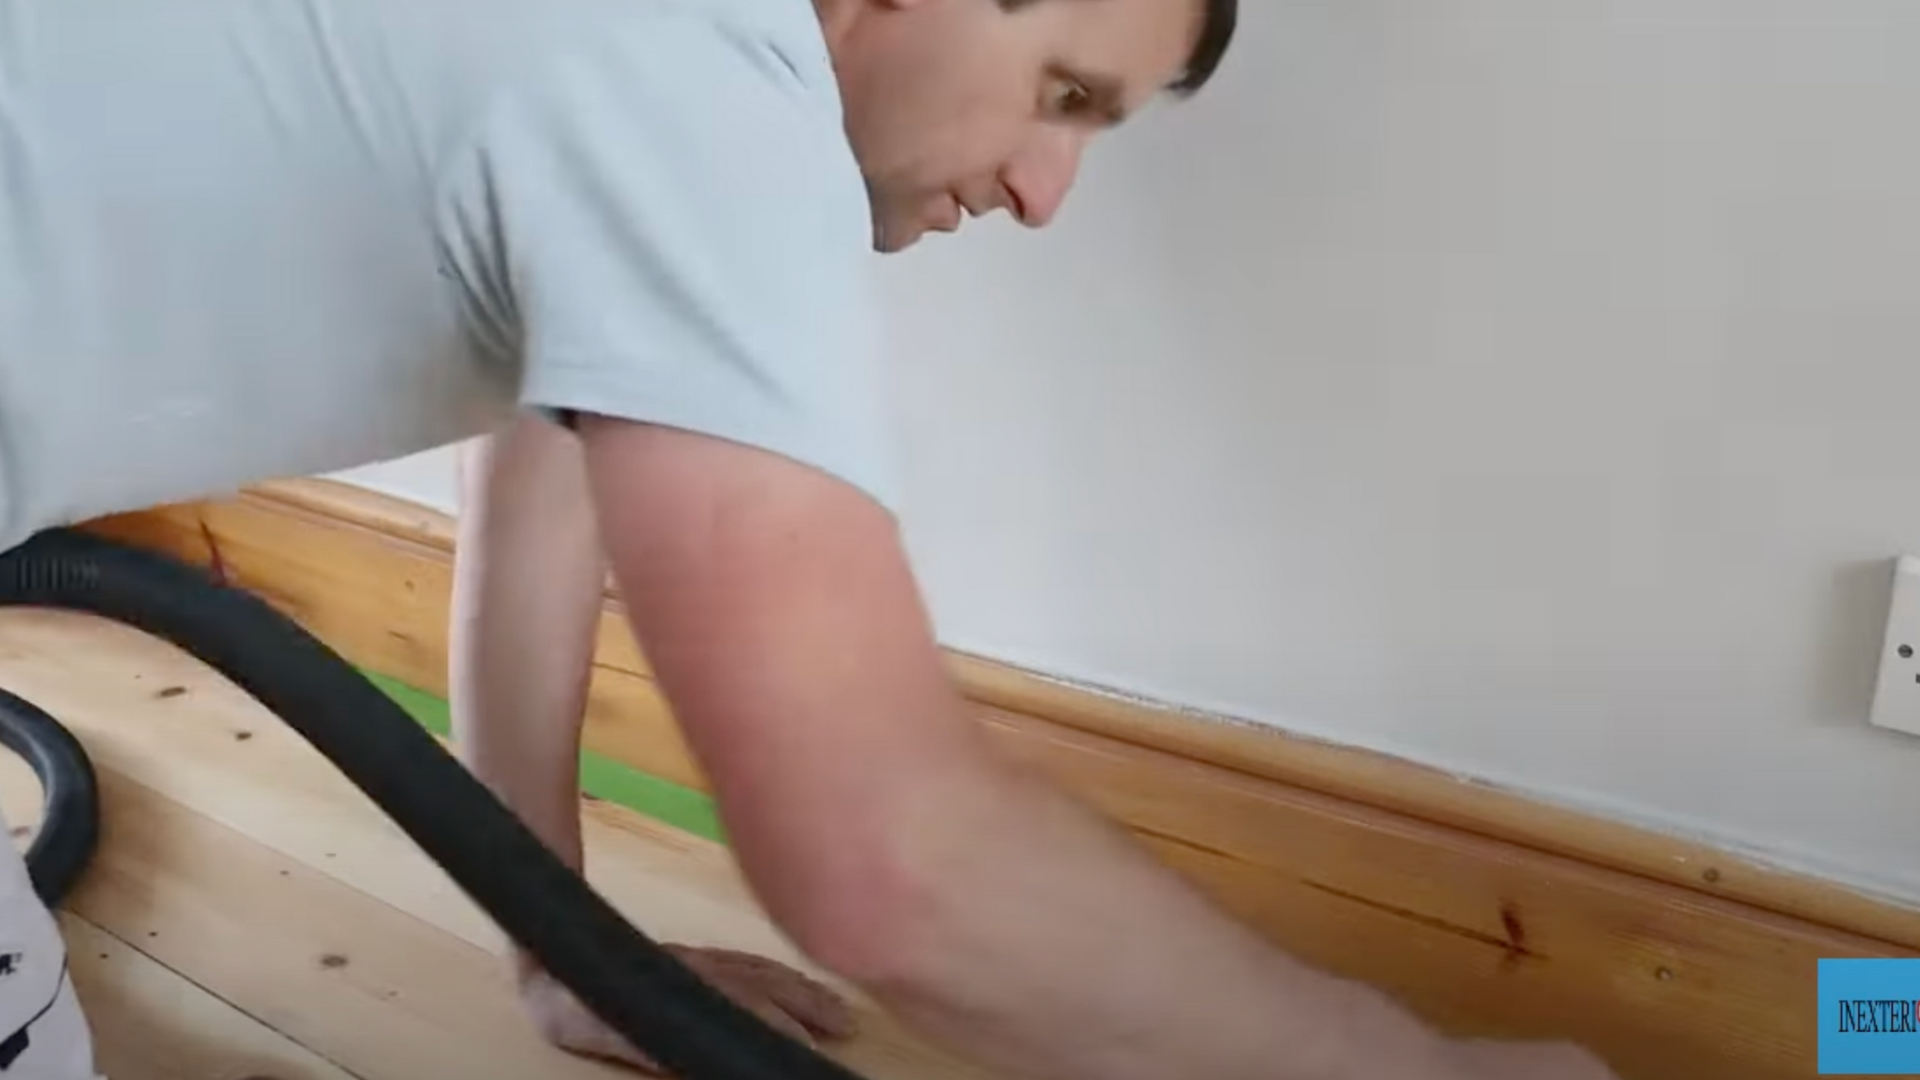
After sanding, clean the entire area using a vacuum and a cloth. Dust left on the surface can ruin the adhesion of primer and paint.
Pay extra attention to corners and floor edges.
A clean base gives you a smoother finish and prevents particles from drying into your paint, which can lead to bumps or peeling later.
Step 4: Seal Knots with Knotting Solution

Apply the knotting solution directly to any visible knots in the wood. This prevents resin or sap from seeping through the paint layers and causing yellow stains.
Even though Zinsser B-I-N can seal knots, the extra layer of knotting solution adds long-term protection and ensures a flawless final coat, especially on natural or stained wood.
Step 5: Prime with Shellac-Based Primer
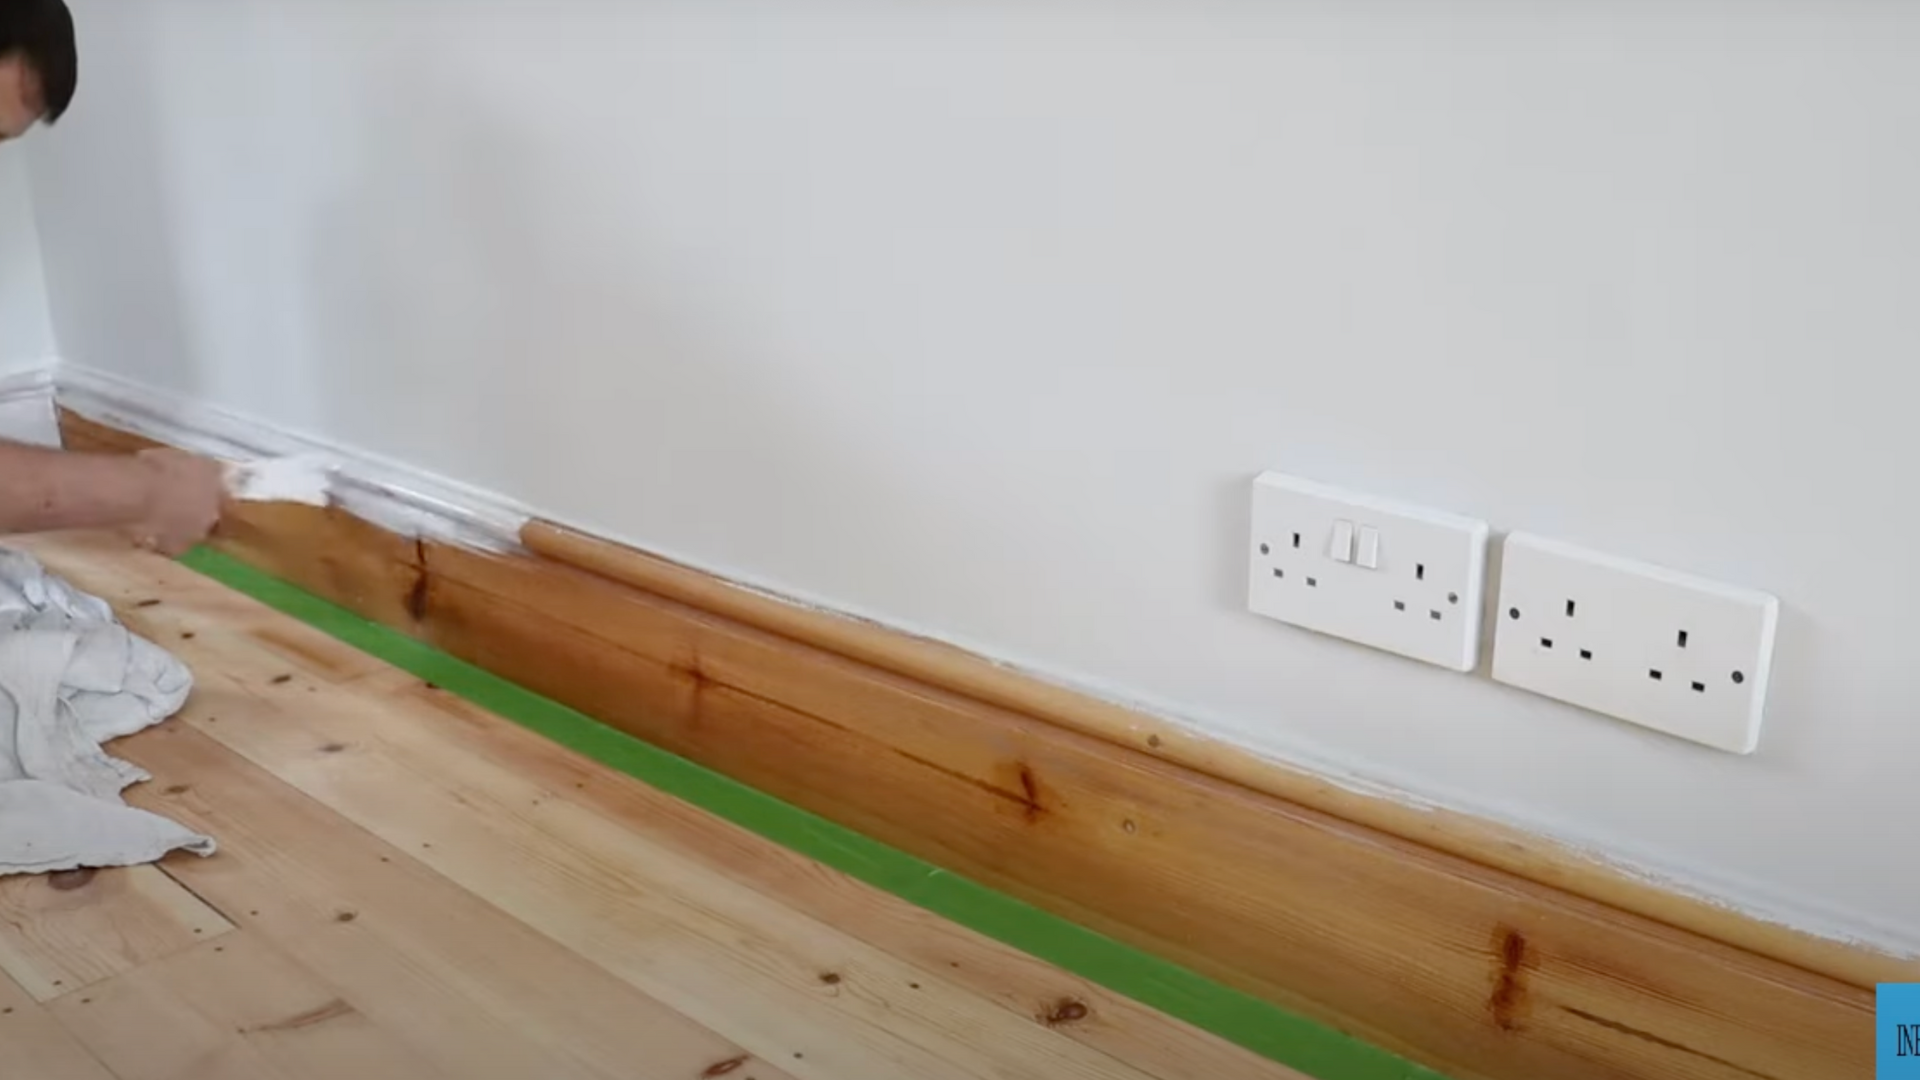
Using a brush, apply a thin and even coat of Zinsser B-I-N shellac-based primer. It seals the varnish and prevents stain bleed-through, which water-based paints alone can’t handle.
Be careful as it’s runny and strong-smelling. Once finished, clean your brushes with methylated spirit to remove the shellac-based formula before it hardens.
Step 6: Sand Lightly and Apply Undercoat
Once the primer is completely dry, lightly sand the surface to remove any brush marks. Wipe off dust, then apply Farrow & Ball water-based undercoat evenly with a brush.
This undercoat creates a smooth, uniform surface that pairs well with your topcoat and helps it last longer without chipping or flaking.
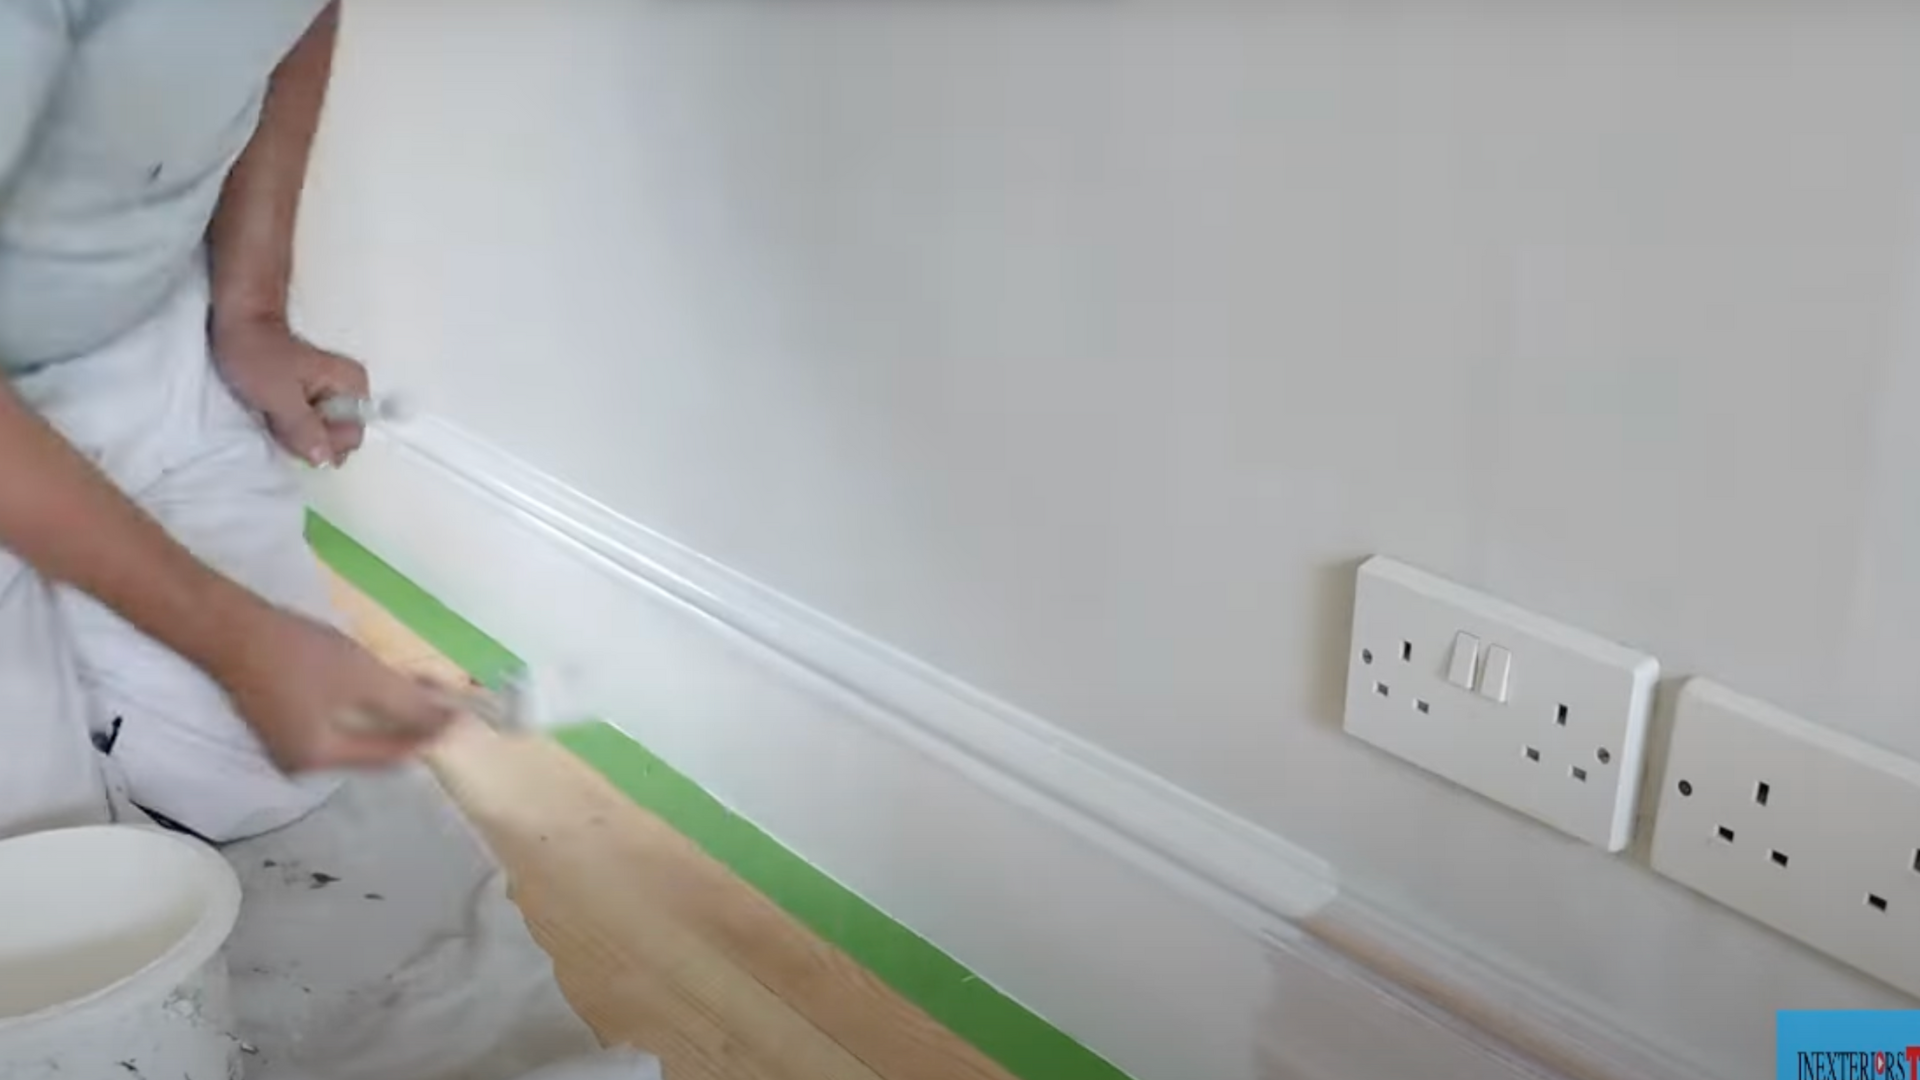
Step 7: Finish with Two Top Coats
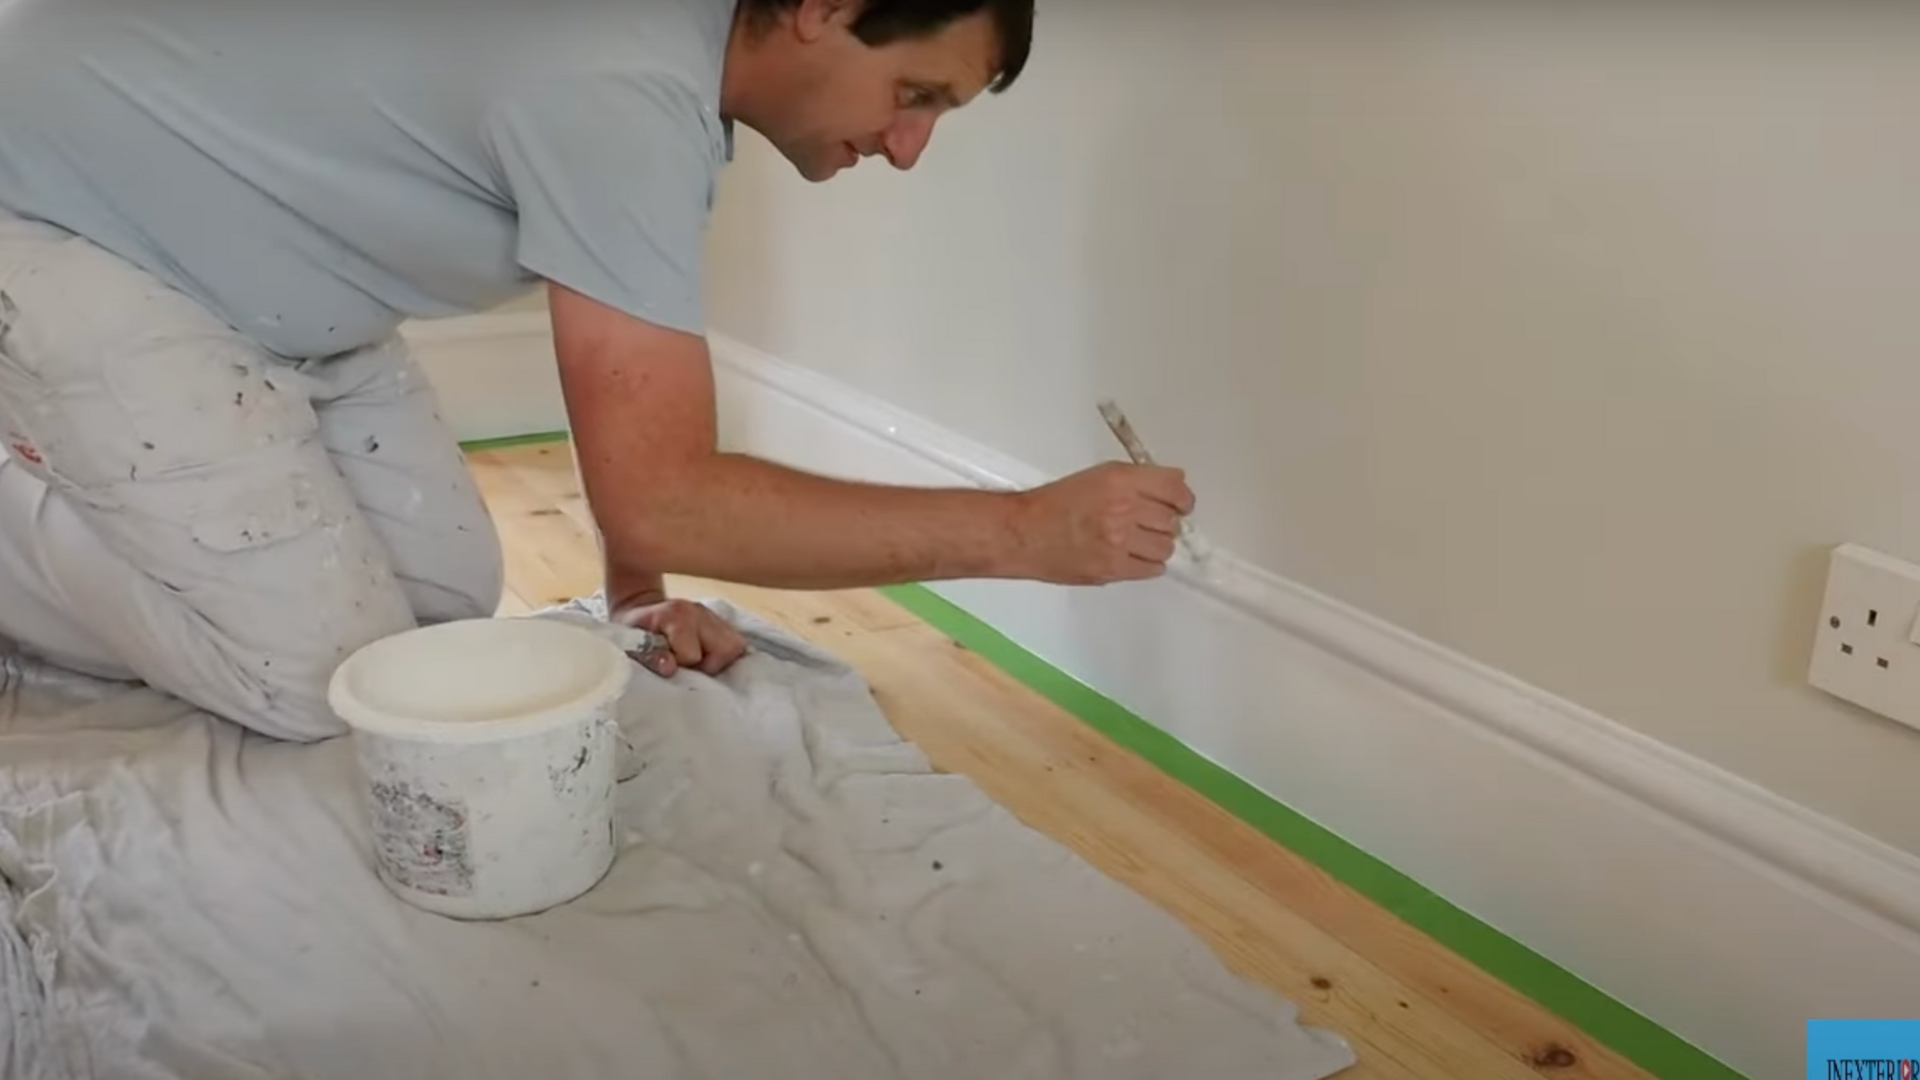
After the undercoat dries, apply your first coat of Farrow & Ball topcoat. Let it dry fully, then follow with a second coat. Two coats give the best durability and finish.
Once dry, remove the tape carefully. You’ll have a smooth, professional-looking result that completely transforms the once-varnished skirting board.
Recommended: Want to see the whole process in action? Watch the video tutorial by @Inexteriors to follow each step and achieve professional-level results.
When Painting Over Varnish Isn’t Recommended
If the varnish is peeling, cracked, or bubbling, painting over it won’t fix the problem. The underlying finish is unstable and needs to be removed completely.
Surfaces treated with wax, oil polish, or furniture sprays can also prevent paint and primer from sticking. Even with sanding, these residues often remain and cause adhesion issues.
Outdoor or moisture-damaged wood under varnish is another risk, as the damage may not be fully visible. In these cases, the finish may break down beneath the paint over time.
A simple scratch test using primer can help; if it peels easily, the surface needs more prep or full stripping. It’s better to fix the base properly than deal with a failed paint job later.
Common Mistakes to Avoid
Avoiding simple mistakes like skipping sanding or primer can save your paint job from peeling, poor adhesion, and uneven coverage.
- Skipping sanding: Varnish is slick, and without sanding, paint can’t grip the surface properly, leading to peeling, streaking, or flaking over time.
- Not cleaning thoroughly: Dust, grease, or leftover polish can block primer and paint from sticking. Always clean with a degreaser or soap before starting.
- Using the wrong primer: Standard primers don’t bond well to varnished wood. A bonding primer is specifically designed to stick to slick or sealed surfaces.
- Skipping primer completely: Primer improves adhesion and coverage. Skipping it can lead to uneven color, poor durability, and wasted paint down the line.
- Painting over damaged varnish: If the varnish is cracked or peeling, the damage will show through and ruin the new paint job unless it’s fixed first.
- Rushing drying times: Applying paint too quickly between coats traps moisture, causing bubbling or tackiness. Always follow the recommended dry time on the label.
- Using low-quality tools: Cheap brushes and rollers shed bristles, leave streaks, and waste paint. Invest in quality tools for a smooth, pro-level finish.
Tips for Long-Lasting Results
Want your paint to last? These simple tips will help you get a smooth, durable finish that holds up over time.
- Clean the surface well: Remove all dust, grease, and buildup using a degreasing cleaner. A clean surface helps the primer and paint adhere properly.
- Lightly sand the varnish: Dull the glossy finish with fine-grit sandpaper so the primer has something to grip. Don’t skip this if you want lasting results.
- Use a bonding primer: Designed for slick surfaces, bonding primer ensures paint sticks well to varnish and prevents flaking or chipping later.
- Apply thin, even coats: Don’t overload your brush or roller. Thin layers dry better, look smoother, and reduce the risk of drips or uneven coverage.
- Let each coat dry fully: Allow proper drying time between primer and paint layers. Rushing this step weakens adhesion and causes defects in the finish.
- Use high-quality tools: Good brushes and rollers make a noticeable difference in coverage, texture, and ease of application. They’re worth the extra cost.
- Add a protective topcoat: For high-use pieces like cabinets or furniture, sealing your painted surface adds durability, moisture resistance, and long-term wear protection.
Conclusion
Painting over varnish is one of my favorite ways to give old furniture or trim a brand-new look, without replacing anything.
But I’ve learned the hard way that skipping prep leads to peeling paint and disappointment.
Now, I never paint without first cleaning, sanding, and priming. It takes a little extra time, but the results are smoother, longer-lasting, and worth it.
If you’ve got a shiny wood surface you’re ready to update, don’t let the varnish scare you off. With the right steps, you can make it work.
So grab your brush, pick the right primer, and start that transformation.
And if you get stuck or want advice on a specific surface, just drop a comment—I’d love to help!
Happy painting!