
Refinishing hardwood floors might sound like a job for pros, but you can definitely do it yourself. If you’ve got a few free days, a clear space, and some basic tools, it’s a manageable DIY project.
I’ve done it, and while it takes some effort – think sanding, cleaning, and applying multiple coats – it’s worth the time and saves a lot of money.
You’ll deal with dust and fumes, but nothing you can’t handle with a bit of prep. This works best on solid hardwood, not on vinyl or laminate.
If your floor is thin, warped, or severely damaged, hiring a professional might be a smarter move. However, if your floor is just worn out or scratched up, refinishing it yourself is doable and, honestly, pretty satisfying.
It’s one of those home projects that pays off.
Refinishing Hardwood Floors: Is It Worth Doing Yourself?
Refinishing hardwood floors yourself is possible if you’ve got the time, tools, and space to work in.
It can save you thousands compared to hiring professionals, but it does take effort and attention to detail.
Expect to sand, clean, and apply multiple coats while dealing with dust and fumes. Solid hardwood is ideal for DIY refinishing, not laminate or vinyl.
If your floors are very thin, warped, or deeply damaged, it’s safer to let a pro handle it.
However, if the surface is only scratched, dull, or worn down, you can tackle it over the weekend.
It’s not easy, but it’s not overly complicated either. With clear steps and a little patience, you can get it done and feel proud every time you walk across the floor you brought back to life.
Tools and Materials You’ll Need for Floor Refinishing
Getting ready to refinish your floor? You don’t need a huge toolkit; just a few basics will do. These tools help with sanding, cleaning, and sealing your floor properly.
| Item | Purpose |
|---|---|
| Orbital Sander | For sanding the main floor area |
| Hand Sander | For edges and corners |
| Sandpaper (36, 60, 100) | Used in three sanding stages |
| Vacuum & Tack Cloth | Clean the dust between sanding/finishes |
| Polyurethane + Applicator | For sealing and protecting wood |
Just lay out your gear ahead of time, follow each step carefully, and your floor will look brand new.
Step-by-Step: How to Start Refinishing Wood Floors
Before starting the refinishing process, it’s essential to understand the overall steps involved. It’s not hard, but it does require focus and patience. Follow these steps carefully, and your hardwood floor will look great again.
Step 1: Check and Prep Your Floor
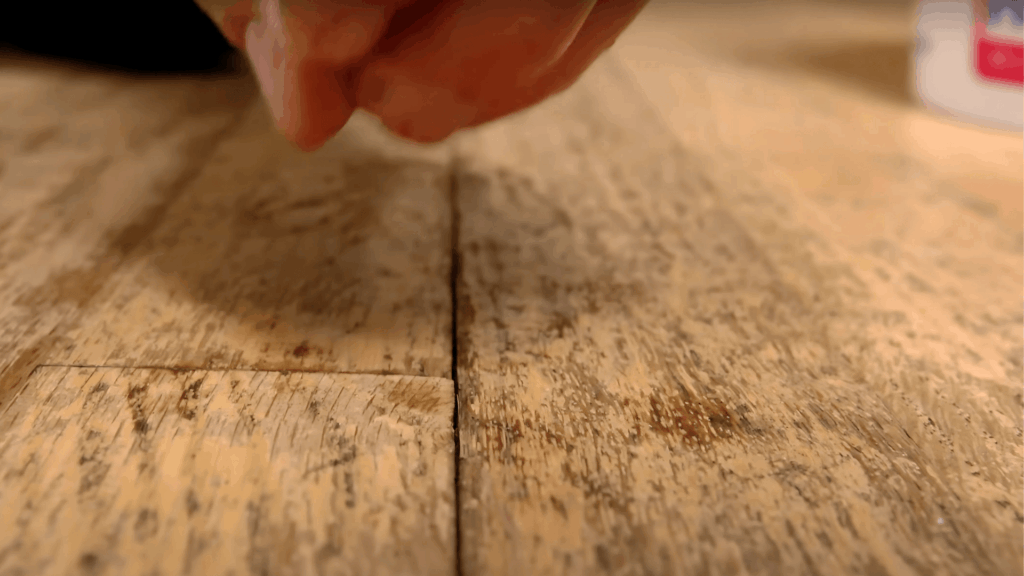
Test your floor by dropping water on it; if it soaks in fast, refinishing is needed.
Clear the room completely, remove moulding and doors, label parts with tape, and cover vents and doorways with plastic to contain dust.
Inspect the floor closely, remove any nails or staples, and ensure the surface is safe for sanding.
Step 2: Sand the Floor in Stages
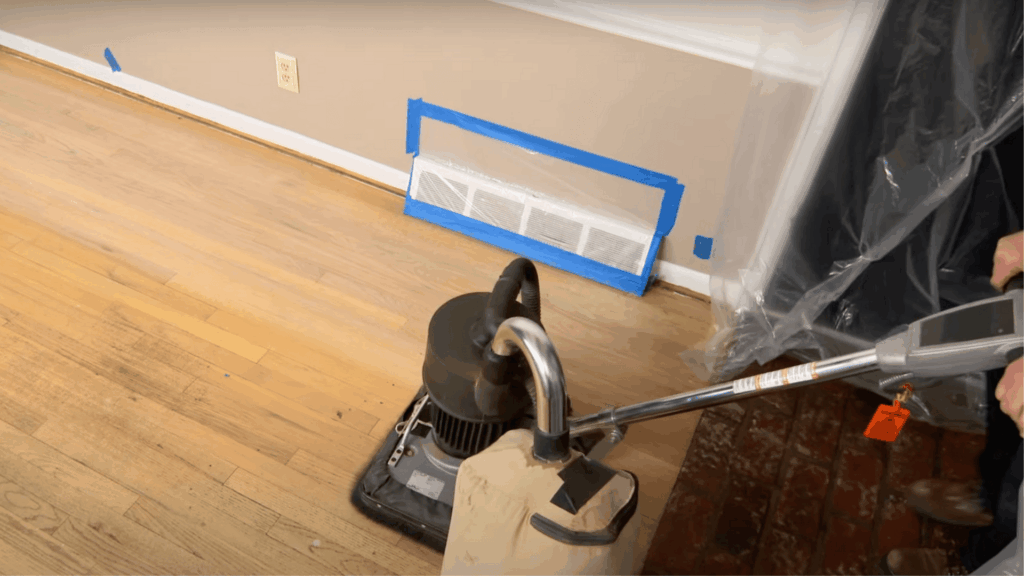
Start with coarse grit (36) using an orbital sander on the central area, and use hand sanders along the edges and corners.
Vacuum well, fill any holes or gouges with wood filler, and lightly mark the edges with a pencil to track progress.
Continue with medium (60) and fine (100) grit sanding, vacuuming between each pass, and finish with a damp mop.
Step 3: Optional Buffing
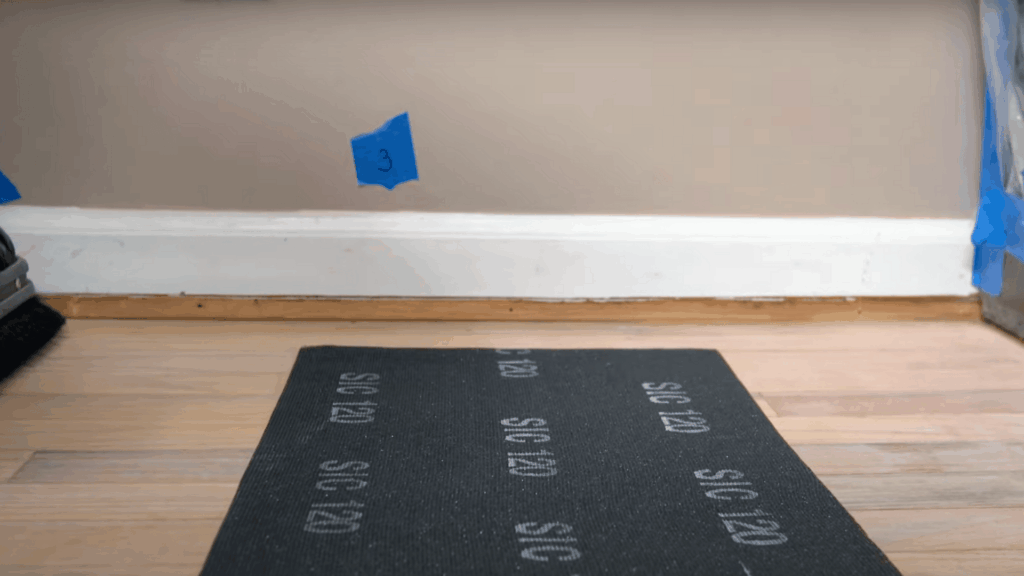
If the floor still feels slightly rough, use a 120-grit screen to buff the surface along the grain.
Buff edges and corners as well, then vacuum the entire space again to remove dust from sanding.
Step 4: Apply Stain or Sealer
Use a pre-stain conditioner and stain if changing the floor color.
If not, apply a sanding sealer, let it dry, and then lightly sand with 320-grit sandpaper.
Vacuum and wipe down the surface with a tack cloth to ensure a dust-free finish.
Step 5: Seal with Polyurethane
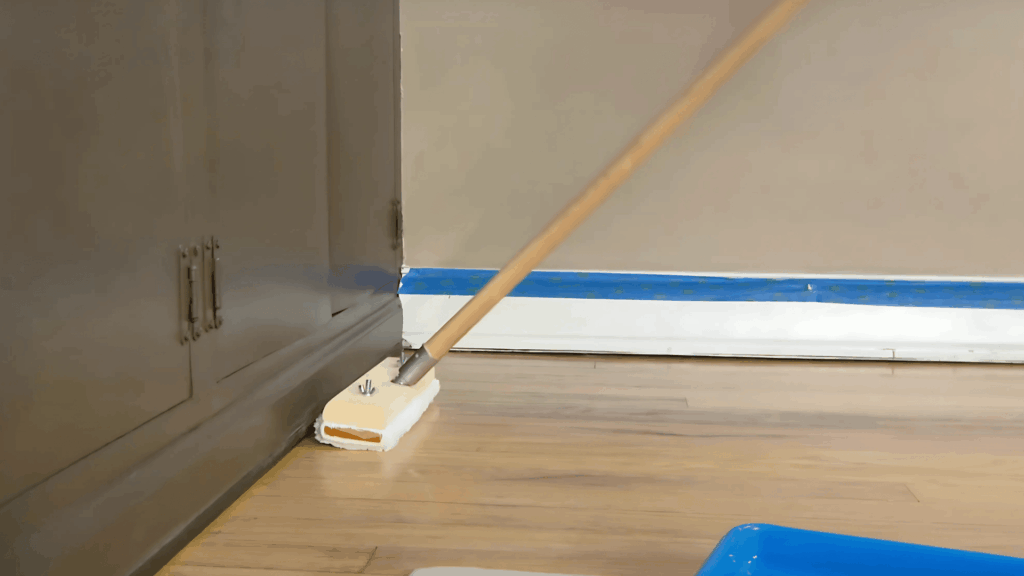
Remove loose fibers from the applicator using tape.
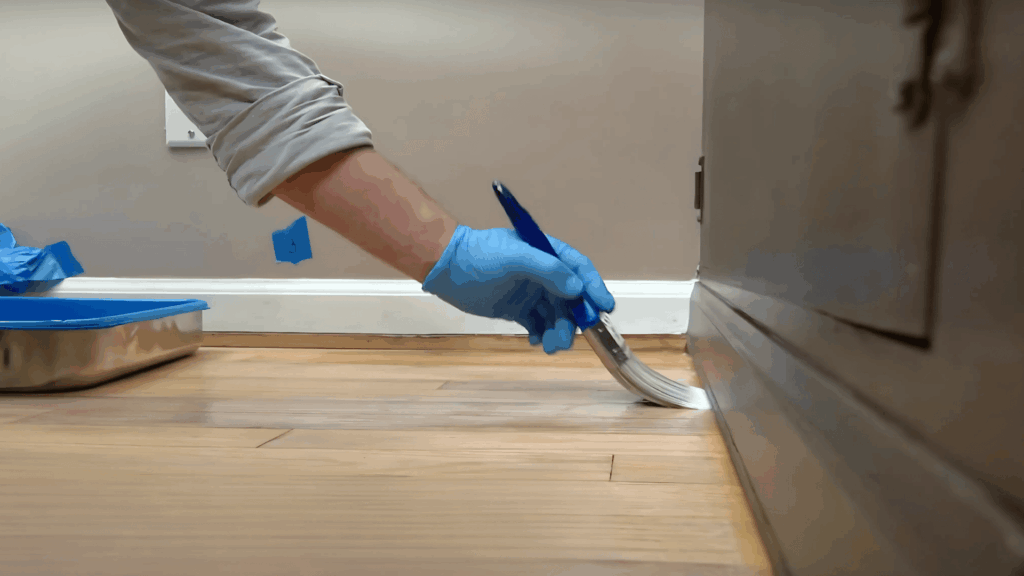
Stir the finish gently (don’t shake), and brush it along the edges first.
Apply thin, even coats to the center with a wet edge. Let dry fully and apply a second coat if needed.
Step 6: Let It Cure and Reassemble
Allow the finish to cure for 2–3 days.
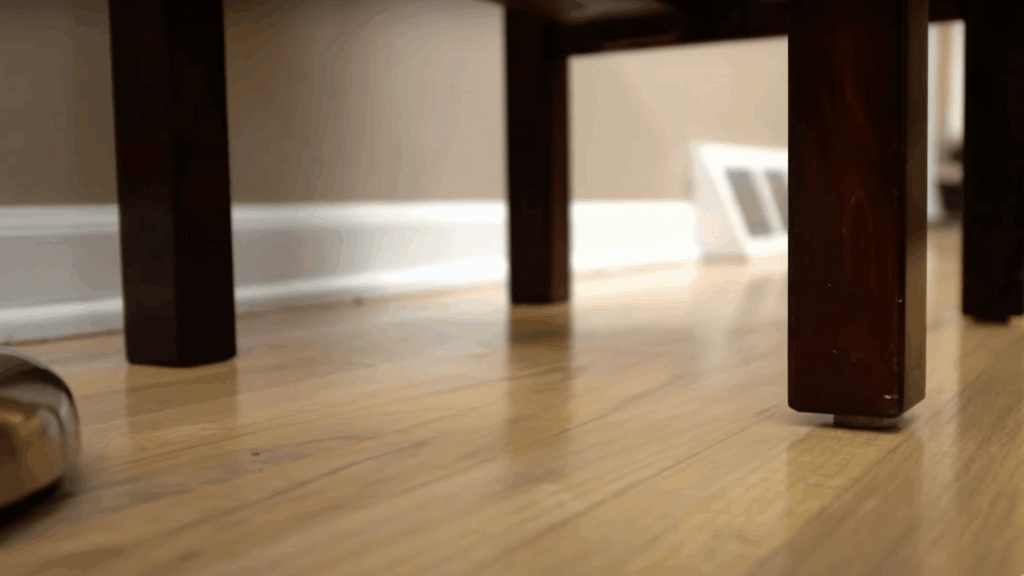
Reattach the moulding and carefully bring the furniture back in, using felt pads to prevent scratches.
Your floor is now refreshed and ready to enjoy.
For more information, check out this video tutorial by Lowe’s Home Improvement.
Common Mistakes to Avoid While Refinishing Wood Floors
Even with a good plan, a few simple missteps can mess up your hardwood floor refinishing results. Avoiding these common mistakes will save you time, money, and frustration.
- Skipping grits during sanding: Skipping sanding steps may feel faster, but it leads to uneven surfaces that don’t accept the finish evenly. Coarse removes old finish, medium smooths, and fine prepares the surface for coating.
- Leaving dust behind: No matter how well you apply the finish, leftover dust will ruin the final look of your floor. It gets sealed in, creating a cloudy, gritty surface that’s hard to fix later.
- Applying thick coats of polyurethane: Thick layers don’t save time; they trap air bubbles, dust, and take much longer to dry properly. Uneven drying results in blotchy or sticky spots that are difficult to repair.
- Failing to read and follow instructions: Skipping label directions can cause significant problems, as each product behaves differently.
- Not testing your finish first: It might look fine in the can, but it behaves differently once applied to your floor. Testing a small hidden spot helps avoid blotchiness, weird sheens, or bad color reactions.
Always test your finish in a corner before applying it to the whole floor.
How Long Does Floor Refinishing Take?
Wondering how long floor refinishing takes from start to finish? It’s not a quick job, but it’s manageable if you plan it right.
| TASK | TIME ESTIMATE |
|---|---|
| Prep and Sanding | 1–2 days |
| Cleaning | 2–4 hours |
| Applying Finish | 1 day |
| Curing Time | 2–3 days |
| Total Time | 3–5 days |
Your floor will be unusable during this time, so plan accordingly. Ensure that kids and pets stay out of the room to prevent footprints or dust from contaminating the wet finish.
The Bottom Line
I never thought I’d be someone who could refinish a floor, but I’m happy I gave it a shot. Sure, it took effort, sanding, cleaning, and waiting, but the result was worth it.
My floors look fresh again, and I saved a significant amount of money by doing it myself. It also gave me a new appreciation for the space in which I live.
If you’re unsure, try starting with just one room.
You don’t need to be perfect or have fancy gear; follow the steps and be patient. I promise that seeing the final result makes all the hard work feel incredibly rewarding.
If this blog has helped you understand floor refinishing better or made it feel less overwhelming, please share it with a friend who is also considering it. They’ll thank you later!