
I’ve lived in more than one rental with weird bumpy walls, and even owned a house covered in that “knockdown” texture.
So yeah, I’ve definitely stood in the aisle at the home improvement store wondering: can you put wallpaper on textured walls without it looking awful?
Short answer? It depends. And there are definitely things to watch for.
If you’re asking the same thing, this post is for you. I’ll walk you through which wall textures can handle wallpaper, which ones really can’t, what happens if you skip prep, and how to get it right the first time.
If you’re testing peel-and-stick options or going for something more permanent, this guide will help you avoid regrets later on.
What Are Textured Walls?
Textured walls are surfaces that aren’t flat. Instead, they have bumps, ridges, or patterns that create a raised or dimpled effect.
Builders often use them to cover imperfections or give a room more character. But when it comes to wallpaper, these textures can either help or make things tricky.
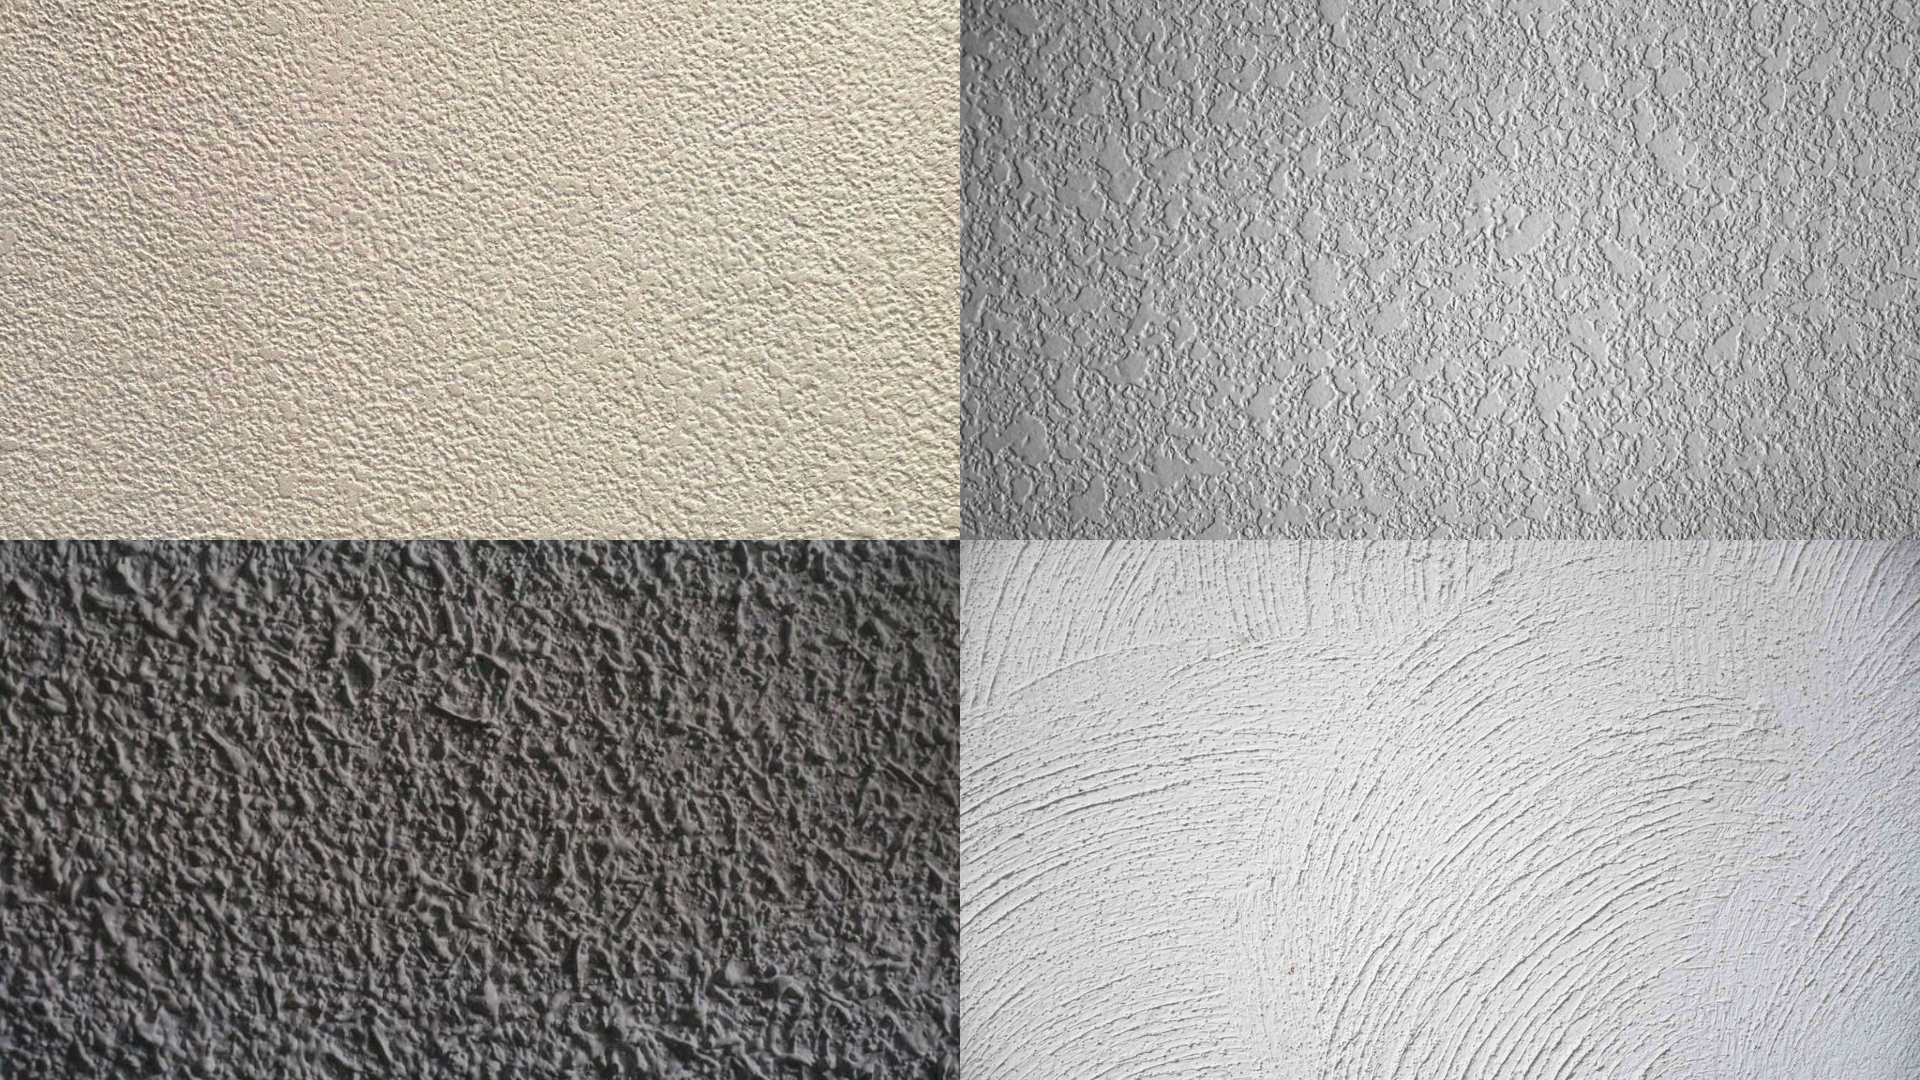
Let’s look at some common types and how hard they are to cover:
- Orange Peel Texture: Resembling the skin of an orange, this texture is lightly dimpled and subtle. It gives walls a smooth, clean appearance and blends well with modern interiors. Often used in both residential and commercial settings for a refined, low-profile finish.
- Knockdown Texture: This style features large, flattened splatters with soft, uneven edges, like dried mud that’s been smoothed. It adds a casual, rustic feel to spaces and is popular in living rooms, hallways, and open-concept areas.
- Popcorn Texture: Thick and bumpy, popcorn texture is most often seen on ceilings, especially in older homes. While great at hiding flaws, it’s now considered outdated and can be difficult to clean or remove.
- Slap Brush Texture: Also known as stomp brush, this texture is created by slapping a brush into wet compound, forming bold swirls or fan-like patterns. It’s highly textured and dramatic, making it less suitable for sleek, modern looks.
These textures each bring a different look and feel to a wall, but they also come with their own challenges when it’s time to decorate. Knowing which type you have is the first step before painting or wallpapering.
Can You Put Wallpaper on Textured Walls?
Yes. But not always. It depends on how rough the texture is and what kind of wallpaper you’re using.
If the bumps are subtle, wallpaper can still look pretty decent, especially if you prep the wall first. But if the texture is deep or sharp, like popcorn or slap brush, wallpaper may not stick well.
Even if it does, the bumps will probably show through.
I’ve had better luck when I used a thicker wallpaper on orange peel walls and lightly sanded first. But I also once tried peel-and-stick wallpaper over knockdown texture without prep… it didn’t last more than a few months.
So it can work, but only if you match the wallpaper to the wall and take time to prep.
Preparing Textured Walls for Wallpaper
If you’re still set on wallpapering a textured wall, prep is the part you don’t want to skip. It takes a little time, but it makes a huge difference in how the wallpaper looks and how long it lasts.
This is how you can get the wall ready:
- Clean the wall: Wipe away dust, grease, or anything loose using a damp cloth.
- Patch dents or cracks: Fill in holes with joint compound or spackle and let it dry fully.
- Lightly sand the surface: Smooth down sharp peaks and rough patches, no need to go overboard.
- Use lining paper: This creates a smooth, flat base layer under your wallpaper, especially helpful for medium textures.
- Prime the surface: A good primer helps the adhesive stick and keeps the wallpaper from peeling later.
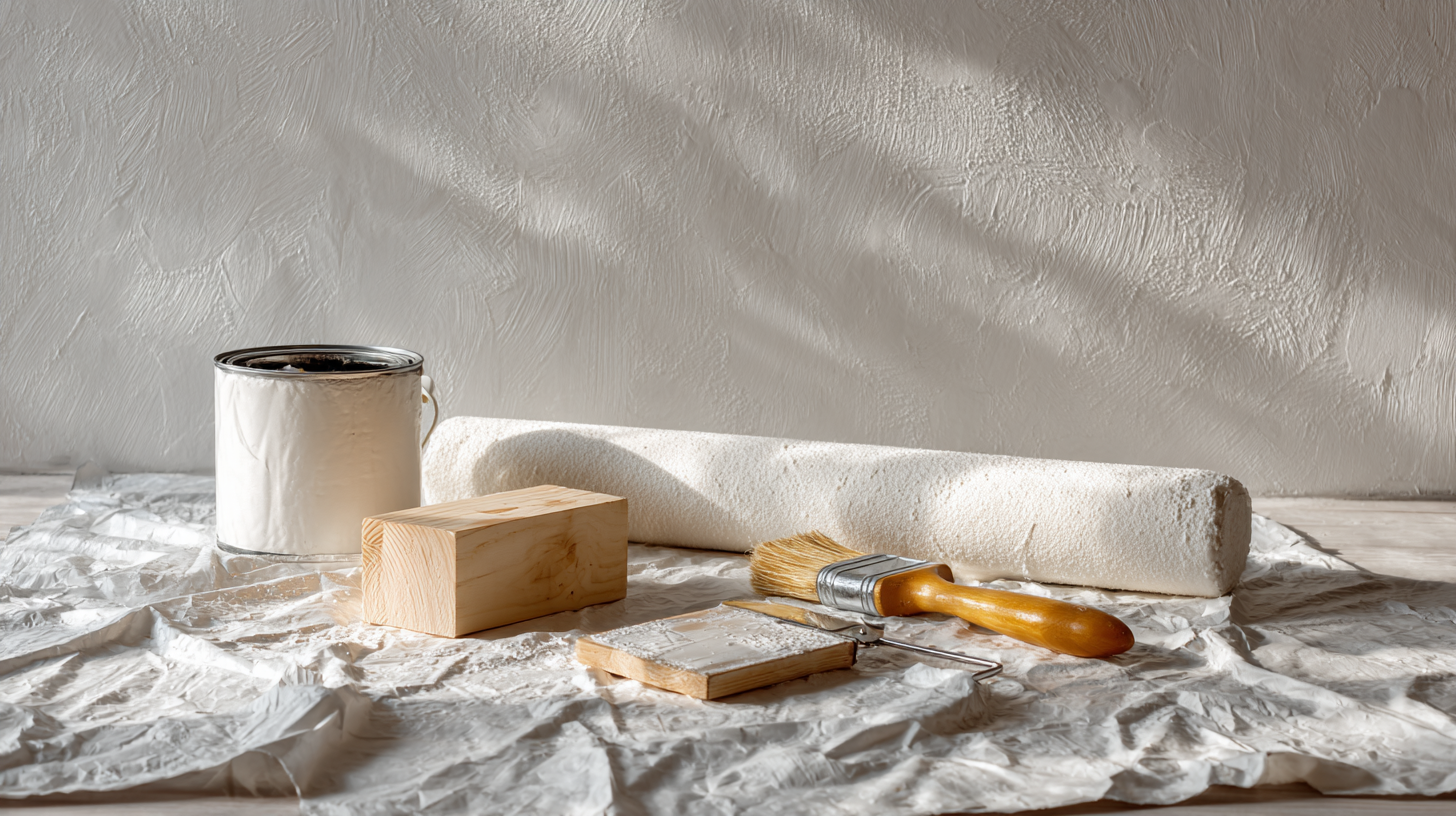
Helpful Tools
- Sanding block or pole sander
- Utility knife
- Wallpaper smoothing tool
- Primer or adhesive
- Drop cloth or plastic sheeting
If your texture is heavy or uneven, it might be worth hiring someone to skim coat the wall. It’s not the cheapest option, but it gives you the smoothest results and saves a lot of frustration down the road.
Challenges of Wallpapering Textured Walls
Wallpapering over textured walls isn’t exactly a grab-and-go project. Even if the texture looks mild, it can still throw you curveballs once the paper goes up. Some issues show up right away; others creep in after a few weeks.
These are the most common challenges to expect:
- Texture Shows Through: Raised patterns like slap brush or popcorn can create visible bumps and shadows under the wallpaper, especially in natural light.
- Adhesion Problems: Rough surfaces make it hard for wallpaper to stick, particularly for peel-and-stick types without a strong grip or primer.
- Peeling and Lifting: Wallpaper seams and edges may lift or curl over time, especially in corners or humid areas.
- Extra Prep Time: You’ll likely need to clean, sand, and prime before applying wallpaper. Skipping steps often leads to poor results.
- Wrong Wallpaper Type: Thin or glossy wallpaper tends to highlight flaws, while thicker, matte options are more forgiving.
The more texture you have, the more likely you’ll run into issues unless you prep properly and choose the right materials.
These issues don’t mean it’s impossible, but they do mean you’ll need a plan. The right prep and materials make all the difference.
Best Wallpaper Types for Textured Walls
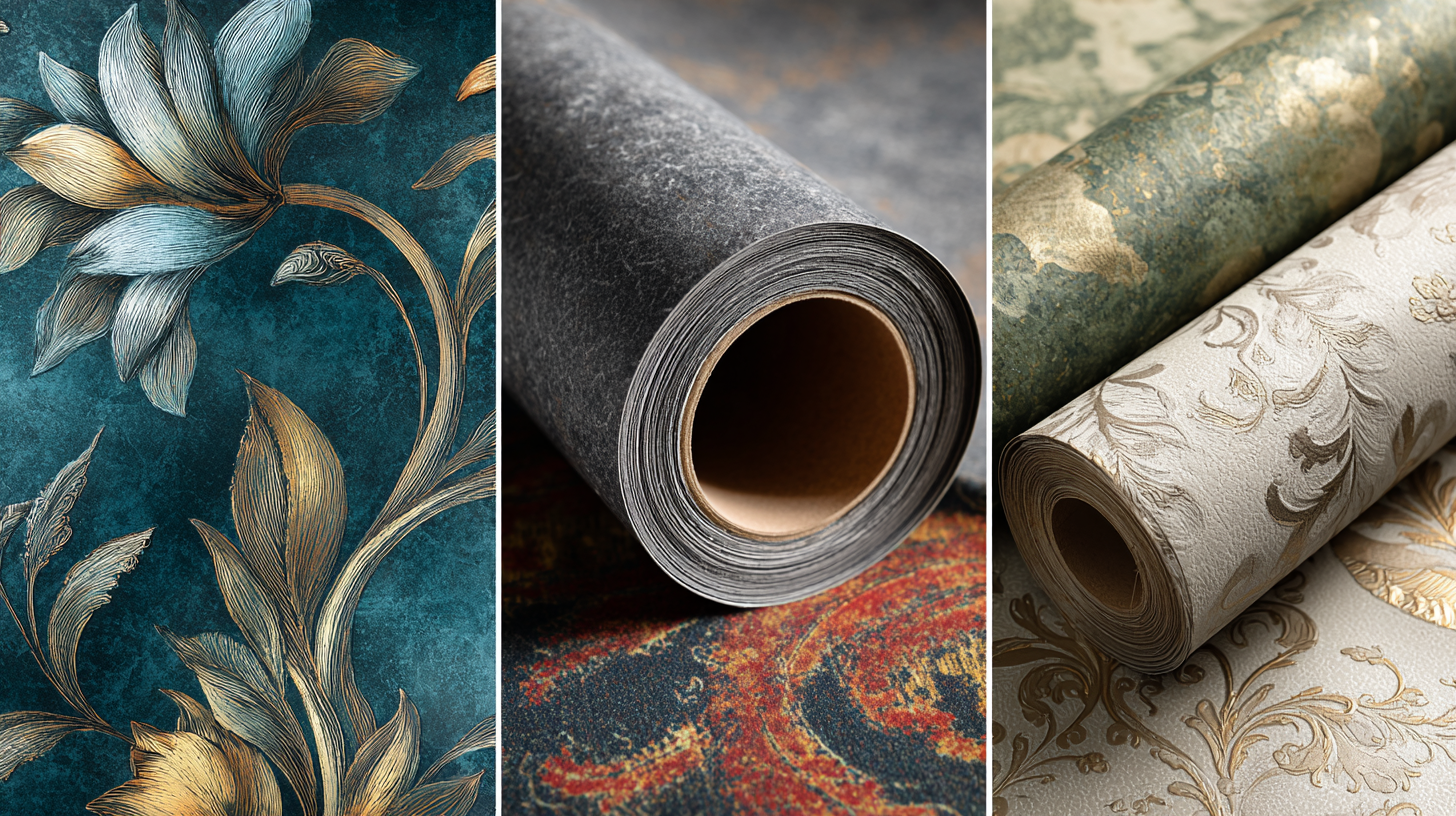
Not all wallpaper works well on textured surfaces, but certain types are better suited to handle bumps and uneven finishes.
The key is to choose materials that are thick, flexible, and forgiving – especially if you’re working with light to medium texture.
1. Vinyl Wallpaper
Vinyl is the most recommended option for textured walls. It’s thick, durable, and can hide minor imperfections while adhering well to uneven surfaces.
Available in peel-and-stick or traditional paste varieties, vinyl is moisture-resistant and easy to clean – ideal for kitchens, bathrooms, and high-traffic areas.
2. Non-Woven Wallpaper (Paste-the-Wall)
This premium option is tear-resistant and easy to hang, making it suitable for lightly textured walls.
Because the adhesive goes on the wall rather than the paper, it’s easier to reposition during installation and smooth over subtle textures without bubbling or tearing. It also removes cleanly when it’s time to change styles.
3. Embossed or Textured Wallpaper (e.g., Anaglypta)
Embossed wallpapers feature raised designs that help disguise imperfections in the wall underneath.
They’re a great choice when you want to maintain a traditional or decorative look while minimizing the visibility of texture. Some versions can be painted, offering extra customization.
4. Grasscloth or Fabric Wallpaper
These are not recommended for textured surfaces. Grasscloth and fabric wallpapers are thin, delicate, and may cling to high points while sinking into low ones, making the texture even more noticeable.
Use only on smooth, properly prepared walls.
5. Peel-and-Stick Wallpaper
This DIY-friendly option is hit or miss on textured walls. Most peel-and-stick products work best on smooth surfaces, but a few higher-end brands may adhere to light textures.
Always test a sample before committing to a full installation, especially for larger areas or rental spaces.
If you’re working with noticeable texture and want the best results, consider skim coating the wall first or using a wallpaper liner for a smoother base.
Combining the right wallpaper with proper prep will help you get a cleaner, longer-lasting finish.
Pros & Cons of Wallpapering Over Texture
Still not sure if it’s worth the effort? That is why I’ve made a quick side-by-side look at the good and not-so-good sides of wallpapering over textured walls:
| Pros | Cons |
|---|---|
| Covers dated or unattractive wall textures without full resurfacing | May not adhere well to heavily textured surfaces |
| Quick and cost-effective compared to drywall smoothing or painting | Texture may show through thinner wallpaper |
| Wide range of wallpaper styles and textures available | Extra prep work may be required (cleaning, priming, skim coating) |
| Embossed or vinyl wallpaper can help disguise imperfections | Peel-and-stick wallpaper often struggles to stick properly |
| Adds instant style and personality to a room | Seams and corners may not lie flat on uneven walls |
| Removable options allow for flexible design changes | May void return policies if applied over non-smooth surfaces |
If you’re short on time, hate sanding, or dealing with deep texture, it might not be the right project for now, but if you prep well, it can be worth it.
Tips and Tricks for Better Results
Wallpapering textured walls can work beautifully if you take the time to prep. These smart tricks can help your wallpaper stick better, look smoother, and last longer.
- Test a sample first: Cut a 12-inch square of wallpaper and tape it to the wall. Leave it for 48 hours. If it bubbles, lifts, or curls, your wall may need more prep or a different wallpaper type.
- Sand and smooth the surface: Lightly sand to remove sharp peaks or uneven texture. A smoother wall helps wallpaper stick better and look more even.
- Prime the wall: Apply a wallpaper primer after sanding. It seals porous areas, improves adhesion, and helps prevent peeling or bubbling, especially in kitchens or bathrooms.
- Apply lining paper: Lining paper smooths out textured surfaces like orange peel or knockdown. It creates a better base for both paste and peel-and-stick wallpaper.
- Choose thick, durable wallpaper: Thicker materials like vinyl-backed or fabric wallpaper hide texture better. Avoid thin or glossy wallpaper, which can show every bump.
With these tips, you’ll get cleaner results and avoid the frustration of peeling corners or visible wall texture later.
Conclusion
If you came here wondering, “Can you wallpaper textured walls?”, the honest answer is: Maybe.
It can work if the texture is light, you prep the wall properly, and you choose the right type of wallpaper. But if you skip the prep or try peel-and-stick on rough surfaces, it probably won’t hold up for long.
I’ve had both wins and fails with this, so I get the frustration.
But with the tips in this blog, you should have a much better idea of what works and what’s just not worth the effort.
Feeling more confident now? Use this guide as your cheat sheet the next time you’re standing in that wallpaper aisle.