
I’ve removed wallpaper in bathrooms, kitchens, bedrooms, you name it. And if there’s one thing I’ve learned, it’s that the job can be surprisingly satisfying, or a total headache.
It all depends on how you start.
That’s why I put together this step-by-step guide, not to overwhelm you, but to walk you through exactly what’s worked for me over the years.
From a single accent wall to an entire room, this guide will help you steer clear of common mistakes and preserve the condition of your walls.
So grab your sponge, set aside a little time, and follow along. With the right approach, even decades-old wallpaper doesn’t stand a chance.
What to Know Before You Start Wallpaper Removal
Set aside enough time, as wallpaper removal can take a few hours or stretch into a full weekend, depending on the size of the room and how the wallpaper was applied.
Before you begin, remove the outlet and switch covers. It helps you get clean edges and keeps things safer when water and tools are involved.
Cover your floors with a drop cloth or old sheet to catch wet scraps and protect against mess. Use painter’s tape to shield baseboards and nearby furniture from scuffs or moisture.
And don’t skip the test! Peel back a small hidden section first. This lets you see how the wallpaper is layered and how easily it comes off.
It’s a simple step that can save you a ton of frustration later.
Materials & Tools You’ll Need to Remove Wallpaper
Before you start peeling away decades of design decisions, make sure you’ve got the right gear by your side. You don’t need anything fancy, just the basics to keep things smooth and damage-free.
This is what I always keep on hand:
- Worn-in putty knife (preferred tool)
- Wallpaper scoring tool (optional, use only if needed)
- Zinsser wallpaper stripper or similar gel-based remover (optional)
- Spray bottle, sponge, cloth, or paintbrush (for water application)
- Bucket of water
- Drop cloth or plastic sheeting
- Trash bag or bin (for peeled wallpaper)
- Skim coat compound (if prepping for paint)
- Drywall sanding block or sanding screen (optional, for finishing touches)
Set these out before you begin. Trust me, it’s so much easier when you don’t have to run around the house looking for a missing scraper with wet hands and half-peeled paper.
How to Remove Wallpaper: An Easy Step-By-Step Guide
Wallpaper removal isn’t hard, but it can go wrong fast if you rush it. This guide walks you through each step so you can do it cleanly, safely, and without tearing up your walls in the process.
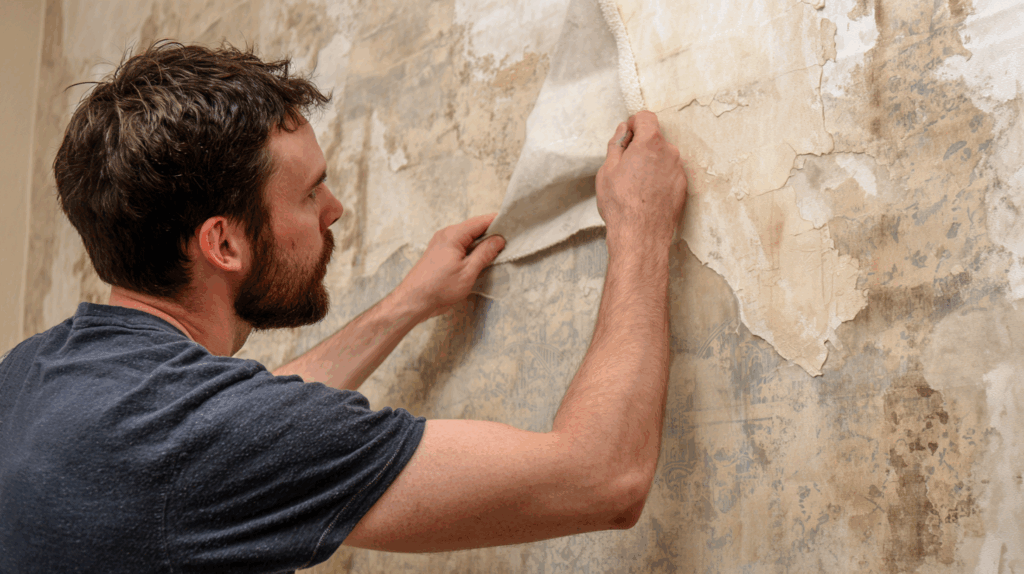
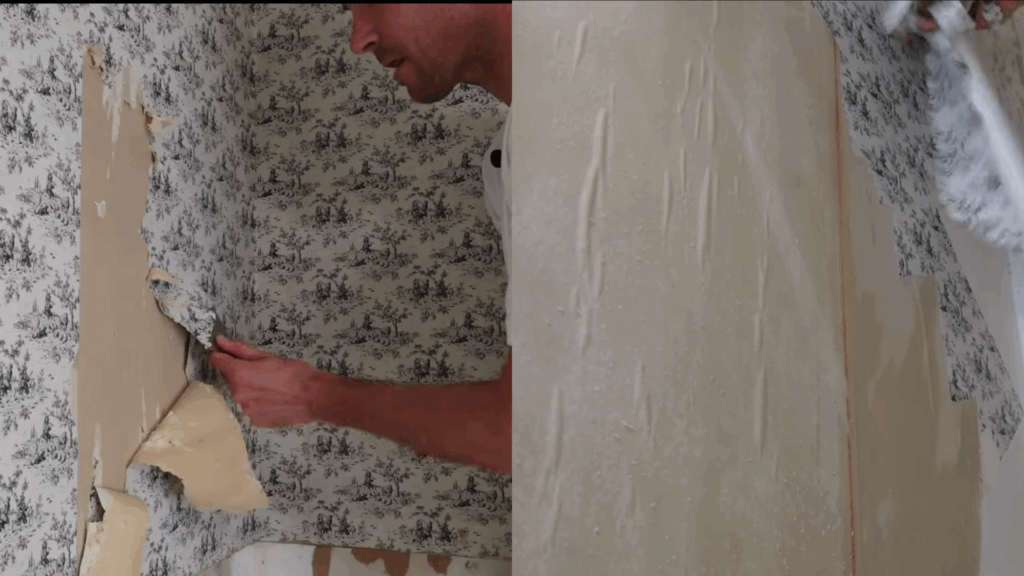
Step 1: Try Peeling Off the Face Layer First
Before you grab any tools, start by picking at a corner of the wallpaper and gently trying to peel off the top layer. This is usually the vinyl or decorative face layer.
If it starts to pull away in large sections, you’re in luck, as this is the easiest and cleanest way to begin.
Don’t worry if it resists or comes off in small pieces. If it’s stubborn, you’ll move on to other methods to tackle it more effectively in the next steps.
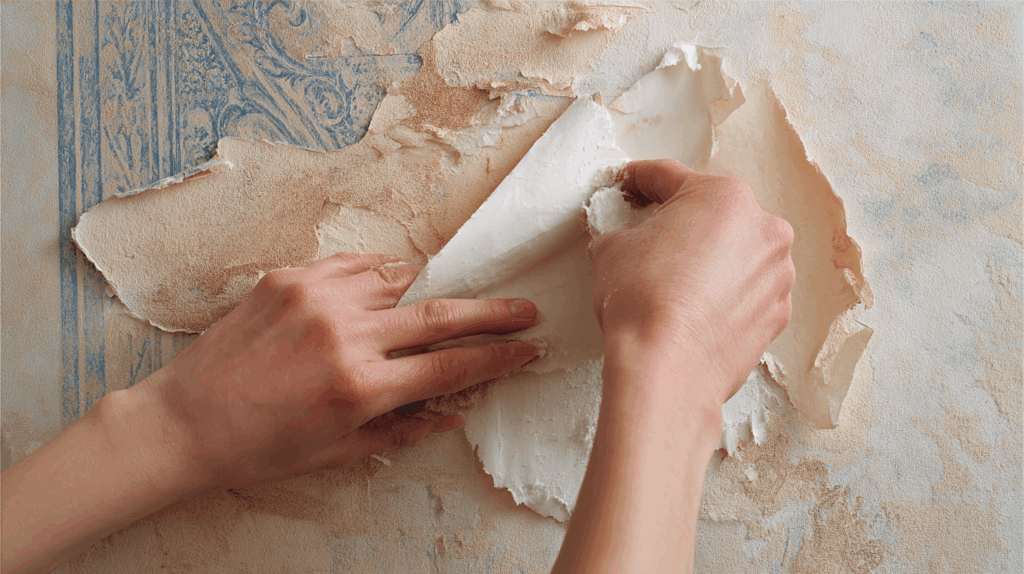
Step 2: Soak the Backing Paper
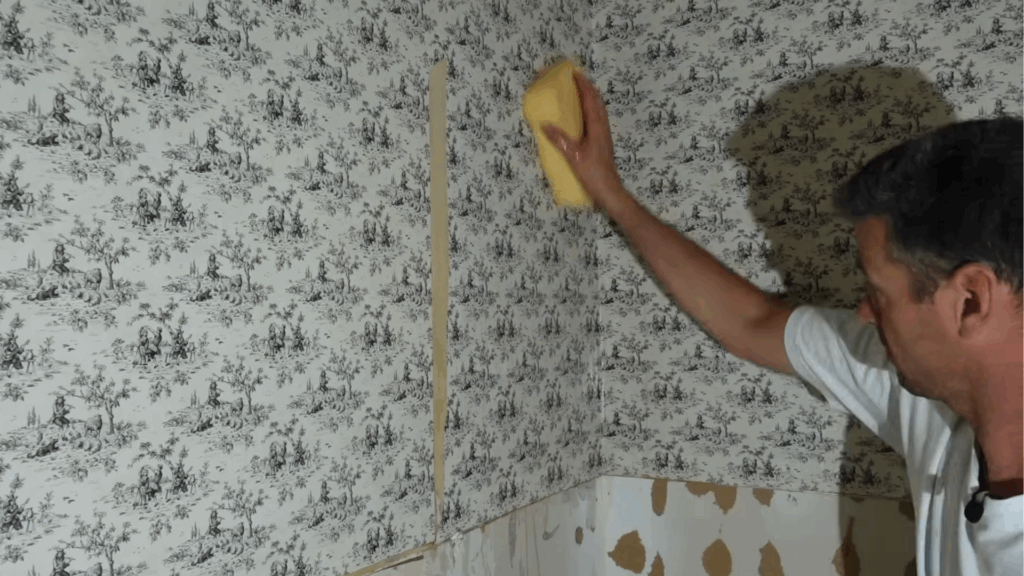
Once you’ve removed the face layer, you’ll be left with a fuzzy, paper-like backing still stuck to the wall.
This needs to be thoroughly saturated in order to loosen. You can use a spray bottle, sponge, paintbrush, or even a cloth, whatever is easiest for you.
The goal is to get the paper fully soaked so it softens and starts to wrinkle. If it’s wet enough, you won’t need any special wallpaper stripper products. Just water will usually do the trick.
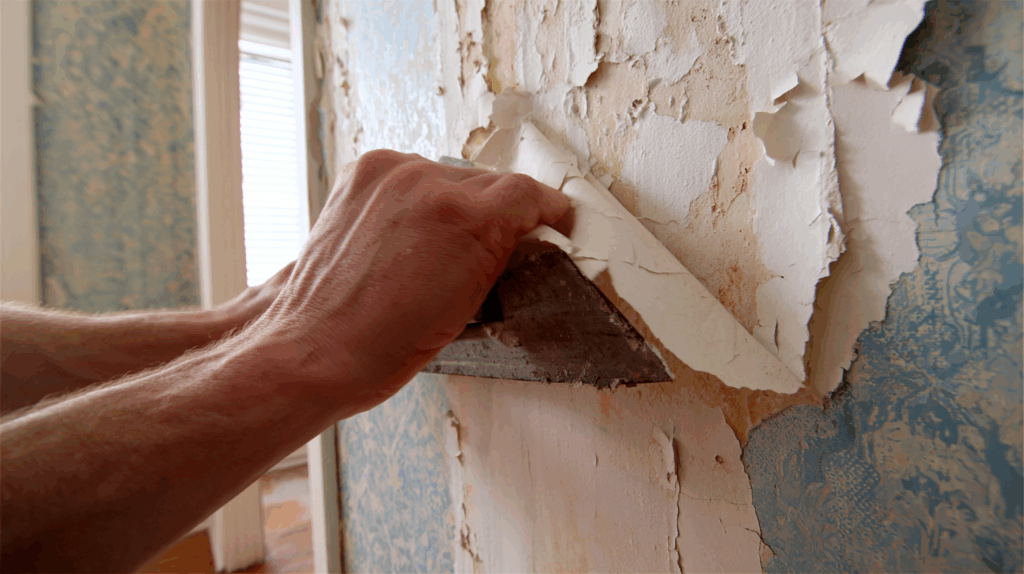
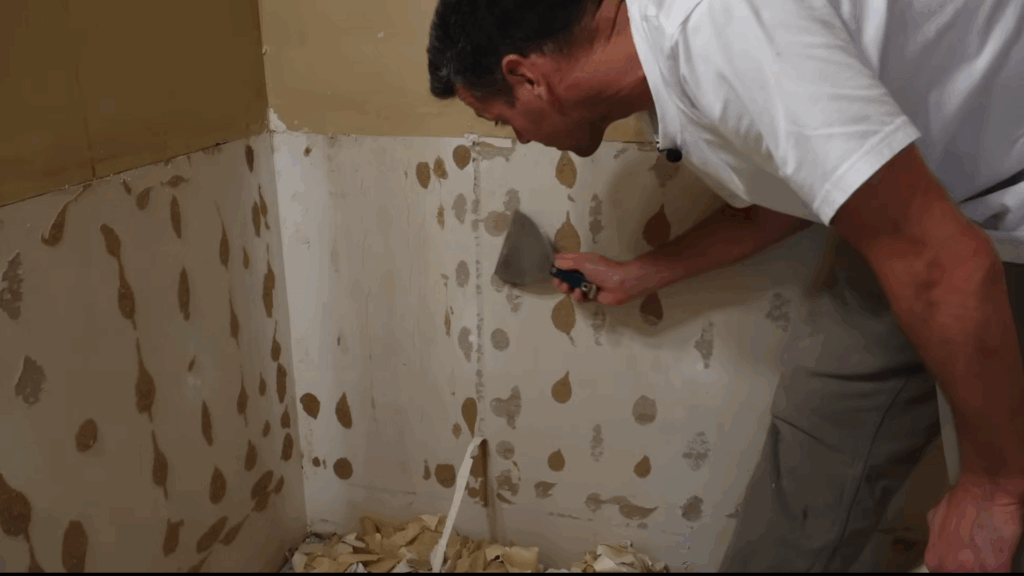
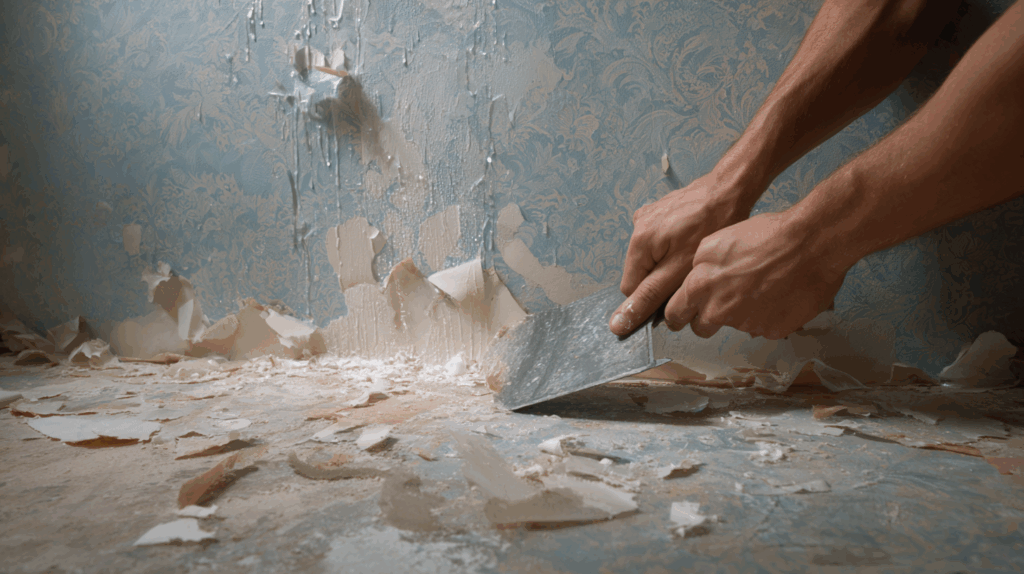
Step 3: Scrape Off the Backing Paper
After the backing paper is soaked, it’s time to start scraping. The best tool for this job is a worn-in putty knife with soft, rounded edges.
Slide it gently along the wall to lift the wet paper. Be patient and careful, as this process can actually be very satisfying when the paper comes off in large, clean sheets.
Whatever you do, avoid using sharp-edged razor scrapers, especially if you’re working with drywall.
They can easily gouge the surface and leave you with a much bigger repair job.
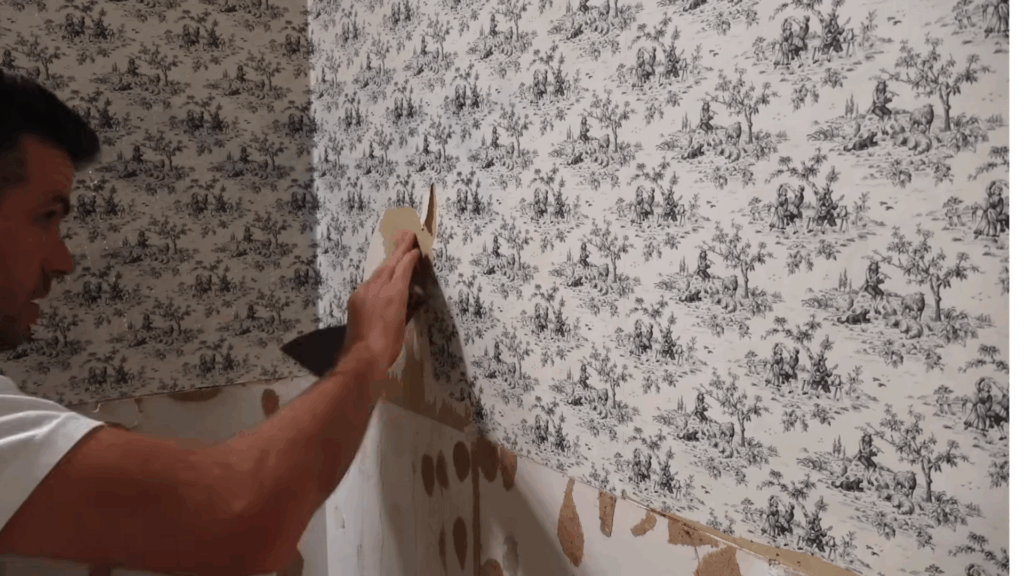
Step 4: Test With Wallpaper Scoring (If Step 1 Fails)
If you weren’t able to peel off the top layer in Step 1, you can use a wallpaper scoring tool to help. Roll it over the surface to create small perforations in the wallpaper.
Be gentle, scoring tools can cause unnecessary damage to drywall if used too aggressively.
After scoring, spray water or a gel-based wallpaper stripper over the area and let it sit for 20 to 30 minutes. Then return with your putty knife and try scraping again.
This combo of scoring and soaking can help loosen more stubborn wallpaper.
Step 5: Evaluate and Patch the Walls
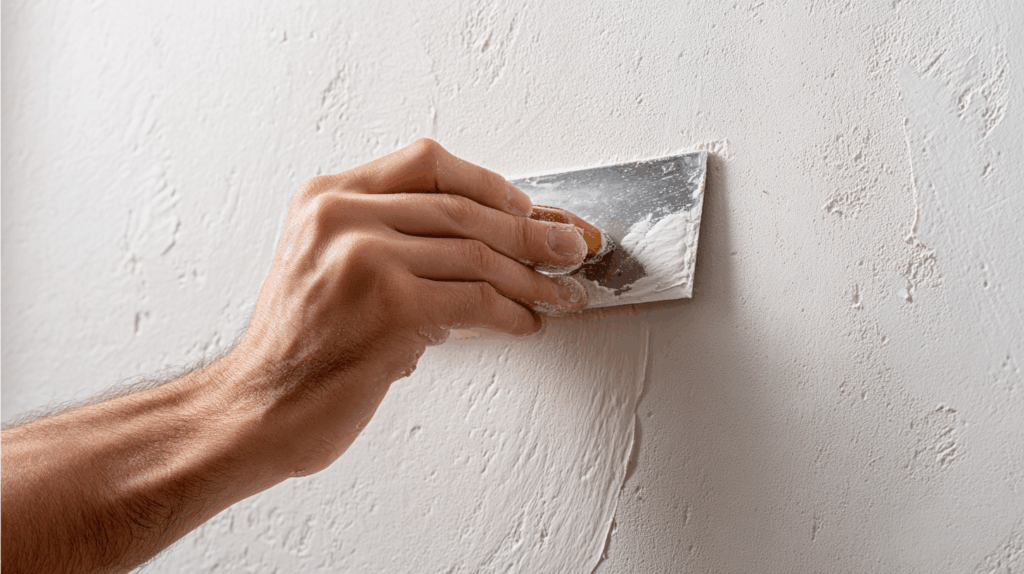
Once all the wallpaper is removed, inspect your walls closely. You’ll likely see some gouges or marks, especially if you used a scoring tool or sharper scraper.
These can be fixed with a light skim coat using a thin layer of drywall compound.
A sanding block or sanding screen can help smooth everything out once the mud dries. If the damage is minor, one coat and a light sanding may be all you need before painting or refinishing your wall.
Just be prepared for a little extra patchwork if things didn’t come off cleanly.
Wallpaper removal is all about patience and the right technique. Skip tools that cause extra damage, and let water do the heavy lifting.
Take your time, go in layers, and work with care. You’ll save yourself hours of repair work and have a perfectly prepped wall for whatever comes next.
You can check out the original tutorial from Vancouver Carpenter on YouTube, as he shares real-time demos and expert tips that pair perfectly with this guide. Link to their video is down here:
Types of Wallpaper and How They Affect Removal
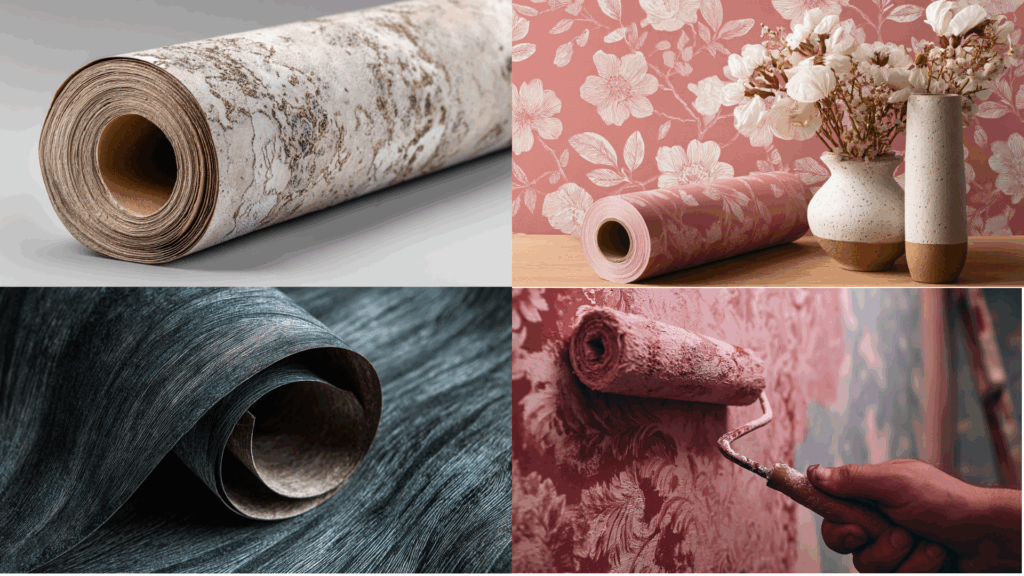
Different wallpapers come off differently, some easily, some stubbornly. Knowing the type helps you pick the right removal method from the start.
| Wallpaper Type | Removal Difficulty | What to Expect | Removal Tips |
|---|---|---|---|
| Vinyl | Moderate | The top layer peels off easily, but the backing stays stuck. | Remove the face layer, then soak and scrape the backing. |
| Peel-and-Stick | Easy | Usually lifts cleanly from primed walls. | Start at a corner and pull slowly; use warm water if needed. |
| Textured or Fabric | Harder | Thick material absorbs glue and takes longer to loosen. | Soak multiple times and remove slowly. |
| Painted-Over Wallpaper | Very Difficult | Paint blocks water, making removal slow and tricky. | Lightly score, soak in small sections, and work with care. |
Once you know what you’re working with, you can save time, avoid damage, and get cleaner results.
Tips for Removing Wallpaper Easily
Removing wallpaper isn’t just about peeling and scraping, as it’s about working smart, staying organized, and protecting your space (and sanity). These tips combine real-life trial-and-error with time-tested tricks to help you get it done cleaner, faster, and with fewer regrets.
Start Smart
- Test first: Pick a hidden corner and try peeling before committing to any tools. Some wallpaper comes off in sheets, and you might get lucky.
- Skip the miracle products: Gel strippers are hit or miss. Plain water often works just as well, especially once the face layer is removed.
- Go warm, not hot: Use warm water to soften the glue without risking damage to your walls.
Be Kind to Your Walls
- Stick to a worn-in putty knife: It’s gentle on drywall and still works great for scraping.
- Avoid sharp-edged scrapers: They can gouge drywall badly, even if they seem faster.
- Score gently, if needed: Only use a scoring tool if the face layer won’t peel, and expect a little patchwork later if you do.
Clean As You Go
- Toss scraps right away: Keep a trash bag nearby and dump pieces in as you go to avoid stepping over piles.
- Double-bag your bin: Wet paper leaks, and an extra liner keeps the mess contained.
- Rinse your sponge often: A clean sponge means cleaner walls and quicker work.
- Change your water regularly: Dirty water just spreads the glue around.
The key is to work in small sections, stay organized, and not rush. A little planning saves a lot of cleanup and gives you much better results in the end.
Things to Avoid While Removing Wallpaper
Even a small mistake during wallpaper removal can turn into hours of extra work. Here are some common pitfalls that are easy to dodge if you know what to look for:
- Using too much water: Over-soaking can lead to damaged drywall or leaks behind seams. Stick to damp, not drenched.
- Scraping aggressively: If it doesn’t peel easily, soak it again. Forcing it leads to gouges and tears.
- Trusting scoring tools: They often cause more damage than they’re worth, especially on drywall.
- Skipping floor protection: Always lay down a towel or drop cloth to catch soggy paper and drips.
- Forgetting to prime: After patching, primer seals the surface and preps it for paint or new wallpaper.
Avoiding these simple mistakes keeps your project on track and your walls in great shape. Slow, steady, and thoughtful wins this one every time.
Conclusion
Wallpaper removal isn’t just about getting rid of an outdated pattern, as it’s about making space for something new.
I know how tempting it is to rush, especially when the first strip comes off clean, but trust me: slow and steady really does win here.
When you prep right, soak thoroughly, and scrape gently, the whole process gets easier and your walls stay happier.
If you’re looking to repaint, apply new wallpaper, or simply enjoy a freshly cleaned surface, following these steps will provide a reliable foundation.
I’ve been through the messy, frustrating jobs, so you don’t have to.
Stick with this guide, lean on the tips, avoid the common traps, and you’ll finish the project feeling proud, not patched.