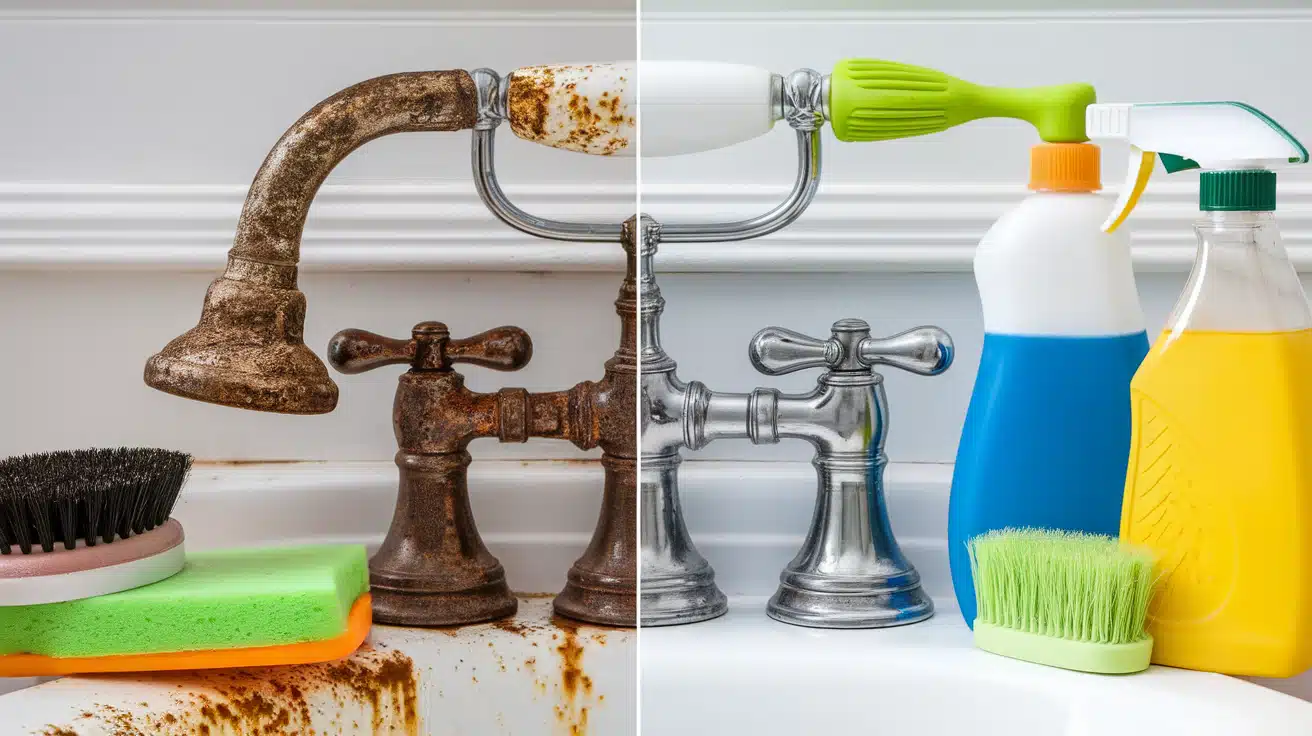
Do your bathroom fixtures need a fresh look? A new coat of paint can update your fixtures without replacing them. Let’s explore how to make your old fixtures shine again.
Many homeowners want to update their bathrooms without spending too much money. Painting your fixtures offers a budget-friendly fix that works well. This guide will show you exactly how to paint your bathroom fixtures.
We’ll cover everything from picking the right paint to keeping your new finish looking great. You’ll learn which tools work best and how to avoid common mistakes. Plus, you’ll find tips for making your paint job last longer.
Ready to start? Let’s walk through each step of giving your bathroom fixtures a fresh new look.
Selecting the Right Spray Paint
Your bathroom fixtures need special paint that can handle daily water exposure. Bathrooms present unique tests for paint due to steam, moisture, and cleaning products. The right paint choice helps your fixtures stay beautiful longer.
Different materials in your bathroom need specific paint types. For metal fixtures, oil-based paints offer strong protection and stick well to the surface.
Porcelain surfaces work best with epoxy-based paints that resist water damage. Plastic fixtures require specific plastic-bonding paints to prevent peeling.
Here are tested paint options for your bathroom projects:
- For metal faucets and handles: Rust-Oleum Metallic or Krylon COLORmaxx
- For porcelain sinks: Rust-Oleum Tub & Tile or Homax Tough as Tile
- For plastic parts: Krylon Fusion All-In-One or Rust-Oleum Specialty Plastic
Look for paints labeled “moisture-resistant” or “bathroom-specific.” These products include extra protection against water damage and cleaning chemicals. Most quality bathroom fixture paints cost between $8-15 per can.
Step-by-Step Guide to Spray Painting Bathroom Fixtures
Essential Tools and Materials
| Tools | Materials |
|---|---|
| Fine-grit steel wool/sandpaper | Rust-Oleum Universal Paint & Primer |
| Painter’s tape | Plastic drop cloth |
| Ventilation fan | Respirator mask |
| Clean towels | Replacement washers |
| Basic screwdriver | Clean rags |
| Sharp scissors | New fixtures (optional) |
1. Preparation
Your bathroom fixtures need a clean start. Take soap and water to remove daily grime. Look for spots with built-up minerals, old paint, or rust marks. These spots need extra attention before painting starts.
2. Scuffing and Rinsing
Take your fine-grit steel wool and rub each fixture’s surface gently. This creates a surface the paint can grip. Rinse away all steel wool pieces with clean water. Dry each part with a fresh towel until no water remains.
3. Protecting the Area
Place painter’s tape around every fixture. Press down all tape edges to prevent paint leaks. Cut fitting holes in your plastic drop cloth for each fixture. Secure the plastic with tape to protect your tub, walls, and floor.
4. Ventilation
Set up your fan to pull air outside through a window. Put your respirator mask on before opening paint cans. Keep the fan running throughout your work time and after you finish painting.
5. Painting
Shake your paint can for two minutes. Test spray on the drop cloth first. Use quick, light passes to coat each fixture. Keep the paint layer thin to prevent drips. Wait for the first coat to dry. Add a second coat using the same light, quick sprays.
6. Fixtures and Faucet Handle Replacement
For old handles, remove the connecting screw. Put in a fresh washer. Set your new handle in place and secure it. Snap the cover plate on last to hide installation hardware.
7. Overflow Plate Installation
Find the bracket holes behind your tub wall. Screw the new bracket in place firmly. Attach your overflow plate to the bracket. Make sure it sits flush against the wall.
8. Final Touches
Let paint dry fully before removing tape and plastic. Look for any spots that need touch-ups. Clean any paint marks from protected surfaces. Wait three days before using fixtures normally.
Video Tutorial
Watch full YouTube video tutorial on how to spray paint bathroom fixtures by The Nifty Nester.
Maintaining the Finish: Long-Term Care

1. Daily Cleaning Basics: Keep your painted fixtures clean and shiny with simple daily steps. Wipe them after each use with a soft cloth. This stops water spots and helps the paint last longer.
2. Safe Cleaning Methods: Mix gentle soap with warm water for basic cleaning. Stay away from harsh products that can harm your paint job. Never use bleach, rough sponges, or bristle brushes on painted surfaces. These items can scratch or strip your paint in seconds.
3. Weekly Maintenance: For weekly cleaning, try a light vinegar solution. One cup of vinegar mixed with four cups of water works well. Spray it on lightly, then wipe clean right away. Don’t let any cleaning products sit on your painted fixtures.
4. Preventing Damage: Soap scum builds up fast in bathrooms. Clean it off with soft cloths only. Rough materials can leave tiny scratches that grow bigger over time. Your paint needs gentle care to stay fresh.
5. Handling Touch-Ups: Small chips might appear where you touch fixtures most often. Check handles and knobs each month for wear. When you spot a chip, clean the spot well. Let it dry, then add a small amount of matching paint. Quick fixes keep your fixtures looking new.
6. Products to Avoid: Some cleaners can damage your paint even if they seem safe. Skip any products with bleach or ammonia. These chemicals eat through paint over time. Plain water and mild soap work best for daily care.
7. Paint Storage Tips: Keep a record of your paint color and brand. You’ll need this info for future touch-ups. Store any leftover paint in a cool, dry spot. Write the date on the can so you know how old it is.
8. Maintenance Schedule: Time between touch-ups depends on use. Main bathroom fixtures might need work sooner than guest bath ones. Check your work every few months. Fix problems while they’re small to avoid bigger paint jobs later.
Alternative Approaches: Considering Your Options
| Method | Cost Range | Durability | Skill Level | Time Needed |
|---|---|---|---|---|
| Spray Paint | $20-50 | 2-3 years | Beginner | 2-4 hours |
| Brush Paint | $30-60 | 1-2 years | Intermediate | 4-6 hours |
| Professional | $200-500 | 5+ years | N/A | 1-2 days |
Spray Painting Benefits
Spray paint gives you a smooth finish at home. The paint goes on thin and even with each pass. You won’t see brush marks or streaks. Most folks can finish their fixtures in one afternoon with spray paint.
Brush Painting Advantages
Brush painting lets you control paint thickness better. You can work indoors without worry about overspray. The paint often sticks better to tricky spots. This method costs less since you don’t need special spray equipment.
The Drawbacks of Each
Spray paint can drift onto other surfaces. You must cover everything nearby very well. Brush painting might leave marks if you’re not careful. The finish could look uneven in spots that catch light.
When to Choose Spray Paint
Pick spray paint for large fixtures or detailed designs. It works great for even coverage on curved surfaces. Most bathroom fixtures look best with spray paint’s smooth finish.
When to Choose Brush Paint
Use brush paint in small bathrooms with poor airflow. Choose this method if you want to save money on supplies. Brush painting works well for touching up small areas later.
Conclusion
Your bathroom fixtures reflect your home’s care and style. A fresh paint job brings new life to old fixtures without the cost of replacing them. The steps we covered help you tackle this project with confidence.
Remember to put safety first with proper ventilation and protection. Take time with surface prep – it makes the difference between paint that peels and paint that stays. Choose your paint carefully and apply it with patience.
Keep your painted fixtures in good shape with gentle cleaning. Quick fixes for small chips stop bigger problems later. You can make smart choices about DIY versus professional help based on your needs.
With these tips and careful work, you can create a lasting finish that makes your bathroom look fresh and well-kept.

