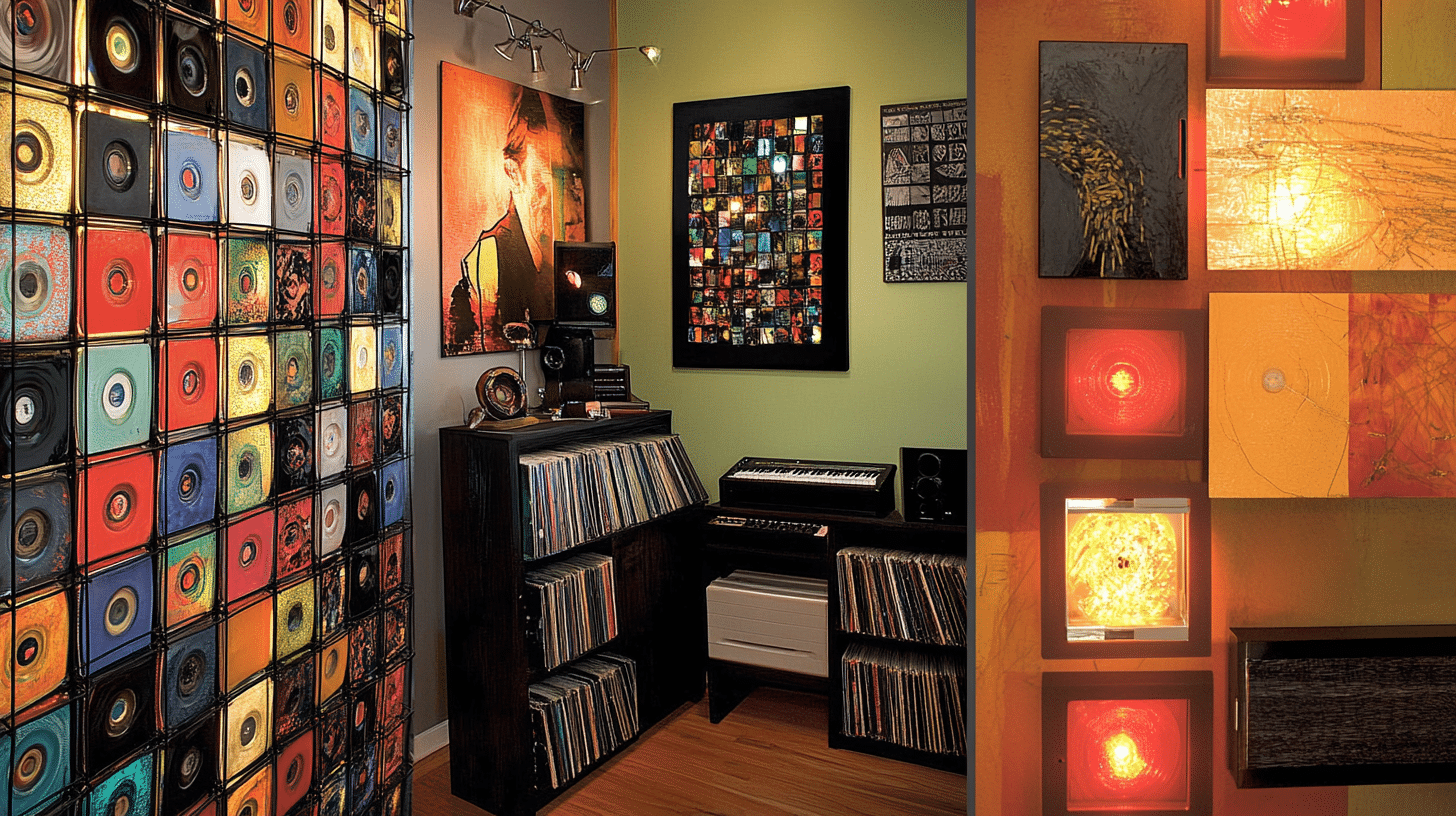
As a lifelong music lover, I found myself with boxes of CDs gathering dust in my basement.
Instead of letting these pieces of my musical history fade, I turned them into stunning wall art.
I transformed those CDs into eye-catching displays for my home using just a bit of creativity and some DIY tools.
I created four Creative CD display Projects that now bring life and personality to my walls.
From shiny mosaics that reflect sunlight across the room to framed pieces that showcase my favorite album covers, these little projects brought so much personality to my space.
If you’ve got a bunch of CDs lying around, I promise you’ll find inspiration here to turn them into something truly special for your home!
Wall Display Ideas
When I started my CD upcycling journey, I realized I was sitting on a goldmine of amazing album artwork just waiting to be displayed. The covers were practically miniature art prints.
Here’s how I turned my favorite album covers into stunning wall displays that celebrate both music and visual art.
1. CD Mosaic Wall
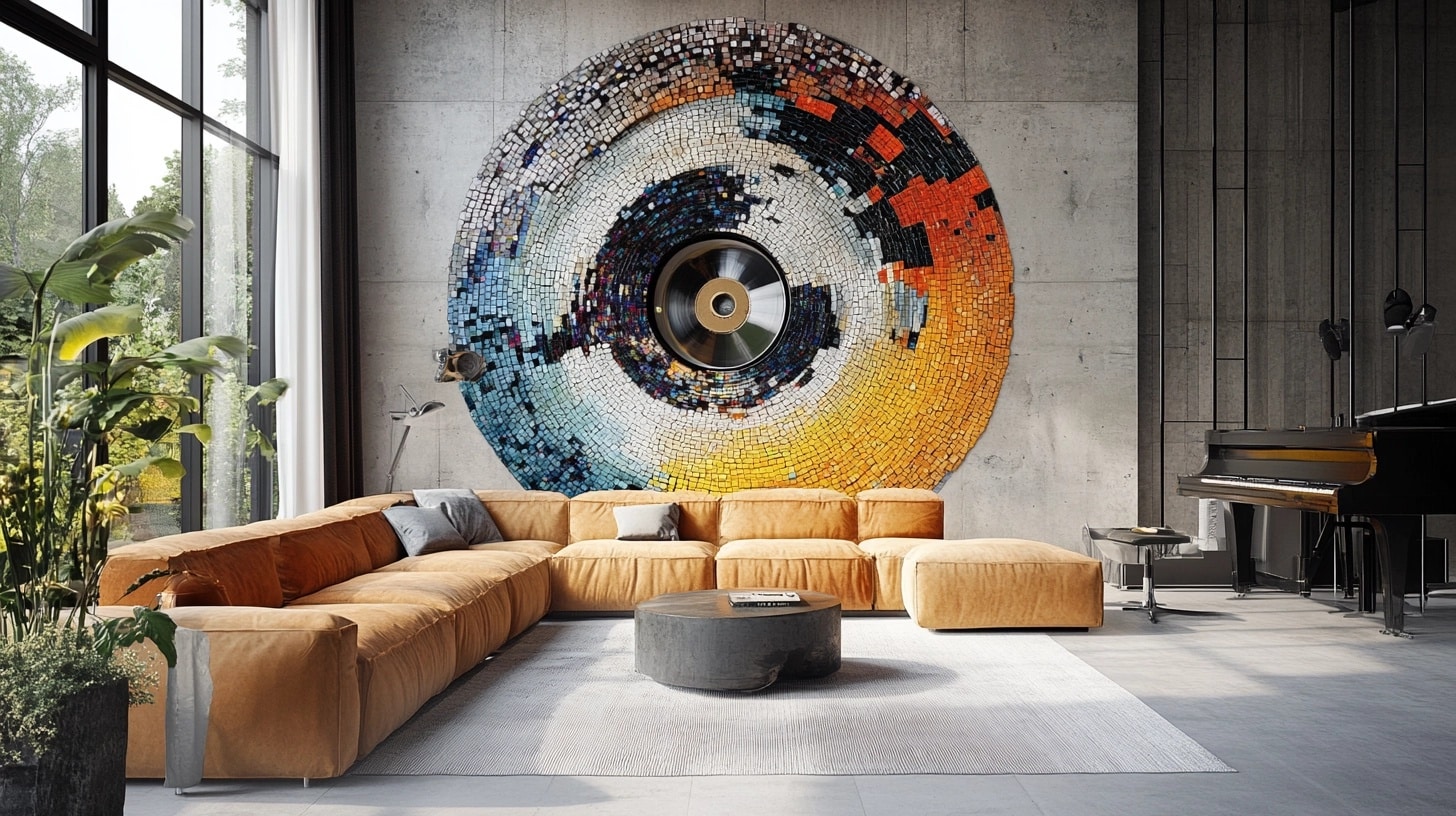
I started with my most ambitious project, a CD mosaic wall that now serves as the centerpiece of my living room.
I laid out all my CDs on the floor first, experimenting with different patterns until I found one that spoke to me.
Through trial and error, I discovered that arranging them in a color gradient created the most striking effect.
The silver and rainbow reflections from the CDs catch the light differently throughout the day, making the wall feel alive.
I used strong adhesive mounting squares to secure each CD, making sure they were perfectly aligned.
The final result spans an entire wall section and creates fascinating light patterns when sunlight hits it.
2. CD Frames and Shadow Boxes
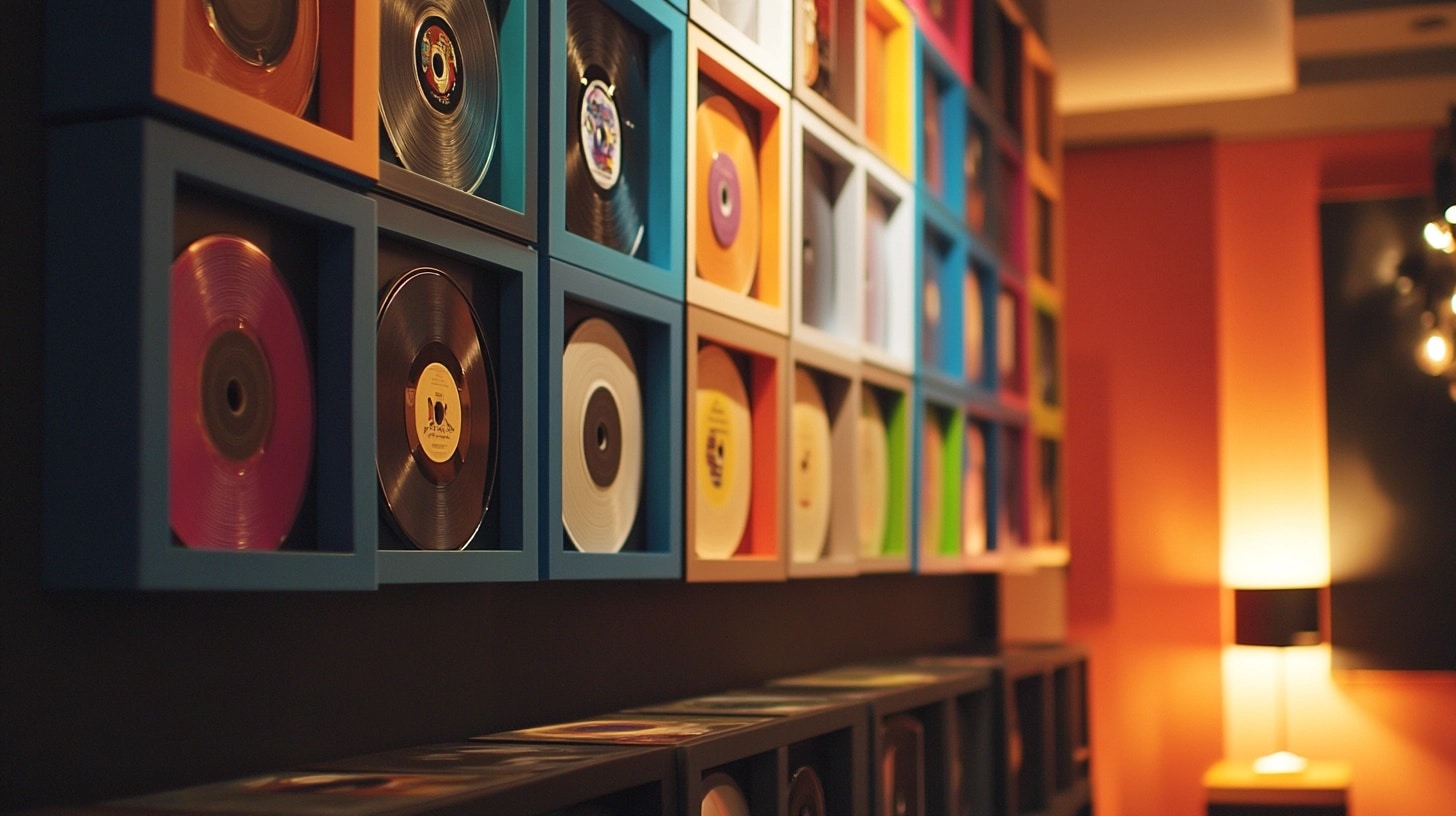
For my more precious albums, I created custom shadow box displays. I grouped CDs from specific periods in my life.
My grunge phase from the 90s, my jazz exploration years, and my indie rock collection. Each shadow box tells a story of a different chapter in my musical journey.
I painted the frames in colors that complemented the album artwork and used LED strip lighting inside some of the boxes to highlight special albums.
My favorite is a deep blue frame containing all the CDs I bought during my college years – it’s like a time capsule of memories.
3. Floating Shelves with CDs
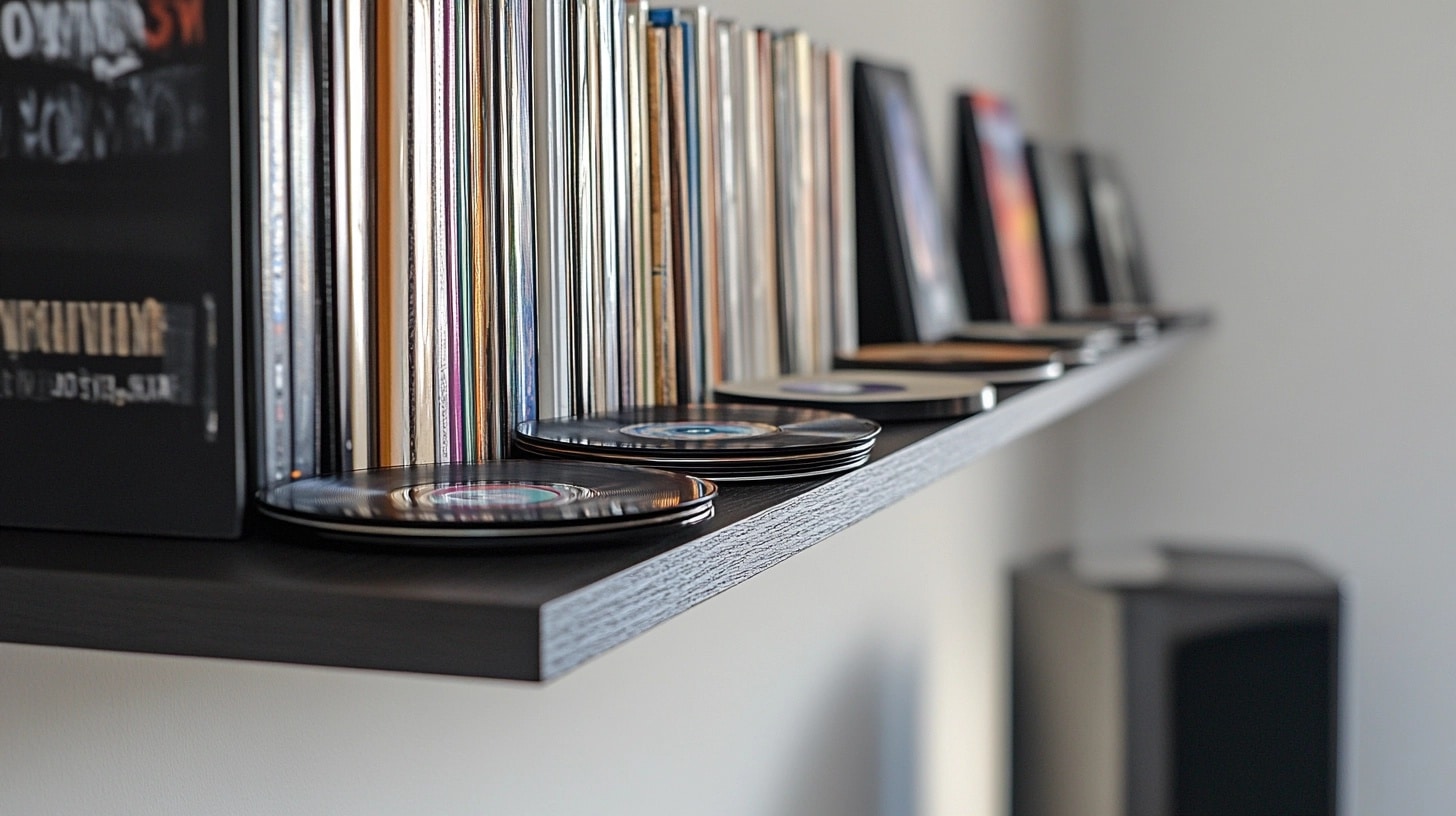
I wanted something more subtle for my home office, so I installed a series of thin floating shelves.
I carefully spaced them to allow each CD to stand upright, creating clean lines that complement my modern decor.
The best part about this display is how easy it is to rotate the CDs – I often change them based on what I’m currently in the mood for.
The shelves are arranged in an ascending diagonal line, creating a dynamic visual effect that draws the eye upward. I
found that spacing the shelves about 8 inches apart gave me the perfect balance between showcasing individual albums and creating a cohesive display.
4. CD Wall Clock
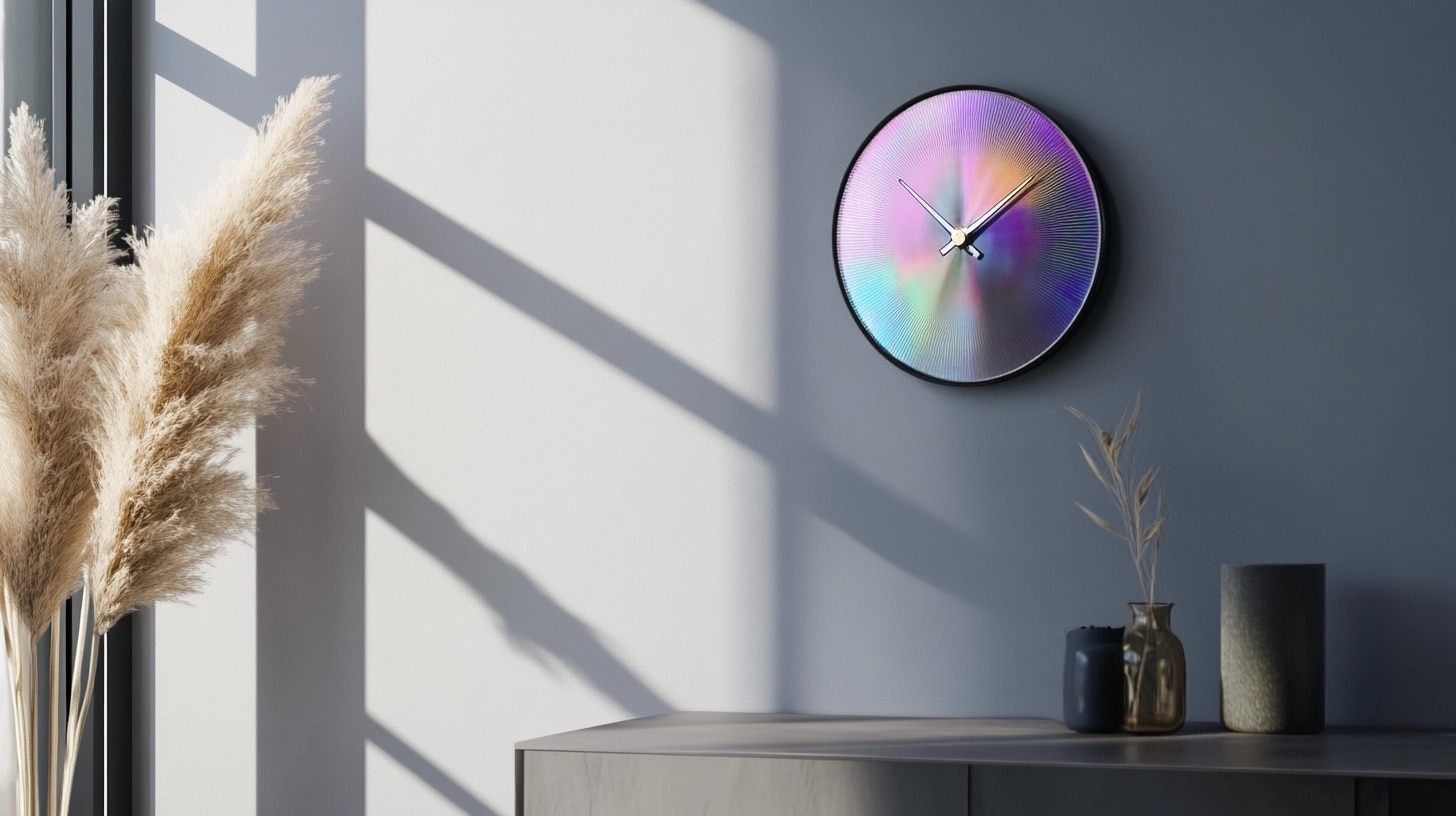
My most functional creation is the wall clock I made from one of my favorite old CDs. I chose a CD with particularly beautiful artwork – an old Massive Attack album with stunning holographic effects.
After purchasing a clock mechanism from my local craft store, I carefully drilled a hole in the center of the CD (wearing safety glasses, of course!).
I added minimalist clock hands that complement the CD’s reflective surface, and the result is both practical and artistic.
It’s become quite the conversation starter, especially when visitors realize it’s made from an actual CD from my collection.
DIY CD Art Projects
After the success of my wall displays, I couldn’t stop experimenting with my old CD collection. I discovered even more creative ways to transform these shimmering discs into stunning art pieces.
Here are three more projects I’ve completed that have added sparkle and personality to my home.
1. CD Sun Catchers
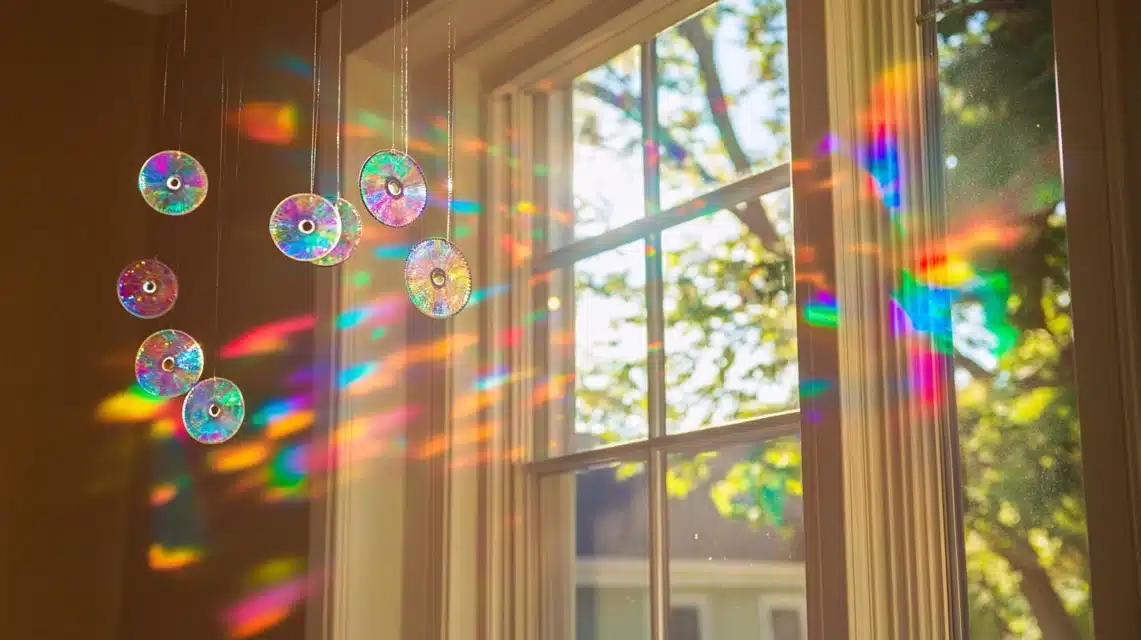
I’ve always loved how CDs catch and scatter light, so creating sun catchers was a natural next step.
I started by selecting CDs with the most pristine reflective surfaces and strung them at different lengths using clear fishing line.
The trick, I discovered, was to drill tiny holes near the edges – I learned to start with a small pilot hole to prevent cracking (and yes, I went through a few CDs before getting it right!).
I hung them in my bay window, spacing them carefully to create a cascade effect. Now, when the morning sun hits them, my living room comes alive with swirling rainbow patterns.
During parties, I’ve even added small battery-operated LED lights above them, creating a magical atmosphere as the lights reflect off the spinning discs. My guests always ask how I created this enchanting effect!
2. CD Collages and Murals
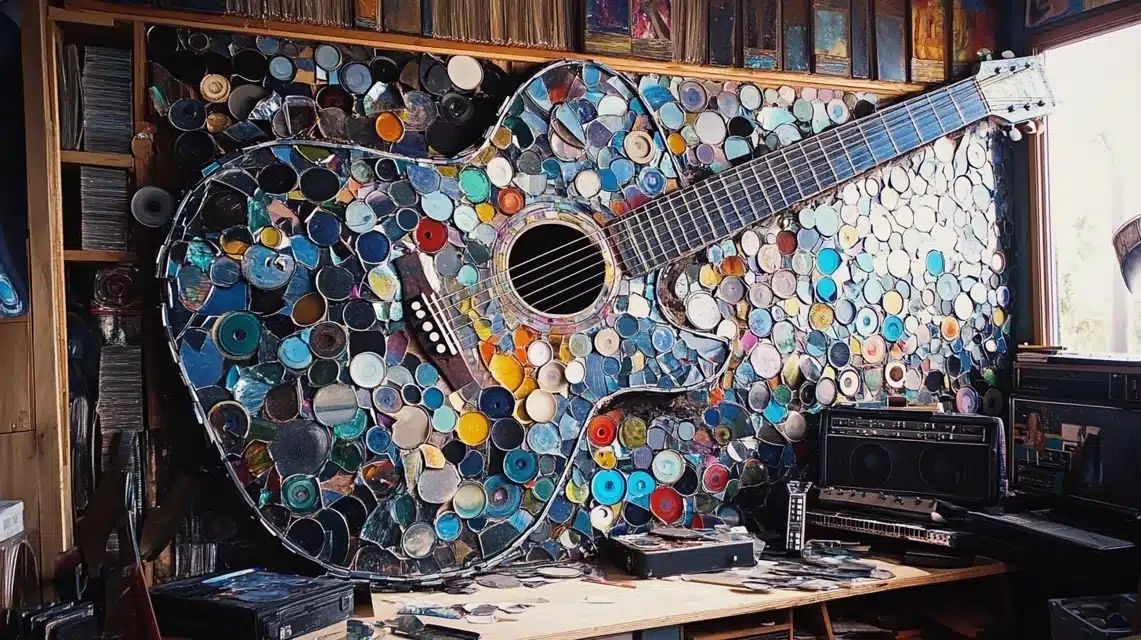
My most ambitious project yet was creating a large-scale mural on a piece of plywood for my music room.
I broke several CDs into different-sized pieces (wearing protective gloves and eyewear – safety first!) and arranged them to create a abstract guitar design.
The different angles of the CD fragments catch light differently, making the mural appear to change throughout the day.
I discovered that using a strong silicone adhesive worked best for securing the pieces, and grouting between them, like you would with mosaic tiles, gave it a more finished look.
The project took me several weekends to complete, but the result is a one-of-a-kind piece that combines my love of music with visual art.
3. Painted and Etched CDs
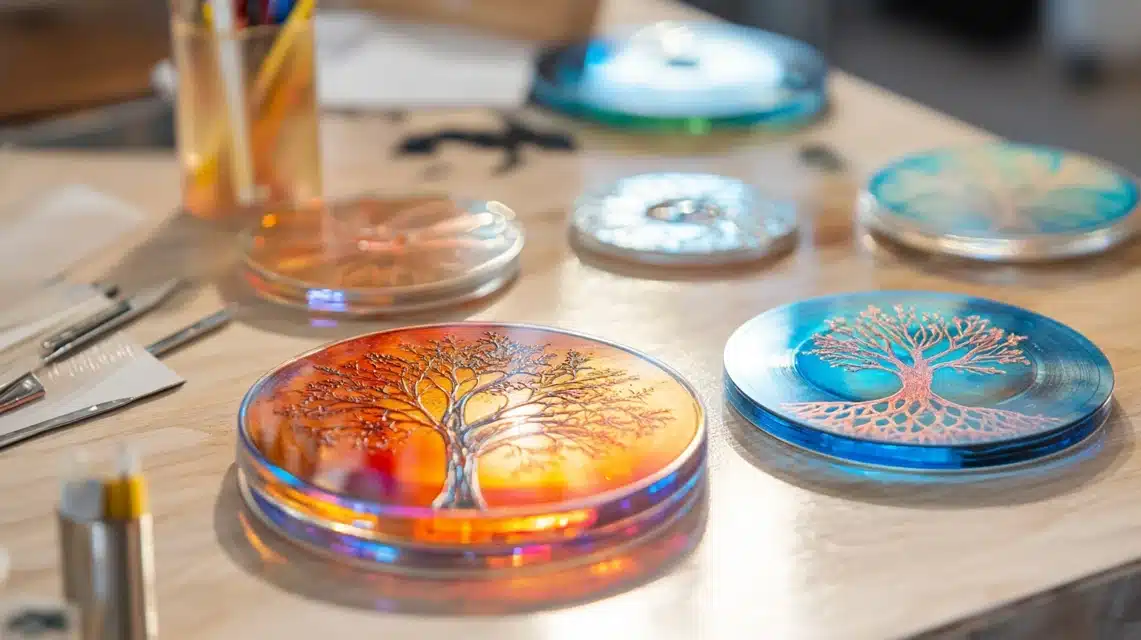
This became my favorite rainy day activity – transforming CDs into individual art pieces through painting and etching.
I started by experimenting with different techniques. Acrylic paints adhered well to the non-reflective side of the CDs, and I found that using a paint pen gave me the most control for detailed designs.
For etching, I carefully scratched designs into the reflective surface using a metal stylus.
My first attempt was a simple mandala pattern, but as I gained confidence, I created more complex designs – my favorite is a detailed tree of life that seems to shimmer when it catches the light.
I’ve even combined these techniques, painting the back of the CD and etching the front to create multi-dimensional pieces.
One of my most successful pieces features painted autumn leaves on the back with etched branches on the front – the layered effect is stunning.
Transforming CD Covers into Art
When I started my CD upcycling journey, I realized I was sitting on a goldmine of amazing album artwork just waiting to be displayed. The covers were practically miniature art prints!
I turned my favorite album covers into stunning wall displays that celebrate both music and visual art.
1. Framing CD Covers
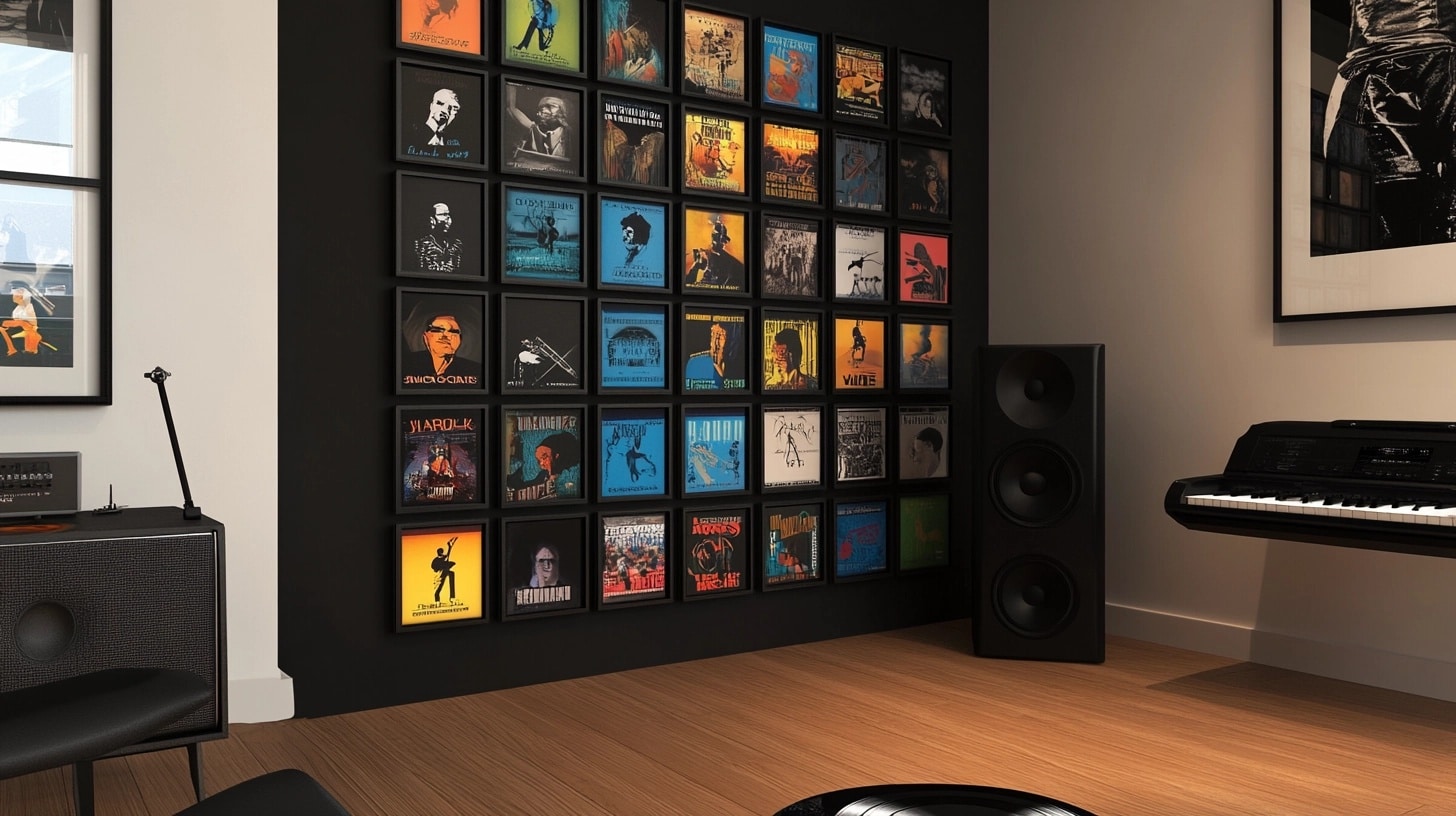
I started by carefully removing the cover art from my favorite albums. After experimenting with different frame styles, I found that simple black frames with white matting really made the artwork pop.
My proudest piece is Pink Floyd’s “Dark Side of the Moon” – the pristine black frame against my white wall makes that iconic prism image look like it’s floating.
I learned that proper matting is crucial – I use acid-free mat board to prevent any yellowing or deterioration of the artwork.
For special albums, I’ve even had custom mats cut with multiple openings to display both the front and back covers, along with any interesting inner artwork.
The liner notes sometimes contain such beautiful designs that I couldn’t bear to leave them hidden.
2. Grid Layout Gallery
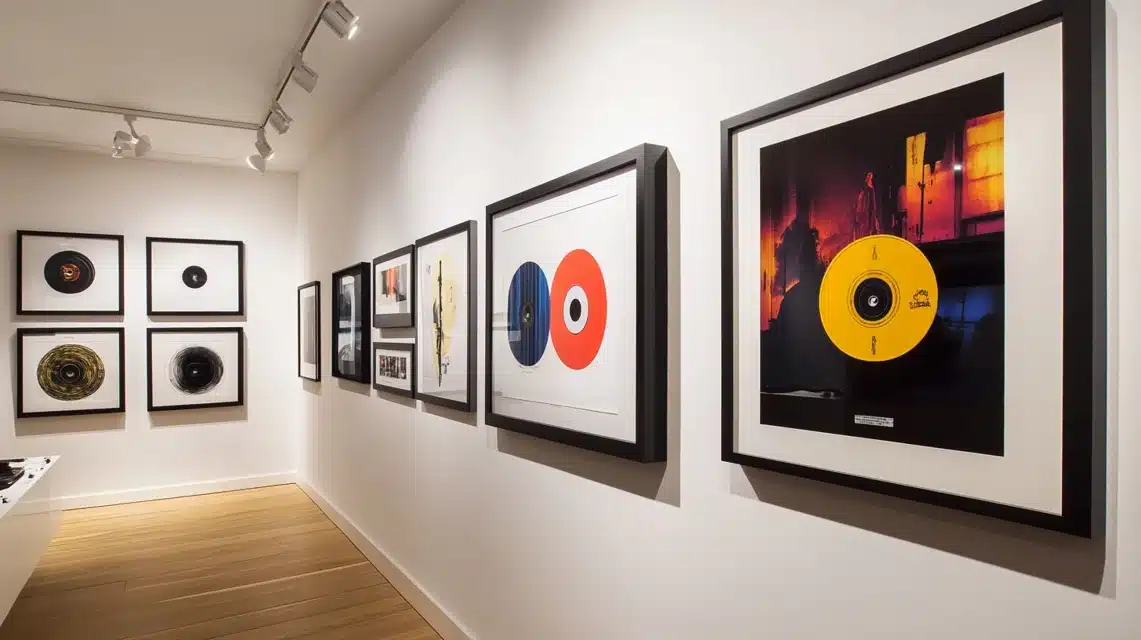
The grid layout became my solution for displaying my entire genre collections. In my listening room, I created a massive 5×5 grid of my favorite jazz albums.
The visual impact is incredible – all those Blue Note covers together create a stunning timeline of jazz history right on my wall.
I discovered that measuring and planning the layout beforehand was crucial.
I used a laser level to ensure perfect alignment (after my first attempt ended up embarrassingly crooked!).
To create visual interest, I mixed colorful covers with black and white ones, creating a dynamic pattern that draws the eye across the entire display.
3. String Display
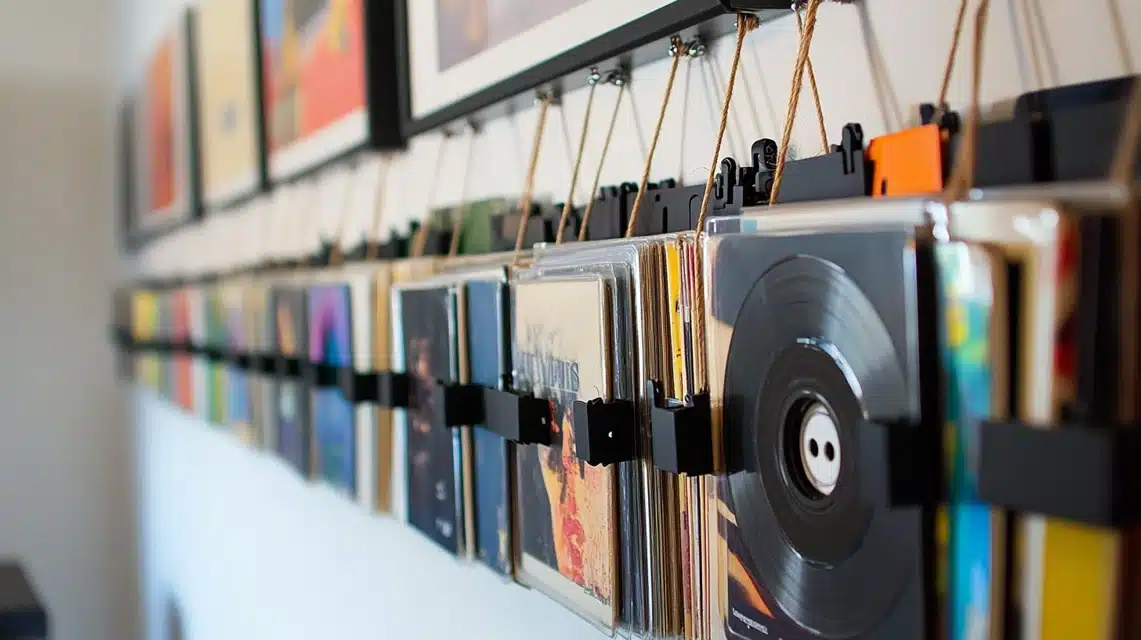
For my home studio, I wanted something more flexible that I could easily change up.
The string display turned out to be perfect – I installed two parallel rows of strong twine across one wall, using decorative hooks as anchors.
Using wooden clips (painted black to match my room’s aesthetic), I can now rotate different covers whenever I feel like changing the vibe.
I found that spacing the covers about 4 inches apart gives each one room to breathe while still creating a cohesive display.
Sometimes I arrange them by color, other times chronologically, and occasionally just randomly each arrangement gives the room a completely different feel.
Lighting and Accessories
After setting up my initial CD displays, I realized that the right lighting and accessories could take them from impressive to absolutely magical.
I transformed my CD art with some creative lighting solutions and decorative elements that made all the difference.
1. Using LED Lights
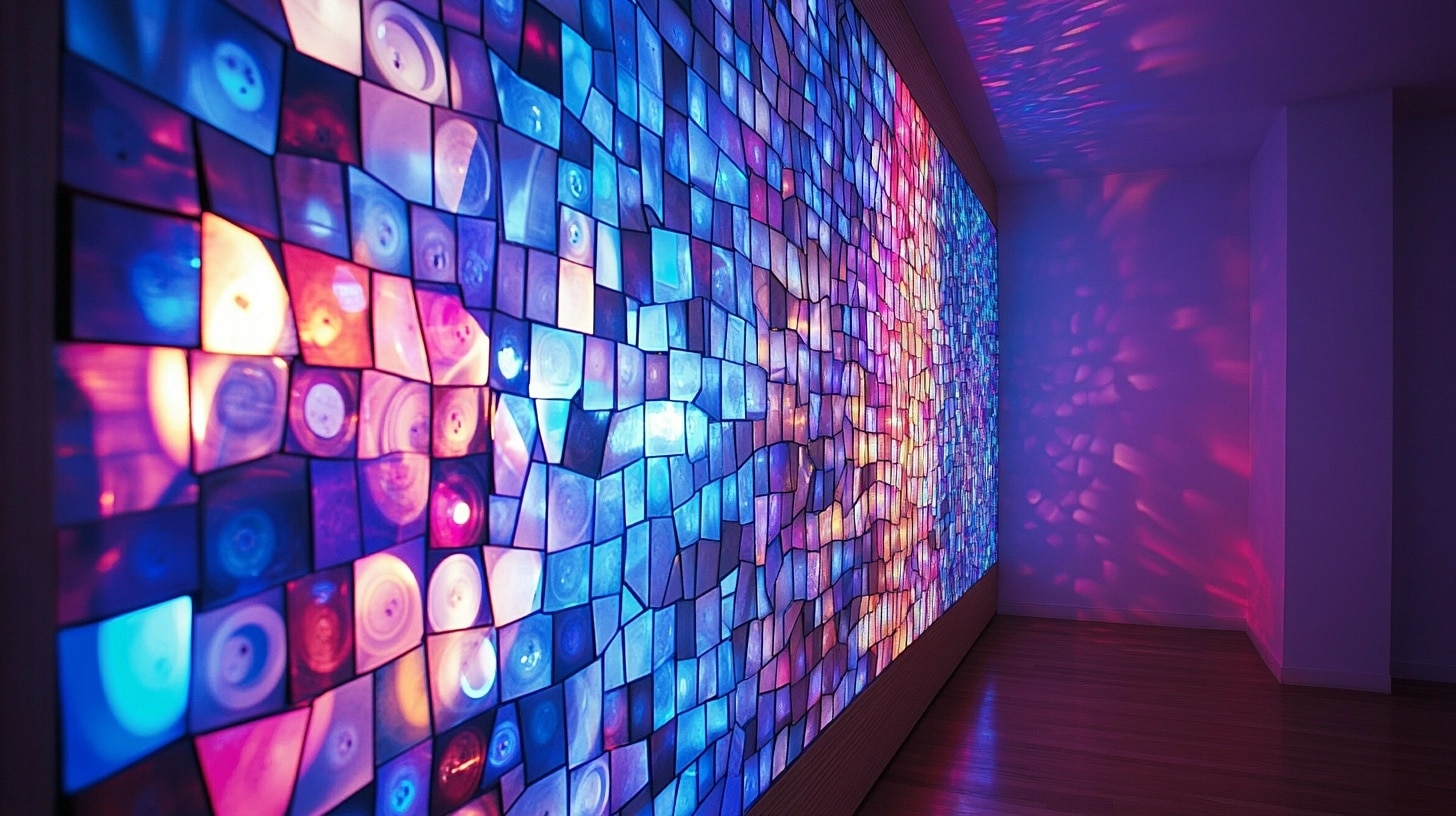
My biggest revelation came when I started experimenting with LED strips.
I installed color-changing LED strips behind my CD mosaic wall, and wow – what a transformation.
I discovered that different colored lights create completely different effects with the CDs’ reflective surfaces.
Blue LEDs give a cool, ethereal glow, while warm whites create a sophisticated, gallery-like atmosphere.
The real game-changer was when I installed smart LED strips that I could control with my phone.
Now I can change the lighting based on my mood or the time of day. During parties, I use the color-changing mode, and the way the light plays off the CDs creates an incredible disco ball effect throughout the room.
I made sure to hide all the wiring behind a thin wooden border I built, keeping the installation looking clean and professional.
2. Mirror Magic
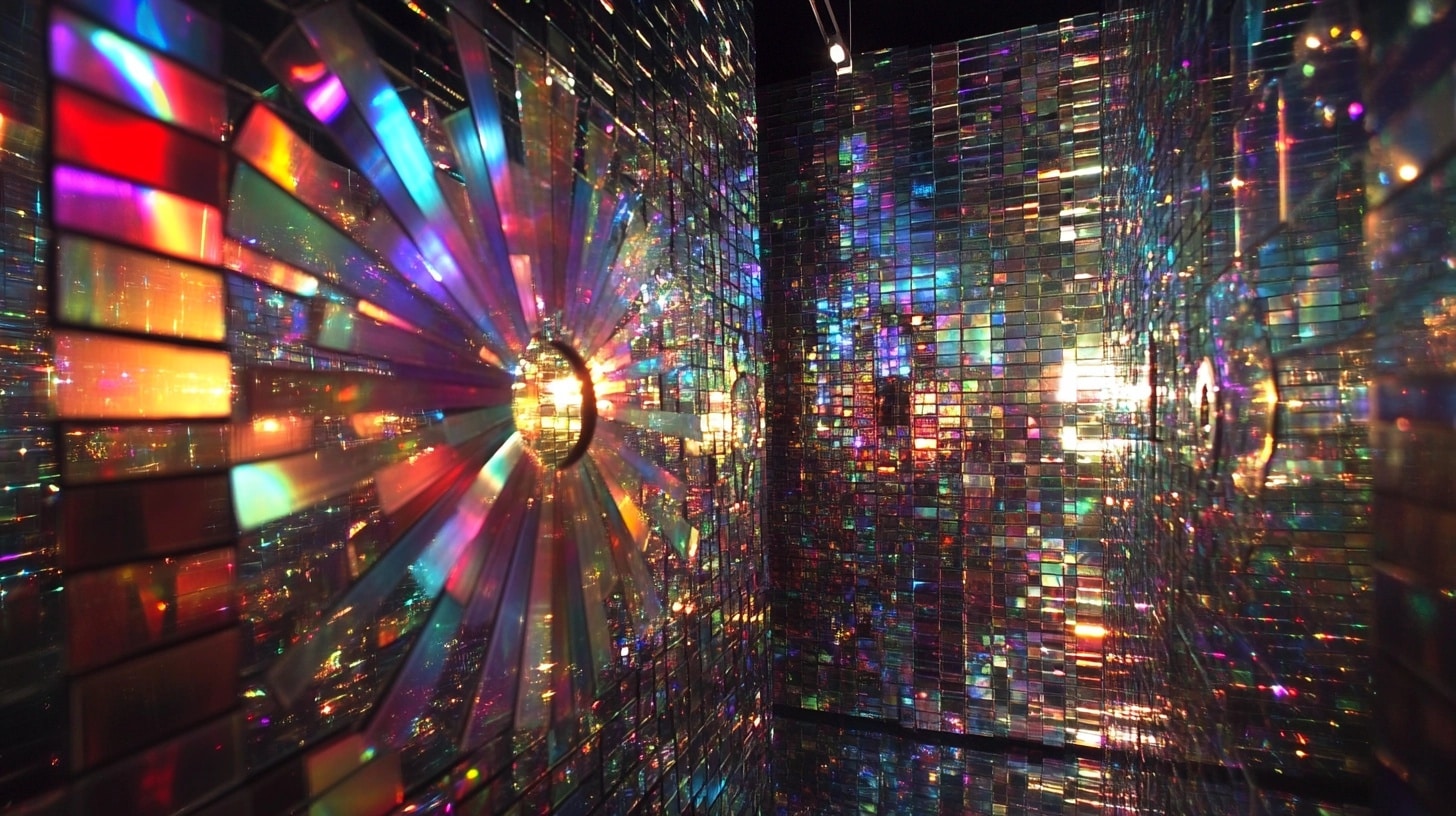
Adding mirrors to my CD displays was like discovering a whole new dimension of possibilities.
I placed a large mirror opposite my CD sun catcher installation, and the effect is mind-blowing – it doubles the light patterns and creates infinite reflections that dance across the room.
In my CD grid display, I added small mirror tiles between some of the CDs. This wasn’t as simple as it sounds – I learned that cutting mirror tiles requires special tools and patience (and yes, I went through quite a few before getting it right!).
But the result is worth it: the mirrors catch and redirect the light from the CDs, creating unexpected sparkles and patterns throughout the day.
3. Custom Frames and Mounts

I wanted each CD display to have its own unique character, so I started creating custom frames and mounts.
For my favorite albums, I built shadow box frames with built-in LED strips around the edges. I used dark wood stained in deep mahogany for some, and painted others in metallic colors that complement the CDs’ reflective surfaces.
One of my proudest creations is a series of floating mounts I designed for individual CDs.
I used clear acrylic rods of different lengths to make the CDs appear to float at different depths from the wall.
The trick was finding the right adhesive that would securely hold both the acrylic and the CDs – after some trial and error, I found that a specific type of clear epoxy worked perfectly.
Frequently Asked Questions
Won’t the CDs Get Damaged when I Work with Them?
I’ve found that CDs are actually quite durable when handled properly. However, I always recommend wearing protective gloves and eyewear when breaking or cutting CDs for mosaic projects.
I learned through experience that using proper tools (like a heavy-duty craft knife or CD scorer) makes a huge difference in preventing unwanted cracks.
What’s the Best Way to Mount CDs to Walls?
After trying various methods, I’ve had the most success with industrial-strength mounting tape or heavy-duty adhesive strips. For heavier installations, I use a combination of adhesive and small clear brackets.
I always test the adhesive on a small area first to ensure it won’t damage the wall.
Which Led Lights Work Best with CD Displays?
In my experience, flexible LED strip lights with adjustable brightness work wonderfully. I prefer ones with a color-changing option – it gives me more versatility in creating different moods.
I’ve learned to invest in quality lights with good adhesive backing and even light distribution.
Will the CD Artwork Fade Over Time?
I’ve noticed that direct sunlight can cause fading, especially with painted or decorated CDs. I protect my displays by using UV-resistant coatings on painted pieces and positioning them away from direct sunlight when possible.
For particularly special pieces, I rotate them periodically to ensure even exposure.
How Do I Fix Uneven Spacing in My Grid Display?
This was frustrating at first! I now use a laser level and create paper templates for consistent spacing. When I notice unevenness, I adjust one piece at a time rather than trying to fix everything.
Conclusion
Looking around my home now, I love how these CD art projects have transformed my spaces.
What started as a stack of forgotten discs has become a collection of personal and eye-catching displays that spark conversations and brighten my rooms.
Whether it’s the shiny mosaics catching the sunlight or framed album covers reminding me of my favorite music, each piece feels like a little slice of my creativity.
These projects didn’t just recycle old CDs—they turned them into something meaningful.
The process was fun, and I loved experimenting with different ideas to find what worked best for my home.
Now, every time I see those displays, I’m reminded of the memories those CDs hold and the joy of creating something new.
If you’re considering trying this, I hope my journey inspires you. Take those dusty CDs and turn them into art that’s as unique as you are—you won’t regret it!

