
When I was first planning my home remodel, I kept hearing the term interior elevations—and honestly, I had no idea what that meant.
But once I saw how much clarity they brought to the design process, I was hooked. Interior elevations are 2D drawings that show the details of walls inside your space, think cabinetry, tile, lighting, and more, from a front-facing view.
They’re essential for turning vague ideas into precise plans. If you want to avoid surprises during construction and feel more in control of your project, interior elevations are the key.
I’ll take you through everything you need to know, so you can make your next design with your contractor or designer.
Ready to get a clearer picture of your dream space? Let’s go!
What are Interior Elevations?
Interior elevations are scaled, front-facing drawings that show the design of a wall from floor to ceiling.
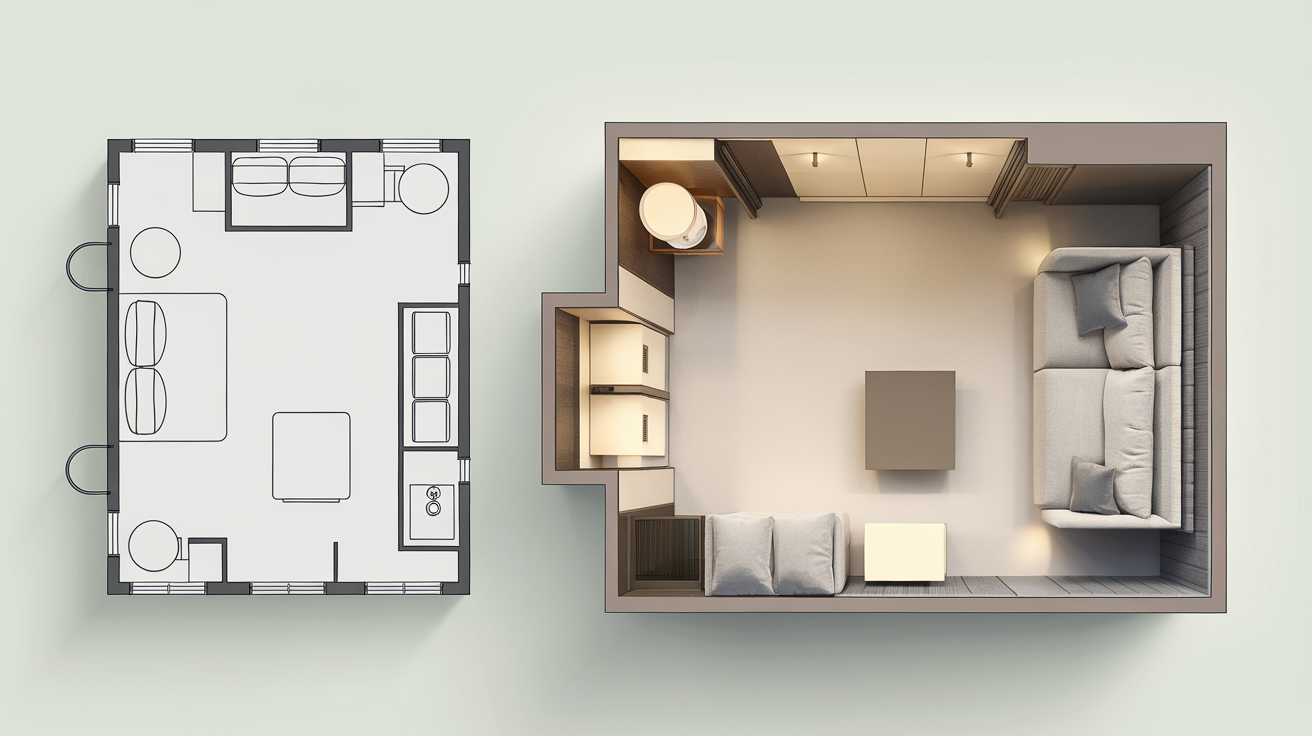
Unlike floor plans, which offer a bird’s-eye view of a space, elevations display what is seen when looking directly at a specific wall. These drawings include elements such as cabinetry, windows, doors, fixtures, finishes, and electrical points.
They help clarify dimensions, proportions, and how different features relate to one another vertically.
Interior elevations are essential in both residential and commercial projects, ensuring that everything from tile layout to shelving placement is visually mapped out before construction begins.
They serve as a visual guide to transform plans into precise, buildable spaces.
Why Interior Elevations Matter
Interior elevations help turn your ideas into visuals, bridging the gap between imagination and reality.
These scaled drawings give a front-on view of walls, showing exactly how cabinetry, tile, fixtures, and finishes will be installed.
While floor plans outline the layout of a space, interior elevations reveal what each wall will look like in context. They eliminate guesswork, reduce miscommunication, and make design choices easier to visualize.
- Clarify Wall Design – Show how every wall component fits and interacts with one another.
- Ensure Precision – Prevent incorrect placements by providing exact measurements and details.
- Streamline Communication – Help homeowners, designers, and builders work from the same plan.
- Prevent Redos – Reduce costly construction errors and late-stage design changes.
- Improve Budgeting – Enable more accurate bids and reduce material waste.
Interior elevations bring clarity, control, and confidence to any design process.
What’s Included in an Interior Elevation Drawing
An interior elevation drawing includes detailed wall views showing cabinetry, fixtures, finishes, and measurements, helping builders and designers plan accurate installations and avoid layout or material mistakes.
1. Wall Layout and Dimensions
Interior elevation drawings show the height, width, and structure of each wall. These measurements help place cabinets, windows, trim, and other features in the right spots, creating a balanced and accurate design.
Without these dimensions, items may end up misaligned or uneven, leading to design and installation issues.
2. Cabinetry and Built-ins
The drawings outline shelves, cabinets, and built-in storage. This helps builders know the exact sizes and locations, making sure everything fits well and there’s no guesswork during installation.
These details also help avoid overcrowding or awkward gaps between elements.
3. Electrical Outlets and Fixtures
Outlet locations, light switches, and fixtures are marked clearly. This ensures everything lines up properly with items like vanities, kitchen appliances, and wall lights for smooth and functional design.
It also helps electricians plan wiring routes more efficiently.
4. Materials and Finishes
Labels on the drawing show which materials go where – like tile, paint, wallpaper, or wood. This helps the building team use the correct products in the right spots without confusion.
It also keeps the visual flow of the design consistent and polished.
5. Lighting and Plumbing Details
The drawings include the locations of lights and plumbing fixtures. This helps different contractors, such as electricians and plumbers, work together efficiently and avoid last-minute changes.
It also ensures proper spacing and reduces the risk of costly mistakes.
Tools Used to Create Interior Elevations
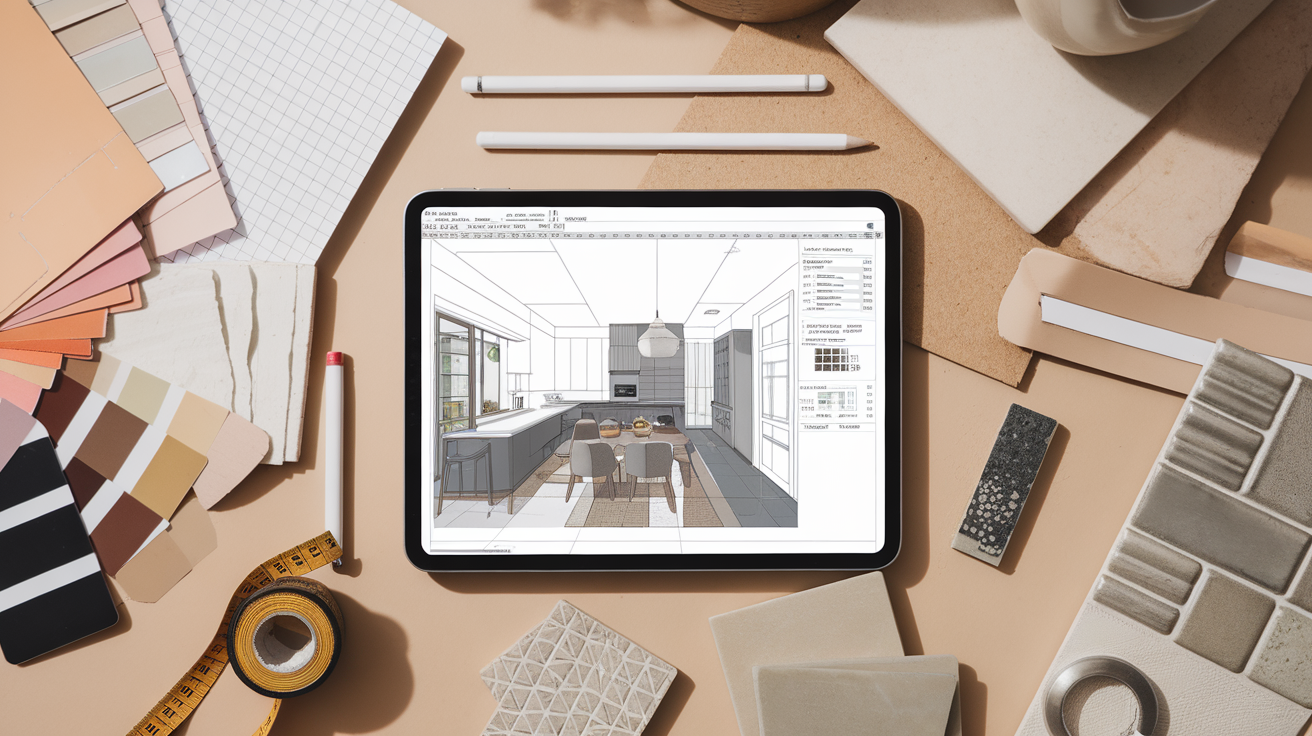
Interior elevations can be created using a mix of modern digital tools and traditional hand-drawing techniques. Designers often choose software for speed and accuracy, but hand sketches still offer creative flexibility.
CAD Software (e.g., AutoCAD) is used for precise line work and scaled drawings. Ideal for professionals who need accuracy, layering, and easy sharing with builders or contractors.
3D Modeling Tools (e.g., SketchUp, Revit) offer interactive visualization and allow quick changes. Help clients see how elevations will look in real space with finishes applied.
Hand-Drawn Elevations are still used for early concepts or stylistic presentations. These sketches add a personal, artistic feel to custom designs and smaller projects.
Presentation platforms include tools like Adobe InDesign or cloud-based apps that designers use to annotate, organize, and share elevations with clients or collaborators during review sessions.
Where Interior Elevations Are Used
Interior elevations are essential in rooms where walls contain key design elements, helping guide cabinetry, fixtures, and finishes in kitchens, bathrooms, laundry rooms, and other functional or feature-heavy spaces.
| Room or Area | Why Interior Elevations Are Important |
|---|---|
| Kitchens | Help plan cabinet heights, appliance locations, backsplash layout, and outlet placement. |
| Bathrooms | Show vanity sizing, mirror height, tile layout, and plumbing fixture positions. |
| Laundry Rooms | Guide built-in storage, countertop placement, and appliance fit within tight walls. |
| Living Rooms | Assist with fireplace design, media wall layouts, and shelving alignment. |
| Closets & Mudrooms | Clarify shelving, hooks, drawers, and built-in cubby arrangements. |
Interior Elevations vs. Floor Plans
Floor plans show the layout, while elevations display the design details on walls. Both matter, but for different reasons and together, they complete the design picture.
| Aspect | Floor Plans | Interior Elevations |
|---|---|---|
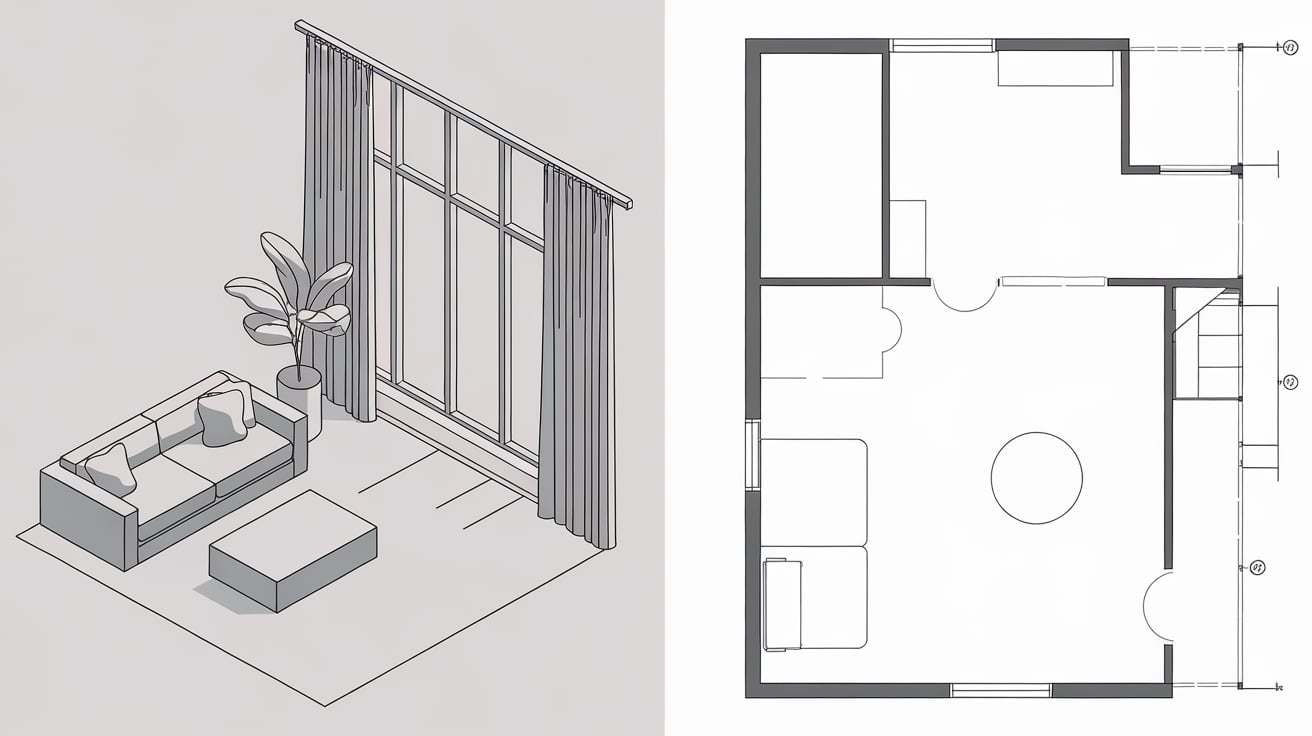
| Viewpoint | Overhead, bird’s-eye view of the room | Straight-on, vertical view of one wall |
| Purpose | Shows room layout, circulation, and furniture placement | Shows wall details like cabinets, lighting, and finishes |
| Details Included | Doors, windows, walls, furniture outlines | Cabinet sizes, wall finishes, outlet/switch placement |
| Usage | Ideal for space planning and traffic flow | Ideal for construction, finish work, and vertical alignment |
| Design Focus | Horizontal relationships between spaces | Vertical relationships on each individual wall |
Cost of Creating Interior Elevations
Some designers include interior elevations in their design packages, especially for kitchens or full remodels. Others may charge separately, depending on project scope.
On average, expect to pay $200 to $500 per room for basic elevation drawings. For more detailed or custom work like built-ins, tile layouts, or lighting plans, costs can range from $600 to $1,200+ per space.
While it might seem like an extra line item, these drawings help avoid expensive construction errors, change orders, and material waste, saving both time and money in the long run.
Always ask upfront if interior elevations are included in your design quote. The clarity they bring often pays for itself.
Benefits of Interior Elevations for Homeowners
Interior elevations reduce guesswork and help homeowners make confident decisions before demo day. They provide a visual plan that supports accuracy, prevents delays, and improves collaboration with contractors and designers.
- Visualizing Cabinets and Shelves: Interior elevations show exact height, width, and depth of storage, helping homeowners understand how everything fits and ensuring functional design without relying on imagination.
- Electrical Placement Made Easy: By marking every outlet, switch, and fixture on the wall drawing, interior elevations help avoid surprise placements that don’t align with appliances, decor, or daily routines.
- Accurate Budgeting and Planning: Clear elevation drawings give contractors the measurements and materials they need to provide realistic quotes, minimizing unexpected costs and making financial planning more reliable.
- Avoiding Costly Mistakes: Design issues are easier to catch on paper. Elevations allow homeowners and professionals to spot and fix potential problems before construction, saving time, money, and stress later on.
Interior Elevation: Questions to Ask Your Designer
Not sure what you’re looking at? That’s completely normal. Interior elevations can include many symbols and notes that aren’t always self-explanatory. Asking the right questions helps avoid confusion and ensures everything fits your vision.
- What materials or finishes are shown on each wall?
- Can you explain the height and placement of cabinets or shelves?
- Where will outlets, switches, and lighting fixtures be located?
- Are all measurements to scale? Can we double-check key ones?
- Will this drawing match the final construction exactly, or could changes happen later?
Asking early prevents costly adjustments later and keeps everyone aligned.
Conclusion
Interior elevations are a vital part of any successful design or renovation project. They provide a detailed, straight-on view of your walls, showing exactly where cabinets, shelves, lights, outlets, and finishes go.
With these drawings, you can plan with confidence, avoid costly mistakes, and make sure every element fits perfectly.
No matter if you’re working with a professional or managing your own remodel, interior elevations take the guesswork out of decision-making and keep everyone on the same page.
They don’t just make your design easier, they make it better. When I use interior elevations in a project, I save time, stay on budget, and get results that match the original vision.
By mapping out every detail before construction begins, you save time, stay on budget, and end up with a space that looks and functions exactly the way you want.
Ready to design smarter? Use interior elevations to turn your ideas into clear, buildable plans.