Installing new flooring in a basement is a great way to transform a cold, unfinished space into a warm, functional area.
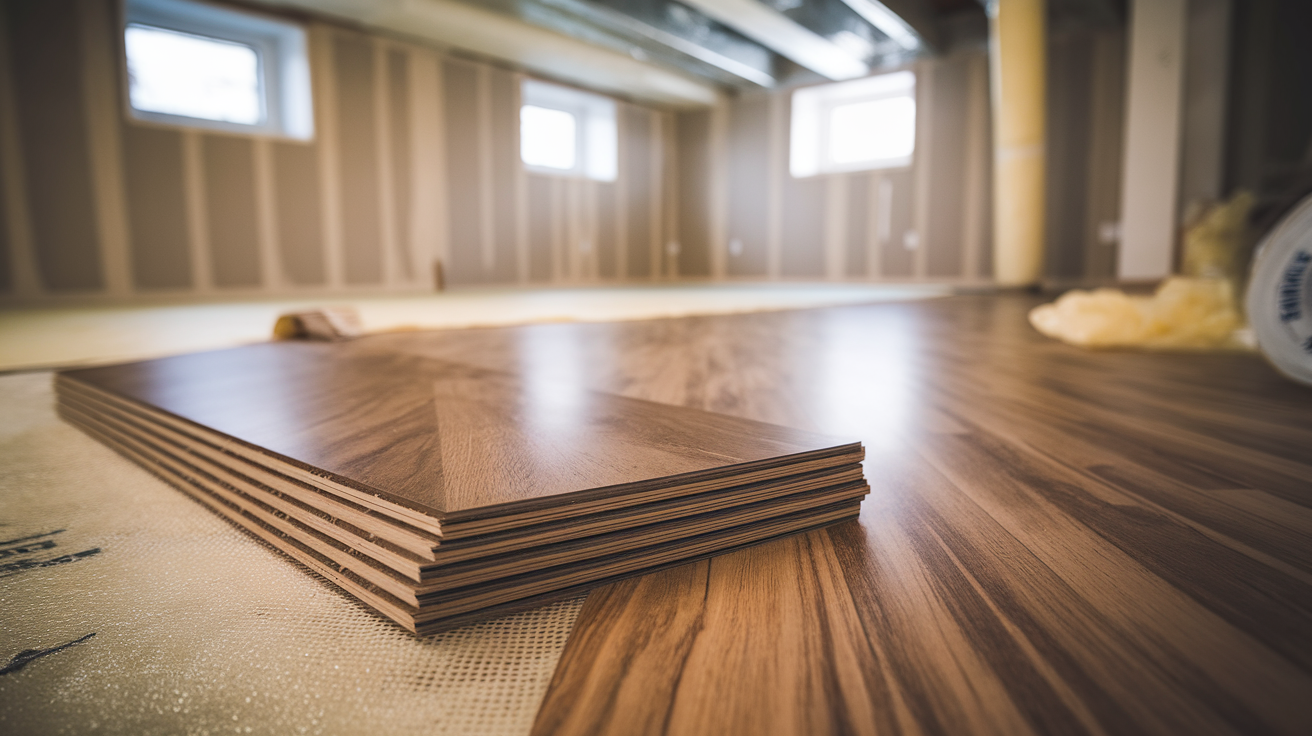
Laminate vinyl plank flooring is a popular choice, as it mimics real wood, resists moisture, and is durable for high-traffic areas.
Since most basements have concrete subfloors, it requires a few extra steps, like adding a moisture barrier and leveling the surface. With the right tools, this makes for an easy DIY project.
If you want to upgrade your basement on a budget, this guide gives you everything you need to get started confidently.
Why Install New Flooring in a Basement?
Basement floors are typically made of poured concrete, which can feel cold and unfinished. While fine for storage, it’s not ideal for living spaces.
Installing finished flooring can turn the basement into a usable area, whether for a playroom, office, gym, or guest suite.
Concrete is porous and can absorb moisture, leading to mold and damage if untreated.
A proper flooring system with a moisture barrier and underlayment prevents these issues while adding comfort and insulation.
Durable flooring also increases your home’s resale value and helps the basement feel like an extension of your living space.
Tools and Materials
Before you begin, gather everything you need. This helps keep the project moving smoothly and avoids last-minute hardware store runs.
Tools
- 4-foot level
- Concrete grinder with grinding disc
- Utility knife
- Vacuum
- Multi-tool (for undercutting door jambs and precision cuts)
- Rubber mallet
- Pull bar
- Pry bar
- Tape measure
- Carpenter’s square
- Pencil or marker
Materials
- Dimpled plastic moisture barrier
- EVA foam underlayment with adhesive strip
- Rigid laminate vinyl plank flooring
- Moisture-proof seam tape
- Leveling compound or concrete patch
- Floor spacers or scrap plank pieces
How to Install Basement Flooring
Installing flooring in a basement requires proper planning, moisture protection, and the right materials. Follow these steps to ensure a smooth, lasting finish.
Step 1: Prep and Level the Subfloor
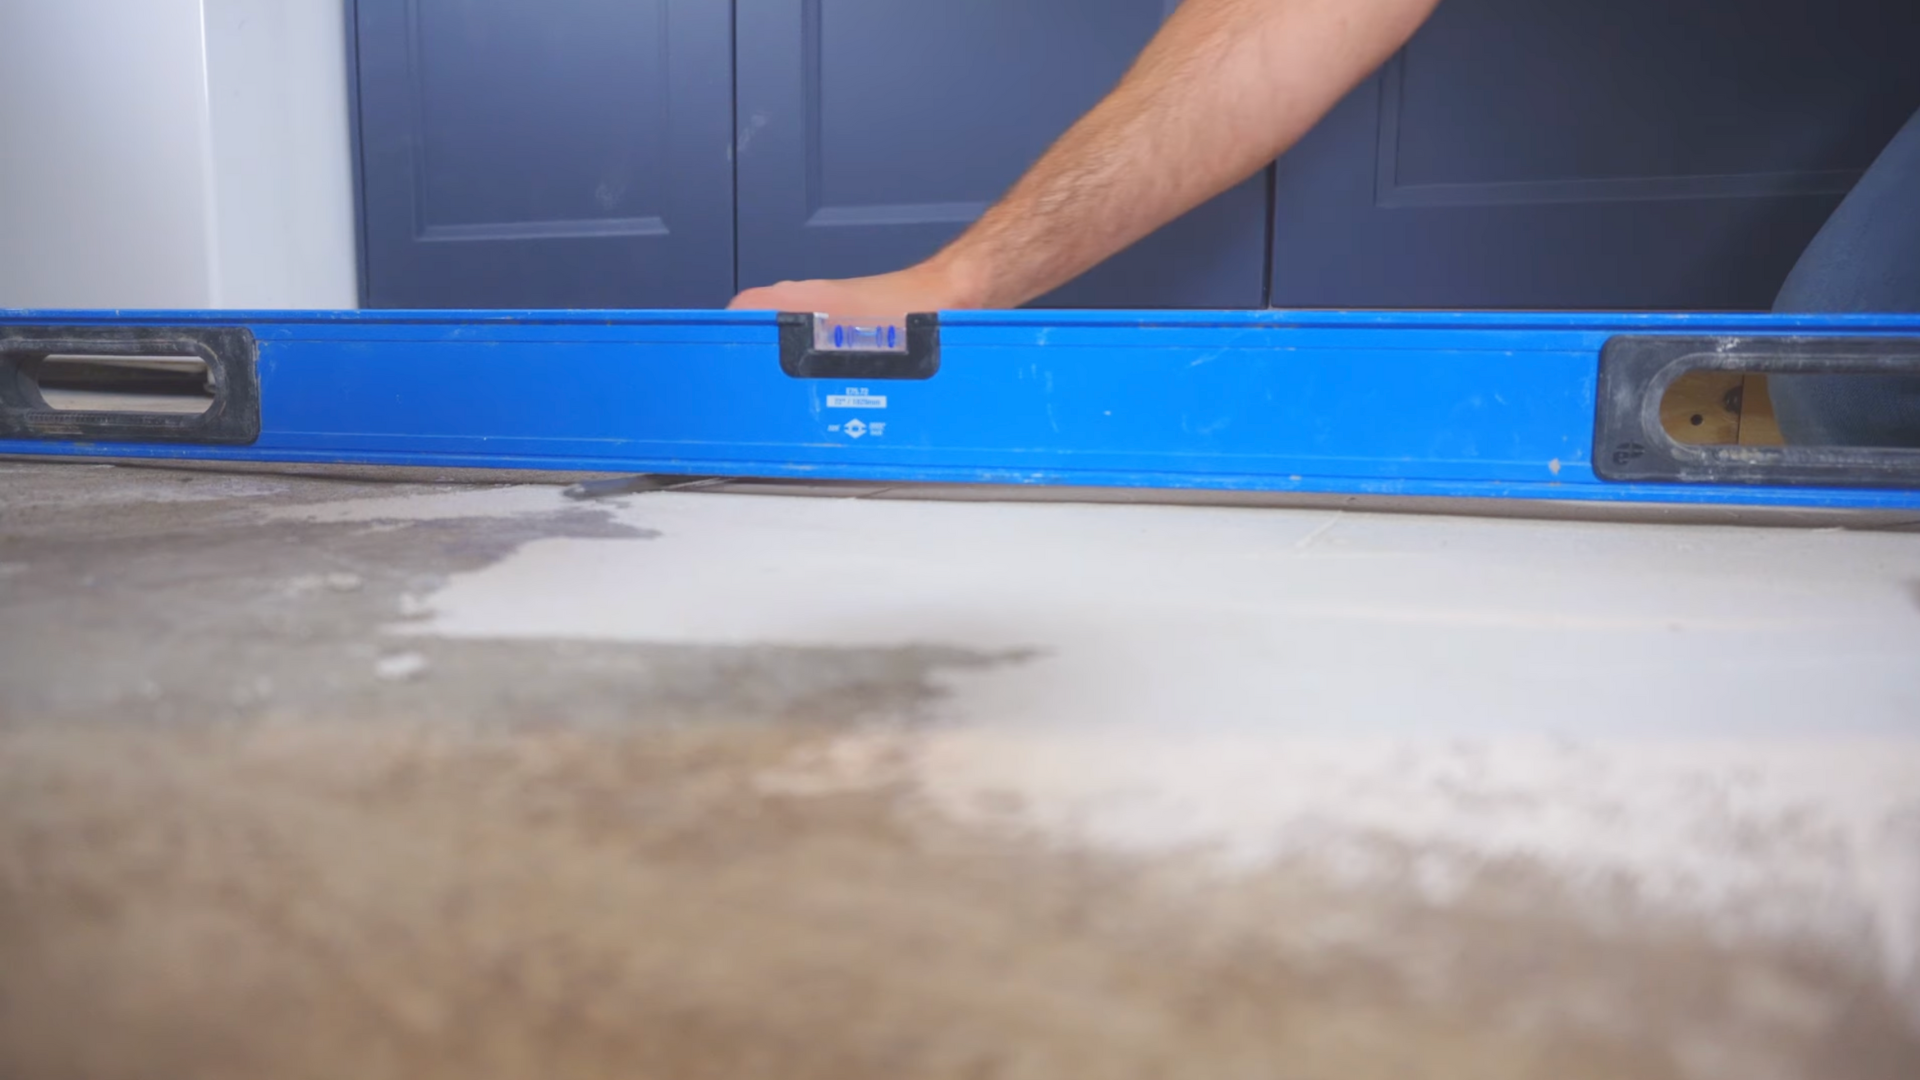
Start by inspecting the concrete slab. Use a 4-foot level to scan for high and low spots. High areas must be ground down with a concrete grinder.
Low areas should be filled with concrete patch or self-leveling compound. A level surface ensures that your flooring will lie flat and last longer.
Step 2: Undercut Door Jambs for a Seamless Fit
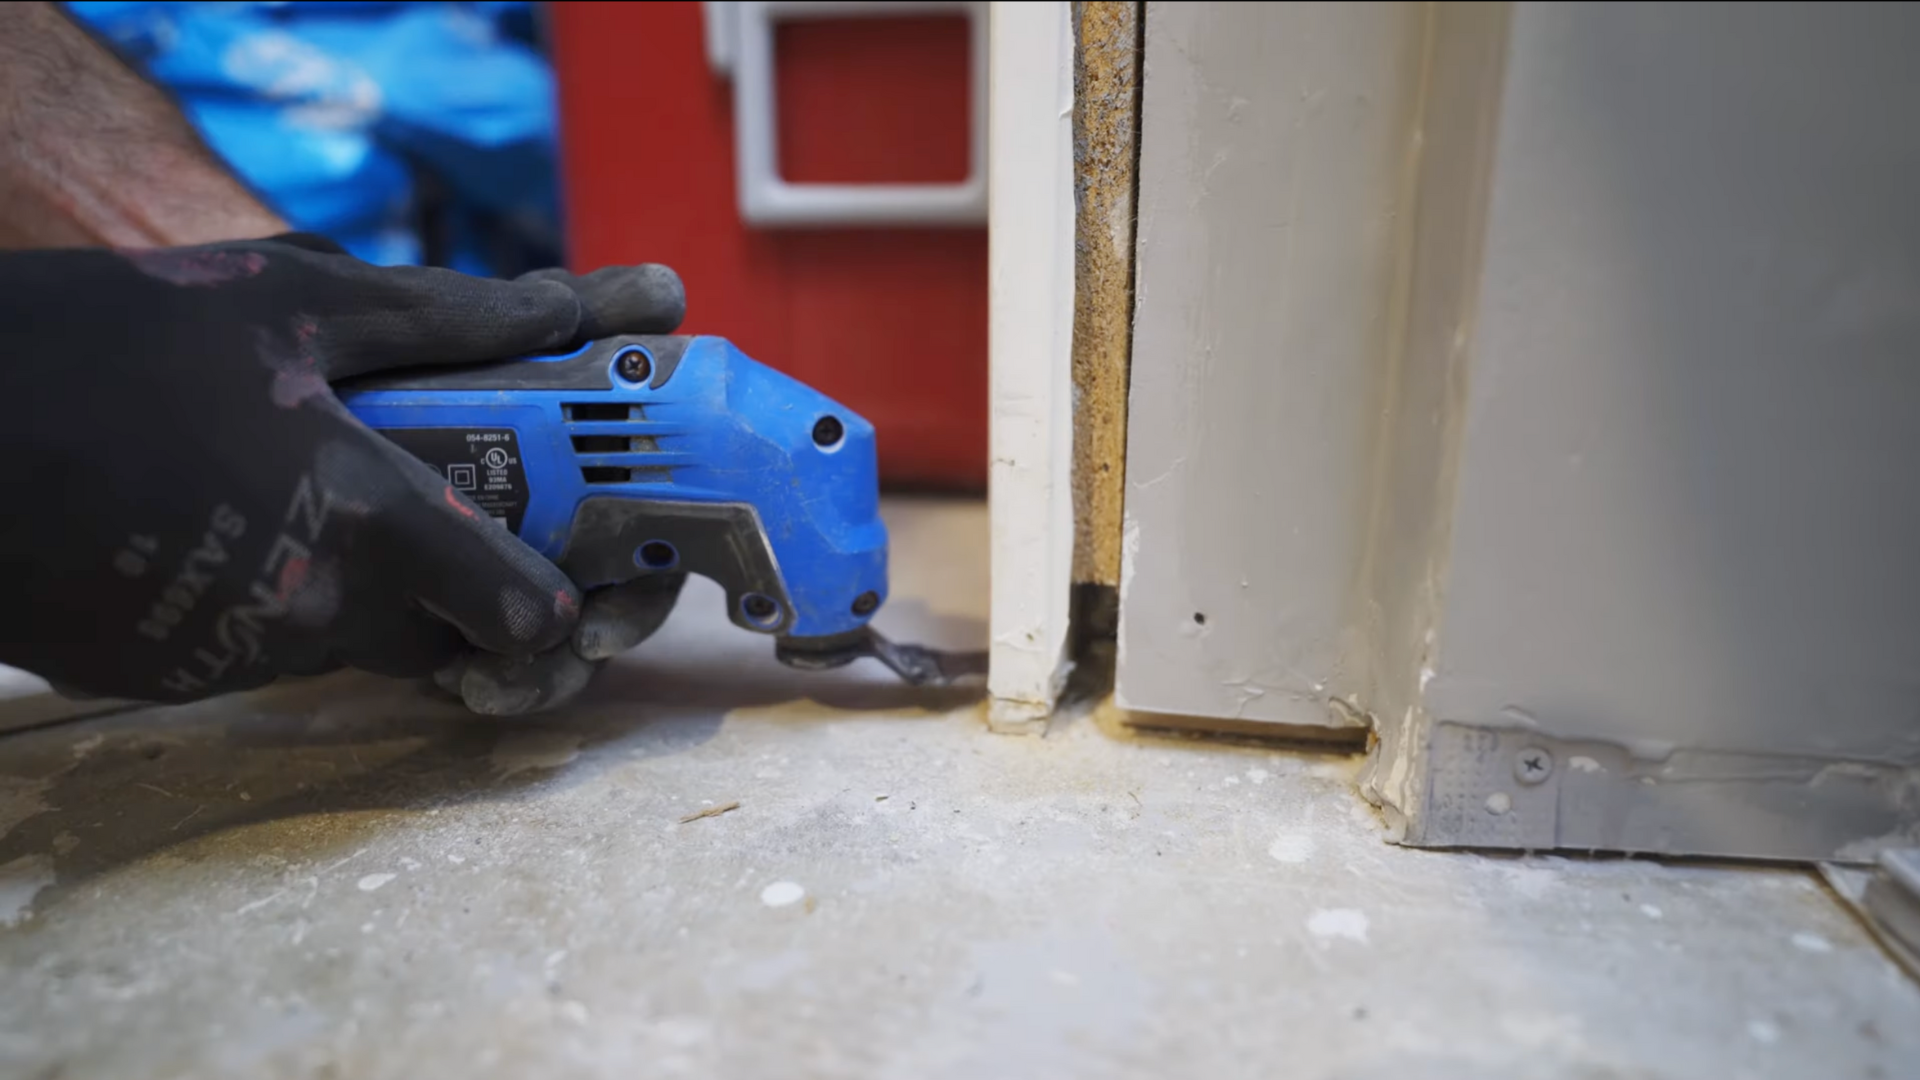
Use a scrap of ½-inch drywall to mark the height of your subfloor system, then run a multi-tool blade across the trim.
This allows the flooring to tuck underneath the door casing instead of butting into it. The result looks cleaner and makes future maintenance easier.
Step 3: Clean the Floor Thoroughly
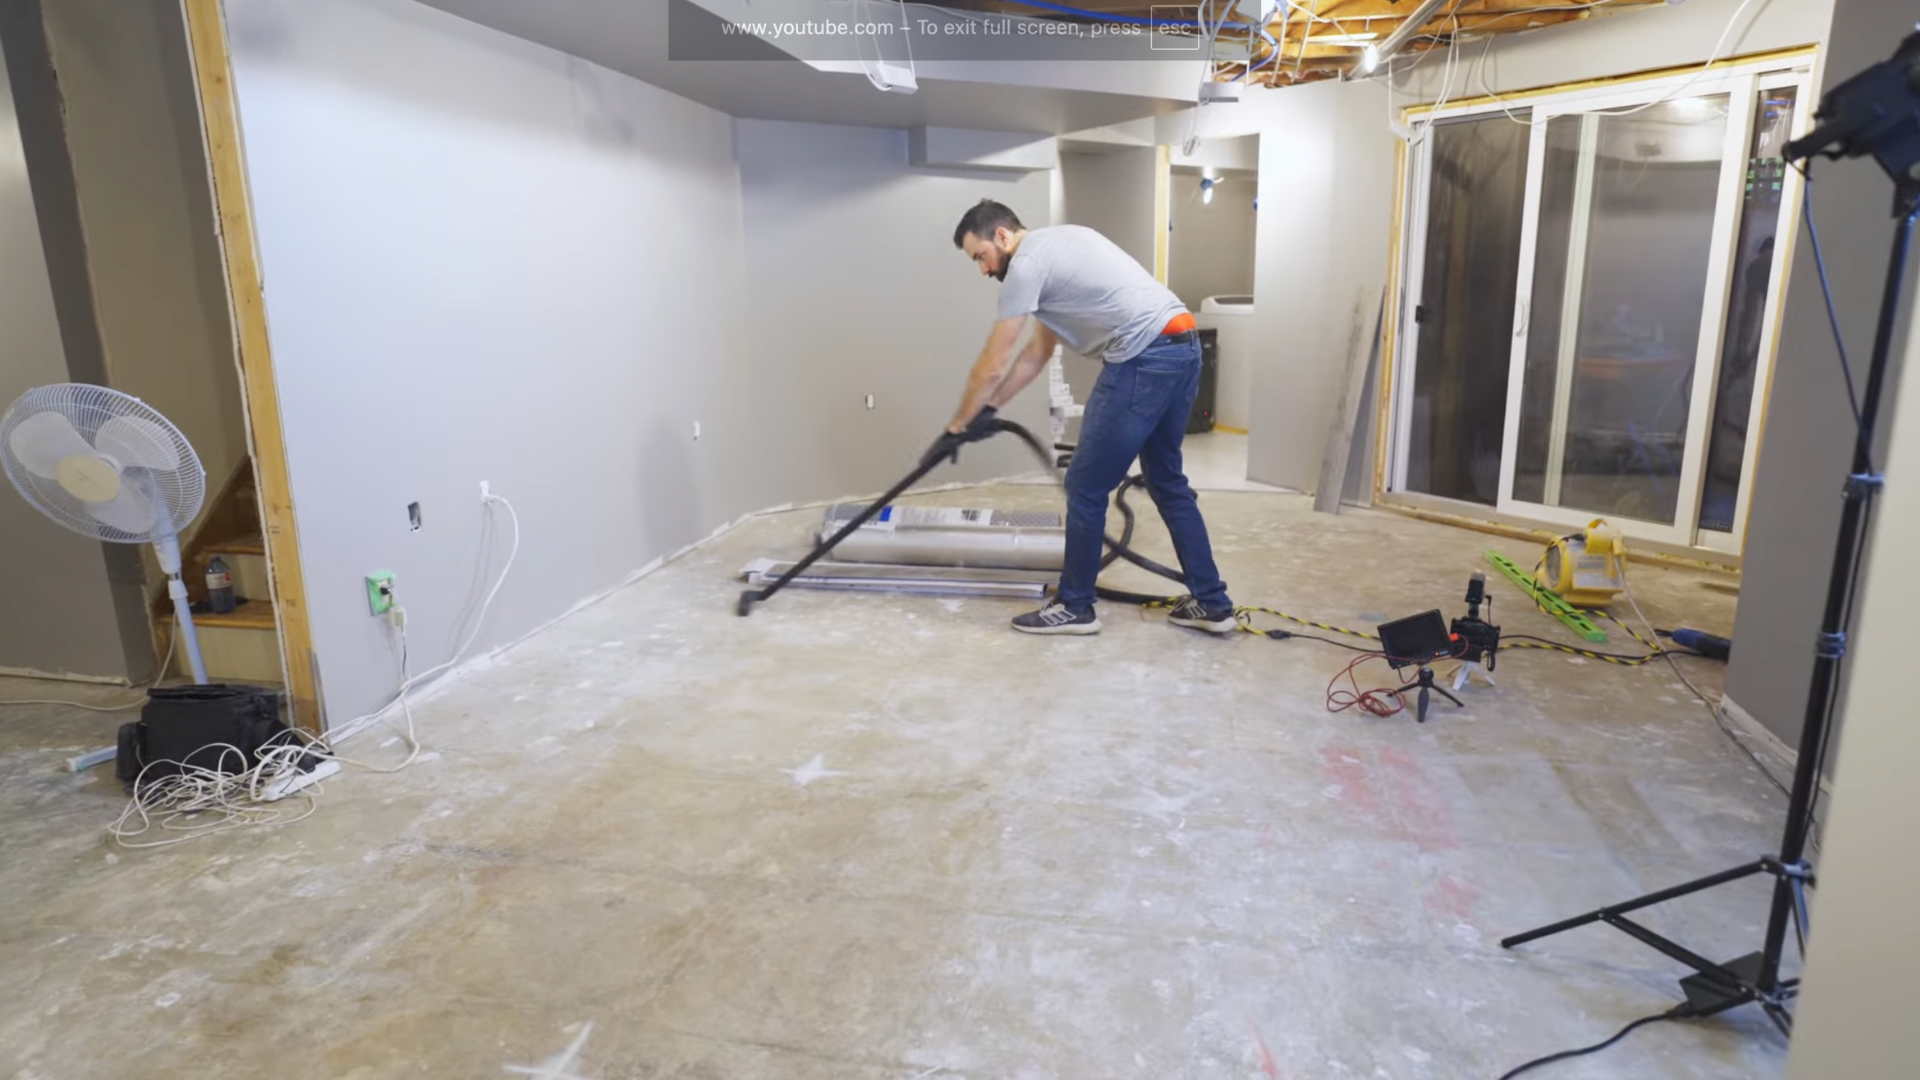
Dust, dirt, and debris can interfere with how well the moisture barrier and underlayment adhere.
Use a strong vacuum to clean the entire area before laying anything down.
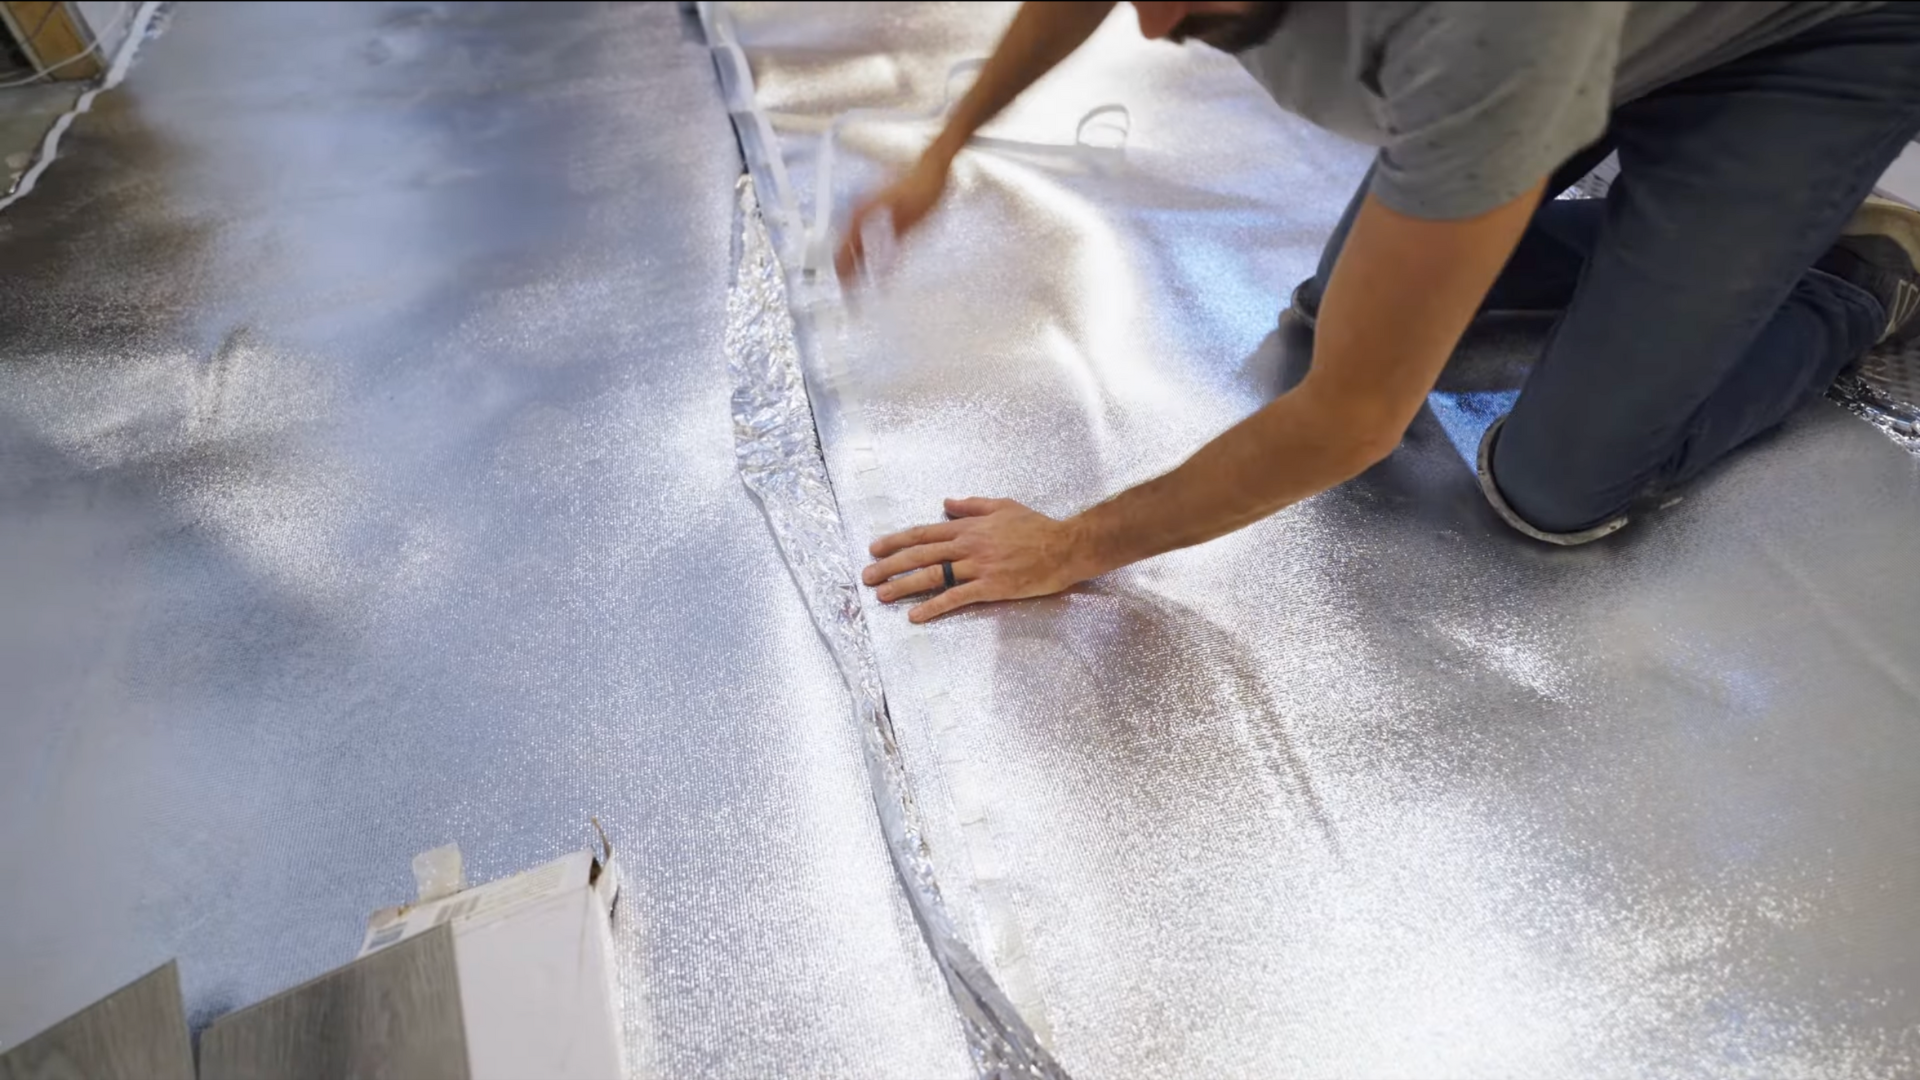
Step 4: Install the Moisture Barrier
Roll out the dimpled plastic moisture barrier starting in a straight corner. The material may curl back on itself, so place heavy boxes or flooring bundles along the edges to hold it in place.
Use a utility knife to trim it to shape, especially around angled walls or corners.
To join seams, overlap slightly and cut through both layers with a sharp utility blade. This creates a clean edge.
Then tape the seams securely using moisture-proof tape to keep vapor from penetrating the joint.
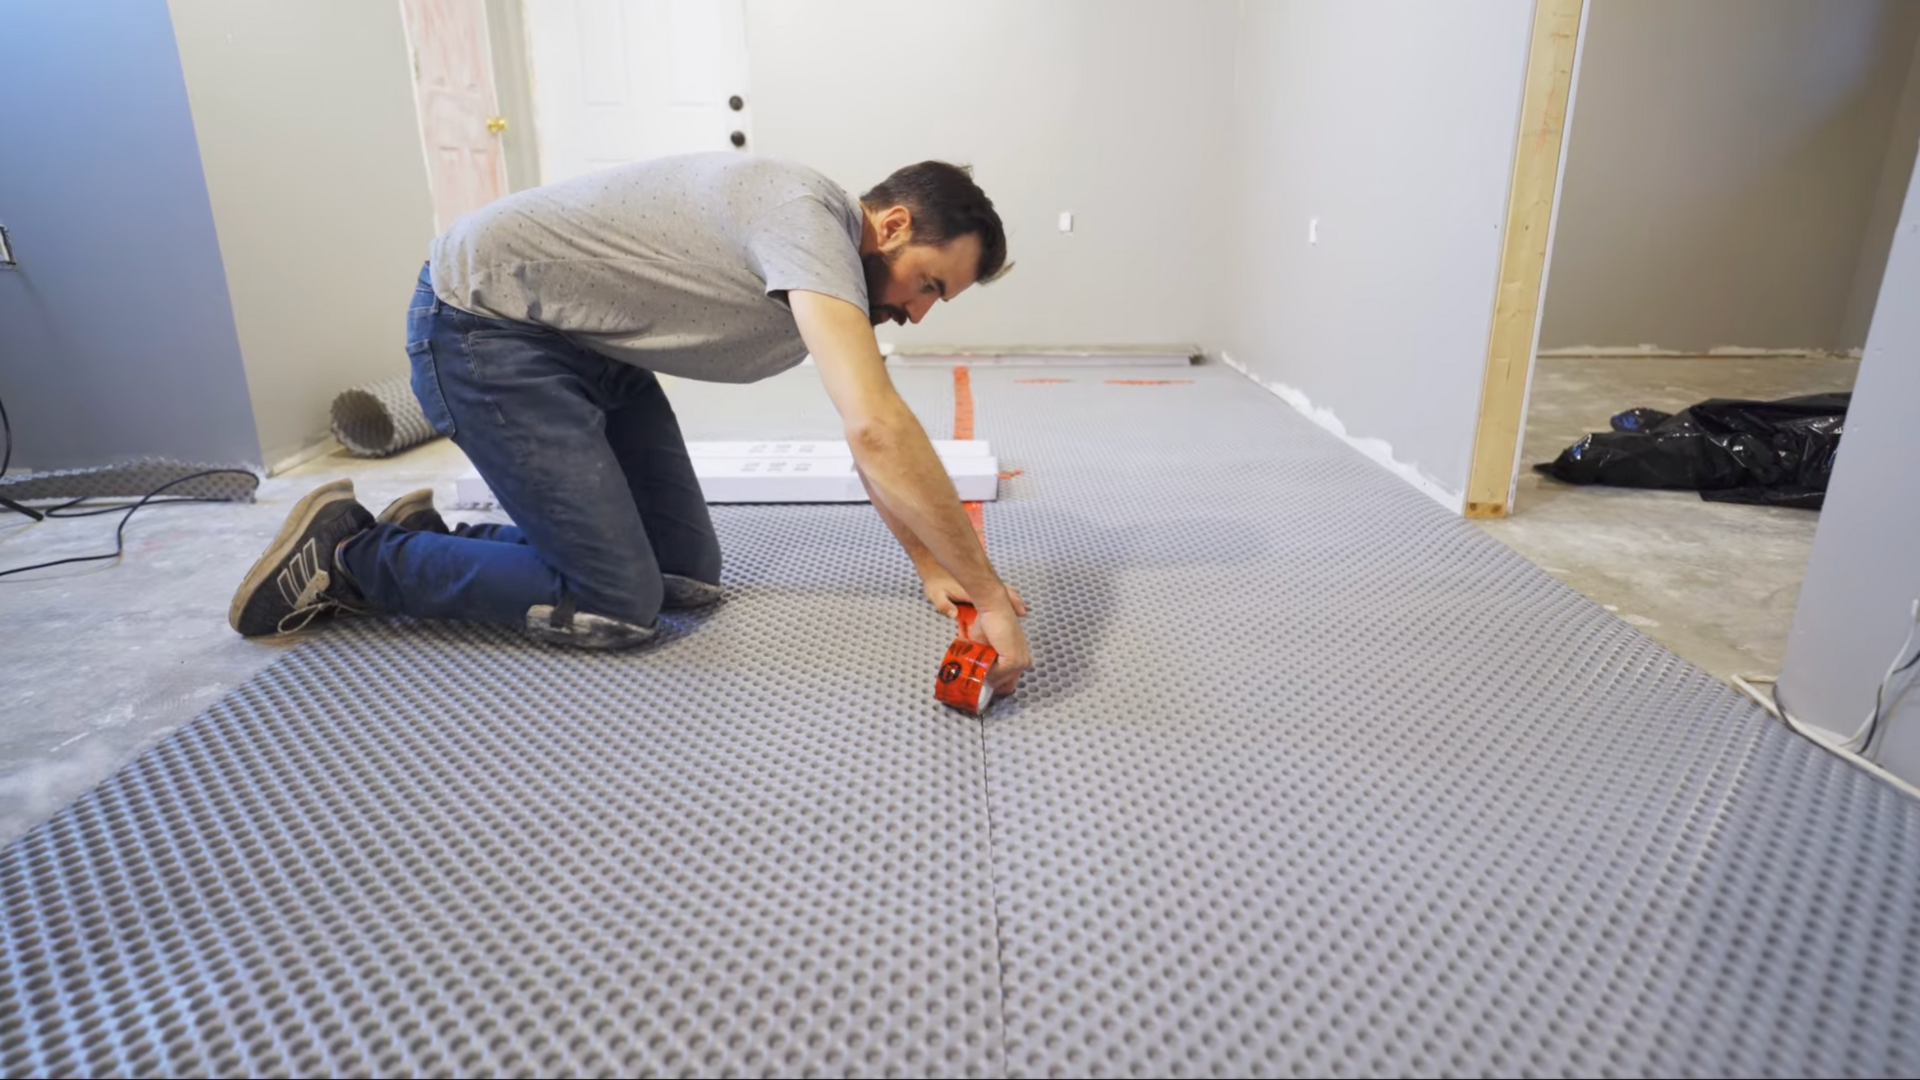
Step 5: Roll Out and Join the Underlayment
Once the moisture barrier is in place, roll out the EVA foam underpad. Position each strip so the edges touch.
Peel back the built-in adhesive and press the overlapping flap into place.
Continue rolling and trimming as needed. This foam adds softness underfoot and improves sound insulation.
For corners and odd shapes, take your time with careful cuts.
The underpad cuts easily with a utility knife, so go slow and adjust as needed for a precise fit.
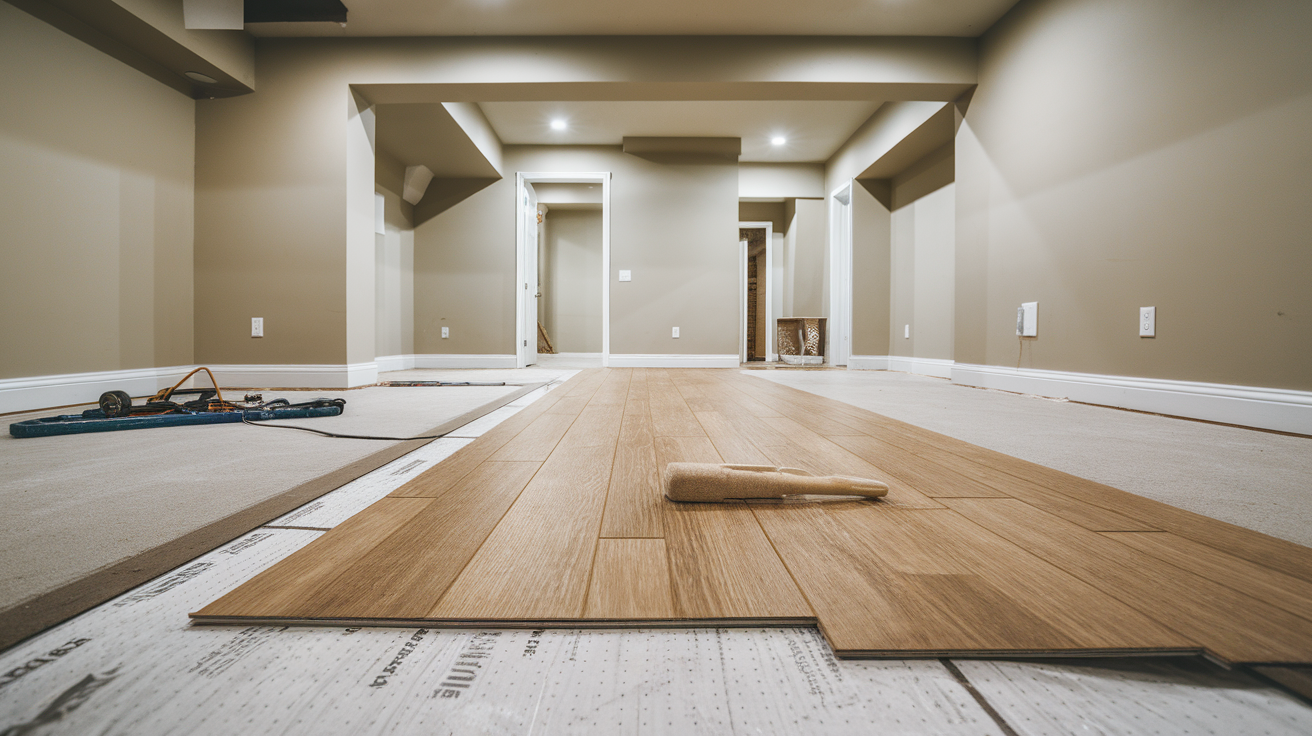
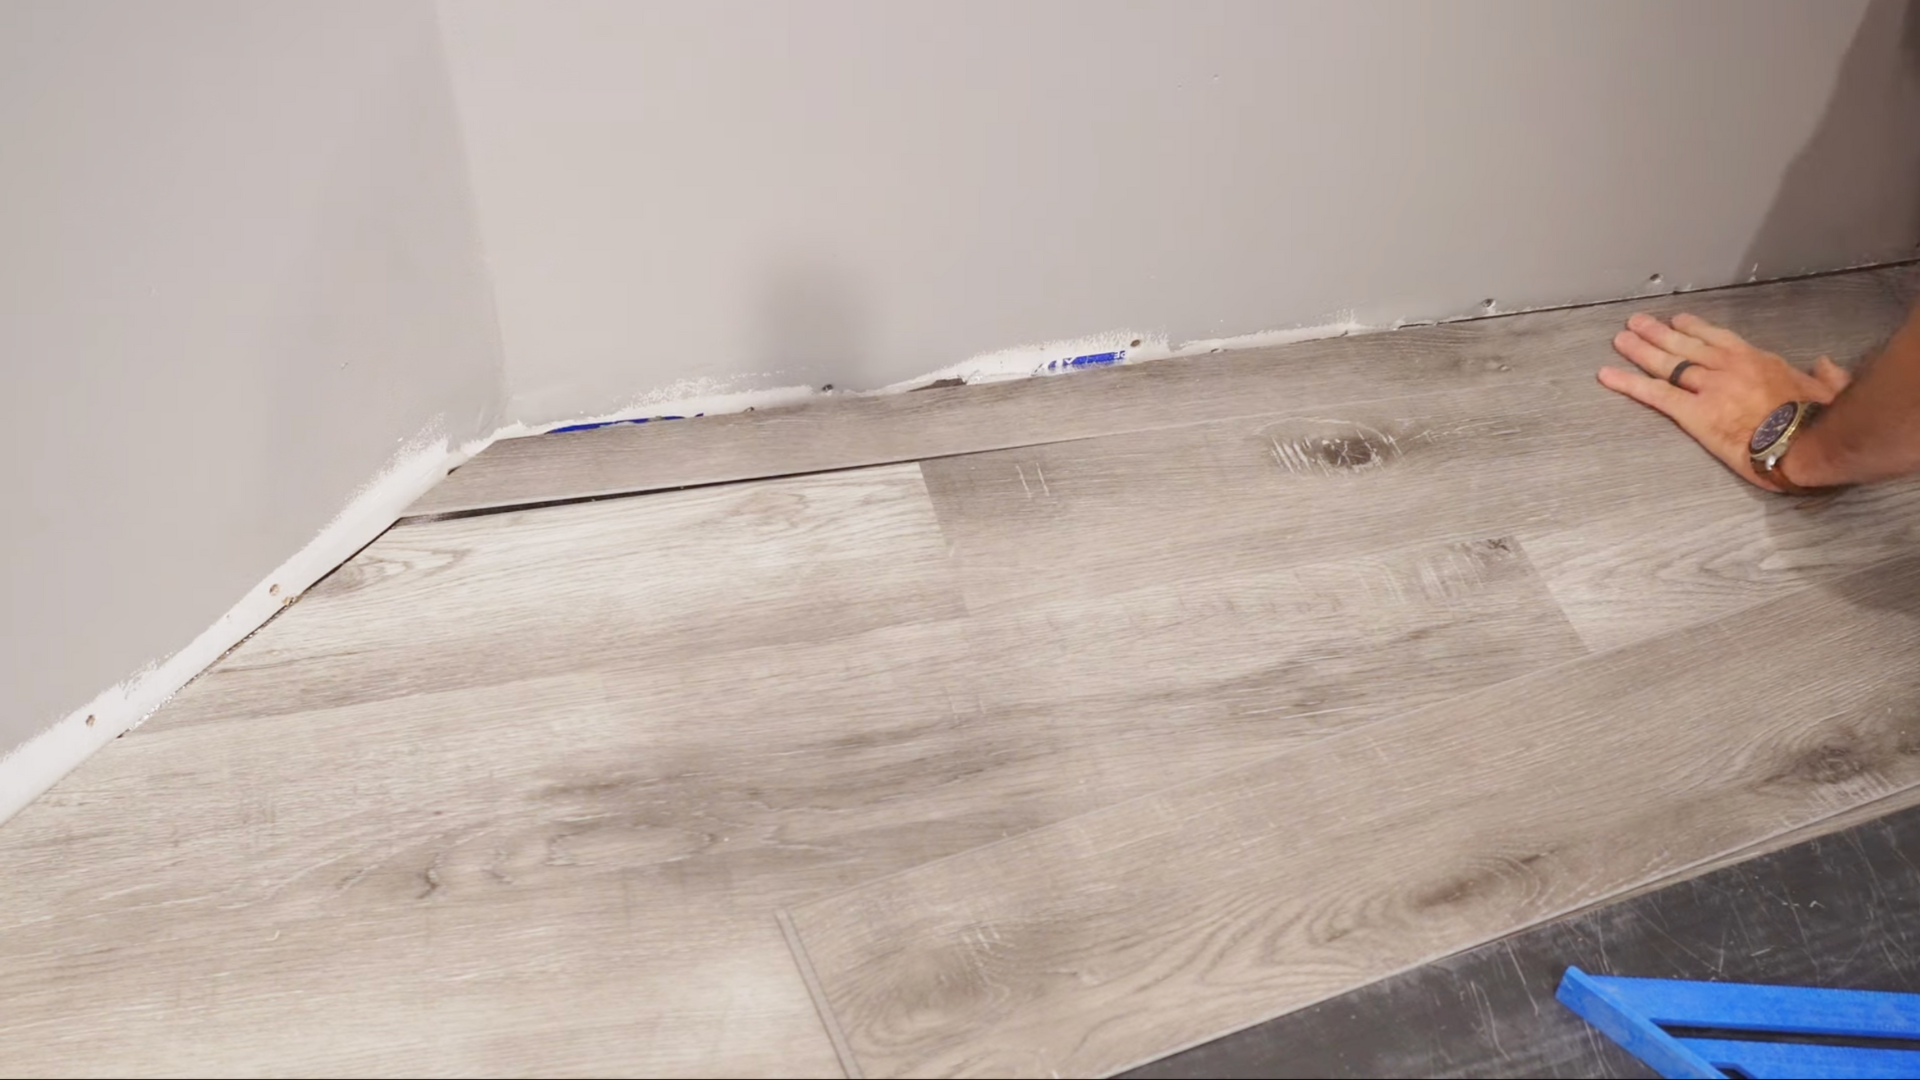
Step 6: Lay the First Row of Planks
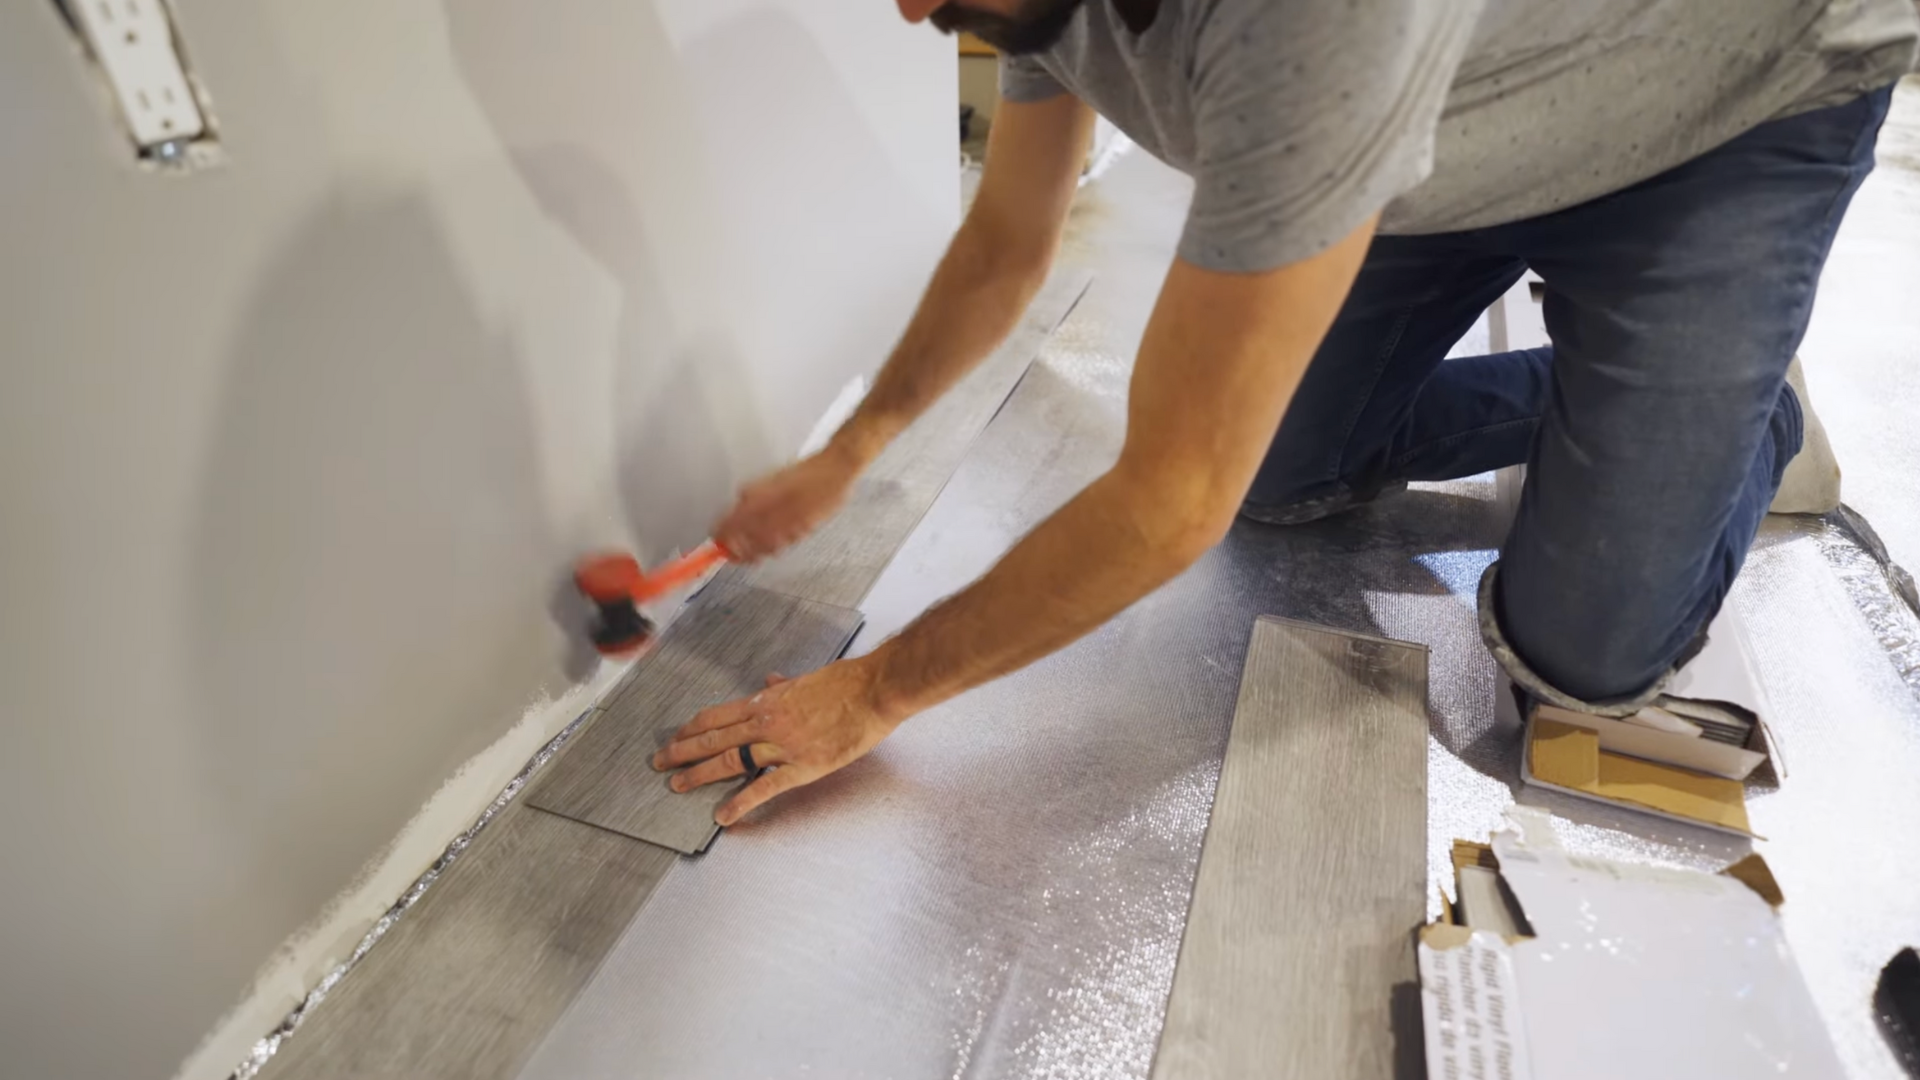
Start in a corner along the longest wall. Cut two planks into ⅓ and ⅔ lengths to stagger the joints.
This pattern will repeat throughout the install for both strength and visual balance.
Leave a small expansion gap between the planks and the wall using spacers or scrap pieces of flooring.
Place the first full plank and begin snapping additional planks into place, locking the tongue and groove edges together.
Use a rubber mallet and pull bar to ensure each joint clicks into place.
Take extra care to keep the first row perfectly straight; this sets the alignment for the rest of the floor.
Step 7: Lock Joints and Check Alignment
As you move across the floor, some joints may not fully align on the first try. Use a scrap plank to act as a tapping block.
Place it on the edge of the plank you’re installing, then use the mallet to gently tap the joint shut. This avoids damage to finished edges.
To fix any offset seams, use a pry bar wedged against the scrap piece. Tap gently until the joint is fully seated and flush.
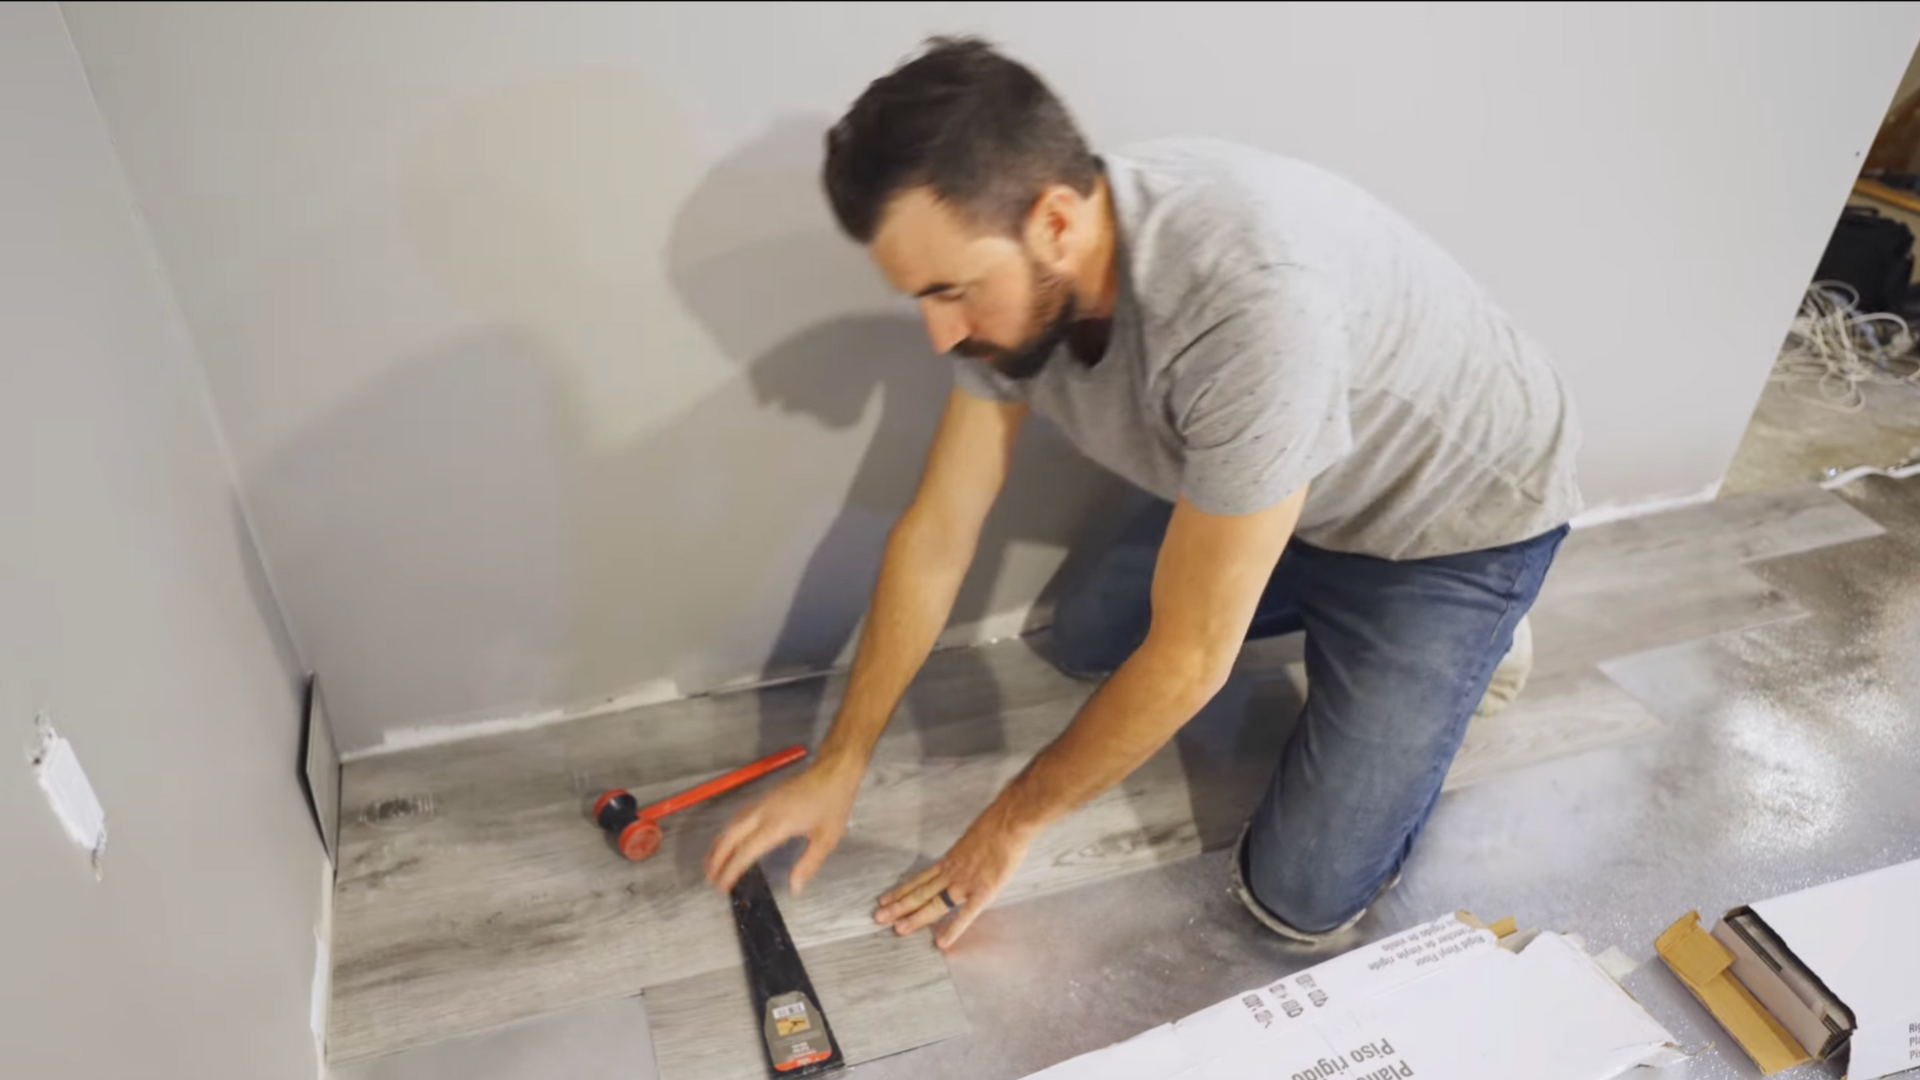
Step 8: Trim the Final Planks and Fit Tight Corners
As you reach the far wall or run into obstacles like door frames or support posts, you’ll need to make custom cuts.
Use the multi-tool for precise cuts along door trim, corners, or around pipes.
When measuring the final planks, always check both ends. Basement walls are often slightly out of square, and a tapered cut may be needed.
Once trimmed, slide the plank into place, making sure to preserve the expansion gap along the wall.
Finish the install by removing the spacers and preparing to install baseboards or trim to cover the gaps.
This blog is inspired by the YouTube tutorial “How to Install Vinyl or Laminate Floors in a Basement (Over a Concrete Slab)” by @DIY Dudes. Watch the original video for step-by-step visuals and expert tips-
Budget-Friendly Basement Flooring Options
If laminate vinyl plank flooring isn’t the right fit for your basement remodel, there are several other cost-effective flooring materials worth considering.
1. Concrete Stain or Paint
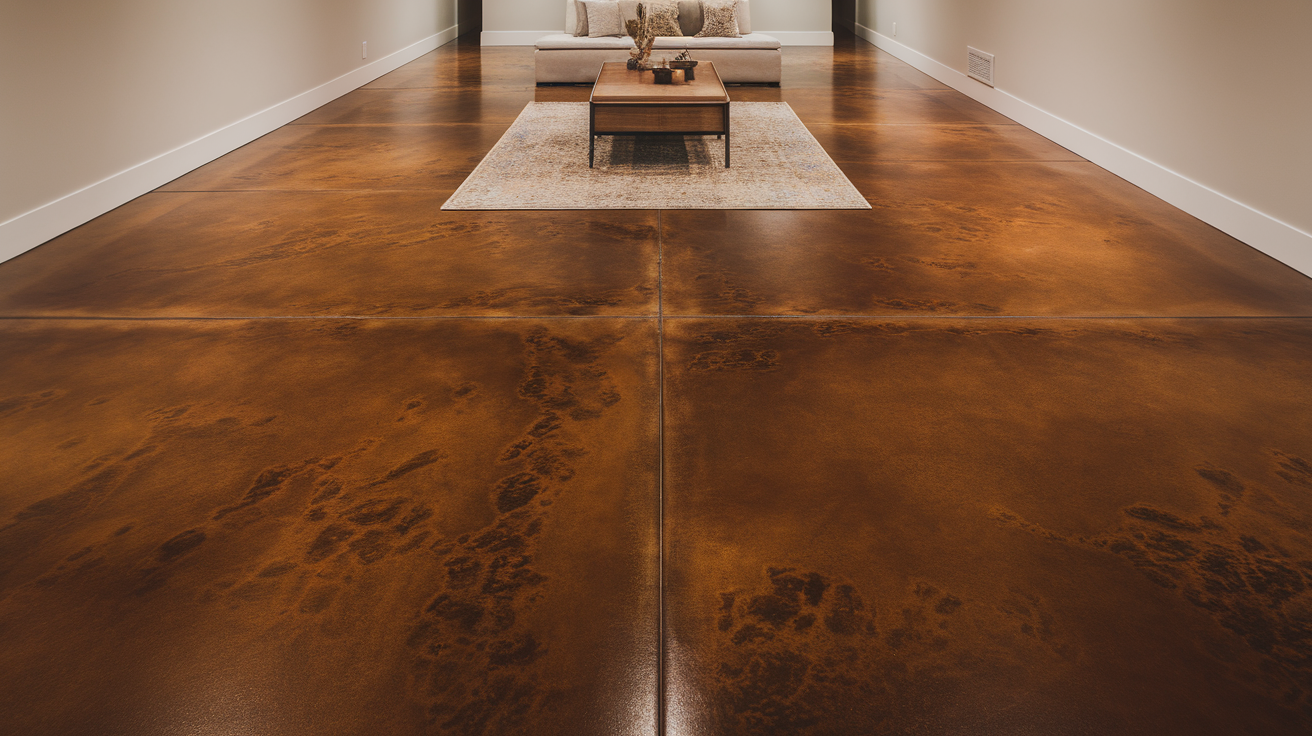
One of the most budget-conscious approaches is to finish the concrete itself.
Applying a concrete stain enhances the natural character and texture of the slab with a translucent, mottled look.
Concrete paint, on the other hand, adds solid color and surface protection.
Both finishes can be sealed for added durability and paired with area rugs for comfort.
- Pros: Extremely affordable with minimal materials needed
- Cons: Feels hard and cold underfoot
2. Peel-and-Stick Vinyl Tiles
Self-adhesive vinyl tiles offer an easy and affordable way to refresh your basement floor.
These tiles mimic wood, stone, or ceramic looks and can be installed directly over smooth concrete.
Their low profile is ideal for basements with low ceilings or limited headroom.
- Pros: Simple peel-and-stick installation makes it ideal for first-time DIYers
- Cons: Requires a clean, smooth, and level surface for best adhesion
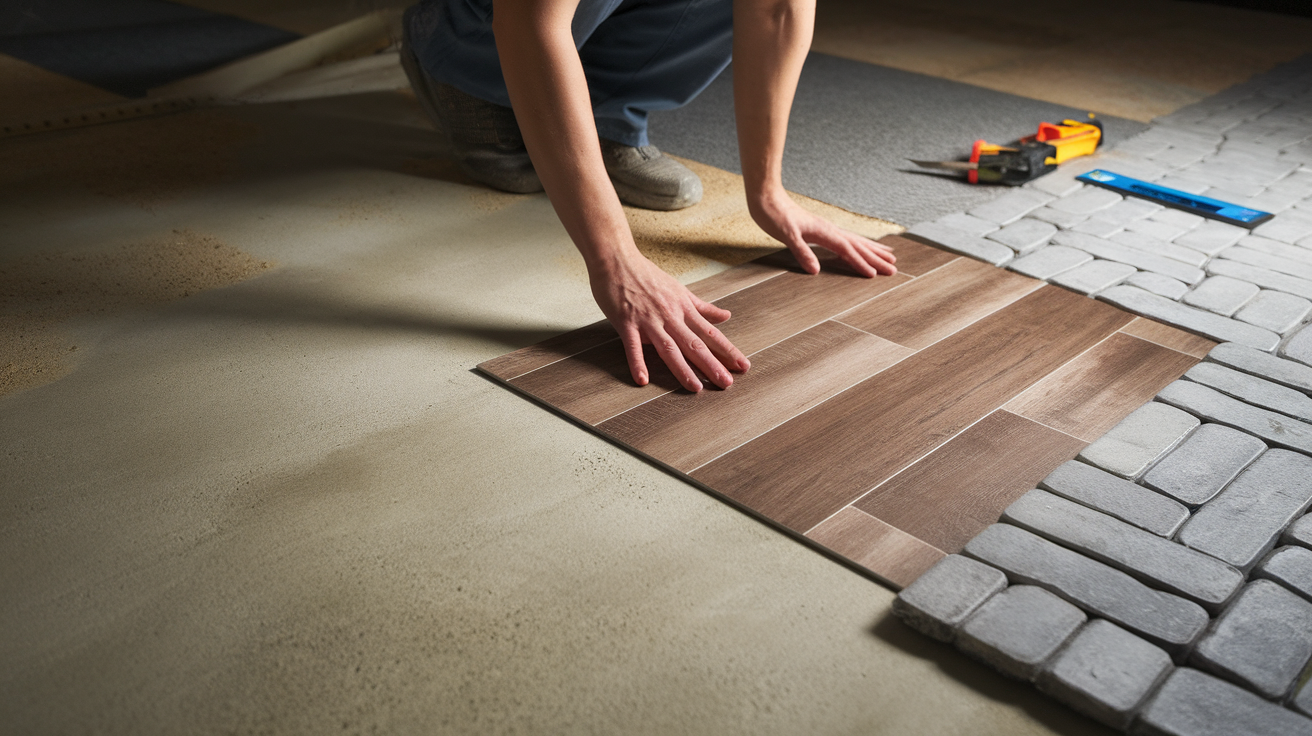
3. Sheet Vinyl Flooring
Sheet vinyl comes in large rolls that are cut to size and laid across the floor.
It provides a continuous, seamless surface that is waterproof and easy to clean, making it an excellent candidate for basements that may experience occasional moisture.
- Pros: Waterproof and easy to wipe clean
- Cons: It can be challenging to cut and fit into irregular or tight spaces
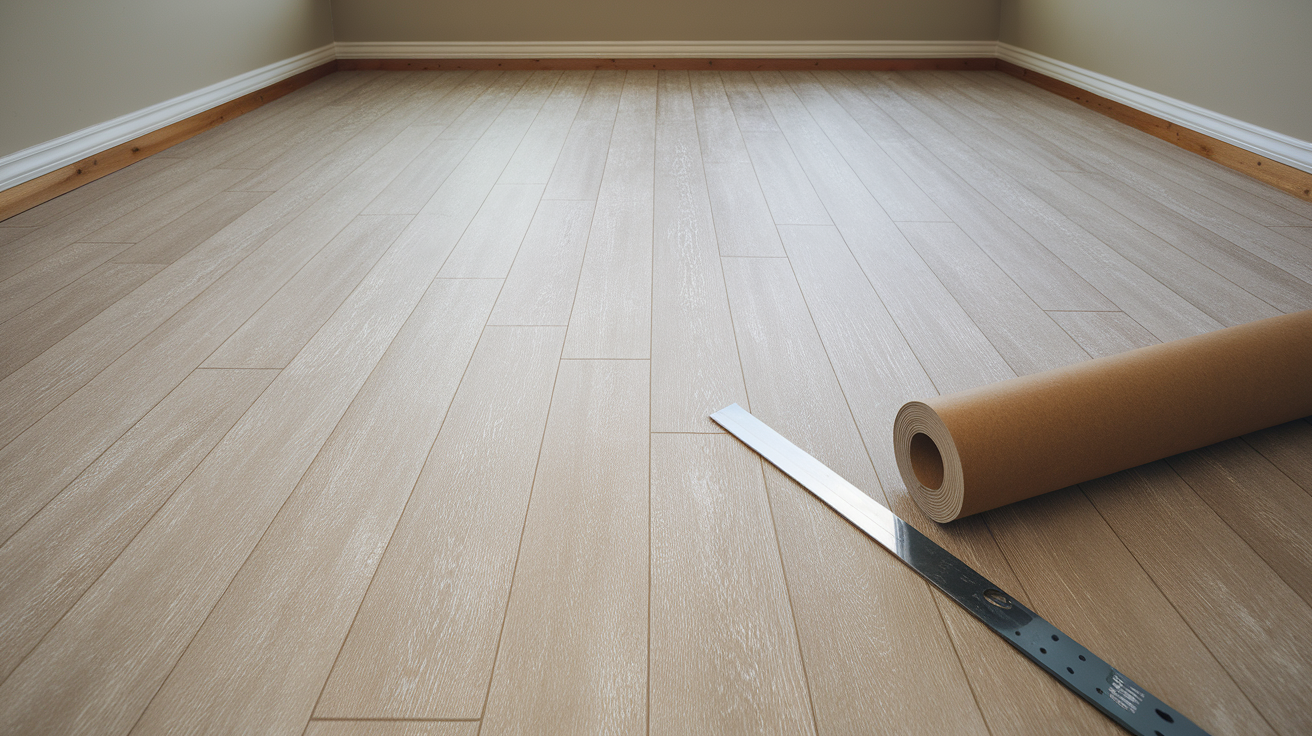
4. Engineered Wood with Moisture Barrier
Engineered wood flooring provides the look and feel of real hardwood, but with greater stability in changing environments.
It consists of a hardwood veneer bonded to a layered base.
When installed over a moisture barrier and underlayment, it can work well in basements with lower humidity levels.
- Pros: Offers a genuine wood aesthetic and warmth
- Cons: Not ideal for damp or flood-prone basements
5. Carpet Tiles

For homeowners who want warmth and sound insulation, carpet tiles provide a modular, easy-to-install option.
These tiles come in squares and can be replaced individually if damaged.
Many varieties feature built-in backing and can be laid without glue or tack strips.
- Pros: Soft underfoot and comfortable in colder climates
- Cons: Susceptible to mildew and staining in damp basements
Each of these flooring types comes with its own set of strengths and trade-offs.
The best option depends on your budget, your basement’s moisture conditions, and how you plan to use the space.
Benefits of Remodeling Your Basement Floor
Remodeling your basement floor doesn’t just improve the look; it enhances the overall functionality of your space. Look at these benefits:
- Improved Comfort: Adds warmth and comfort underfoot, making the space more livable.
- Healthier Environment: Reduces dust, allergens, and the risk of mold or mildew with moisture-resistant options.
- Temperature Regulation: Helps to better control the temperature in below-grade areas, improving energy efficiency.
- Increased Insulation: Adds insulation, making the space more energy-efficient.
- Higher Property Value: Increases your home’s resale value and adds functionality to your basement.
A finished basement floor turns an underused space into a valuable, versatile area for multiple purposes.
Final Thoughts
Remodeling your basement floor doesn’t have to be overwhelming or expensive.
With some planning, you can transform a cold, concrete surface into a warm, inviting area that adds value and comfort to your home.
Laminate vinyl plank flooring is a popular choice for its durability and water resistance, but there are other options like peel-and-stick tiles, sheet vinyl, engineered wood, or even concrete stain.
Proper preparation is key to success. With the right tools and materials, even first-time DIYers can tackle the project confidently.
In just a weekend, you can turn your basement into a finished, functional part of your home.